Anaconda Navigator
A programmer spends a lot of his time searching for the commands to use in CLIs(Command Line Interfaces). These CLIs are used to execute user-provided instructions. These are plain text with some special words. Eg: sudo apt update : Updates all software installed in ubuntu.
Continuous updates in software updates its commands as well. For Eg: Schedule a server to restart in windows earlier uses ‘AT’ command which is replaced with ‘schtasks.exe’ now. So, old commands will no longer be helpful. Graphical User Interfaces don’t require the user to remember commands and keep itself updated with new changes. It also reduces errors in typing longer commands.

What is Anaconda?

Anaconda is a data science and research platform aimed for all developers to use it for creating tangible applications. Anaconda offers solutions in Graphical User Interface format so the packages can be loaded, removed, accessed by mouse clicks instead of typing commands.
Anaconda offers Command Line Interface solutions along with GUI. It has its own anaconda terminal where we can use traditional commands and install applications using conda prompt.
Cconda in anaconda terminal is a package management system. Eg: conda list will list all packages installed. conda install graphviz install a graph visualizer for drawing graphs. This Anaconda Distribution contains 250 commonly used software pre-installed. Some of them are Anaconda Navigator, Jupyter Notebooks, Spyder shell environment etc. Anaconda Distribution installs all packages at once and makes it handy to use.
Why Anaconda?
- Anaconda offers Multiple Editions mainly Individual, Commercial, Enterprise and Team. Each of these have different industry use-cases
- Individual Edition is free to use. It is the best – suited for students, developers and researchers
- Anaconda provides Rich Technical Documentation and makes applications easier to maintain
- Anaconda helps to manage different virtual environments which are helpful to track all packages/tools used in the application. It also helps in isolating applications from each other
- All Data Science and Machine Learning tools comes pre installed so that users don’t need to set it up manually
Transform Your Career
Choose from our industry-leading programs designed for career success
Modern Software and AI Engineering Program
Master full-stack development with AI integration

Modern Data Science and ML with specialisation in AI
Advanced data science techniques with AI specialization
Advanced AIML with Specialisation in Agentic AI
Deep dive into AIML with focus on Agentic systems
DevOps, Cloud & AI Platform Engineering
Build and manage AI-powered cloud infrastructure
AI Engineering Advanced Certification by IIT-Roorkee
Premier AI engineering certification from IIT-Roorkee
System Requirements to Install Anaconda
The following configuration is recommended to install any anaconda distribution.
Windows:
- OS – Windows 8 or higher for latest version. Other windows OS can refer here[https://docs.anaconda.com/anaconda/install/#old-os] put this in a href
- Architecture – x64 i.e 86 bit, x32 i.e 86 bit
- 5GB Disk Space
Transform Your Career
Choose from our industry-leading programs designed for career success
Modern Software and AI Engineering Program
Master full-stack development with AI integration
Modern Data Science and ML with specialisation in AI
Advanced data science techniques with AI specialization
Advanced AIML with Specialisation in Agentic AI
Deep dive into AIML with focus on Agentic systems
DevOps, Cloud & AI Platform Engineering
Build and manage AI-powered cloud infrastructure
AI Engineering Advanced Certification by IIT-Roorkee
Premier AI engineering certification from IIT-Roorkee
Linux:
- Works on Ubuntu, Linux, RedHat
- 64bit x86 architecture is recommended
- 5GB Disk space
Anaconda distribution installer is around 400MB – 600MB.
Scaler Placement Report and Statistics
Scaler learners achieved 2.5x salary growth with average post-Scaler CTC reaching ₹23L.
Installing Anaconda on Windows
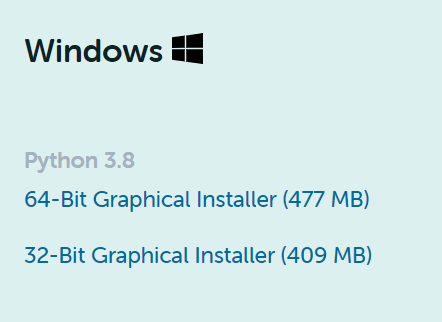
- Visit this link [https://www.anaconda.com/products/individual#windows] and select the suitable option according to your operating system
- The download begins shortly. Once completed open the download .exe file in the folder it has been downloaded. Usually it is stored in the Downloads folder. You can see a setup window as below

- Click on Next and Agree the license
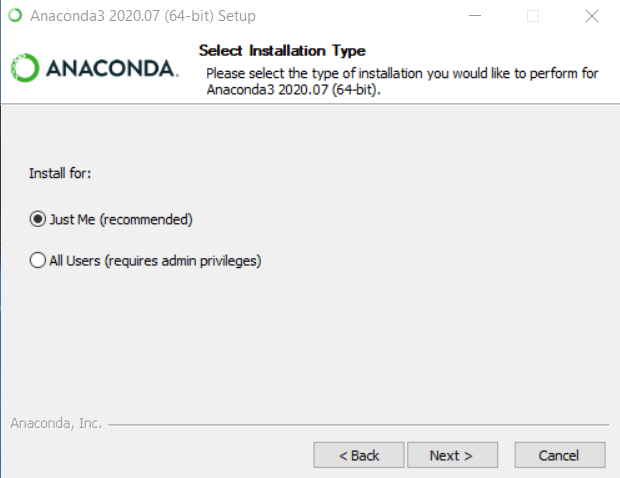
- Now, it asks to install only for this user or all users. Select it as per your preference
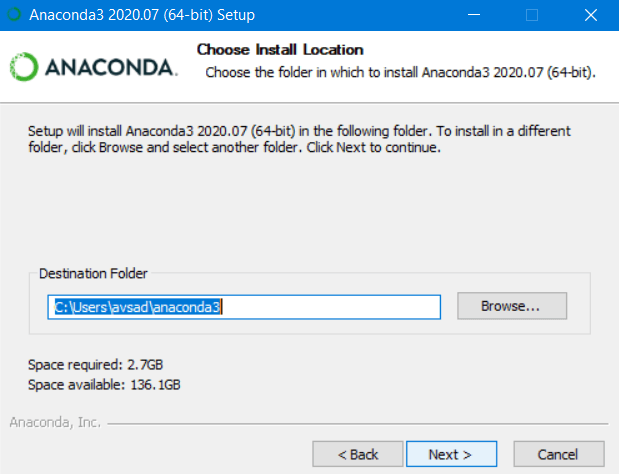
- Select the destination folder where all files should be created. It’s highly recommended to use it in C Drive for faster loading of applications
- In the next window, it asks the user to install anaconda and set the anaconda path automatically i.e. path of bin folder. It’s a simple shortcut to set up a path for anaconda. Otherwise unselect it and after installation go to system environmental variables. In that Edit path variables by adding the bin folder location of anaconda

- Click on install to start installing anaconda navigator
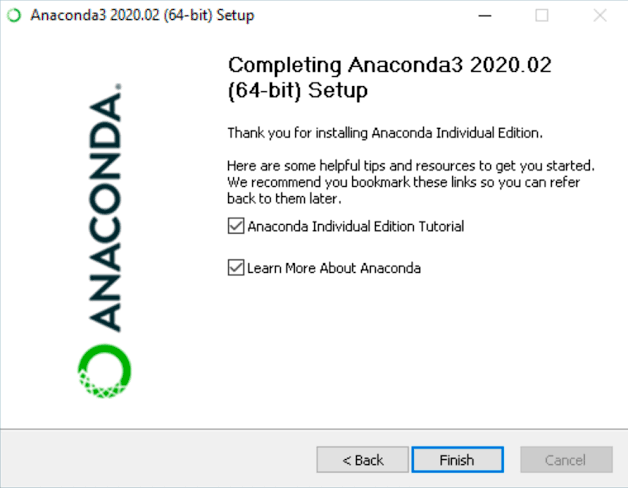
- Once, installation is successful we can see the Finish button
Installing Anaconda in Ubuntu
- Some dependencies need to be pre installed before setting up anaconda. For that open a new terminal and use For Ubuntu – Use sudo apt-get install libgl1-mesa-glx libegl1-mesa libxrandr2 libxrandr2 libxss1 libxcursor1 libxcomposite1 libasound2 libxi6 libxtst6
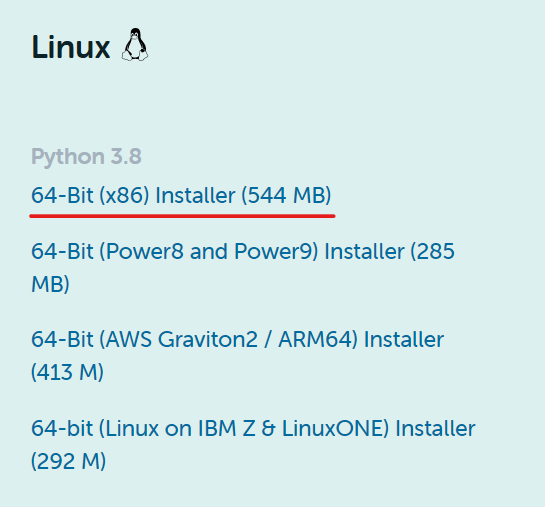
- Open this link [https://www.anaconda.com/products/individual#linux] and download 64bit x86 Installer
- Once downloaded, navigate to the folder where the file is located in the terminal Eg: If the file is located in Downloads use cd Downloads
- Use the command bash <name_of_downloaded_file>.sh

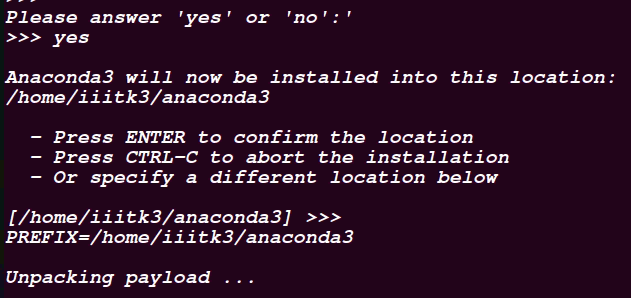
- Read the end of End User License Agreement. At the end, the system asks to answer yes/no. Once we enter yes, it asks the installation location. Confirm the installation location and it re-displays the installation location. Now the installation starts
- Once installation is successful we can see the message “Thank you for installing anaconda 3”

Opening Anaconda Navigator
Go to the start menu and search for Anaconda Navigator. A terminal will pop-up 2-3 times during which these applications are properly initialized and the Anaconda Navigator screen will be displayed.

Select the application you wish to use and click on the launch button to open it.
Conclusion
Anaconda Installation is very easy and has a rich documentation. Anaconda navigator lists out all the basic tools that a statistician, developer, researcher needs in his work. Its GUI enables a convenient flow to access applications.