Input and Output Directives in Angular
Overview
Angular components may communicate with other sections of the application in a variety of ways. Creating a sophisticated Angular project will require a lot of data and, as a result, a lot of interaction between components. Input and output directives in angular are also useful for component communication.
Introduction to Input and Output in Angular
Input and output properties of a component can be specified in the component decorator or through property decorators.
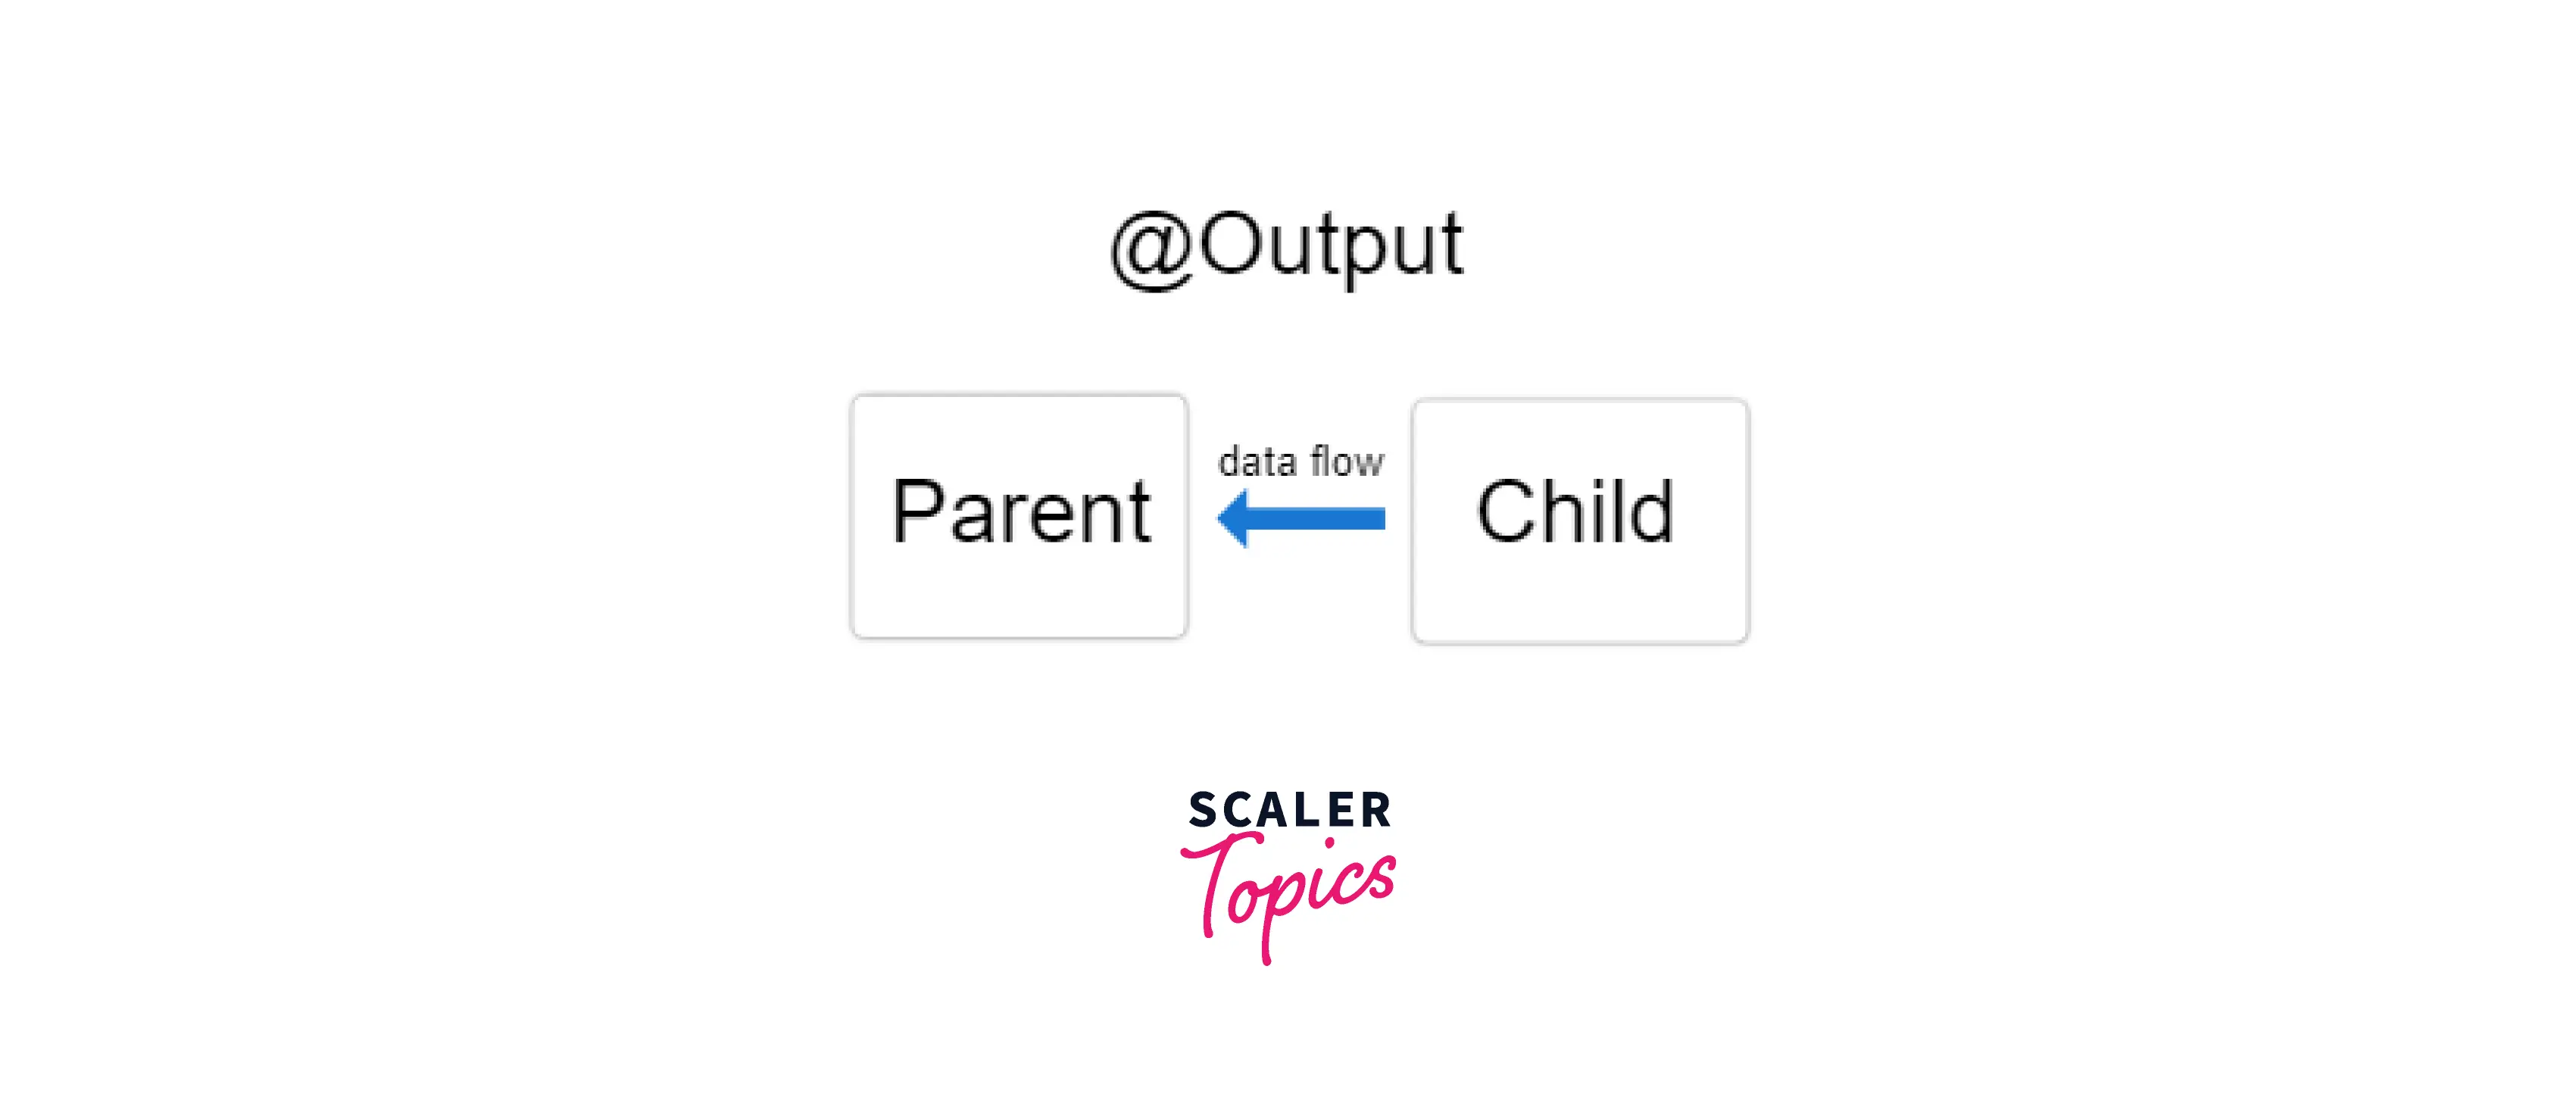
Angular uses @Input() and @Output() to transfer data between the parent context and child directives or components.
- @Input() property is writable
- @Output() property is observed
Data enters a component via its input attributes. The terms output refer to how data flows out of a component via its output characteristics. As a result, the terms input and output were coined.
@Input() and @Output() Properties
The property is designated as the input property by the input decorator. In other words, it can accept data from the parent component. The parent component binds to a component property via property binding. Angular updates the value in the child component whenever the value in the parent component changes.
How to Use @Input()?
In a child component or directive, use the @Input() decorator to inform Angular that a property in that component can get its value from its parent component.
It's important to remember that the data flow is from the viewpoint of the child component. As a result, a @Input() allows data from the parent component to be input into the child component.

In the Child
To use the decorator in a child component class, import the decorator first and then decorate the property with @Input ()
File: src/app/users/user-avatar/user-avatar.component.ts
Transform Your Career
Choose from our industry-leading programs designed for career success
Modern Software and AI Engineering Program
Master full-stack development with AI integration

Modern Data Science and ML with specialisation in AI
Advanced data science techniques with AI specialization
Advanced AIML with Specialisation in Agentic AI
Deep dive into AIML with focus on Agentic systems
DevOps, Cloud & AI Platform Engineering
Build and manage AI-powered cloud infrastructure
AI Engineering Advanced Certification by IIT-Roorkee
Premier AI engineering certification from IIT-Roorkee
In the Parent
Use the directive <app-user-avatar> as the child's selector in the parent component template first.
File: src/app/users/user-profile/user-profile.component.html
The property in the child is then bound to the property of the parent via property binding.
File: src/app/users/user-profile/user-profile.component.ts
How to Use @Output()?
@Output decorates the property as the output property. It is set up first as an EventEmitter. The child component causes the event to be raised and sends the data as an argument. Using event binding, the parent component listens to events and reads the data.
In the Child
First, make sure that the child component class imports Output and EventEmitter:
Next, still in the child, decorate a property with in the component class.
File: src/app/users/user-avatar/user-avatar.component.ts
The different parts of the above declaration are as follows:
- @Output() — a decorator function designating the property as a means of transmitting data from the child to the parent
- uploaded — the name of the @Output()
- new EventEmitter
() — tells Angular to create a new event emitter and that the data it emits is of type string. The type could be any type, such as number, boolean, and so on.
Next, create a uploadImage() method in the same component class:
File: src/app/users/user-avatar/user-avatar.component.ts
Data will be emitted via the .emit method and sent to the parent.
Turn Learning into Career Growth
In the Parent
Here, we will connect through html template. We will use (outputName) and connect it with any method in parent component.
File: src/app/users/user-profile/user-profile.component.html
Scaler Placement Report and Statistics
Scaler learners achieved 2.5x salary growth with average post-Scaler CTC reaching ₹23L.
@Input() and @Output() Together
Combining @Input() and @Output() on the same child component is feasible as seen in the examples below:
File: src/app/users/user-profile/user-profile.component.html
To combine property and event bindings using the banana-in-a-box syntax [()]
@Input() and @Output() Declarations
You can identify members in the inputs and outputs arrays of the directive metadata rather than using the @Input() and @Output() decorators to specify inputs and outputs, as in the following example:
File: src/app/users/user-avatar/user-avatar.component.ts
Although it is technically feasible to declare inputs and outputs in the @Directive and @Component metadata, it is preferable to utilise the @Input() and @Output() class decorators.
Aliasing Inputs and Outputs
There are situations when the internal name of an input/output property differ from the public one. Although avoiding this circumstance is recommended, however angular does provide a remedy.
A colon-delimited (:) string is used to alias inputs and outputs in the metadata, with the name of the directive property on the left and the public alias on the right:
Scaler Placement Report and Statistics
Scaler learners achieved 2.5x salary growth with average post-Scaler CTC reaching ₹23L.
How Components Interact in Angular?
There are several ways for Angular components to communicate with other application components. A sophisticated Angular project will require a lot of data, which will lead to a lot of component interaction.
@Input Setter and Getters
To inform Angular that it may receive a value from a parent component, an input decorator is supplied in a child component. As a result, the parent is in charge of giving the child a value using the syntax:
Of course, you could develop some code that would keep track of the amount of changes each input has undergone, but NgOnChanges is a better option.
NgOnChanges
An angular life cycle hook called ngOnChanges is activated when it notices changes to data-bound input properties. The current and previous property values are included in the SimpeChanges object that is sent to this procedure.
An object that translates each changed property name to a SimpleChange object, which contains the current and previous property values, is passed to the ngOnChanges() function. You can act on the modified properties by iterating through them.
Conclusion
- Input and Output directives in angular used to communication between parent & child components
- The Child component defines the input & output property using @Input & @output decorators
- Using property binding, the Parent sets the input property.
- Every time the child component has to submit data to the parent, it raises the event using EventEmitter. Using event binding, the parent keeps an eye on the output property.