Reactive Form Validations in Angular
Overview
The form is the heart of the data-centric application. These form assists to feed in data into the system. Also while developing such applications we have to make sure they are secure enough, along with that these pages should have a good user experience. Majorly we have to validate each input field with appropriate validation. We should not allow users to add malicious stuff easily. Validation can help to make user expectations clear, and also can disallow malicious content to feed into the system.
Introduction to Angular Form Validation
Inside Angular reactive forms, validation can be applied in various ways
- Built-in validators
- Custom validators
- Custom validators with the directive
Built-in Validators
| Validator | Type | Description |
|---|---|---|
| min | number | min number that should be provided |
| max | number | max number that should be provided |
| required | control should have value | |
| requiredTrue | control that should have the value true | |
| string that matches valid email pattern | ||
| minLength | number | string that of minimum length |
| maxLength | number | string that of maximum length |
| pattern | string or RegExp | string should match a pattern |
| nullValidator | validator that return nothing | |
| compose | ValidationFn[] | Can create a new validator by combining multiple |
| composeAsync | ValidationFn[] | Can create a new validator by combining multiple asynchronously |
Validations can be applied on a FormControl.
For eg. suppose we wanted to apply required validation over an email field. The code would look like below
app.component.ts
app.component.html
app.module.ts
Understand the above code stepwise
- First we create a FormControl instance using new FormControl(...)
- Then we pass parameters to FormControl class.
- 1st parameter is the default value.
- the second parameter would be an array of ValidationFn.
- In the above code we use email and required validators from Validators
- Don't forget to add ReactiveFormsModule to use form reactive features.
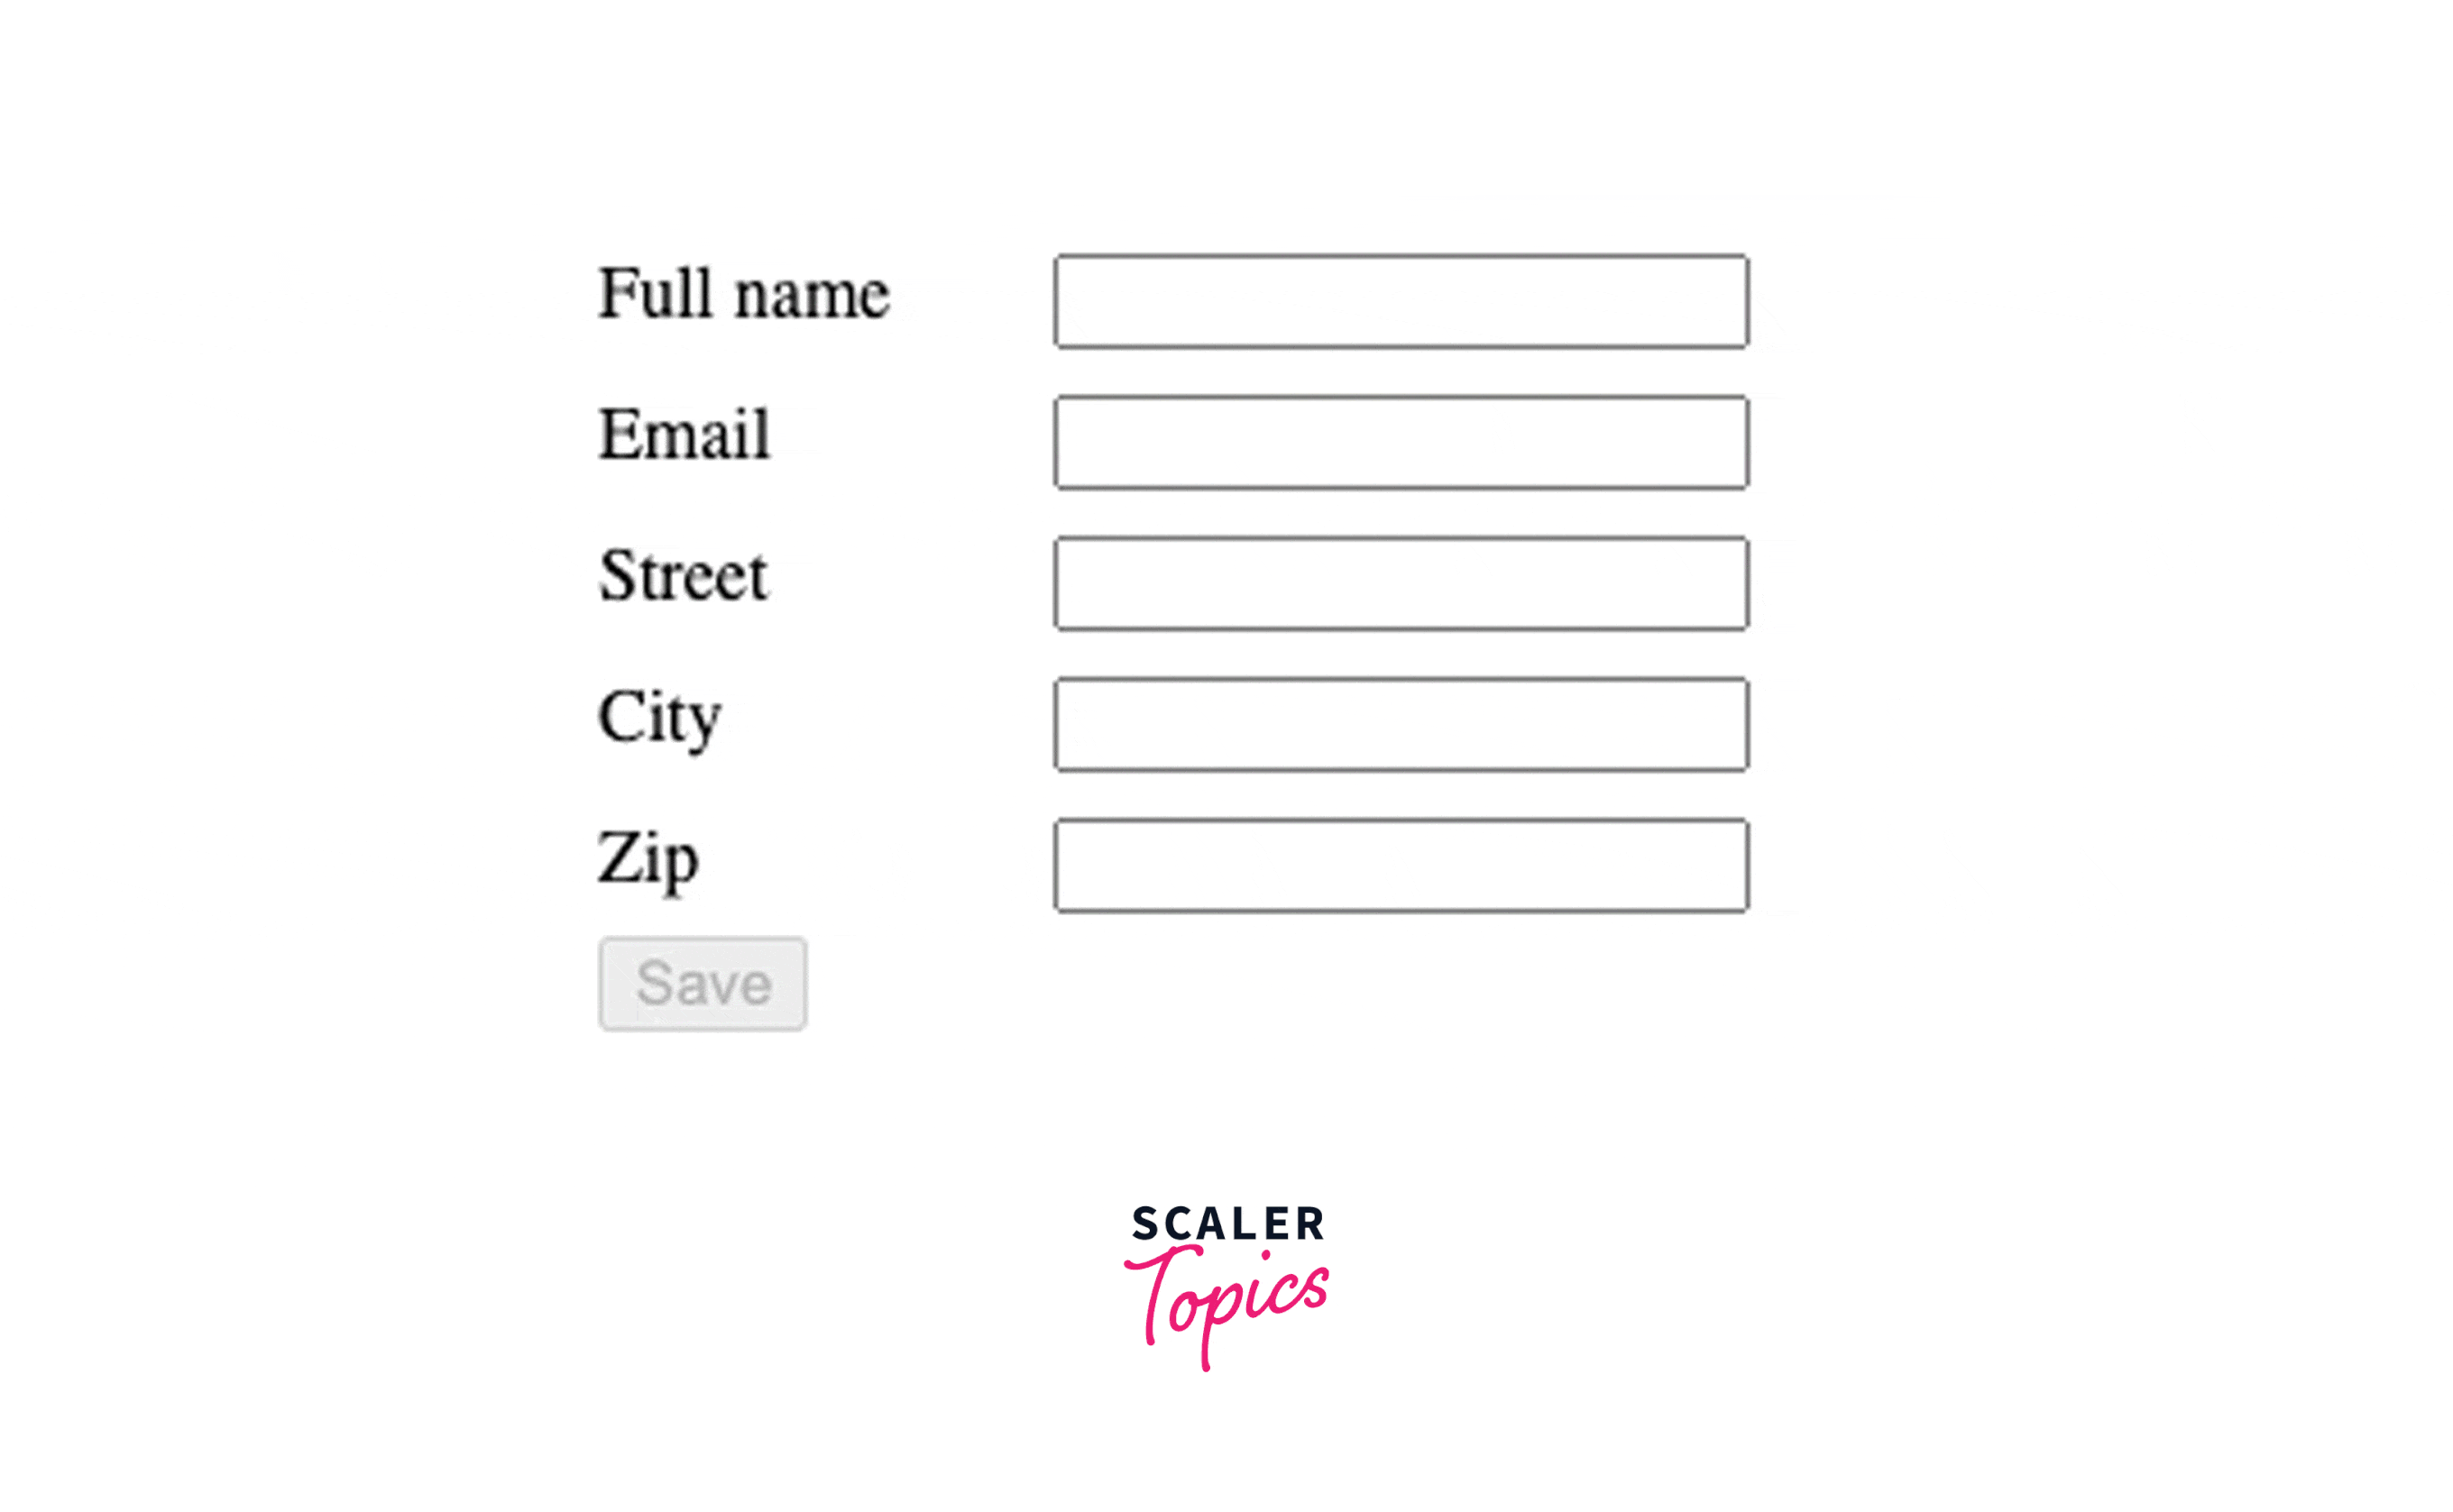
The previous example was just a small warm-up. We can take an example of a User edit form that has to have the below validations.
- Full Name
- required
- min length 6 characters
- max length 20 characters
- Email
- required
- Street -
- required
- max length 20 characters
- City -
- required
- Zip -
- required
- number
app.component.ts
app.component.html
demo
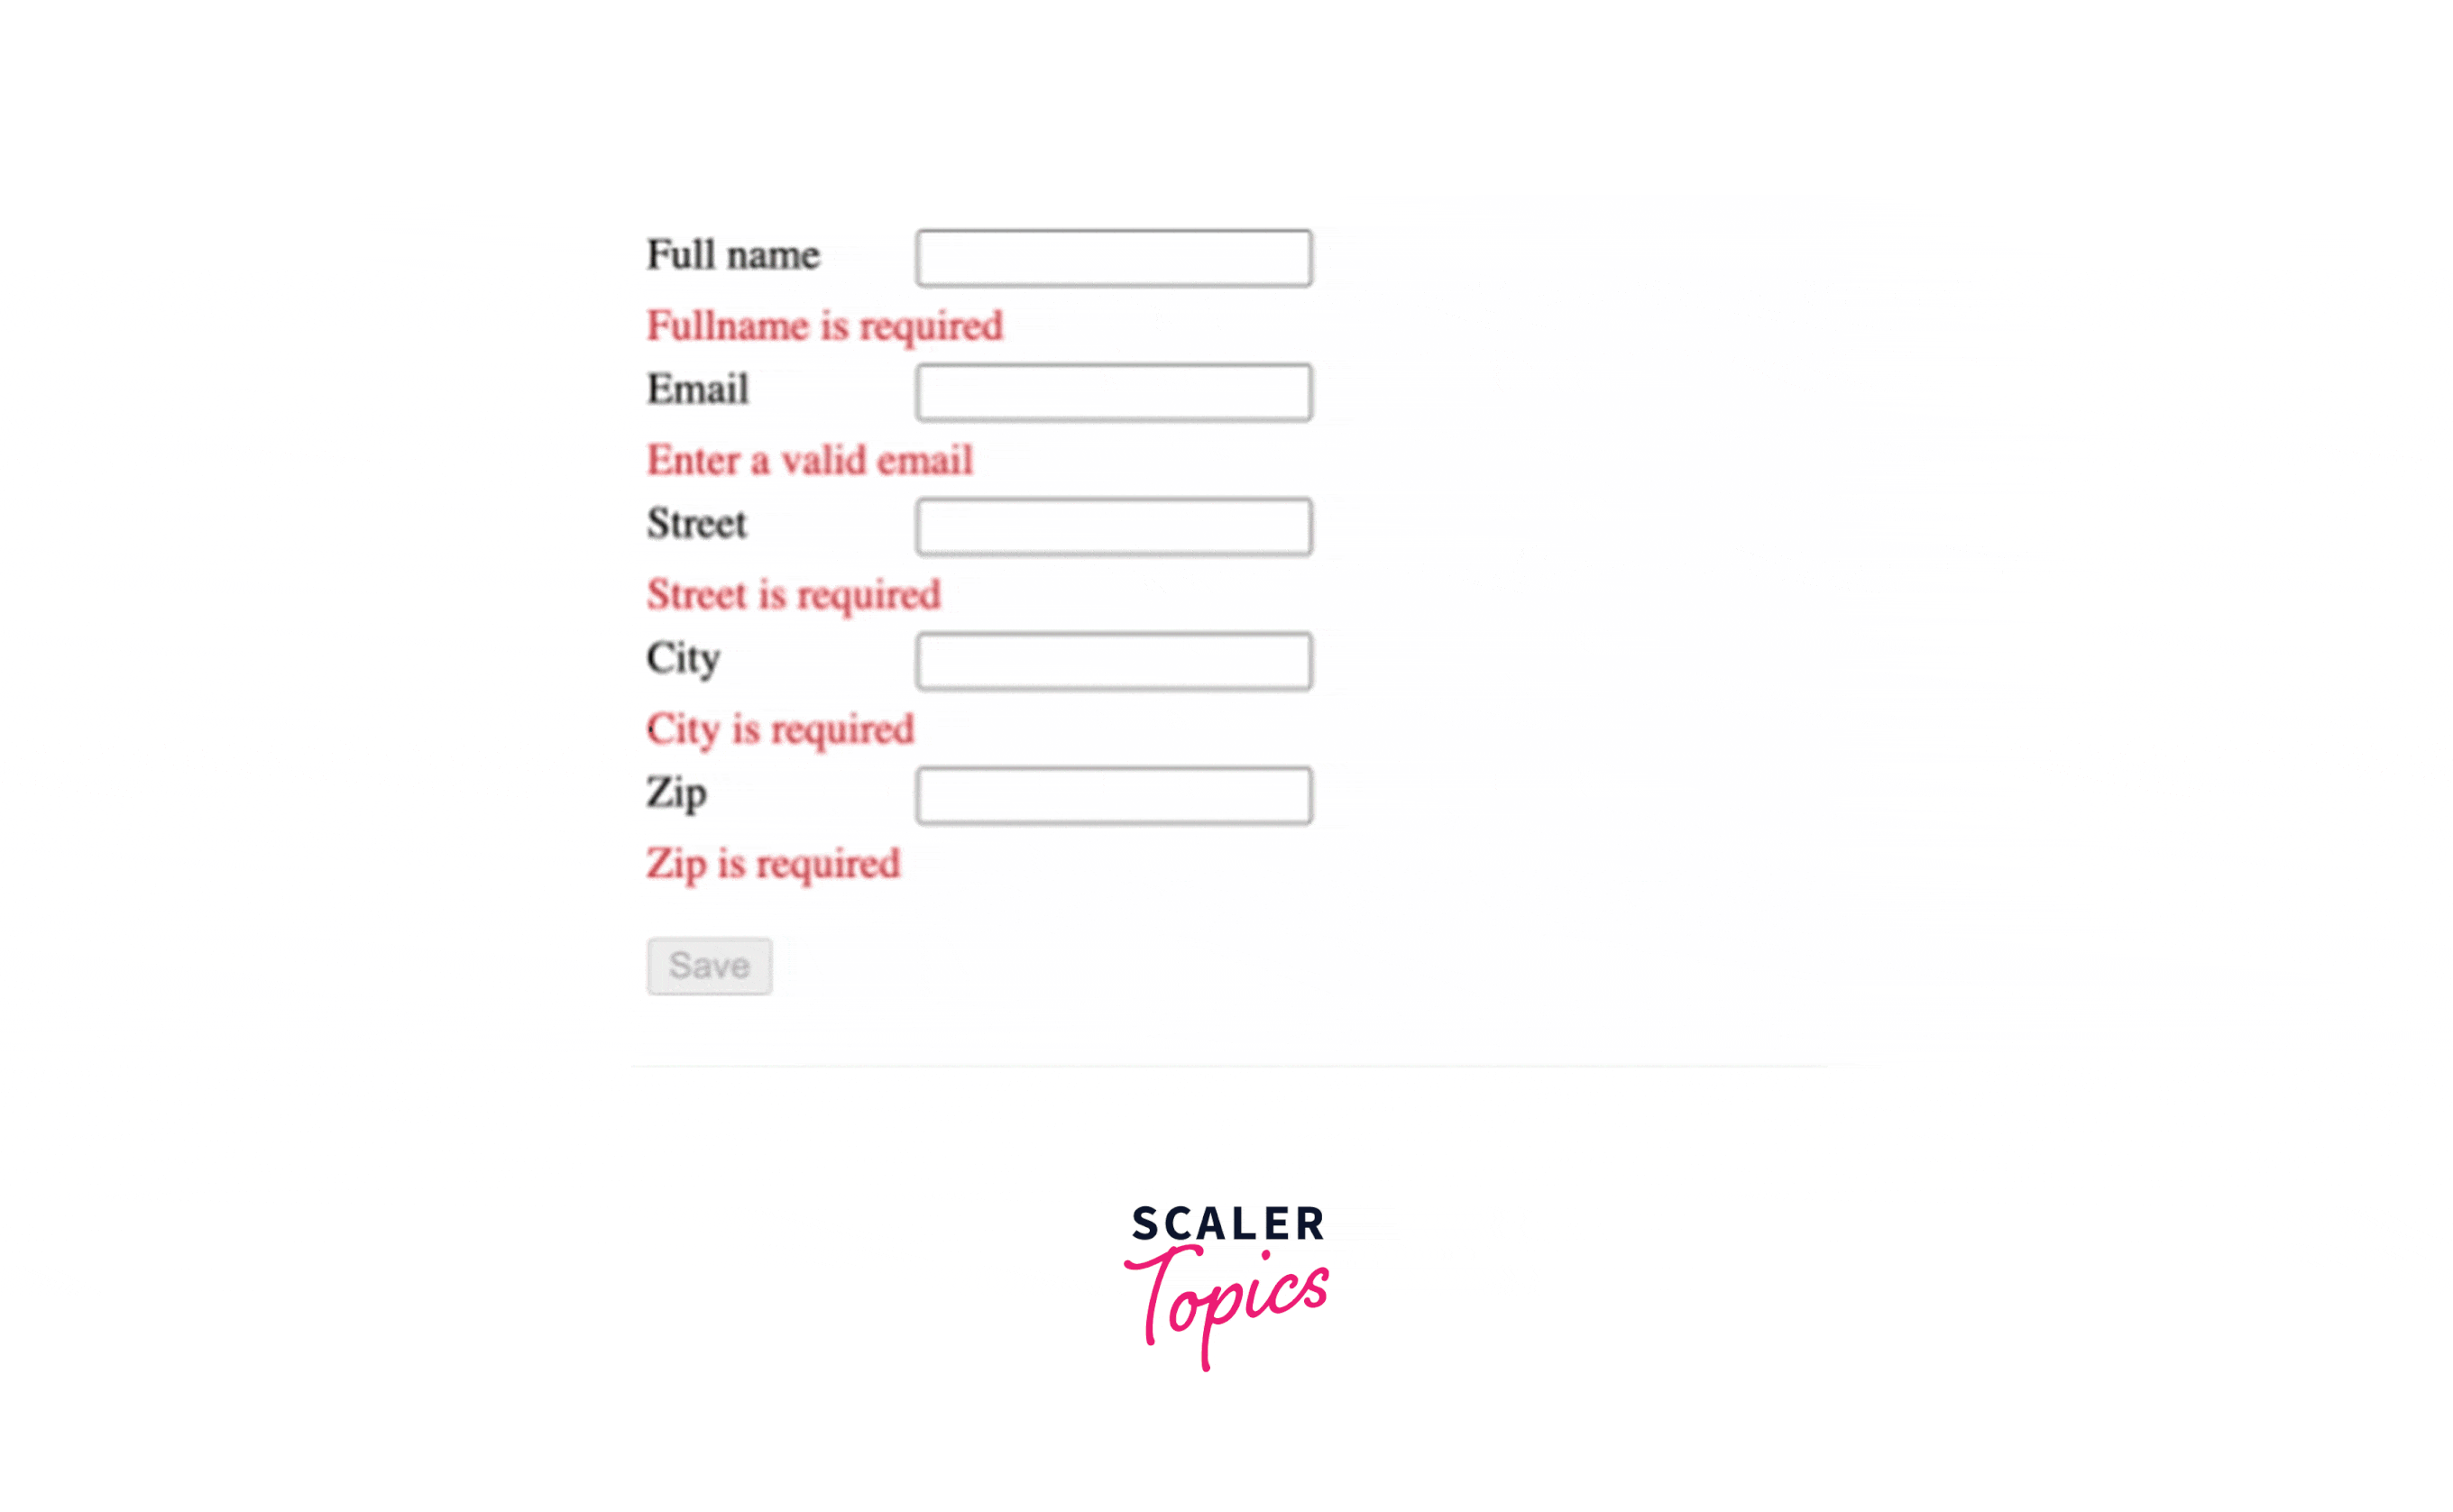
So far we have seen that we added a validator on each field. Once all field validation criteria are fulfilled, the "Save" button is enabled. And click of the save button prints the userForm object in the console.
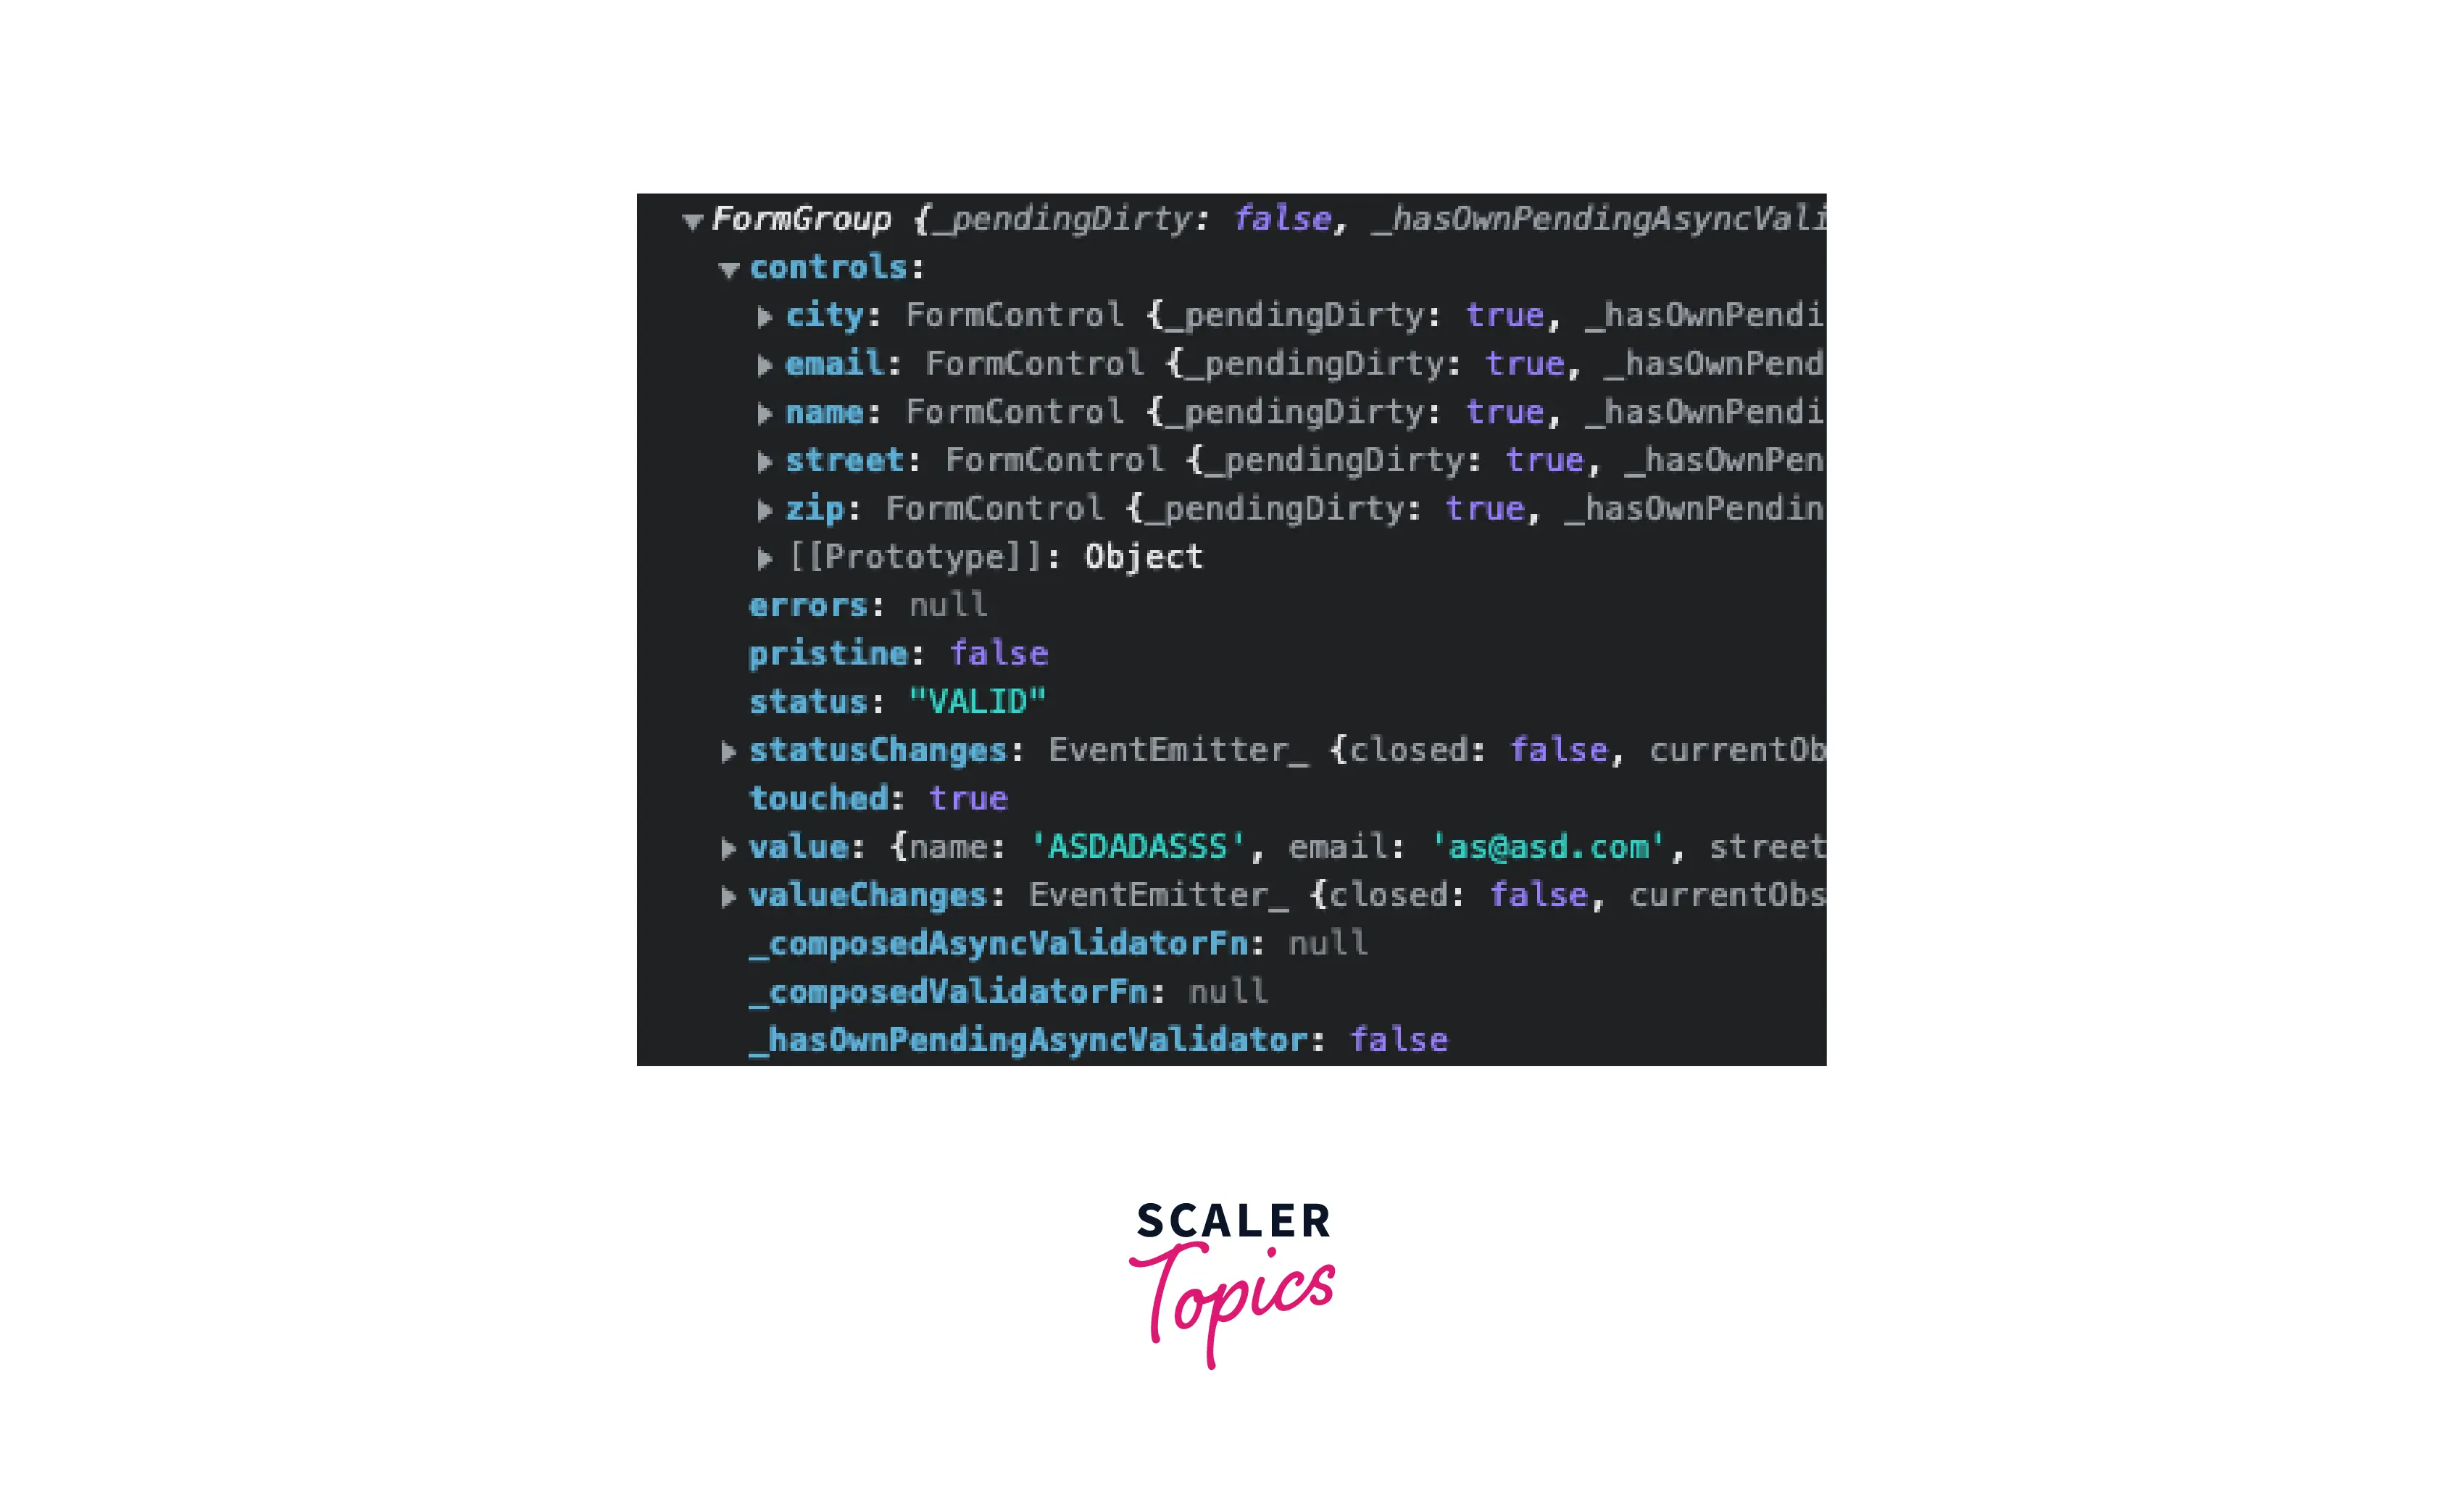
We can see userForm contains controls, and those controls maintain their control level state, like valid, invalid, errors, touched, etc. Also, it is mandatory that we should let the user know what went wrong with validations. We can utilize these userForm objects to apply validations. We can add these validation messages under all fields.
We can access field-level errors by navigating between userForm FormGroup instances like
userForm -> controls -> name -> errors.
Then we can keep eye on relevant errors property like required, email, min, max, etc. Similar we did on line:6-10.
Building a Custom Validator
We can either use built-in validators or create a custom validator that can be used to fulfill the business need. All built-in validators go under the Validators class. But to create a custom validator, we have to extend the Validator class, it looks like below.
By following the above method interface, we should return ValidationFn.
We can replace the email field validator with the validateEmailId custom validator. It will perform customized validation over the email field.
Building Custom Validator Directives
We can extend this validator to be used declaratively. We can create a directive that can act as a validator on the provided field.
This directive can be used on the ngModel / formControlName input field as the selector is combined with the validateEmailId attribute. It will perform the same validation as we did before, but now we made it declaratively mentioned over the HTML.
Custom Validators with Dependencies
We had to create a factory function validateEmailFactory that would accept email blackList. And then we would add an additional check inside the validator function. The factory function should return the same ValidationFn as we did before.
Inside a directive factory function, we passed the blockedList computed from EmailService's getBlockedEmailList method. To use dependency on the provider level, we could use deps: [EmailService] option.
To display the block list email error we've used *ngIf="emailErrors.blackListed" condition.
demo
Conclusion
- How to perform validation on reactive form
- How to create a custom validator for a custom requirement.
- How to use the custom validator declaratively
- How to register a custom validator with dependency.