Reactive Forms in Angular
Overview
The web is all about data representation on websites. When users want to seek or store specific content, the only way they can put in data is through forms. Forms can have multiple input controls to add details to them. The angular framework provides an API called Angular Forms. These forms can be implemented in two ways, template-driven forms and reactive forms in angular. In this chapter, we will be looking at model-driven / reactive forms. The cherry on top, these forms will be strictly typed since Angular v14.
What are Reactive Forms?
- Structured way to define forms imperatively.
- Each form control provides an observable stream.
- We can react to these streams by subscribing to them, these streams emit input values or control states.
- Easy to add/remove/update controls in form object dynamically.
- Add validations on the control level.
- patchValue / setValue API for value update
Scaler Placement Report and Statistics
Scaler learners achieved 2.5x salary growth with average post-Scaler CTC reaching ₹23L.
Pre-requisites
You should have a basic understanding of the below concepts.
- HTML Form
- HTML Form Controls
- Form states
- RxJS
Step - 1 : Setting Up the Project
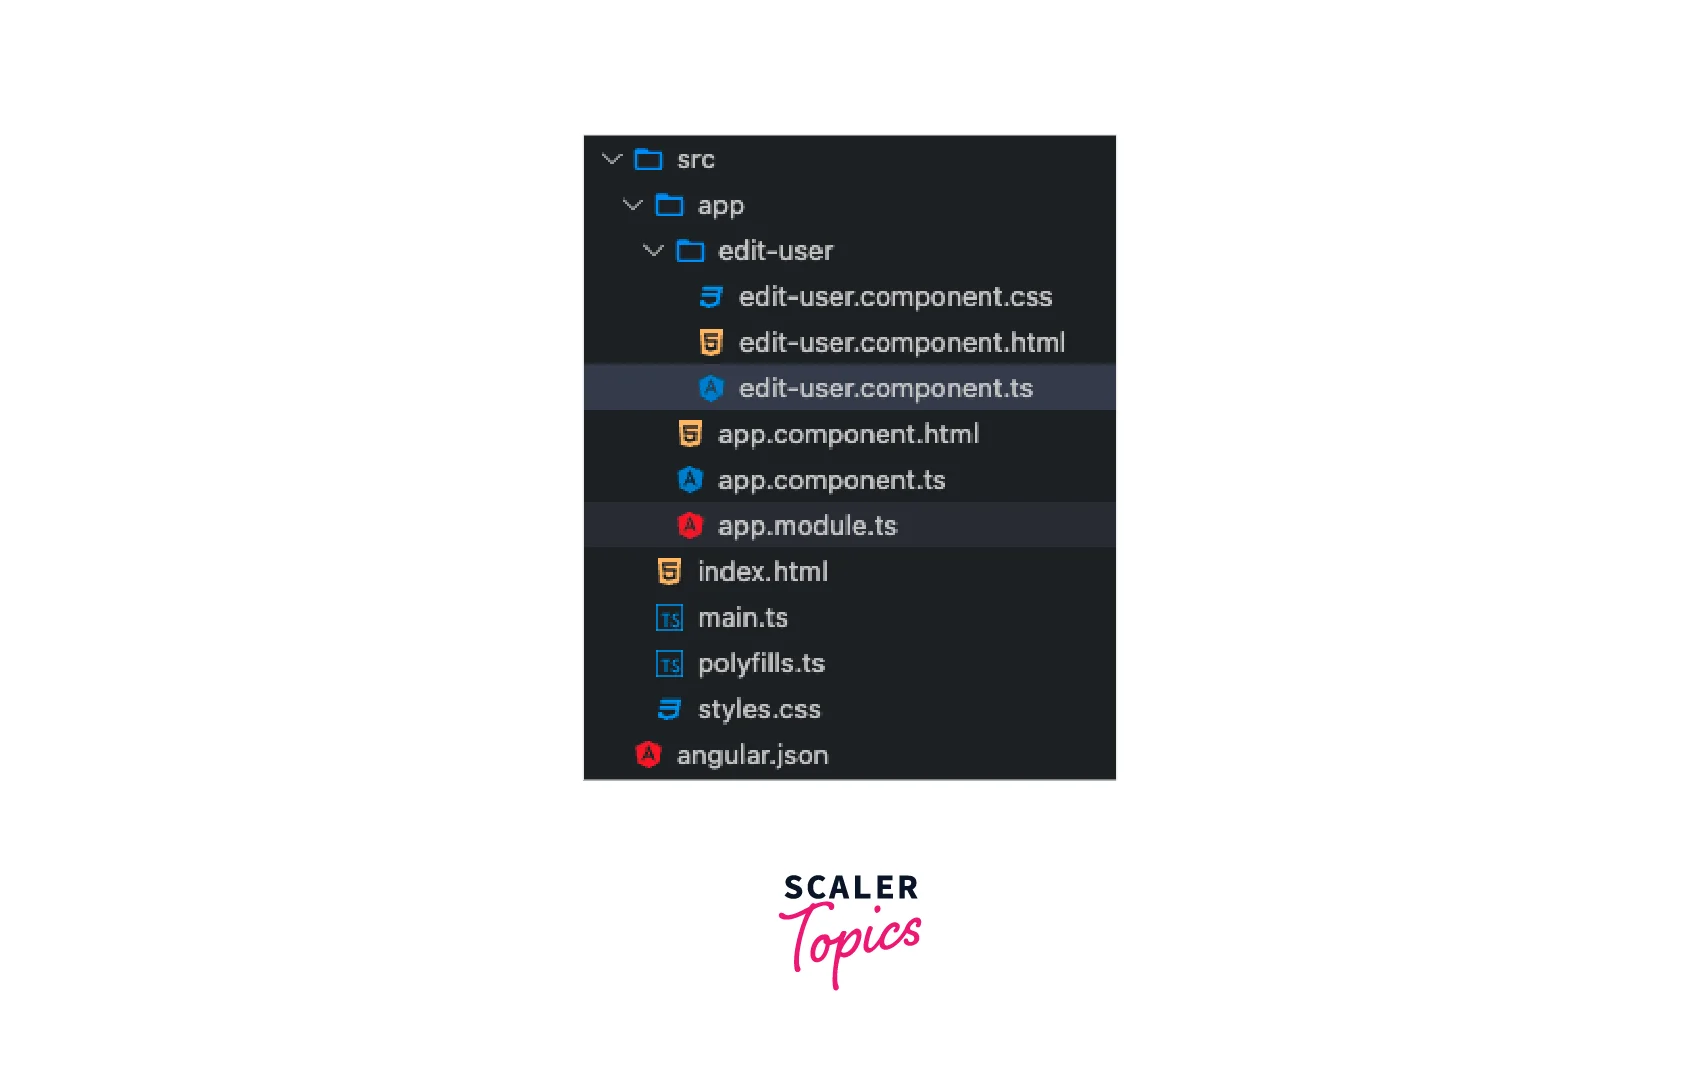
Create a project with the name reactive-forms using Angular CLI.
Then add a new edit-user component.
Folder Structure :
Transform Your Career
Choose from our industry-leading programs designed for career success
Modern Software and AI Engineering Program
Master full-stack development with AI integration

Modern Data Science and ML with specialisation in AI
Advanced data science techniques with AI specialization
Advanced AIML with Specialisation in Agentic AI
Deep dive into AIML with focus on Agentic systems
DevOps, Cloud & AI Platform Engineering
Build and manage AI-powered cloud infrastructure
AI Engineering Advanced Certification by IIT-Roorkee
Premier AI engineering certification from IIT-Roorkee
Step - 2 : Adding a Form to the Component Template
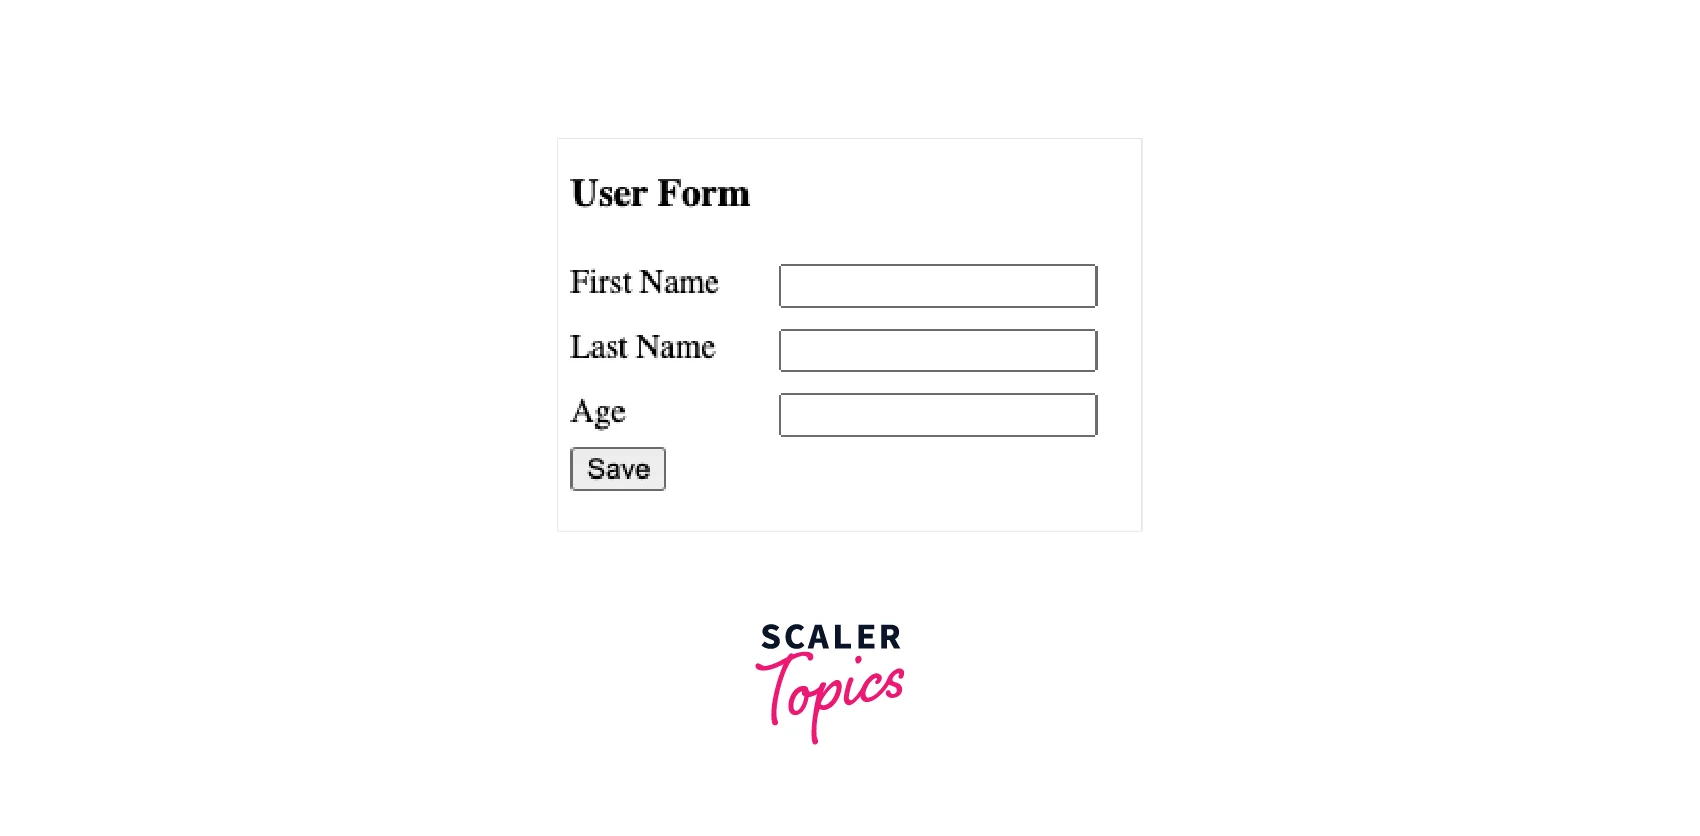
Add a simple HTML form for the user inside an edit-user.component.html. It contains three fields namely First Name, Last Name, and Age. These fields use input form control for accepting details from the user.
Output :
Step - 3 : Building the Component Class
Edit User component, which has been created by CLI. It refers to the edit-user.component.html that we just modified.
Step - 4 : Updating the Component Class to Use FormBuilder
We can include the FormBuilder dependency inside the constructor of the EditUserComponent class. We would be using the FormBuilder instance to create the rest of the form controls.
FormBuilder mainly provides three APIs to create an API :
- this.fb.group : Helps to create FormGroup.
- this.fb.control : Helps to create FormControl.
- this.fb.array : Helps to create FormArray.
Essentially, in the above code, we call the createForm method from the constructor. createForm method builds a userForm using this.fb (FormBuilder instance). It uses this.fb.control to define each input element. Another thing to notice, we specified ts type on each control in the angle bracket (<string>).
After you run the above code, you will start seeing an error.
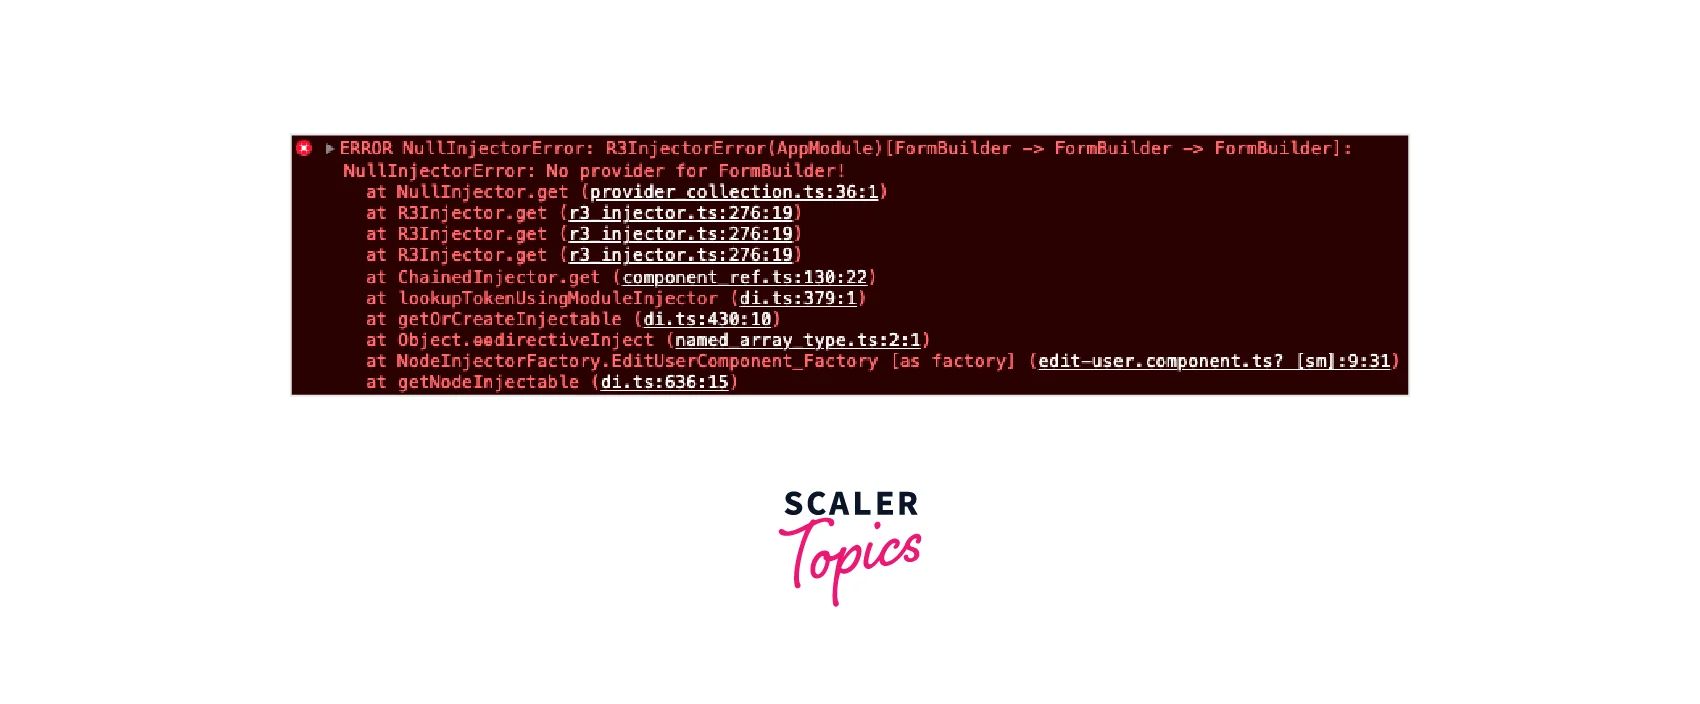
Errors clearly state that Dependency injection can not resolve the FormBuilder dependency. To solve this issue, you have to import ReactiveFormsModule inside AppModule imports.
Once you add ReactiveFormsModule you can all of its dependencies, directives, and validators on the template.
edit-user.component.html :
Inside EditUserComponent we have to make a few changes
- formGroup (userForm) applied on the form tag on HTML.
- All formGroup fields are defined as control
- On HTML we use formControlName
Output :
Step - 5 : Updating the Component Class to Use Validators
The earlier form we defined does not have any validations. Validation can be imposed on the form by adding validators to the element.
We can easily make this form required by adding a Validators.required validator on each form control.
Then on HTML side, add Valid : {{ userForm?.valid }}
Step - 6 : Accessing Form Value and State on the Template
You can access different kinds of Form States. Like pristine, dirty, errors, etc.
We can check various userForm states like
- Valid / Invalid - Form / Control validity
- Pristine / Dirty - Whether the form is either unmodified or modified.
- Touched / Untouched - Whether form touched or untouched.
Output :
Turn Learning into Career Growth
Reactive Forms
Reactive forms as the name suggest are reactive. When we write any form controls, these form controls can provide a stream. The stream can be subscribed to and listened to
- the change in the control value
- change in a complete form value
- change in a form state
Define a Simple Form Control
Here we have created the firstName form control. Subscribed to form control stream via calling subscribe on valueChanges.
Scale Your Forms
We can scale form easily by utilizing the FormGroup and FormArray API. We just saw how to define form controls. Let's proceed and define FormGroup for the user edit form, similar to what we did earlier. But this time, we won't use FormBuilder to construct a form. We would instantiate FormGroup or FormArray. We had to define form controls inside a FormGroup as a property, like defining a simple property. For, e.g. firstName: new FormControl<string>(''). Similarly, other properties can be defined.
We can subscribe to the formControl stream(valueChanges) and do the same on the formGroup object. But over here it would print a complete form object.
To scale the form we can add or remove the controls to form using various methods over FormGroup / FormArray.
| Attempt | Type | Description |
|---|---|---|
| addControl | NgControl | Helps to add NgControl on form |
| removeControl | NgControl | Helps to remove NgControl on form |
| getControl | NgControl | Helps to retrieve NgControl from form |
| addFormGroup | AbstractFormGroupDirective | Helps to add FormGroup |
| removeFormGroup | AbstractFormGroupDirective | Helps to remove FormGroup |
| updateModel | NgControl | Helps to update FormControl |
We will look at this method in the next part of the article.
Custom Validator
You can use simple validation on the form control level. Suppose you wanted to mark the field as required for the complete form. So you can use Validators.required to make all form fields valid.
You can pass the validators in the second parameter of the FormControl function. It's not like you can mention one Validator per field. You can do more as needed. For eg. we need to restrict age to be lesser than 18, we can add that validation. FormControl will make sure the control is valid only if age >= 18.
There are multiple existing validators that we can utilize, like minlength, maxlength, max, email, url, etc.
There could be special cases where we would need to create a custom validator. Yes, you can do that in Angular. We can add an extra field, email, and its validation should be it should be a valid email that ends with scaler.com.
Steps to create Custom Validator :
- Create a plain JS function
- Return null if it's valid
- Return an object like { anyProp: 'anyValue' } if you want to mark a control as invalid
Then this function can be used inside the Validators array.
To verify whether the form is getting invalid or not, we can disable the button when the form is invalid.
Yes, the above verification after all fields are valid "Save" button is enabled. There should be a better to indicate which form input is invalid. Maybe displaying an error message under the respective field would make sense.
How to Display Validation Error Messages ?
Each form control has an errors property over it. With the click of the save button, we can console a complete userForm.
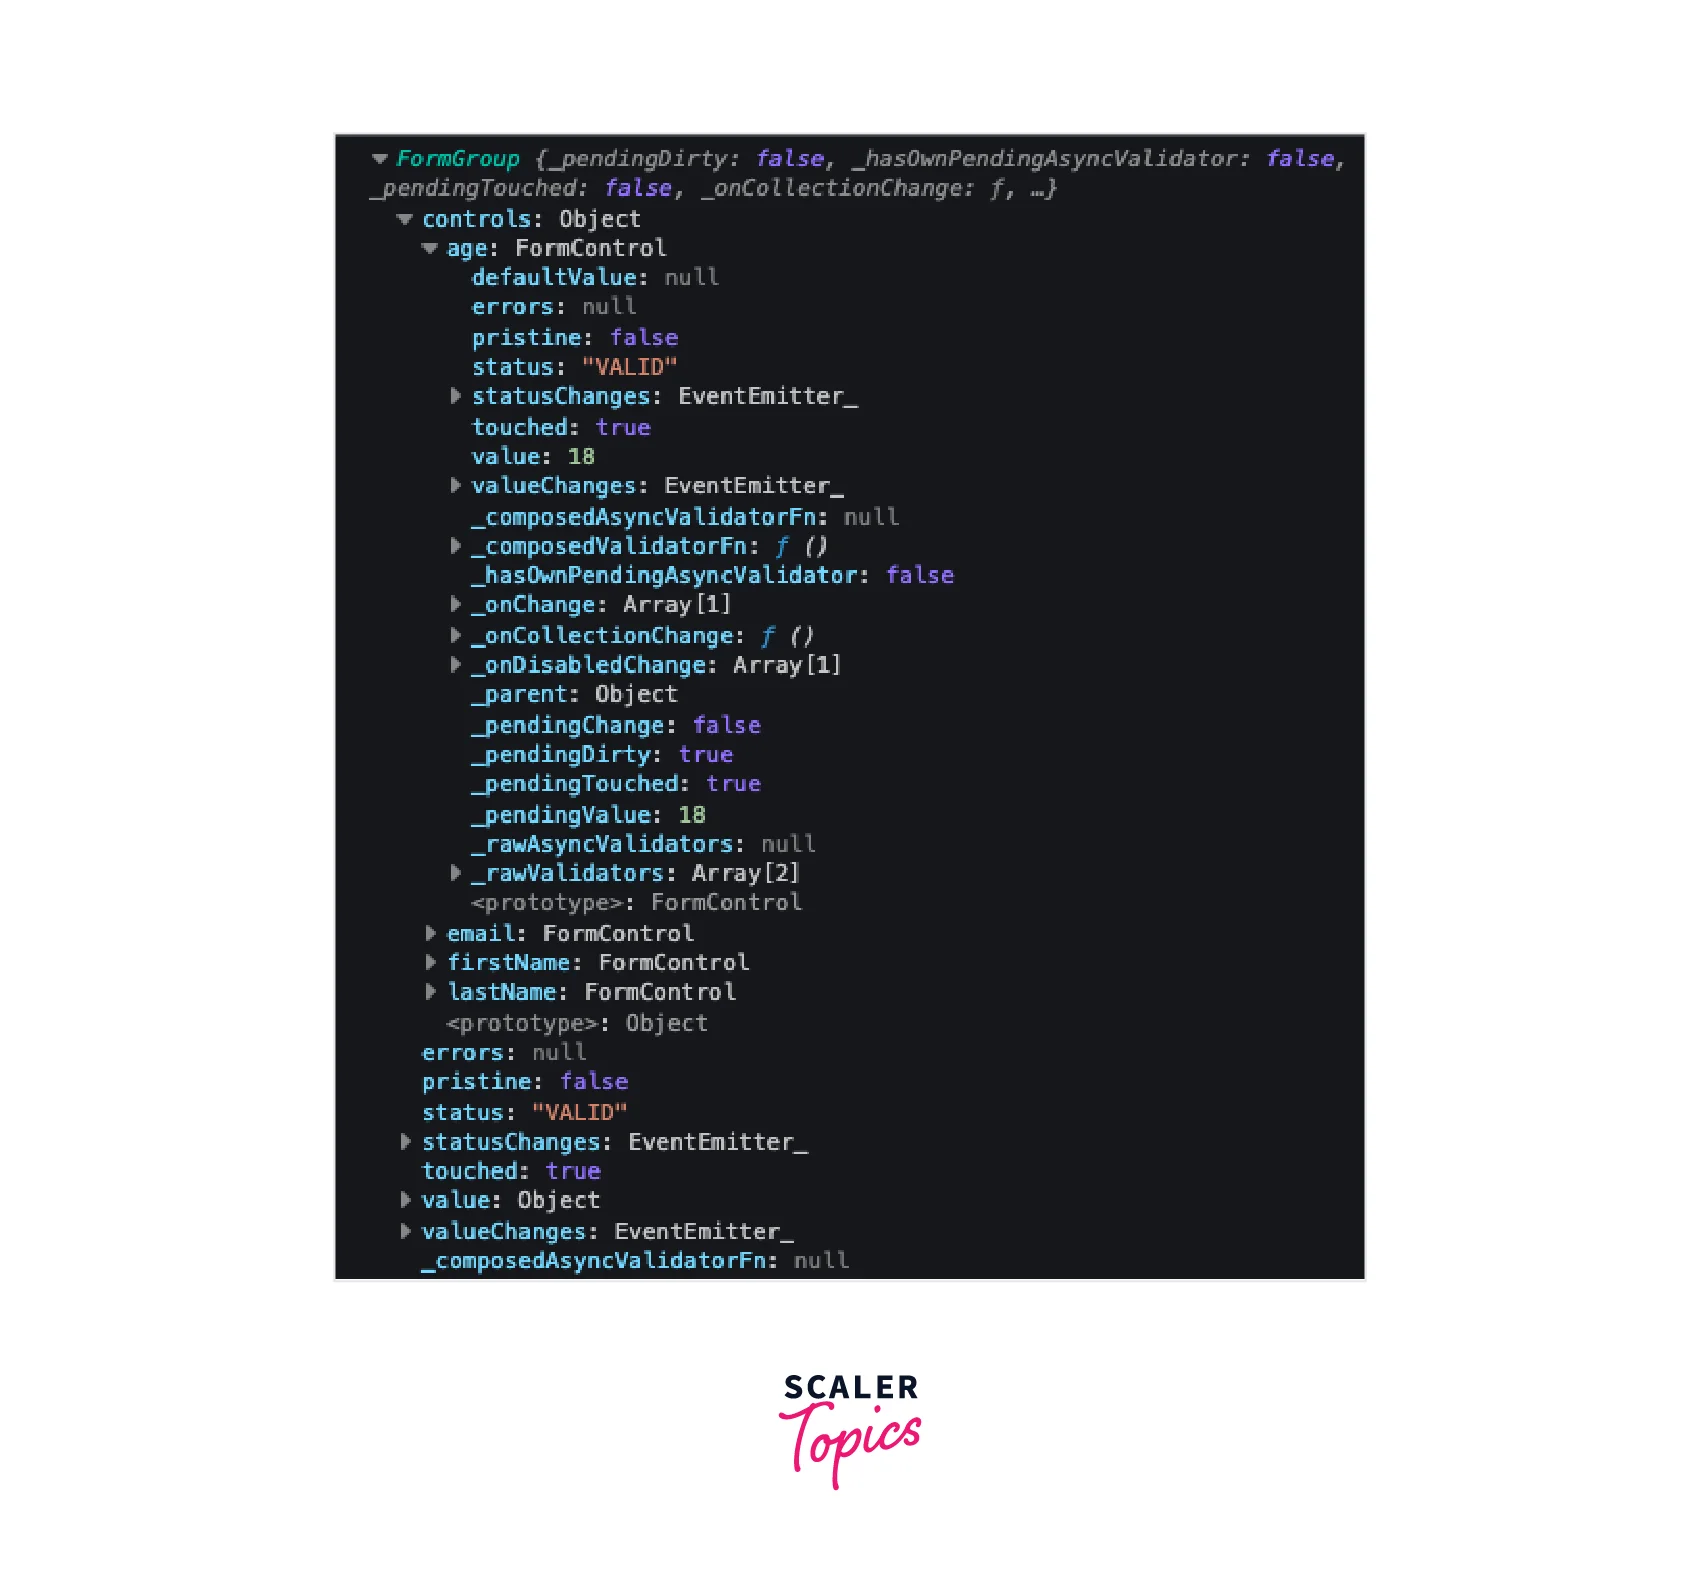
The userForm object represents FormGroup. It contains all FormControl's as objects. Each form control has several properties that include form states(valid, touched, pristine, etc.), valuesChanges(stream), statusChanges(stream), errors etc. We can use the control level invalid property or errors property to display validation error messages.
Here we used userForm.controls.firstName.errors?.required for validation. Let's understand how it would have happened,
- We first navigated to controls.firstName
- Then errors to navigate errors
- ?.required, ? to handle null situation.
- In a similar way, we have used the above conditions in combination with the *ngIf directive.
Nested Form
Nest forms can be handled in model-driven / reactive forms. Earlier, we were looking at User Form. Now we want a provision for the user to add their family members under the family members section. We can have nested forms. Here FormArray can be the best choice to implement this behavior. familyMembers is defined as FormArray, and inside that, we have two FormGroup with firstName and lastName properties.
FormArray can be used on HTML with the directive formArrayName with the value familyMembers(since it's a formArray). And inner formGroup is used the same way we did before.
Dynamic Forms
Reactive forms are very good at dynamically managing form controls. We can dynamically control
- Adding a new FormControl / FormGroup / FormArray
- Change validators
- Remove a control.
- Set validity of controls
- Reset form states
We will see how we can add or remove form control. In the previous example, we have seen that familyMembers was a FormArray that contains two FormGroup. We can manage these Family Members FormArray dynamically. As users have more or fewer family members, they should be able to adjust that from UI. Perhaps we need to add Add + and Remove X buttons.
We have added an Add button in the Family Members field set. And Added the X button on the FormArray element. Demo Gif does demonstrate how it works. Add button helps to push another familyMember FormGroup inside a FormArray. On the cross button clicks, it removes a family member from a FormArray.
Unlock the Power of Full-Stack Development With Our Full Stack Development Course and Seamlessly Integrate JavaScript Across the Stack.
Scaler Placement Report and Statistics
Scaler learners achieved 2.5x salary growth with average post-Scaler CTC reaching ₹23L.
Conclusion
We've learned,
- Reactive forms in angular can easily mingle with RxJS streams
- How to create simple reactive forms in angular.
- How to use FormControl, FormGroup, and FormArray.
- Nested forms
- How easy and simple the dynamic form is.