Run Angular on CodeSandbox and StackBlitz
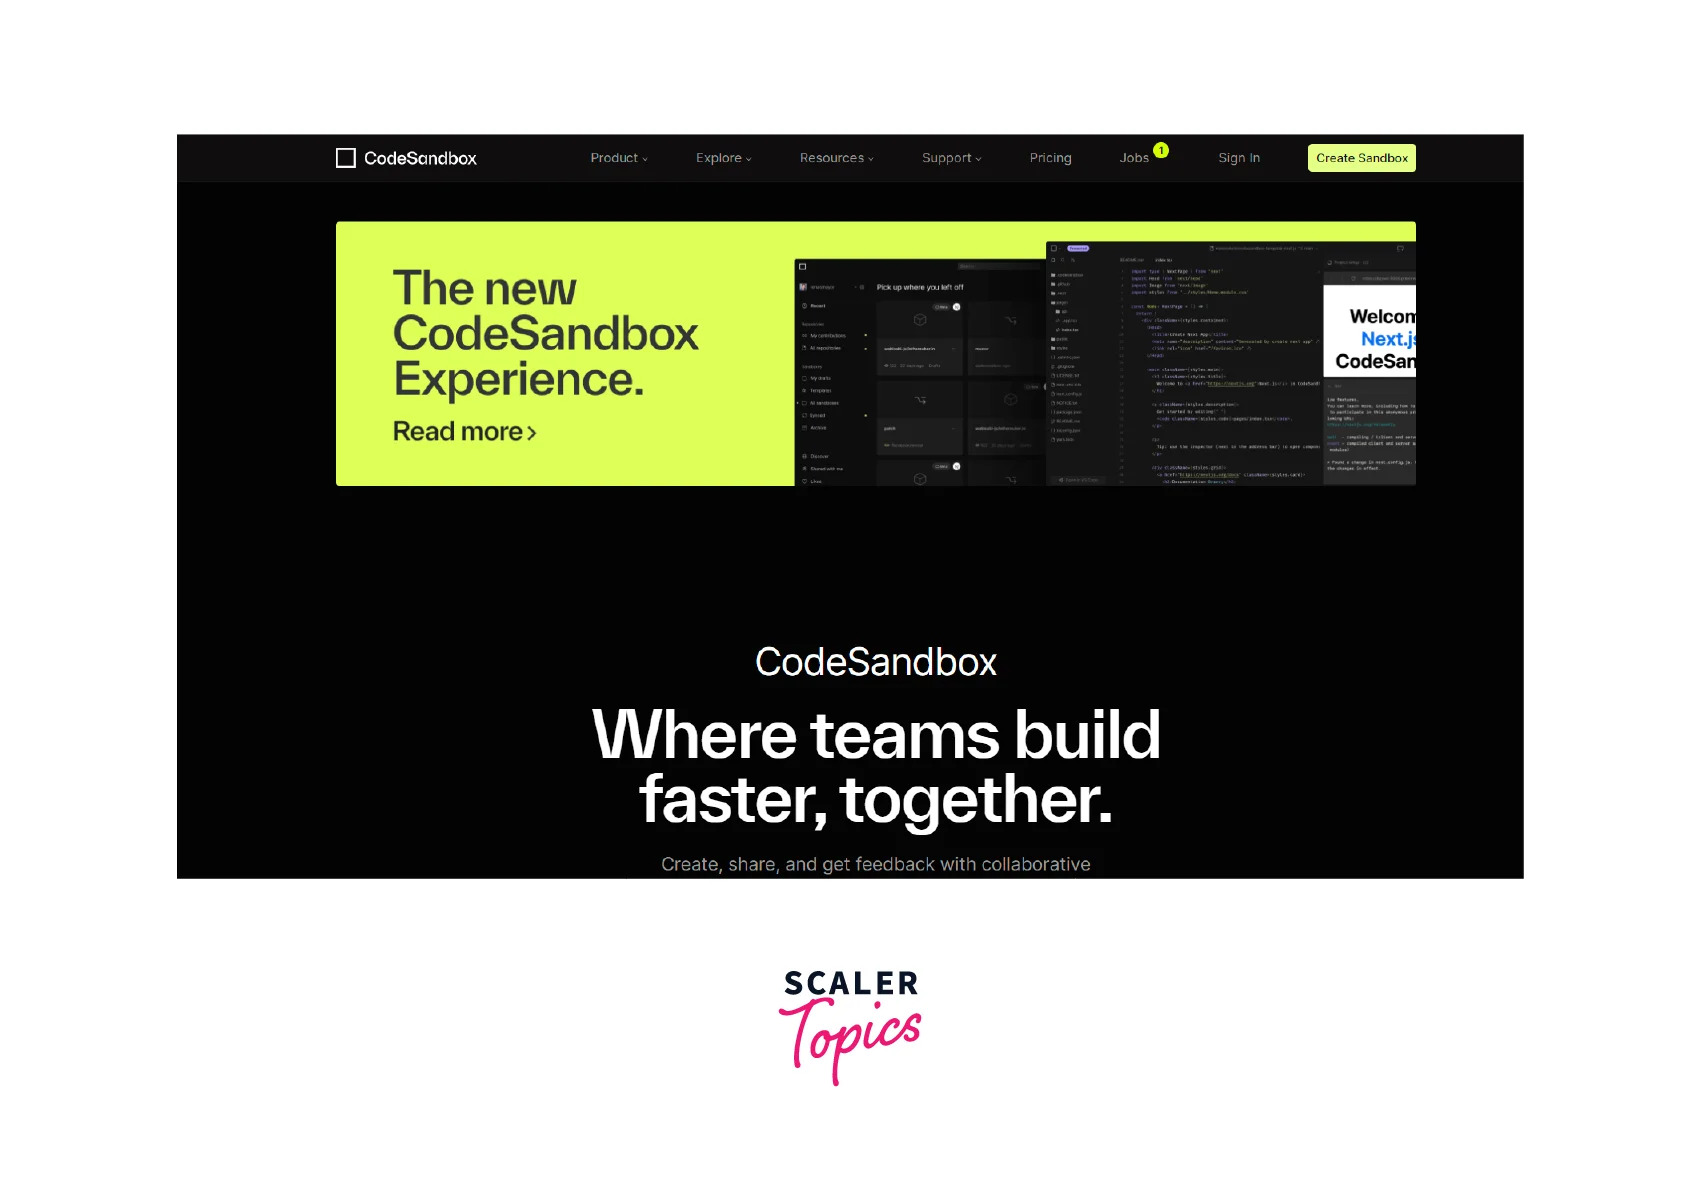
In real-world scenarios, sharing code for assistance often requires the recipient to set up the environment. Tools like CodeSandbox and StackBlitz offer immediate online development environments, simplifying project sharing. Platforms like CodeSandbox Angular and StackBlitz Angular provide robust features for running code remotely.
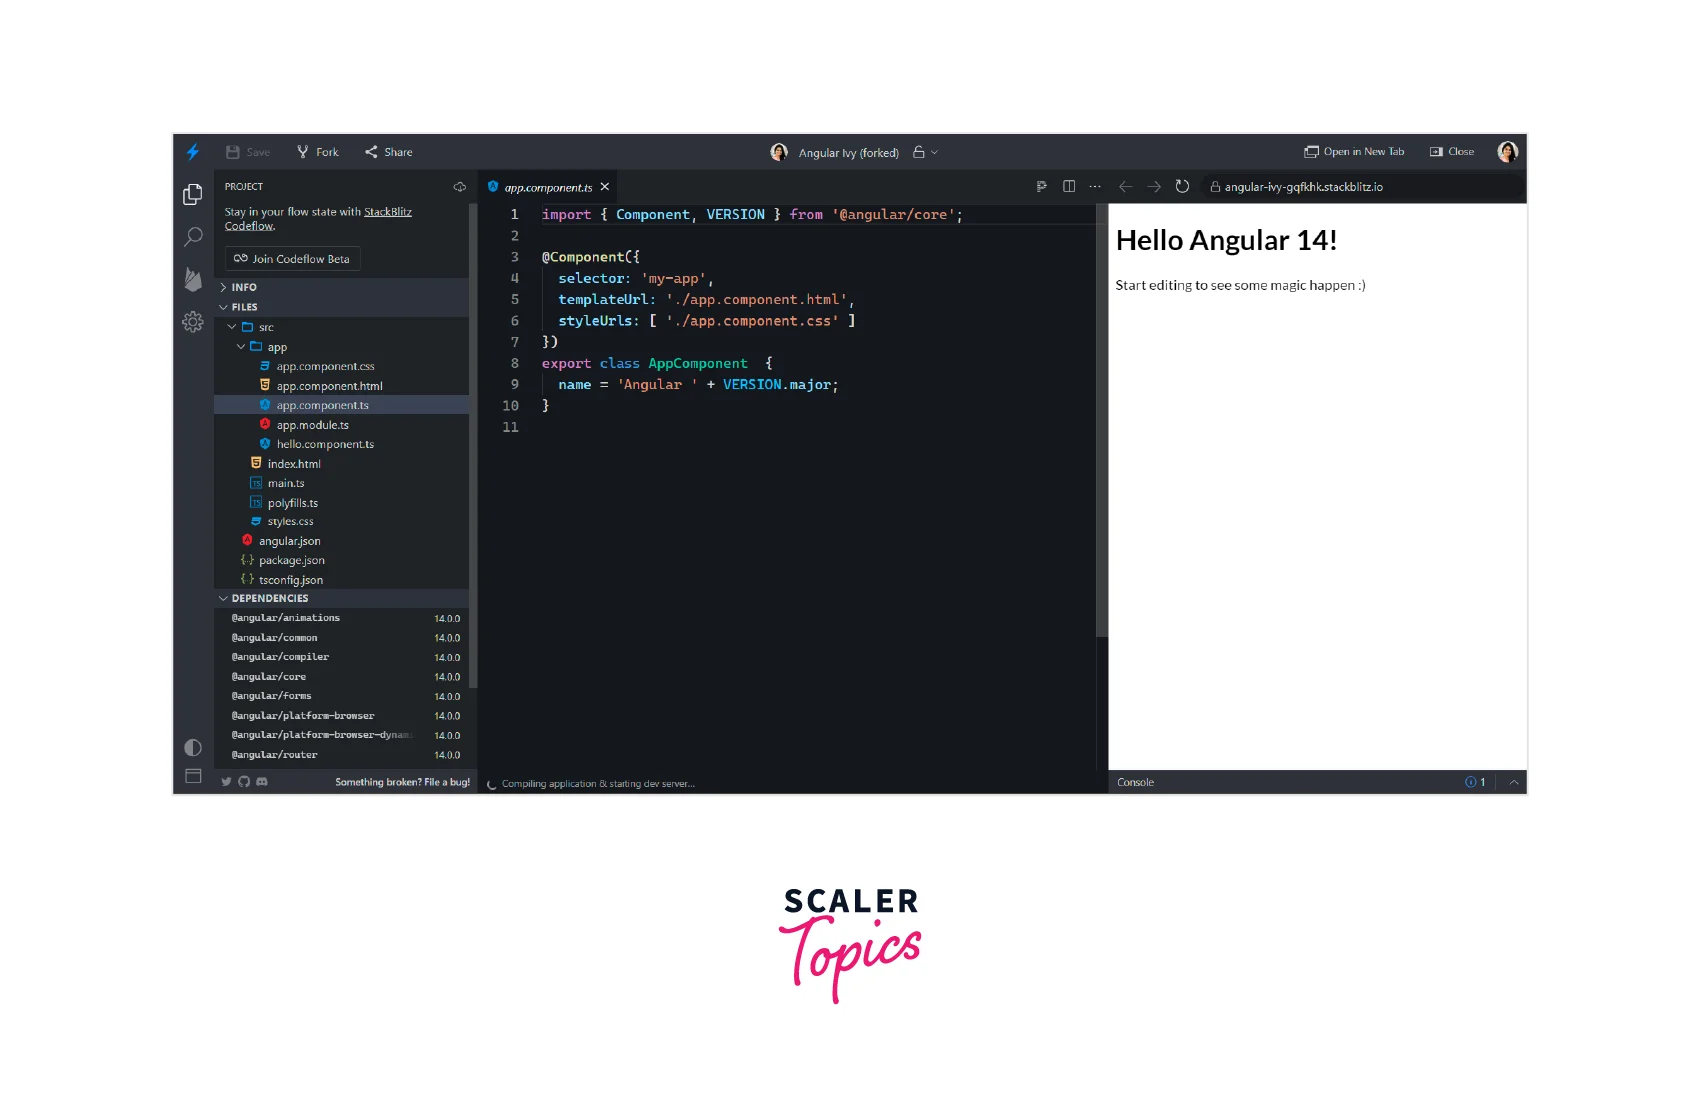
How to Create & Run an Angular Project in CodeSandbox?
-
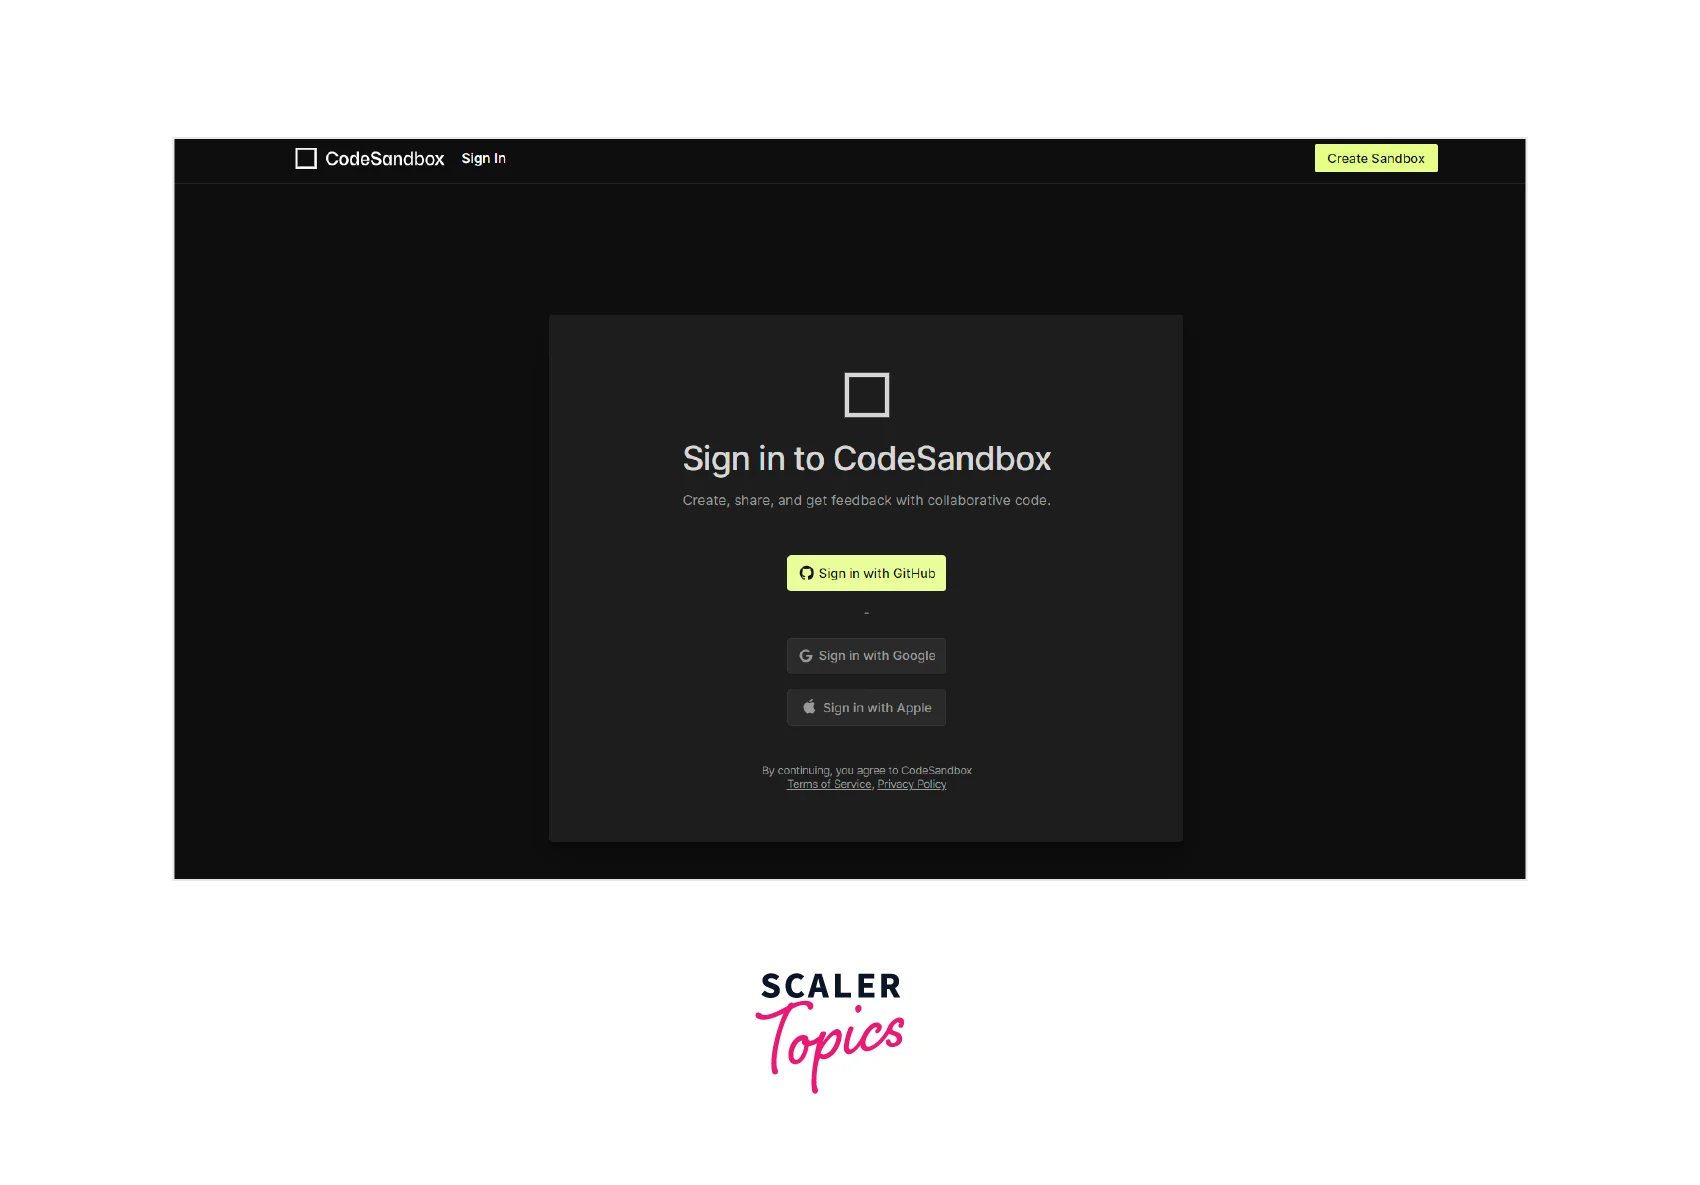
Go to the website: link
-
Create an account, click on Sign In and sign in using any of your following social logins:
-
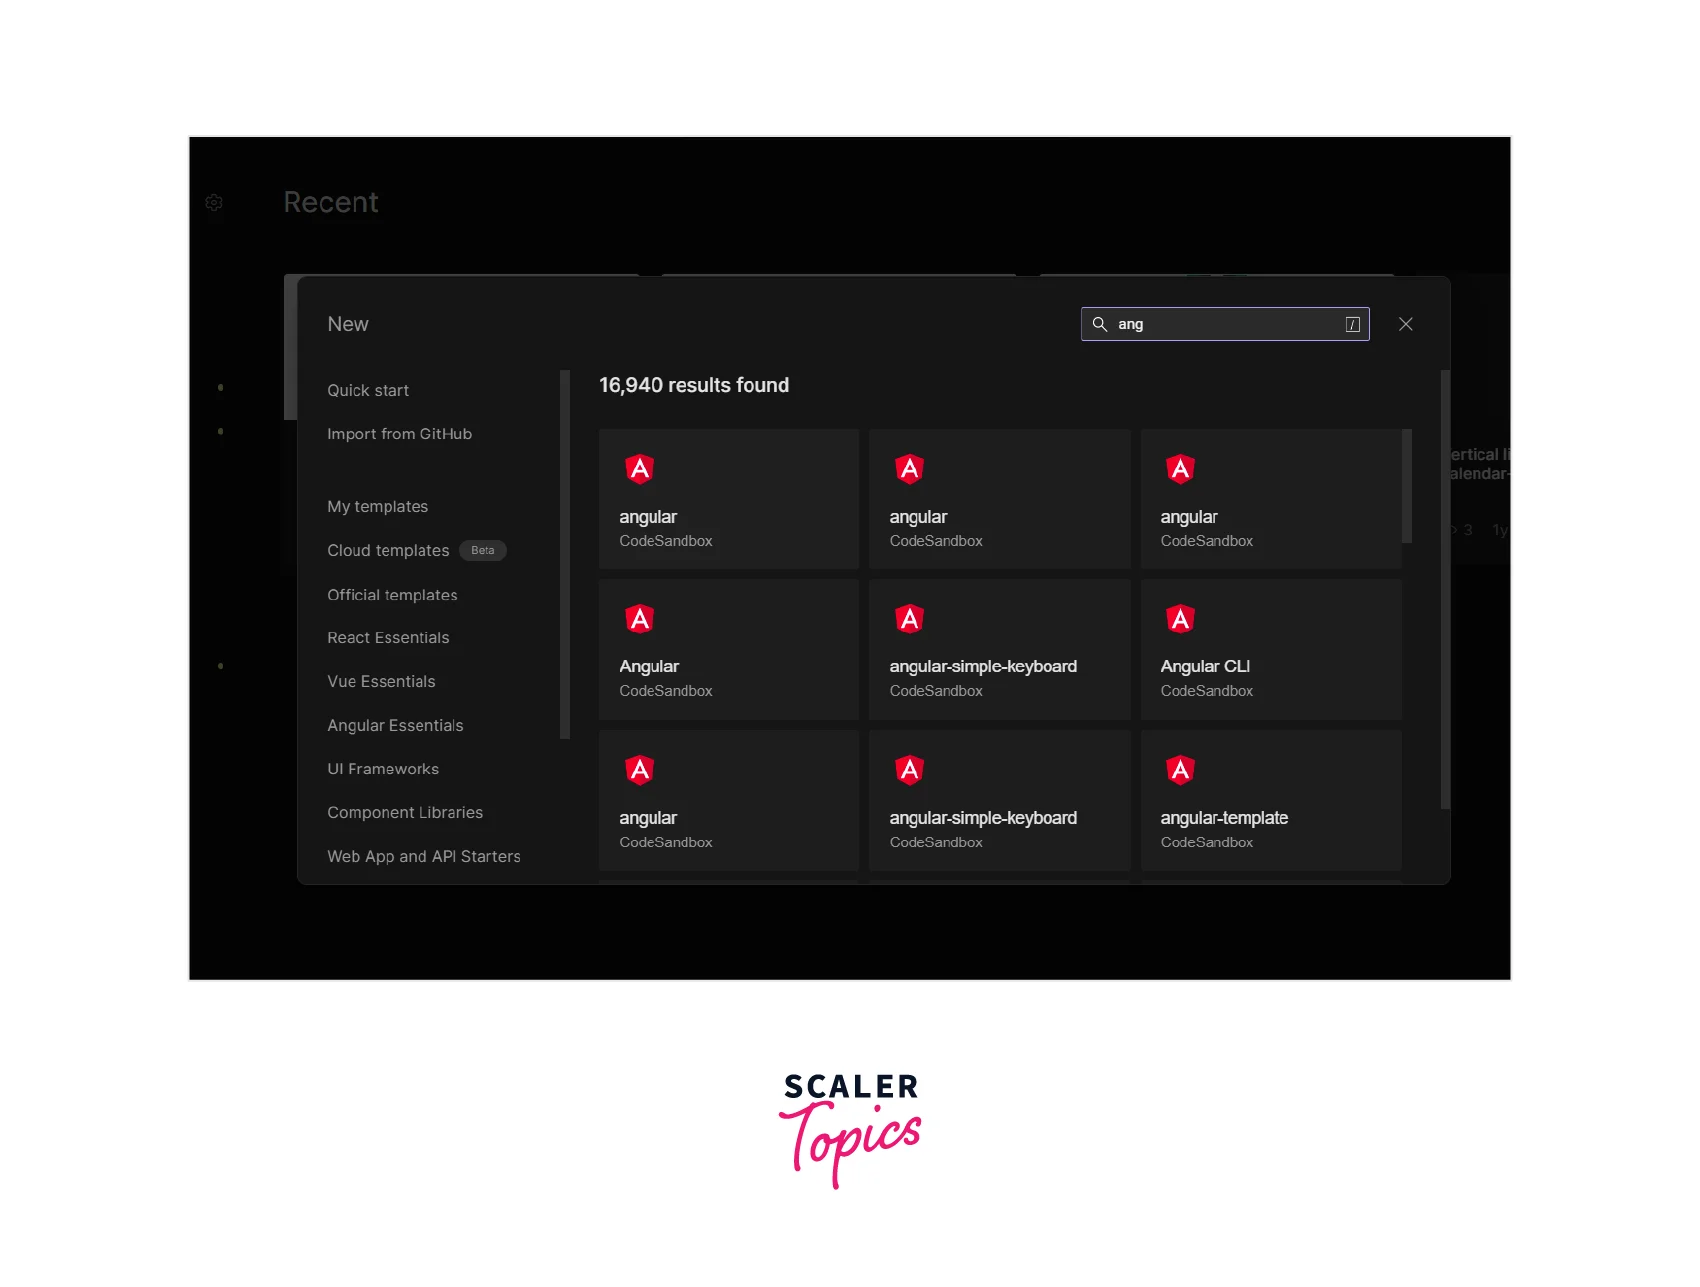
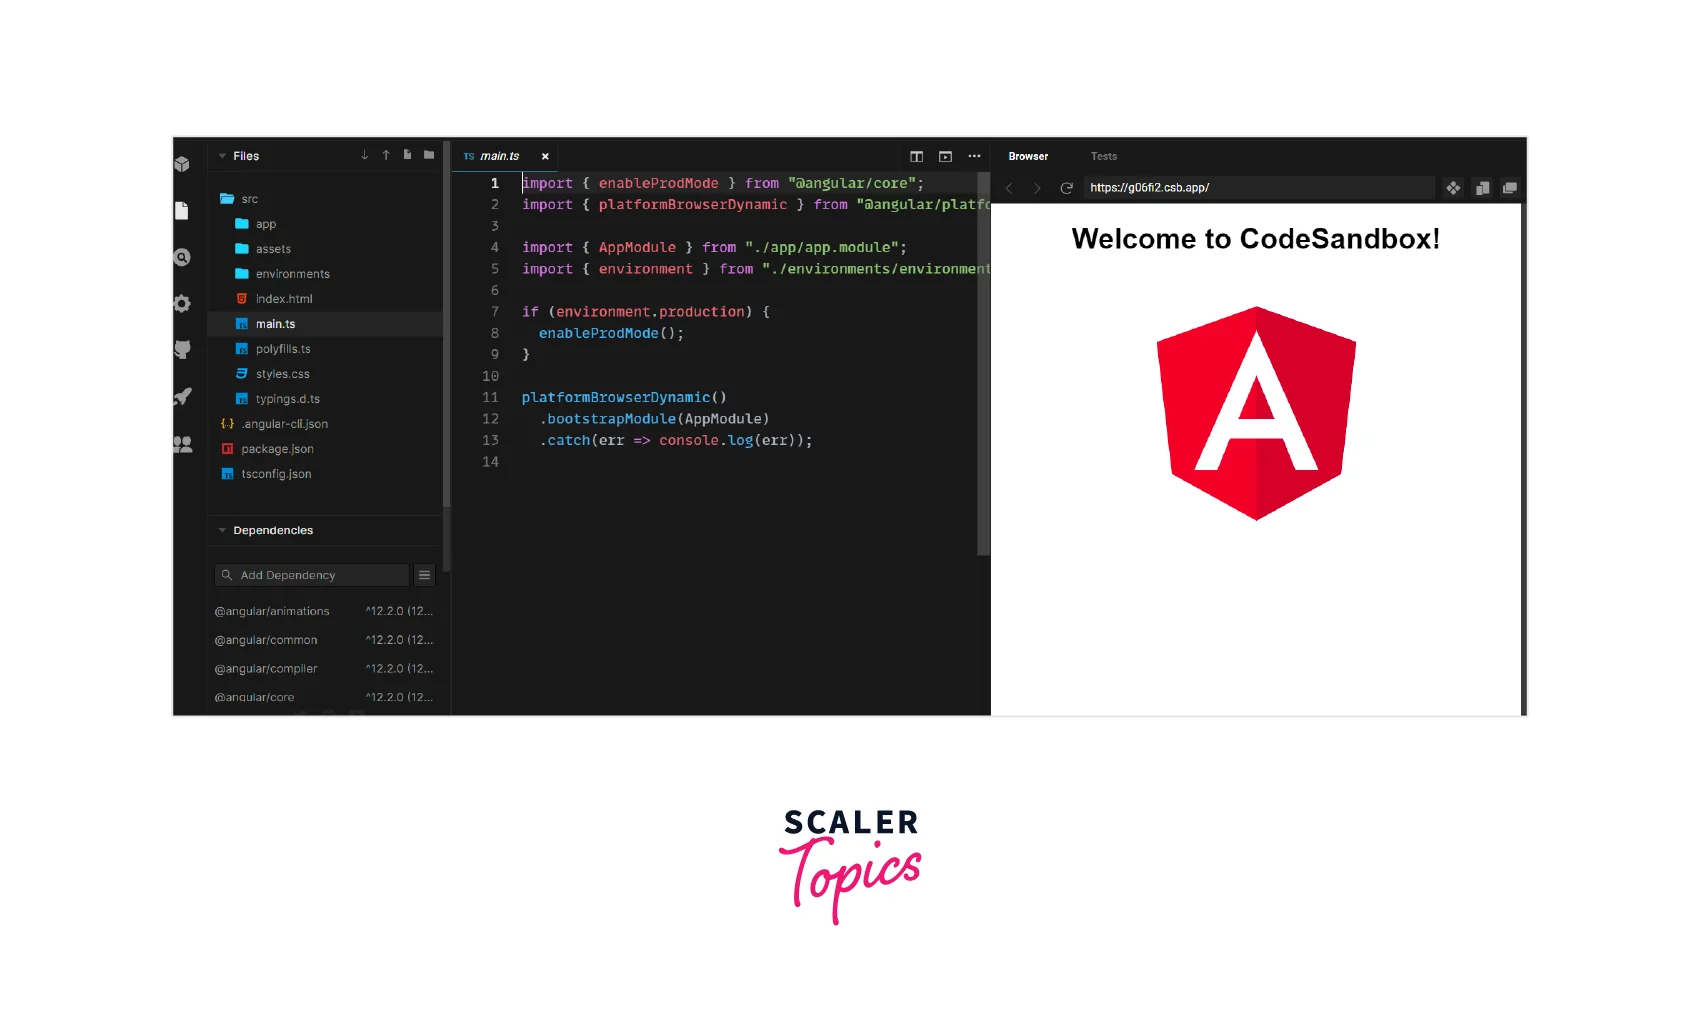
Select CodeSandbox Angular template
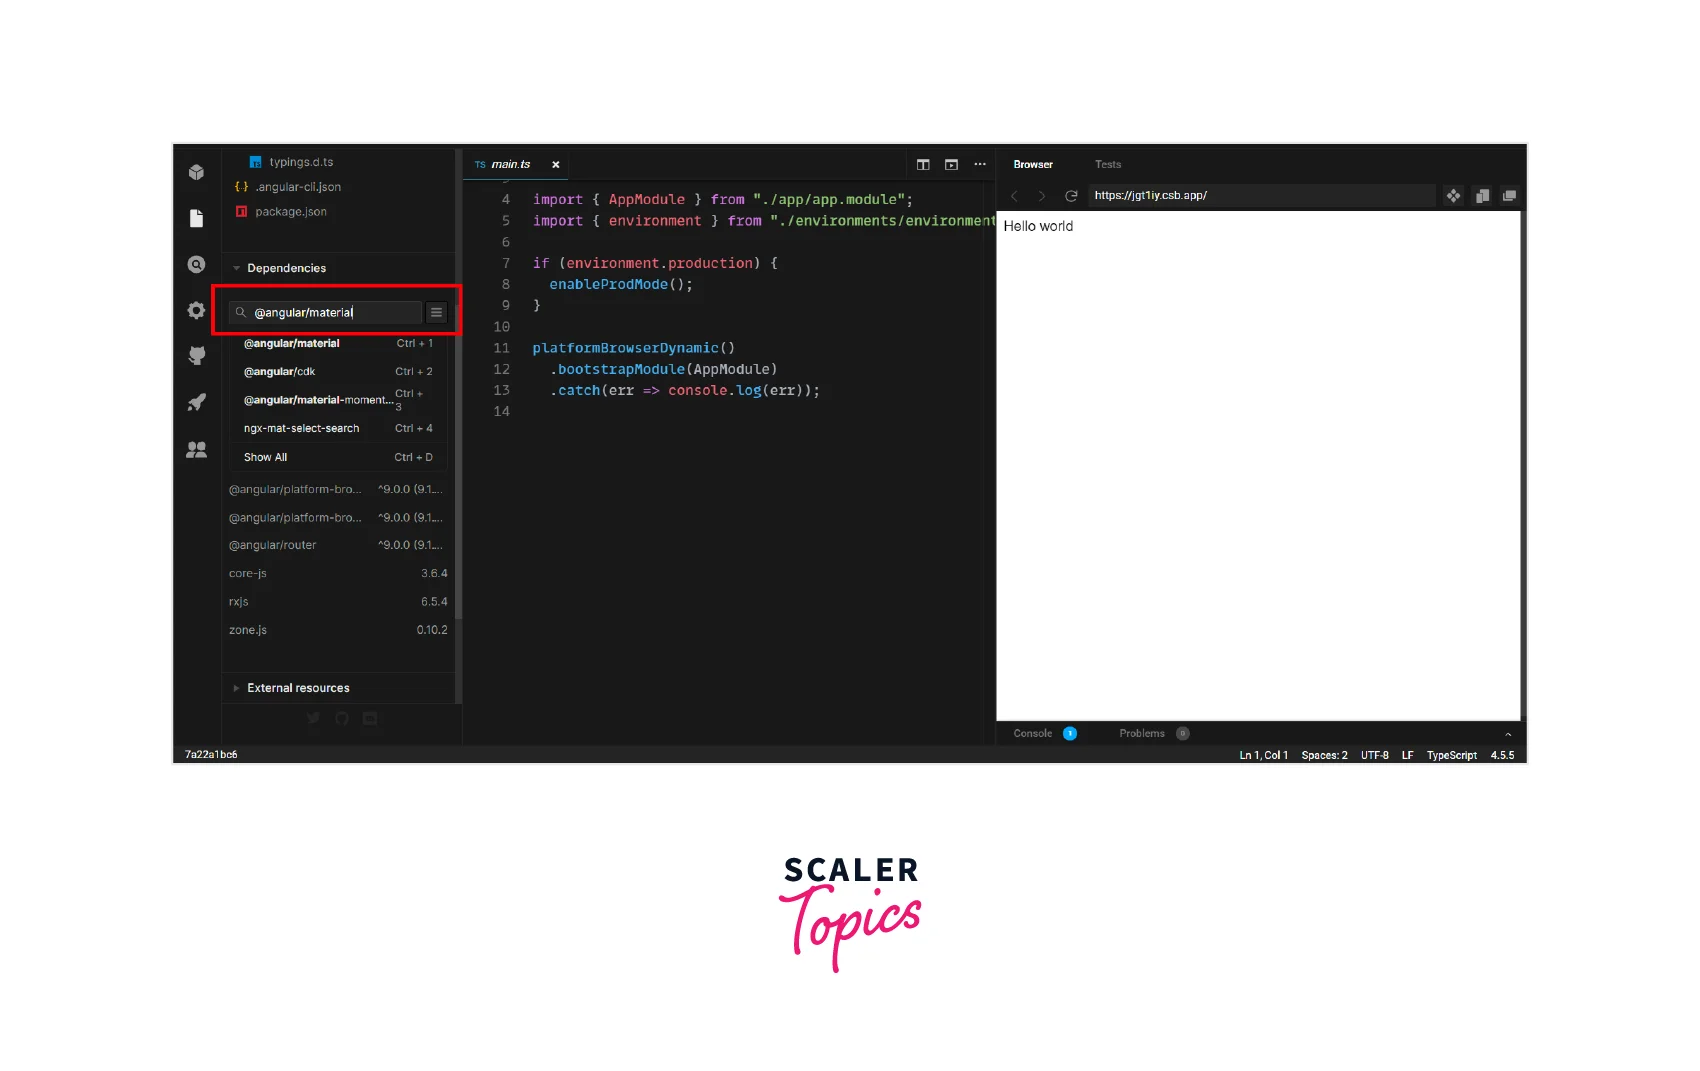
Add Angular Material
Go to the left sidebar and choose Add Dependency to add the Material dependencies.
Add the following dependencies:
Import Angular Material Modules
Create a folder shared under the app folder. In the shared folder, create a file named material.module.ts:
File: material.module.ts
Now let's import this module into our app.module.ts :
Transform Your Career
Choose from our industry-leading programs designed for career success
Modern Software and AI Engineering Program
Master full-stack development with AI integration

Modern Data Science and ML with specialisation in AI
Advanced data science techniques with AI specialization
Advanced AIML with Specialisation in Agentic AI
Deep dive into AIML with focus on Agentic systems
DevOps, Cloud & AI Platform Engineering
Build and manage AI-powered cloud infrastructure
AI Engineering Advanced Certification by IIT-Roorkee
Premier AI engineering certification from IIT-Roorkee
File: app.module.ts
Add Material Core Theme
Rename src/style.css to src/style.scss and update the angular-cli.json file
Update style. scss with the following theme
Adding Material Icon
Add a link element to the index.html file so that you can access the icon fonts CDN.
Create the Landing Page
Update your app.component.html
Under the src/assets folder, save the following picture as cover.jpg :

Turn Learning into Career Growth
Creating Your First Template
Click on Sandbox Info from the CodeSandbox left menu, followed by Create Template.
You may now change the Template's name, description, colour, and icon.
When you create a new Sandbox in CodeSandbox angular, your template will be displayed.
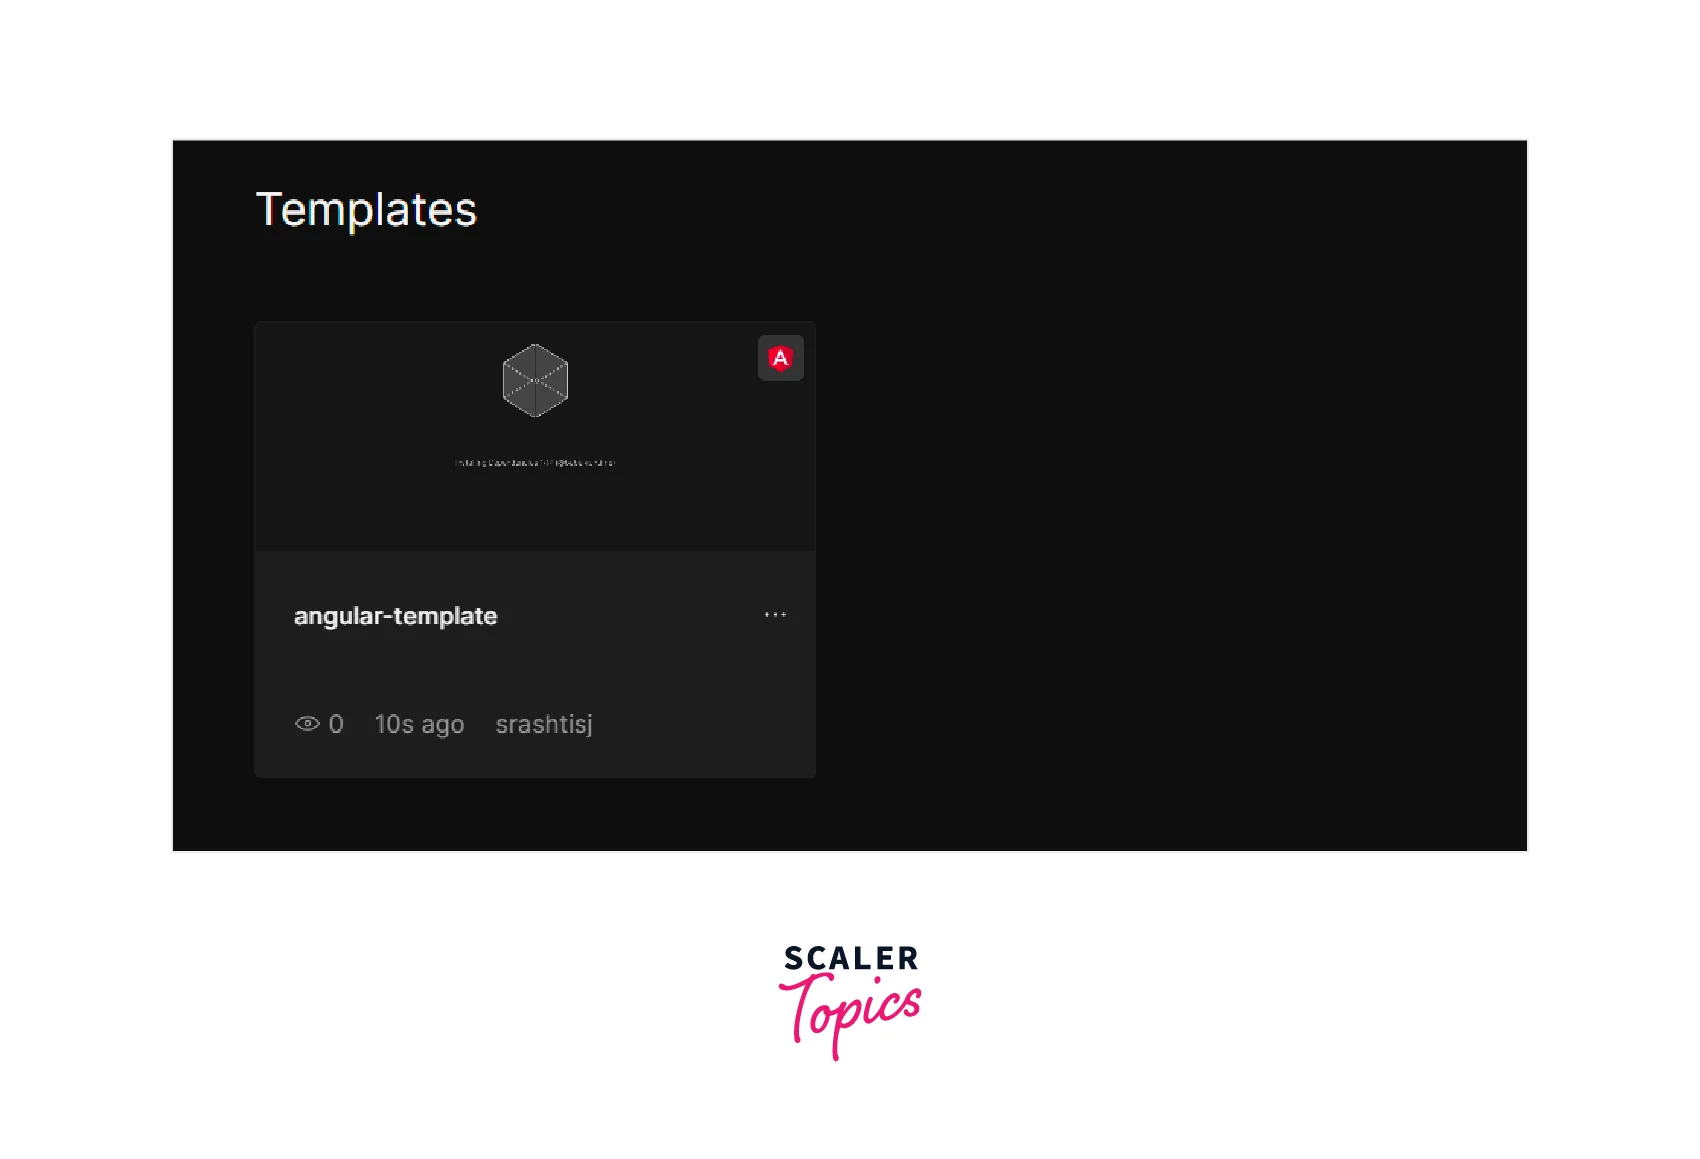
By utilizing this template each time you develop a new application, you may now reduce the time it takes to integrate Material in Angular.
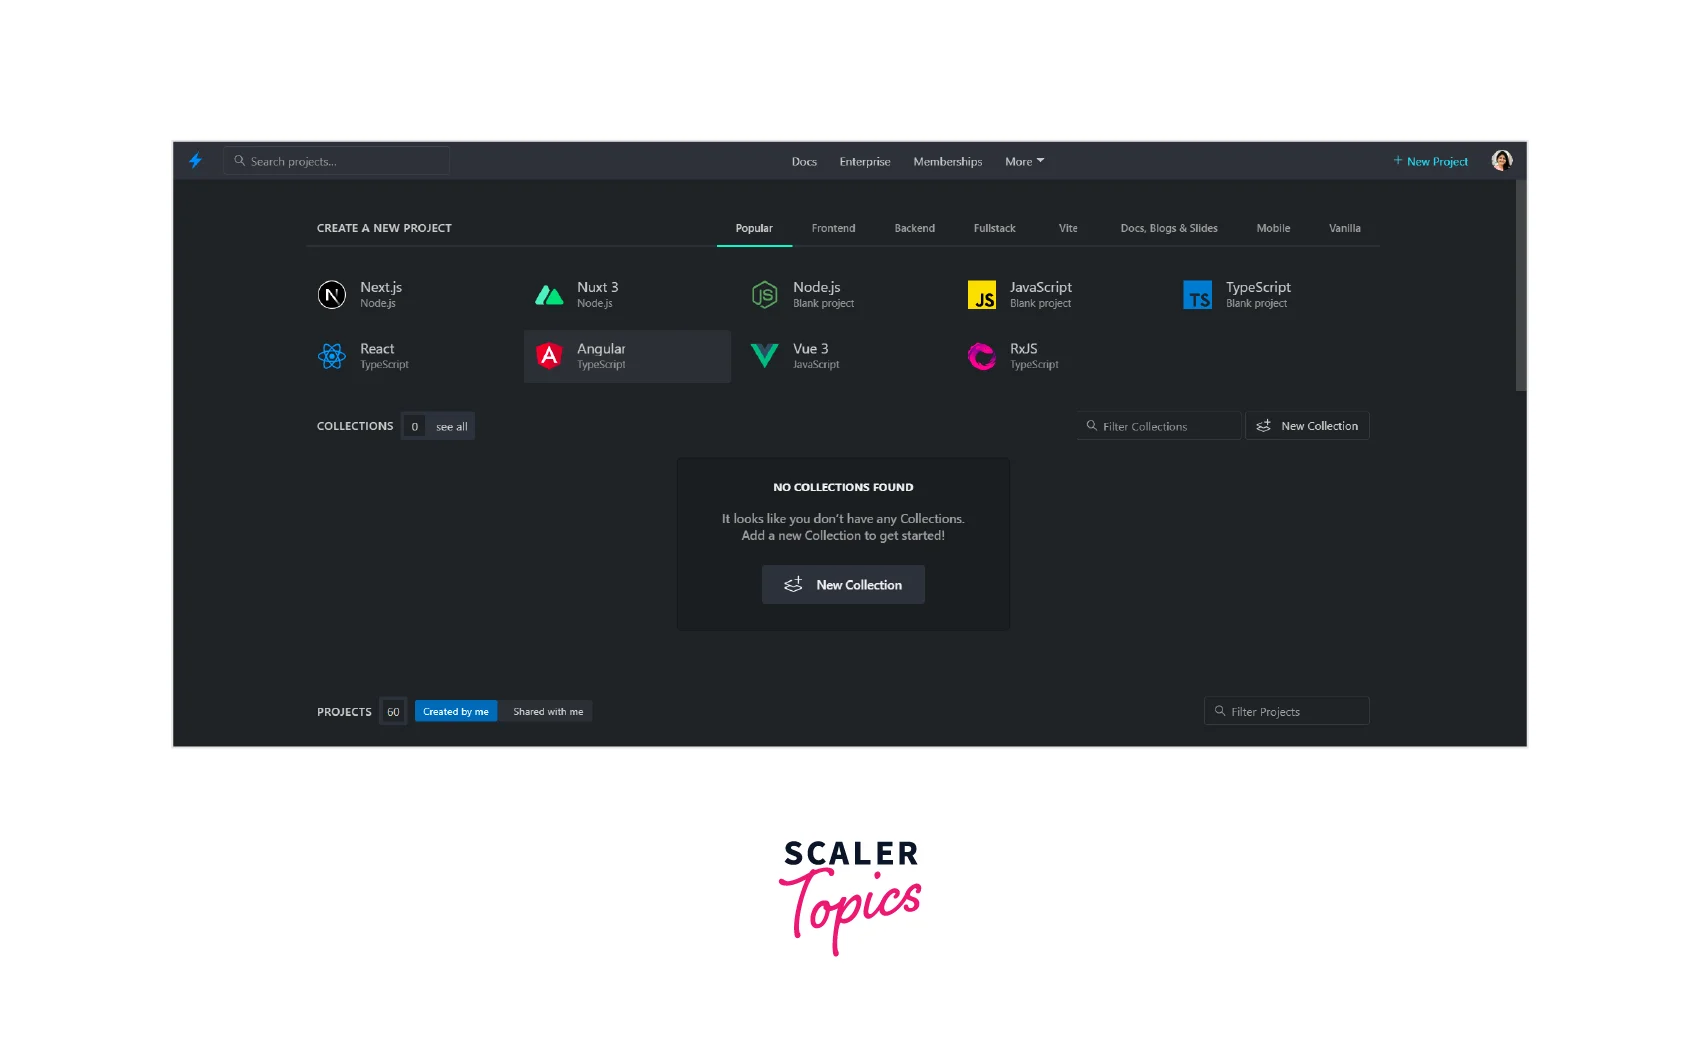
How to Create & Run Angular Project in StackBlitz?
-
Go to the website:link
-
Login using your GitHub account
-
Create a new Angular project
Boom!!! It's done
Yes, it is that easy, and with only three actions, we are prepared to begin.
Start your GitHub Project in Stackblitz
Our GitHub repository runs incredibly easily on StackBlitz Angular, thanks to StackBlitz.
-
Copy the GitHub repo link https://github.com/srashtisj/angular-demo-app
-
replace github.com to stackblitz.com/github
https://stackblitz.com/github/srashtisj/angular-demo-app
And done! Here's my GitHub repo on StackBlitz Angular:
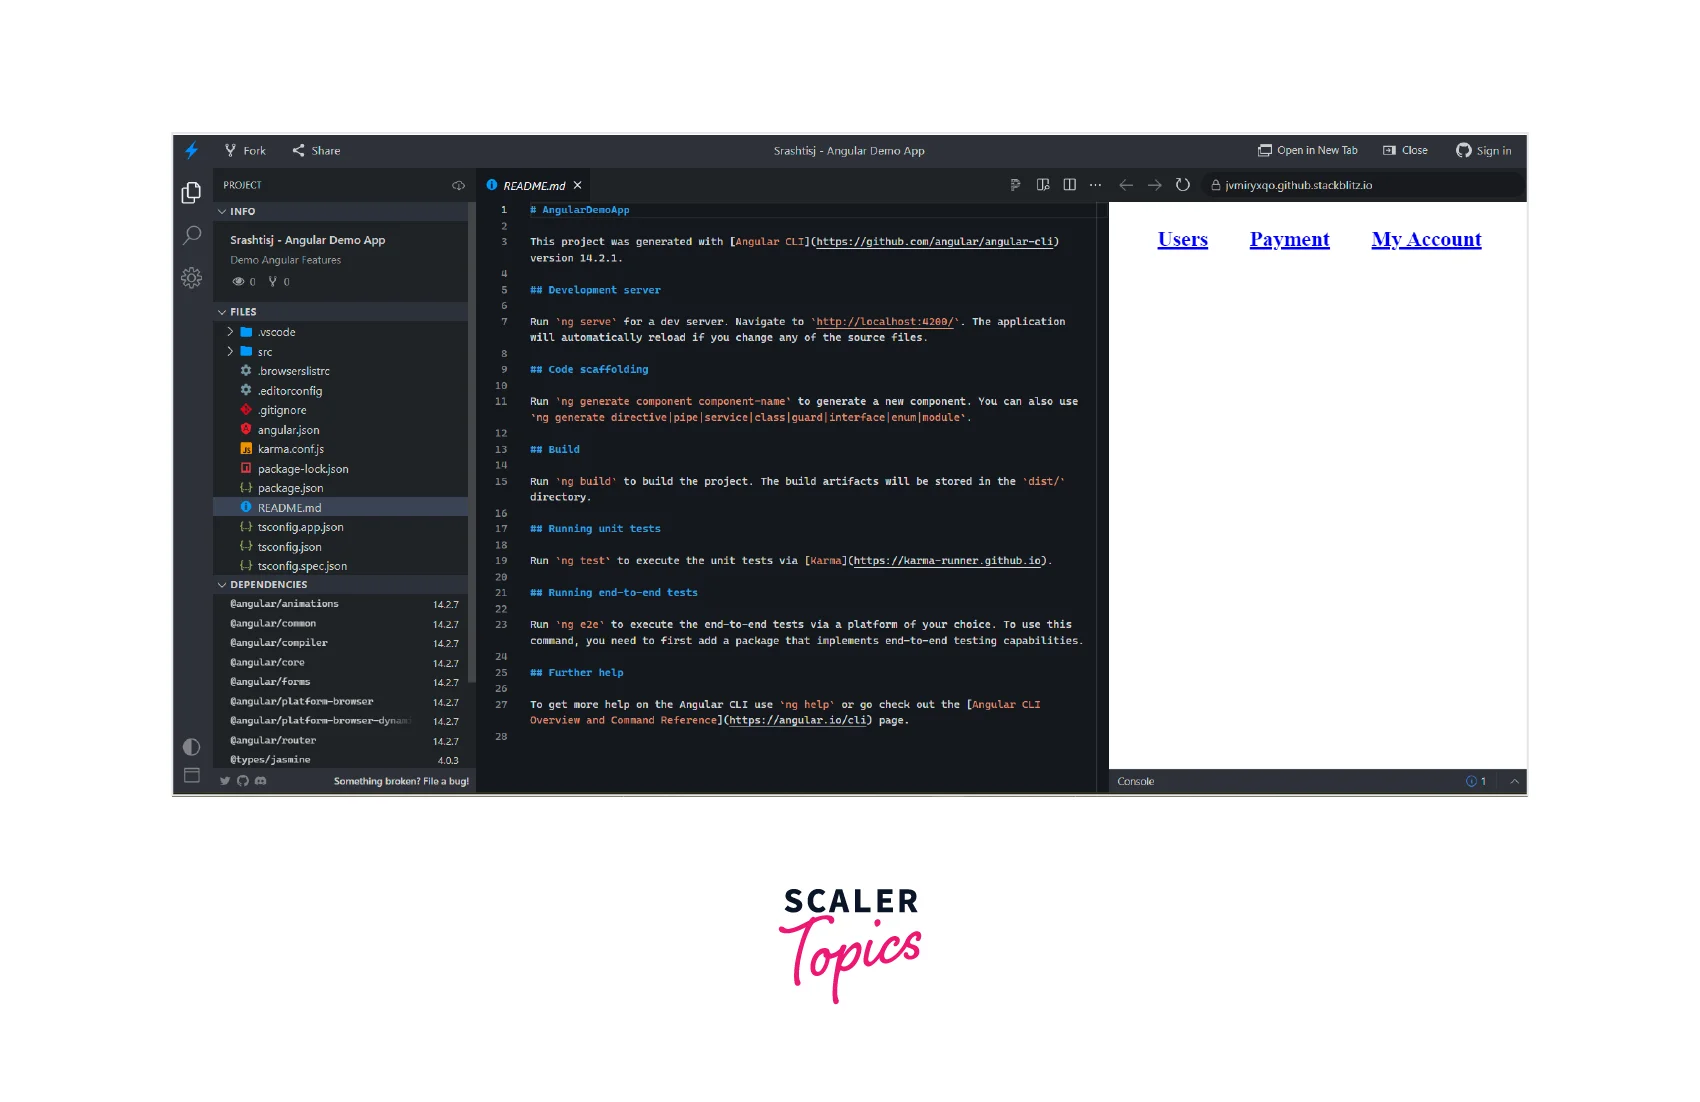
We can run and do whatever changes are required and then push the changes back to the repo.
Run Our Unit Tests in Stackblitz
We can indeed use StackBlitz Angular to execute our unit tests. A few adjustments must be made before we can run unit tests.
Note 💡StackBlitz Angular just runs the main.ts file
Therefore, all unit test bootstrapping codes must be included in the main.ts file to begin Jasmine testing for your project in a StackBlitz. So let's create a new main.ts file and rename our current main.ts to main.ts.backup.
The next step is to use Jasmin from main.ts to execute our unit tests:
- initialize and import the modules for Jasmine and Jasmine for browsers.
- importing the zone.js module
- Import the the.spec.ts files.
- Angular test environment for Bootstrap
Import the following code into the main.ts file
StackBlitz Example
Scaler Placement Report and Statistics
Scaler learners achieved 2.5x salary growth with average post-Scaler CTC reaching ₹23L.
Why Should I Run Angular Project Unit Tests in StackBlitz?
Occasionally we need to run unit tests for educational purposes or to make some playground links for use in technical publications. It's easier to use it.
Conclusion
- CodeSandbox and StackBlitz are amazing tools for getting a development environment online
- Creating a project on both platforms is super easy
- Application Templates can be created on CodeSandbox to reuse in future
- GitHub repository can be imported into stack blitz
- Stackblitz angular also allows running unit tests on the platform