Image Classification Using TensorFlow
Overview
Image Classification is one of the basic tasks in Deep Learning. Given a dataset with images of different categories, we create a Deep Learning model and a pipeline to classify these images. We can create models in any library, but TensorFlow is a good starting point for beginners, and we will use this library to create a TensorFlow image classification model.
What are we Building?
This article will tackle a TensorFlow image classification problem by creating a neural network that can classify images from the CIFAR10 dataset. We will explore the concepts of Pre-Processing, Augmentation, and Performance Optimisation. We will learn how to load a dataset, build the model, and finally train the model we created using the dataset. We will also learn how to use the trained model to make predictions on custom images.
The following sections explain these concepts and how to implement them using TensorFlow.
Scaler Placement Report and Statistics
Scaler learners achieved 2.5x salary growth with average post-Scaler CTC reaching ₹23L.
Pre-requisites
Before we get to the actual code, we must understand a few pre-requisite terms. They are explained here.
-
Data Loaders:
A Data Loader is a utility function that enables TensorFlow to optimize the data loading performance. The Loader does this by pre-allocating memory, creating batched containers, and applying many other tweaks to improve performance. -
Data Augmentation:
Data Augmentation is a regularization technique that improves performance by applying transformations on the base image. These transformations enable the model to see a much richer dataset without additional data collection. Data augmentation is extremely useful for small to medium-sized datasets. Many augmentations include random flipping, random color jitter, random resized cropping, and many others.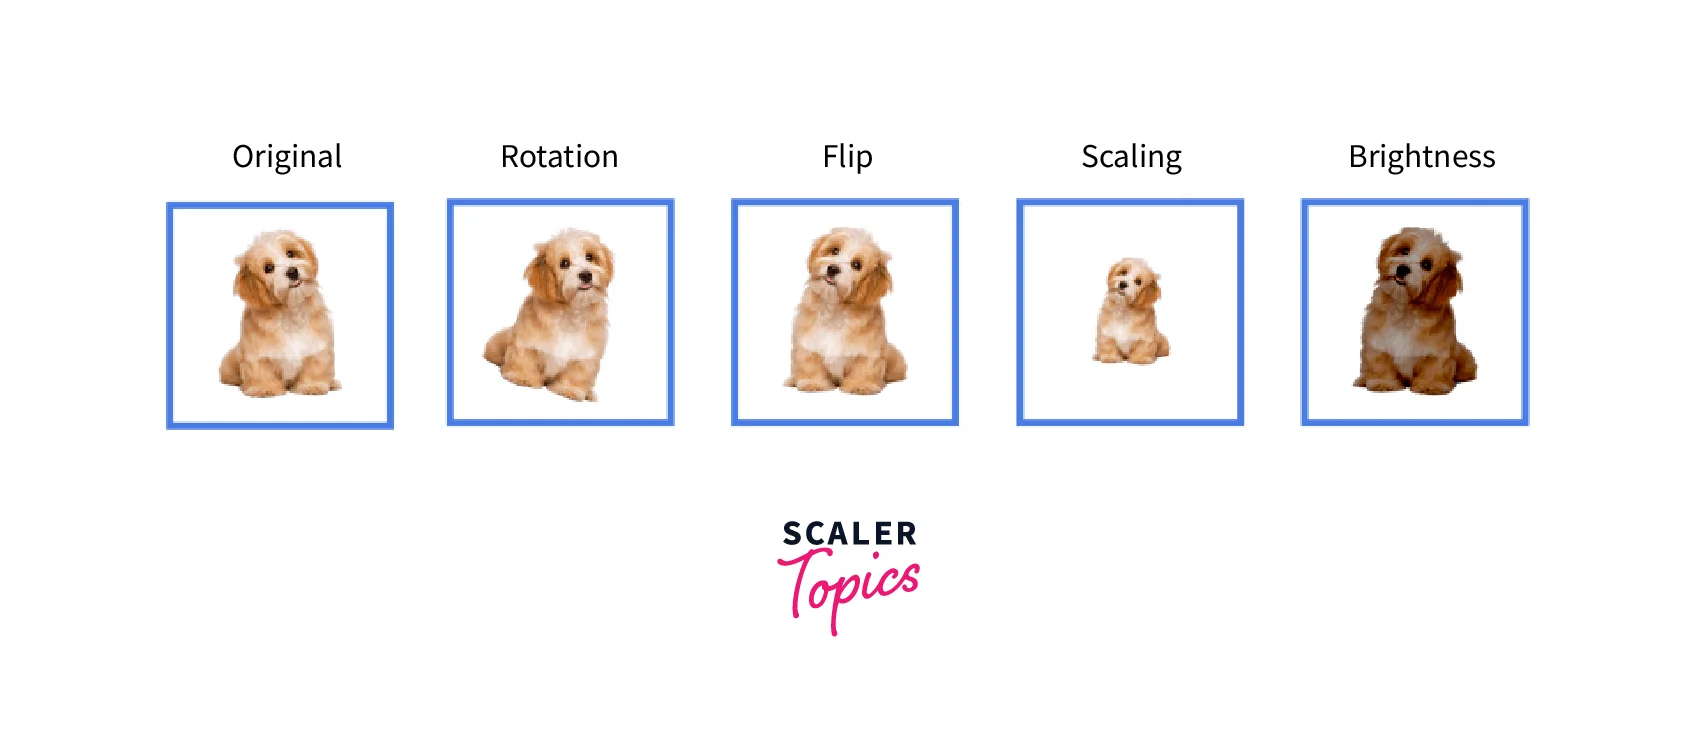
-
Lambda functions:
Lambda functions are special functions in TensorFlow that let the user create functions without explicitly defining a function call. These functions are useful for improving the readability of the code and avoiding defining extra functions for single use. -
Map functions:
In deep learning, there are many times when we need to apply a function over a batch of data. Sequentially performing these tasks is extremely time-consuming, so we use map functions to apply a function in parallel over any batch of data.
Transform Your Career
Choose from our industry-leading programs designed for career success
Modern Software and AI Engineering Program
Master full-stack development with AI integration

Modern Data Science and ML with specialisation in AI
Advanced data science techniques with AI specialization
Advanced AIML with Specialisation in Agentic AI
Deep dive into AIML with focus on Agentic systems
DevOps, Cloud & AI Platform Engineering
Build and manage AI-powered cloud infrastructure
AI Engineering Advanced Certification by IIT-Roorkee
Premier AI engineering certification from IIT-Roorkee
How are we Going to Build this?
In this article, we will be building a TensorFlowimage classification model. After loading the required libraries, we first load the data. Here, we will use the CIFAR10 dataset. After loading the data, we split it into the train, test, and validation components and then create batches of the same. We will also use caching and pre-fetching to optimize performance. After creating the required data loaders, we can create the model. This demo will use a ResNet50 model with the Adam optimizer and a Sparse Cross-Entropy loss function. Once we have loaded the data and the model, we can finally train it on the data and evaluate its performance. All of these steps are detailed in the sections below.
Final Output
The final output is a TensorFlow image classification model that can identify the class of a given image. Our model learns from the CIFAR10 dataset and eventually understands all ten classes accurately.
For example, if we pass this 64x64 image to the model, it should classify it as a horse.
Requirements
Before creating a TensorFlow image classification model, some concepts must be understood.
- An understanding of the TensorFlow library.
- Knowledge of the Keras package as a TensorFlow wrapper for simplified neural network building.
- Familiarity with TensorFlow Datasets for fast dataset loading and pre-processing.
Building the Classifier
We can now move on to building the TensorFlow image classification pipeline with the libraries we imported. The below sections explain how to load the dataset, pre-process it, optimize it for use, and pass it to the model. We also explore how to create a model using TensorFlow and how to train it on the CIFAR10 dataset. Finally, we will also learn to evaluate a trained model on the test dataset.
Turn Learning into Career Growth
Download and Explore the Dataset
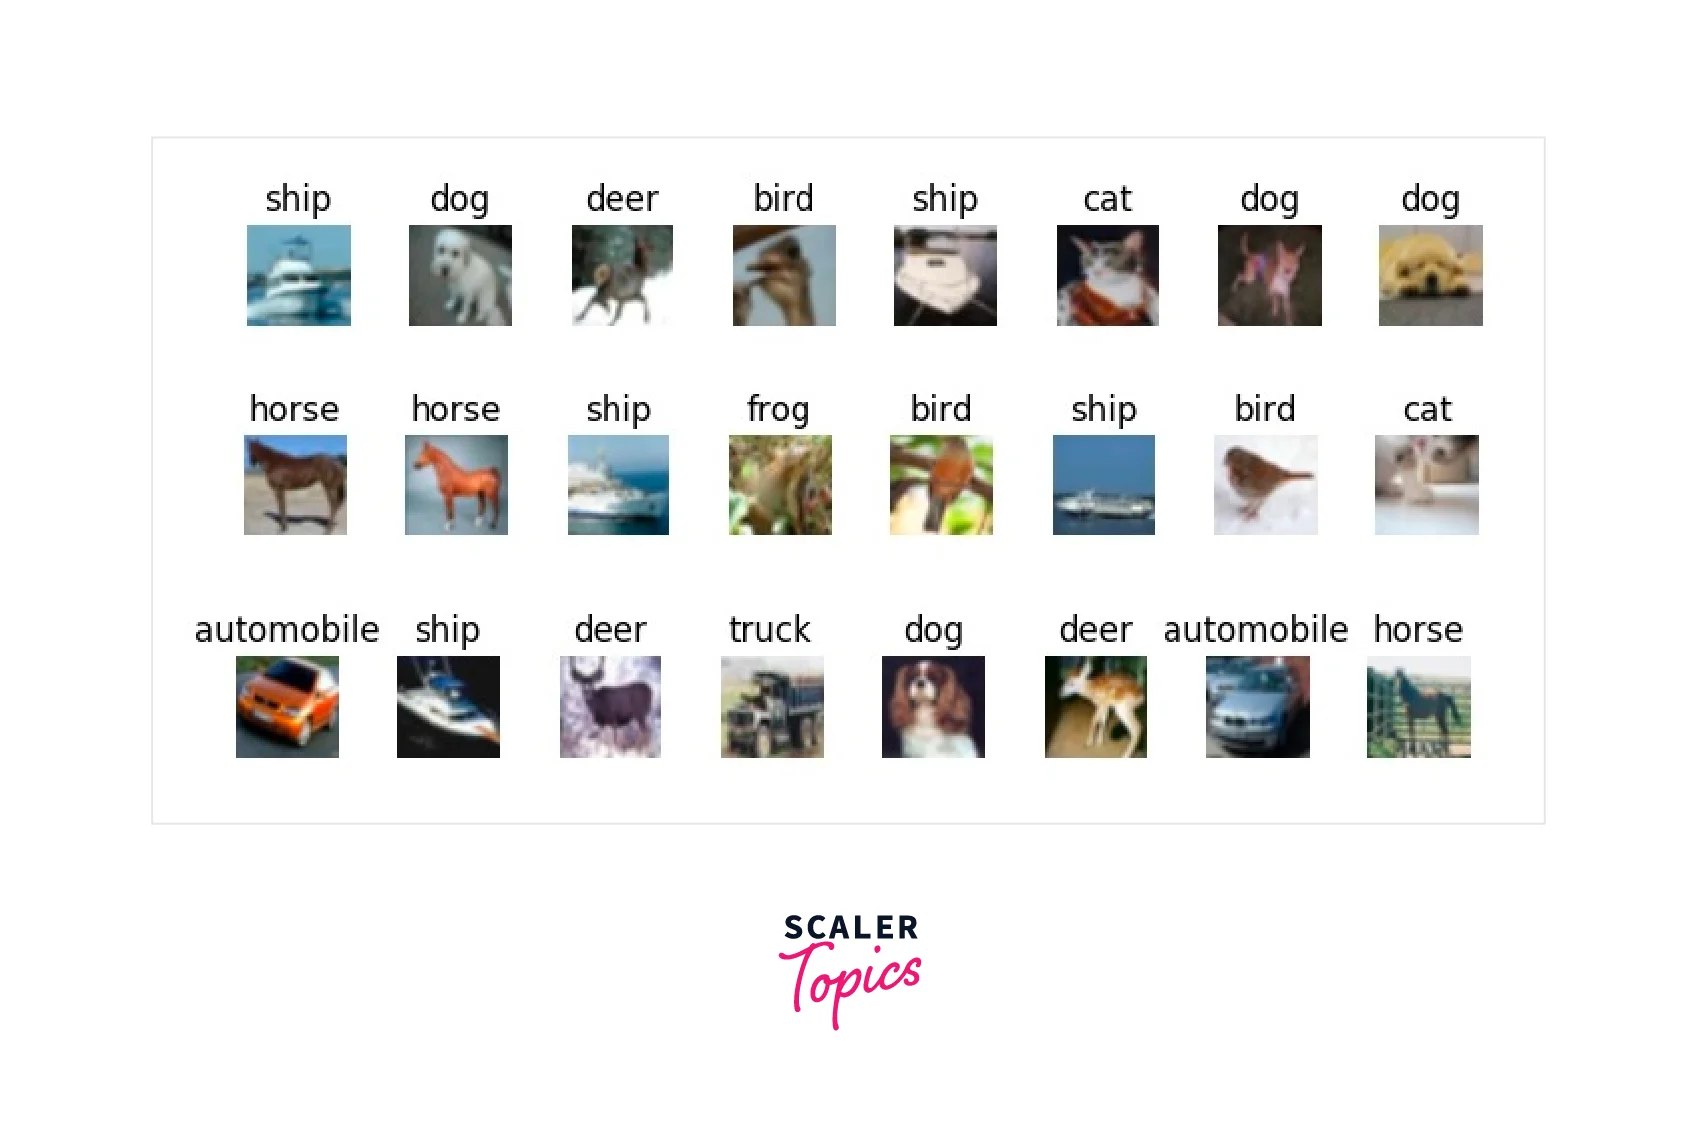
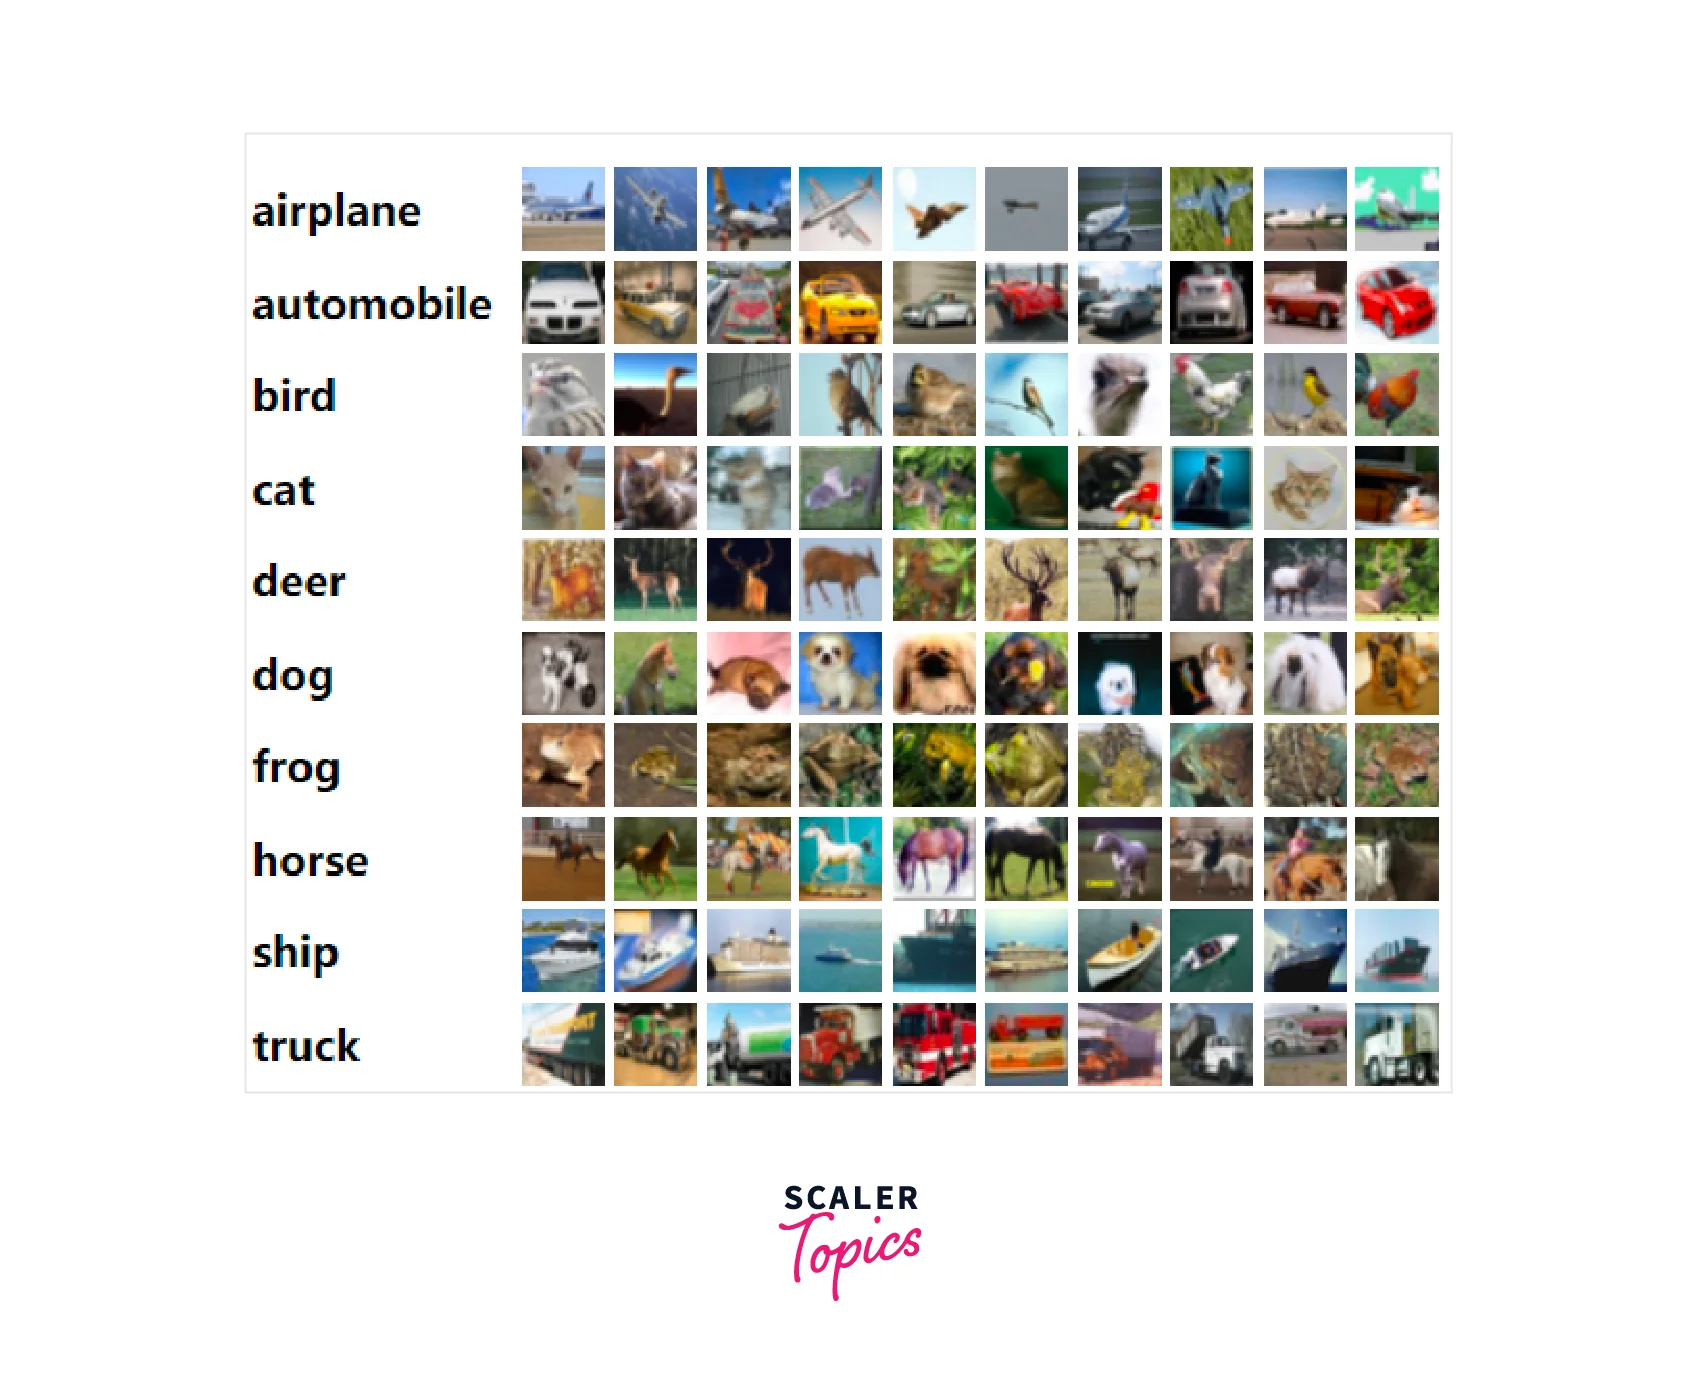
For this article, we will be using the CIFAR10 dataset. This dataset has 60000 color images grouped into ten classes. Before creating the model, we must load and pre-process the dataset. A sample of images is shown below.
We split the dataset into training, testing, and validation and loaded the dataset with labels using the as_supervised option.
Scaler Placement Report and Statistics
Scaler learners achieved 2.5x salary growth with average post-Scaler CTC reaching ₹23L.
Load Data Using a Keras Utility
To verify that we loaded the data correctly, we checked the size of the splits we had just created. If they are not zero or tiny numbers, we can know that our code has worked so far.
Configure the Dataset for Performance
Simply loading the data and passing it to the model works out of the box but leads to a sharp down in performance. We need to perform some tweaks to ensure we use our resources optimally.
We first define our image size as pixels and use a lambda function to resize all the images in our dataset to this image size. The next optimization we perform is converting the dataset into batches of 64 and informing Keras that we wish to cache the data and prefetch 10 samples.
Prefetching data reduces the time it takes to pass the data to the memory by preallocating and fetching a few extra samples for the next time the model is called.
Create the Model
Since we wish to maximize performance, we also use two simple Data Augmentation techniques. The first randomly flips the images along the horizontal axis to ensure the model learns some spatial information. The second Augmentation we use is Random Rotation. We only want to apply this for some images, so we use a lower probability. Applying it to every image might make the model perform worse.
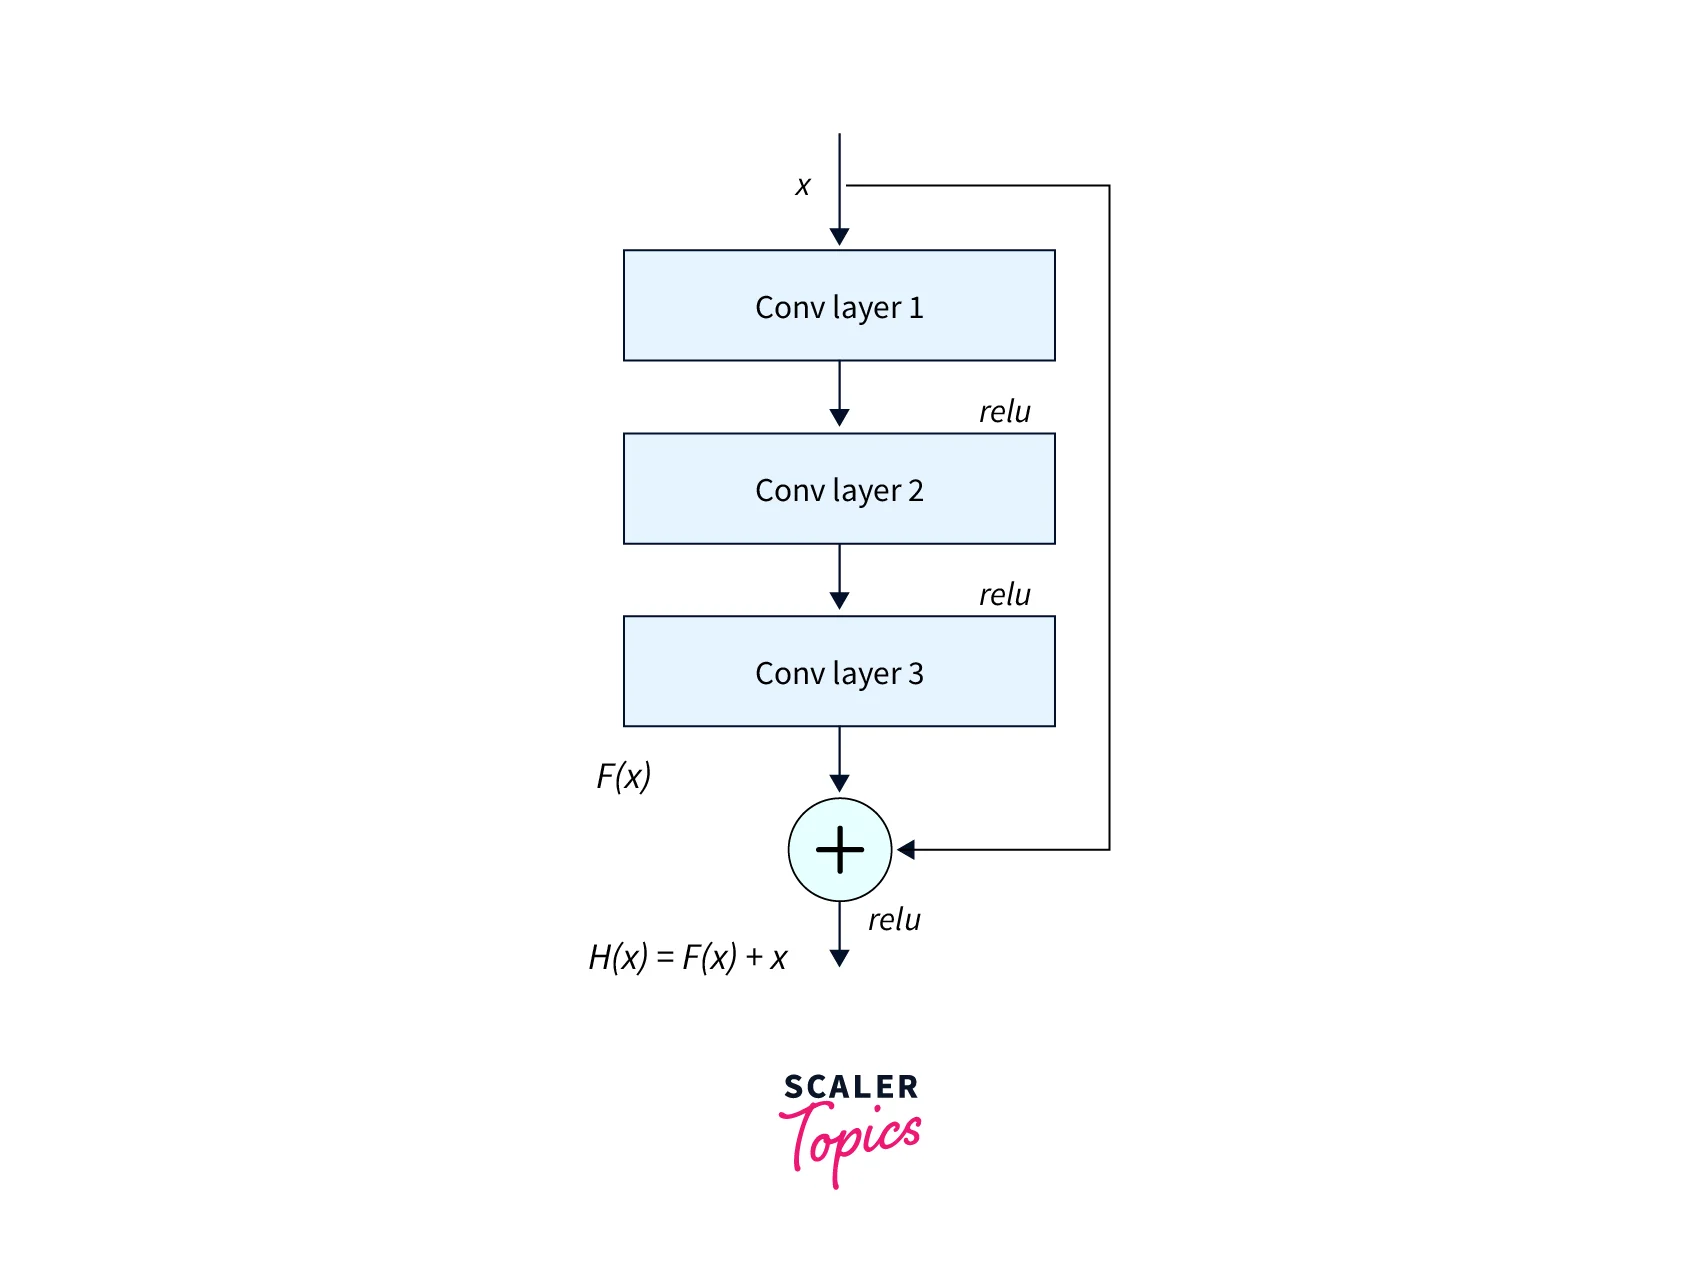
In this article, we use the TensorFlow image classification model ResNet50. This model uses the concept of Skip Connections to improve performance. We will not create the model from scratch but use the Keras implementation. We must pass in the weights from which we wish to use the pre-trained model to the function call. Since we are training the model from scratch here, we will pass the option as None. If we were using transfer learning, we would use the option "imagenet". We also need to pass the image size (), the number of classes (10), and whether we want to include the whole model. This final option is only helpful for transfer learning.
Once we load the model, we create an input, pass the current batch through the Augmentation, and finally, a Fully Connected (FC) layer with a size of 10 (CIFAR10 has ten classes). We will be using this final model for training on our data.
We will use the summary function to check the layers to verify if we created the model correctly.
Train the Model
We can finally move on to training our model on the CIFAR10 data. Since we have defined our model, we must define all the required parameters for training it.
This article will use the Adam optimizer with the default parameters. The metric we use here is a Categorical Accuracy metric that checks how well the classifier performed across all the classes. We choose a Sparse Categorical Crossentropy function for the loss function as this is a multi-class classification problem.
We will now train the TensorFlow image classification model for five epochs. We can perform further training by increasing the number of epochs.
Evaluating the Model
Five epochs are very small since we are not using transfer learning, and it is only done as a demo. After training our model, we can perform a full evaluation by performing predictions on the test dataset. While performing inference, we can increase the batch size as we are not training a network. We can perform this evaluation by using the evaluate function from Keras.
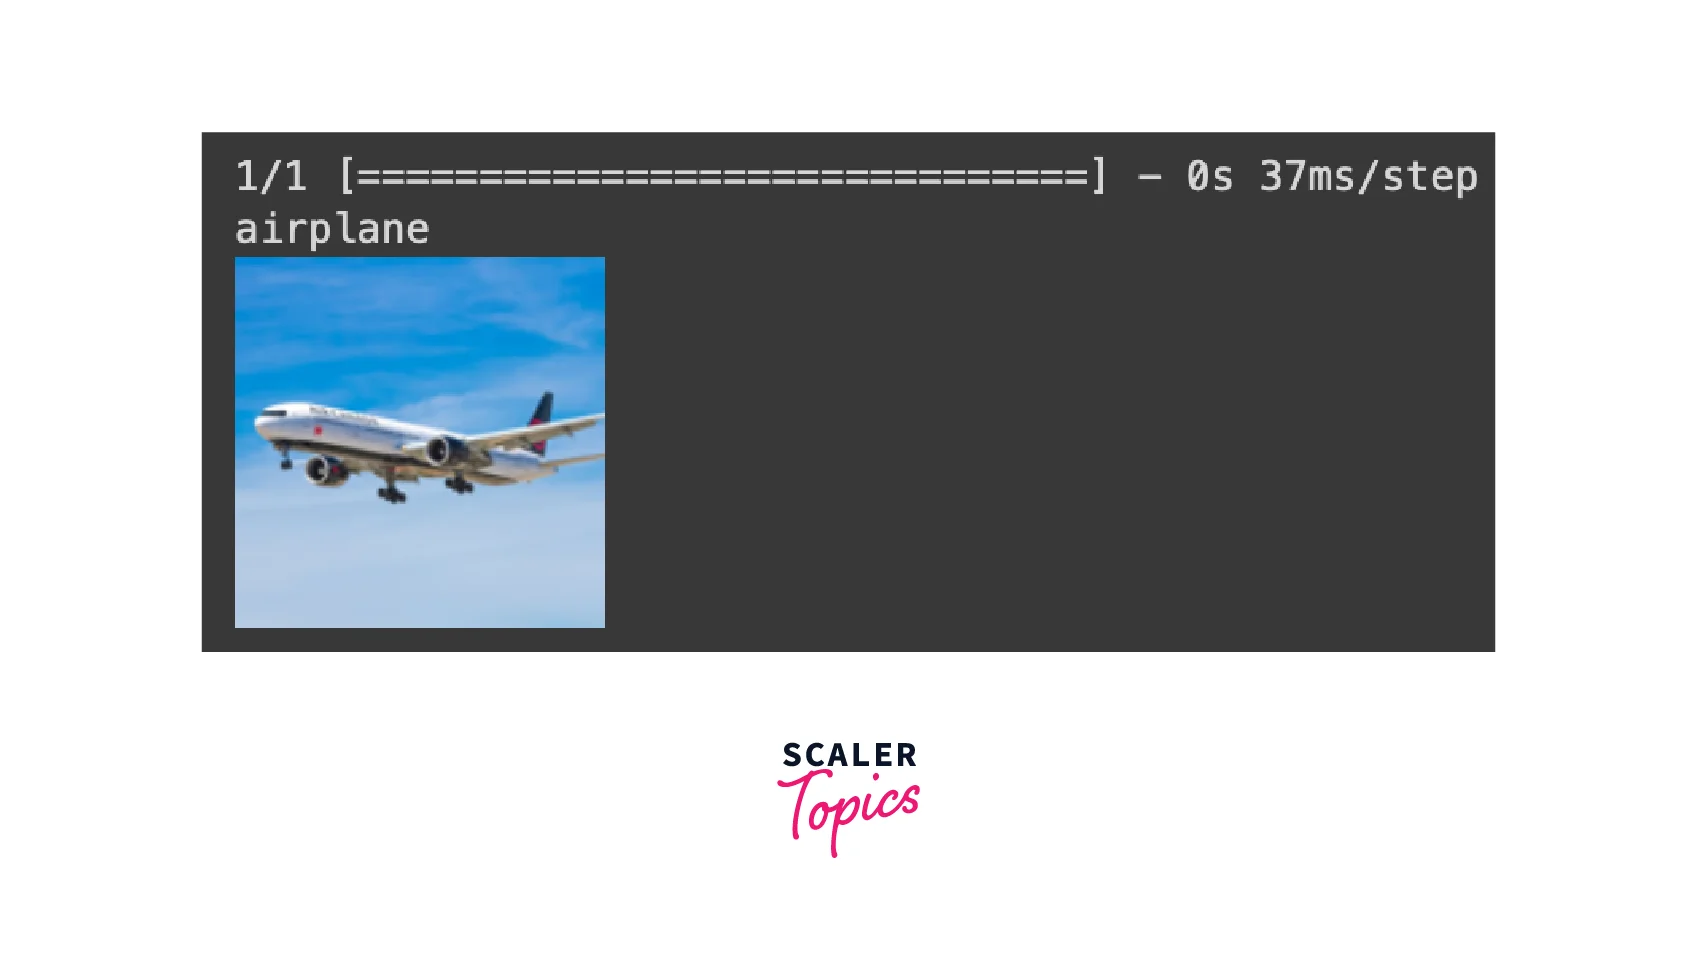
A single prediction can be performed with the following code.
Conclusion
- This article taught us how to build a TensorFlow Image Classification model.
- The article showed how to load the CIFAR10 dataset and pre-process it for training.
- It also explained how to create a simple ResNet50 model and how to train it on the CIFAR10 dataset.
- The article also explained how to evaluate the model and perform inference using the trained model.