Deploy Django App on Heroku
Overview
Django is an MVT web framework that is used to make web apps. It is strong and easy to use and helps web developers write clean, fast, and powerful code. After you have built a Django application, the next step is to make it live and available to users. You can deploy your application on several different platforms. But in this blog, I'll discuss process of deploying django app on heroku. Heroku is a cloud-based platform that hosts applications written in different programming languages, including Python. It is mostly a cloud infrastructure called Platform-as-a-Service (PaaS).
Pre-requisites
- Setup a virtual environment for a Django project.
- Install Heroku CLI on Windows PC.
- Some Basic Shell commands.
Introduction
Once you have completed the construction of a Django application, the next step is to publish it and make it accessible to users. Your application may be deployed on various platforms according to your preferences. However, I will discuss process of deploying django app on heroku. You will begin by putting together a Django project with the barest of essentials and then deploying it to the cloud directly from the terminal. After this tutorial, you will have a URL that can be shared publicly for your first Heroku project.
Transform Your Career
Choose from our industry-leading programs designed for career success
Modern Software and AI Engineering Program
Master full-stack development with AI integration

Modern Data Science and ML with specialisation in AI
Advanced data science techniques with AI specialization
Advanced AIML with Specialisation in Agentic AI
Deep dive into AIML with focus on Agentic systems
DevOps, Cloud & AI Platform Engineering
Build and manage AI-powered cloud infrastructure
AI Engineering Advanced Certification by IIT-Roorkee
Premier AI engineering certification from IIT-Roorkee
How to Deploy a Django Project on Heroku?
Heroku is a cloud-based platform that hosts applications written in different programming languages, including Python. To host the application on Heroku, we have to follow the following steps:
Create Django Project
It is necessary to have Django installed in your system for creating a Django project. You can verify the Django installation by typing the following command.
If Django is not installed on the system, you can install Django by following the command.
After the successful installation of Django, you can create the Django project by the following command.
Change the djangoheroku name to any name which you want to give for your project.
After creating a Django project, we can create an App inside that Django app by the following command.
Change the firstapp name to any name which you want to give for your app.
Creating a Requirements.txt File for All Python Dependencies
For Deploying the Django app on Heroku, we must create a requirements.txt which is used to install all the necessary dependencies of the Django project. Creating requirements.txt, we have to run the following command on our local running environment.
Heroku will only recognize a deployed Python application if it has a requirements.txt file in the root directory. Even if your application has no module dependencies, an empty requirements.txt file should be included to show that it has no dependencies.
Turn Learning into Career Growth
Create a Procfile for Defining all Processes
In the project root directory, create a Procfile to define process types and clearly declare which command should be executed to start your program. Open the Procfile and paste the following command.
Change djangoherokuapp to the name of your project to point to the location of the wsgi.py file.
Configure Database Sttings and Static File Folder Settings
For Deploying the Django app on Heroku, we have to configure our Django project, and we have to change the following setting in the setting.py file of the project.
1. Change the debug setting to false
2. Change the allowed hosts values
3. Add white noise to the installed app section, which is used to handle the static file in production.
4. Update the MIDDLEWARE list. The WhiteNoise middleware should be placed directly after the Django SecurityMiddleware and before all other middleware:
5. Add into the database settings.
6. Add the following setting at the end of the setting.py file for handling static files
Create a Heroku Account
For deploying django app on heroku, we must create an account on the Heroku platform. You can create the account simply by going to the Heroku website and fill the signup form by clicking on this link https://signup.heroku.com. After creating the account, you can download Heroku CLI on your system for deploying the Django app.
Deploy App to Heroku
Now your project is ready to deploy on Heroku. Login to the Heroku account by running the following command on the terminal.
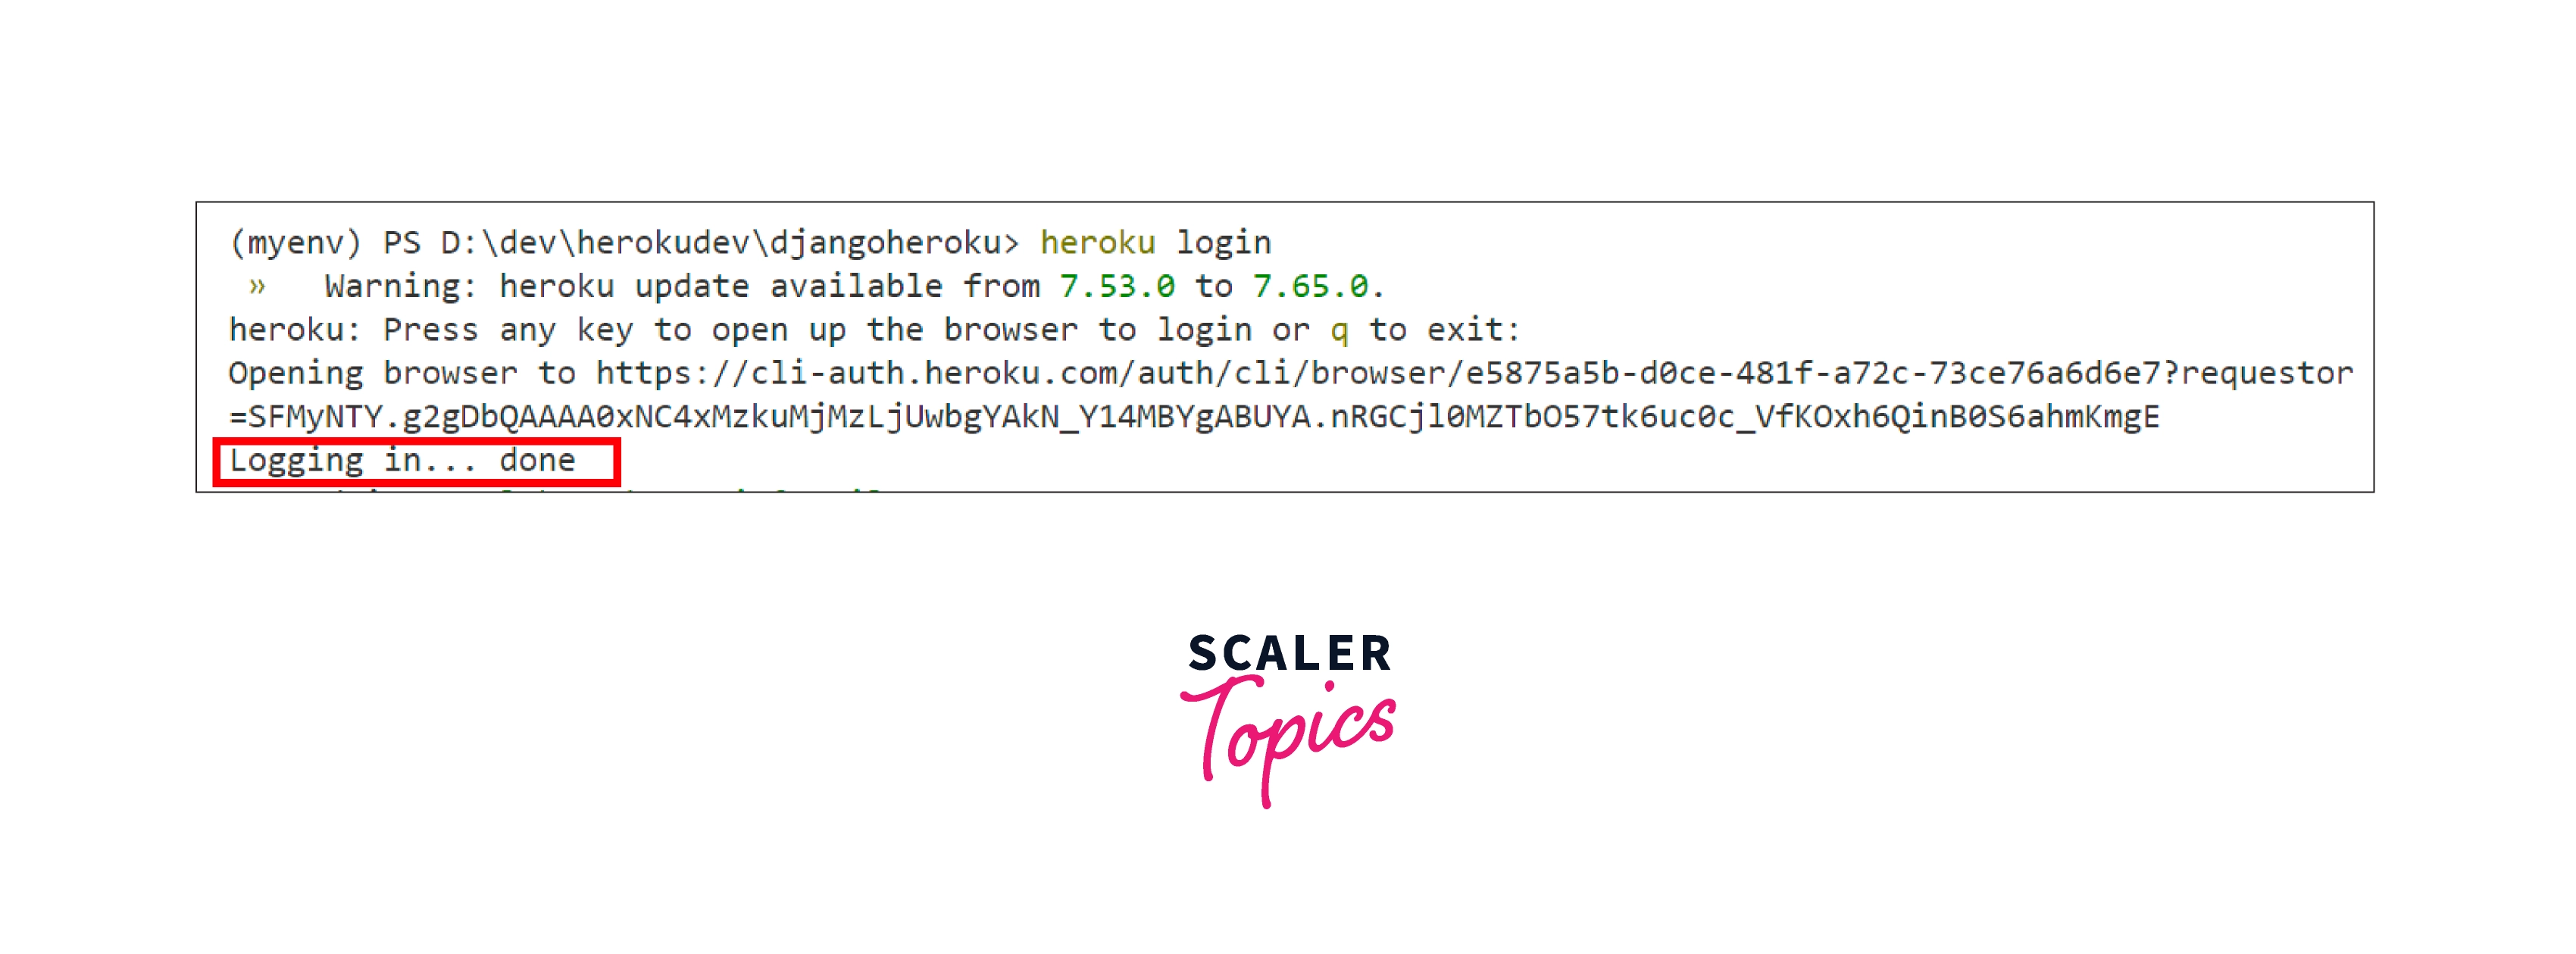 Now your project is ready to deploy on Heroku. Login to the Heroku account by running the following command on the terminal.
heroku login
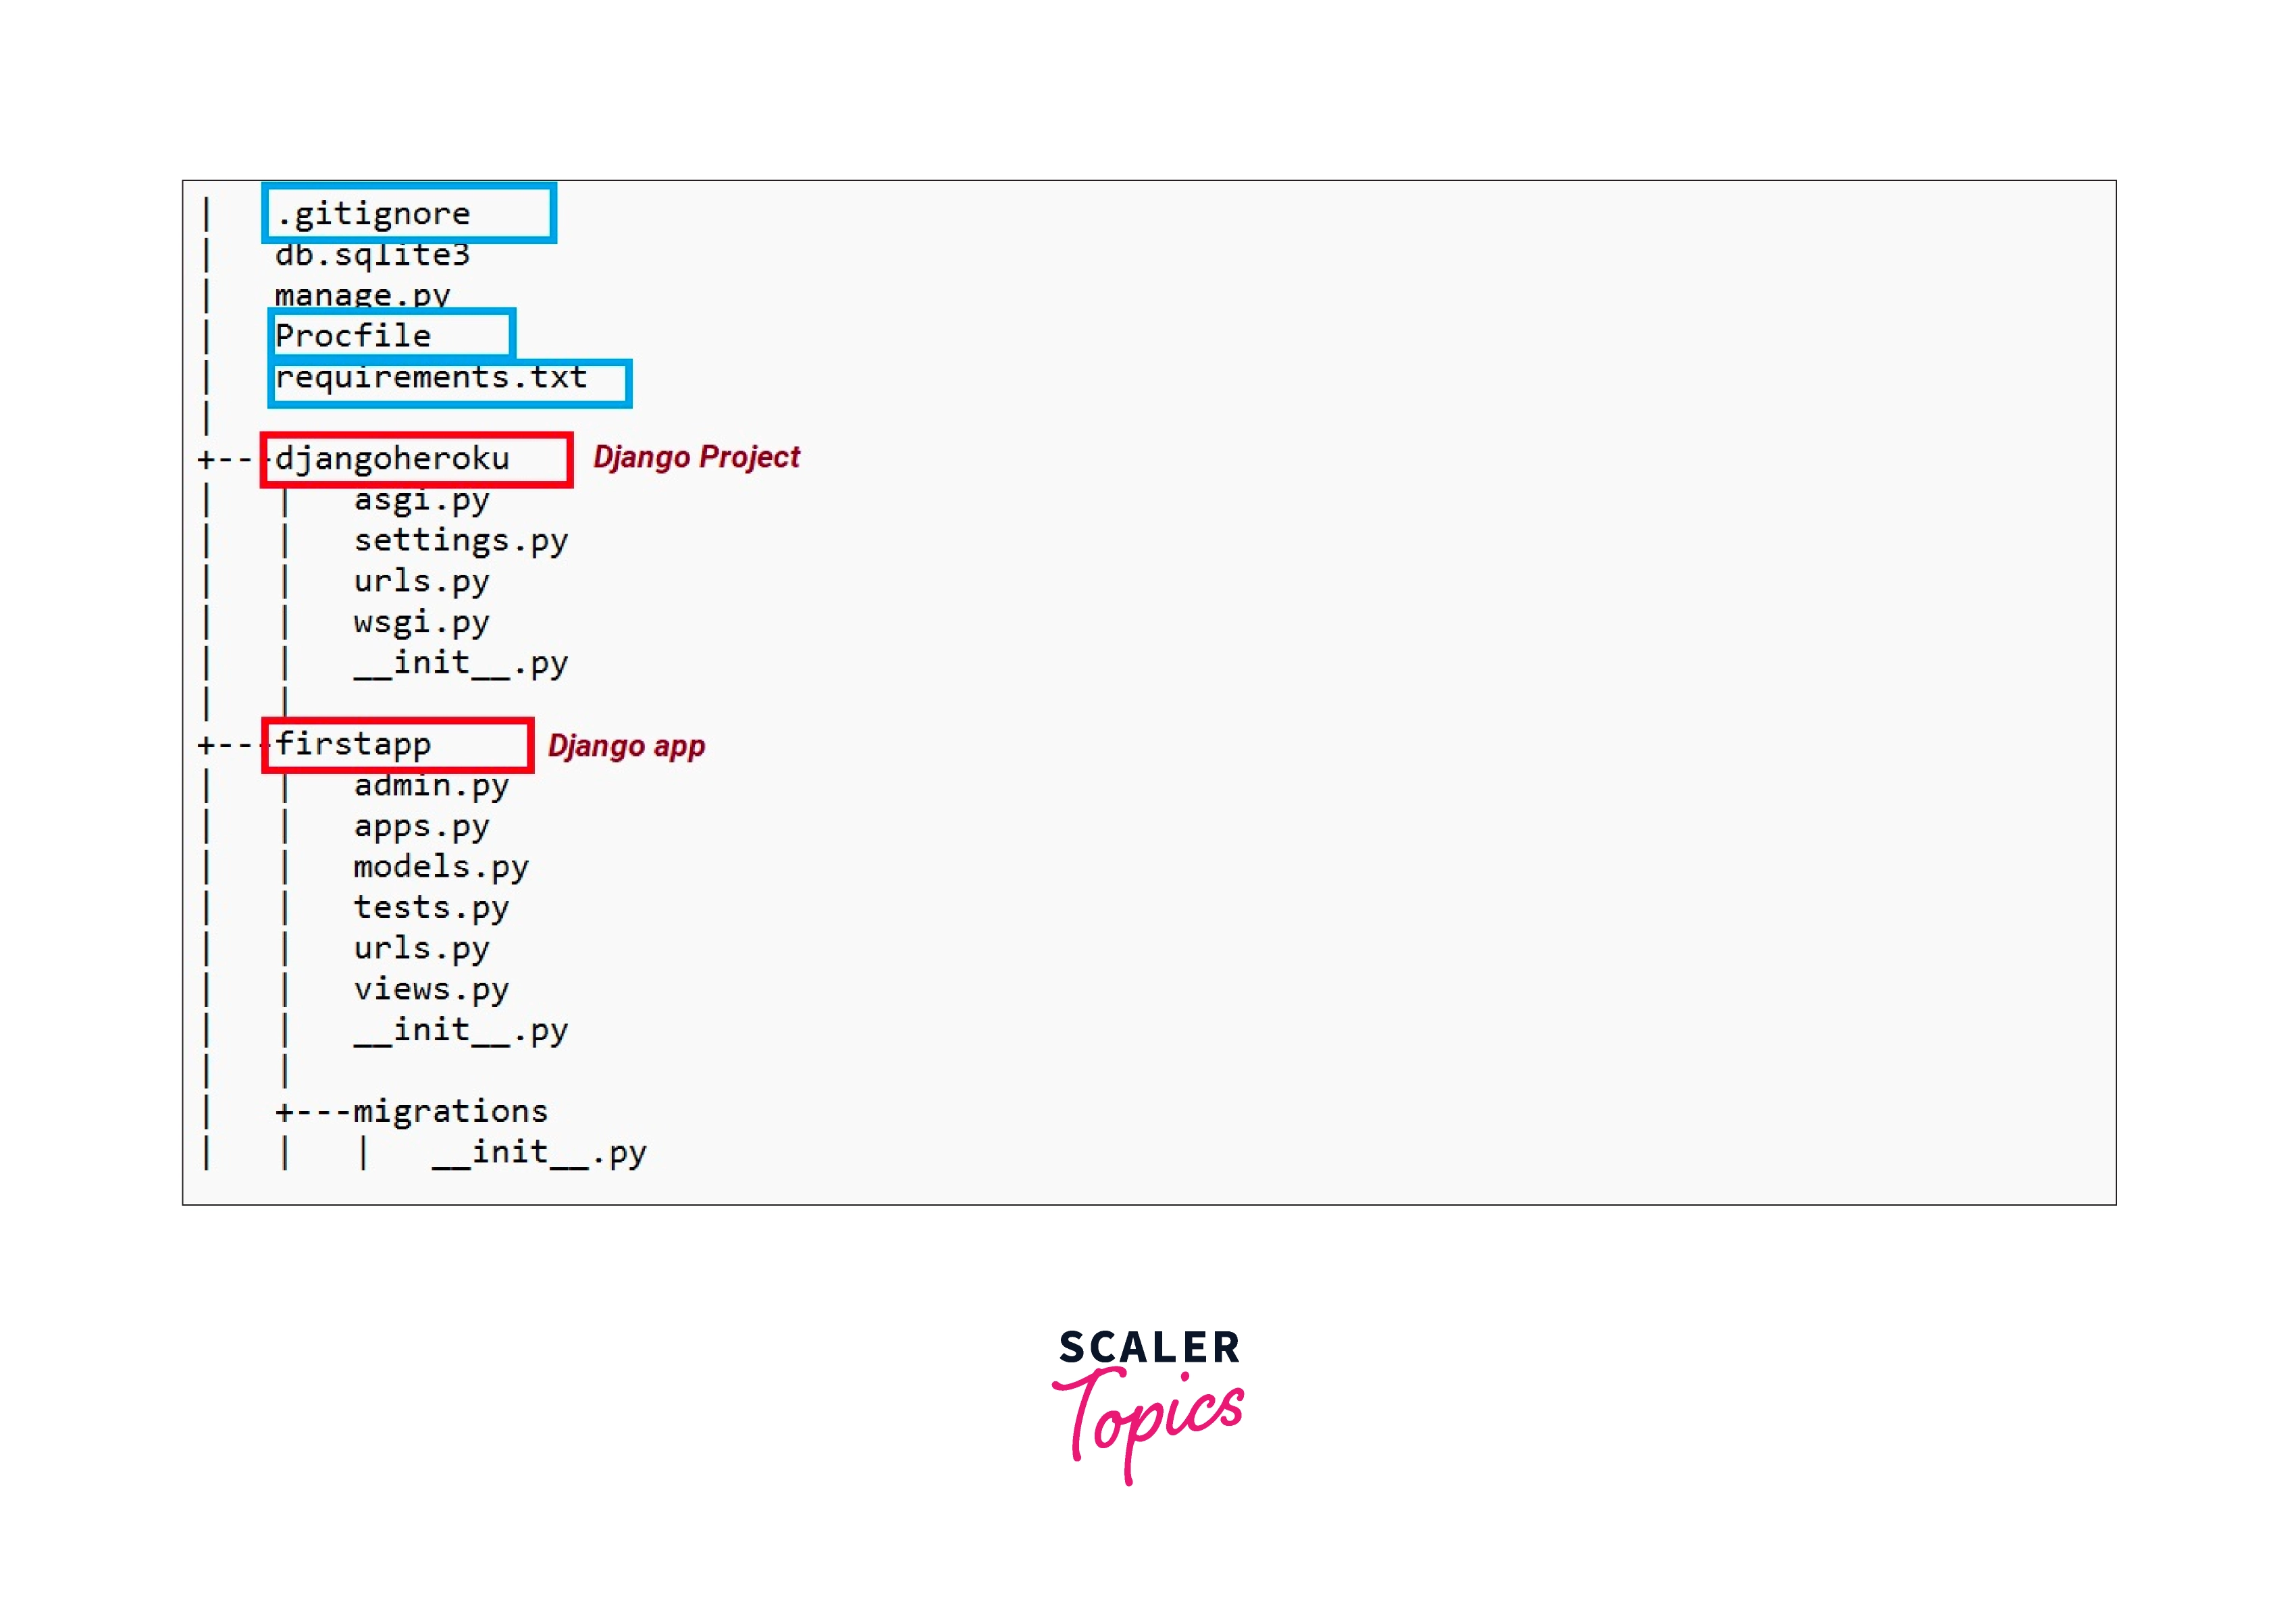
Create a new git repository of Your Django project
The actual project directory will be look like
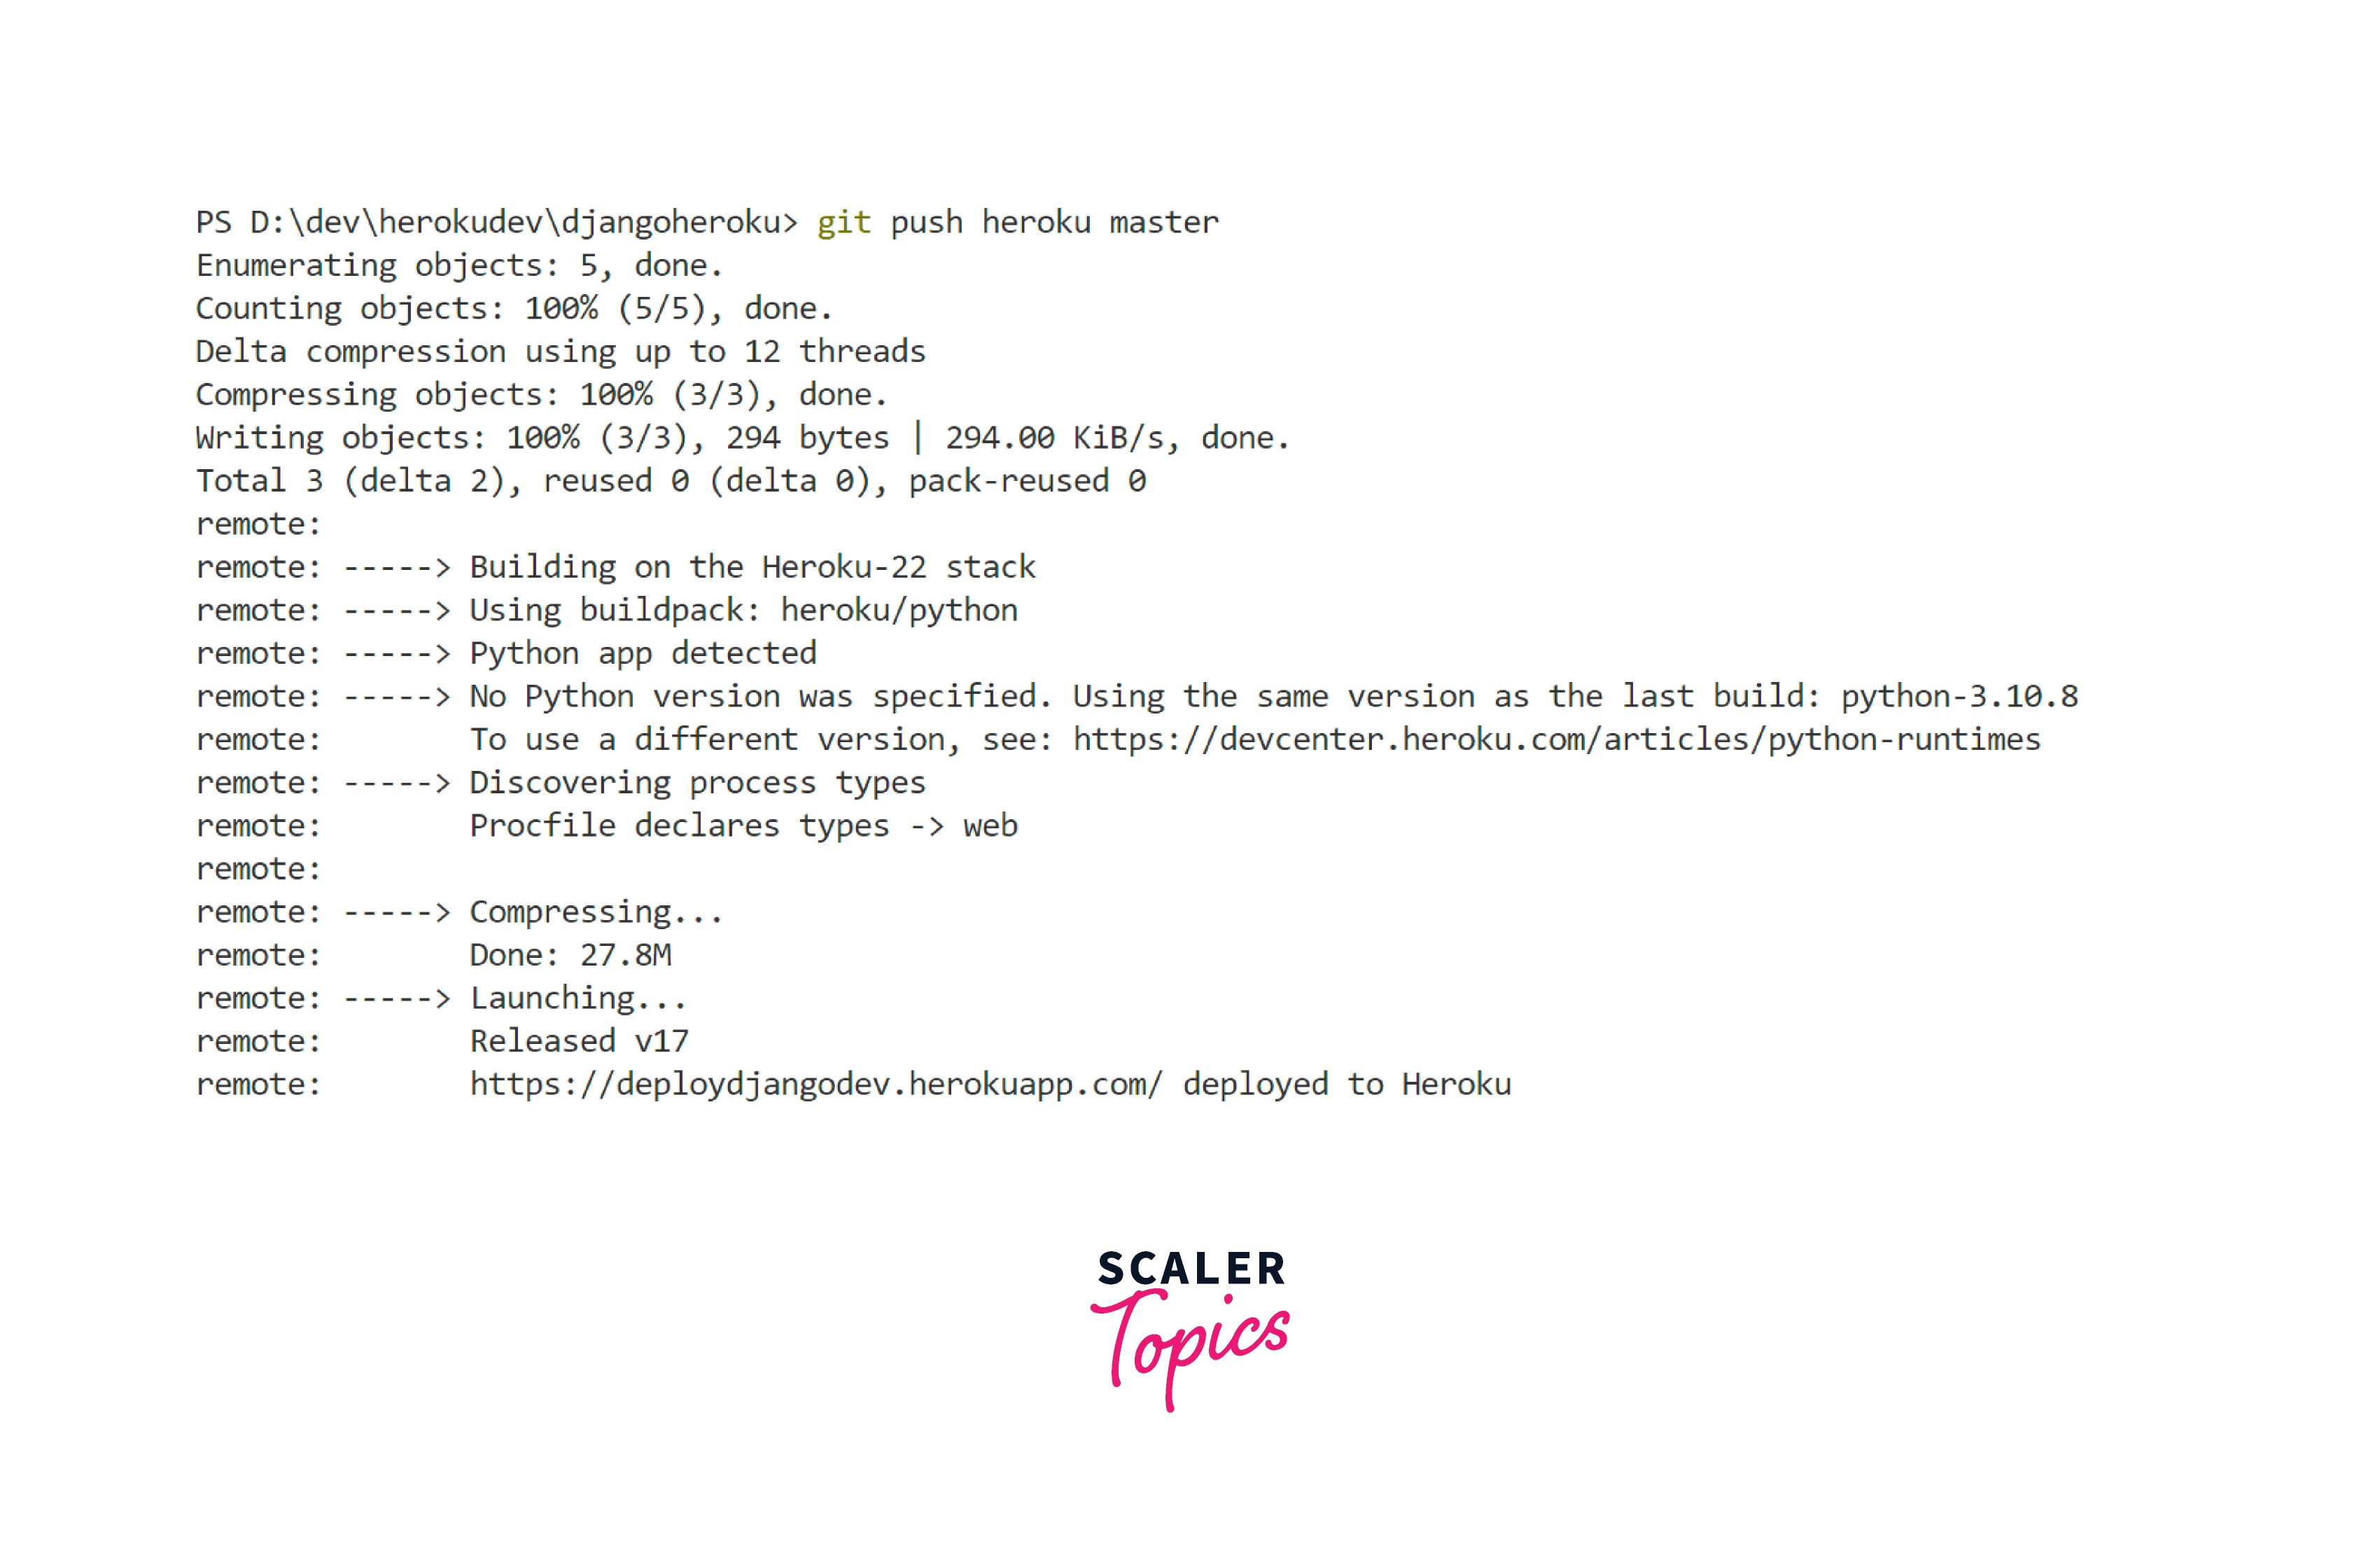
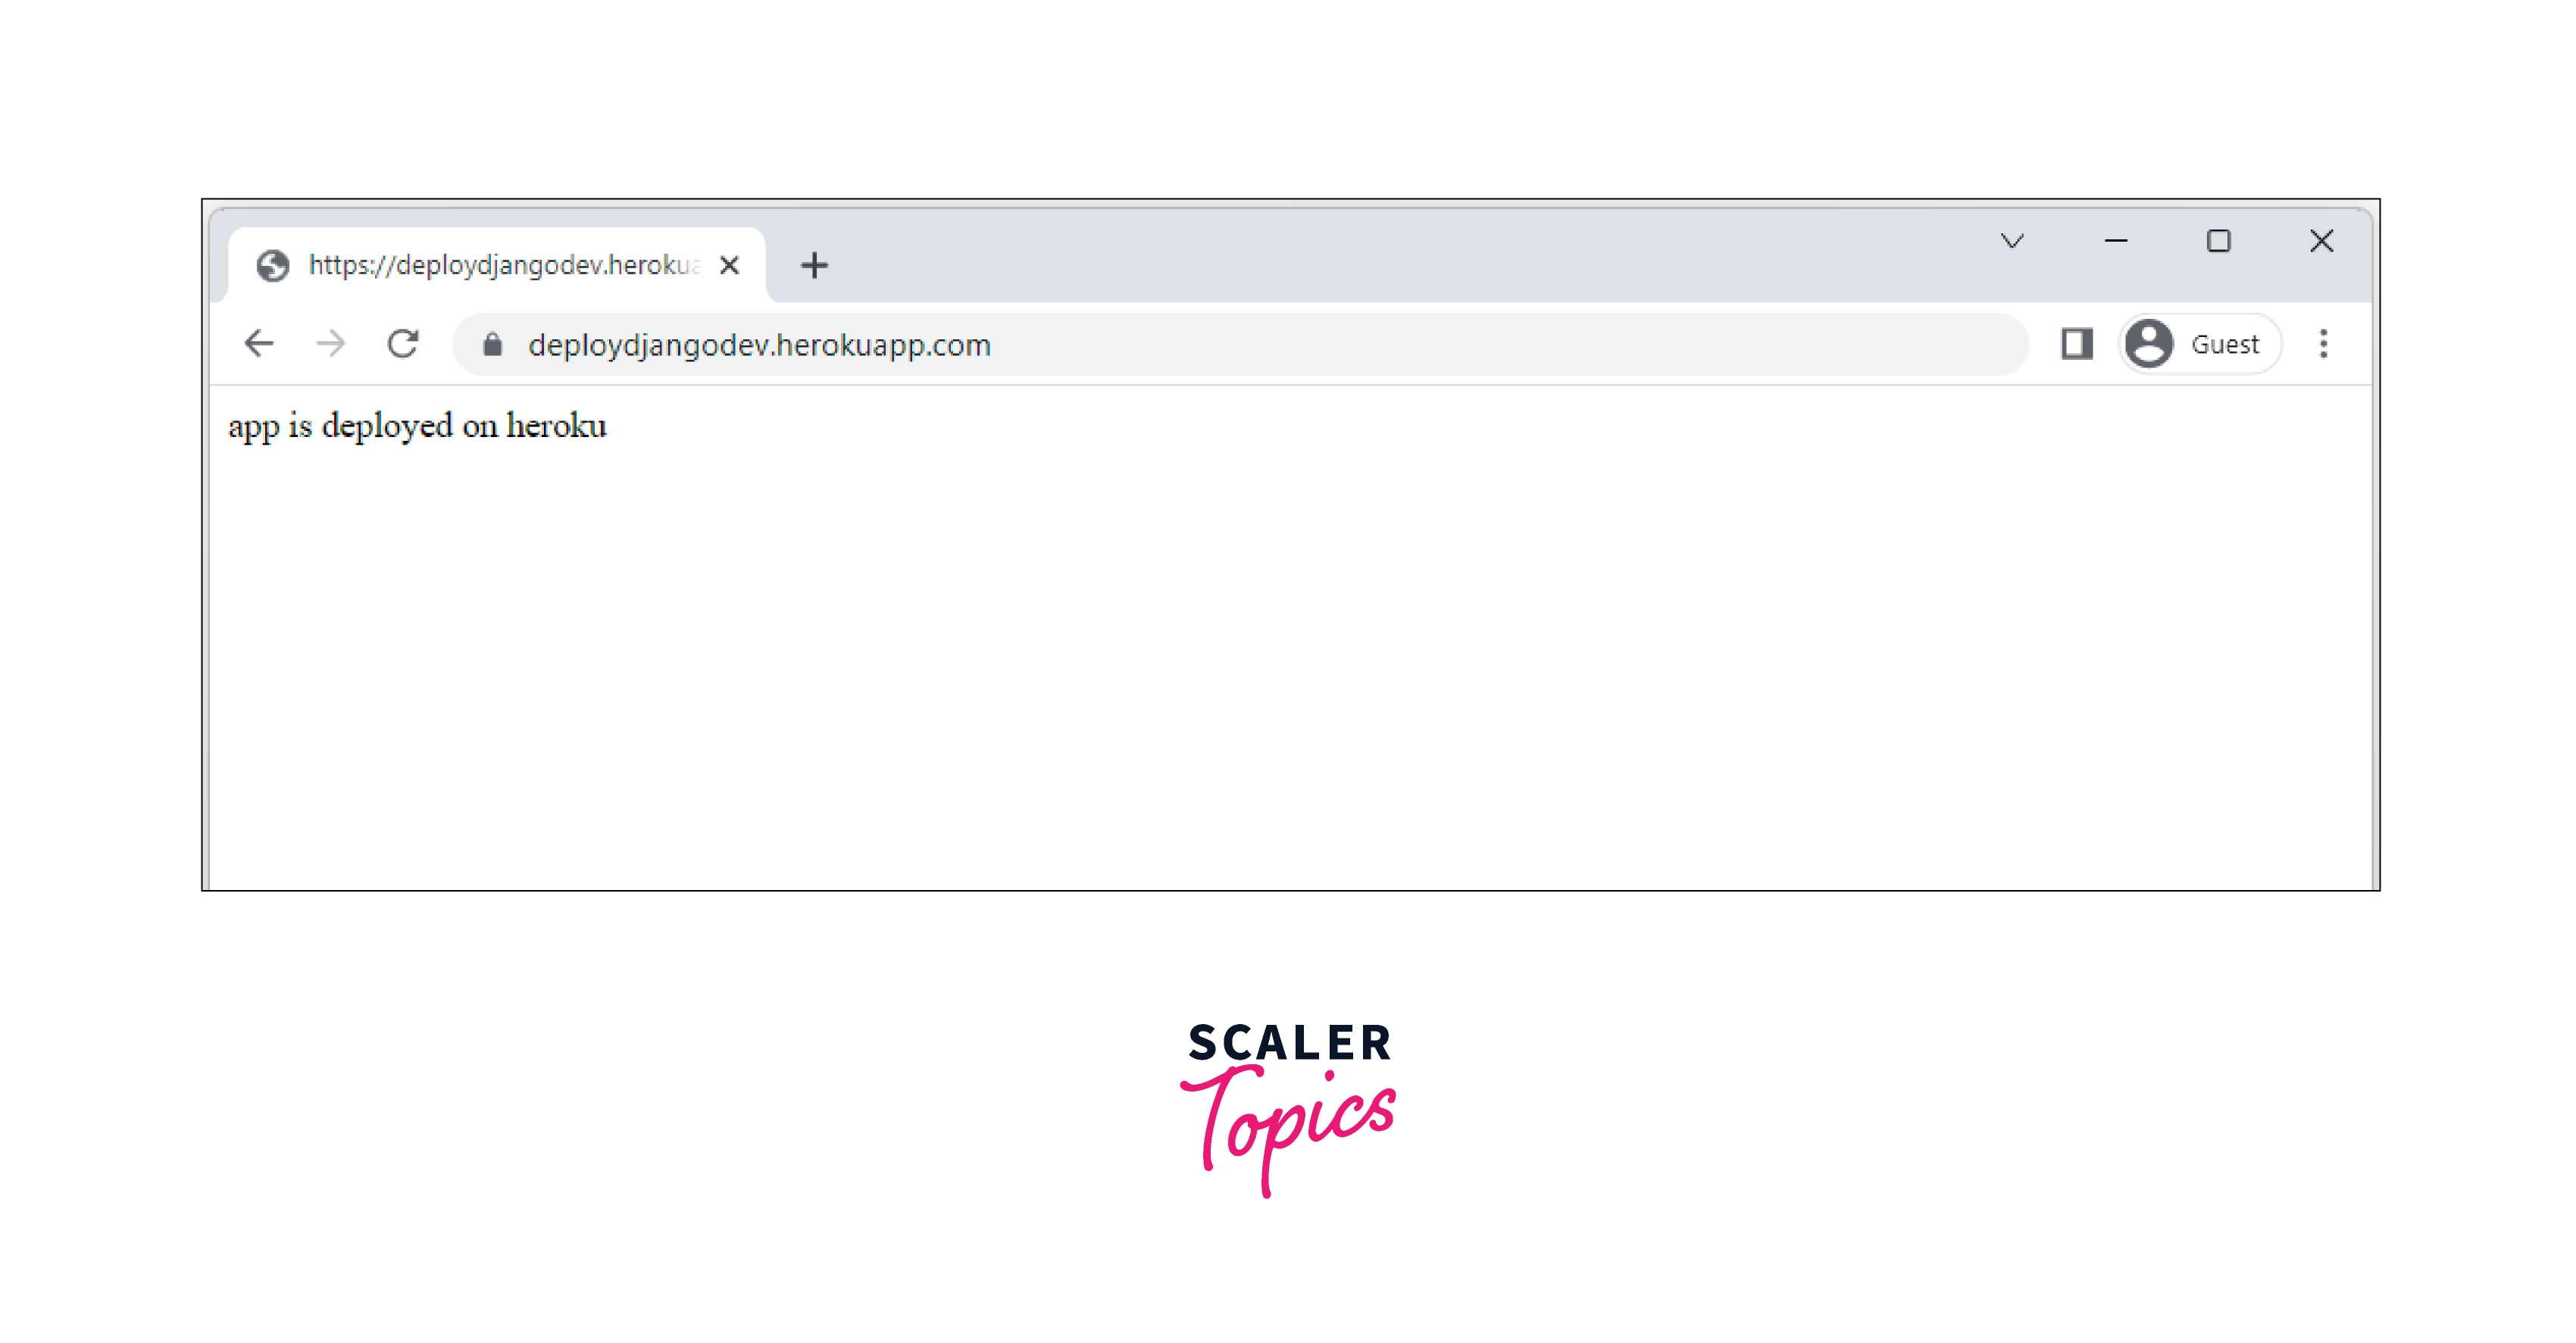
Deploy your application Commit your code to the repository and deploy it to Heroku using Git.
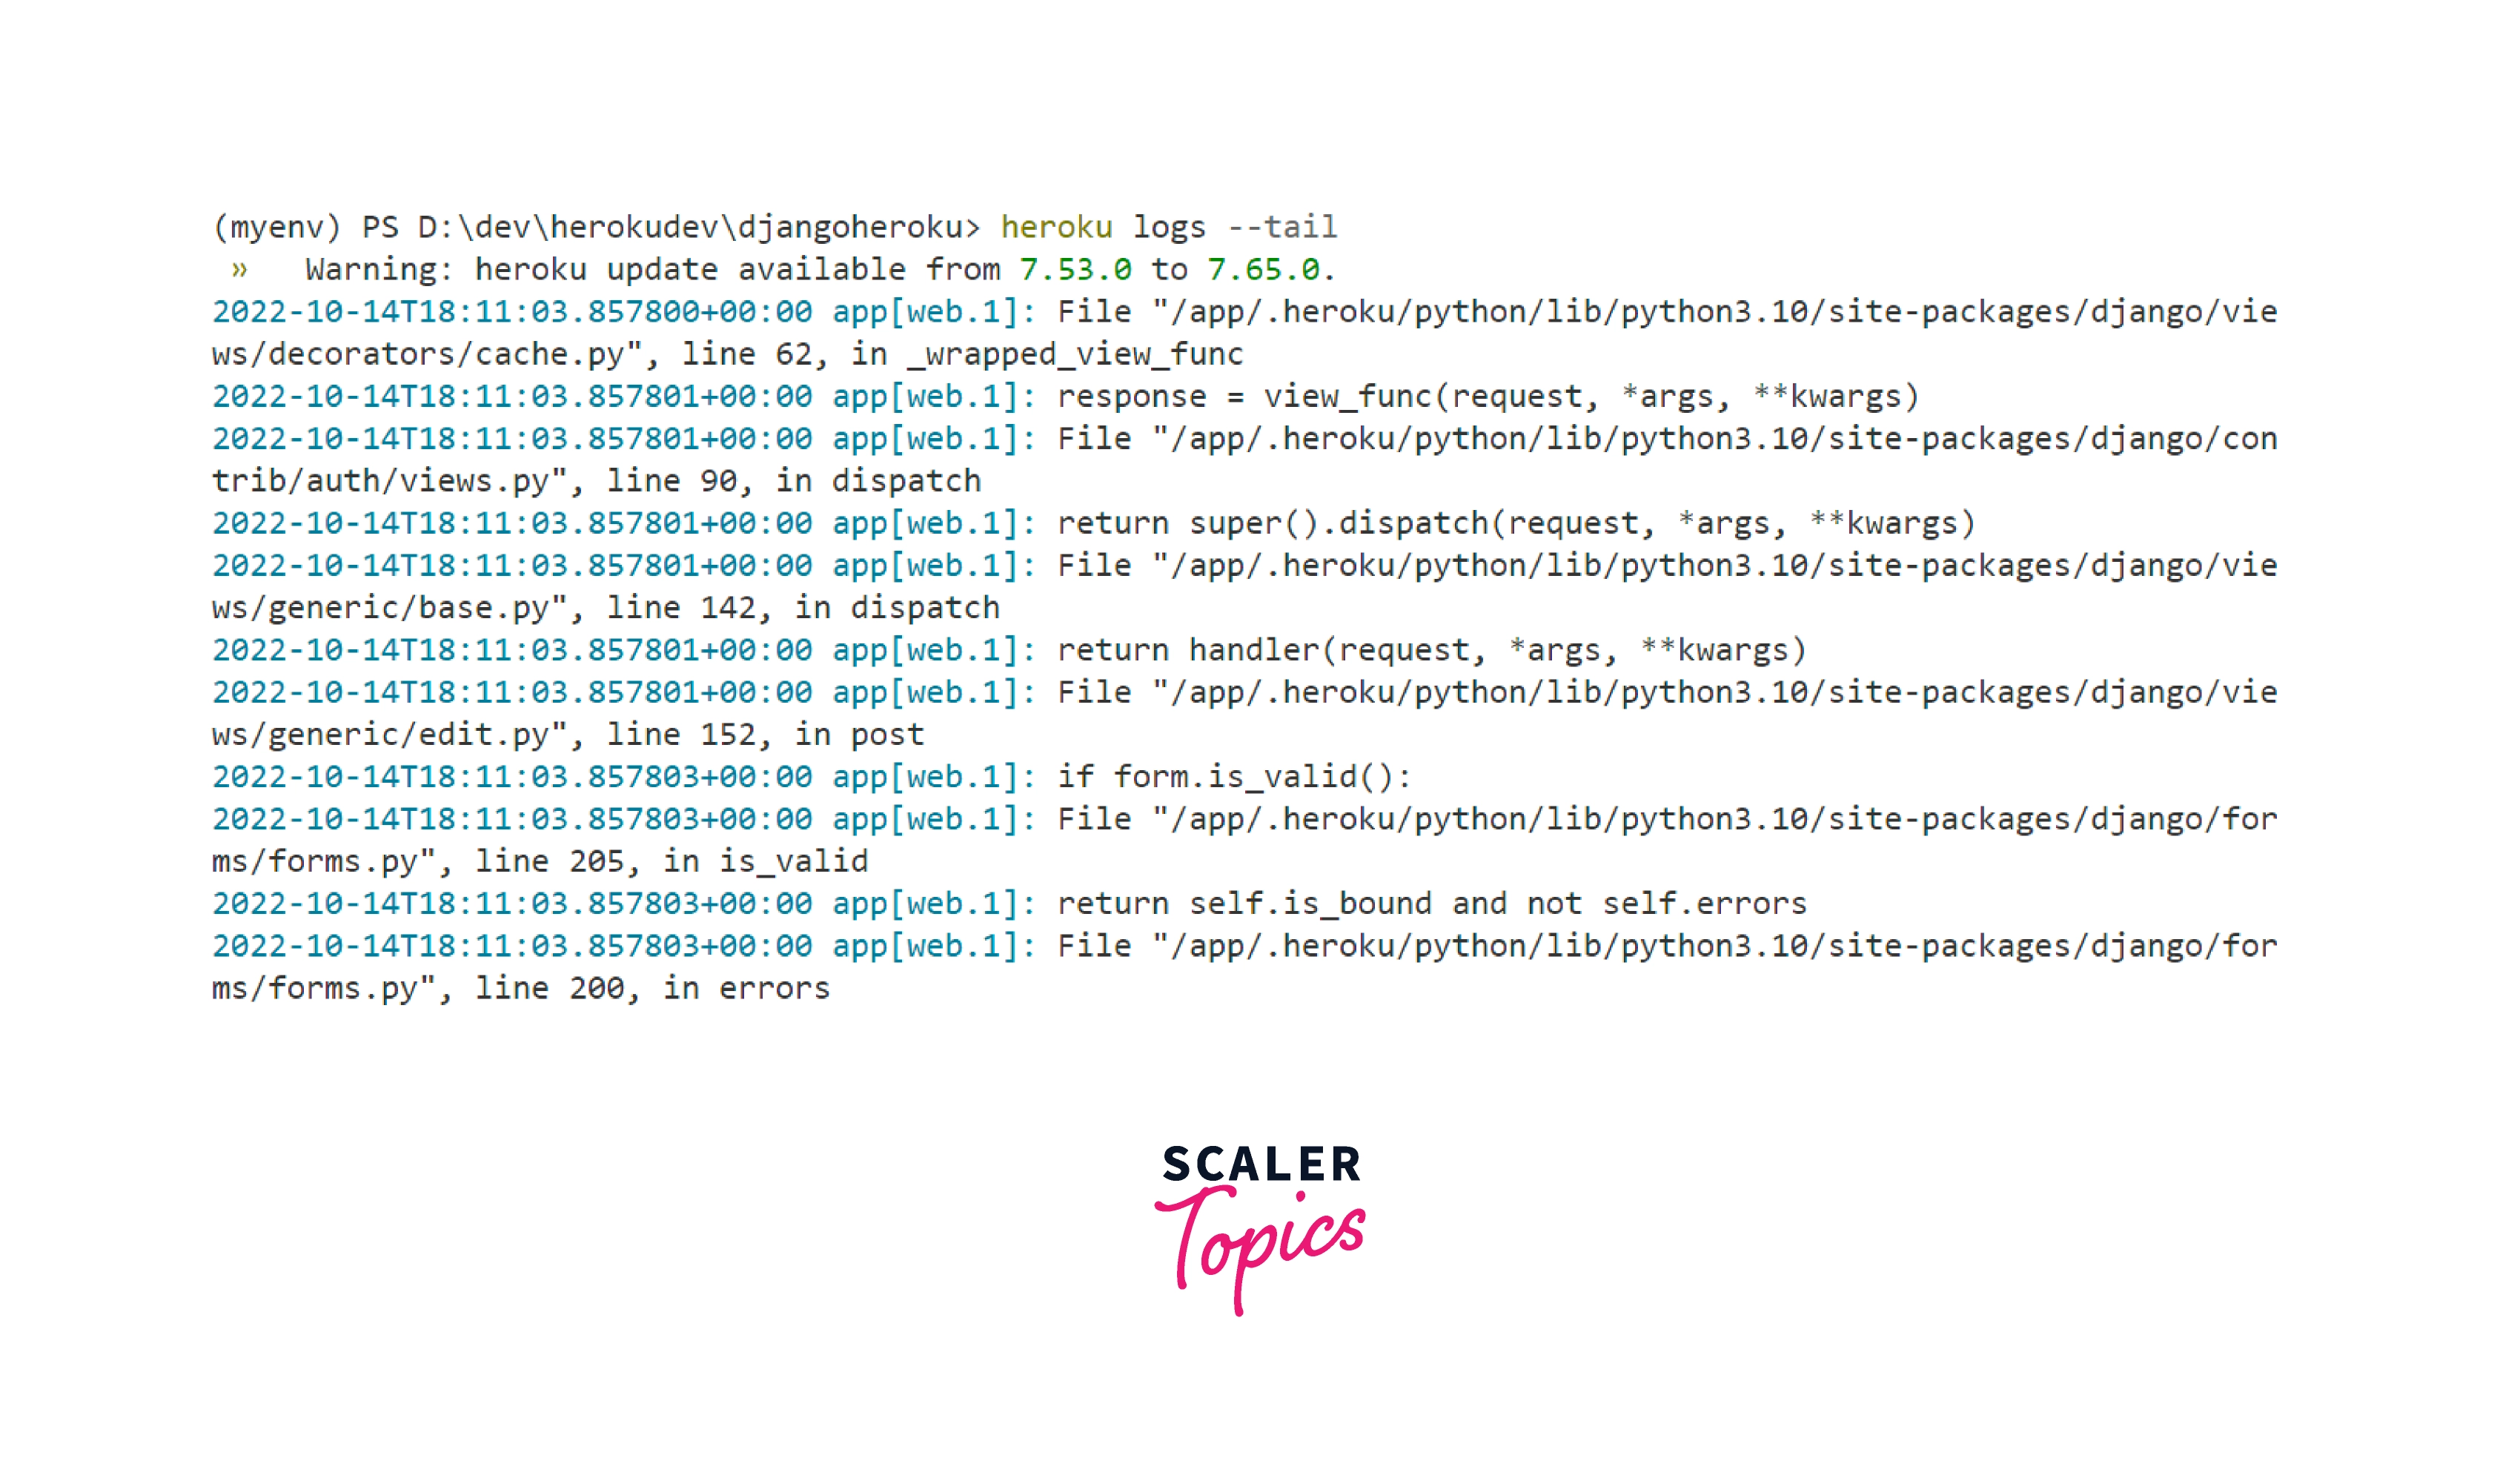
Resolving Errors
While deploying django app on heroku, you might face an error for that; you can check the log of your application by the following command
Scaler Placement Report and Statistics
Scaler learners achieved 2.5x salary growth with average post-Scaler CTC reaching ₹23L.
Conclusion
- Heroku is a cloud-based platform that hosts applications written in different programming languages, including Python.
- we can verify the Django installation by typing the django-admin --version command.
- We can create requirements.txt file by typing pip freeze > requirements.txt command.
- we can deploy the Django project on Heroku by creating a git repository and changing the setting of the project discussed above in the blog.