Django Authentication System
Django's default authentication system combines user authorization and authentication, which is essential for secure application access. This system, central to Django, supports fundamental and custom configurations, catering to various project needs. It facilitates user identity verification and permission management, ensuring secure access. This article guides you through integrating this crucial feature into your Django project, outlining steps to extend and customize authentication for specific requirements and user roles.
User Objects
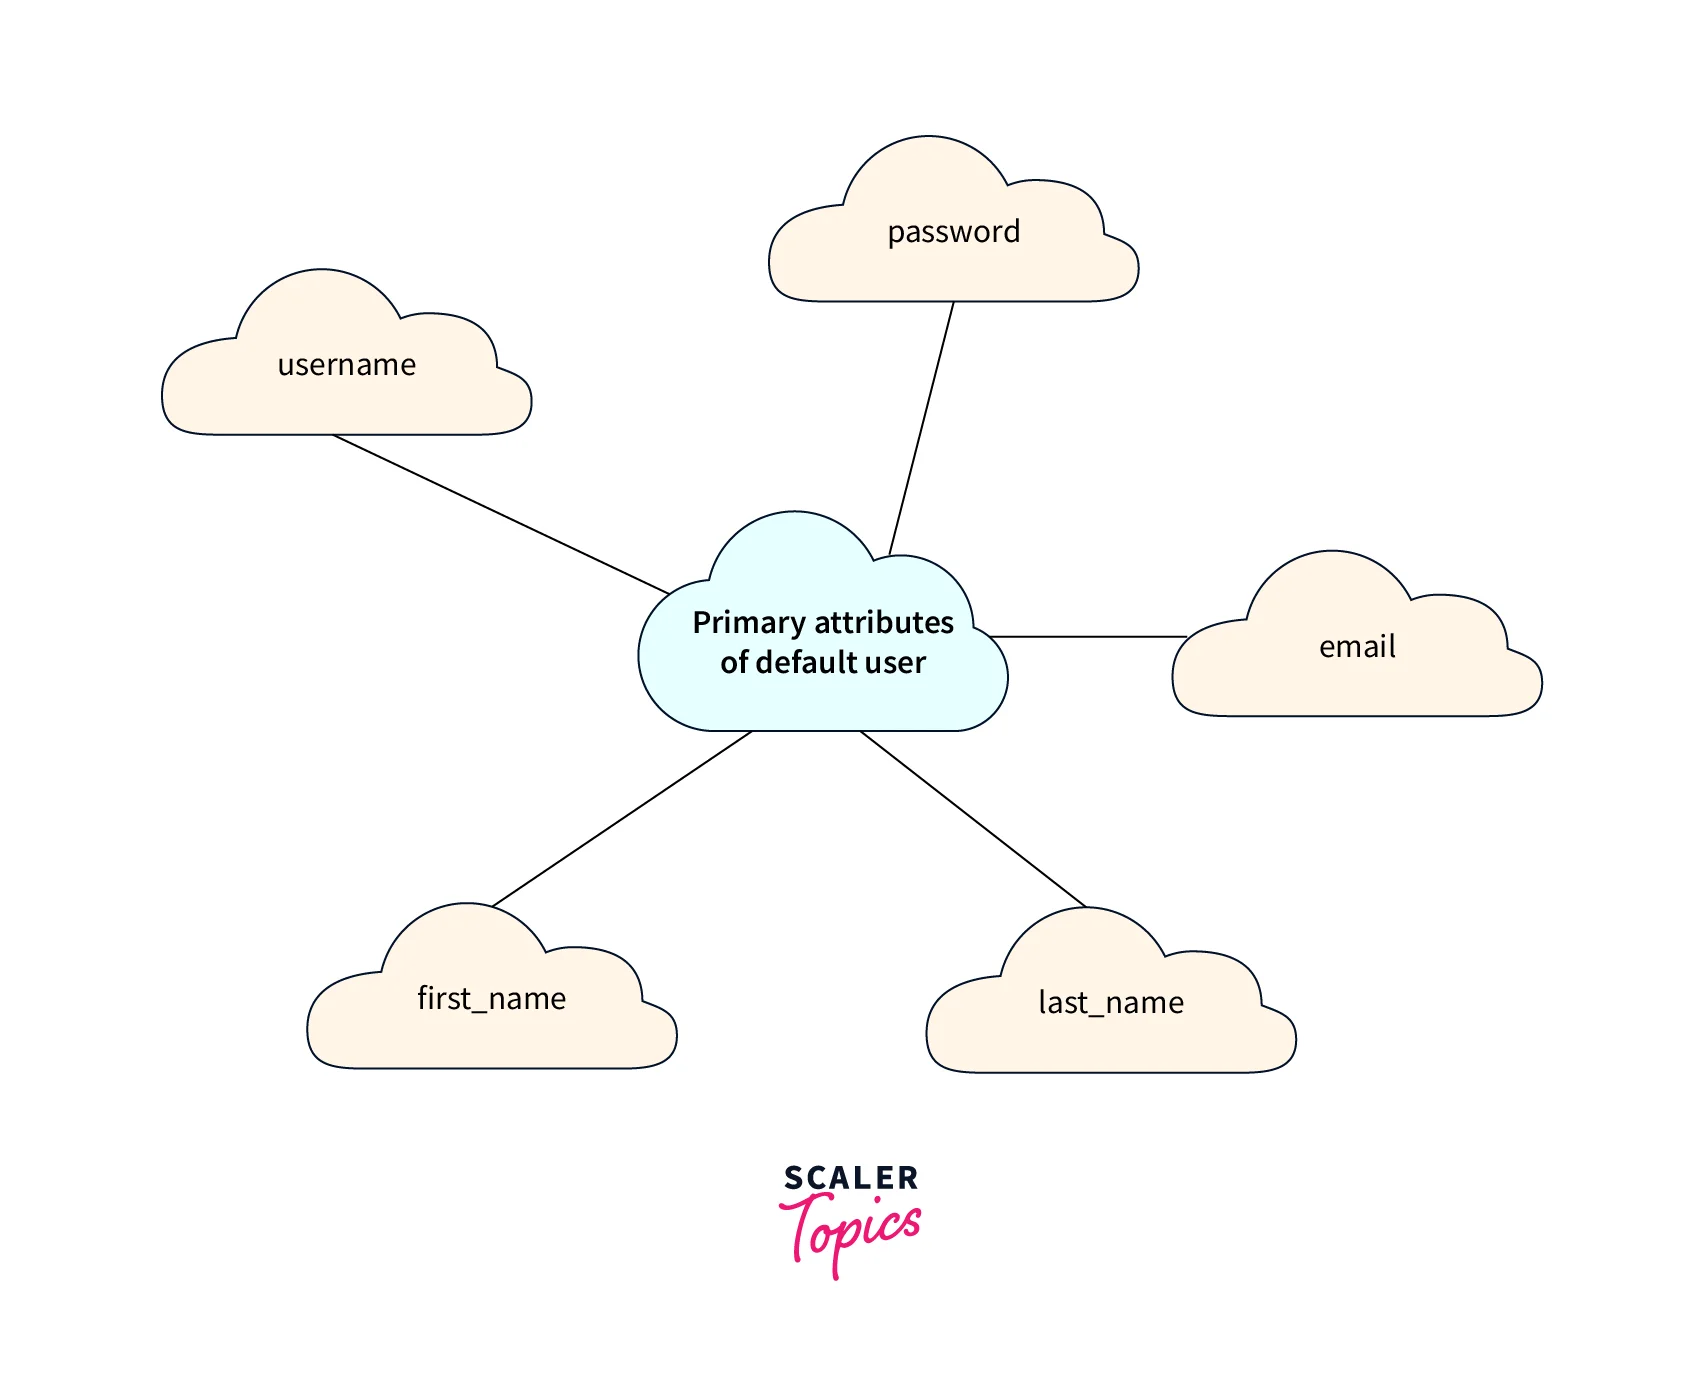
User objects are considered the core of the Django authentication system. The people that are interacting with your website are represented by the user objects and the activities such as user profile registration, access restrictions, content association with the speakers, etc. Is also enabled by the user objects. And the user is given rights based on their role. In the authentication framework of Django, there exist only classes of user objects. Default user primary attributes are given below:
- username
- password
- first_name
- last_name
Refer to the below image for the primary attributes of the default user
Username
It is a required user object which means it can not accept blanks. It allows 150 characters or less than that. ,And it allows you to enter _,+,@,., alphanumeric and - characters. For most use cases provided max_length is enough but you can also use a custom user modeto l for the longer length.
Password
It is also required. Metadata or Hash of the password is used. So the password is stored in encrypted form. Raw passwords are not stored by Django. The length of raw passwords is arbitrarily long and allows the user to enter any character.
It is optional and it also allows accepting blanks. And it, allows you to enter your email.
First_name
It is optional and it also allows accepting blanks. And it allows you to enter 150 characters or less than that.
Last_name
It is optional and it also allows the acceptance blanks. And it allows you to enter 150 characters or less than that.
Creating Users
For user creation, the most direct way is considered using the included create_user() helper function. You are also allowed to create users interactively if Django is installed on your system.
Creating Superusers
Superusers are considered the most powerful user and superuser have permission to create, update, read ,and delete data in the Django admin. Command createsuperuser is used for the creation of the superusers. After this, a prompt will appear for the password. The user will be created immediately after entering the password. If you have not entered the -–email or —-username then you will be prompted for entering those values.
Changing Passwords
Instead of a raw password Django stores the hash on the user model. Due to this reason never attempt to change the user password attribute directly. That is the reason why we use the helper function at the time of password creation. Several options are provided for changing the password of the user:
- A method is offered by the manage.py change password username for changing the user password from the command line. Now you will be prompted to enter the new password twice. If both entered password matches then the password of the user is changed immediately. If the user is not supplied by you, then the command tries to change the password of the username matching with the user of the current system password.
- set_password() is also used for changing the password.
- If Django is already installed in your system then the authentication system admin page can also be used to change the password of the user.
- Forms and views are also provided by Django that can also be used by the user for doing changes to their password. All the sessions are logged out after changing the password.
Transform Your Career
Choose from our industry-leading programs designed for career success
Modern Software and AI Engineering Program
Master full-stack development with AI integration

Modern Data Science and ML with specialisation in AI
Advanced data science techniques with AI specialization
Advanced AIML with Specialisation in Agentic AI
Deep dive into AIML with focus on Agentic systems
DevOps, Cloud & AI Platform Engineering
Build and manage AI-powered cloud infrastructure
AI Engineering Advanced Certification by IIT-Roorkee
Premier AI engineering certification from IIT-Roorkee
Authenticating Users
For verification of the credentials authenticate() is used.
Keyword arguments are taken as the credentials by it, for the default case it takes username and password as credentials parameters.
Then checks the credentials from the authentication back end. And if the credentials entered by the user are valid for a back end then a user object is returned. Permission denied is raised by the backend and it returns none if the credentials entered by the user are not valid for any backend.
Permissions and Authorization
There is a built-in permissions system in Django. And this system comes up with a way of assigning permissions to read, update, delete, and access the data to the group of users and specific users. Permissions used by the Django admin site are given below:
- View a object's Ac is provided to only those users that have permission to view or change that object.
- View add form Access is provided to only those users that have permission to add for that object.
- Change in form access and View change list Access is provided to only those users that have permission to change for that current rent object.
- Delete object Access is provided to only those users that have permission to delete that object.
Apart from per type of object permission, permission can also be set for the instance of a specific object. Customisation of permissions of different object instances having type similarity is also possible by using the methods provided by the Model admin class. Those methods are has_delete_permission(), has_view_permission(), has_change_permission(), and has_add_permission() There are two many-to-many fields in user objects i.e. user_permissions and groups. Object related to the user objects can be accessed by the user objects in the way same as the Django model:
Default Permissions
Four Default permissigroup'se. del ete, change, view and add are ensured for evegroup'sngo mo del that is defined in any of your installed applications after listing django.contrib.auth in the INSTALLED_APPS setting. After running manage.py migrate permissions will be created. After the addition of the django.contrib.auth into your INSTALLED_APPS when you first time run the migrate, then for all models that are installed previously the default permissions will be created. And also created for the, application that is installed at that time. After that at every running of manage.py migrate command, default permissions for the new models are created.
Groups
Group is a way of user categorization for applying permissions to those users. Any userDjangoe related to any number of groups. For categorization django.contrib.auth.models.The group model is considered a generic way. Any user is allowed to belong to any number of groups. And the permission assigned to the group is automatically assigned to all the users inthe the group.
Programmatically Creating Permissions
Permissions can be created directlyThe group defining the custom permissions in the metaclass of the model. For instance, can_publish permission can be created for the model of the myapp i.e BlogPost. User_permision can be used to assign permissions to the user and group_attributes are used for the groups.
Scaler Placement Report and Statistics
Scaler learners achieved 2.5x salary growth with average post-Scaler CTC reaching ₹23L.
Permission Caching
The ModelBackend caches permissions on the use r object after the first time they need content types or a permissions check. If you are adding permissions and checking them immediately afterward, in a test or view, for example, the easiest solution is to re-fetch the user from the database.
Proxy Models
The working of the proxy model is similar to the working of the concrete models. A proxy model is used when it is required add methods, change order, etc. of already existing model of the user. Own content type of the proxy model is used for creating the permissions. Concrete model permissions are not inherited by the proxy afterwardython class Human(models.Model):
Authentication in Web Requests
For hooking the authentication system into the object of the request, sessions, and middlewares are used by Django.
For the representation of the current user request. user is provided by it for each request. If the current user has logged in then the instance of the user is set to this attribute and the anonymous user instance is set to this attribute if the current user is not logged in.
Scaler Placement Report and Statistics
Scaler learners achieved 2.5x salary growth with average post-Scaler CTC reaching ₹23L.
How to Log a User In
login() function is used for attaching the authenticated user with the current session.
Login(request, user, backend=None)
As a parameter user object and HttpRequest are taken by it. For user log-in, use login() to form a view. The Django session framework is used by the login() to save the Id of the user in the session. Below is an example to demonstrate the use of login() and authenticate():
Turn Learning into Career Growth
Selecting the authentication Backend
Th e user ID and backend that the user has used at the time of login are saved in the session of the user. With the help of this same authentication, the backend can fetch the details of the user on future requests.
How to Log a User Out
#a ## Logouquest) user logged in by django.contrib.auth.login(), use django.contrib.auth.logout() for logging out within the view. It does not return any value and takes the object of HttpRequest. When the user was not logged in, then in this condition no error is thrown by the logout (). There is a complete removal of the session data for the current request if the user calls logout(). All the data prerequests this particular time will be erased. This is done for security purDjangoso that other users will not Django the same browser for login and also prevent access to previous session data of the user by any other person. After calling, users are allowed to add something to the session but this facility will be provided to the user immediately after logging out.
Limiting Access to Logged-in Users
Access to the users are limited in terms of how they log in and log out from the system.
The Raw Way
Pages access can be limited by the raw way by checking request.user.is_authenticated and either doing redirection to the login page.
The Login_Required Decorator
For the shortcut, a convenient login_required() decorator can be used.
The following is done by the login_required() decorator:
- User is redirecte d to the settings.LOGIN_URL if it is not logged in, and in the query string the current absolute path is passed.
- View is executed normally if the user is logged in
On successful authentication, the user is by default redirected to the path that is saved in the query string parameter named “next”. The redirect_field_name parameter is an optional parameter taken by the login_required() if you want a different name. Suppose any value is given to redirect_field_name then in this condition, you must customize your login template. The value of redirect_field_name will serve as a key for the template context variable that keeps the redirect path. The optional login_url parameter will be taken by the login_required().
If the login_url parameter is not specified by you, then you have to make sure that there is a proper association in the view of your login and settings.LOGIN_URL. Named URL patterns and view functions need to be accepted by the settings.LOGIN_URL. With the help of this feature, you can remap your login view freely and also allow you to see the login view in your URLconf without the need to do any update in the settings.
The LoginRequiredMixin Mixin
With the help of LoginRequiredMixin, you can get the same features as that of login_required when you are supposed to use class-based views. It is mandatory to use mixin at the leftmost place in the list of inheritance. class LoginRequredMixin All requests from non-authorised users based on the raise_exception parameter required to be redirected to the login page or a forbidden error i.e, HTTP 403 will be displayed, if this mixin is used by the view. For customizing the unauthorized user handling, you need to set any parameters of AccessMixin
There is no checking of the flag is_active on a user in mixin just like that of login_required. But users active users are rejected by the default AUTHENTICATION_BACKENDS.
Limiting Access to Logged-in Users That Pass a Test
All the logged-in users that passed a test now have limited access. Based on some permission or some test you can limit the access but for this, you have to follow a similar procedure as given in the previous part. The request.user allows you to directly run your test in the view. Suppose, this view checks whether the user has an email in its particular domain or not. If it is not available in its particular domain then it needs to redirect to the login page.
user_passes_test(test_func, login_url=None, redirect_field_name='next') For a shortcut, user_passes_test decorator can be used by you, when the false is returned by callable then it does the redirection.
A callable that has taken the object of the is passed as a necessary argument of the user_passes_test() and the true is returned by it when the user is permitted to view the page. Anonymous users are not automatically checked by the user_passes_test() Generally, two optional arguments are taken by the user_passes_test().
- login_url
- redirect_field_name
class UserPassesTestMixin When you are using class-based views, then with the UserPassesTestMixin you can perform this.
- test_func(): For providing the test that is performed, you need to override the test_func()method of the class. For customizing the unauthorized user's handling, you need to set any parameters of AccessMixin.
- get_test_func(): get_test_func() can also be overridden for checks.
The Permission_Required Decorator
It seems to be common to check if the user has any particular permission or not. And for this purpose, a shortcut method i.e. permission_required() decorator is provided by Django.
Similar to the has_perm() method, form "<a pp label>.<permission codename>" is taken by the permission names. Permissions iterable can also be taken by the decorator, in which to access the view user must have all the permissions. Optional parameter login_url can also taken by the permission_required().
The PermissionRequiredMixin Mixin
PermissionRequiredMixin is used to check the permissions of the class-based views. An alternative way for view implementation as python objects instead of functions is provided by the class-based views. class PermissionRequiredMixin Similar to the permission_required decorator, mixin determines whether all the permissions are given to the user access using the view. Permissions_required parameter is used to specify the permission.
For customization of unauthorized user handling, any of the parameters of the accessmixin can be set. Below given methods can be overridden. get_permiss ion_required(): Permission name iterable is returned by it which is used by the mixin. has_permission(): Boolean is returned by it which represents whether the decorated view execution permission is given to the current user or not.
Redirecting Unauthorized Requests in Class-Based Views
In class-based views, to make the process of access restaccess mixingsier when access is denied then for configuration of the view behavior AccessMixin is used. HTTP 403 Forbidden response is used to deny access to the authenticated users.
Authentication Views
Several views are provided by Django which can be used for logout, login, and password management handling.
For the authentication views, no default template is provided by Django. For the views you want to use, you are required to create your templates. Using the views For the implementation of these views, different methods are available. The easiest way them itoo the URL config provided inside the django.contrib.auth.urls to include in your URLconf.
Custom Authentication
Custom authentication uses an authentication server to create a custom-signed token when a user successfully logs in. Your app receives this token and uses it to authenticate with the identity platform
To implement this scheme in DRF, we need to add BaseAuthentication as a subclass and override the .authenticate(self, request) and .authenticate_header(self, request method, in case it is not overridden the request will be denied and will throw an HTTP 403 Forbidden error.
Why You Should Avoid JWT for Django Rest Framework Authentication?
First, what is JWT? JWT stands for JSON Web Tokens. It is a token-based mechanism to authenticate and protect an API. In JWT, a token is generated on every successful login or registration stored in users' browser cookies. It is a secure way to validate the one who is making the call to the server and exchange information between the server and the client. But why it is not recommended to be used in the Django rest framework?
JTW token is not compatible with the Django rest framework because it requires a bunch of additional libraries and changes in setting to configure JWT for a DRF project and it also it have been observed many times that due to poor encryption of JWT, vulnerabilities can easily be found in the JWT-based projects which makes an ease for the malicious user to access someone else resource.
Conclusion
- Both Authorization and authentication are provided by Django authentication and this system is generally called the authentication system because both authentication and authorization features are coupled into it.
- Default user primary attributes are username, password, email, first_name, and last_name.
- For user creatioURL configst direct way is consider Djangosing the included create_user() helper function and the command createsuperuser is used for the creation of the superusers.
- Several options are provided for changing the password of the user and for verification of the credentials of the user authenticate() is used.
- Permissions can be created directly after defining the custom permissios in the metaclass of the model.
- The working of the proxy model is similar to the working of the concrete models.
- In class-based views, to make the process of access restrictions easier when access is denied then for configuration of the view behavior AccessMixin is used.
- Several views are provided by Django which can be used for logout, login, and password management handling.