How to Create a Basic Single-Page App Using Django?
Overview
Django is a python-based open-source web framework. Following the MVT(Model-View-Template) structure, it helps us to rapidly develop web applications. In this article, we will take a look at how to create a Django single page app that will display a profile card of the user whose data has been passed from the backend using Django.
Transform Your Career
Choose from our industry-leading programs designed for career success
Modern Software and AI Engineering Program
Master full-stack development with AI integration

Modern Data Science and ML with specialisation in AI
Advanced data science techniques with AI specialization
Advanced AIML with Specialisation in Agentic AI
Deep dive into AIML with focus on Agentic systems
DevOps, Cloud & AI Platform Engineering
Build and manage AI-powered cloud infrastructure
AI Engineering Advanced Certification by IIT-Roorkee
Premier AI engineering certification from IIT-Roorkee
Introduction
First, we will take a look at how to set up and activate a virtual environment for our project. Then we will set up our Django project, configuring some common settings. Next, we will create a view, and map it with an URL and templates corresponding to it.
Setting Up the Project
First, let's create a virtual environment.
Activating the vrtual environment created.
As the virtual environment is activated, now we need to download django package.
We can check, weather the package has been successfully installed or not by the following commands
This will output you the current installed version of the package.
As the package has been installed correctly, we can now initialize a django project.
This will create a Django project with a manage.py file in the root directory.
Using this file we can now create an app corresponding to this project through the following command.
Now, we need to include our app in the settings.py file of our project.
To map the URLs used in the application (app) here, we need to first create an app.py file in the application directory the include it in the urls.py file of the project.
First, create urls.py file in the application directory and add the following code.
Now include it in the urls.py file of the project.
Now, as the basic configuration has been done, we can run the server. But first, as a good practice, we need to migrate the initial changes through the following commands.
As the initial changes have been migrated, we can now run our server.
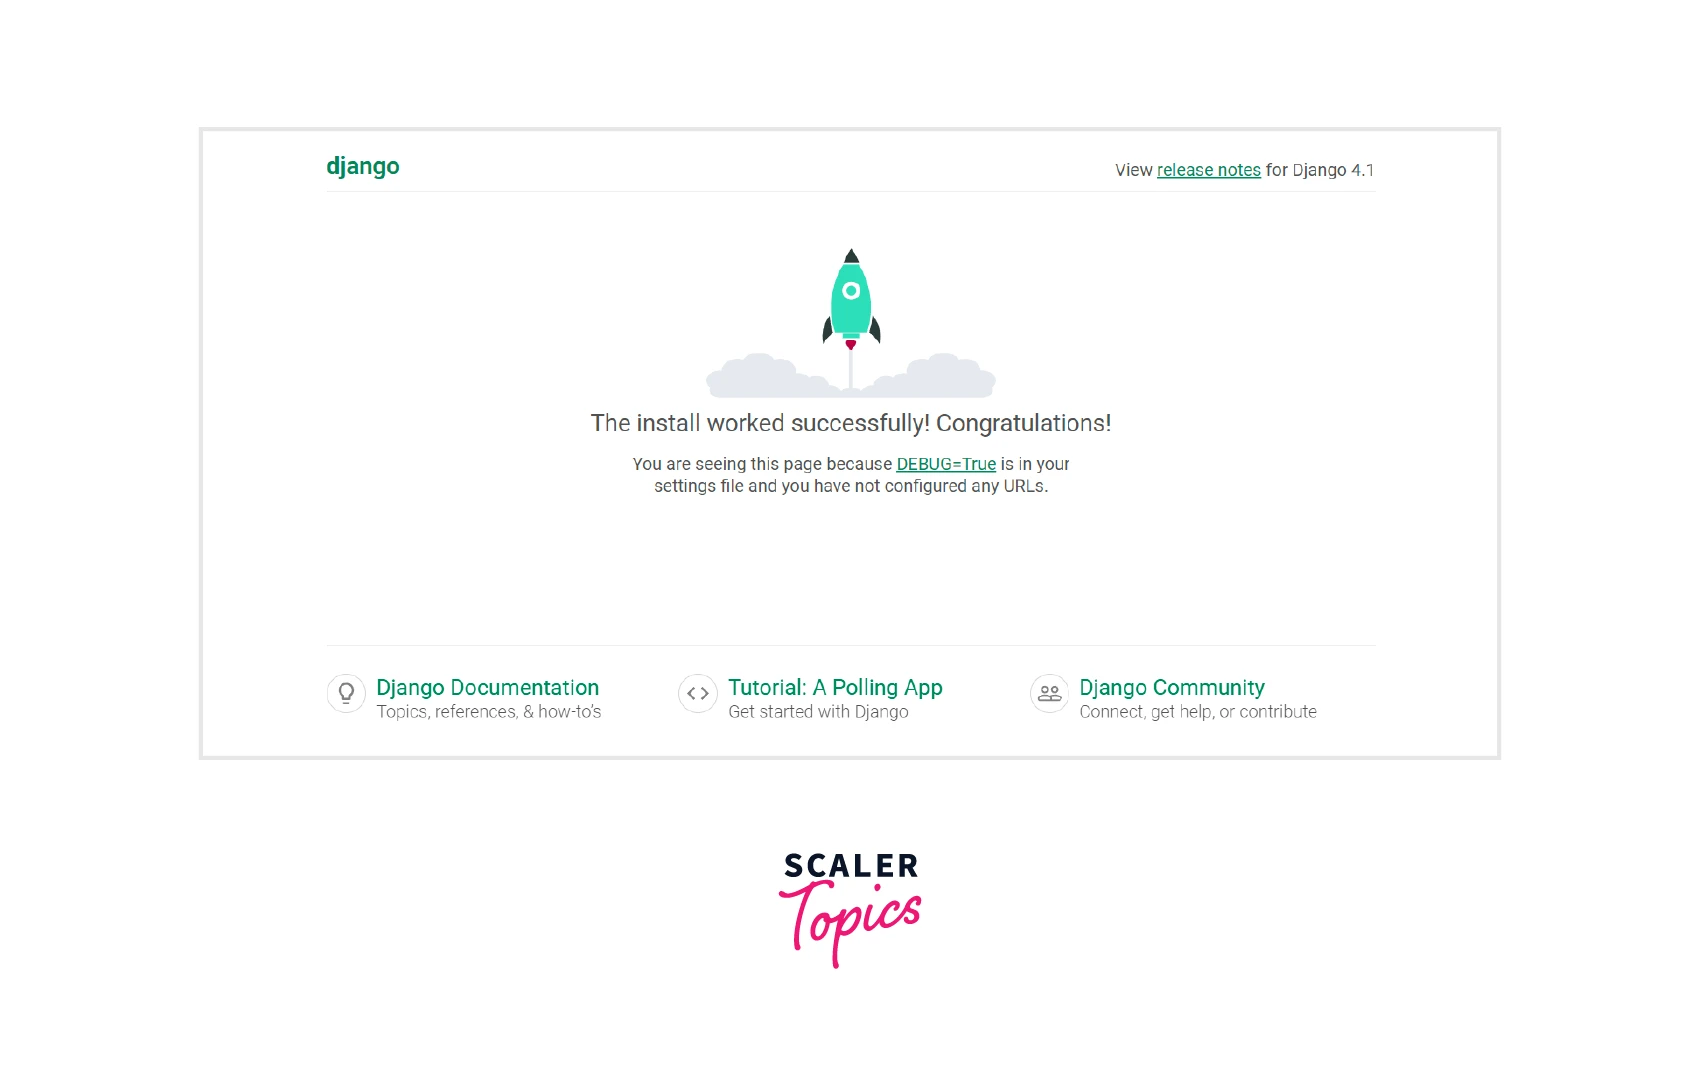
Now, routing to http://127.0.0.1:8000/ we can see our homepage.
Adding Singlepage App to Django Settings
To create a Django single page app that renders a card component corresponding to the data of a user passed from the backend in Django, we need to do some basic configuration templates, static, and media folder in the settings.py file. Let's take a look at each of them one by one.
For the templates, where we keep all our HTML files. We need to first create a "templates" folder in the root directory of our project. The declares its path in the TEMPLATES list of the settings.py file of the project.
For the static files to store CSS and Js files. Create a static named folder in the root directory and add the following commands somewhere in the settings.py file.
In most cases, it is already been added there.
Now, for the media files, create a media named folder in the root directory. Then declare the media_url and media_root paths in the settings.py file.
Turn Learning into Career Growth
Creating Views
For this article, let us create a Django single page app, displaying the profile card of various users. We will create a list of dictionaries, containing data of various users including name, college, LinkedIn URL, and GitHub Url.
A view function renders an HTML template, so before creating a function, first, create an index.html file in the /templates directory.
At first, we created a list containing data of a user in form of dictionaries. Then we defined a function named index which renders a template index.html which we created earlier.
We passed the list through a variable named context which is dictionary because according to Django, context must be a dict rather than list.
Creating the URLs
Now as we have our view function, we need to map it in with a URL in the urls.py file of the application directory so that we can route to it once the server is running.
At first, we imported the views from the root directory of the /app folder. Then create an URL path /homepage and map it with the index function of the views and give it the name homepage
Now if you will route to http://127.0.0.1:8000/homepage, you will see and white empty page, as it has nothing been added there in the index.html file. So let us now create template.
Creating Templates
For now let, we now add a navbar to our "homepage". We will be using bootstrap for this. Bootstrap is a free and open-source CSS framework called Bootstrap is designed for front-end web development that prioritizes mobile responsiveness. All the code mentioned belowe comes under the UI.
This is a starter template, containing all the CDN links required to integrate bootstrap into the HTML content.
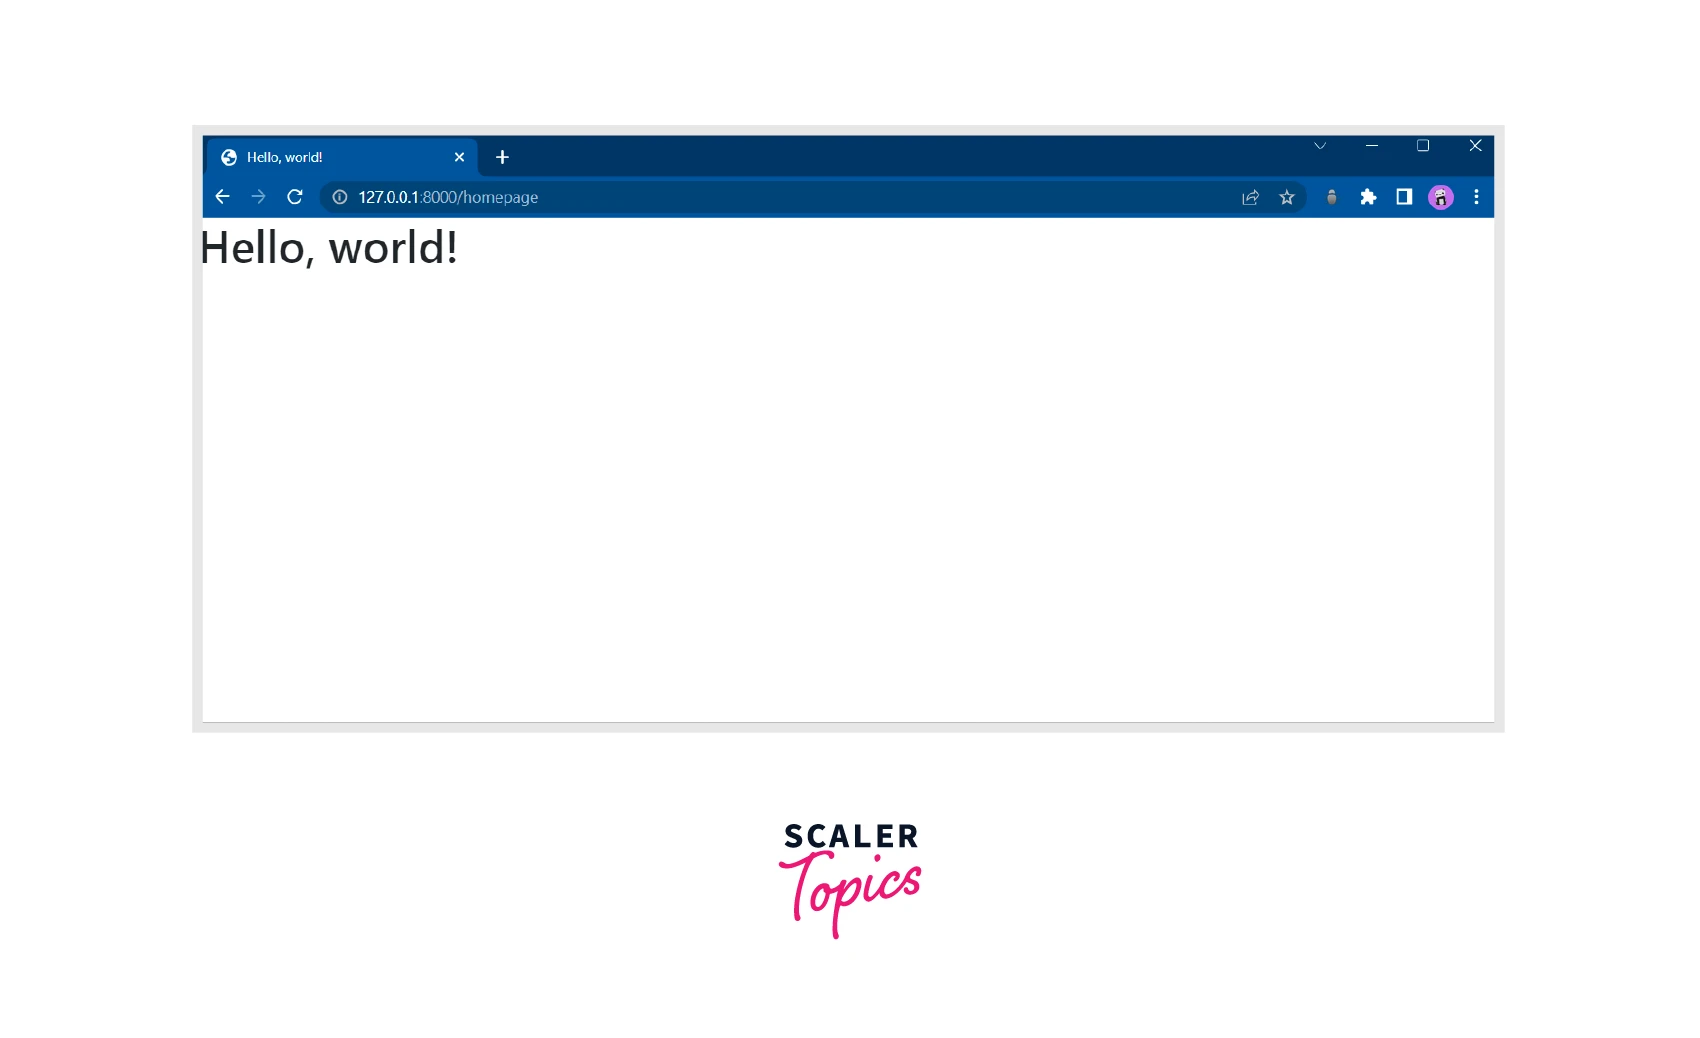
Now, refreshing the page with URL http://127.0.0.1:8000/homepage, you will find a 'Hello World' on the page.
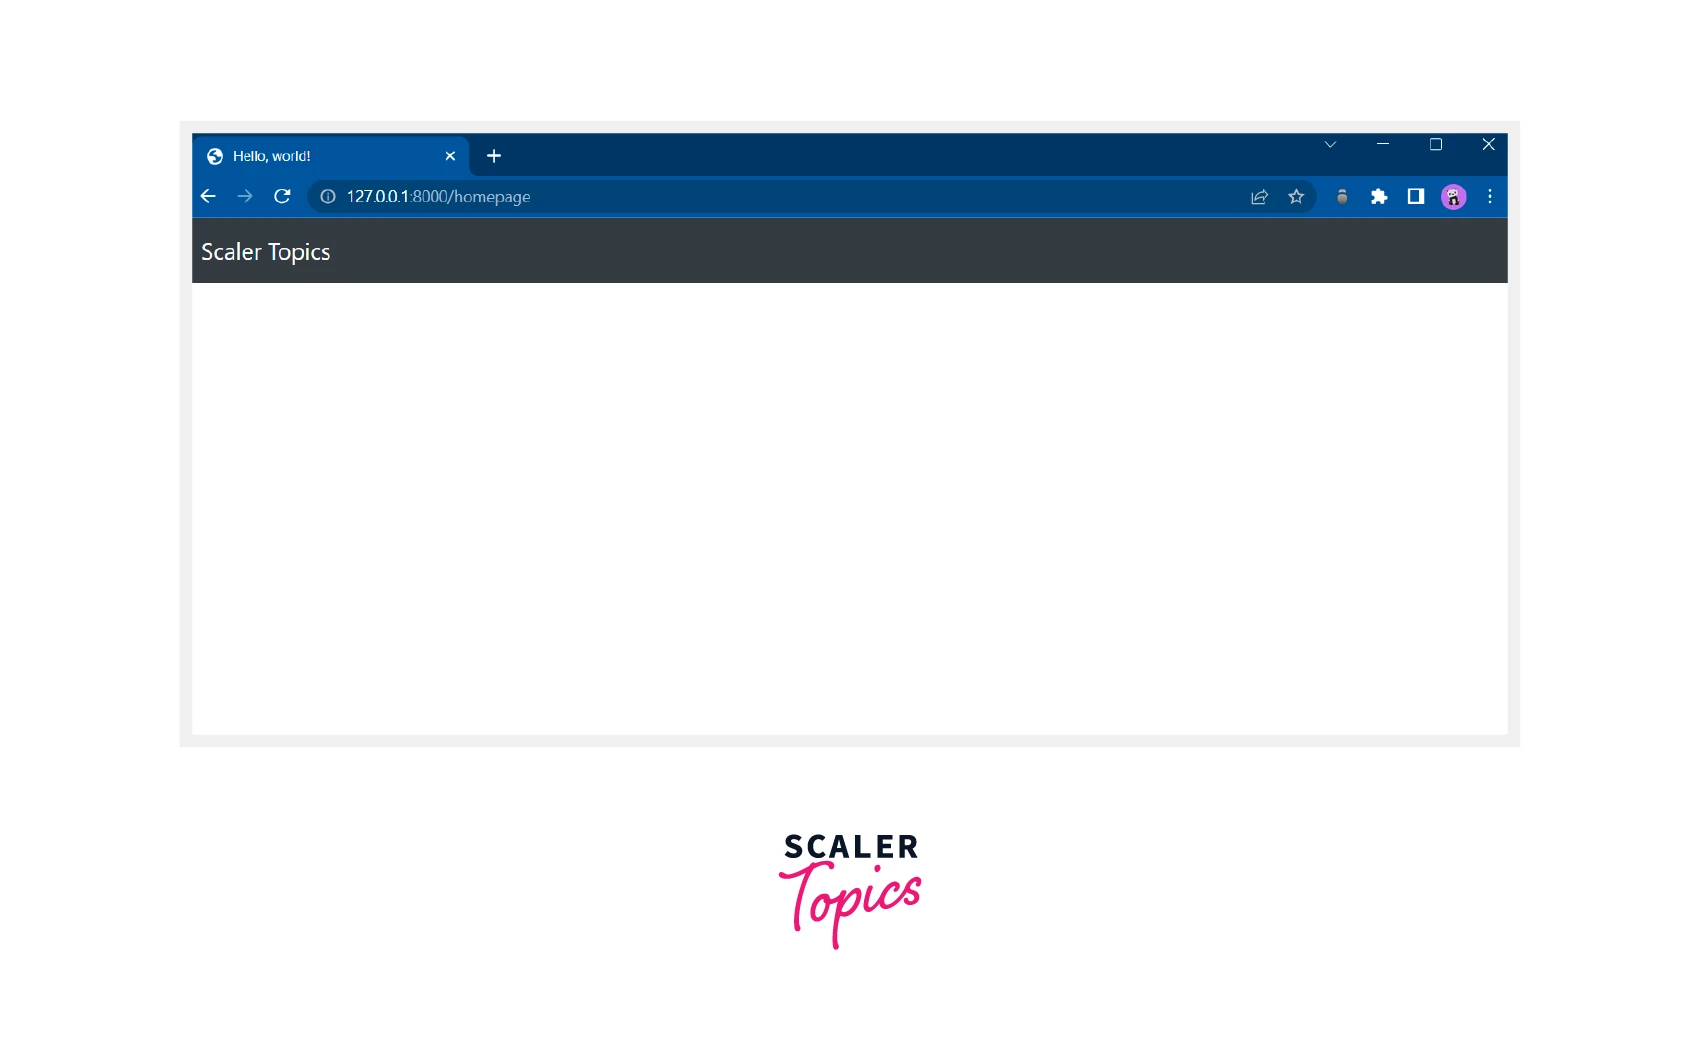
Now let's create a navbar, you may refer to this page for more navbar templates. Add the following snippets at line number 17 in the above code.
Now our homepage look like,
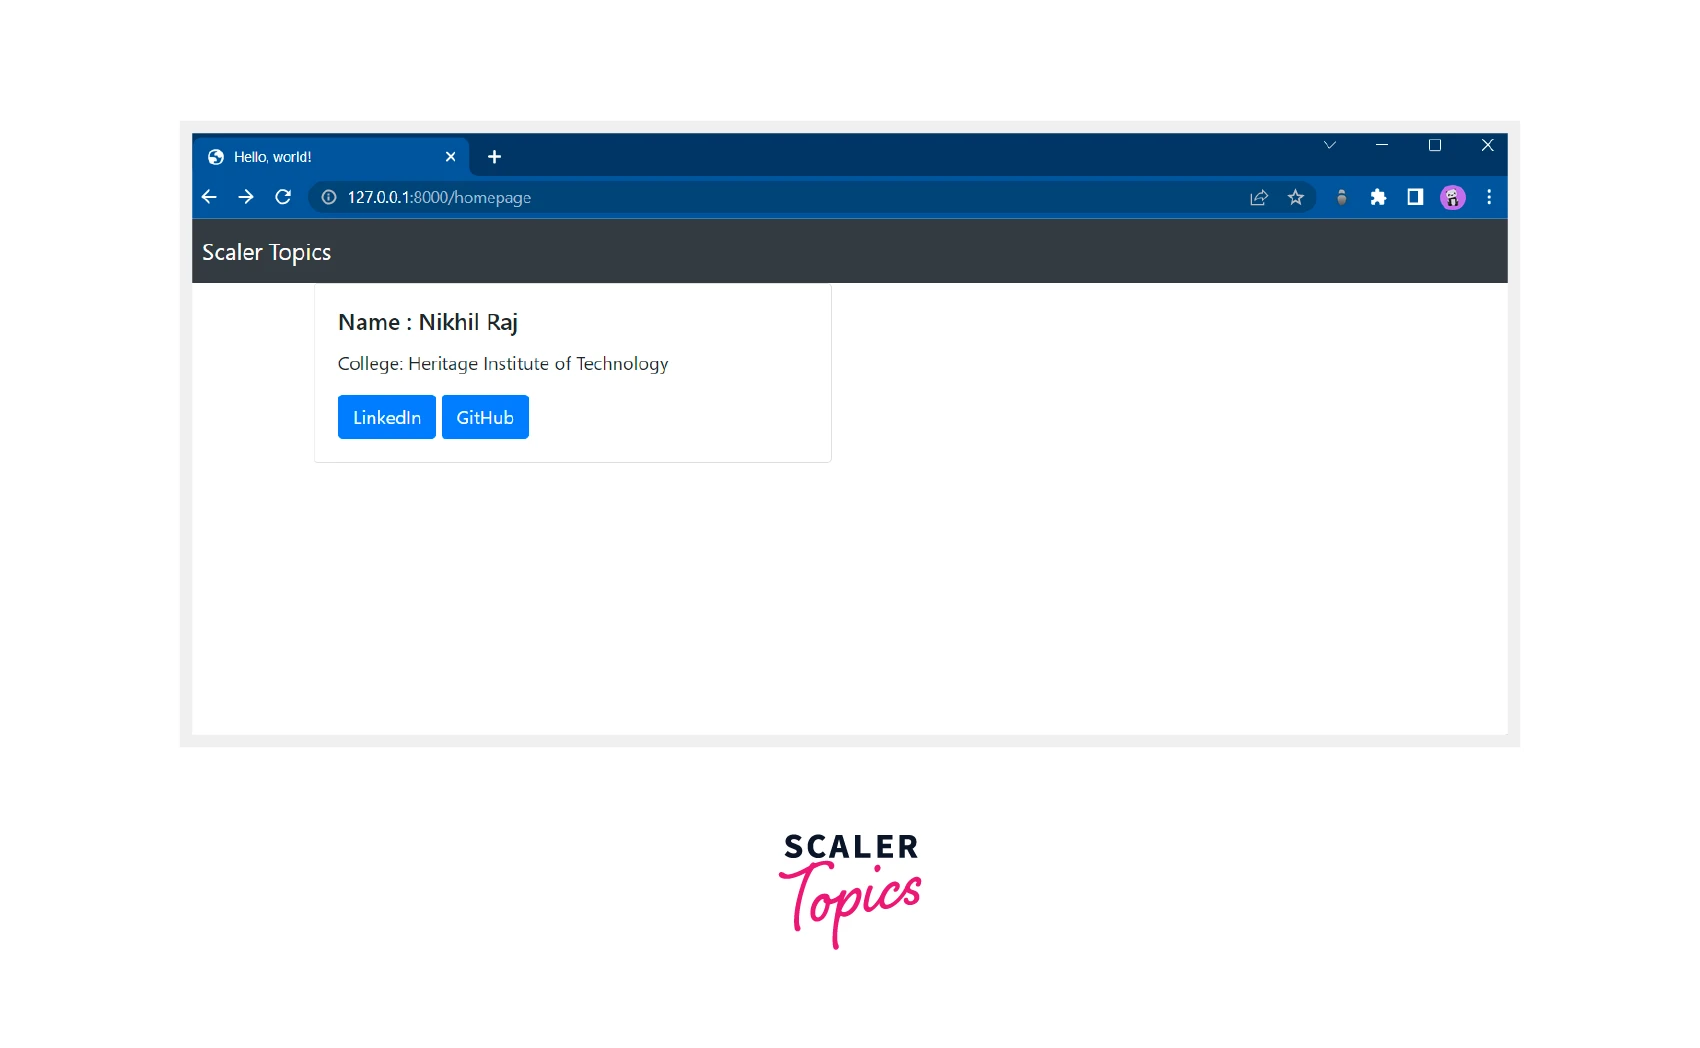
Now create a card component below navbar the renders data passed with context in the views function.
We will use jinja syntax to loop on the data.
Now, when we will route to the URL http://127.0.0.1:8000/homepage we will see a card component containing details of a user as shown in the figure below.
Conclusion
From the article, we conclude that
- Create a virtual environment, activate it, and initialize a Django project and app in it.
- Include the app name in the INSTALLED_APPS list in the settings.py file of the project.
- Create a templates folder for storing HTML files, a static folder for CSS and Js, and a media folder for storing media files in the root directory.
- Make changes in the settings.py file regarding each folder mentioned in the above point.
- Create a list of users, pass it along with the template index.html in the views.py file in form of a dictionary name context.
- Use jinja syntax to loop on the data in the HTML file and render the data passed from the views.