Creating Your First Django Project
Overview
In this article, we will guide you through the process of creating your first Django project. By following this guide, you will learn the basics of Django and how to create a functional web application in no time. So, whether you're a beginner looking to learn web development or an experienced developer looking to expand your skills, this guide is for you.
Pre-Requisites
Here are the prerequisites for installing and setting up your first Django project:
- Python : You can download the latest version of Python from the official website https://www.python.org/downloads/.
- pip: pip is the package installer for Python. It is typically included with Python, but if not, you can install it by running the command python -m ensurepip --default-pip.
- Text Editor : You'll need a text editor to write and edit your code.
- Basic understanding of Python and its syntax : Since Django is written in Python, it's important to have a basic understanding of the language before diving into web development with Django.
- Familiarize yourself with the command-line interface (CLI) of your operating system, as you'll be using it to navigate your file system, run commands, and interact with your virtual environment.
Transform Your Career
Choose from our industry-leading programs designed for career success
Modern Software and AI Engineering Program
Master full-stack development with AI integration

Modern Data Science and ML with specialisation in AI
Advanced data science techniques with AI specialization
Advanced AIML with Specialisation in Agentic AI
Deep dive into AIML with focus on Agentic systems
DevOps, Cloud & AI Platform Engineering
Build and manage AI-powered cloud infrastructure
AI Engineering Advanced Certification by IIT-Roorkee
Premier AI engineering certification from IIT-Roorkee
Set Up a Virtual Environment
What is a Virtual Environment?
A virtual environment is a self-contained directory that contains all the necessary dependencies and packages for a specific project. It allows you to have separate environments for different projects, each with its own set of dependencies and packages. This is useful because it prevents version conflicts between different projects and ensures that each project has the specific versions of packages that it needs to run correctly. This makes it easier to develop and test applications in a consistent environment, and also makes it easier to deploy the application to a production environment.
Set Up
To set up a virtual environment in Django, you can proceed with the following steps:
- Open the command prompt or terminal on your computer.
- Use the command pip install virtualenv to install the virtualenv package.
- Navigate to the directory where you want to create your virtual environment.
- Use the command virtualenv env to create a new virtual environment named "env".
- Activate the virtual environment by running the command env\Scripts\activate on Windows or source env/bin/activate on Mac/Linux.
- You should now see the name of your virtual environment in the command prompt, indicating that it is active.
Turn Learning into Career Growth
Install Django
Follow these steps to install Django:
- Open the command prompt or terminal on your computer.
- If you have set up a virtual environment, activate it by running the command env\Scripts\activate on Windows or source env/bin/activate on Mac/Linux.
- Use the command pip install django to install Django.
- Verify that Django is installed correctly by running django-admin --version in the command prompt.
Note: If you don't have a virtual environment, or you don't want to use it, you can still install Django globally. But as mentioned before, it's recommended to use virtual environments for your projects, as it allows you to maintain separate dependencies for different projects, and prevent version conflicts.
Pin Your Project Dependencies
Pinning your project dependencies refers to specifying the exact versions of the packages that your project depends on. This ensures that the dependencies do not change when someone else runs the application or when it is deployed to a different environment. To pin the dependencies for your Django project, you will need to create a requirements.txt file that lists all of the packages and their specific versions.
You can do this by running the following command terminal:
This command will create a requirements.txt file in the root of your project and list all of the packages and their versions that are currently installed in your virtual environment.
Another way to pin your dependencies is to use poetry or pipenv, which are package managers that can handle the dependencies and their versions for you. Once you have created the requirements.txt file, you can distribute it with your project and others can use it to install the same versions of the packages by running the command:
By pinning your dependencies, you can ensure that your project will run consistently in different environments and that it will not break if one of the dependencies is updated.
Set Up a Django Project
To set up a Django project, you will need to have Django installed on your computer. Once you have that, you can proceed with the following steps:
- After activating the virtual environment and installing Django, Navigate to the directory where you want to create your project.
- Use the command Django-admin startproject projectname where "projectname" is the name of your project. This will create a new directory with the same name as your project and set up the basic file structure for a Django project.
- Navigate into your new project directory by using the command ```cd project name ``.
- Run the command python manage.py runserver to start the development server.
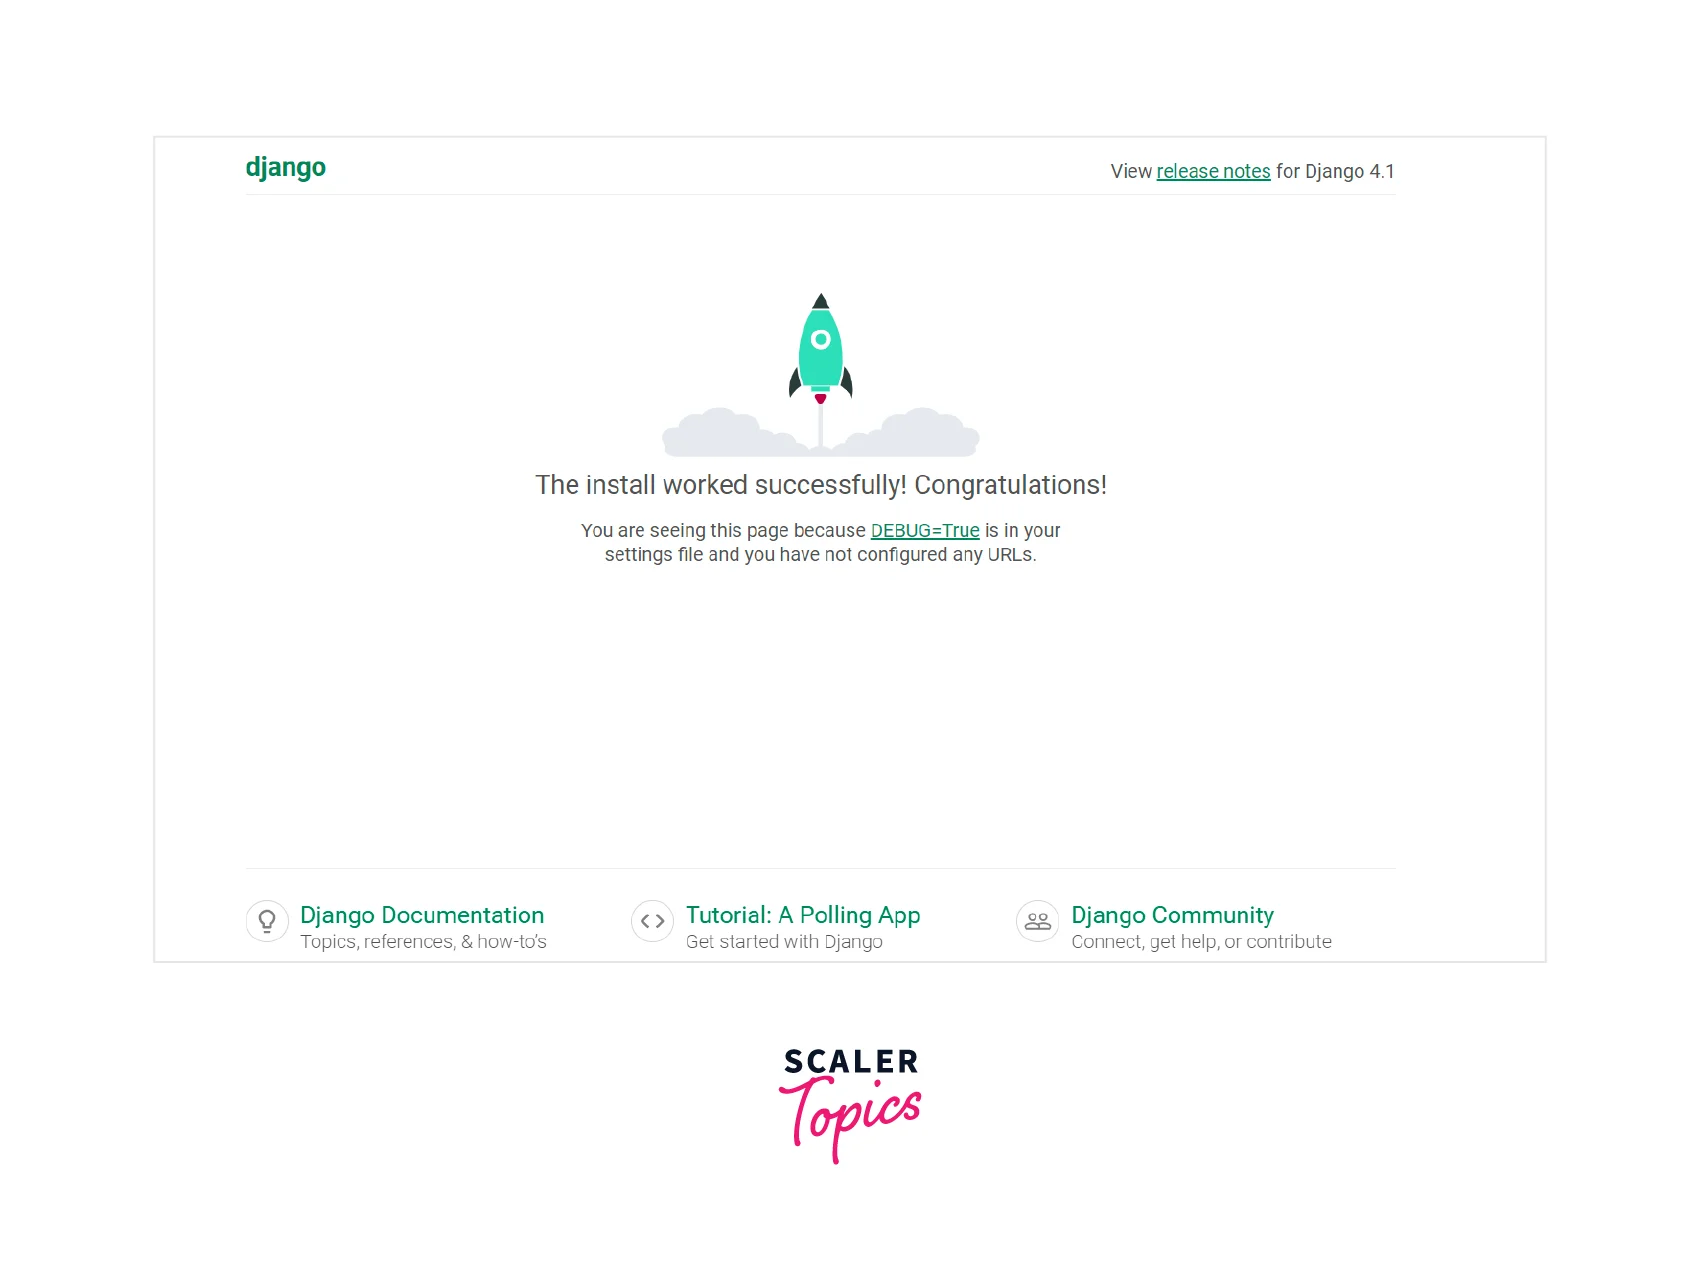
- Open your web browser and navigate to http://127.0.0.1:8000/ to see the default Django "Welcome" page.
You have now successfully set up a Django project. It's important to note that the above steps create a basic project, and you will have to add more functionality to it as you go along.
Start a Django App
To start a new app in a Django project, you will need to have an existing Django project set up. Once you have that, you can proceed with the following steps:
- Use the command python manage.py startapp appname where "appname" is the name of your app. This will create a new directory with the same name as your app and set up the basic file structure for a Django app.
- In your project's settings.py file, add the name of your new app to the list of installed apps.
- Create models, views, and URL routes for your app. Here's an Example of the Books record:
- Create a templates directory within your app's directory. This is where you will store all of your templates for the app. Create an HTML file for your template and save it in the app's subdirectory.
- In your settings.py file, you should include the DIRS option in the TEMPLATES section to tell Django where to find your templates.
- Run the command python manage.py makemigrations to create migration files for the new app.
- Run the command python manage.py migrate to apply the migrations to the database.
You have now successfully created a new app in your Django project. You can start building the functionality of your app by defining models, views, and URL routes, and customizing the template and static files.
Conclusion
Overall, Django is a great choice for web development, you can create a functional web application quickly and easily. Let's see what we saw in the above article.
- It's easy to get started with Django by creating a virtual environment, installing Django, and creating a new project.
- A virtual environment allows you to have separate environments for different projects and prevent version conflicts.
- Pinning your dependencies by using requirements.txt file or package managers like poetry or pipenv, will ensure your project will run consistently in different environments.
- Creating a new app in a Django project is easy, you can create it by running a single command, and then you can start building the functionality by defining models, views, and URL routes.
- It's important to note that creating a project or an app is just the first step in building a Django project, you will have to add more functionality and connect it to the rest of the project.