Permissions (Inbuilt and Custom) in Django
Overview
Authentication indicates ‘who are you?’. Whereas Authorization determines what a user can do. Django provides the facility of built-in authorization (permission) by default. add, view, change and delete permissions are automatically created by Django for every created Django model after adding django.contrib.auth in INSTALLED_APPS setting available in settings.py file.
Introduction to Permissions in Django
Django provides the facility of built-in authorisation (permission) by default. This feature allows us to define what action is allowed to be performed by each user.
Authentication vs Authorization
Authentication: The method of confirming if the system is allowed to be accessed by the required user or not is known as authentication. For the authentication of the user, generally, a username or email and password are used.
Authorization: It determines what actions can be performed by the authenticated users in the system. In simple words, we can say that authentication indicates ‘who are you?’. Whereas Authorization determines what a user can do.
Transform Your Career
Choose from our industry-leading programs designed for career success
Modern Software and AI Engineering Program
Master full-stack development with AI integration

Modern Data Science and ML with specialisation in AI
Advanced data science techniques with AI specialization
Advanced AIML with Specialisation in Agentic AI
Deep dive into AIML with focus on Agentic systems
DevOps, Cloud & AI Platform Engineering
Build and manage AI-powered cloud infrastructure
AI Engineering Advanced Certification by IIT-Roorkee
Premier AI engineering certification from IIT-Roorkee
User-level Permissions
add, view, change, and delete permissions are automatically created by the Django for every created Django model after adding the django.contrib.auth in the INSTALLED_APPS setting available in the settings.py file.
Django follows the naming sequence given below:
here,
the app is the Django app name where the associated model resides in
action may take add, view, delete, or change as a value
model_name is the model name in lowercase alphabets.
Let us take an example we have a model named Student in the "school" app:
Below given permissions are created by default by the Django for the model Student.
- school.add_student
- school.change_student
- school.delete_student
- school.view_student
The has_perm() method is also used for checking whether the user has permission or not:
Output:
Permission is always set to be true for superusers, it doesn't matter whether permission exists or not.
Every permission for the system is granted to the superuser. All permissions whether django-created permissions or custom permissions are allowed to be accessed by the superusers.
Group-level Permissions
Group models are the generic method f the user's categorization so that permissions can be applied to the users included in Google. One user can be related to multiple groups. It is possible to create groups in django for the class users. Some permissions are granted to these groups. So whenever there is any creation of a user, there is only a need to add that user to the group and after that user has all the permission that the group has. There is a need for a group model from django.contrib.auth.models for the creation of a group. Let us create two groups: Teacher and Hod
Teacher: Teacher Has permission to add and view Students.
Hod: Hod are allowed to view, add, delete, and edit the Students.
Enforcing Permissions
If you want to get permission in class-based views, for this you only need to use PermissionRequiredMixin from django.contrib.auth.mixins. The whole process is explained by the code given below:
permission_required can either be a permission iterable or a single permission. While using an iterable, the User can only access the view if all permissions are granted to him.
permission_required is used for function-based views.
Django templates can also be used for checking permissions. Whenever you render your template, then a variable perms is by default provided to you with Django's auth context processors. All the permissions are enclosed in this perms variable in the Django application.
For example:
Model-level Permissions
You are allowed to add some custom permissions according to your requirements in a Django model through the option model meta. Let's add an is_indian flag to the Post model:
Next, set_indian_status is used to set custom permission:
If you want to get this permission, then you need to use permission_required. Mixin is provided by Django in your view to know explicitly if the user has required permission or not. A class-based view can also be used for checking the status if permission is granted to the user to set the Indian status of a student.
The test_func method present in the class must be overridden with the UserPassesTestMixin to add your test. This method will always return the value in the Boolean form.
Turn Learning into Career Growth
Object-level Permissions
The base permission class in the Django REST Framework has object-level permissions already built into it. For the list view, has_permission is available in BasePermission. BasePermission also has has_object_permission to check whether permission is granted to the user for accessing the single model instance. There is also an option for third-party such as Rules, and Django Guardian if you are not using Django REST Framework for getting object-level permissions.
How to Add Custom Permissions to Models?
Permissions can be added in the model using the class Meta if permissions are not added in the views.
You are allowed to specify any number of permissions according to your need, but you have to specify all these in a tuple. Suppose, you want to specify the permission through which the user can change the student name. This can be performed like this:
How to Add Custom Permissions to Templates?
If you want to retrieve the permissions of a user, then you need to call {{ perms }} in the template. To check whether the user has been permitted to view the template, you need to obtain perms from that particular model having permission. All this can be performed like this: {{ perms.<name_of_app>.<permission>}} e.g., {{ perms.school.change_student_name }} . For adding permission in the template at the specific position, if statement is used.
So after this, only the user having change_student permission is allowed to access that specific section of the template.
How to Add Custom Permissions to Views?
Custom permissions can also add in the views in the same way just like working with the built-in Django permissions. You only need to use the permission_required decorator and for class-based views use the PermissionRequiredMixin for adding custom permissions in the views.
For function-based views:
If the user tries to access the view even if he has no permission to access it. Then in this case, PermissionRequiredMixin and @permission_required will act differently. @permission_required will redirect the user to the login screen and PermissionRequiredMixin return HTTP 403 ( status forbidden) in case the user logs in and no correct permission is granted to the user.
Add Permissions to Multiple User Types
Whenever you are using various user types, you have to ensure that all users must have some restrictions. For instance, we want to build an application for the assignment of the student in which the teacher is allowed to set the questions and the student can answer those questions. In this scenario, we need to set the permission system such that the set questions option is not provided to the student. So for this scenario, we need to write the below code in the models.py file
You are required to create your custom decorator for permission for these different users.
Now it can be used in views.
Your view looks like this if you implement class-based views.
Add Permissions to a Group
Django by default provides the facility at the admin panel, which helps in creating groups easily. First of all below-written code is needed to write in the models.py file
You have to add AUTH_USER_MODEL = 'YourAppName.YourClassName' if you are implementing AbstractUser in Django. This is the process to help Django determine to use a custom model in place of the default one. For displaying your user model, the code given below will go in your admin.py file.
To make changes, you have to run $ python manage.py makemigrations and $ python manage.py migrate. To create groups you need to create a superuser.
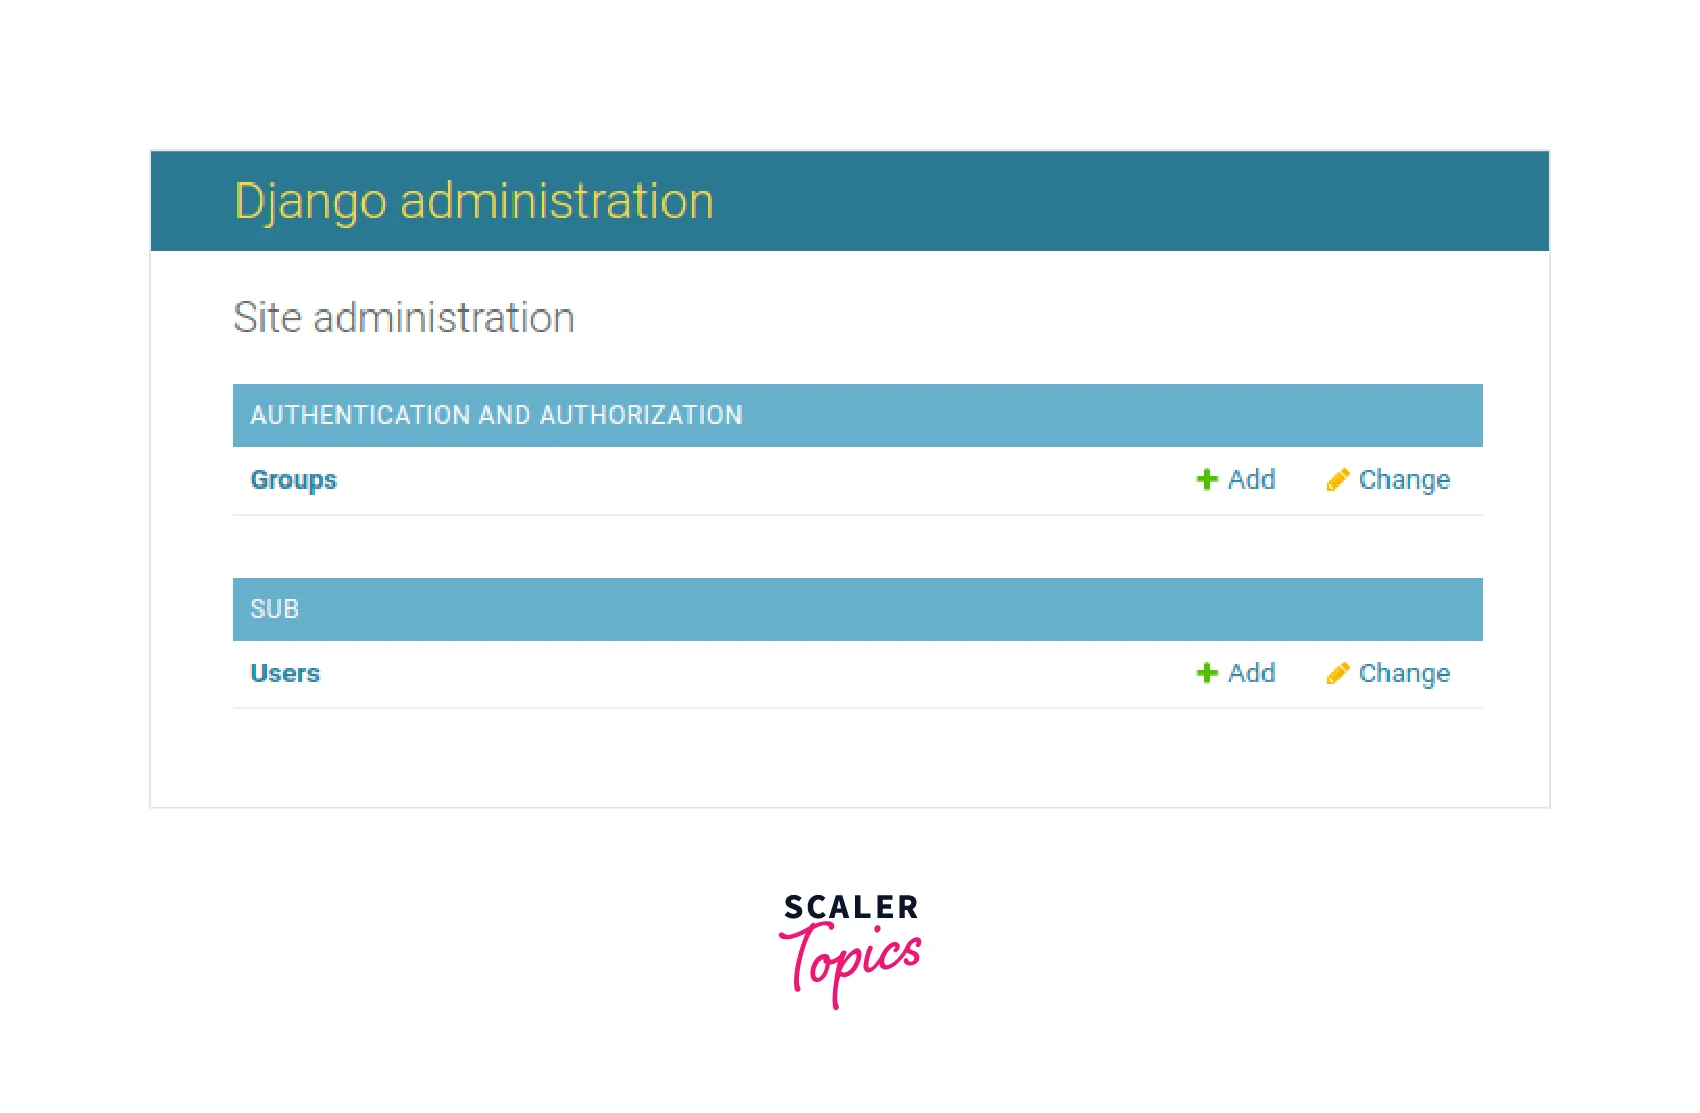
And for implementing this, run $ python3 manage.py createsuperuser and fill in all the required details. Now use $ python manage.py runserver to run the server and head to the user. Now, with the help of user details created by you, help in logged-in. The screen given below will be displayed after you log in.
Refer to the below image for the page after the admin login
On clicking the + Add button a form will appear like this
Refer to the below image for the form displayed after clicking the + button
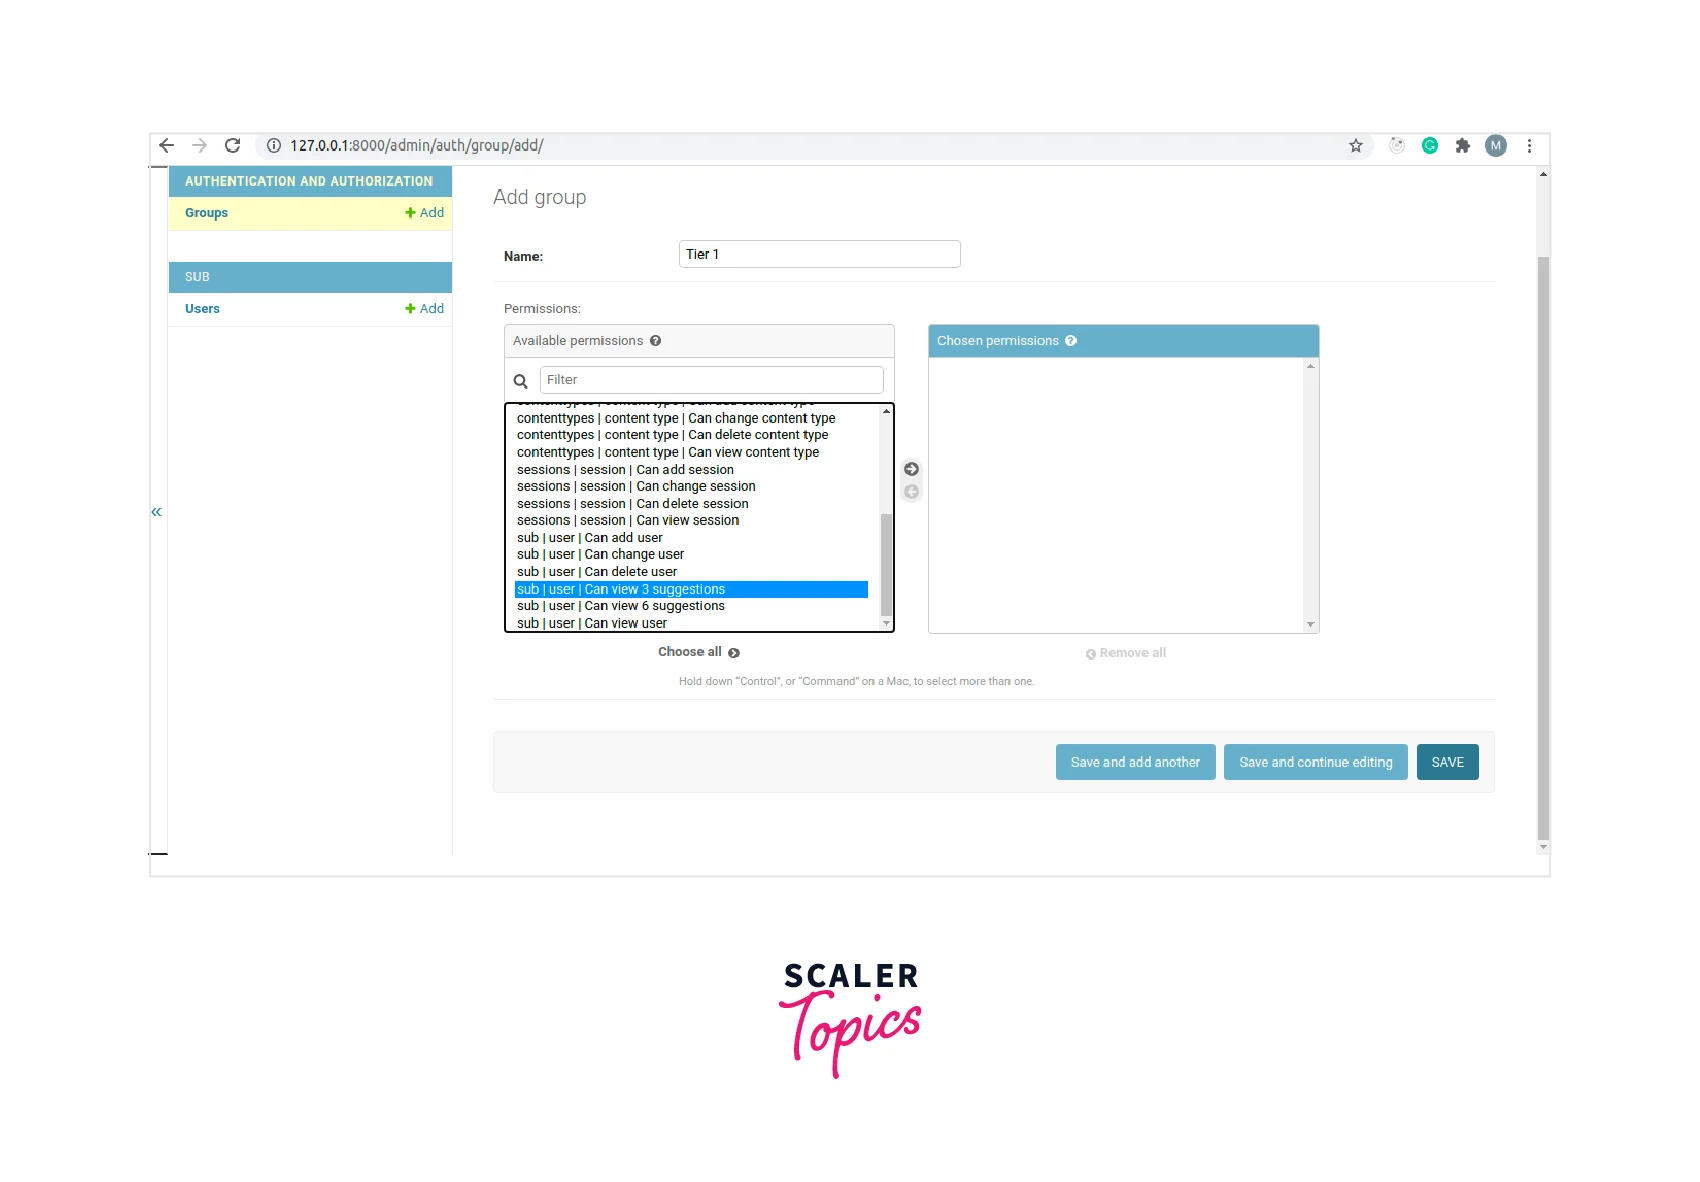
It will be possible to choose multiple permissions at a time and also attach them to a specific group according to your requirement.
Scaler Placement Report and Statistics
Scaler learners achieved 2.5x salary growth with average post-Scaler CTC reaching ₹23L.
Conclusion
- Django provides the facility of built-in authorisation (permission) by default.
- Authentication indicates ‘who are you?’. Whereas Authorization determines what a user can do?
- add, view, change and delete permissions are automatically created by the Django for every created Django model after adding django.contrib.auth in the INSTALLED_APPS setting available in the settings.py file.
- group model from django.contrib.auth.models is required for the creation of a group.
- Some custom permissions can be added according to your requirements in a Django model through the option model meta.
- Django by default provides the facility at the admin panel, which helps in creating groups easily.