How to Create New Repository in Git?
Overview
Git is the most popular and widely used software development tool. It is an open-source and distributed version control system [(DVCS)] that permits you to track changes in code files by efficiently handling small to very large projects. It also allows multiple developers to work together on independent lines of development.
A git repository is a set of all the files and folders that can contain versions of your code that you can easily use for the purpose of tracking, maintaining, and accessing. This article provides you insights on how to create a new repository in git and the steps to configure it.
Pre-Requisites
Before proceeding on how to create a new repository in git, you must be aware of the different features of git which makes it the most widely used version control system. Here are some things you should choose Git for:
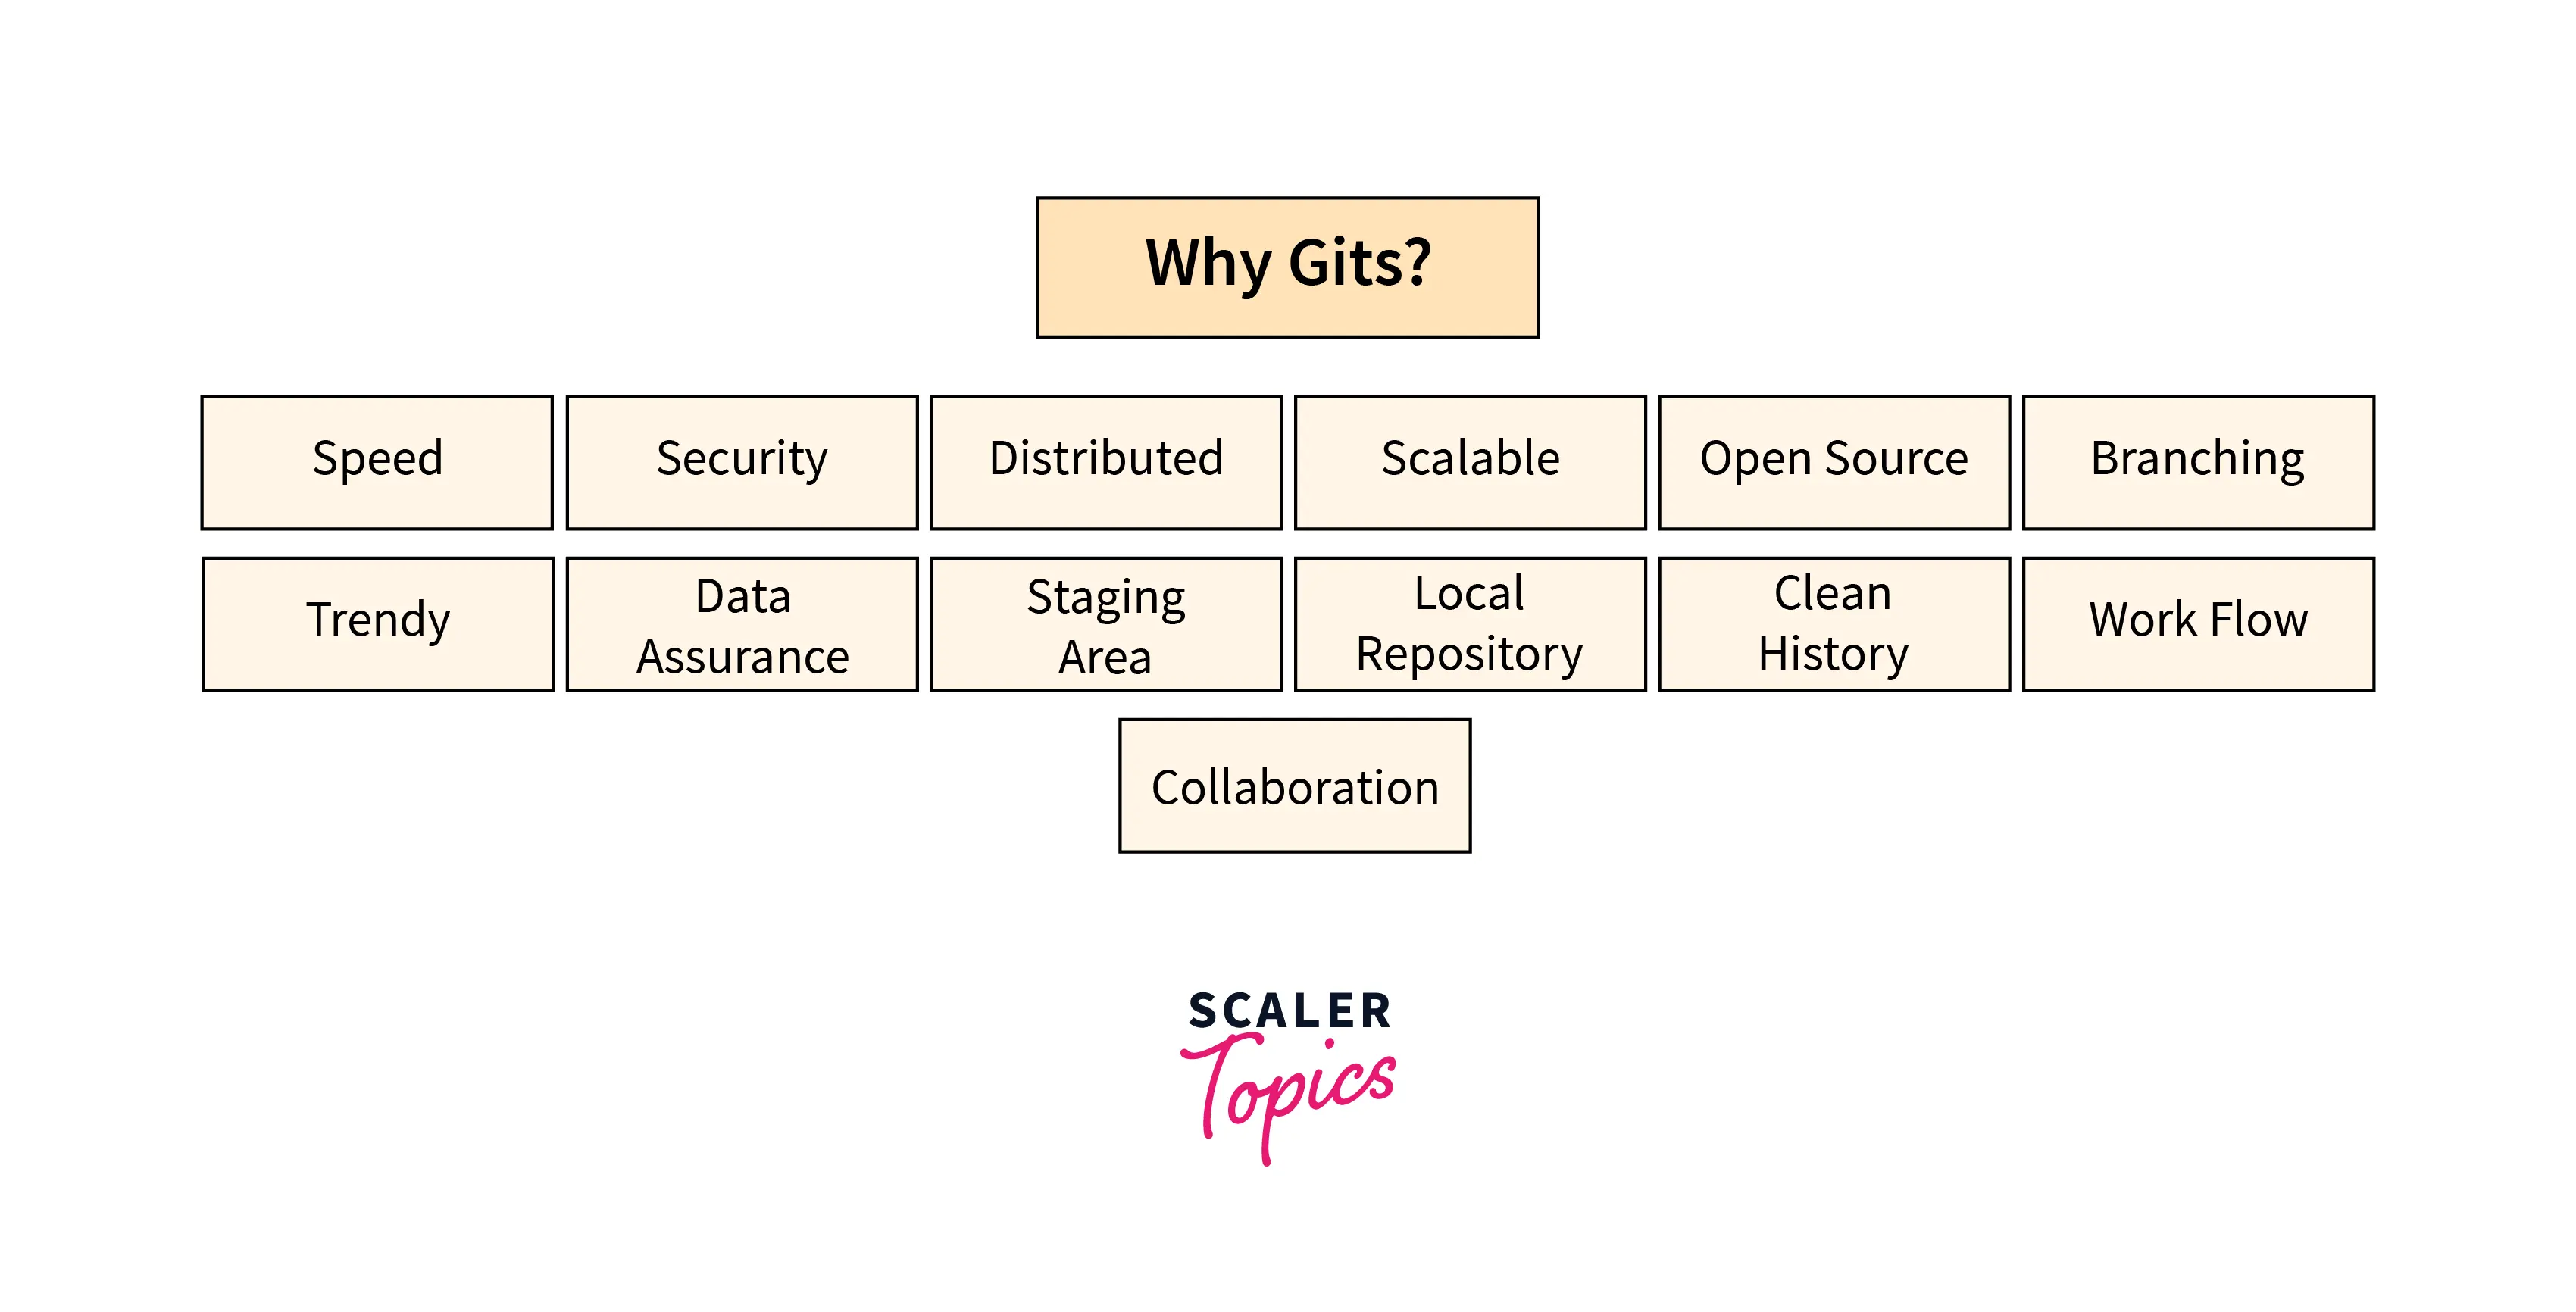
Git is mainly used for its integrity and the security it provides. Also, you can perform almost all Git operations locally on the terminal (for macOS and Linux) or command prompt (for windows). This is the main reason for using it, as it doesn't require an internet connection.
One another reason for choosing it is that it is very scalable. This means that Git can easily handle situations when the number of users grows. Another great feature of Git is that it's distributed. Distributed means you can copy the complete repository on your local machine instead of taking care of how to move a project from one machine to another machine. Also, instead of just having one central repository that you send changes to, in Git each user has his local repository containing all the tracking information and all the commit history of your project and there is no need to connect to a remote repository. Changes will get saved to your local repository. Additionally, you can push these changes to your remote repository using the git push command.
Now let's look at some of the advantages of Git:
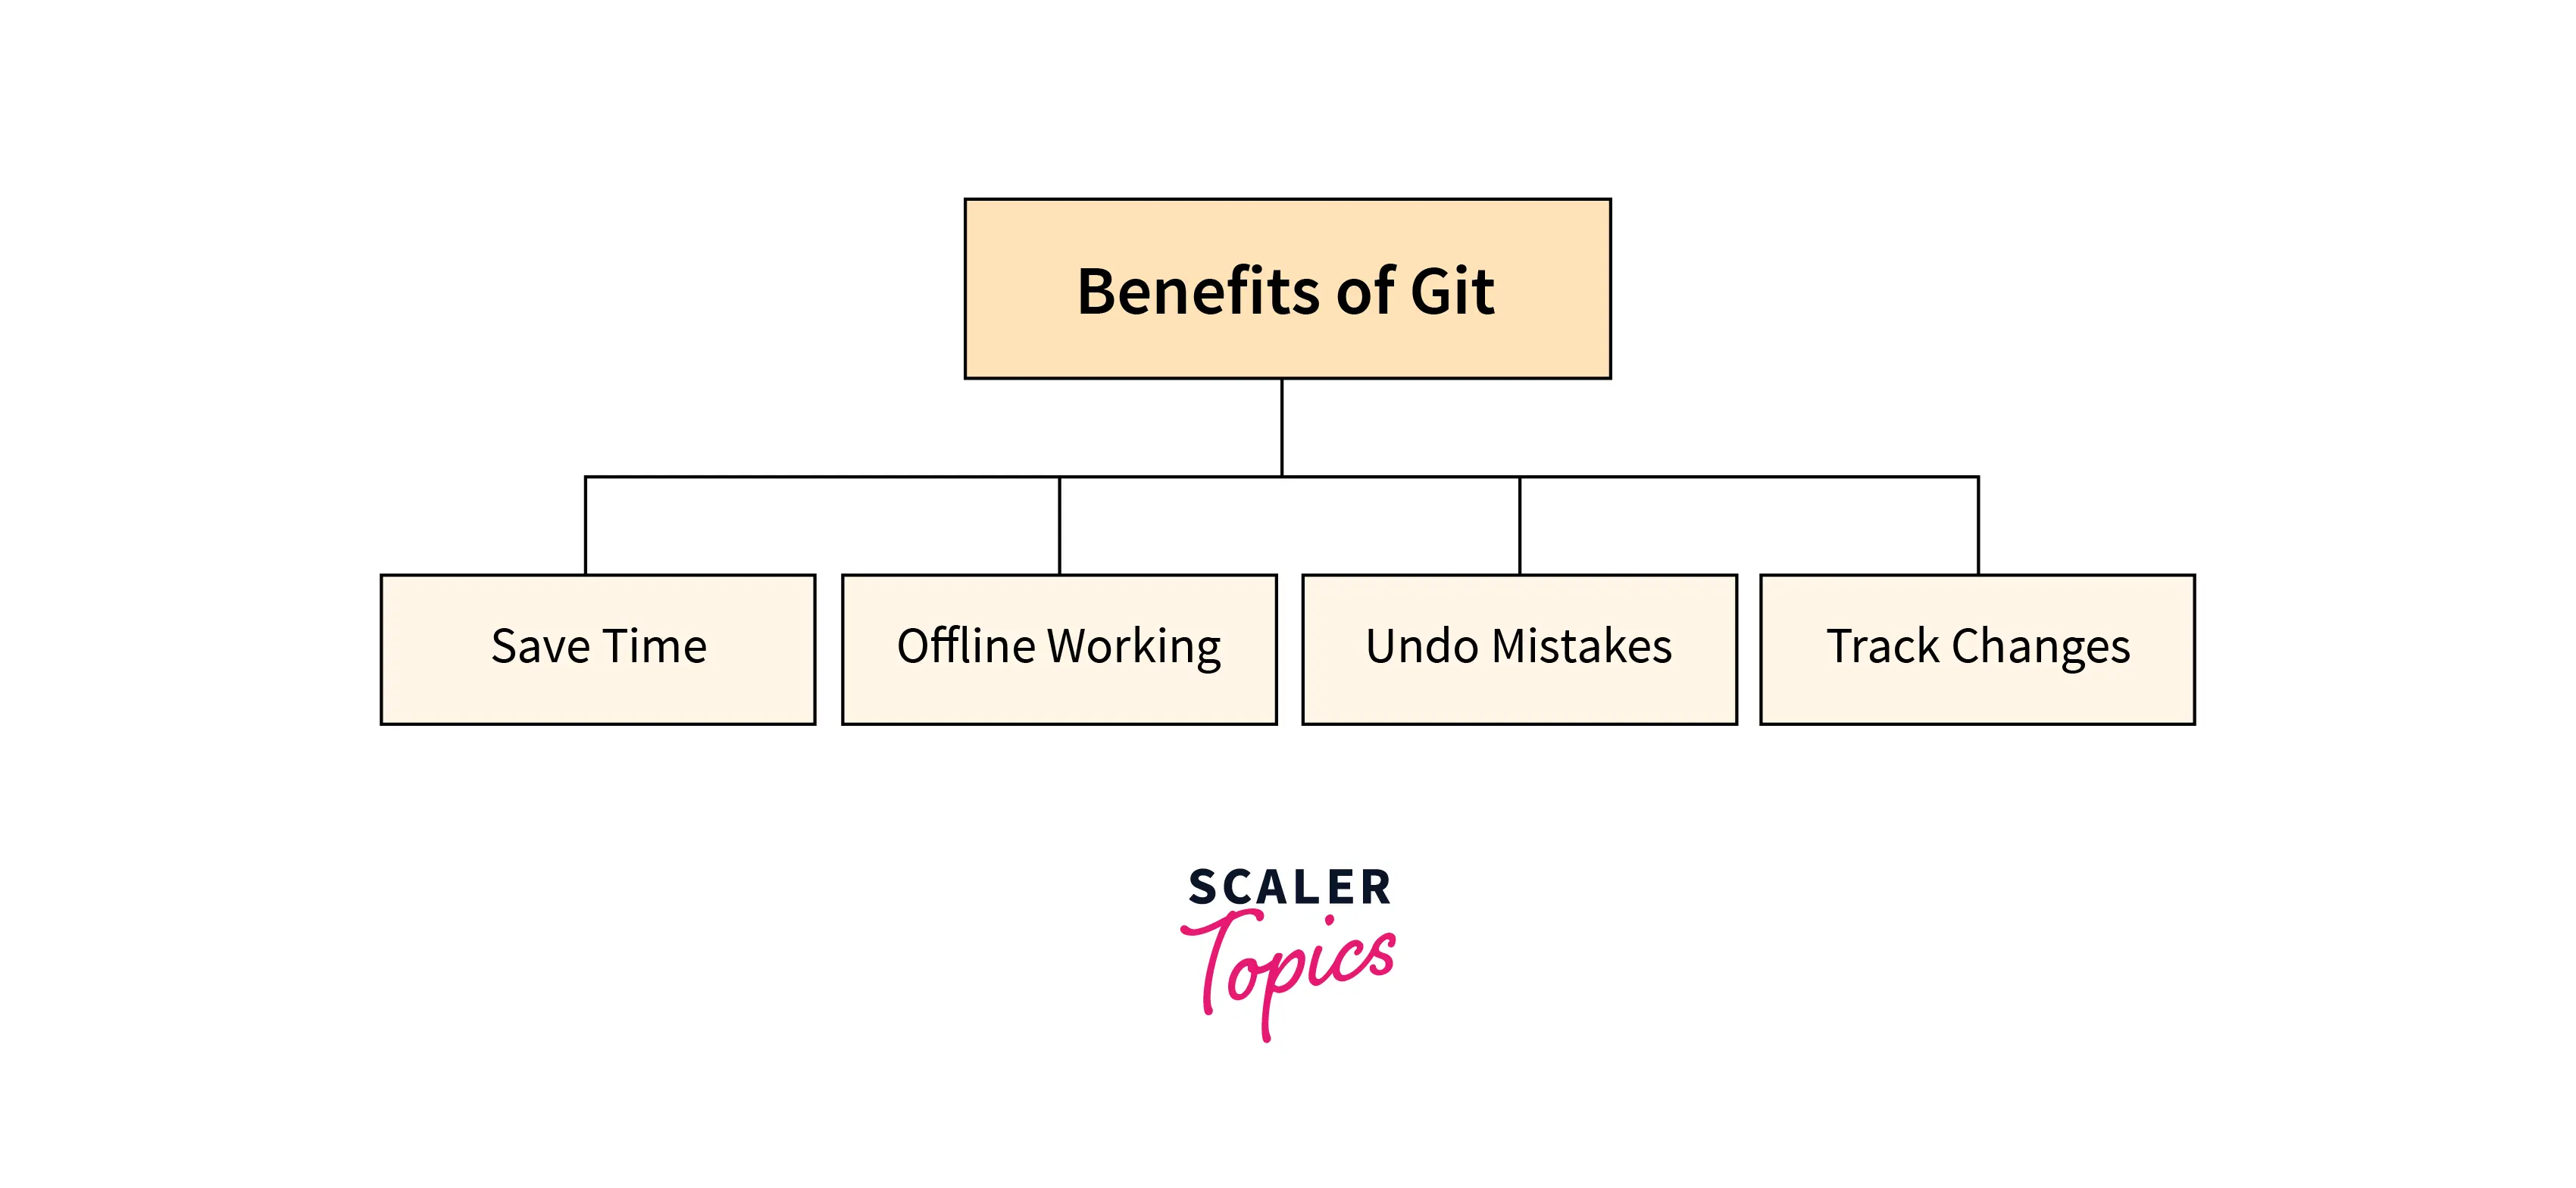
Time-saving in reference to Git means that each command only takes a few seconds to run and output results, so it saves a lot of developer time. One of Git's main benefits of Git is that it supports working in offline mode, So, in case you have internet connectivity issues, it won't be affecting your work at all. With Git, you can do almost everything locally.
As humans are prone to making mistakes, so we need the ability to undo the changes. Git makes it easy to undo mistakes. It gives you the ability to undo almost any command or action. Another advantage is the use of commands that help us to preserve history and allow Git to track the code changes using the status, log, and git commands.
But to use Git, you will first need to install it on your computer. If you already have git installed on your machine, then it is recommended to update it to the latest version. You can install it as a package, install it from another installer, or download it from the official website. However, to check if Git is already installed on your computer, open a terminal if you're using a Mac or Linux, or open a command prompt if you're using a Windows operating system. After opening the Terminal application, enter the following command:
If it is already installed on your computer then the output will tell you which version of Git is installed, or if it is not installed there then it will alert you that it is an unknown command. If it is an unknown command then proceed to the Git Installation article to learn about the steps to install git on the machine.
Transform Your Career
Choose from our industry-leading programs designed for career success
Modern Software and AI Engineering Program
Master full-stack development with AI integration

Modern Data Science and ML with specialisation in AI
Advanced data science techniques with AI specialization
Advanced AIML with Specialisation in Agentic AI
Deep dive into AIML with focus on Agentic systems
DevOps, Cloud & AI Platform Engineering
Build and manage AI-powered cloud infrastructure
AI Engineering Advanced Certification by IIT-Roorkee
Premier AI engineering certification from IIT-Roorkee
Introduction
A term repository in Git is also known as a repo. It is a set of files and folders in Git that also includes development branches and all the files metadata in an organized way. A repo is very useful and essential when you are working on a project having hundreds of contributors working on it over the years and it also provides the option to automatically watch code files for changes.
What is a Git Repository?
A repository in Git can be understood as a collection of files and folders. It is a data structure used to store tracking information to maintain a history of changes made to those files. It contains all project related data and different projects have different repositories. A repository in Git is also known as a snapshot of the folder in which you work on your project because you can easily track the project status, its progress, and the changes.
This is extremely useful since it allows maintaining a single and final view of the project code base, along with tracking and backing up the full history of the project, which is very useful for the development team. It helps us to easily retrieve older versions of the whole codebase or individual files or debugging code, or in finding the author of a specific code change, etc.
By creating a folder with Git you store and keep all the files of your project together with a special folder called .git. This .git folder present inside the Git repository is used by the git program to store information about the repository, such as the logs, lead locations, etc. It stores versions of your code that you can easily maintain, track and access. This .git folder is a hidden folder that is useful for enabling git programs to track changes in the repository.
Developers can create a new repository for new empty projects, clone an existing repository, and continue development there. The next section of this article will walk you through the steps to create a new repository in git.
Steps to Create a Repository
To create a repository on Github, you will first need to Log In to your GitHub account. If you don't have one, then you can create a new account by going to https://github.com.
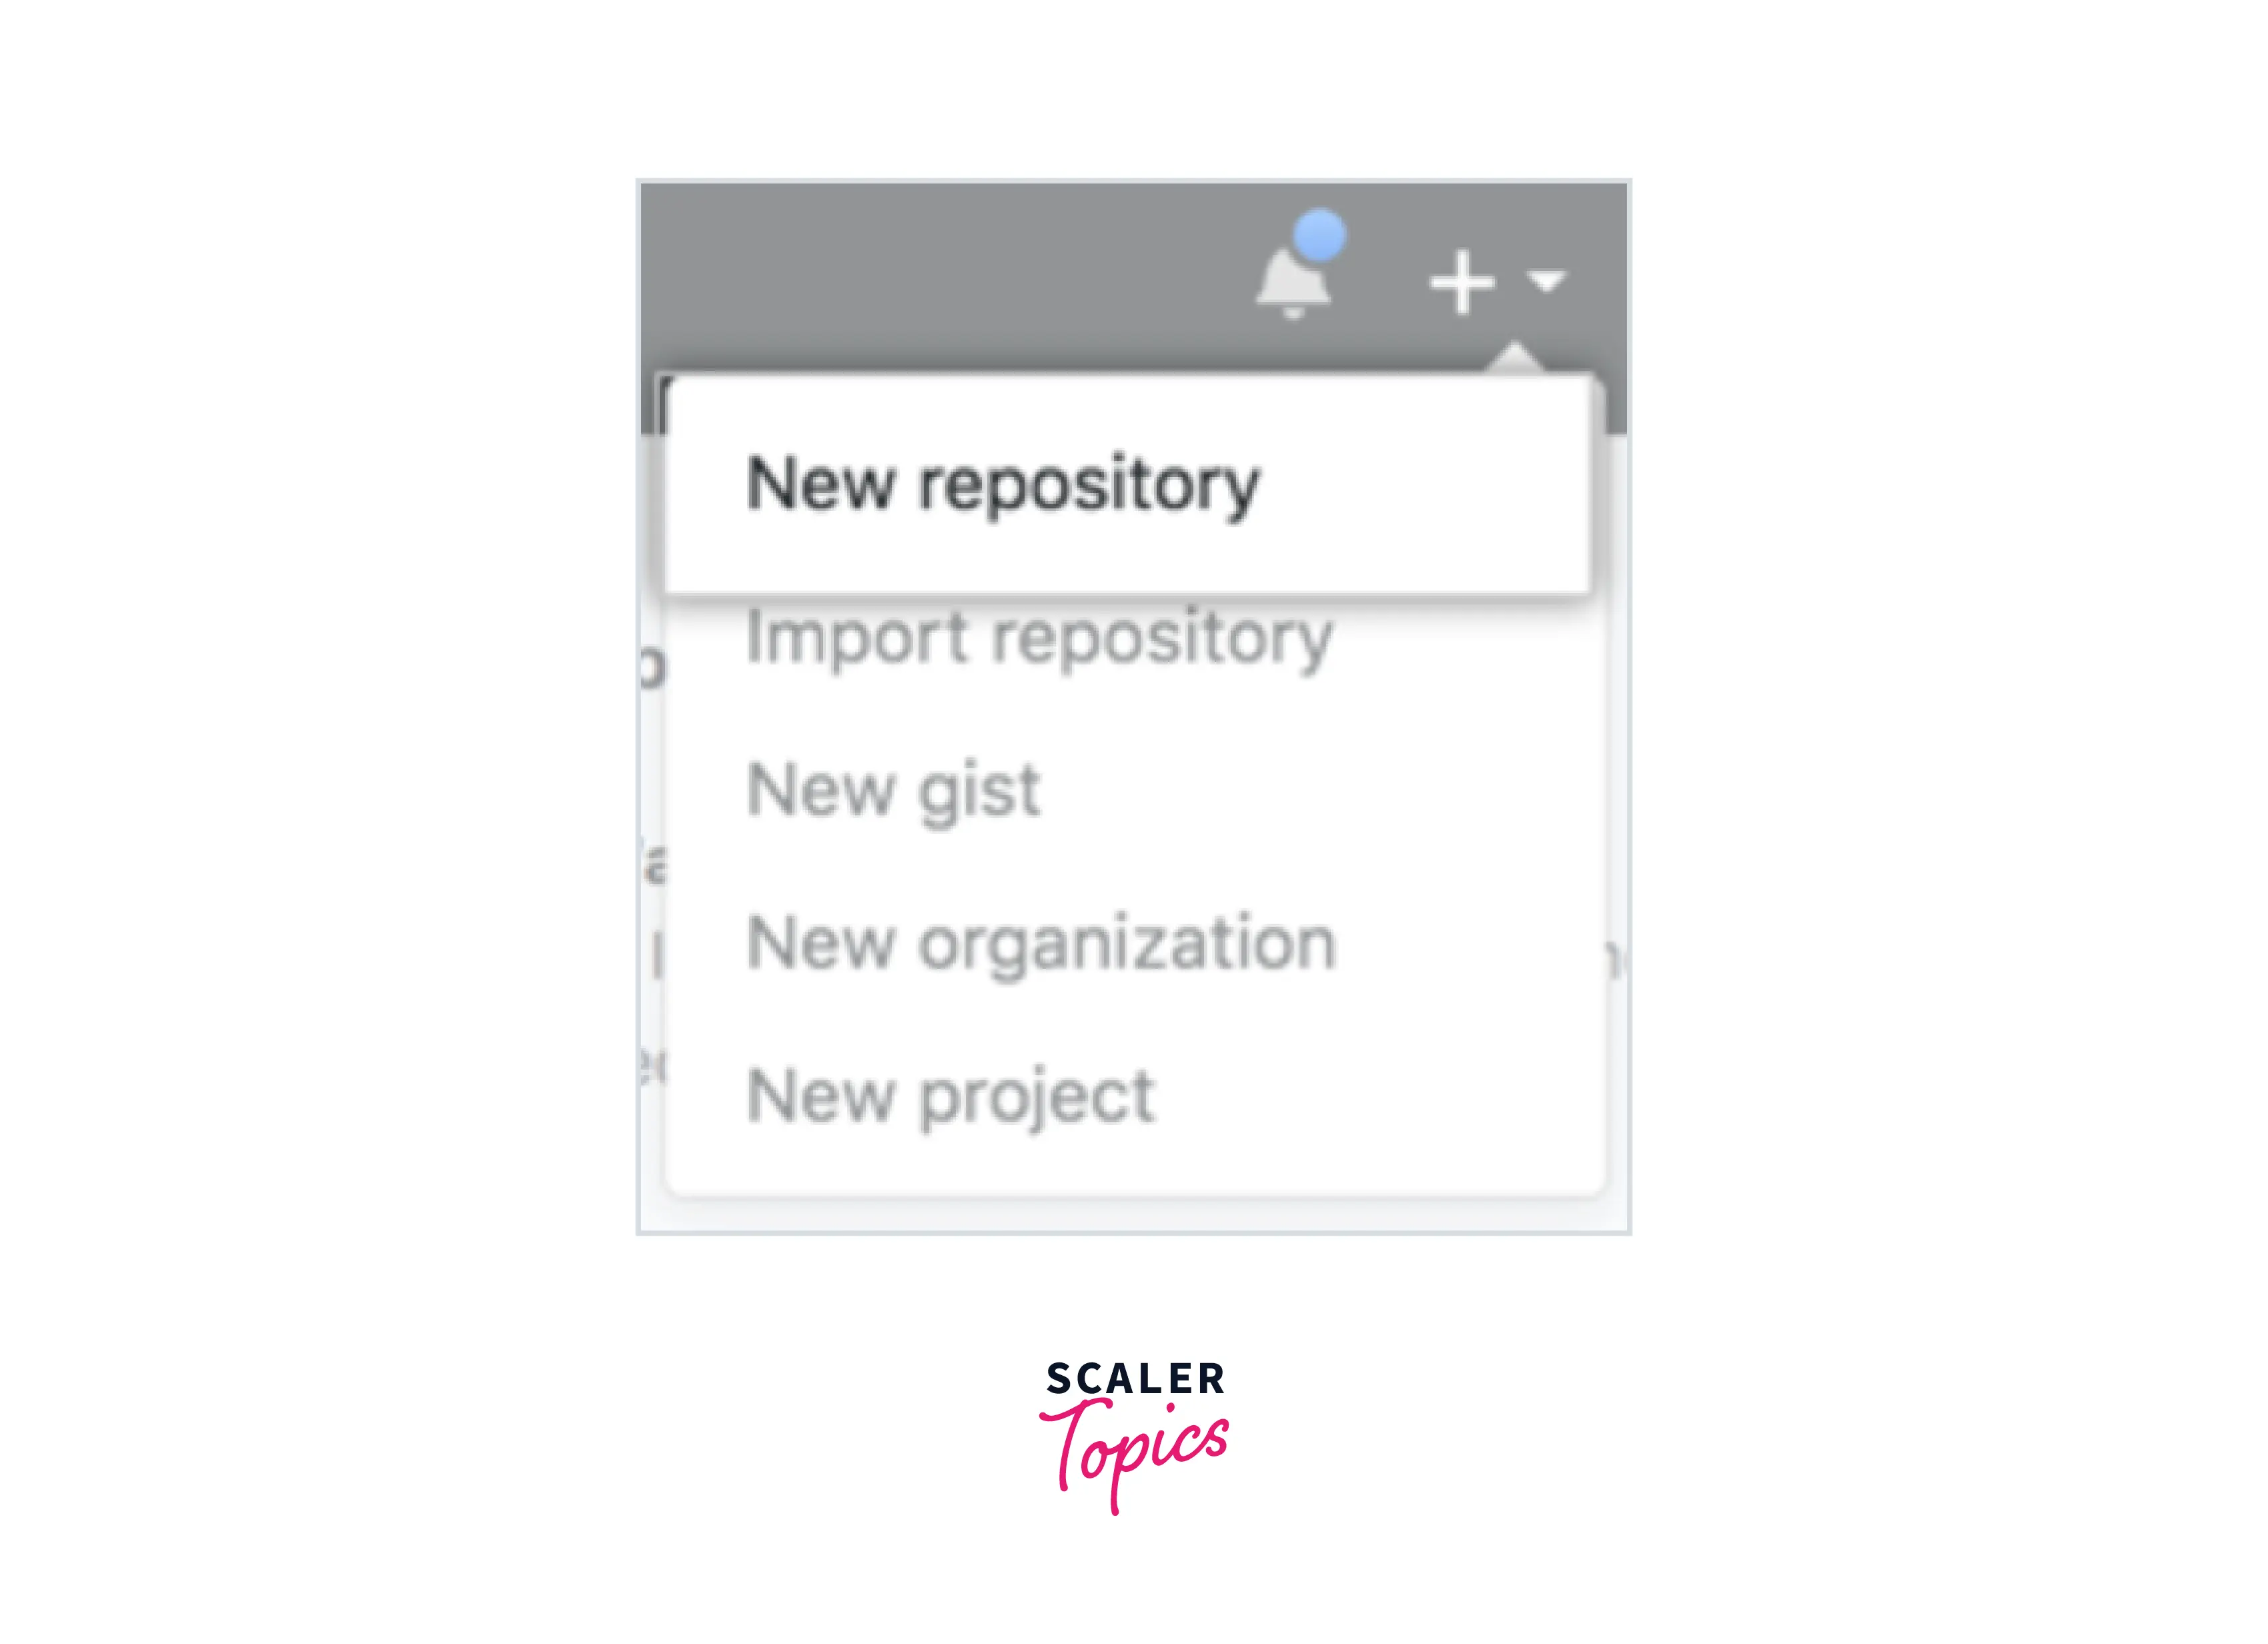
Now, go to the Repositories page and click the New button to go to the Create New Repository page.
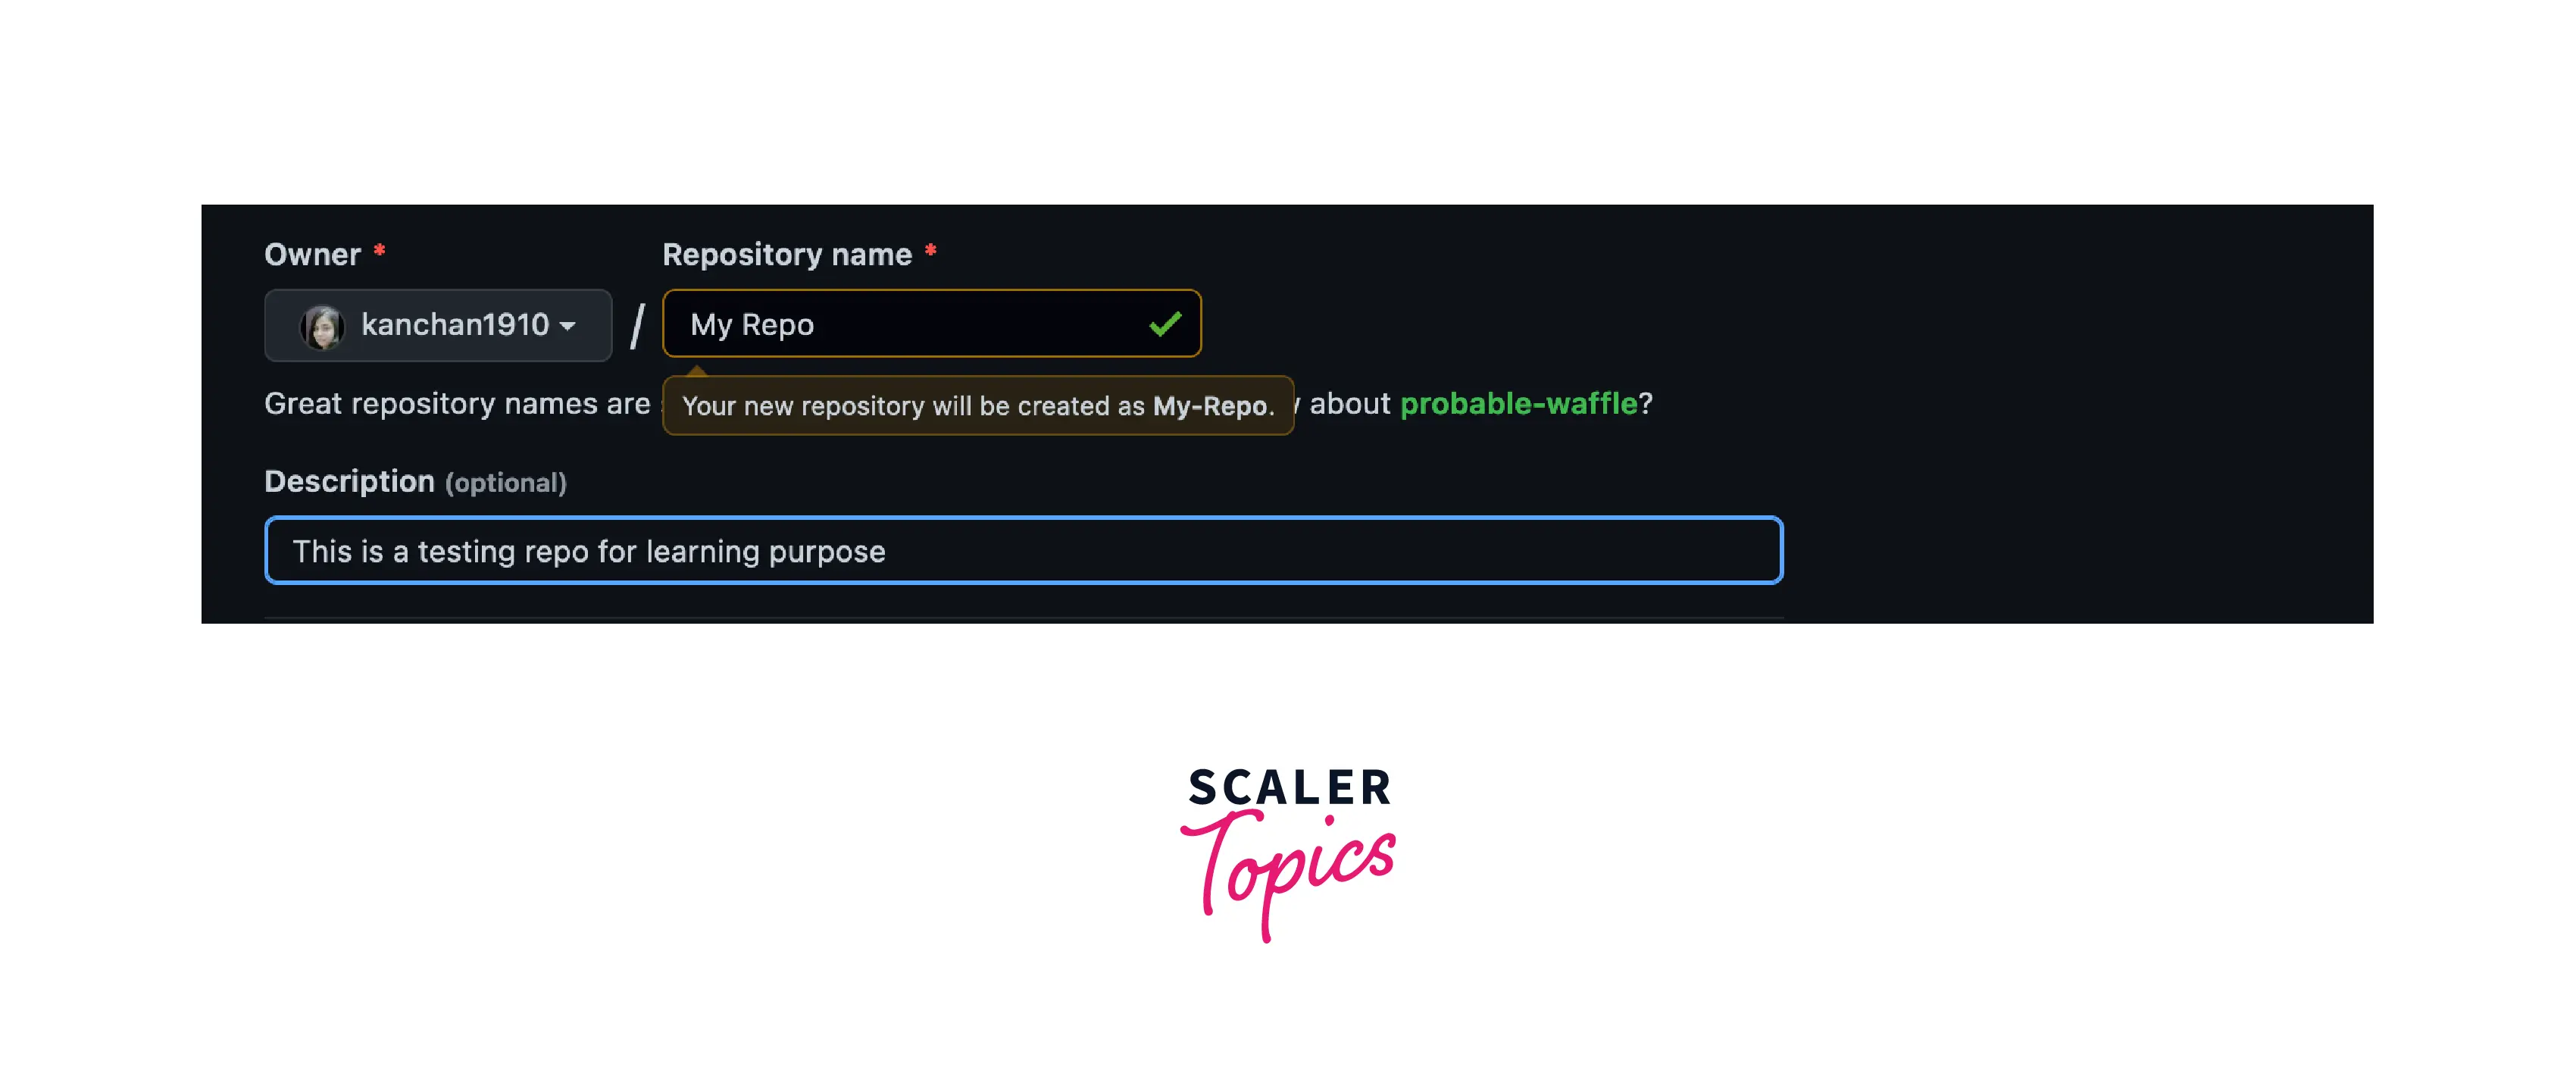
Then, enter the name of the repository. This name should be a short, concise, and easy-to-remember name for your repository. For example, "My Repo".
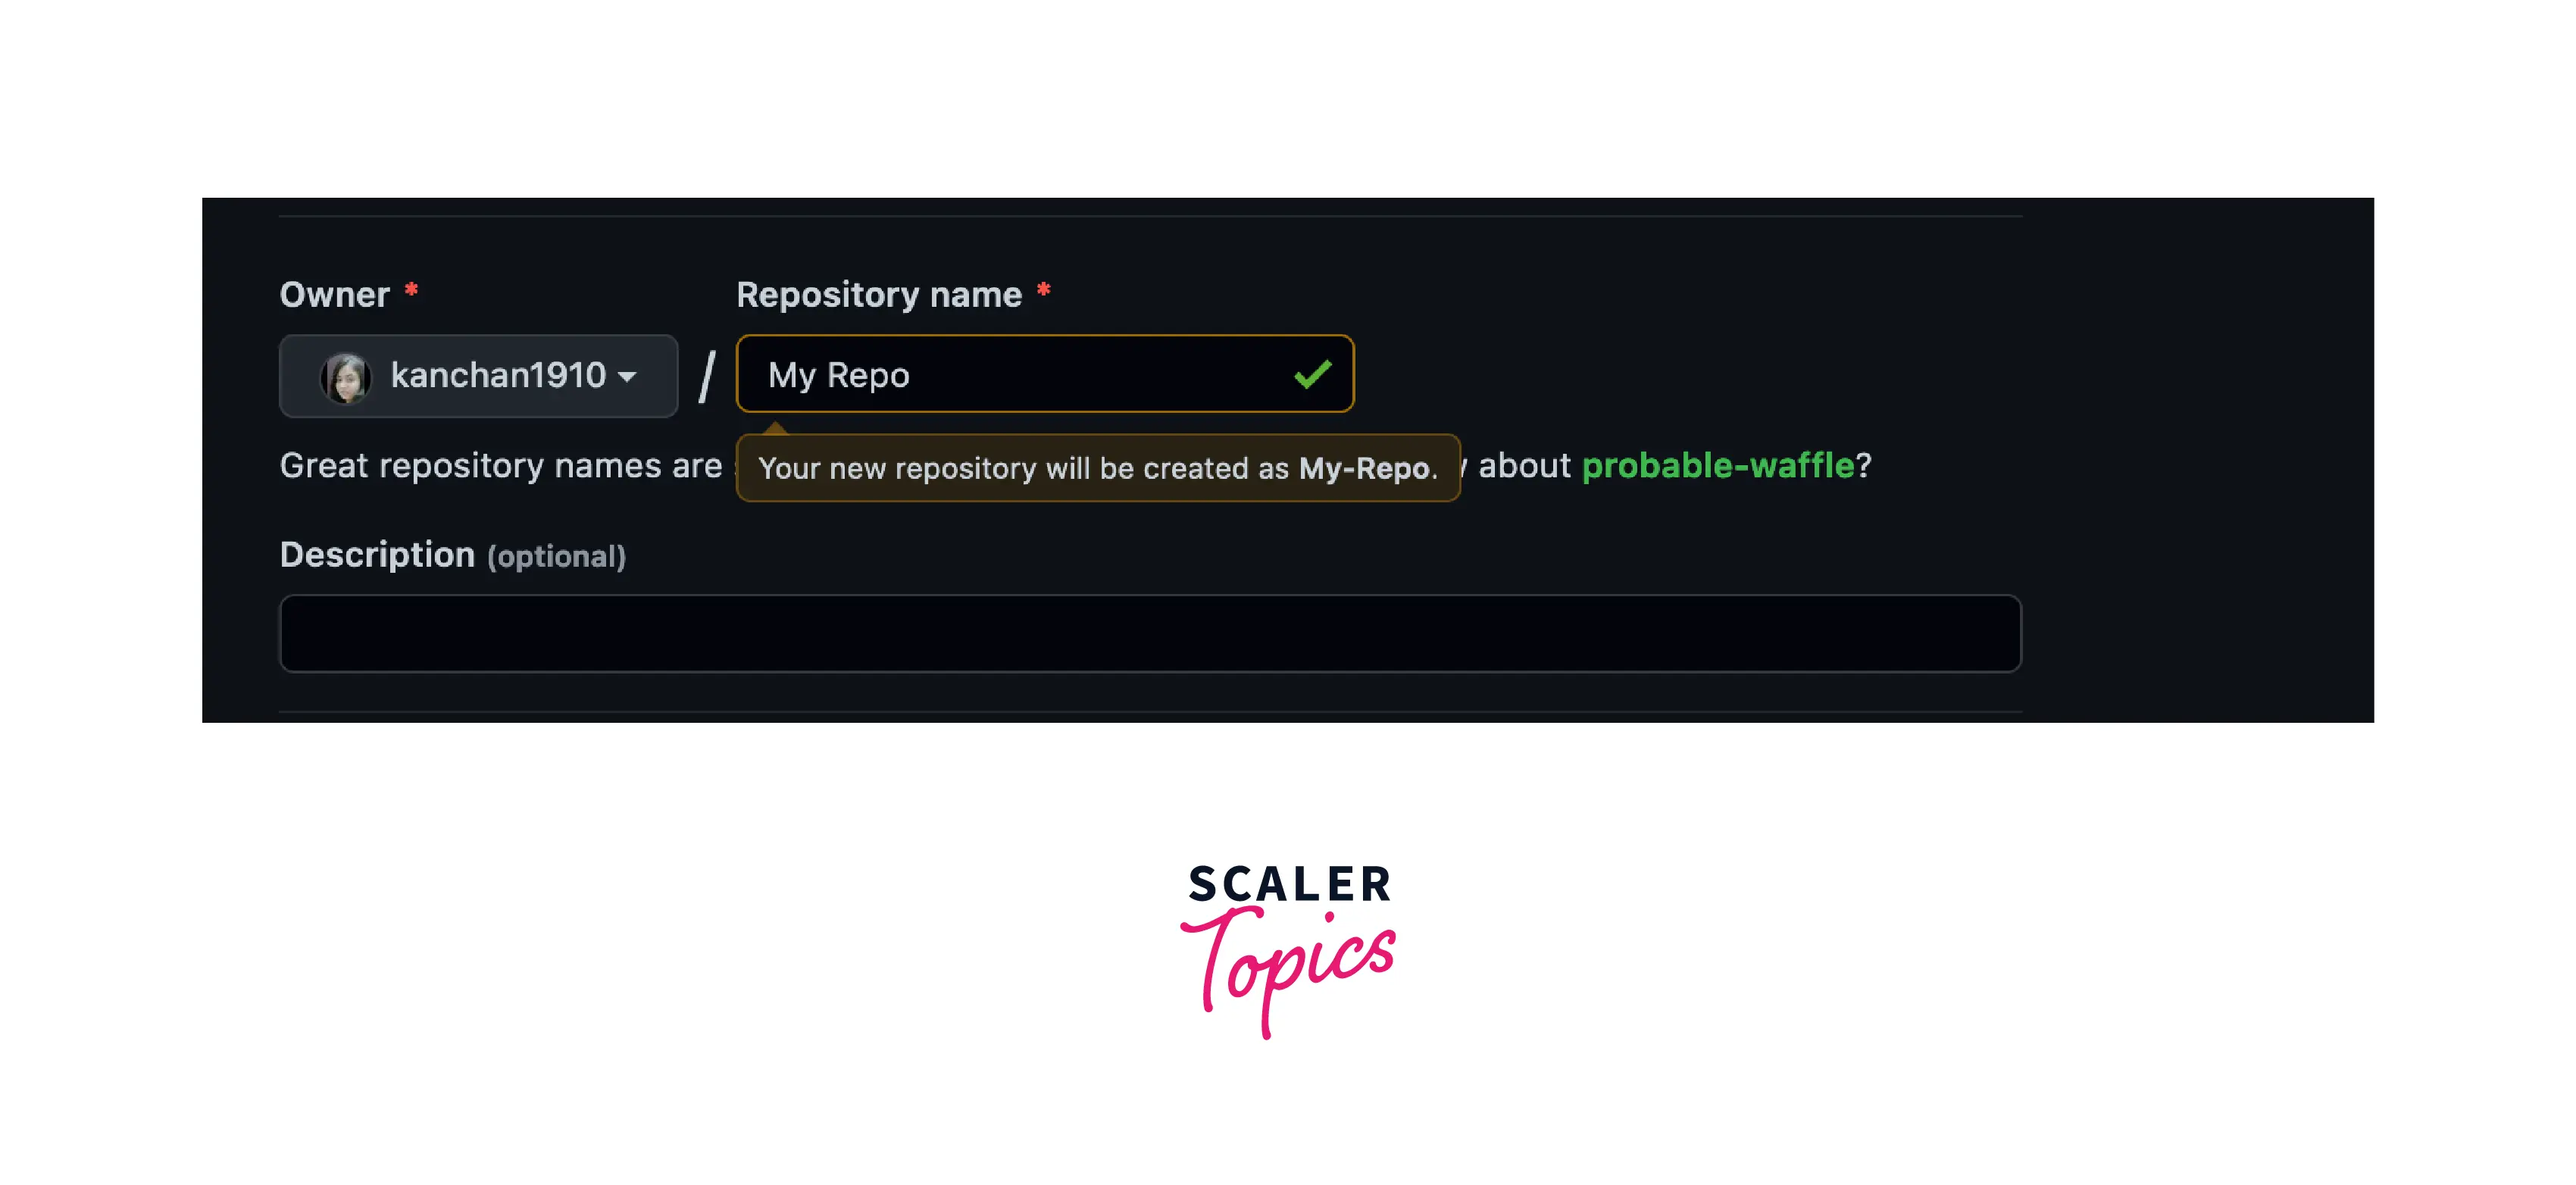
Optionally, you can add a repository description also. For example: This is a testing repository for learning purposes
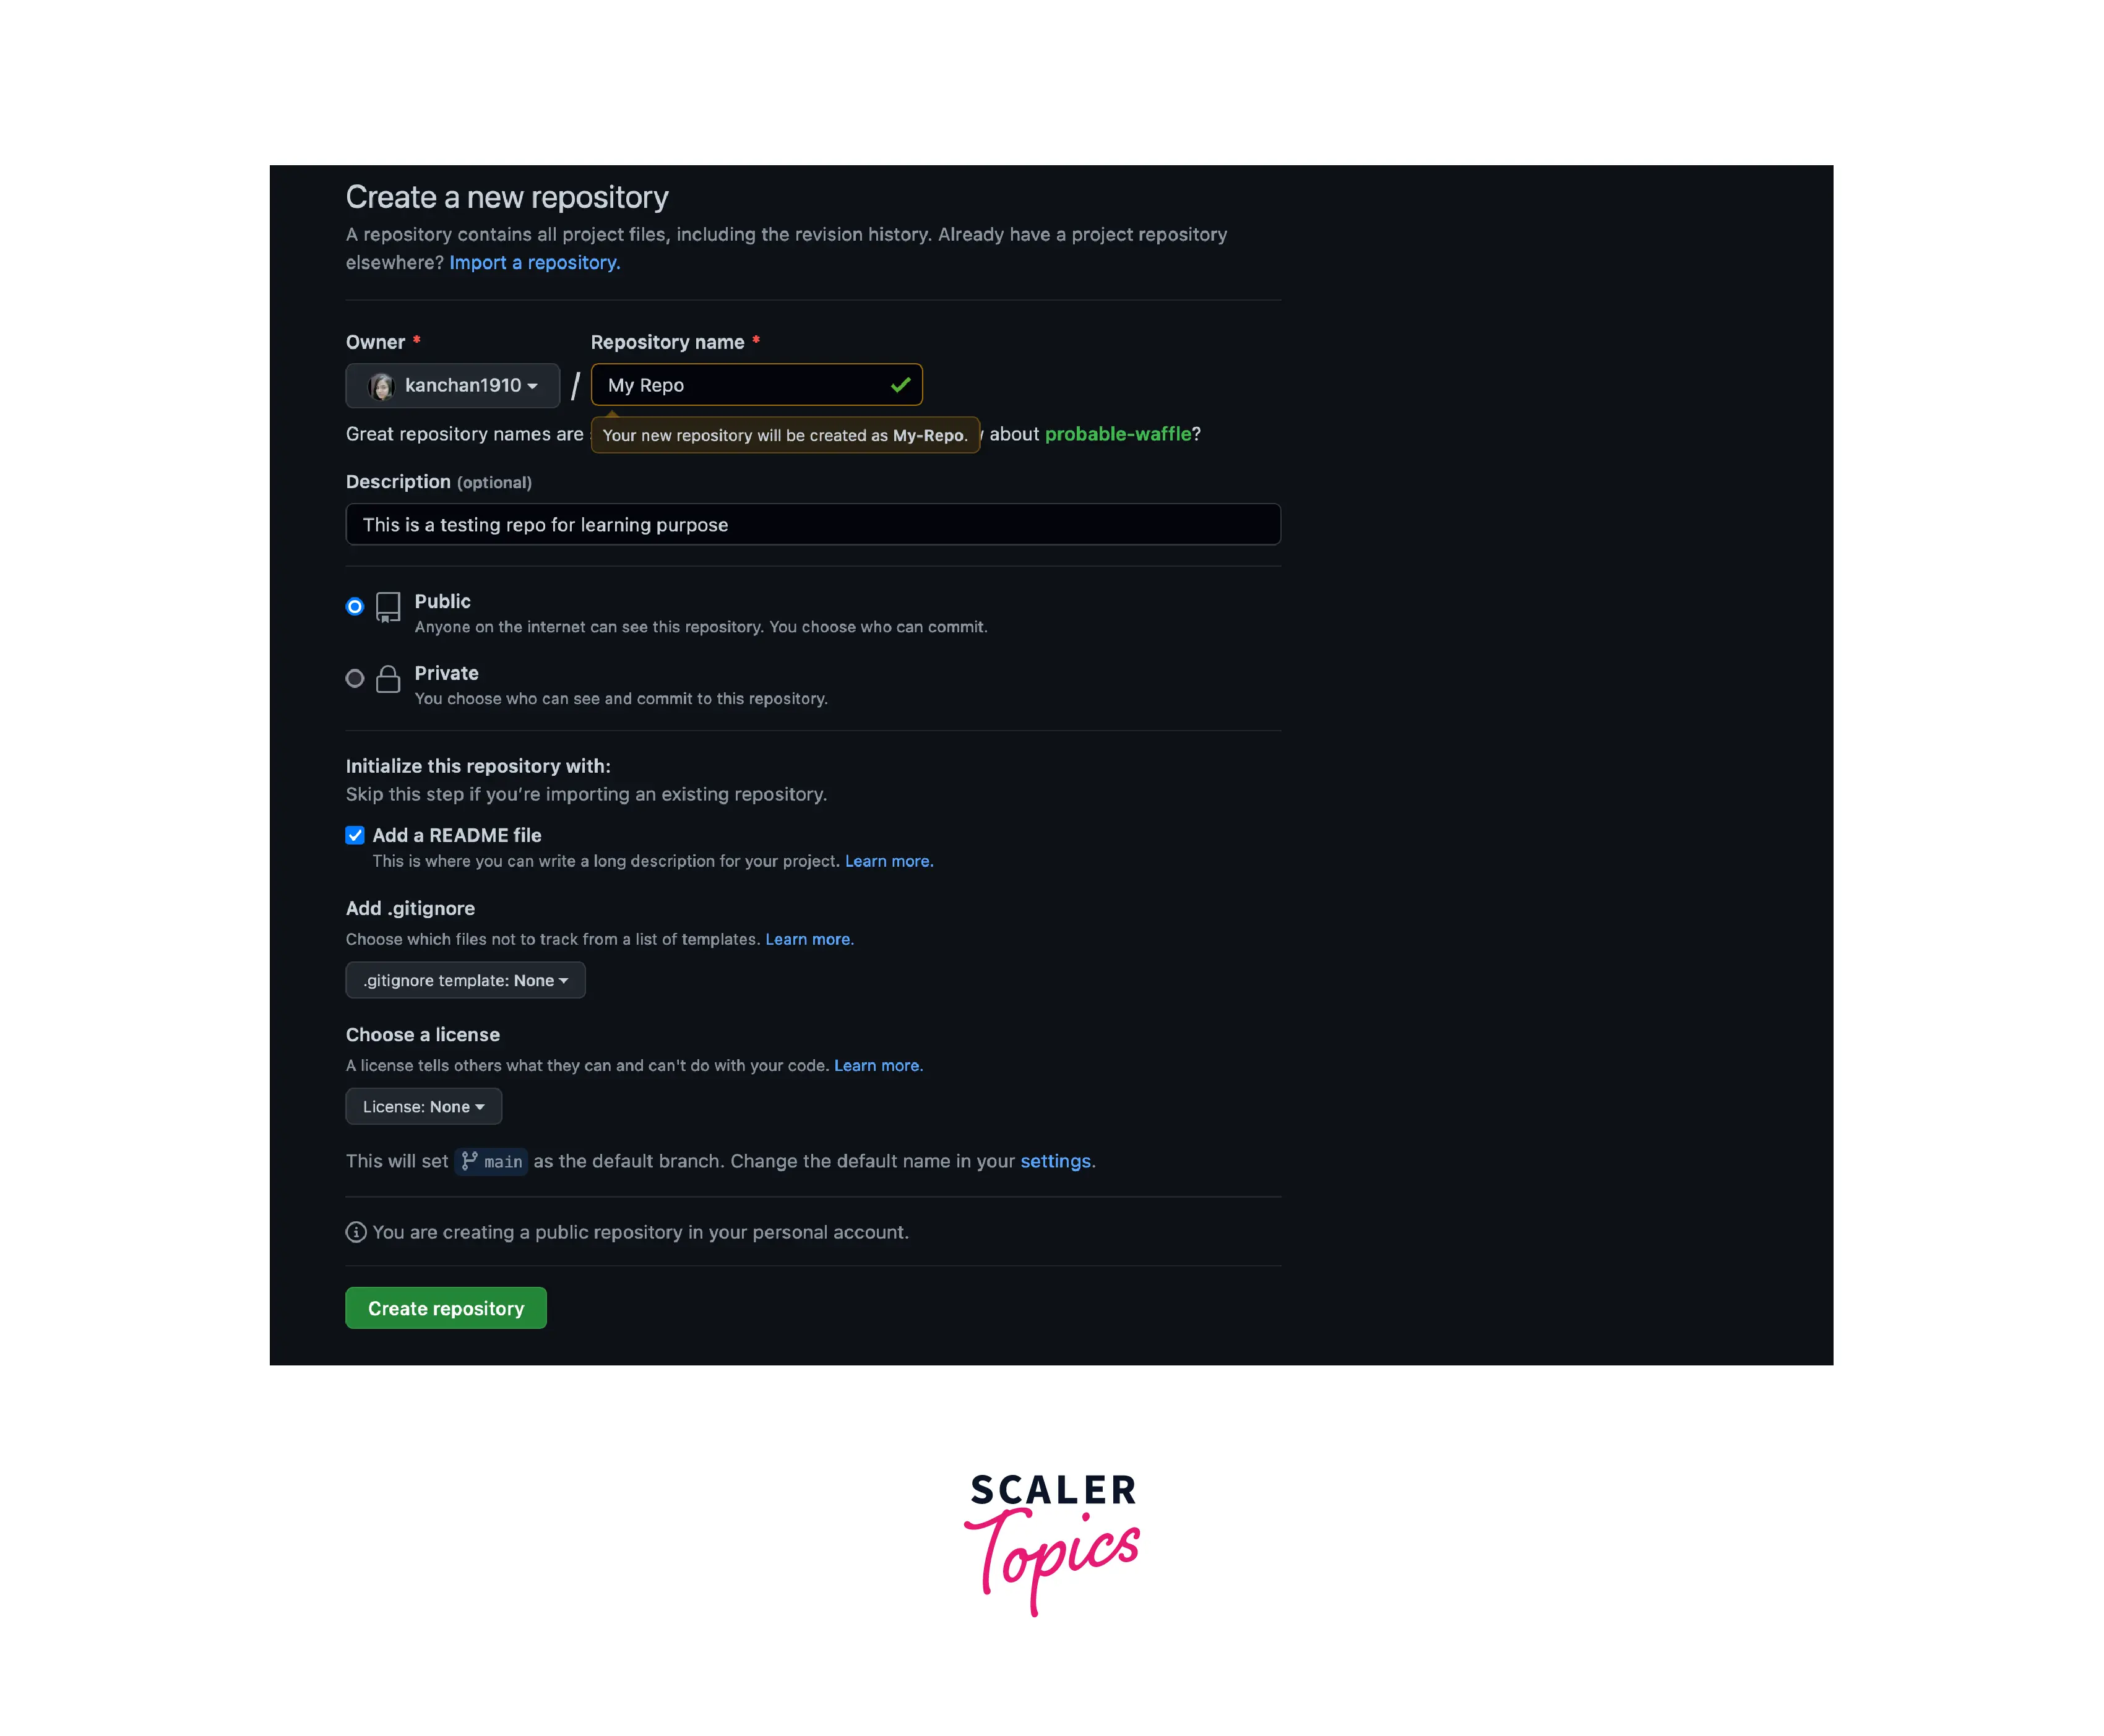
Then, choose any one option to make the repository public or private. Public repositories can be viewed by anyone on the internet, while private repositories can only be viewed by persons/users who have access shared by you to the repository. Without your access, no one can view your private repositories.

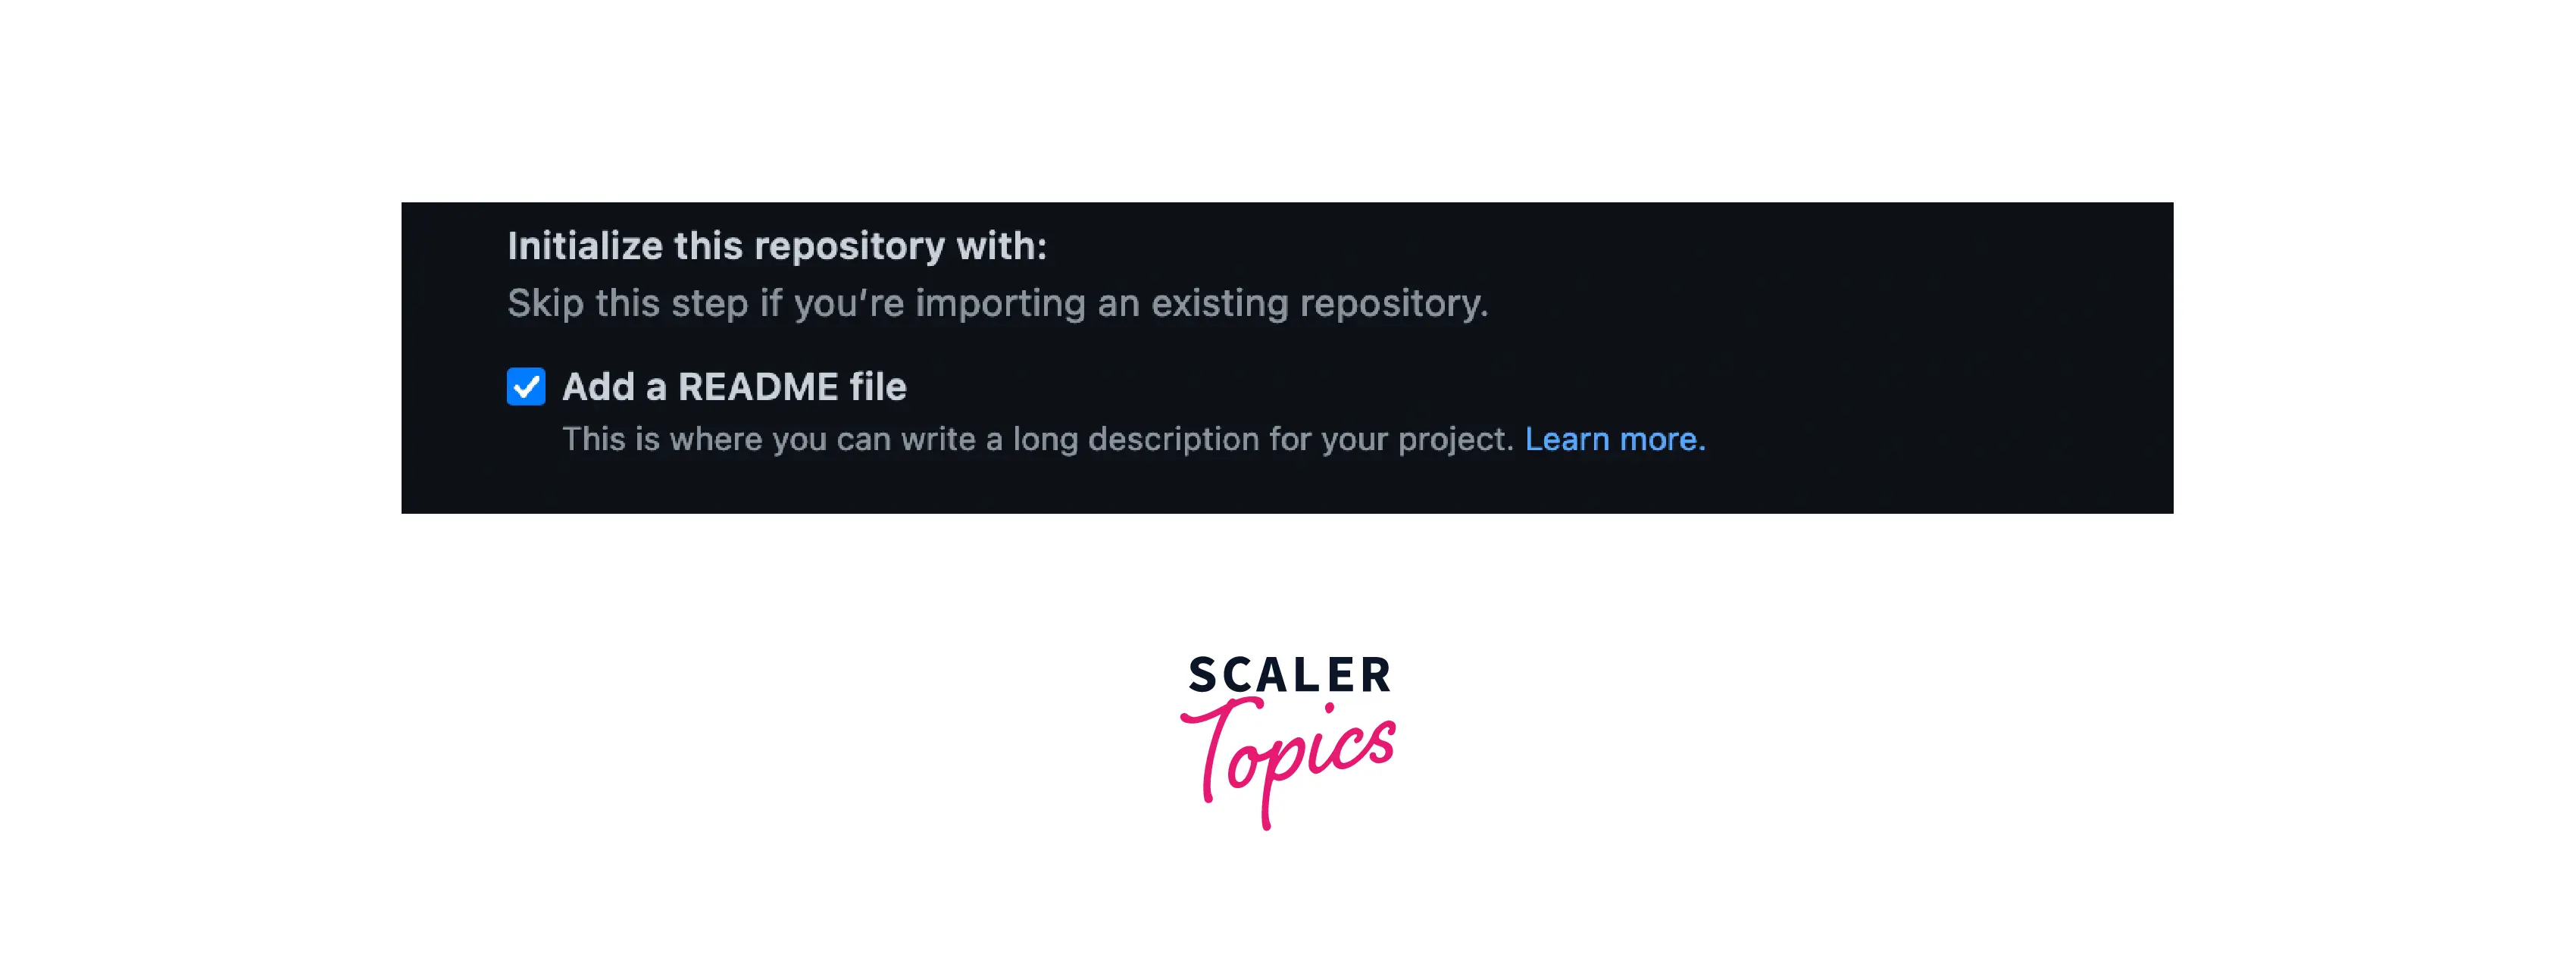
Then, you can Initialize this repository with a README file by marking the check box. This will create a readme file for your repository.
Finally, you can click on the "Create Repository" button to create your repository.
Congrats! Noe, you have successfully created your first repository and initialized it with a README file. To create a new repository in git on your local computer, follow the steps below as needed.
Turn Learning into Career Growth
1. Create a Bare Repository
There are two ways to create a bare repository in git:
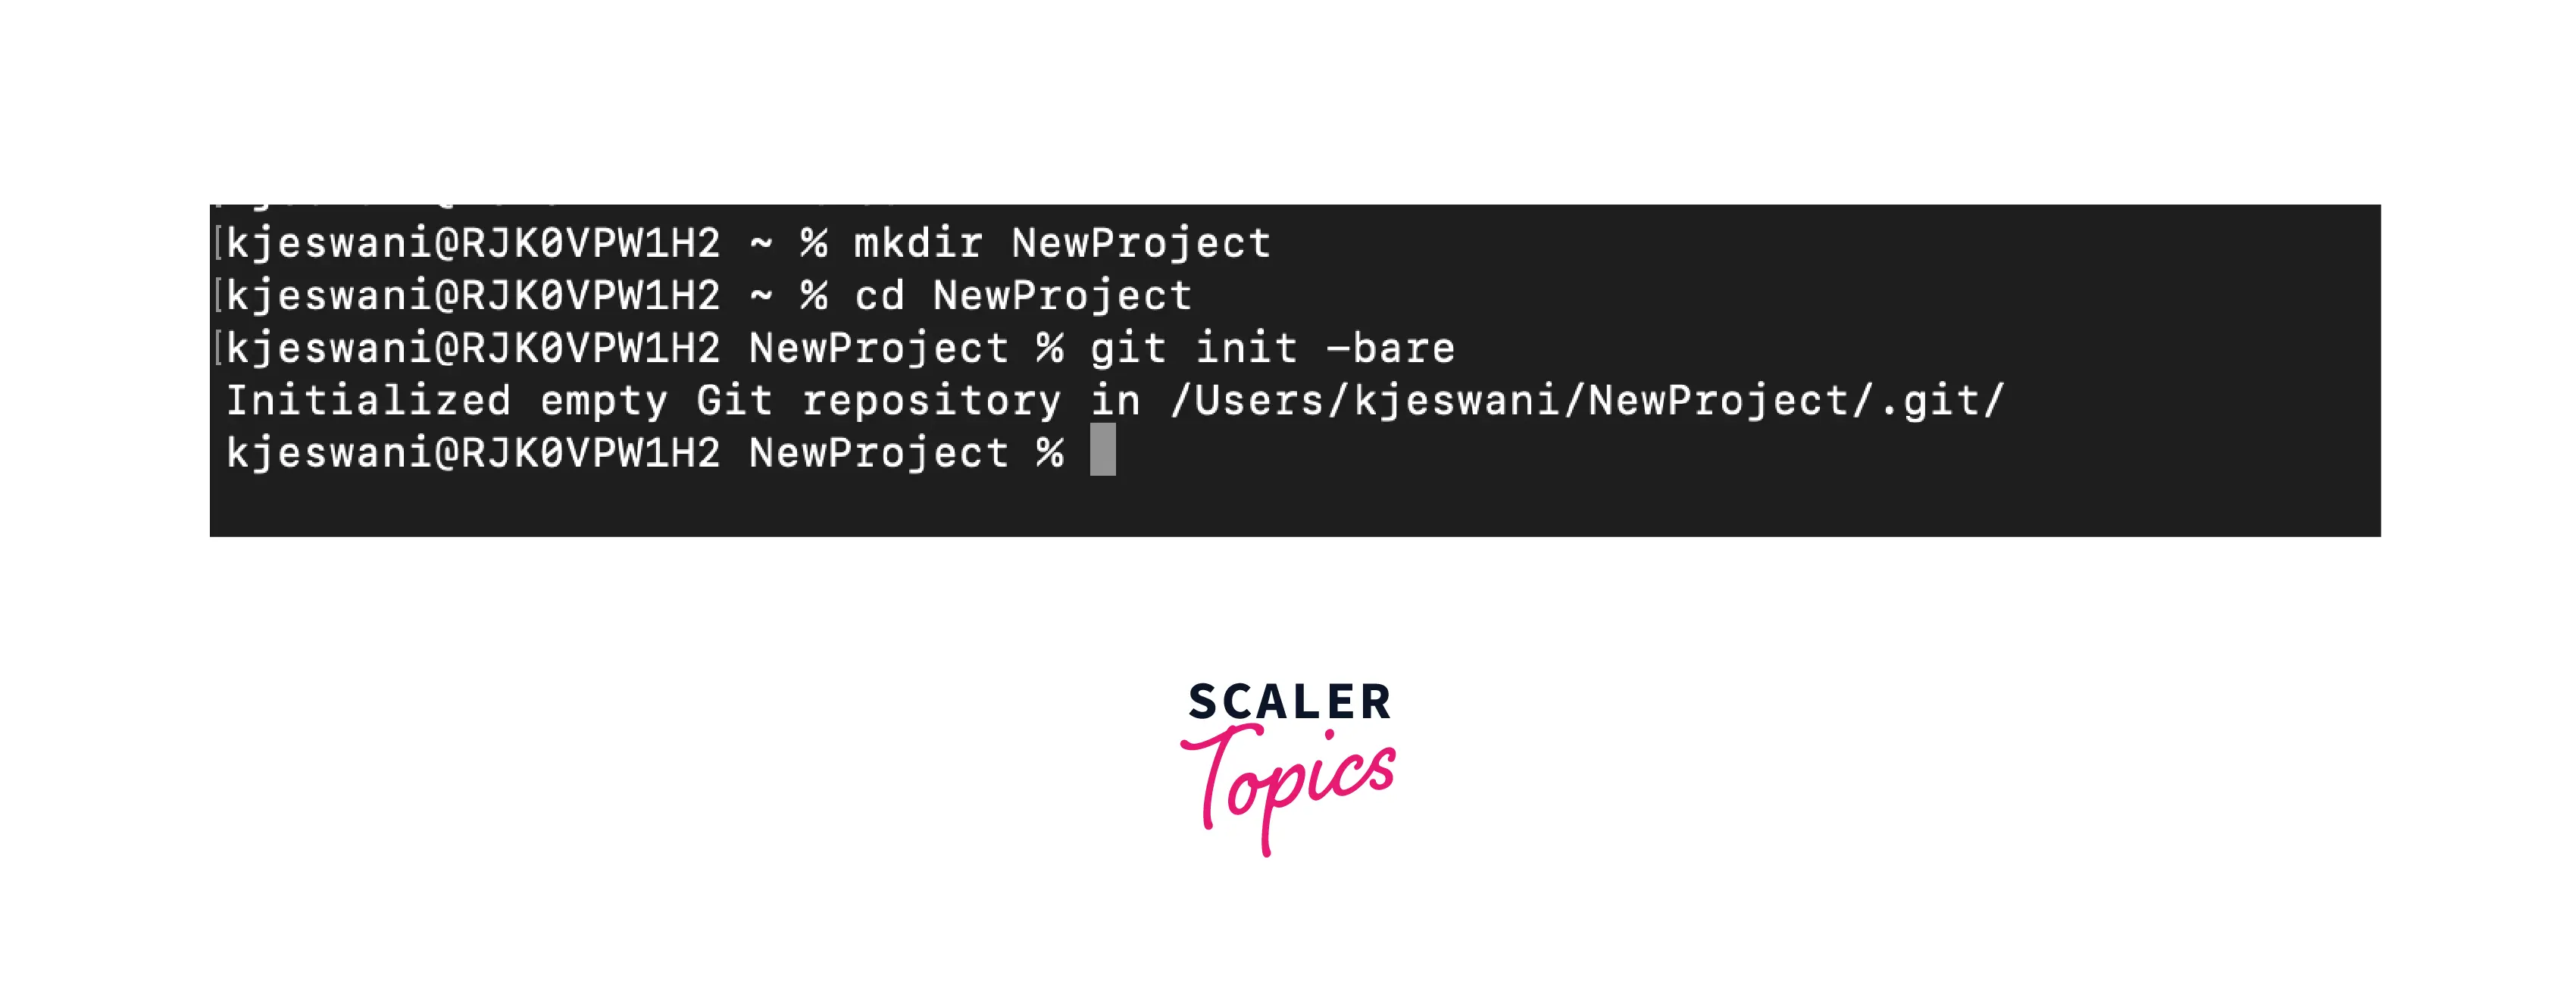
1. Create a brand new bare git repository: Suppose you have a completely new project and the name of the project directory is NewProject.
Go to the project you just created and initialize the Git repository for this project with the git init -bare command. This will initialize the repository.
2. Clone an existing repository: This method can be used if the Git repository is already active and you just want to create backups or additional nodes. The syntax of cloning an existing bare repository is:
2. Clone a Remote Repository from GitHub
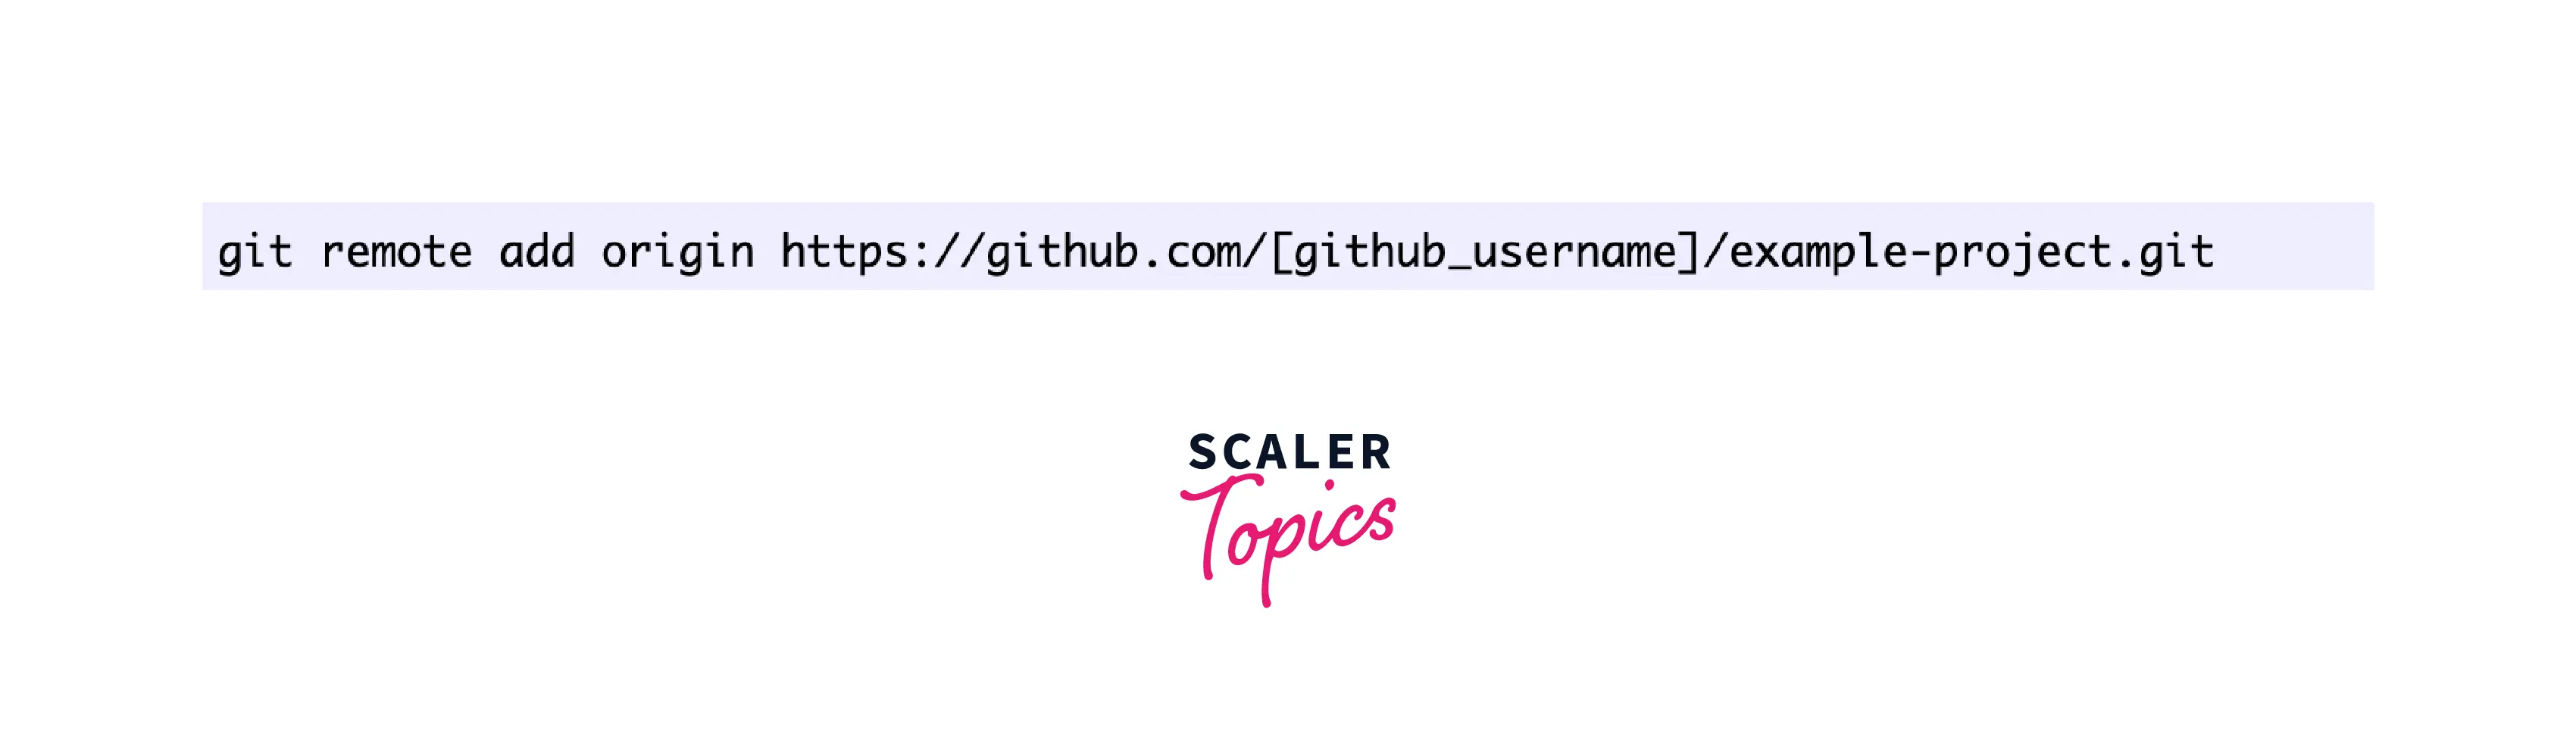
To clone a remote repository from Github, you need to make sure your local repository is connected to Github. To do this, you have to map the remote repository on GitHub to the default remote name origin via the protocol HTTPS/URL using the following command:
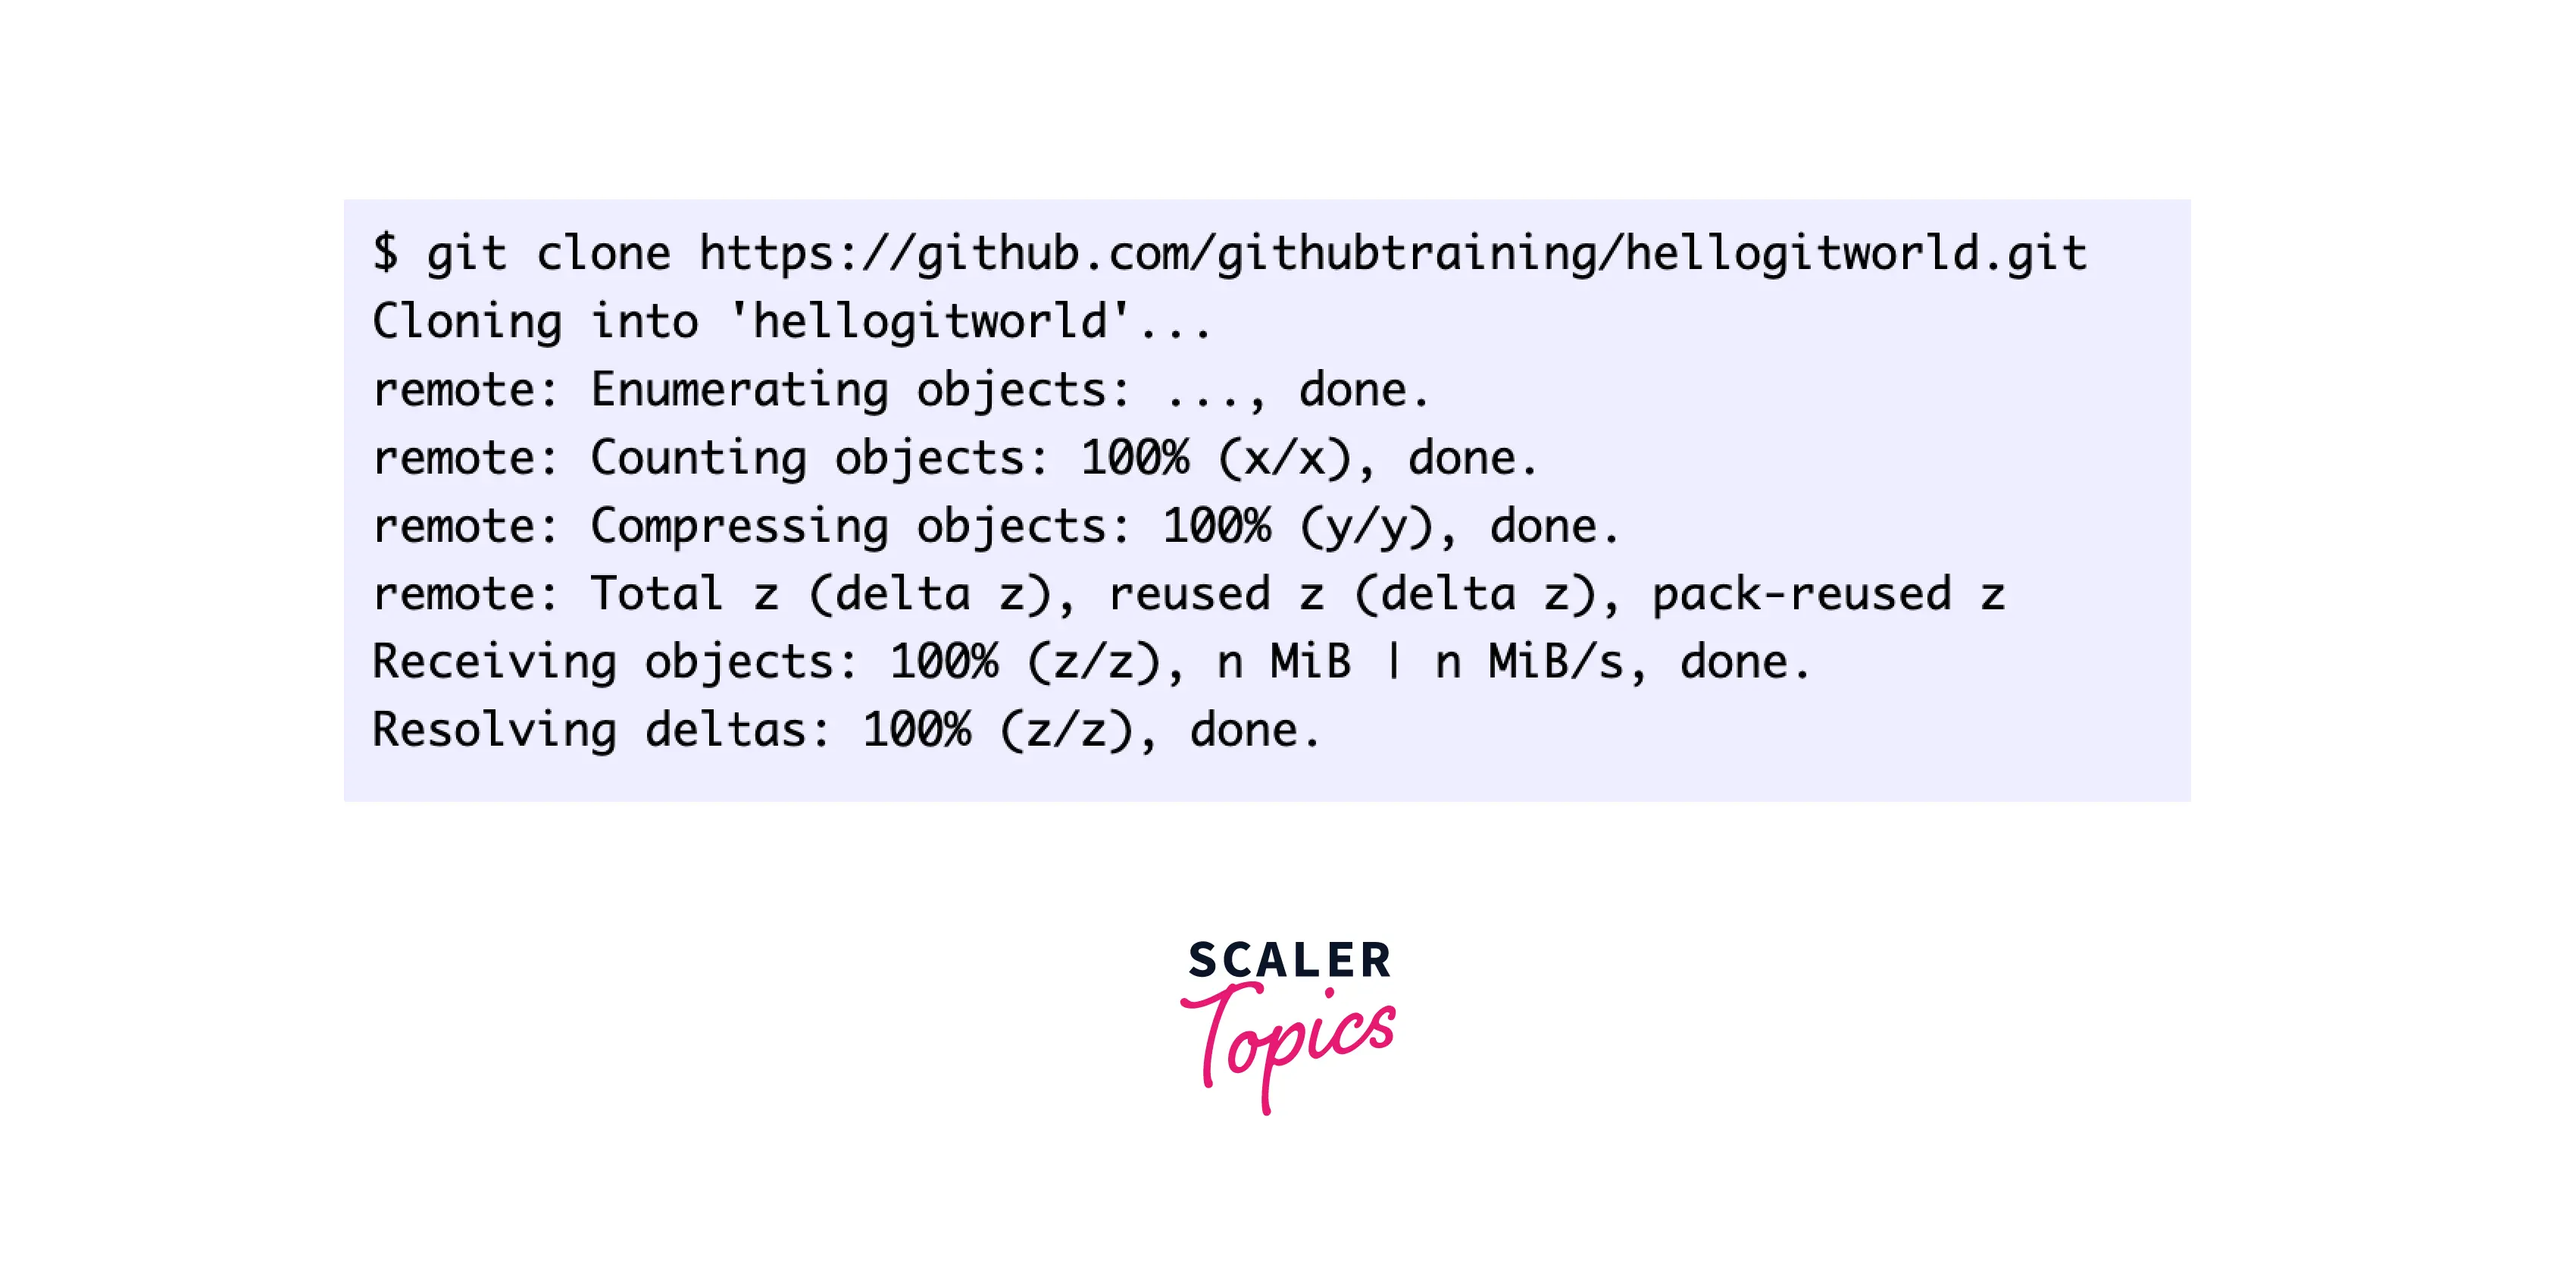
This will successfully connect your local repo to GitHub. Now, You can easily clone an existing remote Git repository using the git clone command. This clone command just copies and downloads the whole remote Git repository to a folder on your local machine. You can clone the repositories using HTTPS or SSH network protocols. The command to clone the repository is:
This will create a directory with the repository name in your local file system and download the latest version of the remote repository files. You can also use the git status command to get the current status of the repository and the git log command to get the complete history of commits in your repository.
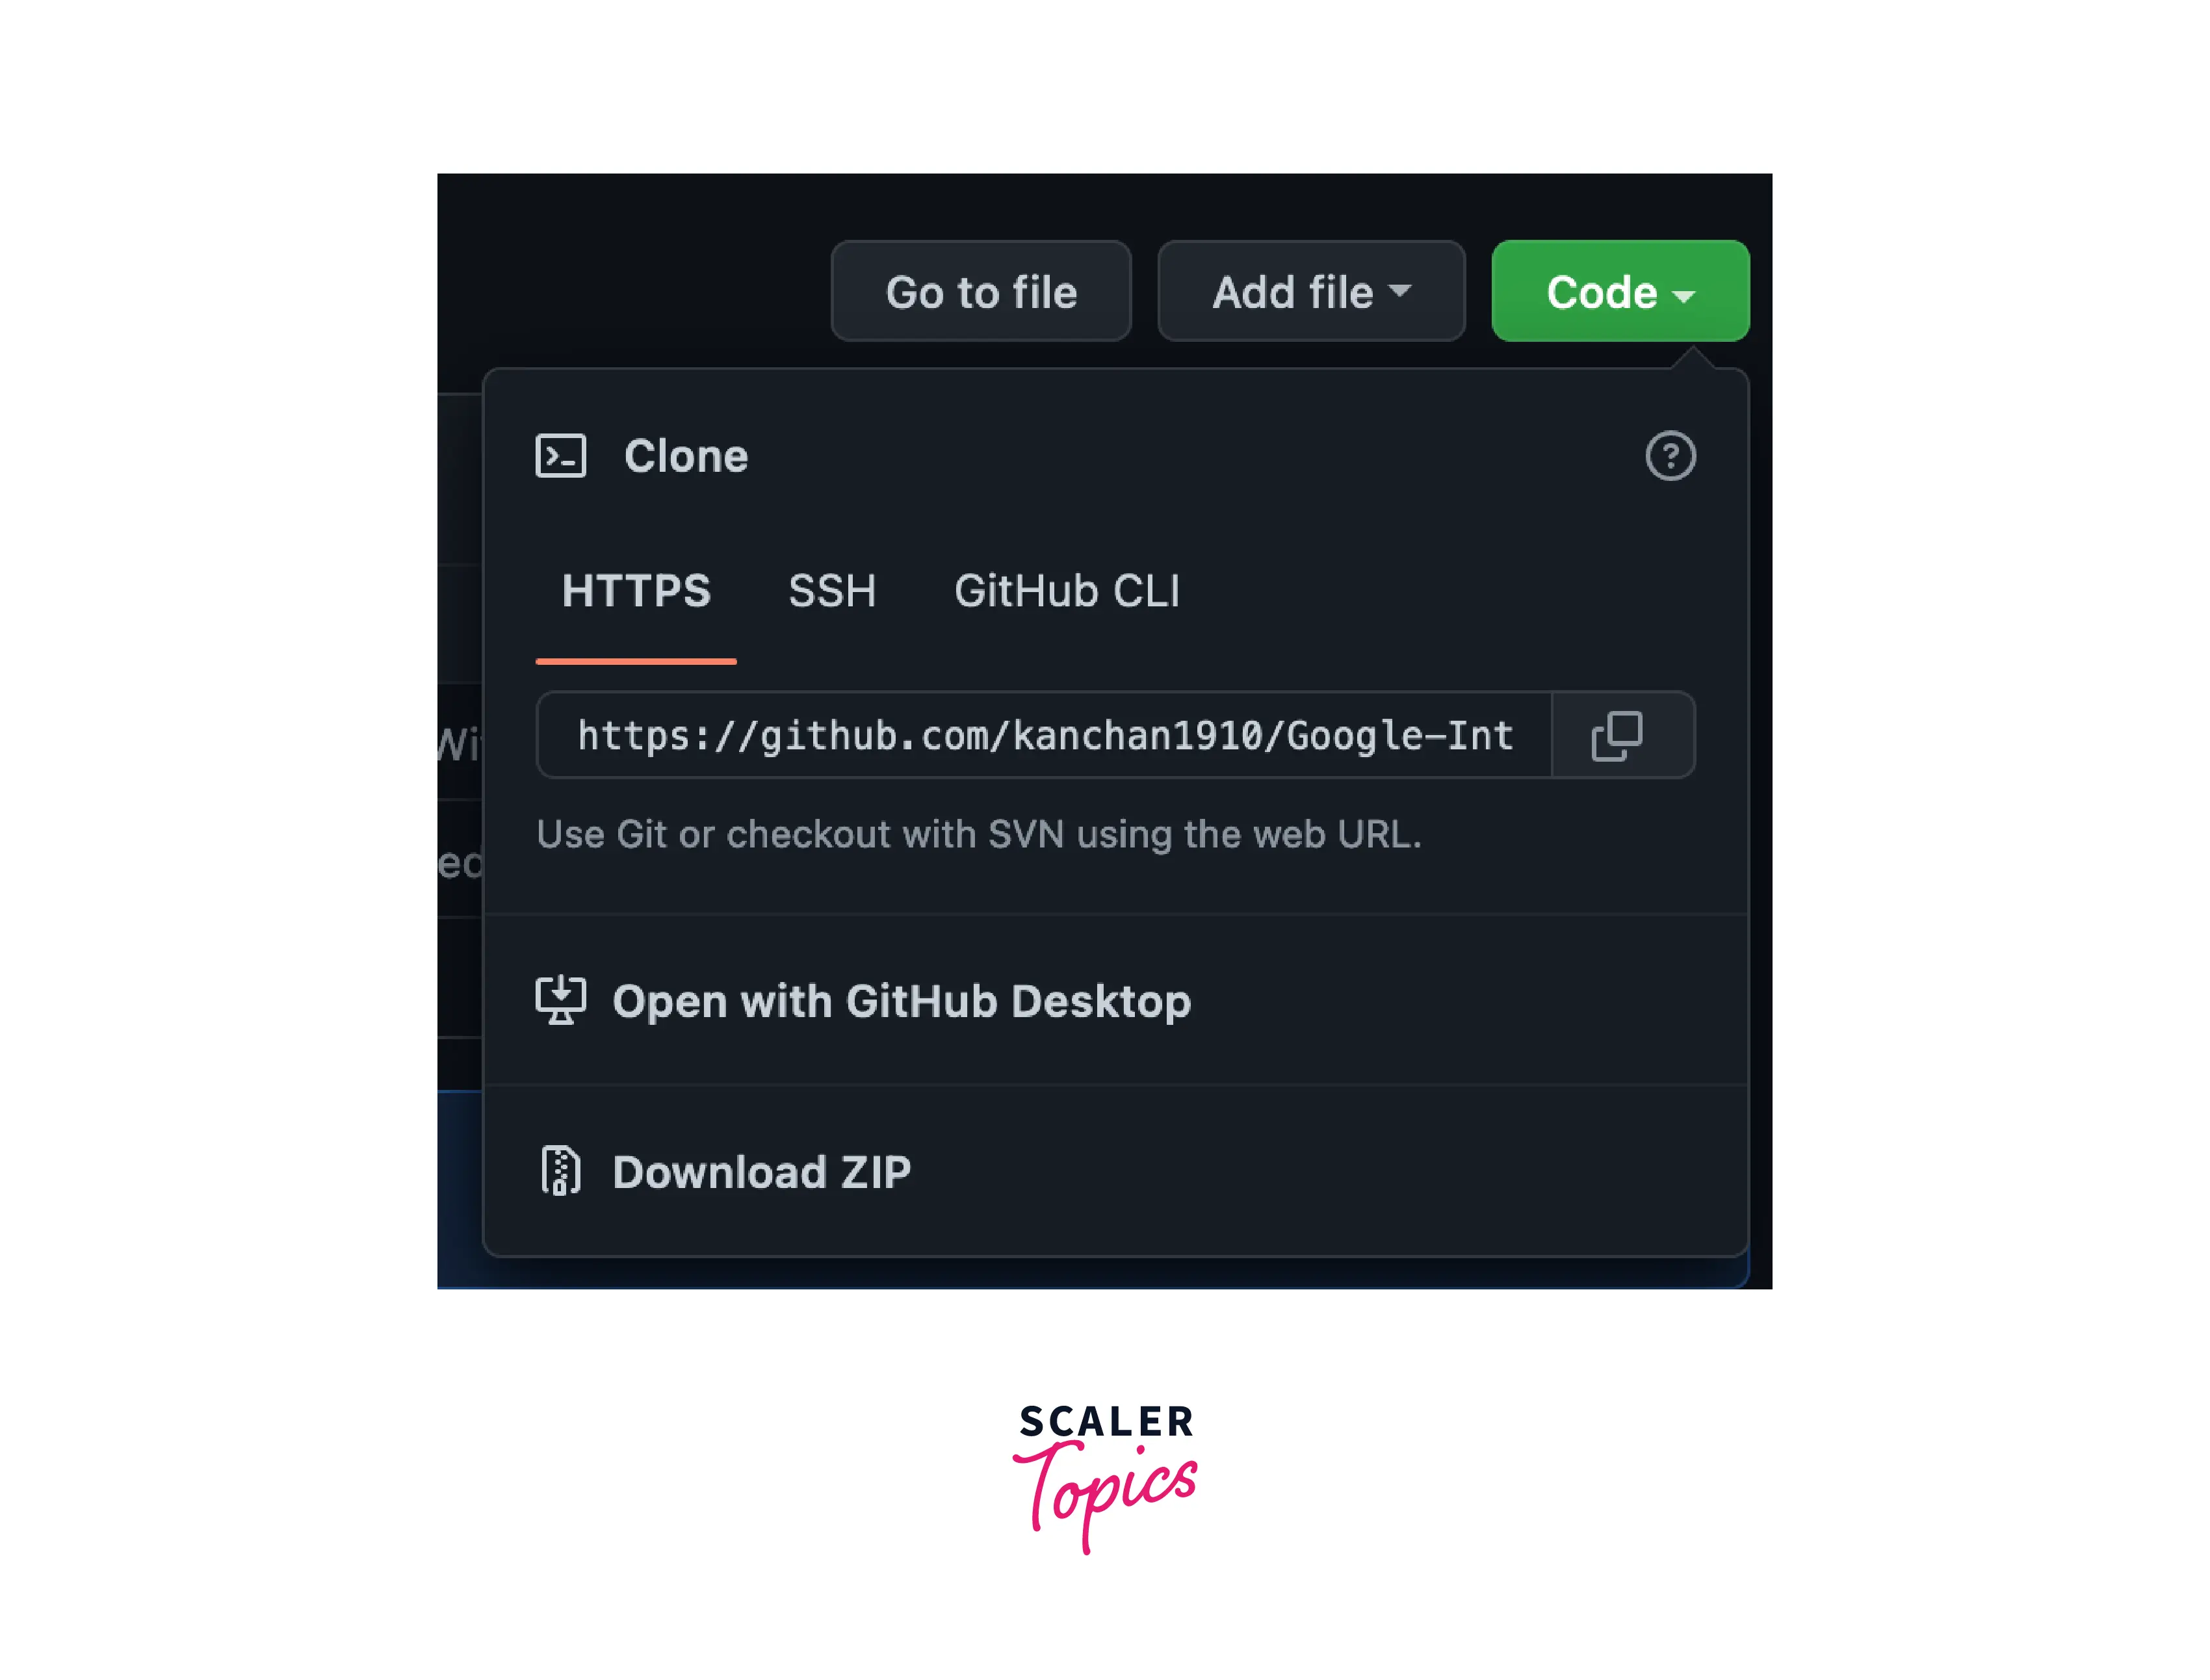
To get the URL of the remote repository, go to the main page of the repository, and copy the HTTPS or SSH network protocol URL to clone the repository as shown in the image below:
3. Repo-to-repo Collaboration
After adding the changes to the staging area and making one or more commits to your local repository, you want to share your code changes with your team members and also back up your work remotely. You can use the git push command to push the commits made in your local repository to your remote repository. A remote repository doesn't have to be a GitHub repository (it can be any git hosting platform).
The syntax for git push is:
This pushes changes from the specified local git branch to the specified remote repository. In this example, you can push the first commit you made to the remote repository using the following command:
This will push any new commits on the branch main and to the remote repository as origin.
Bare vs Non-Bare Git Repository
| Bare | Non Bare |
|---|---|
| A bare Git repository does not have a working directory. | A non-bare Git repository has a working directory. |
| A bare repository contains only the .git/ part and no files that can be edited directly. | A non-bare repository contains a .git/ file along with a snapshot of the directly editable files known as a working structure which are the actual editable files. |
| You cannot commit in a bare repository. | Commits can be made in non-bare repositories. |
| By convention, bare repository names end in .git to emphasize this. | There is nothing like this in the case of non-bare repositories. |
| You cannot do any programming work in a bare repository. | You can do your programming work within a non-bare repository. |
| To initialize a bare repository, you must use the git init –bare command. | You can initialize a Git repository simply with the git init command, which will create a non-bare repo. |
| Bare Git repositories are intended to be used as remote repositories for sharing code among the team members and for collaboration purposes. | Non-bare repositories are intended for development work. |
Conclusion
- Git is the most widely used free and open-source distributed version control system used to efficiently handle small to very large projects.
- It is used to track the changes in the source code and projects across different teams and revision levels. Git enables multiple developers to work together on a non-linear parallel development basis.
- Git must be installed on your computer to use it. If you already have git installed on your computer, we recommend updating to the latest version.
- You can install it as a package, install it from another installer, or download it from the official website.
- A Git repository is a data structure used to store a collection of files and folders with tracking information and to maintain a history of changes made to those files.
- Developers can create new repositories for new empty projects, clone existing repositories, and continue development there.
- We've seen how to create bare repositories and how to collaborate between repositories.
- To clone an existing repo you can use the git clone <remote_repo_url> command, and to clone a bare repository we can use the same command with the -bare flag, git clone -bare <remote_repo_url> .
- To connect your local repository to GitHub, you can use the git remote add origin <remote_repository_url> command which will work on mapping your remote repository by protocol HTTPS/URL to the default remote name as the origin.
- To initialize the new bare git repository you can use the git init -bare command.
- Bare Git repositories have no working directory, non-bare repositories are regular repositories with working directories
- Bare repositories contain only .git/ parts and no files that can be directly edited or committed. In contrast, non-bare repositories contain .git/ and snapshots of tracked files that can be edited directly and are known as the working structures having the actual files that can be edited.