Create New Branch in Git
Overview
Branching in git is the core concept of the git workflow. We know it is a distributed version control system, allowing multiple developers to work simultaneously on a single project in a distributed environment. Branching in git helps developers work in isolation while maintaining stability. Each developer can work on any feature of the software by creating different branches, and in the end, all the branches can be merged to get the resultant software product.
Prerequisites
To apply the concept of branching, we should be aware of the basic commands in git like:
| Command | Function |
|---|---|
| git init | Use to create a local, new git repository |
| git add | Use to add untracked files to the staging area |
| git commit | Use to commit the staged changes to the remote git repository |
| git status | Use to show the current status of the working directory and the staging area |
| git push origin master | Use to push the committed changes to the main/master branch of the remote repository. |
How to Create a New Branch in Git?
Branching is a concept in git which allows us to diverge from the main branch and continue to work in an isolated manner without messing with the main branch. In git, each branch is a version of any repository, or we can call it the independent line of development. Any repository can have as many branches, each having a different version of the repository. Branching can be helpful in many terms; firstly, we can work on any specific feature in an isolated manner without disturbing the work on the main branch. In this way, the development of bug fixes will also be facilitated, and there will be fewer errors as it’s easier to maintain a portion of your work than having large branches having all the code. Branching also helps in maintaining the stability of the code base.
To create a branch in git, we can use the command:
git branch <new_branch_name>
When you want to work on a new feature, you create a branch diverging from the main branch using the command git branch new_branch_name.
If you want to display the total branches in a repository, then you can use the command:
git branch
The above command will show all the local branches in a repository, along with the * symbol marked in front of the name of the branch we are currently on.
To switch between different branches of the repository, we can use the command:
git checkout <branch_name>
Here, we can provide the name of the branch we want to checkout.
Transform Your Career
Choose from our industry-leading programs designed for career success
Modern Software and AI Engineering Program
Master full-stack development with AI integration

Modern Data Science and ML with specialisation in AI
Advanced data science techniques with AI specialization
Advanced AIML with Specialisation in Agentic AI
Deep dive into AIML with focus on Agentic systems
DevOps, Cloud & AI Platform Engineering
Build and manage AI-powered cloud infrastructure
AI Engineering Advanced Certification by IIT-Roorkee
Premier AI engineering certification from IIT-Roorkee
Branch Naming Conventions
There are some of the best practices we should follow while naming branches:
1. Avoid having long names for the branches:
The branch name should be short, explanatory, and informative. Long and detailed branch names are not considered a good way of naming.
2. Use Hyphen(-) or underscore (_) as Separators between different words in a branch name:
You can use hyphens, underscores, slashes, or any separators to differentiate between words in a branch name. It helps increase the readability and makes it easy to understand rather than confuse.
For example: Without the separators branch, the name addednewfeature is less readable and more confusing, and by using separators added_new_feature, it is easily understandable.
3. Avoid using only numbers as a branch name:
Using numbers as a branch name is not a good practice as it needs to be more understandable and increases the confusion and risk of errors.
For example, 12345 as a branch name is not making any sense, and it will lead to mistakes.
4. Starting branch name with the category word:
To improve the efficiency and to identify the purpose of the Git branch, we can add the category word in front of the branch name, like BUG (it will show that the work is being done in a particular branch to fix the bug), FEATURE (it will show that work on the new feature is going on), WIP (it will show that work is in progress)
Scaler Placement Report and Statistics
Scaler learners achieved 2.5x salary growth with average post-Scaler CTC reaching ₹23L.
Visualizing Branches
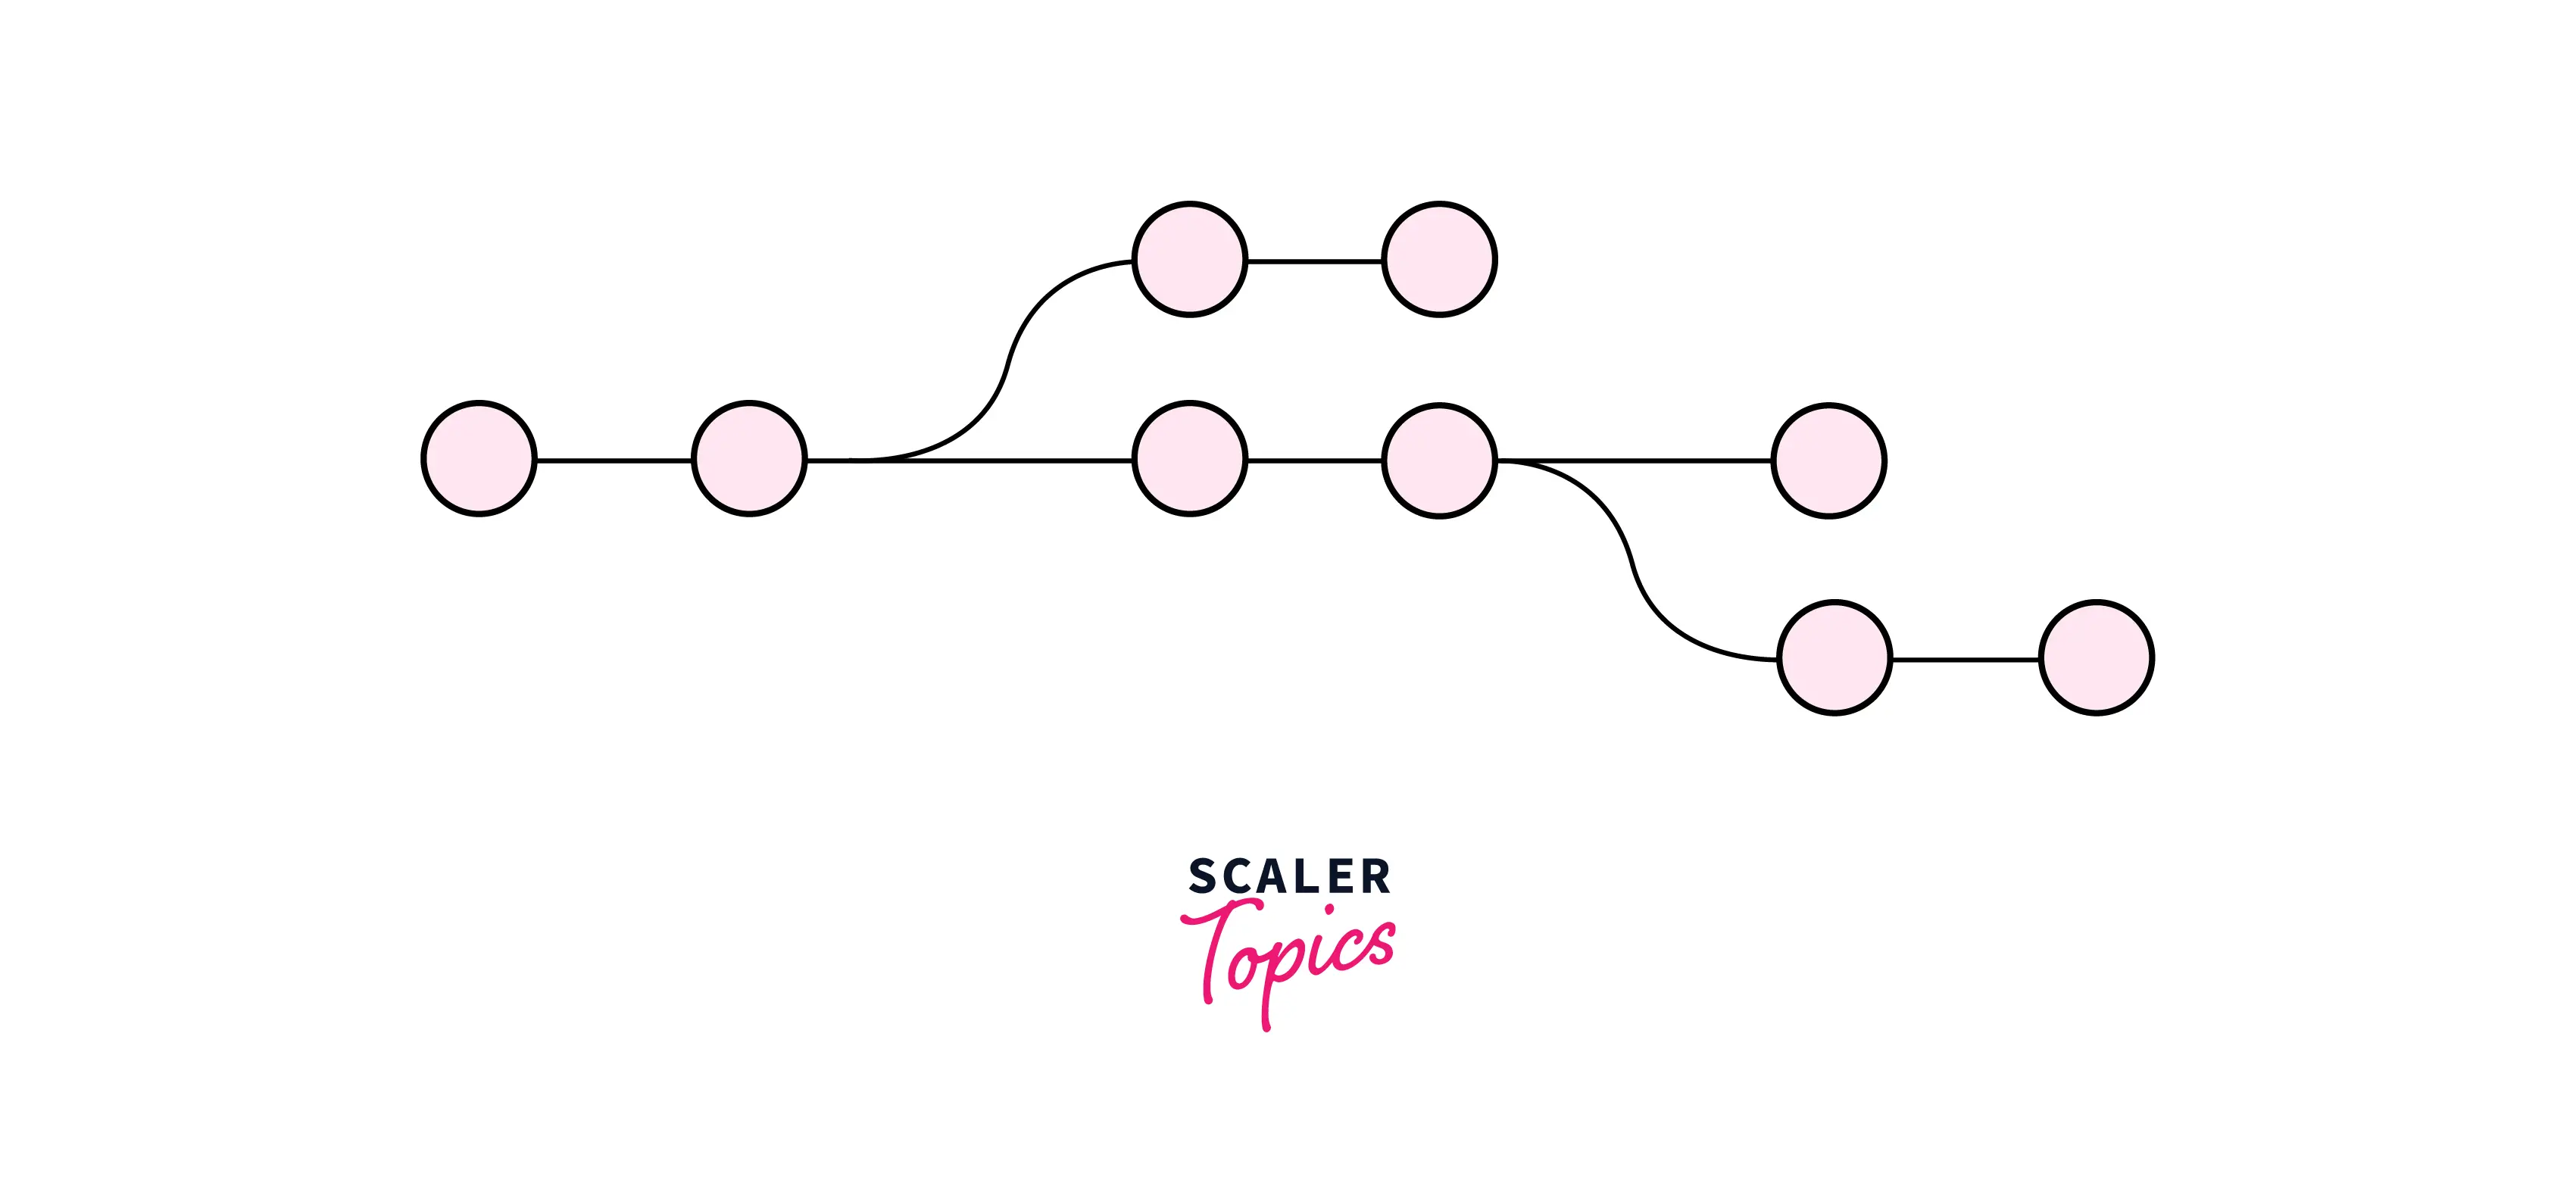
Git provides a very nice way to visualize the branches, which helps us know the flow and status of various branches in our repository.
We can use the command
git log --graph --simplify-by-decoration --pretty=format:'%d' --all
to visualize the branch tree.
The output of the command will be something like in the image shown below:

Create New Git Branch From the Current Branch
The most common and popular way of creating a git branch from the current branch is:
git branch <branch_name>
If you want to switch to the newly created branch, you can call:
git checkout <branch_name>
There is an alternate command to the above two commands, which helps create a new branch and automatically switch on that new branch.
git checkout -b <branch_name>
Create New Git Branch From a Different Branch
To create a new branch from a different branch, we can write:
git checkout -b <new_branch_name> <different_branch_name>
In the above command, replace new_branch_name with the name of the new branch and different_branch_name with the name of the specific different branch already existing; it is the one from which the new branch needs to be created.
Turn Learning into Career Growth
Create Git Branch from Commit
Git commit is a command used to take a snapshot of your git repository staged changes at a specific time, and git log is a command used to view the history of commits for a given repository. Each commit in the logs has a unique commit id, information about the author, timestamp, and the message or description associated with the commit. We can go to a particular version and start our work, thereby creating a separate branch, the command to create a branch on a specific version or a commit of a git repository is:
git branch <new_branch_name> <commit_id>
This method is mainly useful in case we want to go to a previous commit or a version of a repository to add some new functionality there or to handle some bugs.
To checkout to the newly created branch we can use the command:
git checkout <new_branch_name>
Create Git Branch from Tag
Tags in git are a specific point in the history of a git repository, mainly used to mark the commit as relevant and unchangeable. They are helpful in scenarios when you want to create that point as a stable release version of your code.
To create a git branch from the tag, we can first create a tag using the command:
git tag <tag_name>
Then, we can create a branch from that tag using the following:
git branch <branch_name> <tag_name>
To checkout to this new branch we can write:
git checkout <branch_name>
Create a Branch Using Detached HEAD State
A detached HEAD state is where you check out a particular commit, but that commit is not part of a branch.
To create a branch using that Detached HEAD, we can first check out that commit by using the command:
git checkout commit_id
The commit id is the unique, encrypted number generated using Secure Hash Algorithms. It can be obtained by using the git log command to get the history of commits in the git repository, and we can select the commit id of the commit we want to use.
After checking out the commit, we can create a branch using the following:
git branch <new_branch_name>
To checkout to the new branch, you can write:
git checkout <new_branch_name>
Create a Branch from a Remote Branch
To create a local branch from a remote branch, we can first create a new remote using the command:
git remote add <remote_name> <url_of_the_repository>
Then, we can fetch the changes of the remote repository to the local so that it can get the details of the remote branches using the command:
git fetch <remote_name>
Then, to create a local branch from a remote branch, we can write:
git branch <new_branch_name> <remote_name>/<remote_branch_name>
To checkout to the new branch, you can write:
git checkout <new_branch_name>
Create a Branch in a Remote Repository
As we know that we can create a local branch using the command:
git checkout -b <local_branch_name>
Then, with this current local branch checked in, we can publish it on our remote git repository. To do so, we can use the push command:
git push -u <remote_name> <local_branch_name>
Here, the flag -u maintains a tracking relationship between the local branch and the new remote branch. In the above command, <local_branch_name> will be replaced by the name of the existing local branch.
Scaler Placement Report and Statistics
Scaler learners achieved 2.5x salary growth with average post-Scaler CTC reaching ₹23L.
Delete a Git Branch Locally and Remotely
While branches provide us with a great way to work on different features in an isolated manner, it's a good idea to delete the branch when you're done.
Git doesn't allow you to delete the branch you're currently sitting on, so you'll need to checkout to another branch to delete the current branch.
If you have two branches, a developer_local branch and a main branch, and you want to delete the developer_local branch, you can check out the 'main' branch first using the following command:
git checkout main
Now, to delete the branch, we can use the command:
git delete -d <branch_name>
Here in this example, we can use:
git delete -d developer_local
This will delete the developer_local branch. You can also check this with the git branch command. This is useful for listing the current local branches in your project repository.
The -d option with the git delete command will only delete a branch if its changes have been pushed and merged into the remote branch. But if you want to force the branch to be deleted even though the changes have not been pushed or merged yet, you can use the following command:
git delete -D <branch_name>
This command will force delete the local branch.
Now, if you want to delete the remote branch, then you can mention the name of the remote and can delete the branch using the following:
git push <remote_name> --delete <branch_name>
This command will remotely delete a branch.
Conclusion
- Branching in git allows a developer to work on an independent line of development. They can quickly use branches to diverge from the main production branch to work in an isolated and stable environment.
- Branching is mainly used when multiple developers work on the same project and each works on an independent software feature on their local branches. Then we can merge the changes of all the branches to get the complete software.
- Some good conventions to be followed while naming branches include having short informative names, including hyphens, dashes, and underscores as a separator while giving a name to the branch, and avoiding using only numbers while naming branches.
- different methods and commands exist to create branches according to the use case. We can create a local branch from a current branch, from different branches, from tags, from commit (using its commit id), in a Detached HEAD State, or from a remote branch.
- To delete a local branch, we can use the command git branch -d <branch_name>.
- To delete a remote branch, we can use the command git push origin --delete <branch-name>
- To list all the local branches in a repository, we can use the command `git branch.