Git Pull Request | Detailed Explanation
Git, a powerful version control system, revolutionizes how teams collaborate on software projects. At its core, a Git pull request is a pivotal feature, enabling developers to propose changes to a repository. It facilitates code review, discussion, and integration, ensuring that contributions are effectively merged into the project's main codebase. This brief guide introduces the essentials of creating and managing pull requests, crucial for contributing to projects, especially in open-source communities. Learn to navigate this process, enhancing collaboration and project development.
Pre-requisites
Before understanding the git pull requests feature, let's first understand some of the basic commands in git and their usage. So, as we know Git is the most widely used free and open-source distributed version control system used to efficiently handle small to very large projects. It is used to track the changes in the source code and projects across different teams and revision levels. Git enables multiple developers to work together on a non-linear parallel development basis.
Some of the most common git commands are:
| Command | Function |
|---|---|
| git init | Use to create a local new git repository |
| git add | Use to add untracked files to the staging area |
| git commit | Use to commit the staged changes to the remote git repository |
| git status | Use to show the current status of the working directory and the staging area |
| git push origin master | Use to push the committed changes to the main/master branch of the remote repository. |
What are Branches?
Branching is a feature in git that helps in providing an independent line of development and encouraging parallel contributions.
Learn more about:
What are Pull Requests?
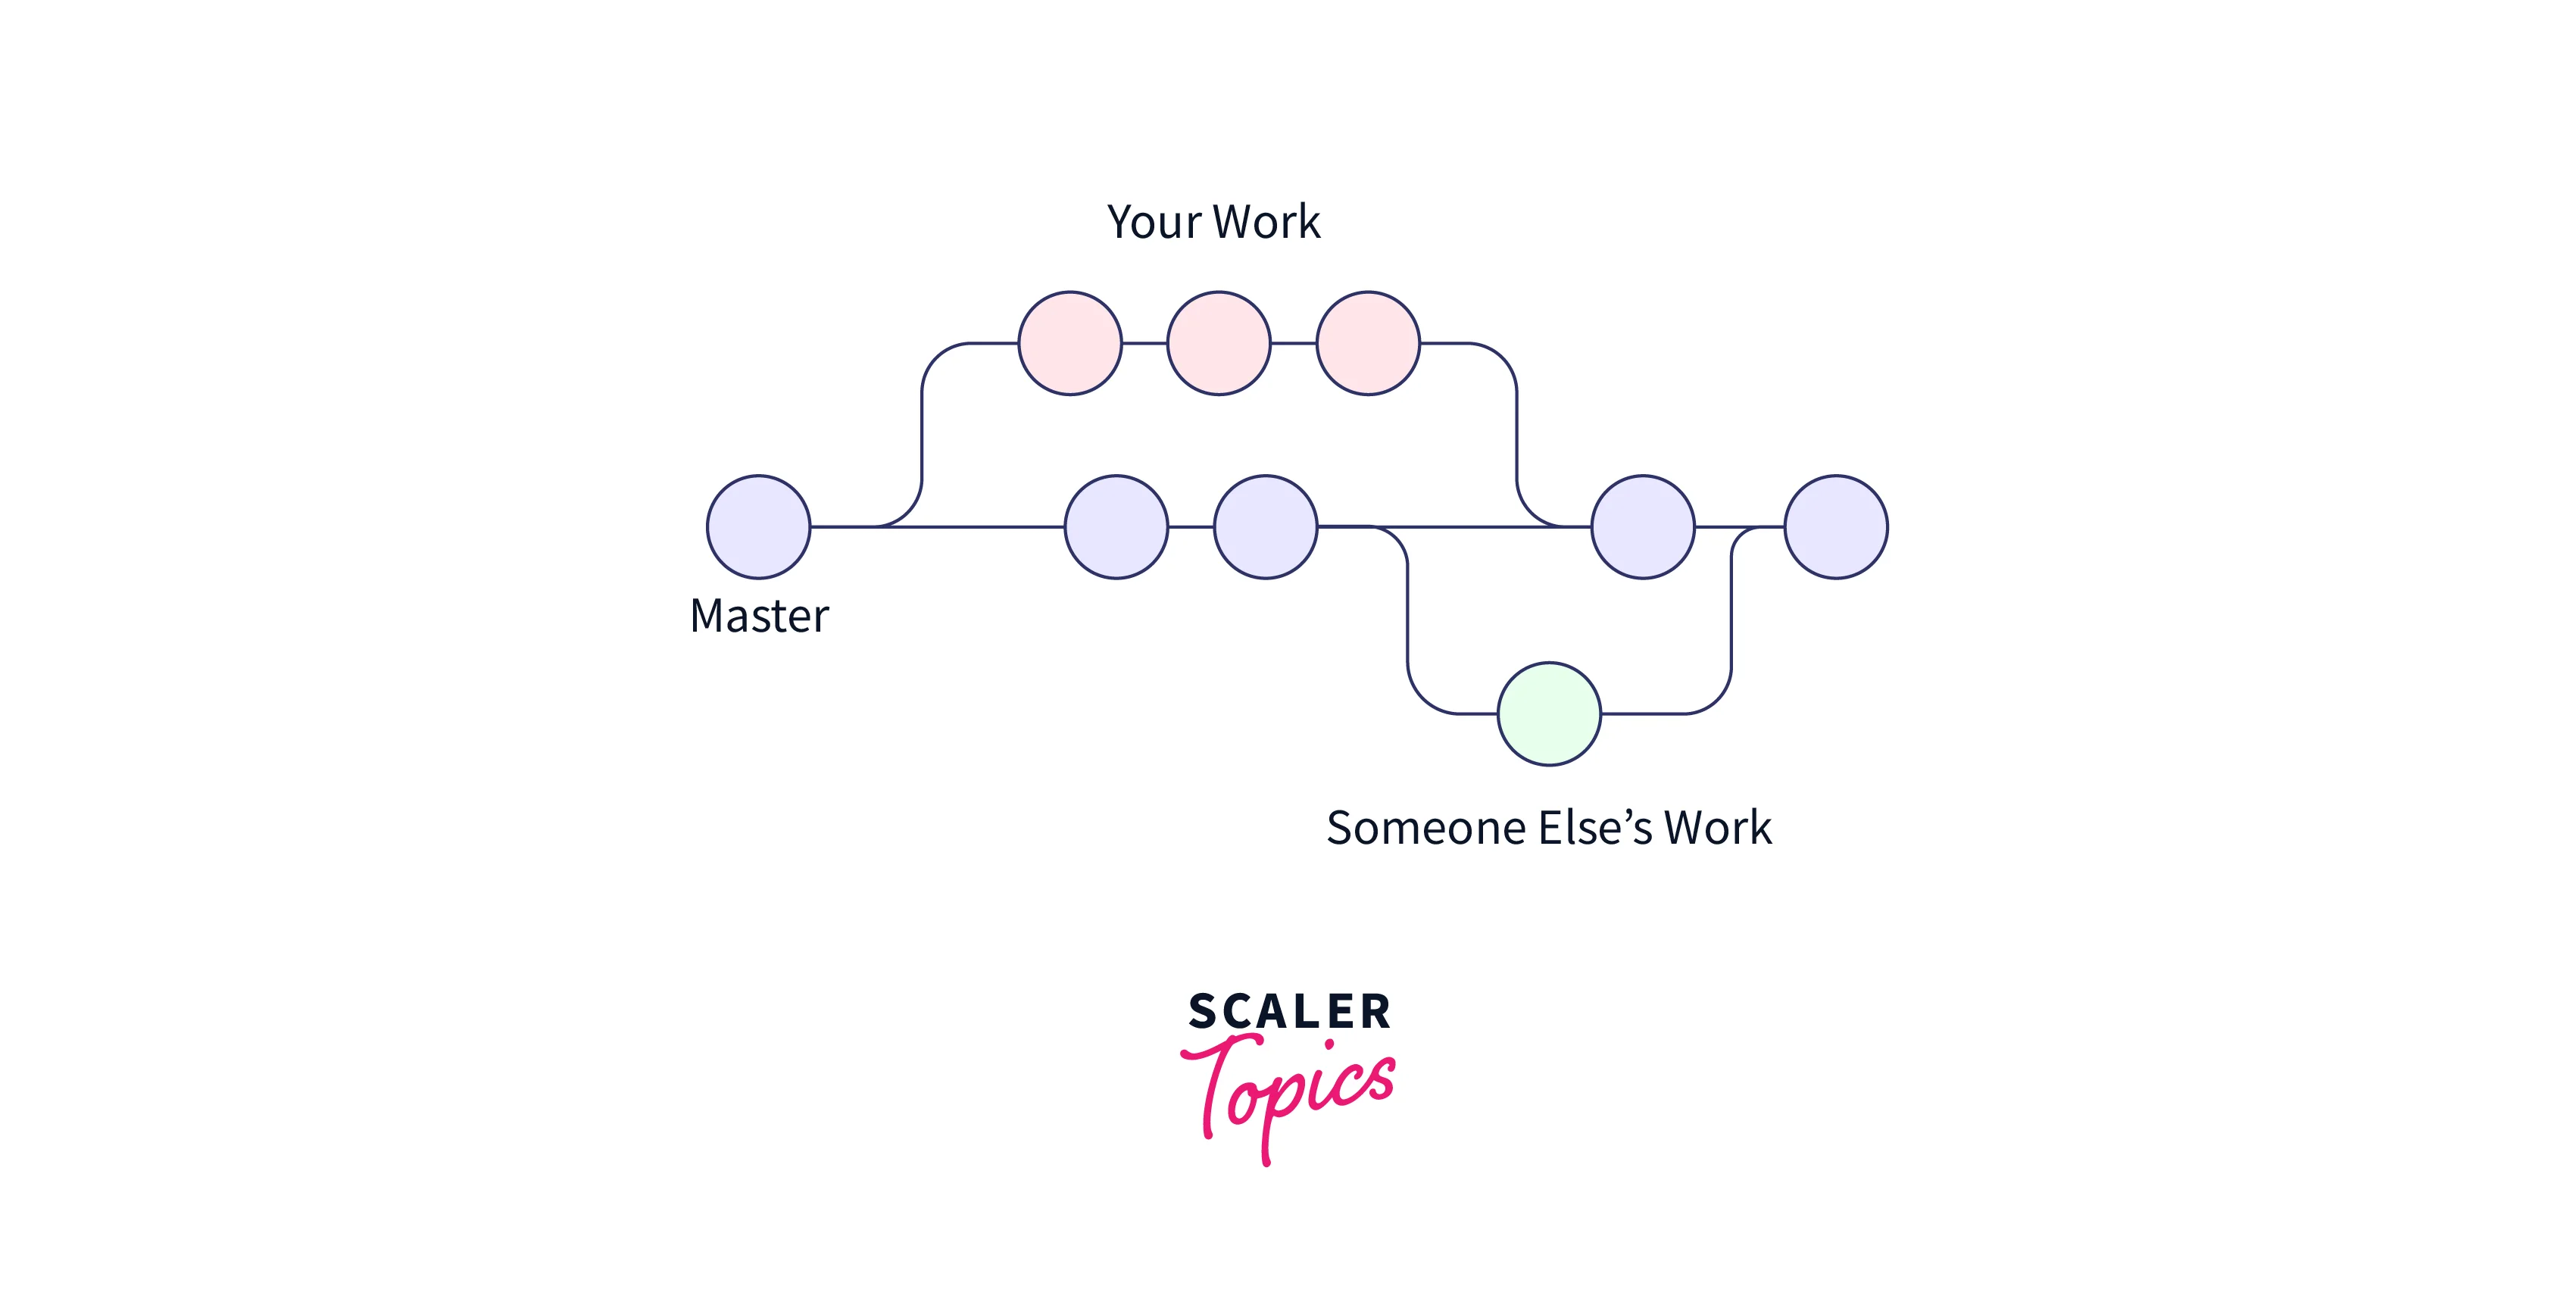
A pull request is a feature in git that allows you to contribute to someone's git repository. When you create a pull request it notifies a maintainer to review the code you want to merge into their repository. Suppose, you are working on any feature and after completing that feature you will notify team members about the code change you have made by raising a pull request. A pull request notifies all team members that the code should be reviewed and merged into the master branch. This feature of git helps in improving collaboration, encouraging feedback, and building confidence in code changes.
The pull request makes it easy for developers to collaborate on any project. This is the process of asking the project maintainers to review their work. Then the reviewers can then make comments and provide suggestions to change the code accordingly. Once the pull request is approved after addressing all the comments by the author, the changes are merged directly into the main repository.
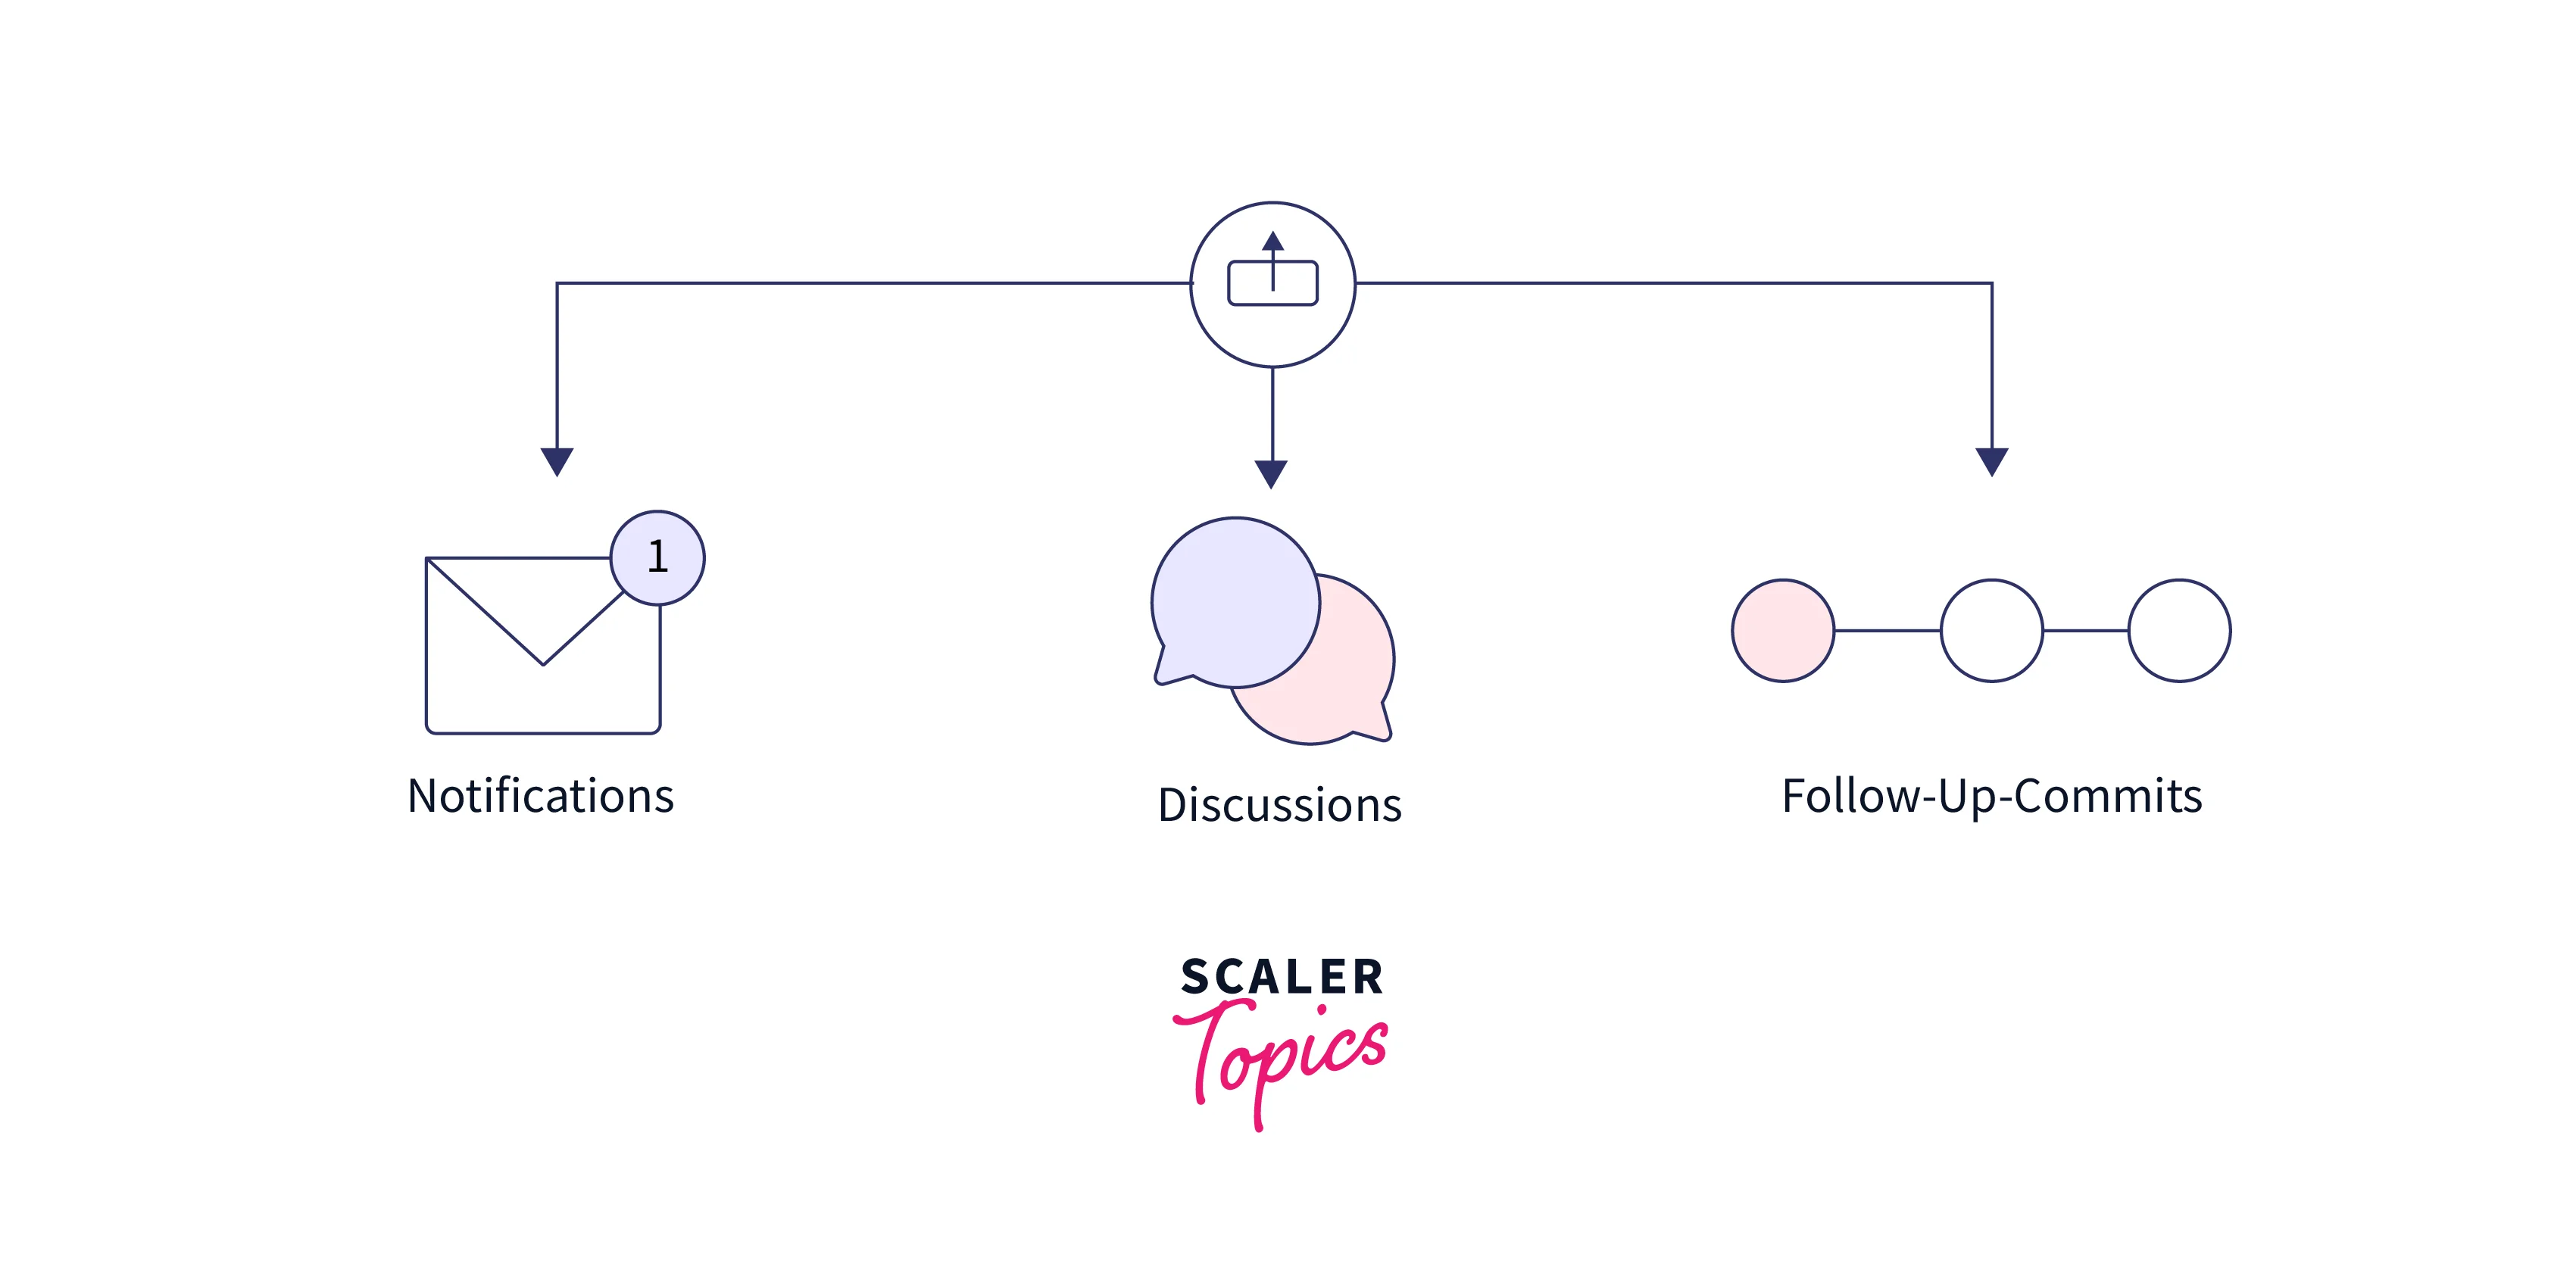
Git Pull Requests provides a very accessible web interface for discussing code review requests. This is a devoted forum for discussing proposed features. Teammates can also post feedback in the form of comments on the pull request if they have issues with the changes, and track commits to improving functionality. All of these activities are tracked directly within the pull request.
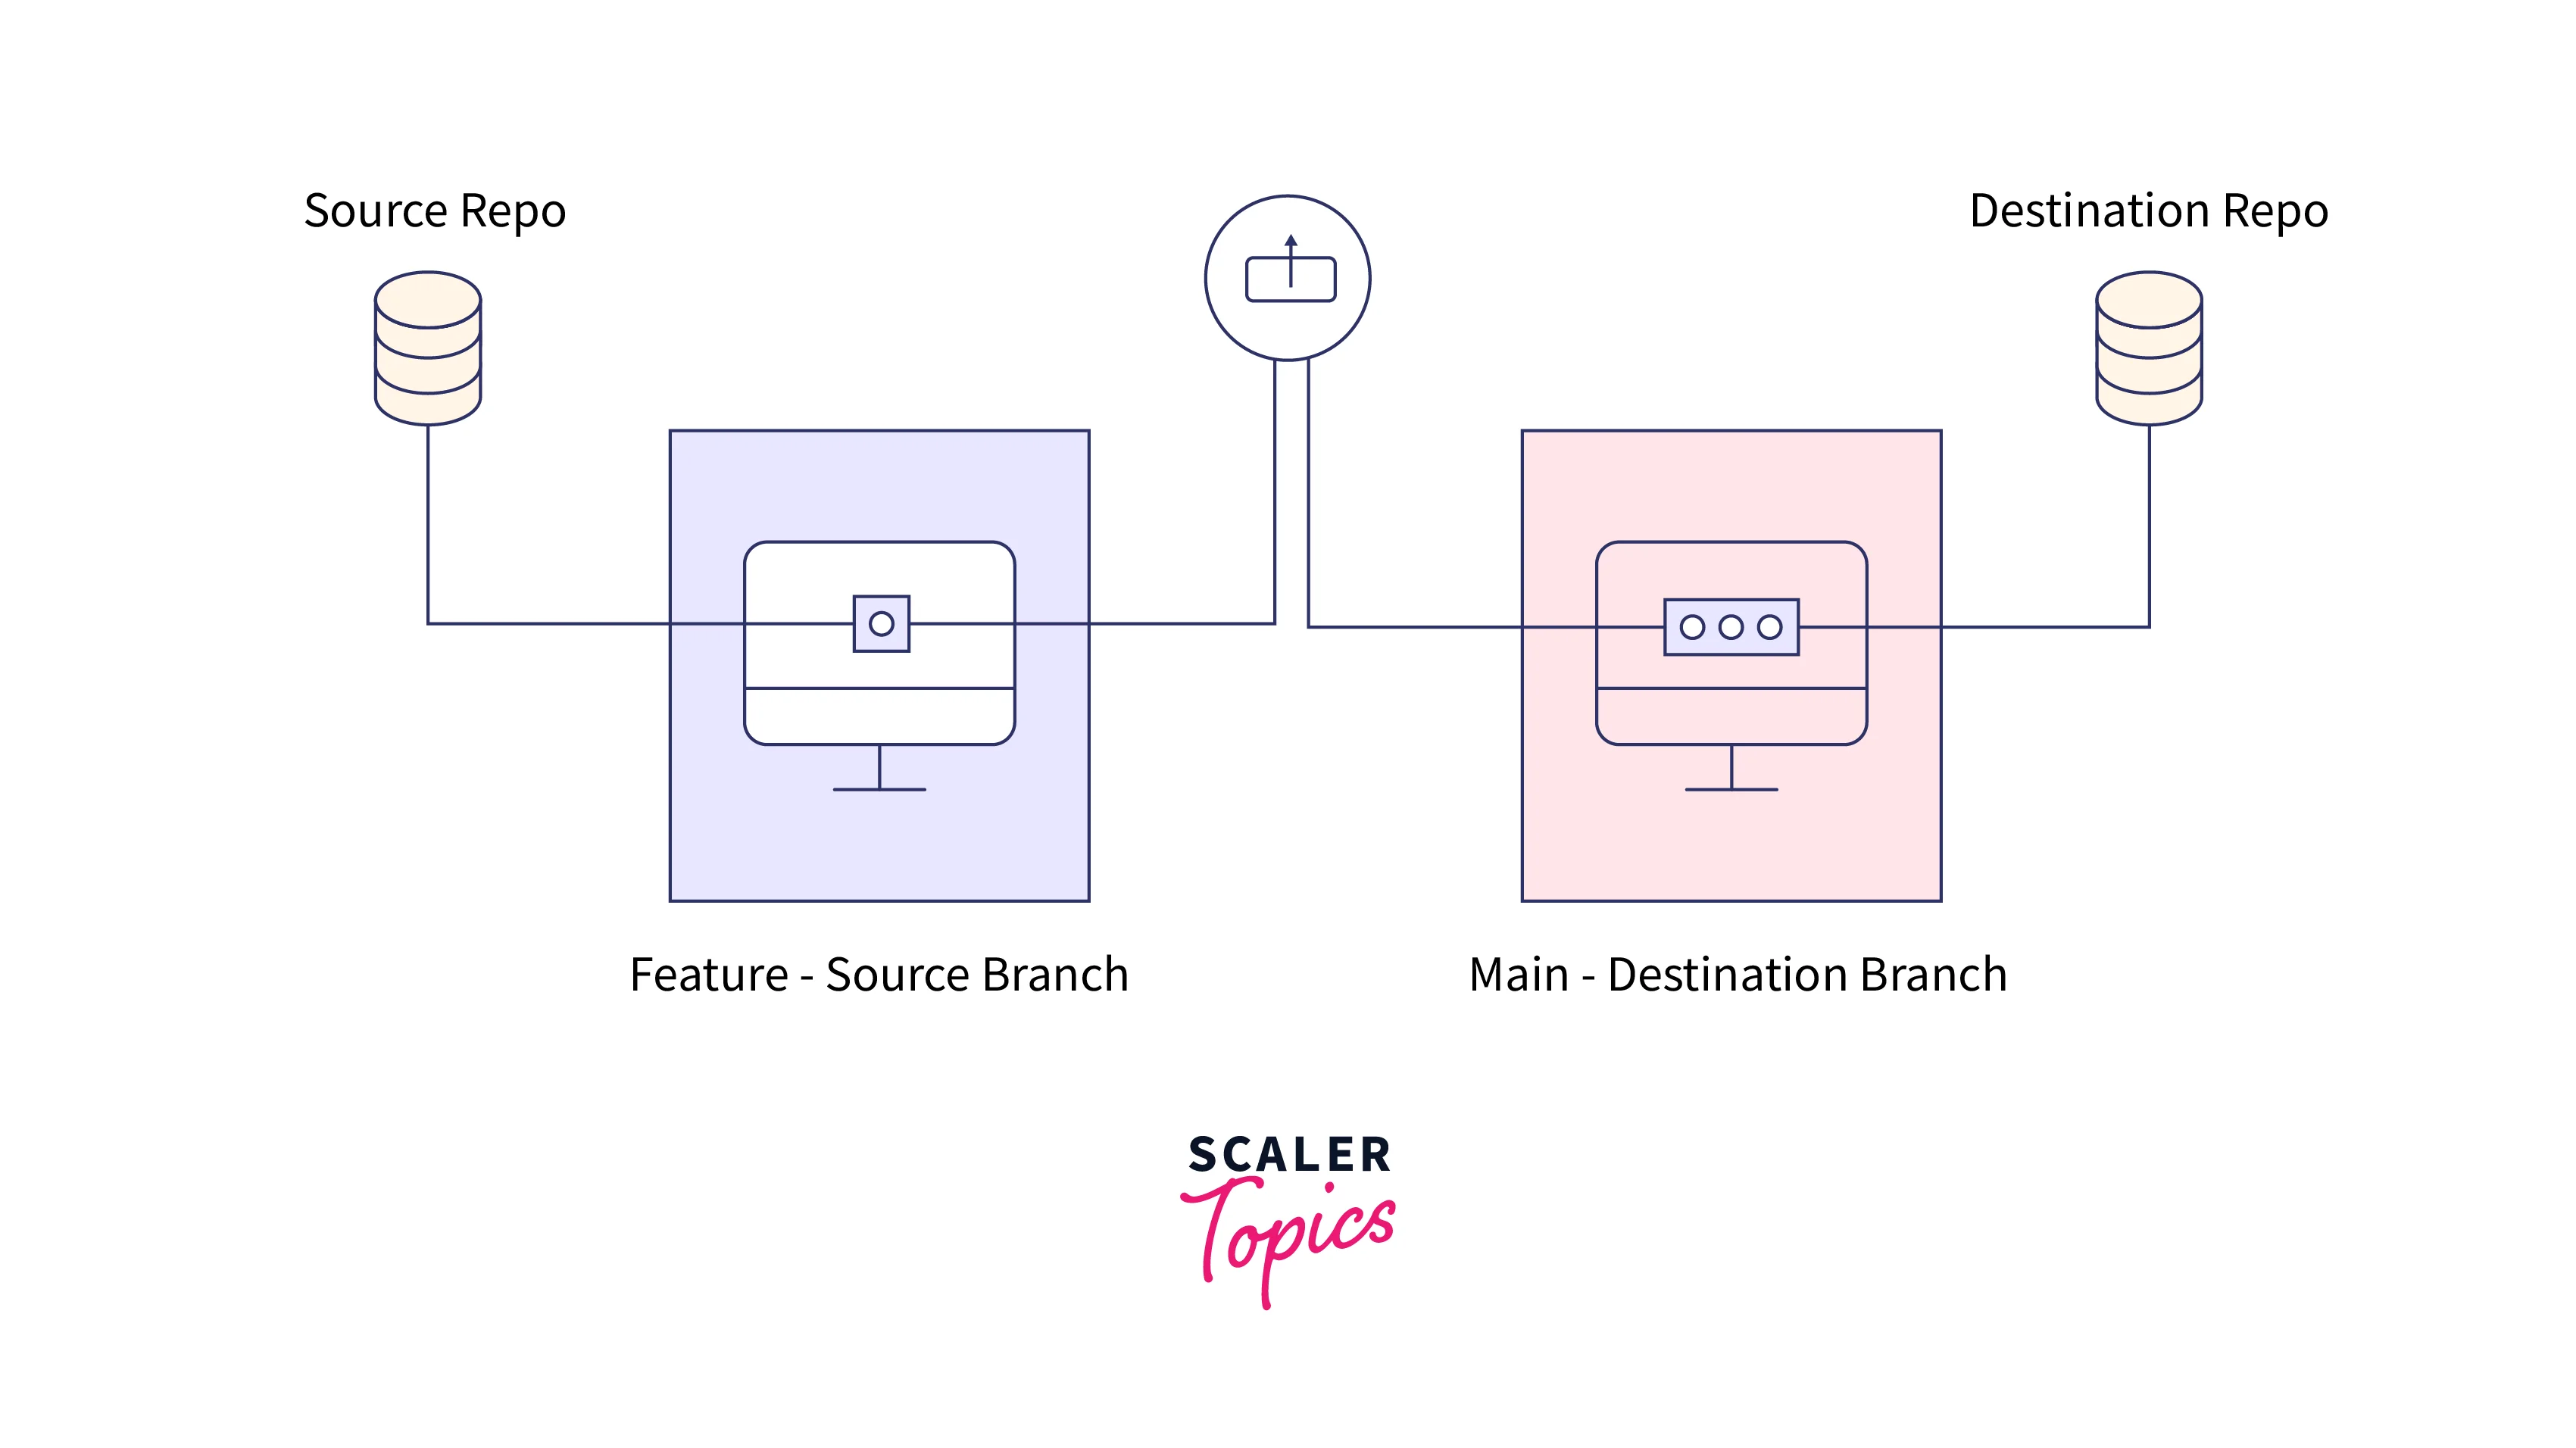
So when you create a pull request, you are essentially asking another developer (such as a project maintainer or team member) to pull your branch from your repository to theirs. That means you need to provide information about the source repository, source branch, target repository, and target branch.
Note: Be very cautious when force commits are to be pushed in a pull request. This operation can change the history of your repository and break your pull request.
Transform Your Career
Choose from our industry-leading programs designed for career success
Modern Software and AI Engineering Program
Master full-stack development with AI integration

Modern Data Science and ML with specialisation in AI
Advanced data science techniques with AI specialization
Advanced AIML with Specialisation in Agentic AI
Deep dive into AIML with focus on Agentic systems
DevOps, Cloud & AI Platform Engineering
Build and manage AI-powered cloud infrastructure
AI Engineering Advanced Certification by IIT-Roorkee
Premier AI engineering certification from IIT-Roorkee
How to Use Pull?
Before understanding how to use the pull in git, let's first understand the git pull command.
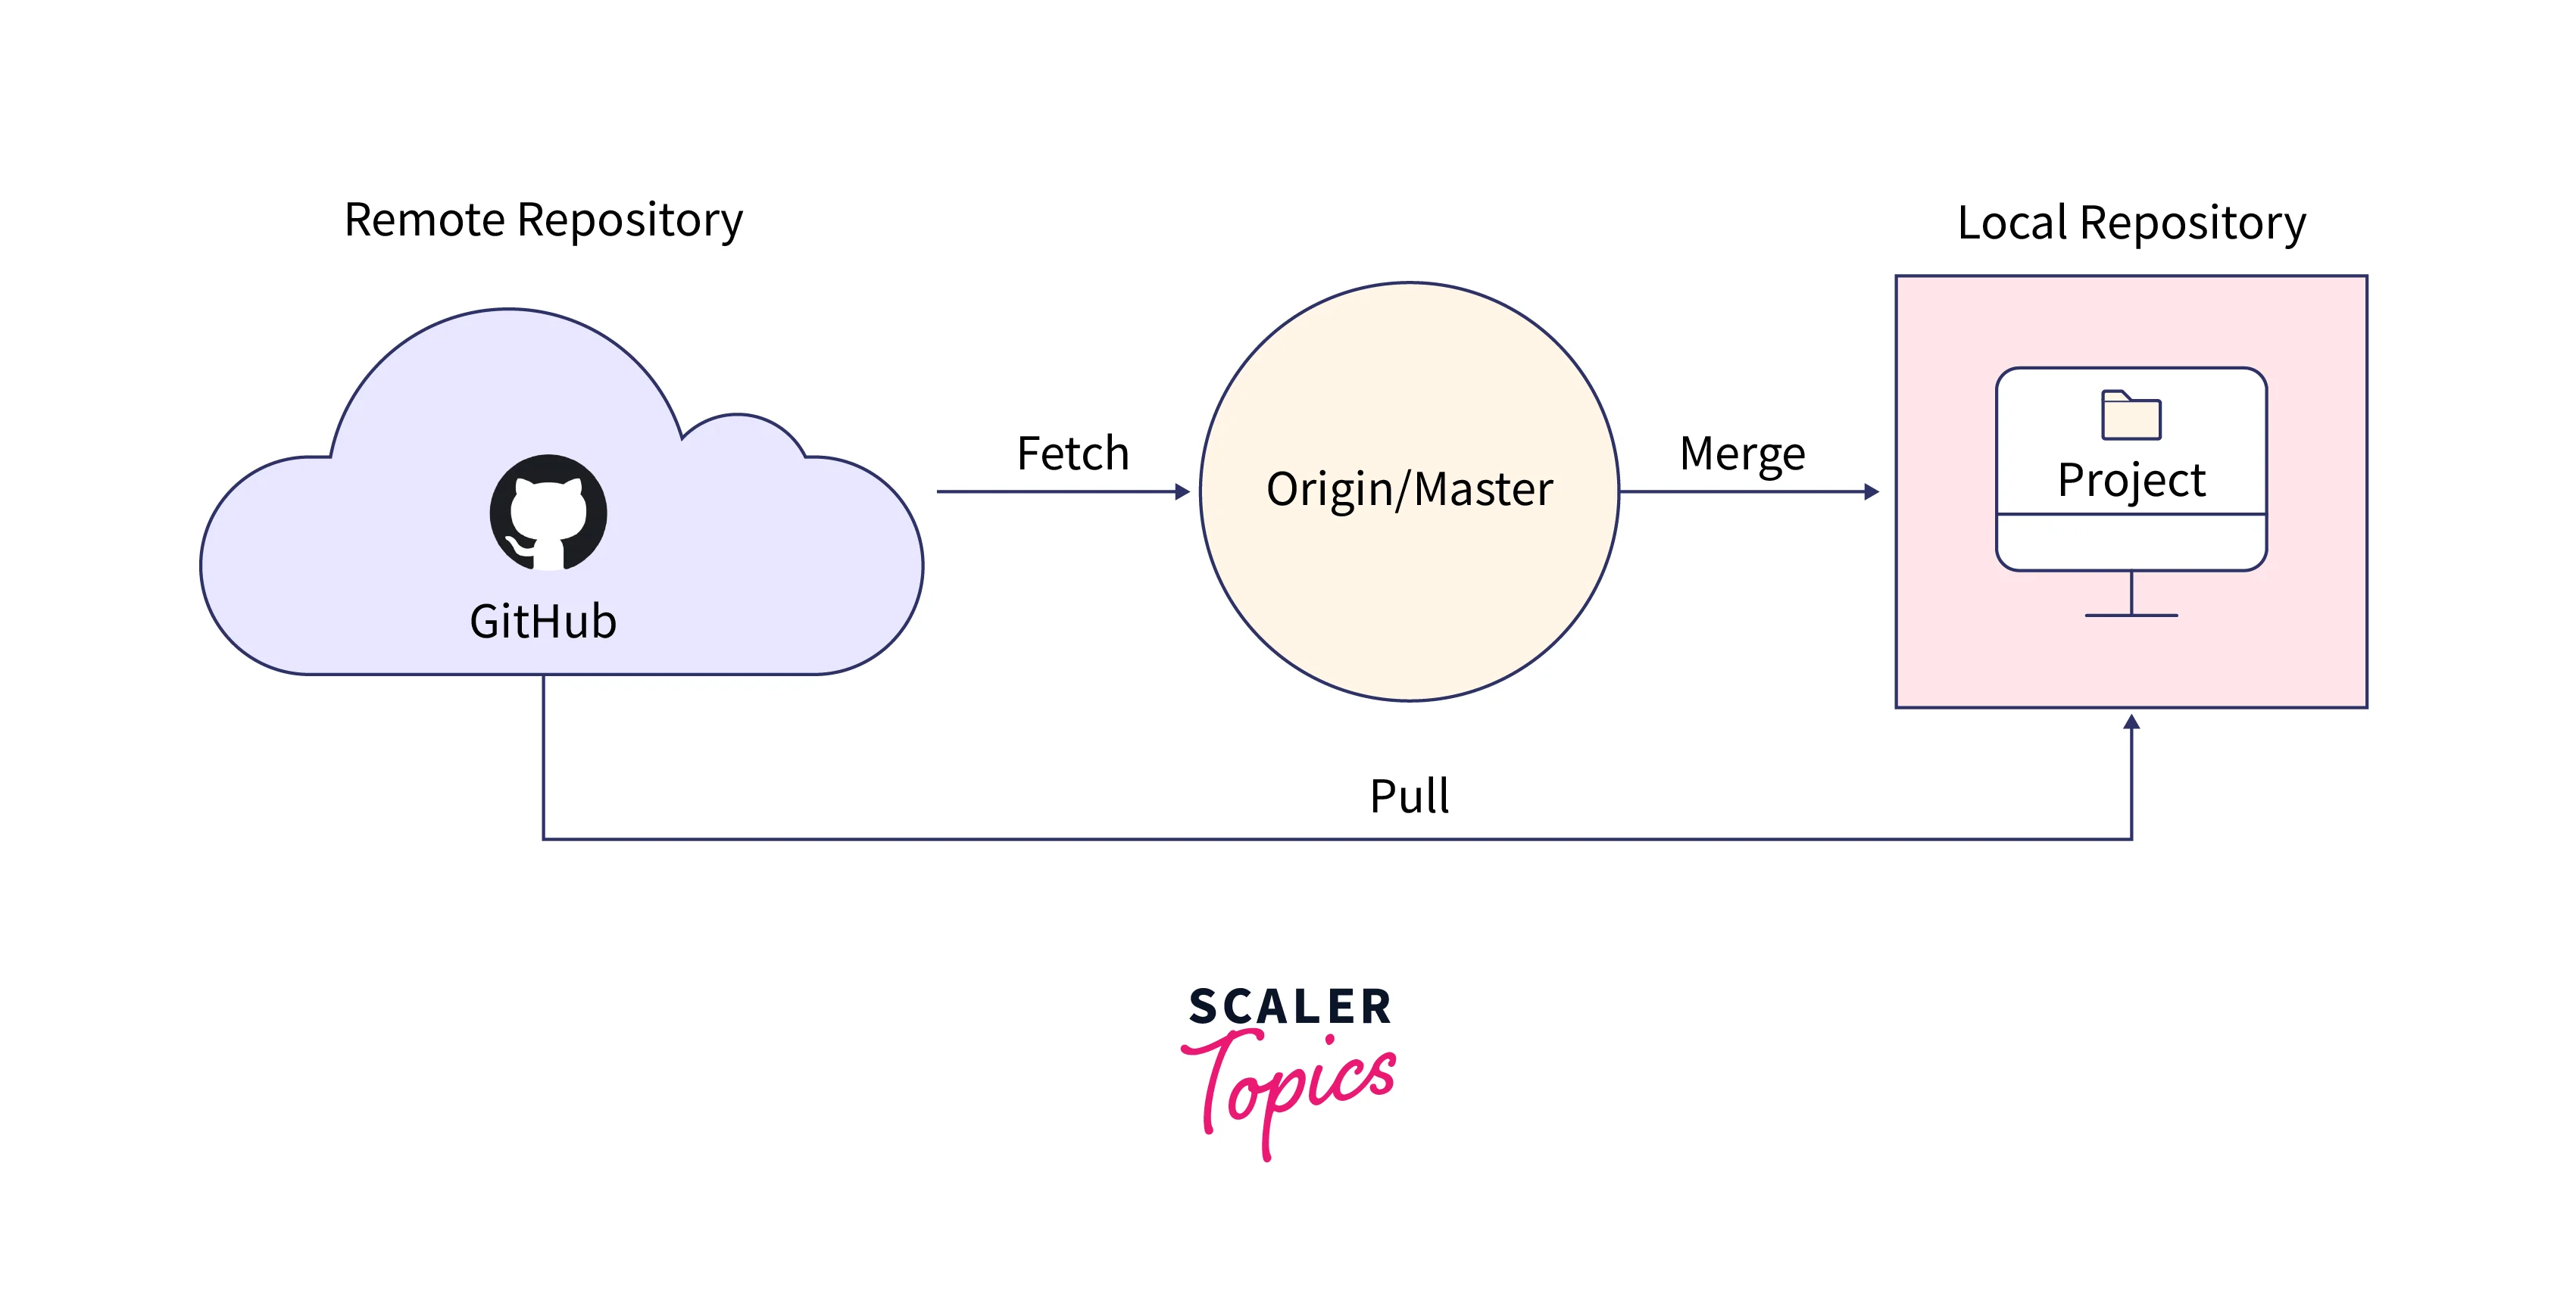
As the name suggests, pull allows you to push changes from a remote repository to your local repository. As you know, the Git push command transfers change from your local repository to a remote repository. The pull works similarly but in opposite direction to that of the push command. It is a combination of git fetch and merges commands. It first fetches changes from the remote repository and then merges them with the local repository.
You can pull a remote repository by just using the git pull command. The syntax of git pull is given below:
This is a default git pull method. Now, if you want to fetch the changes from a specific remote branch, then git also allows that by using the syntax:
The only difference between this and the default method is that we have to copy the URL of the particular branch we want to pull.
Now suppose you want to pull changes from the remote repository to your local repository, but before you pull the changes you update any files locally and someone updates those files in the remote repository as well. So, when you will try to fetch the repository, it will create conflicts and will not allow you to pull those changes.
So, to forcefully pull those changes, you can use the force pull method of git. It will discard all the changes in the local repository (it will first ask for your acknowledgment for this) and will overwrite it with the changes made in the remote repository by the influential pull. The syntax for doing this is:
This above step just fetches all the remote repository changes without merging the changes or rebasing them. Now, the git reset method is used to roll back all conflicting changes in the local master branch and the hard option is used to forcefully update all the files in the local repository with a remote repository.
Another very common method to pull a repository is to use the command:
In this command, the origin is the location of the remote repository and the master is the main default branch name of the repository.
Now as we know what is git pull and how to use it. Let's see how to use the pull requests:
To create and consume a pull request, a developer pushes a branch to a remote public Git repository. Developers create pull requests, and the rest of the team reviews, discusses, and changes code based on feedback. After getting approval from all reviewers, the maintainer adds the feature to the official repository and closes the pull request.
How to Create a Pull Request
As we know that while working on any feature, we create a branch, switch to that branch, add the changes to the staging area, and then commit those changes. These steps are the general steps that we follow for each change. Today, in this section we will see how we can create a pull request and merge the changes into the remote repository after getting the approvals on the pull request. We will see an example to understand these steps in detail:
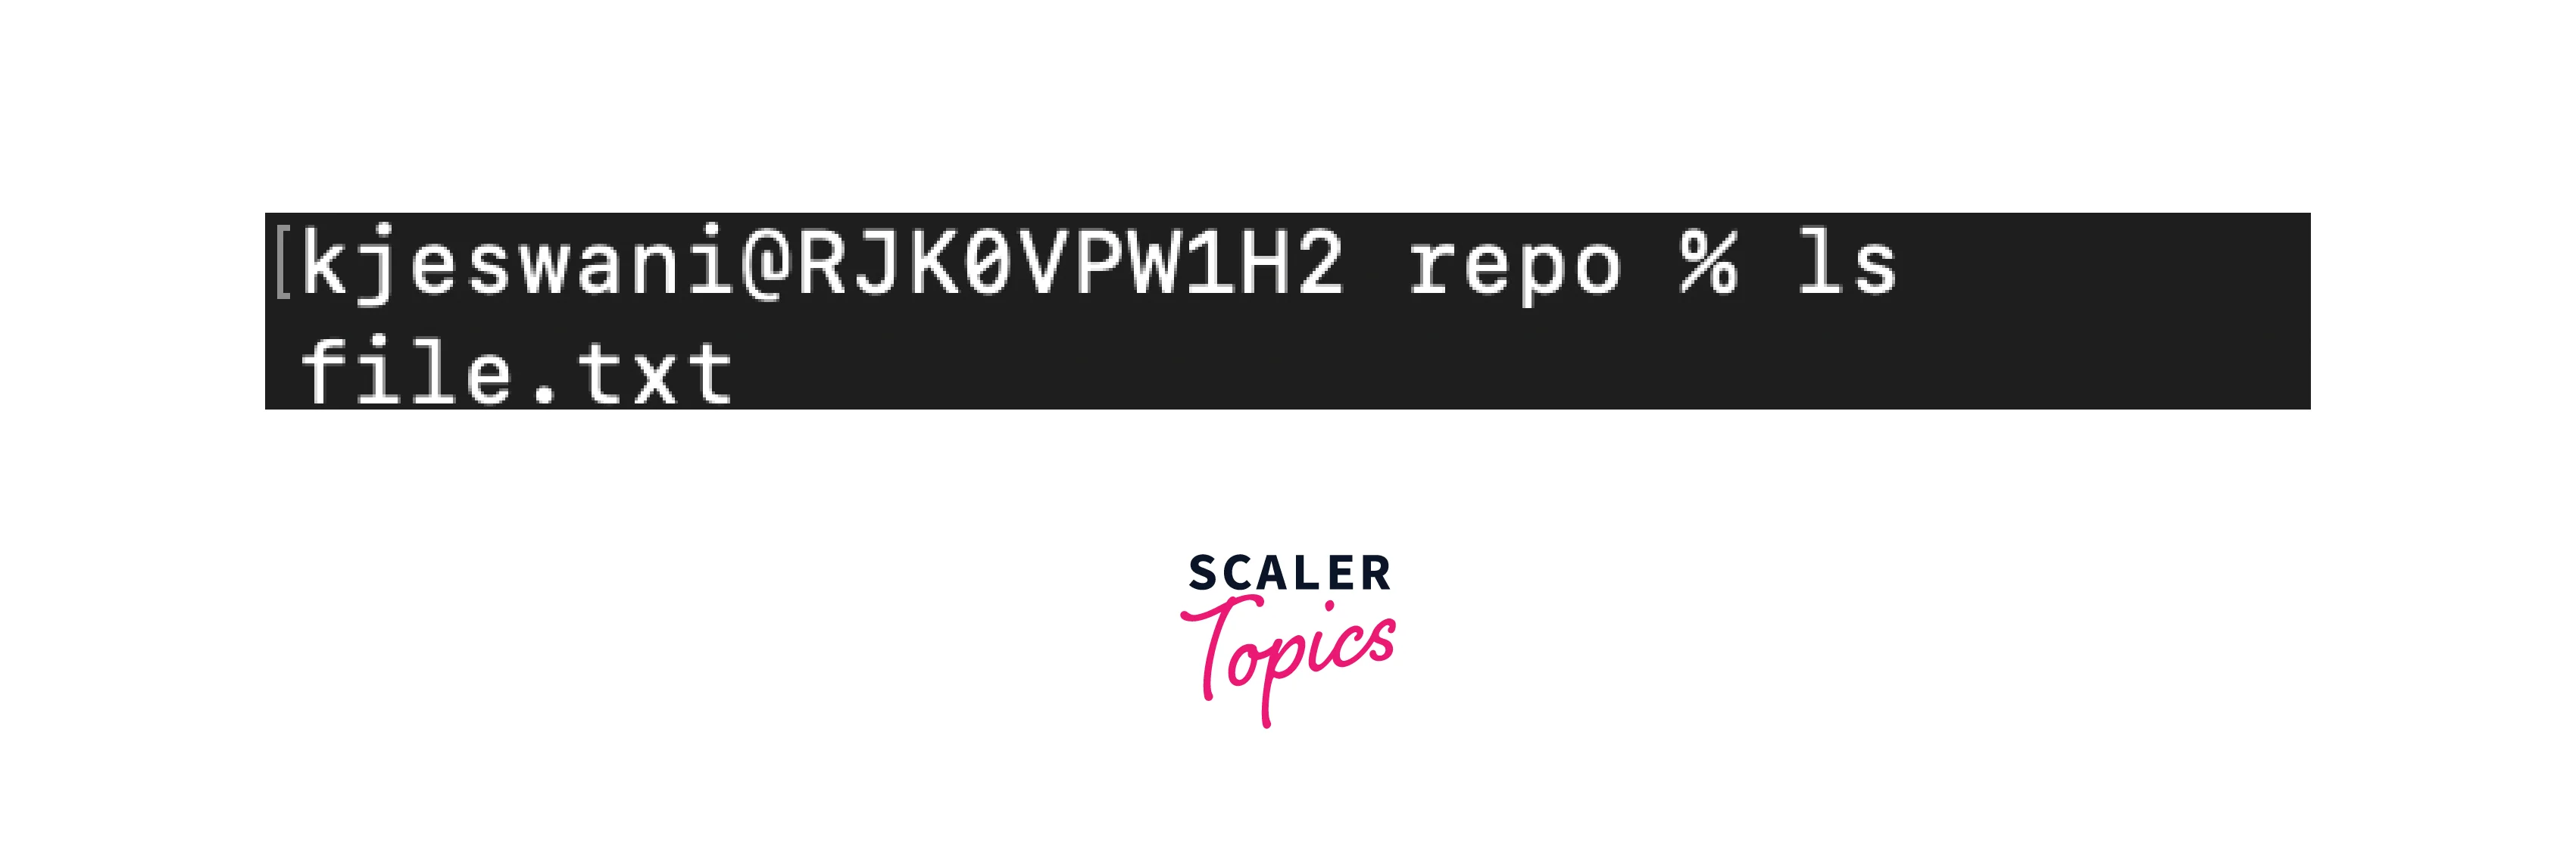
Suppose we have a local repository named repo with a file file.txt having some content in it, and we want to create a pull request for those changes. Here are the screenshots for the same.
Creating a Branch
Now, we will open the repository and will create a branch using the command:
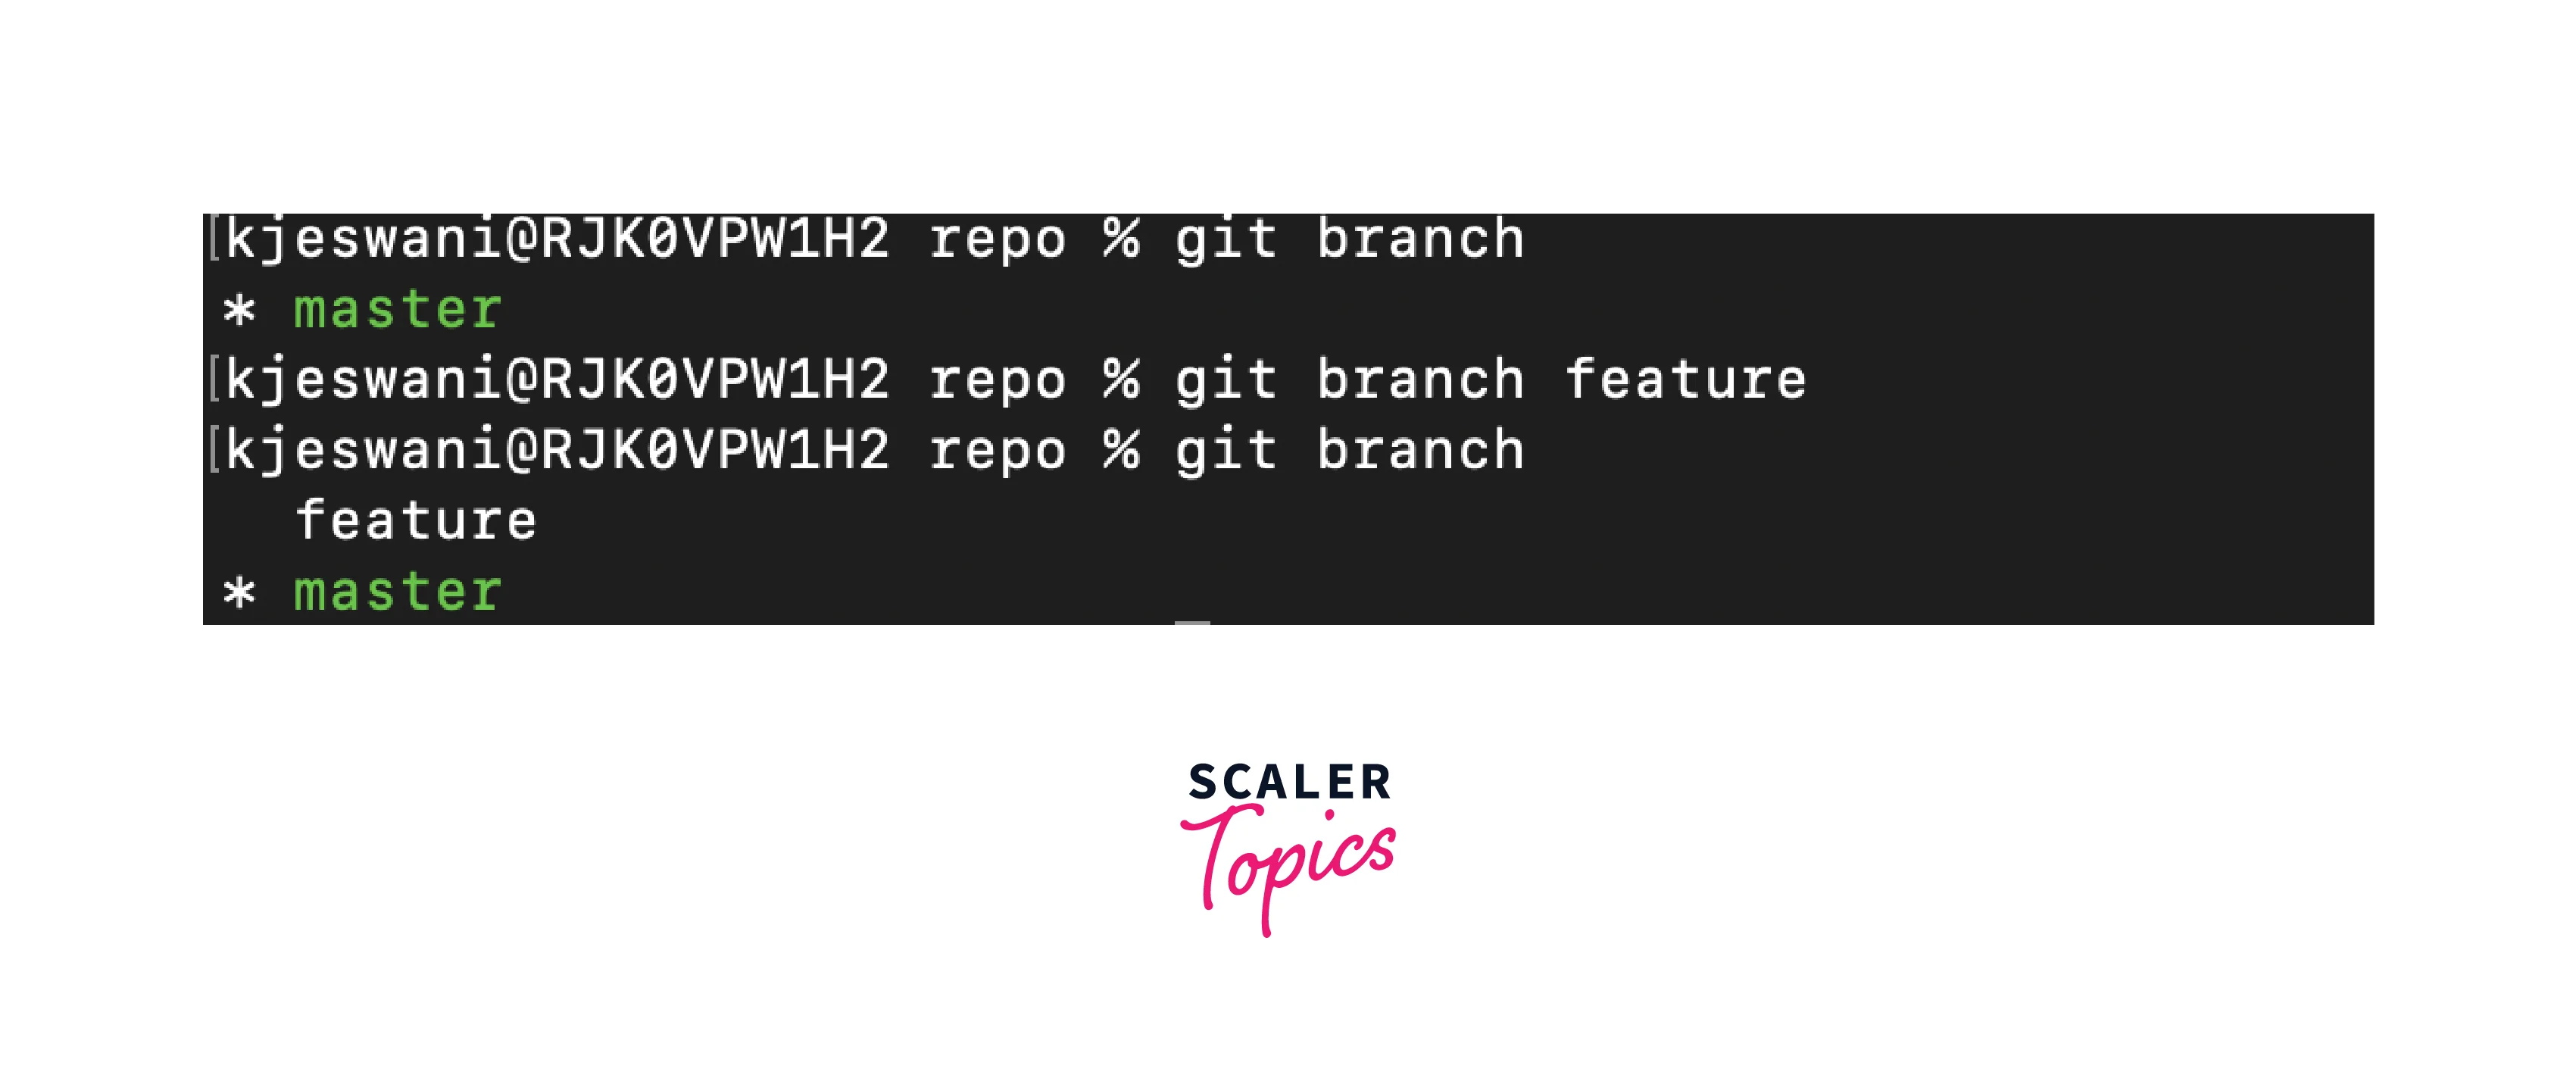
In our case, we will type:
As you can see from the image above, initially we were only having the master branch, and then we created a new branch named feature. But, we are still on the master branch. So, we need to checkout to the feature branch in the next step.
Turn Learning into Career Growth
Switch to the Branch
To switch to the branch you just created using the command:
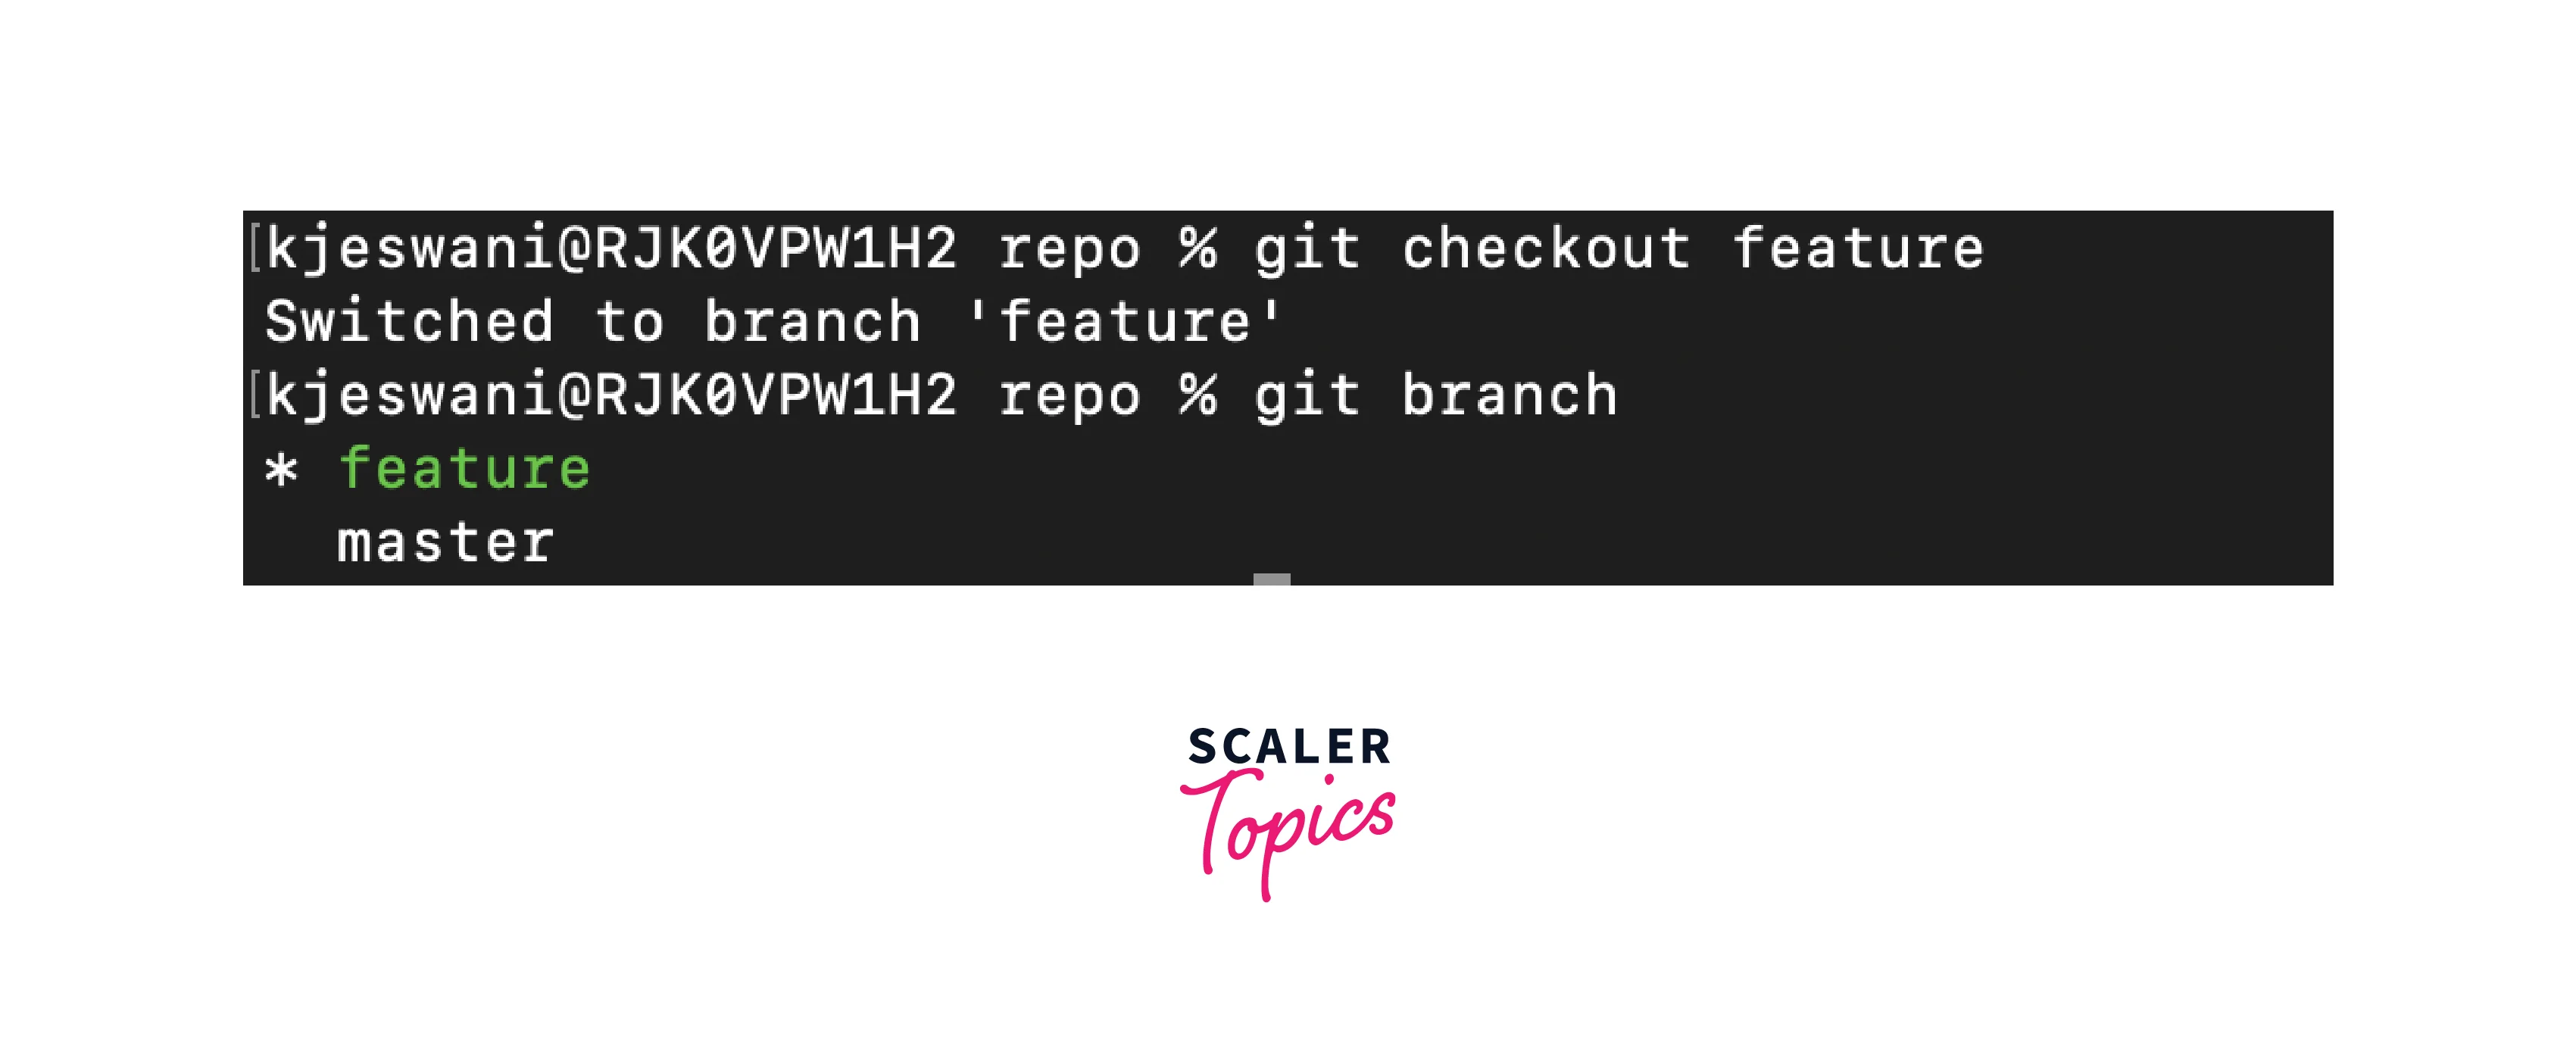
We will write:
You can see from the above image that we have successfully switched to the newly created branch.
Commit Changes
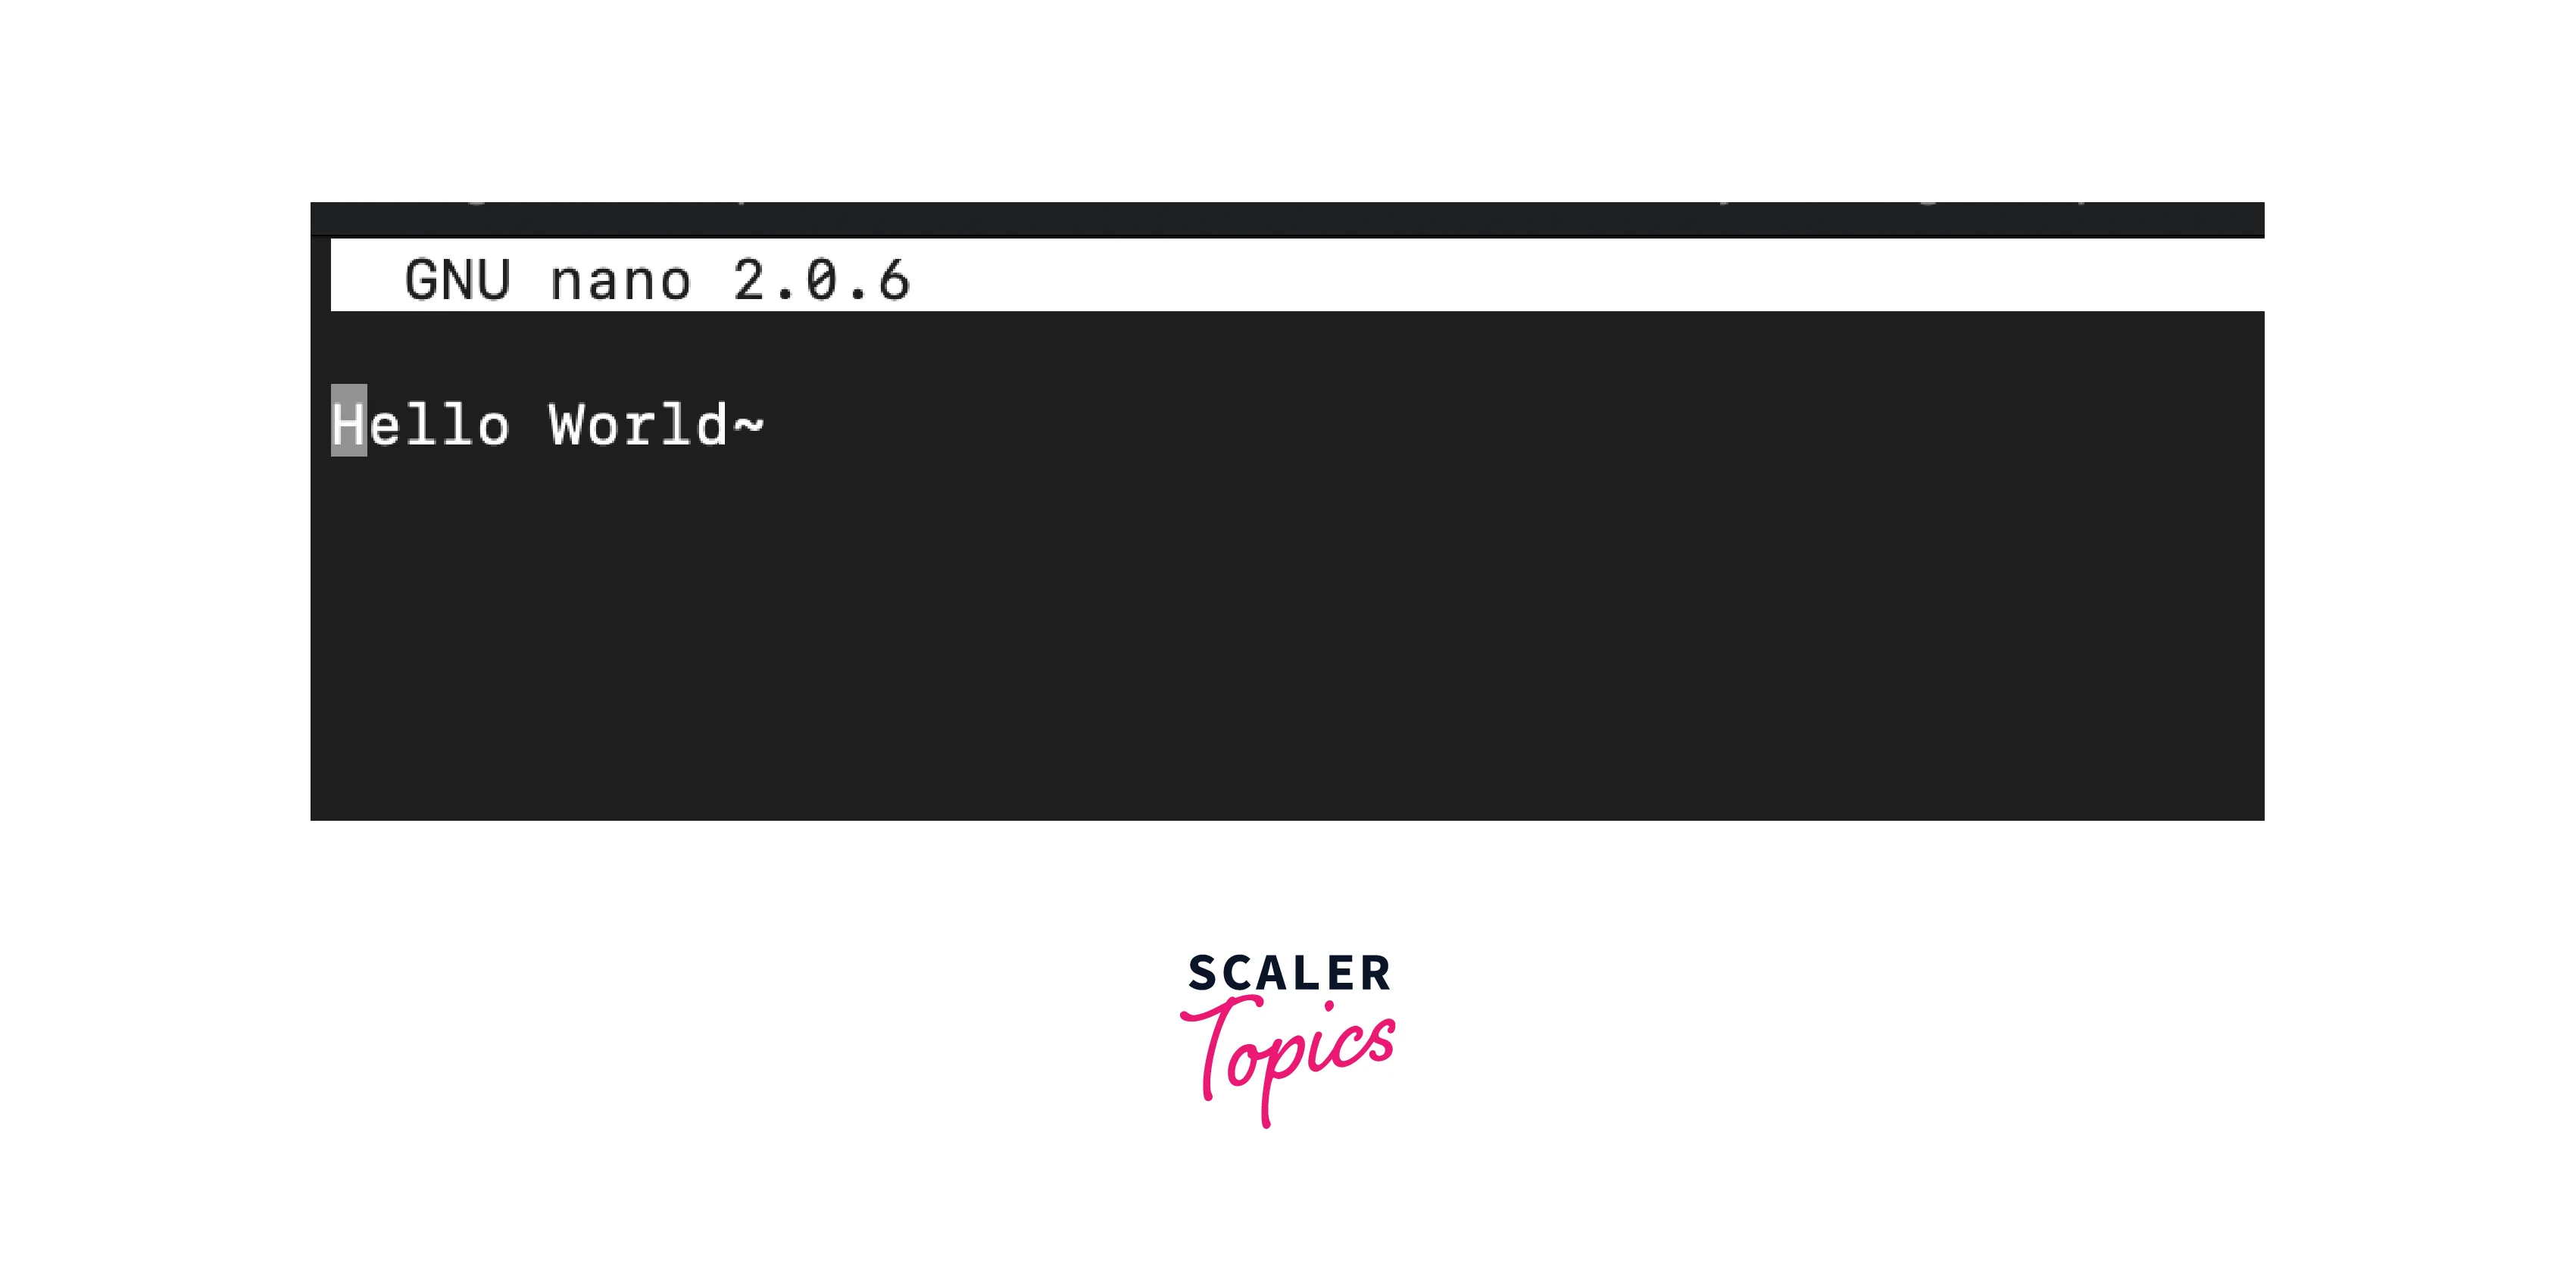
Now, you can make some changes to the file and save it. After editing the file, we can add the file to the staging area and can commit the changes using the command git add <file_name> to add a specific file to the staging area or git add . to add all the files in the repository to the staging area. You can use git commit -m "commit message" to commit the staged changes.
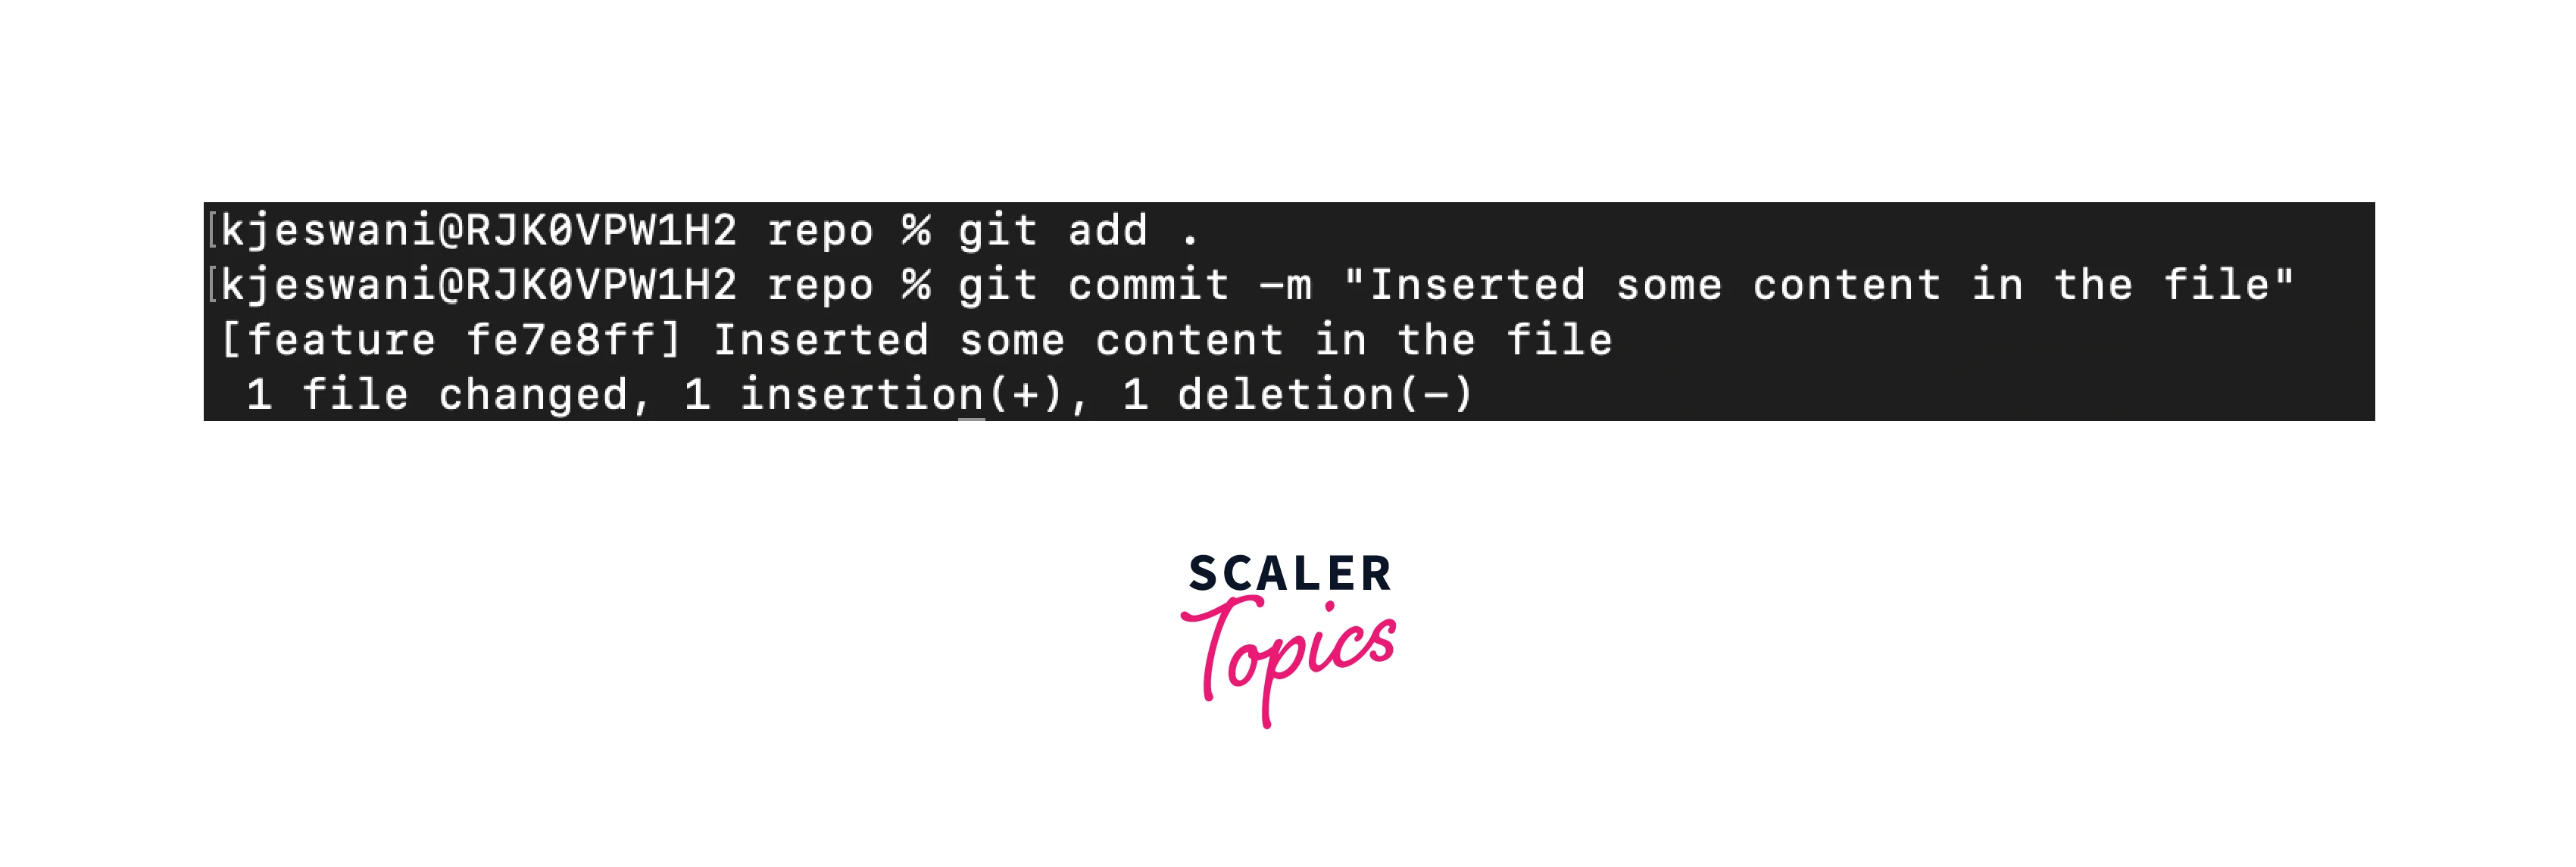
Once you have committed the changes, you can push them using the git push --set-upstream origin command. In our case, it would be the git push --set-upstream origin feature.
This command is used for the first time you push changes to a branch. As this will help to set up the upstream once and then you can just use the git push command. Here I am using the --set-upstream flag to create a new feature branch on the remote origin.
TIP: You can squash commits when merging pull requests to get a clear view of the changes.
Opening a Pull Request
Now that you've pushed your changes, you can open a pull request so that the repository owner(in this case it’s you just for the sake of an example) can see your work, and if they will find it right then they can merge it into the main branch.
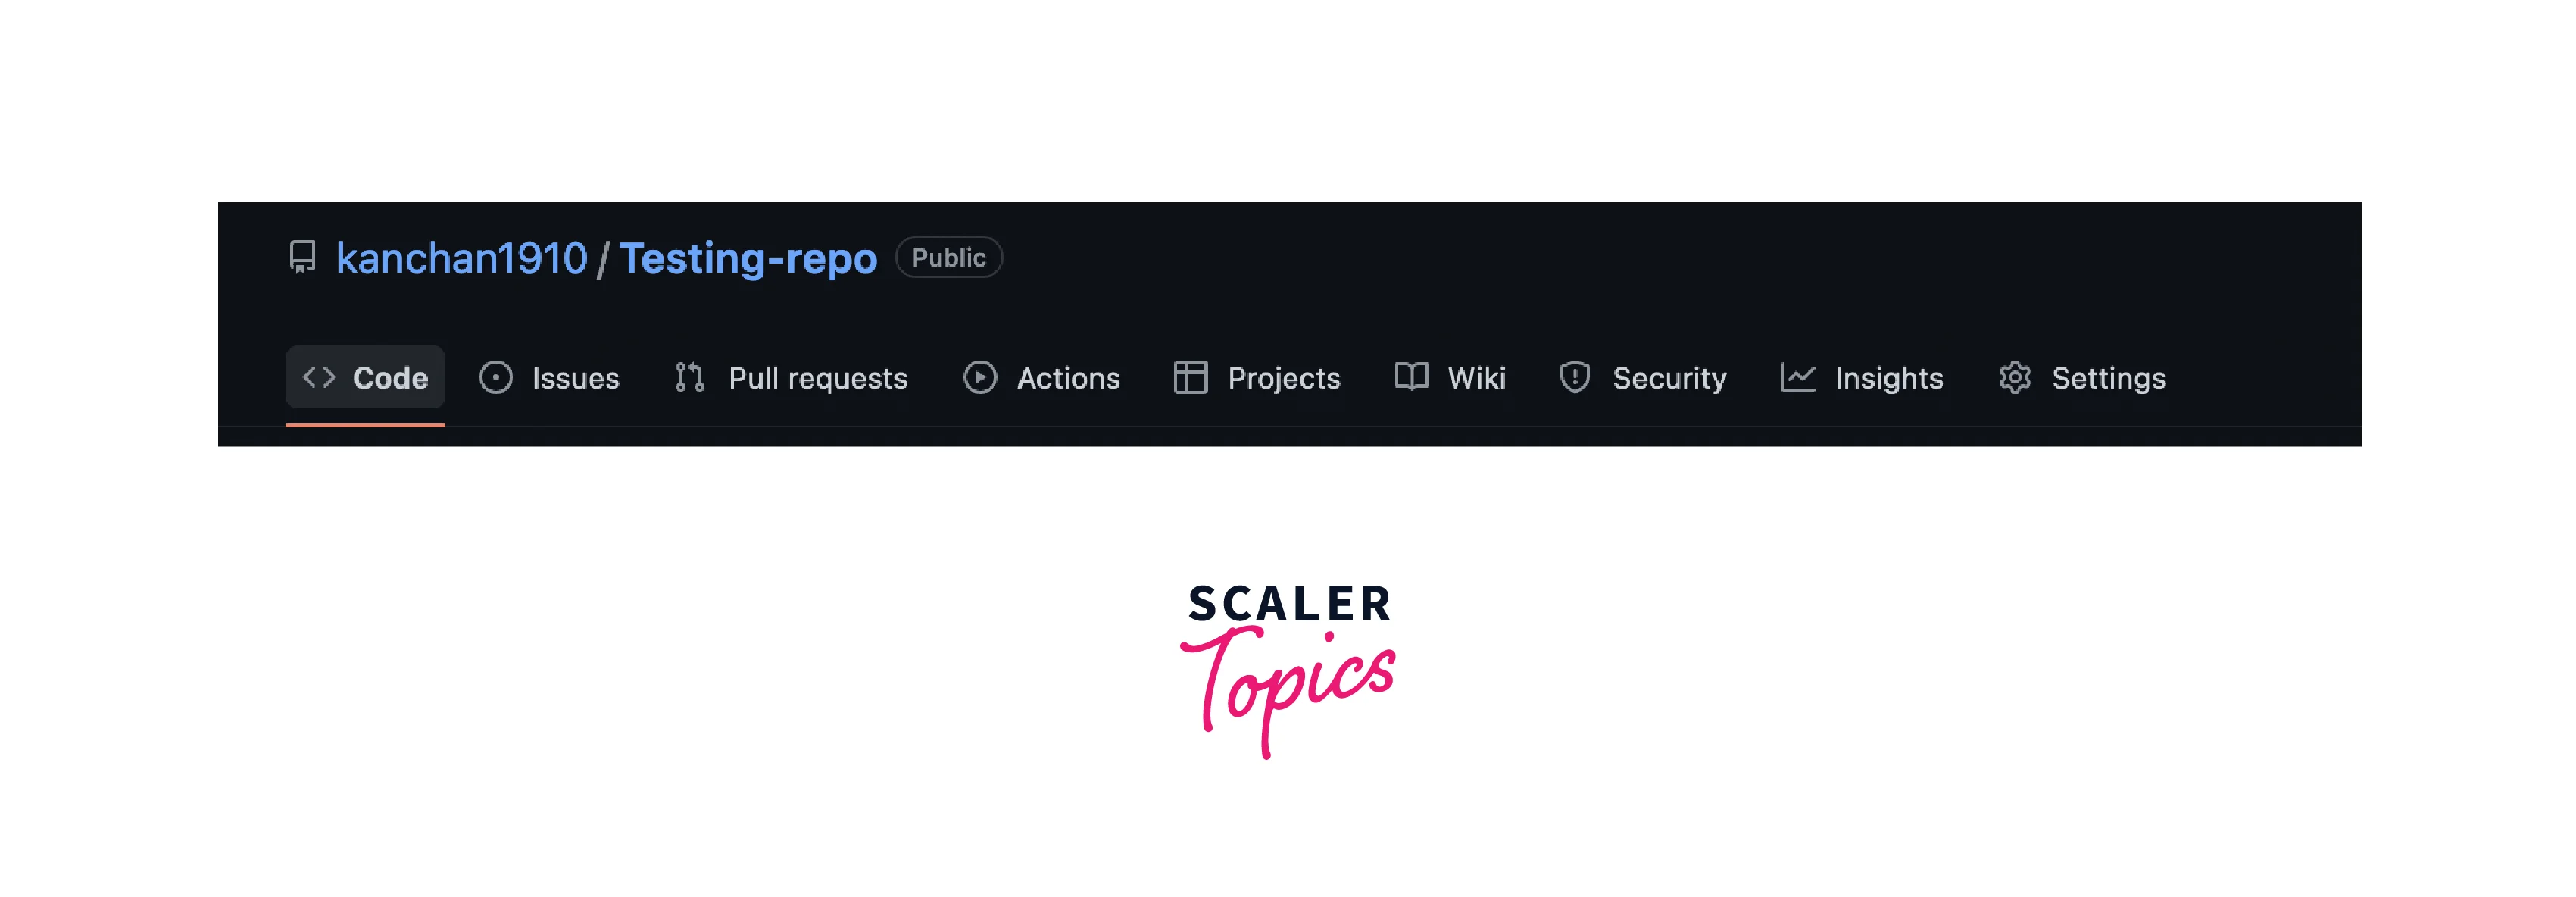
To open it, go to the main page of the repository on GitHub.com. From the branches menu, select the branch containing the commit. Then you will see a Pull Requests option at the top of your repository as shown in the image below.
Clicking this button will bring up a popup to compare and pull requests. This happened because GitHub noticed new changes that weren't in the main branch. It will look like this:

After clicking the button, the following window will appear. Here you can add a detailed description of the changes you made. You can also add images, files, and links. This can be done using Markdown. This information will be visible to the person reviewing your pull request.
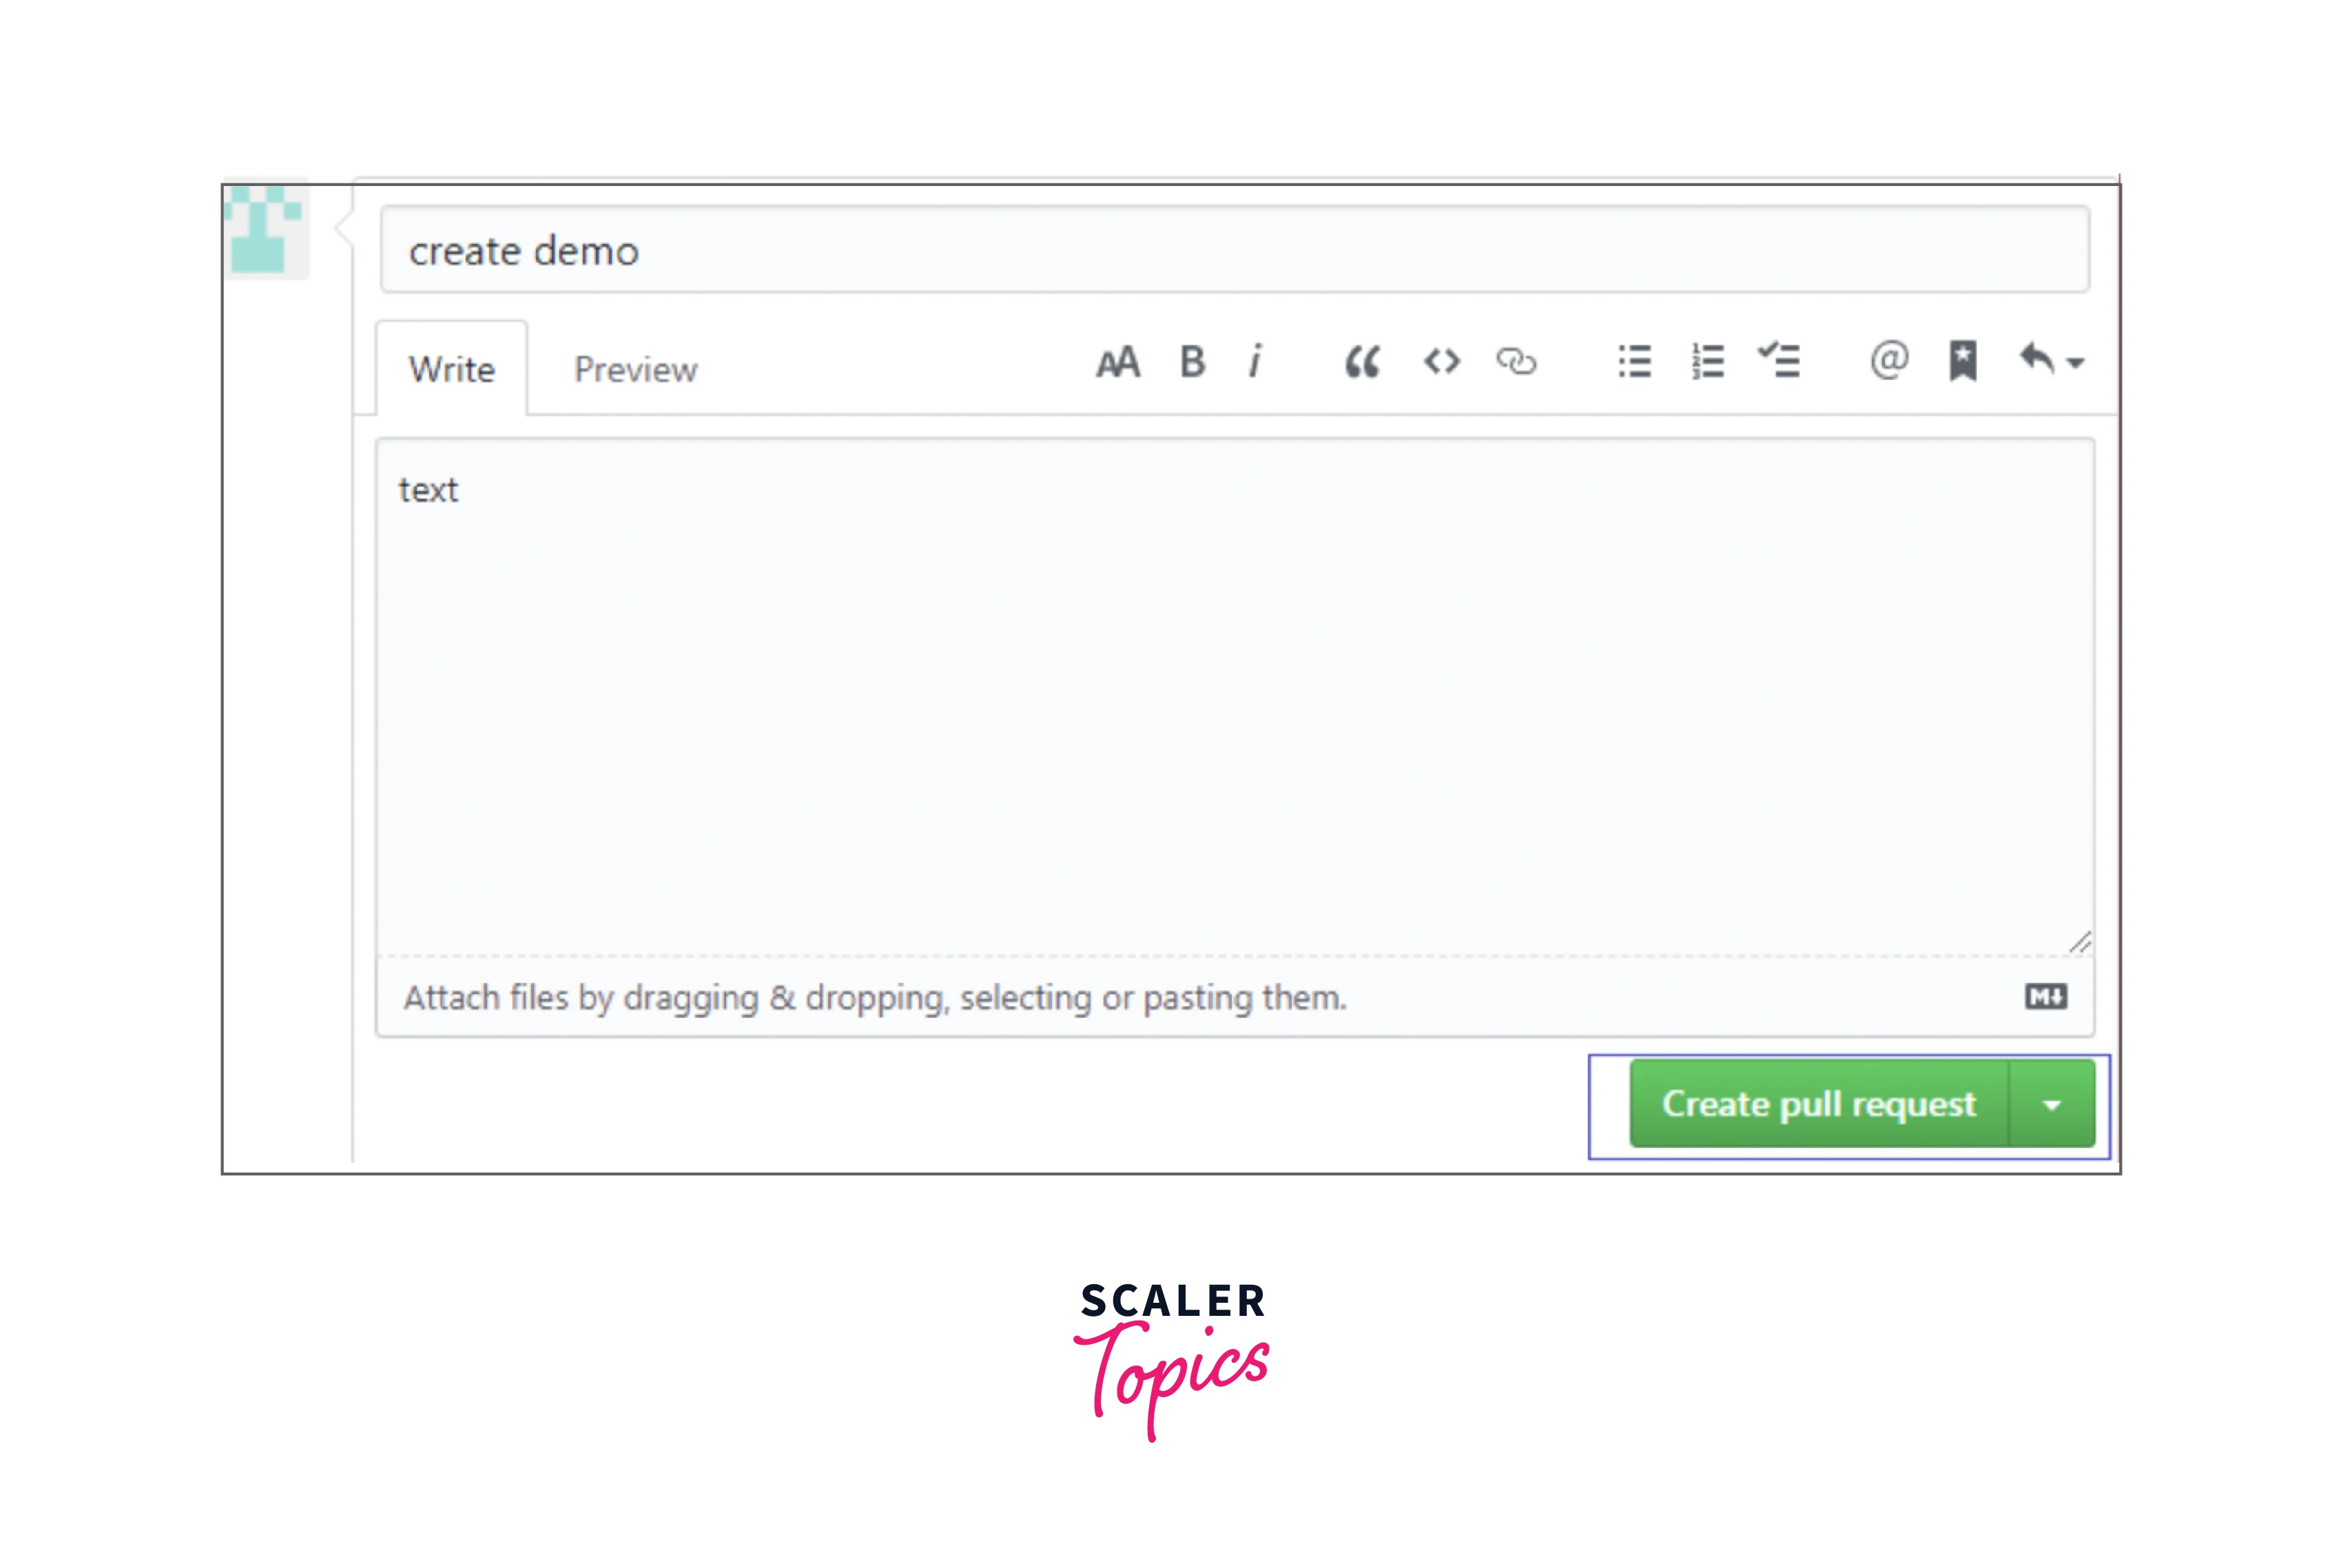
After making the changes in this forum (you can type a title and description for your pull request along with any attachments you want to add), you can submit on the Create Pull Request button. This will send the pull request and will notify the repository owners about some code review requests made for them.
After submitting a pull request, you can edit the pull request description. You are also free to make and push other changes to the same branch. All commits to that branch will be added to the pull request, and the changes you've made will be reflected in the Modified files tab.
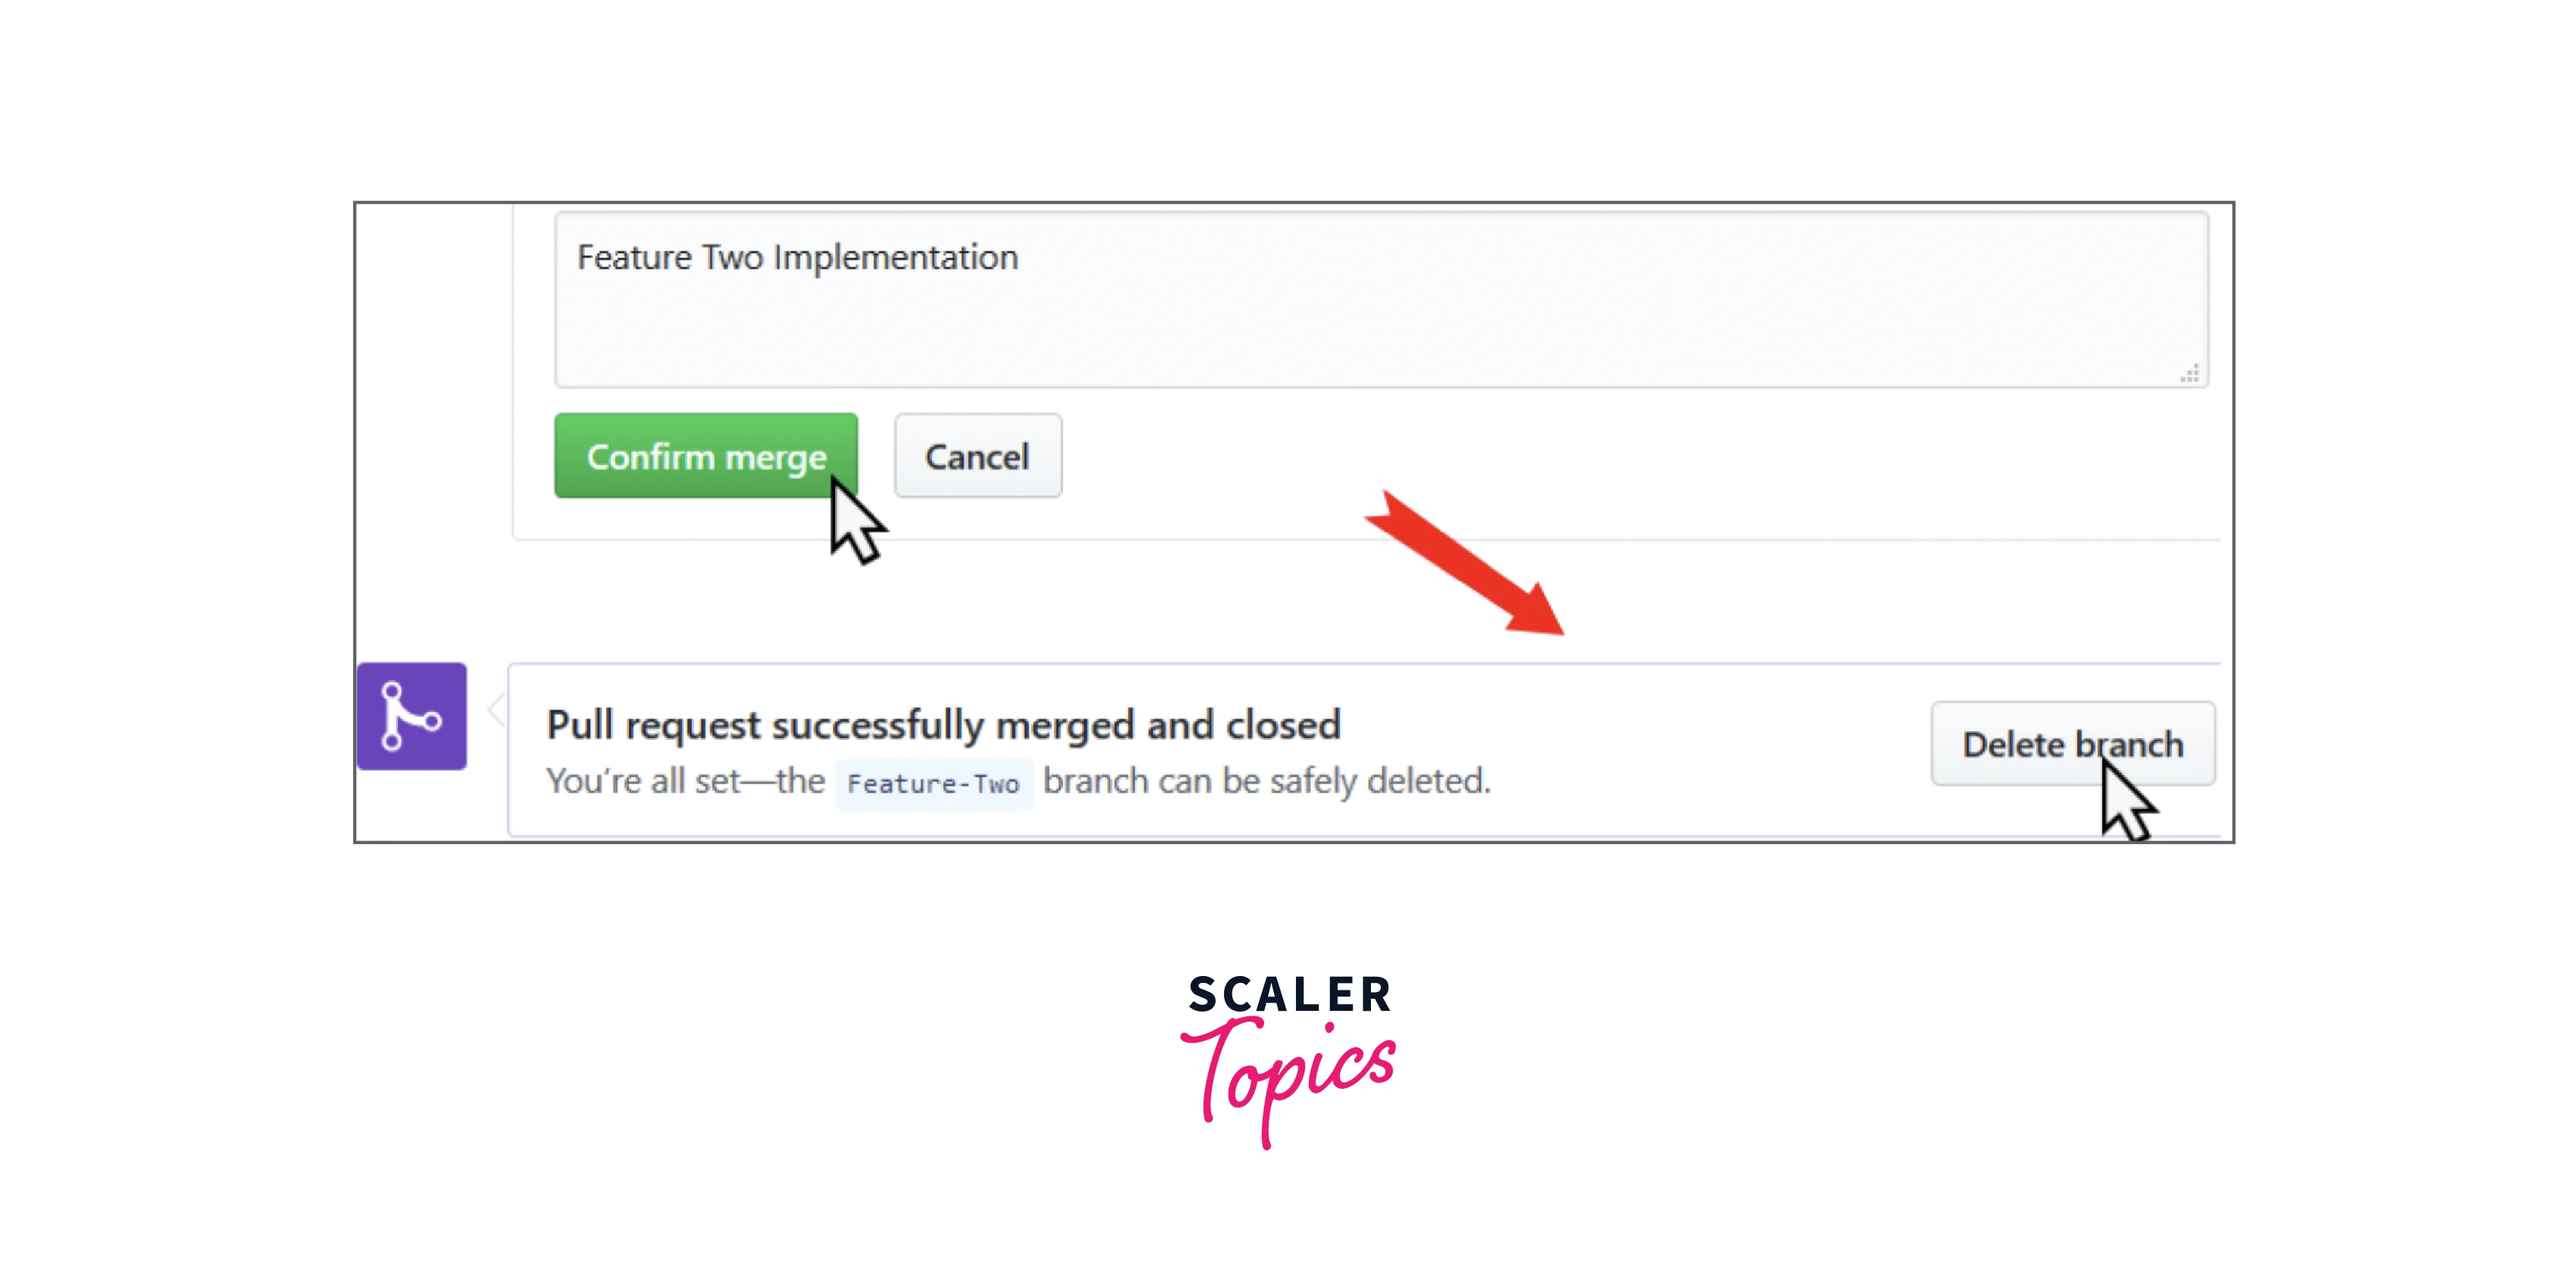
Once your changes have been validated, you can merge them into the main branch. For that, click the Merge Pull Requests option, and then click on the Confirm Merge button.
Merging a Pull Request
Once your changes have been verified, you may merge them into your main branch. Click Merge pull request then click confirm the merge.
If your pull request contains multiple commits, click the Merge dropdown menu, select Squash and Merge, and click the Squash and Merge button to combine the commits into a single commit and then you can merge.
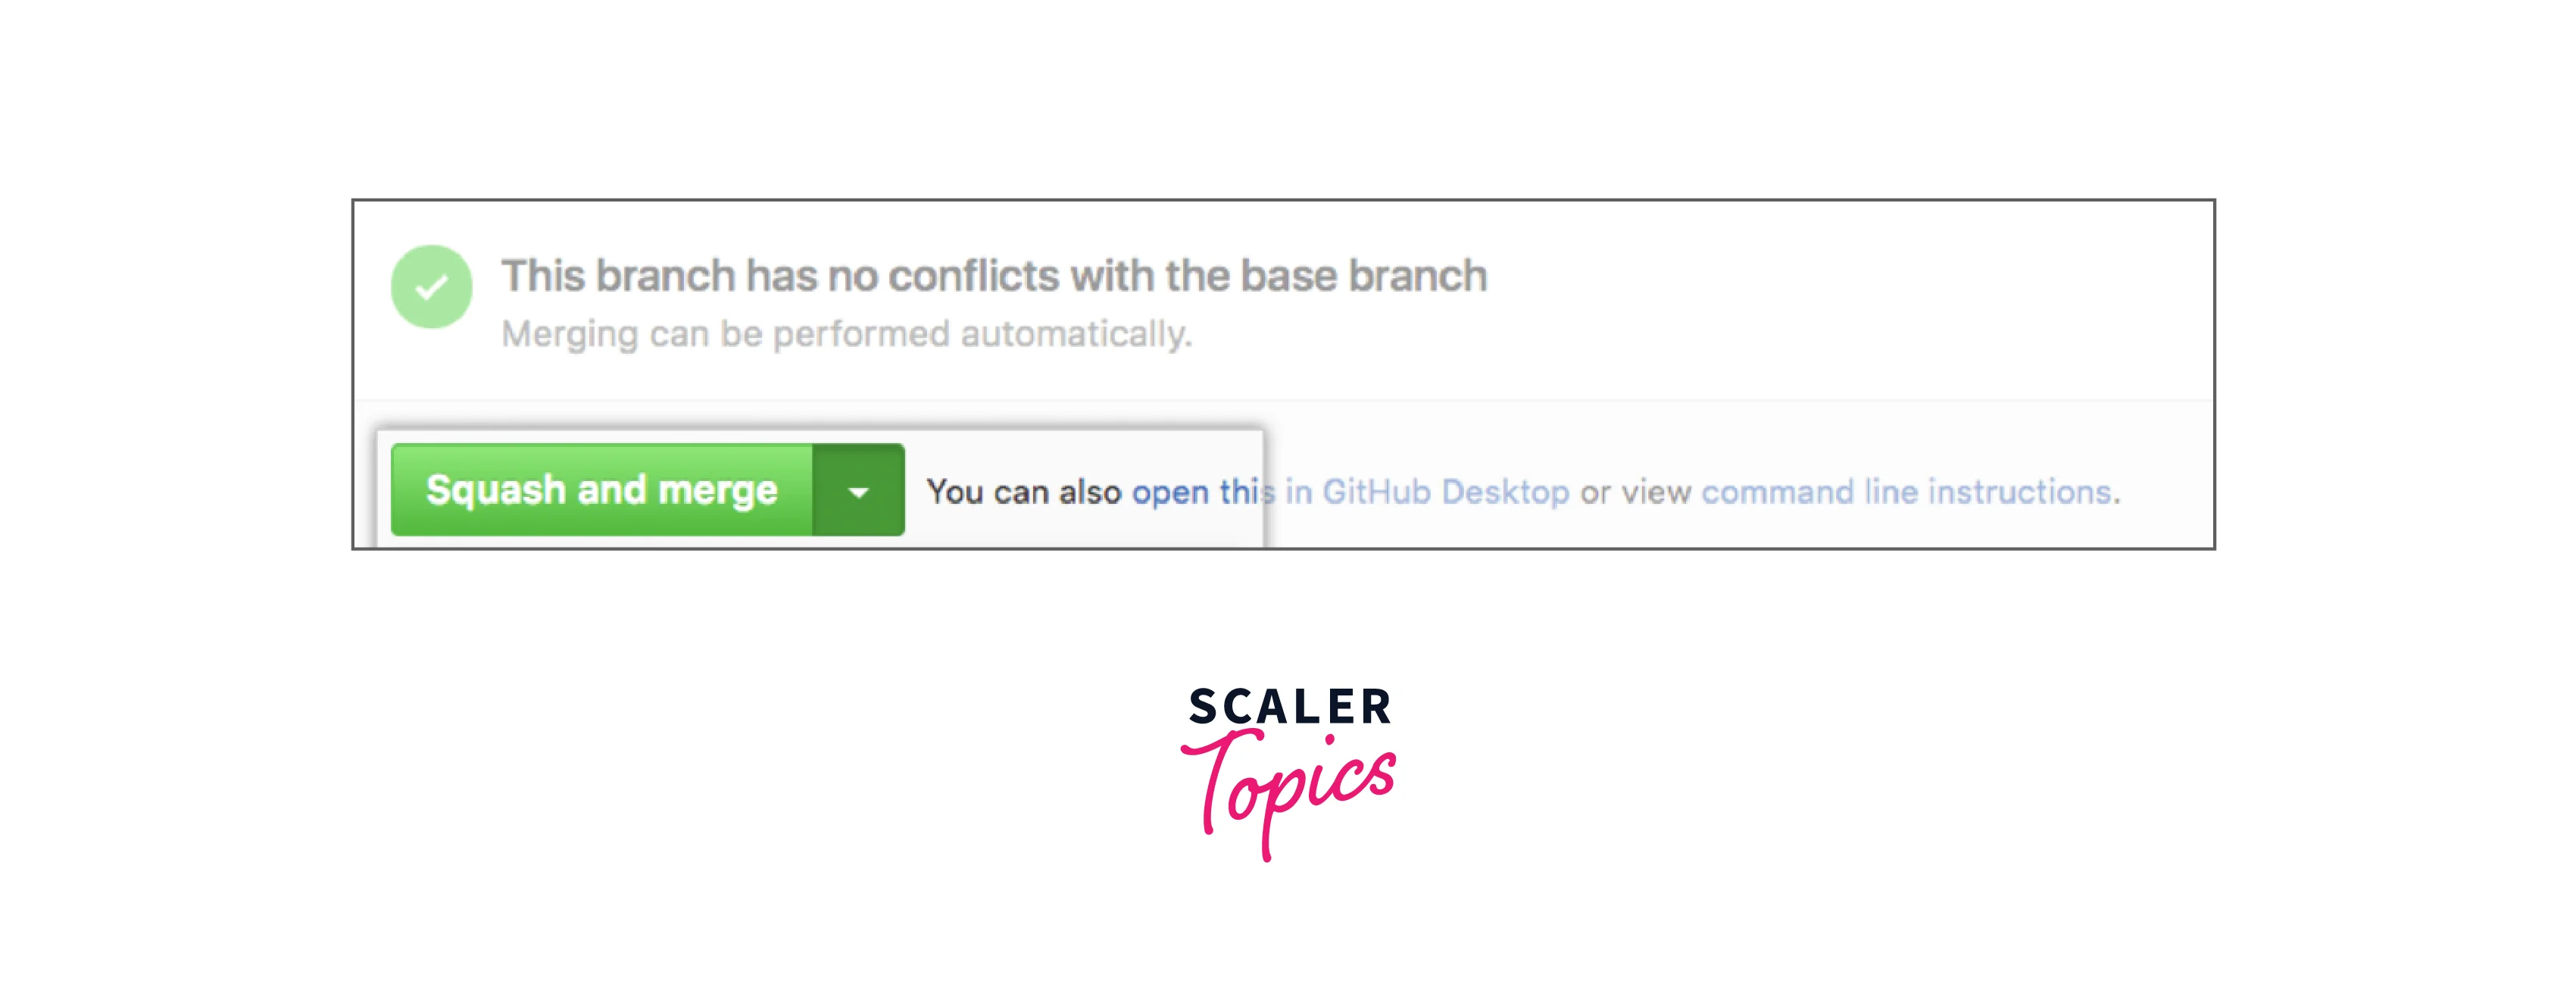
You can confirm the merge when you see the box confirmation statement:
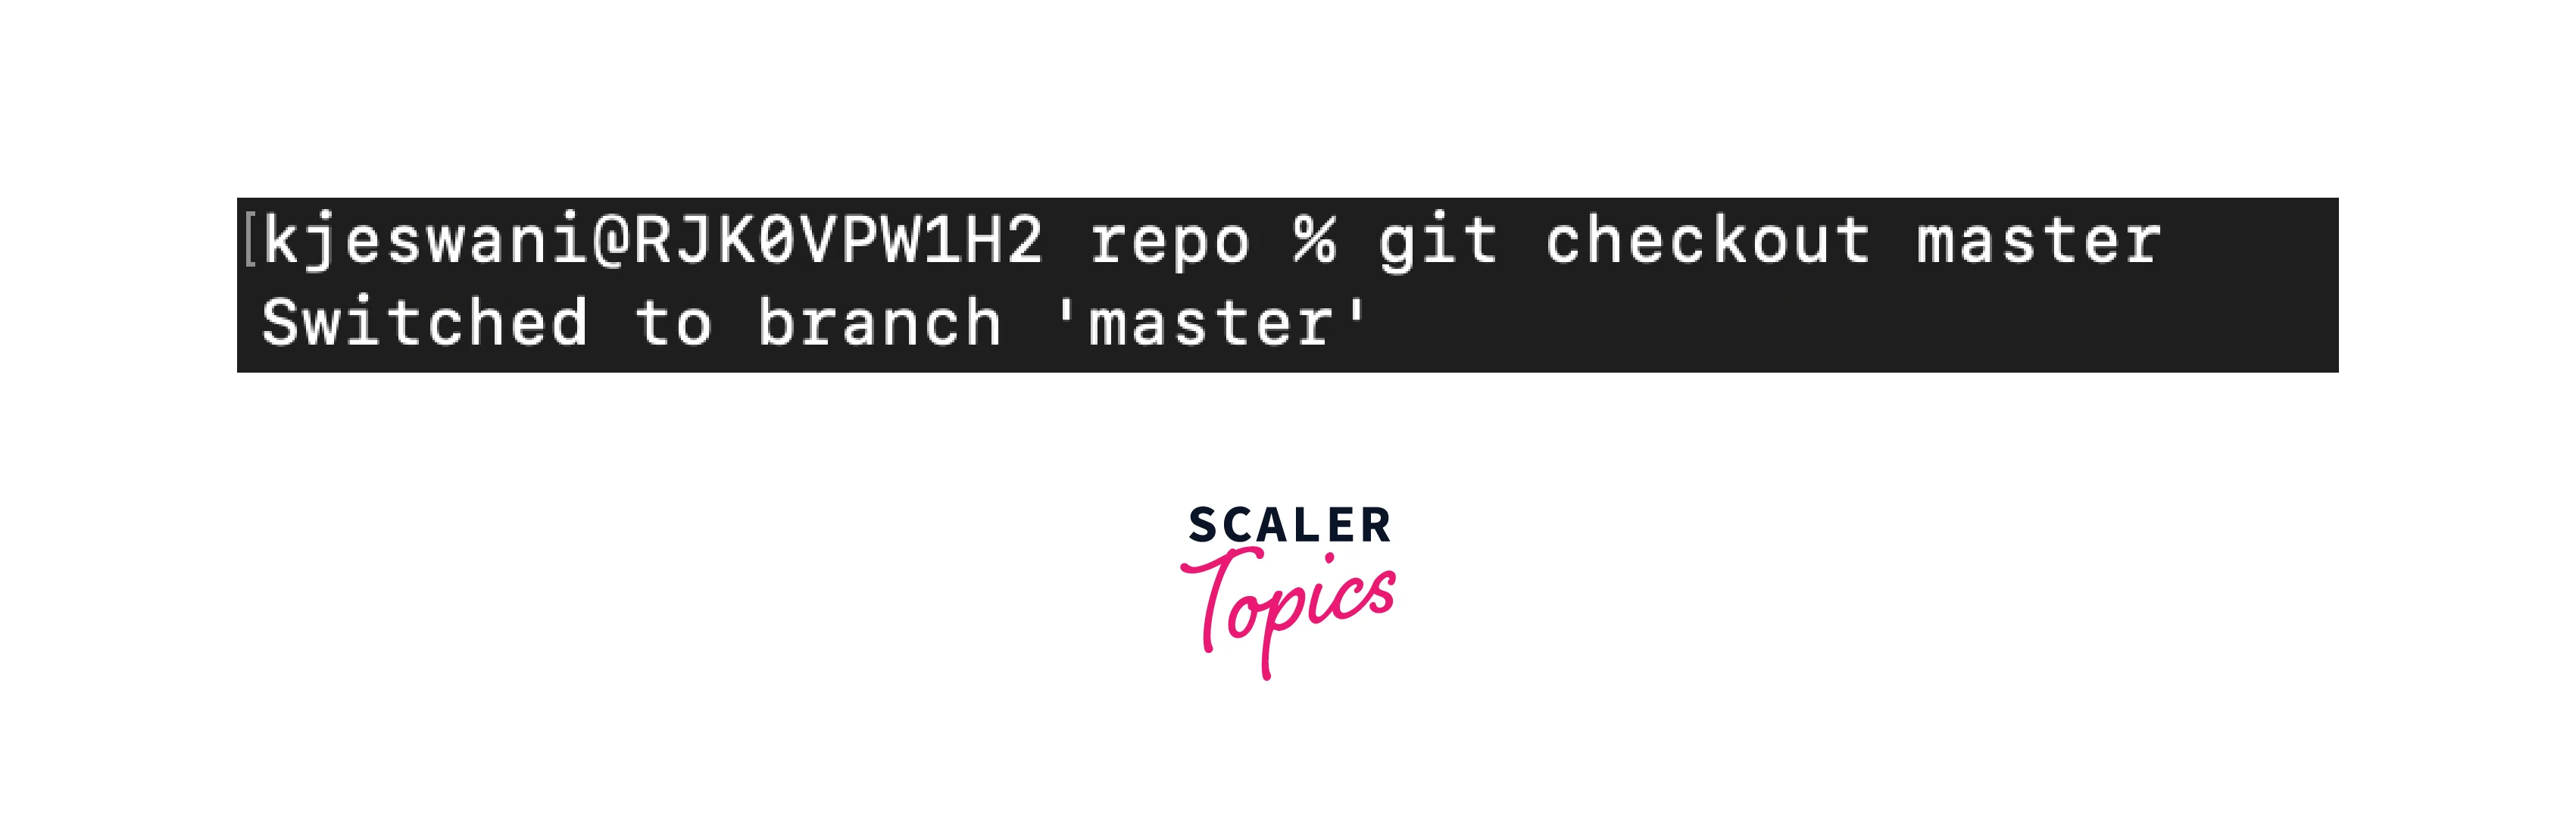
Update your Local Setup
Even though we merged the branch on GitHub, the changes weren't updated locally. What you can do is revert to your local master branch with the command:
Then, we can pull the changes from GitHub using the command:
Now, as the changes have been merged from the feature branch, so we are free to delete that branch using the command:
In our case, it would be:
These are the essential steps you need to know when creating a branch and opening a pull request.
Conclusion
- Pull request is a feature in git that helps you to inform others of the changes that you’ve made to the repository through your branch and it allows you to ask the maintainer of a Git repository to review the code they want to merge into a project.
- Git is the most widely used free and open-source distributed version control system used to efficiently handle small to very large projects. It is used to track the changes in the source code and projects across different teams and revision levels.
- Branches in git allow you to diverge from the main branch and continue to work in an isolated manner without messing with the main branch.
- To create a branch in git, we can use the command git branch <new_branch_name>.
- To switch between different branches of the repository, we can use the command git checkout <branch_name>
- Git pull requests to provide a very convenient and accessible web interface for discussing and raising the request for code reviewal.
- Git pull allows you to get the changes from a remote repository to the local repository.
- You can pull a remote repository by just using the git pull command. To fetch the changes from a particular remote branch, you can use the git pull <url_of_remote_branch> command.
- To avoid conflicts in the local and remote repositories while pulling, the git hard reset method is used to remove all the changes of a local master branch that are causing conflicts and the hard option is used to forcefully change (as the name suggests) all the files in the local repository with a remote repository.
- git pull origin master command is used to pull the repository where origin is the location of the remote repository and master is the main default branch name of the repository.
- You can delete a branch from the local using the command git branch -d <branch_name>
- git add . is used to add untracked files to the staging area, and the git commit command is used to commit the staged changes to the remote git repository.