Git Update
In this article, we'll explore git update operations, including adding a main repo as a remote to your local fork. Learn to keep your fork updated and delve into submodules. We'll also guide you through managing projects and source code with Git's version control system.
Updating Your Repo by Setting Up a Remote
Before updating the repo you must do the following steps first:
- First fork the repo from your github.com account.
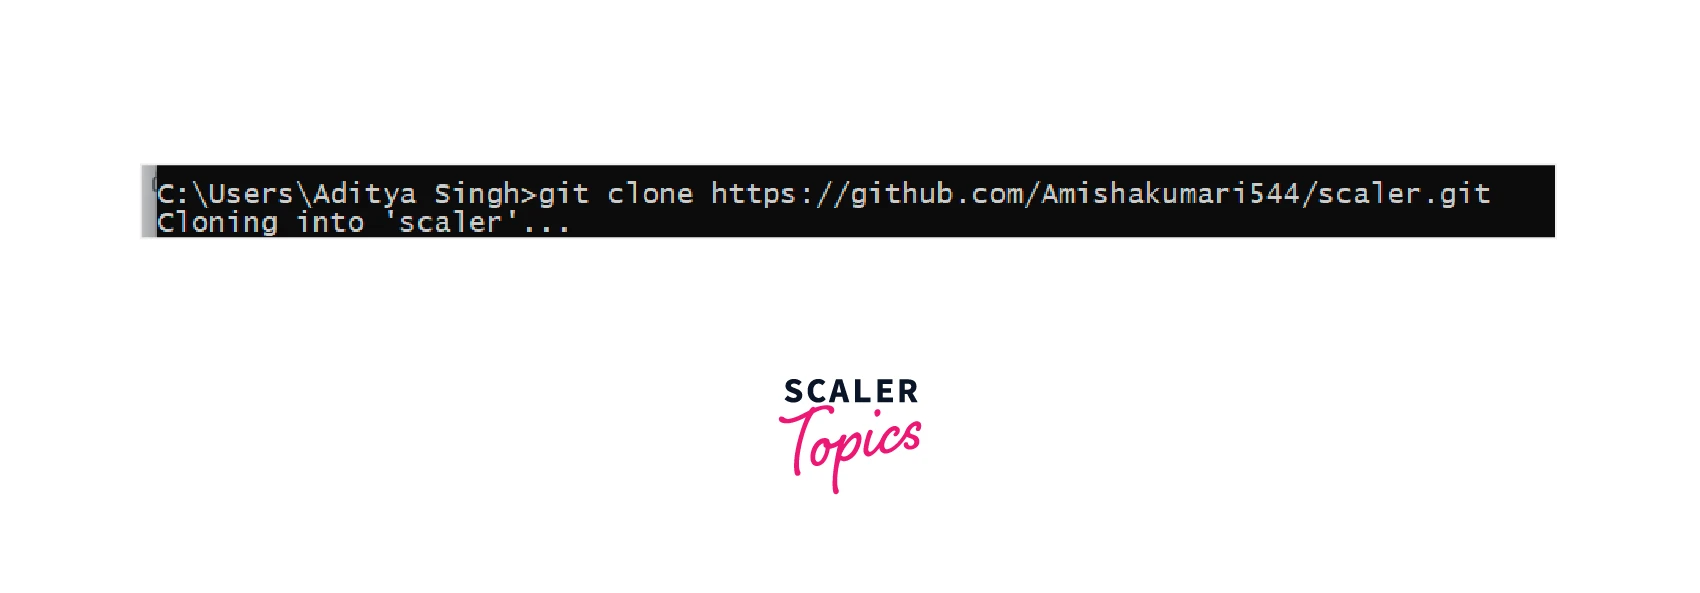
- Then, clone the forked repo (making a copy of your forked repo on your local computer).
Once this procedure is done if any other contributor pushes any changes to the main branch to the GitHub repo and you want to reflect or update your local setup by updating the new committed changes. We will accomplish this by setting up the local repo as a "remote" and immediately getting updates from the central repo. A "remote" repo is any repository that is not the one in which you are currently working.
Steps to update the local branch:
- Update your local repository from the central repository (git pull upstream master).
- Make changes, save, git add, and git commit(for changes) in your local repository.
- Push updates from your local repo to your github.com fork (git push origin master)
- Repeat the process of updating the central repo from your fork (Pull Request).
The above step might fall into a merge-conflict scenario if we don't sync up in the correct order.
Transform Your Career
Choose from our industry-leading programs designed for career success
Modern Software and AI Engineering Program
Master full-stack development with AI integration

Modern Data Science and ML with specialisation in AI
Advanced data science techniques with AI specialization
Advanced AIML with Specialisation in Agentic AI
Deep dive into AIML with focus on Agentic systems
DevOps, Cloud & AI Platform Engineering
Build and manage AI-powered cloud infrastructure
AI Engineering Advanced Certification by IIT-Roorkee
Premier AI engineering certification from IIT-Roorkee
What is Merge-Conflict?
When two users update the same section of a file at the same time, a merge conflict develops. Git cannot determine which edit was made first and which was made last, and hence which alteration should be included in the most recent copy. As a result, the conflict.
Set up Upstream Remote
Before beginning our next modifications or additions, we want to update our local repo with any changes made in the central repo. To accomplish this, we must configure our repo's central repository as an upstream remote.
Step 1: Get Central Repository URL
Select the green button and clone the repo by copying the URL.

Step 2: Add the Remote
Second, we need to connect the upstream remote -- the central repository to our local repo.
Do consider to check your repo location is correct or not.
Then, type this command:
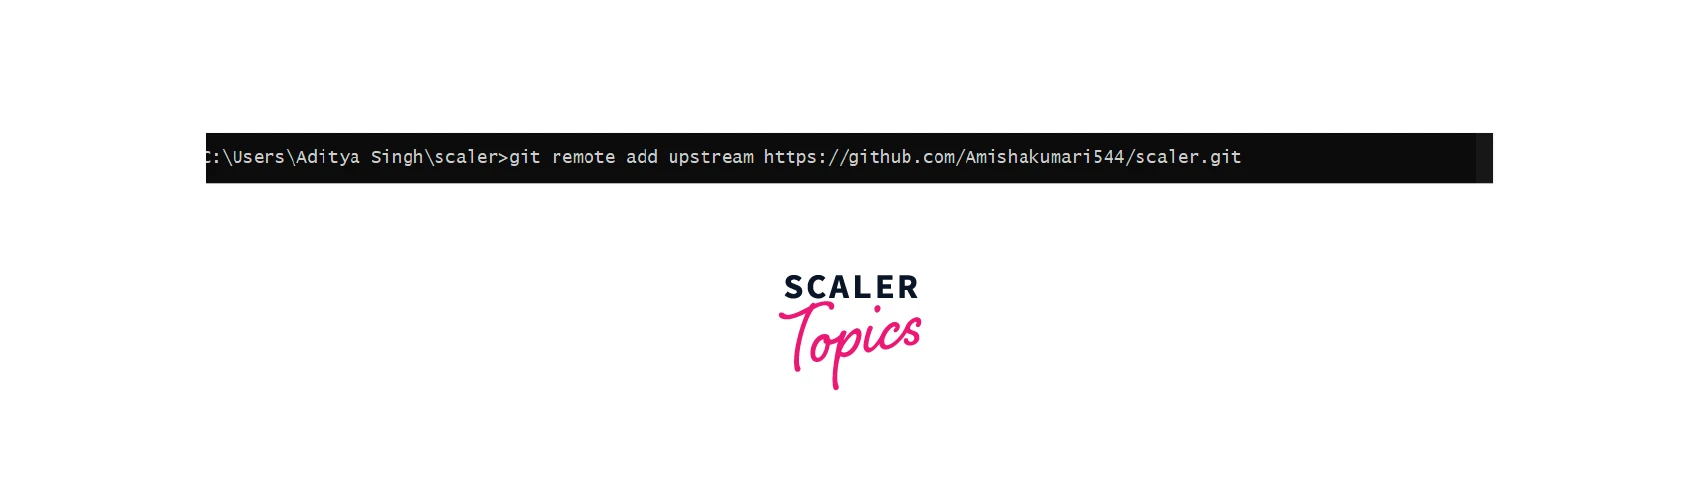
we are adding an upstream remote with the given URL.
Step 3: Update Local Repo
Use git pull with the added direction "upstream" upstream to indicate which branch you are pulling from the latest codebase.

Let's see the output explanation step by step:
- remote: It tells us how many items have changed in the codebase.
- From HTTPS:URL: It specifies which remote repository data is being retrieved from the aforementioned command.
- Section with + and -: This symbol indicates to us the deletion and the addition of new code, files, or updates in the repository.
Now, you can check the status of the code using:
After, that you can add your changes without any merge conflicts easily and push the code,
And, you can see your changes on the GitHub repo.


Git - Update Operation
Scaler Placement Report and Statistics
Scaler learners achieved 2.5x salary growth with average post-Scaler CTC reaching ₹23L.
Modify Existing Function
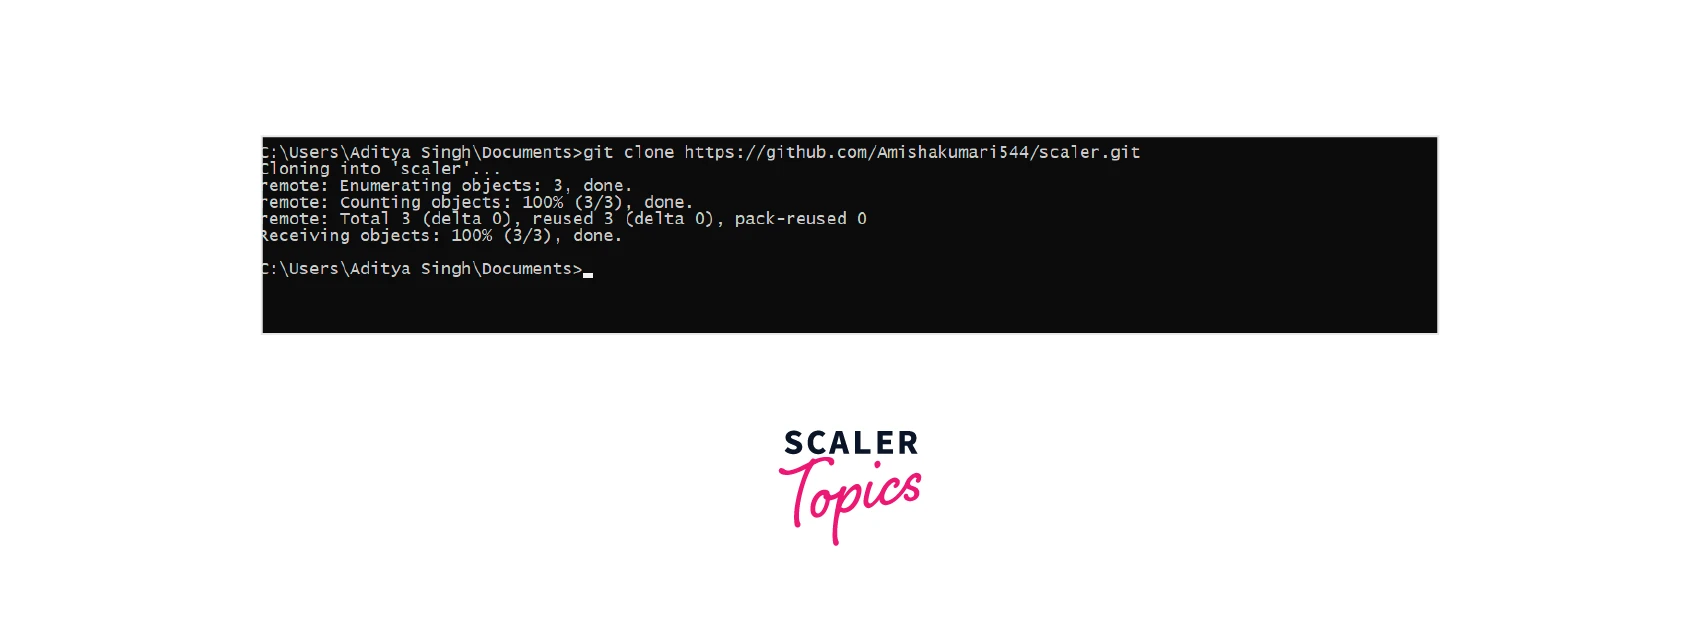
Aditya performs the git clone operation and then he finds a new file, scaler.txt.He wants to know who added this file and why it's there, so he checked the history of git using:
The above command will produce the following result −
The git clone operation will pull down all the data from that repository and checks out a working copy of the latest version and then he executes git log to check the history of the whole codebase.
The above command will produce the following result −
After checking the log, he learns that one file is added by Amisha, so he is curious to know what she added to the file. So he opens scaler.txt in the text editor and immediately finds an error in the file. So, he decides to modify Amisha’s code. After modification of the file, the file looks as follows −

Then he commits his change.
Add New Function
Now, if you want to alter any changes to the same file, so you added a description about the same company and started doing:
But, at the same time, your code falls into the condition where it rejects the changes you have committed and pushed. This happens because you have not updated your codebase and have simply started making changes. Make sure to always update your local codebase with the current remote codebase so that you never fall into trouble. Check the next section to update the code.
Turn Learning into Career Growth
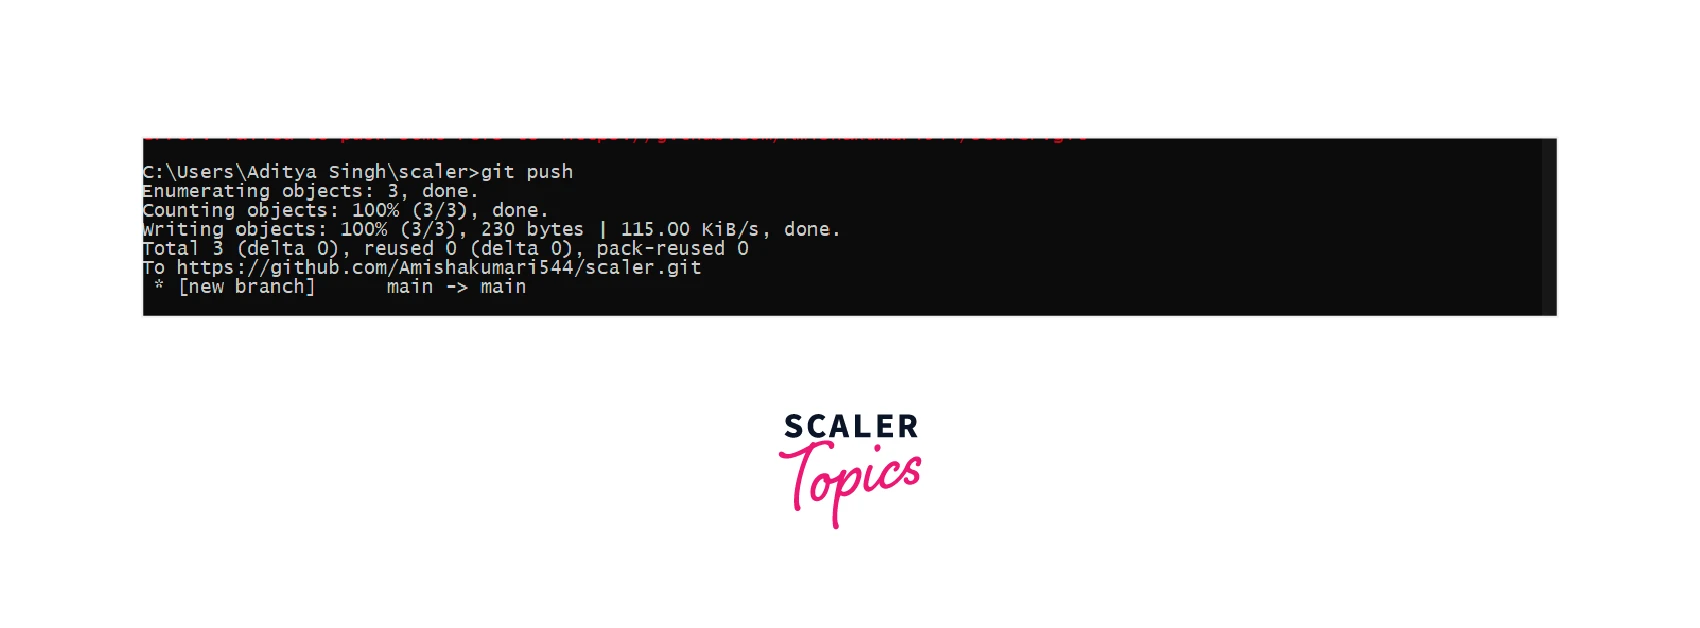
Fetch Latest Changes
Now, you are ready to push your code in GitHub.
Update Git Submodules
Submodules is a record that points to a specific commit in another repository and is static which is used to track only particular commits in the repo.
Steps to update the Git submodules in your workspace with the latest commits on the server:
- Clone the repository from GitHub using git clone.
- Issue a git submodule update --remote command.
- Create new files from the repository.
- commit your changes using git commit -m "message..".
- Push the code back to GitHub using git push.
Example of the above explanation:
Conclusion
In this article, we learned that we should always keep track of updated codebase from the GitHub repo else we fall into some trouble using different mechanism of git update.
- Always do git pull then commit your changes and git push.
- We also saw how to update local repo using git pull upstream main
- git status displays the state of the working directories.
- git log helps to display the list of all commits done to a repository.
- Submodules are pretty static, tracking only certain commits and git update submodule to update for the same.