Which Method is Used to Handle Button Click Event?

onclick JavaScript method is used to handle button click events. Whenever a user clicks any element (say submit button) on a web page, onclick javascript event generally occurs. With the help of this onclick javascript event, the user can implement the required functionalities by executing the JavaScript function placed inside onlick() method.
onclick JavaScript function is helpful in validating forms on submission, checking errors, generating warning messages, and in many other situational cases. Using JavaScript, we can add onclick() event dynamically to any element or HTML tags.
Note that it doesn't support <html>, <head>, <title>, <style>, <script>, <base>, <iframe>, <bdo>, <br>, <meta>, and <param> tags of HTML i.e, onclick JavaScript function can not be added to these HTML tags.
We can also use addEventListener() method by passing the click event as a parameter that we will discuss and learn as we move through the course of this article.
Syntax of onclick JavaScript method
Before going to the coding part and implementation, it is important to discuss and learn the syntax of onclick javaScript event.
Syntax in HTML
In an HTML document, we can add onclick javaScript event along with HTML elements. JavaScript function to be executed is always placed within double quotes.
Syntax in JavaScript
Here, the object can also be accessed using document.getElementById() or any other similar method where we can pass the id of the element or suitable props. Using the above syntax, whenever that element is clicked, the respective JavaScript function will be executed.
Scaler Placement Report and Statistics
Scaler learners achieved 2.5x salary growth with average post-Scaler CTC reaching ₹23L.
Syntax in JavaScript by Using the addEventListener() Method
This is a modern way of implementing JavaScript events where we can pass the event name and JavaScript function to be executed as parameters in the addEventListener() method.
How to Use the onclick() JavaScript Event?
Have you ever noticed that there are certain links on a page of a website that takes users to a different webpage or a website? In the case of buttons when clicked, they are manipulated by JavaScript events to trigger certain functionality.
onclick javaScript event is used to trigger that function whenever a button is clicked. This is really helpful in validating forms by clicking the submit button, generating warnings, error messages, and similar things like that.
As we have already discussed the syntax of using onclick JavaScript event, we now know that it takes a function to be executed, as a parameter value and we can invoke that function directly by calling its name and putting parenthesis just after the function name.
Transform Your Career
Choose from our industry-leading programs designed for career success
Modern Software and AI Engineering Program
Master full-stack development with AI integration

Modern Data Science and ML with specialisation in AI
Advanced data science techniques with AI specialization
Advanced AIML with Specialisation in Agentic AI
Deep dive into AIML with focus on Agentic systems
DevOps, Cloud & AI Platform Engineering
Build and manage AI-powered cloud infrastructure
AI Engineering Advanced Certification by IIT-Roorkee
Premier AI engineering certification from IIT-Roorkee
Examples
(Implementing onclick() JavaScript Event)
Example 1. Using onclick Attribute in HTML
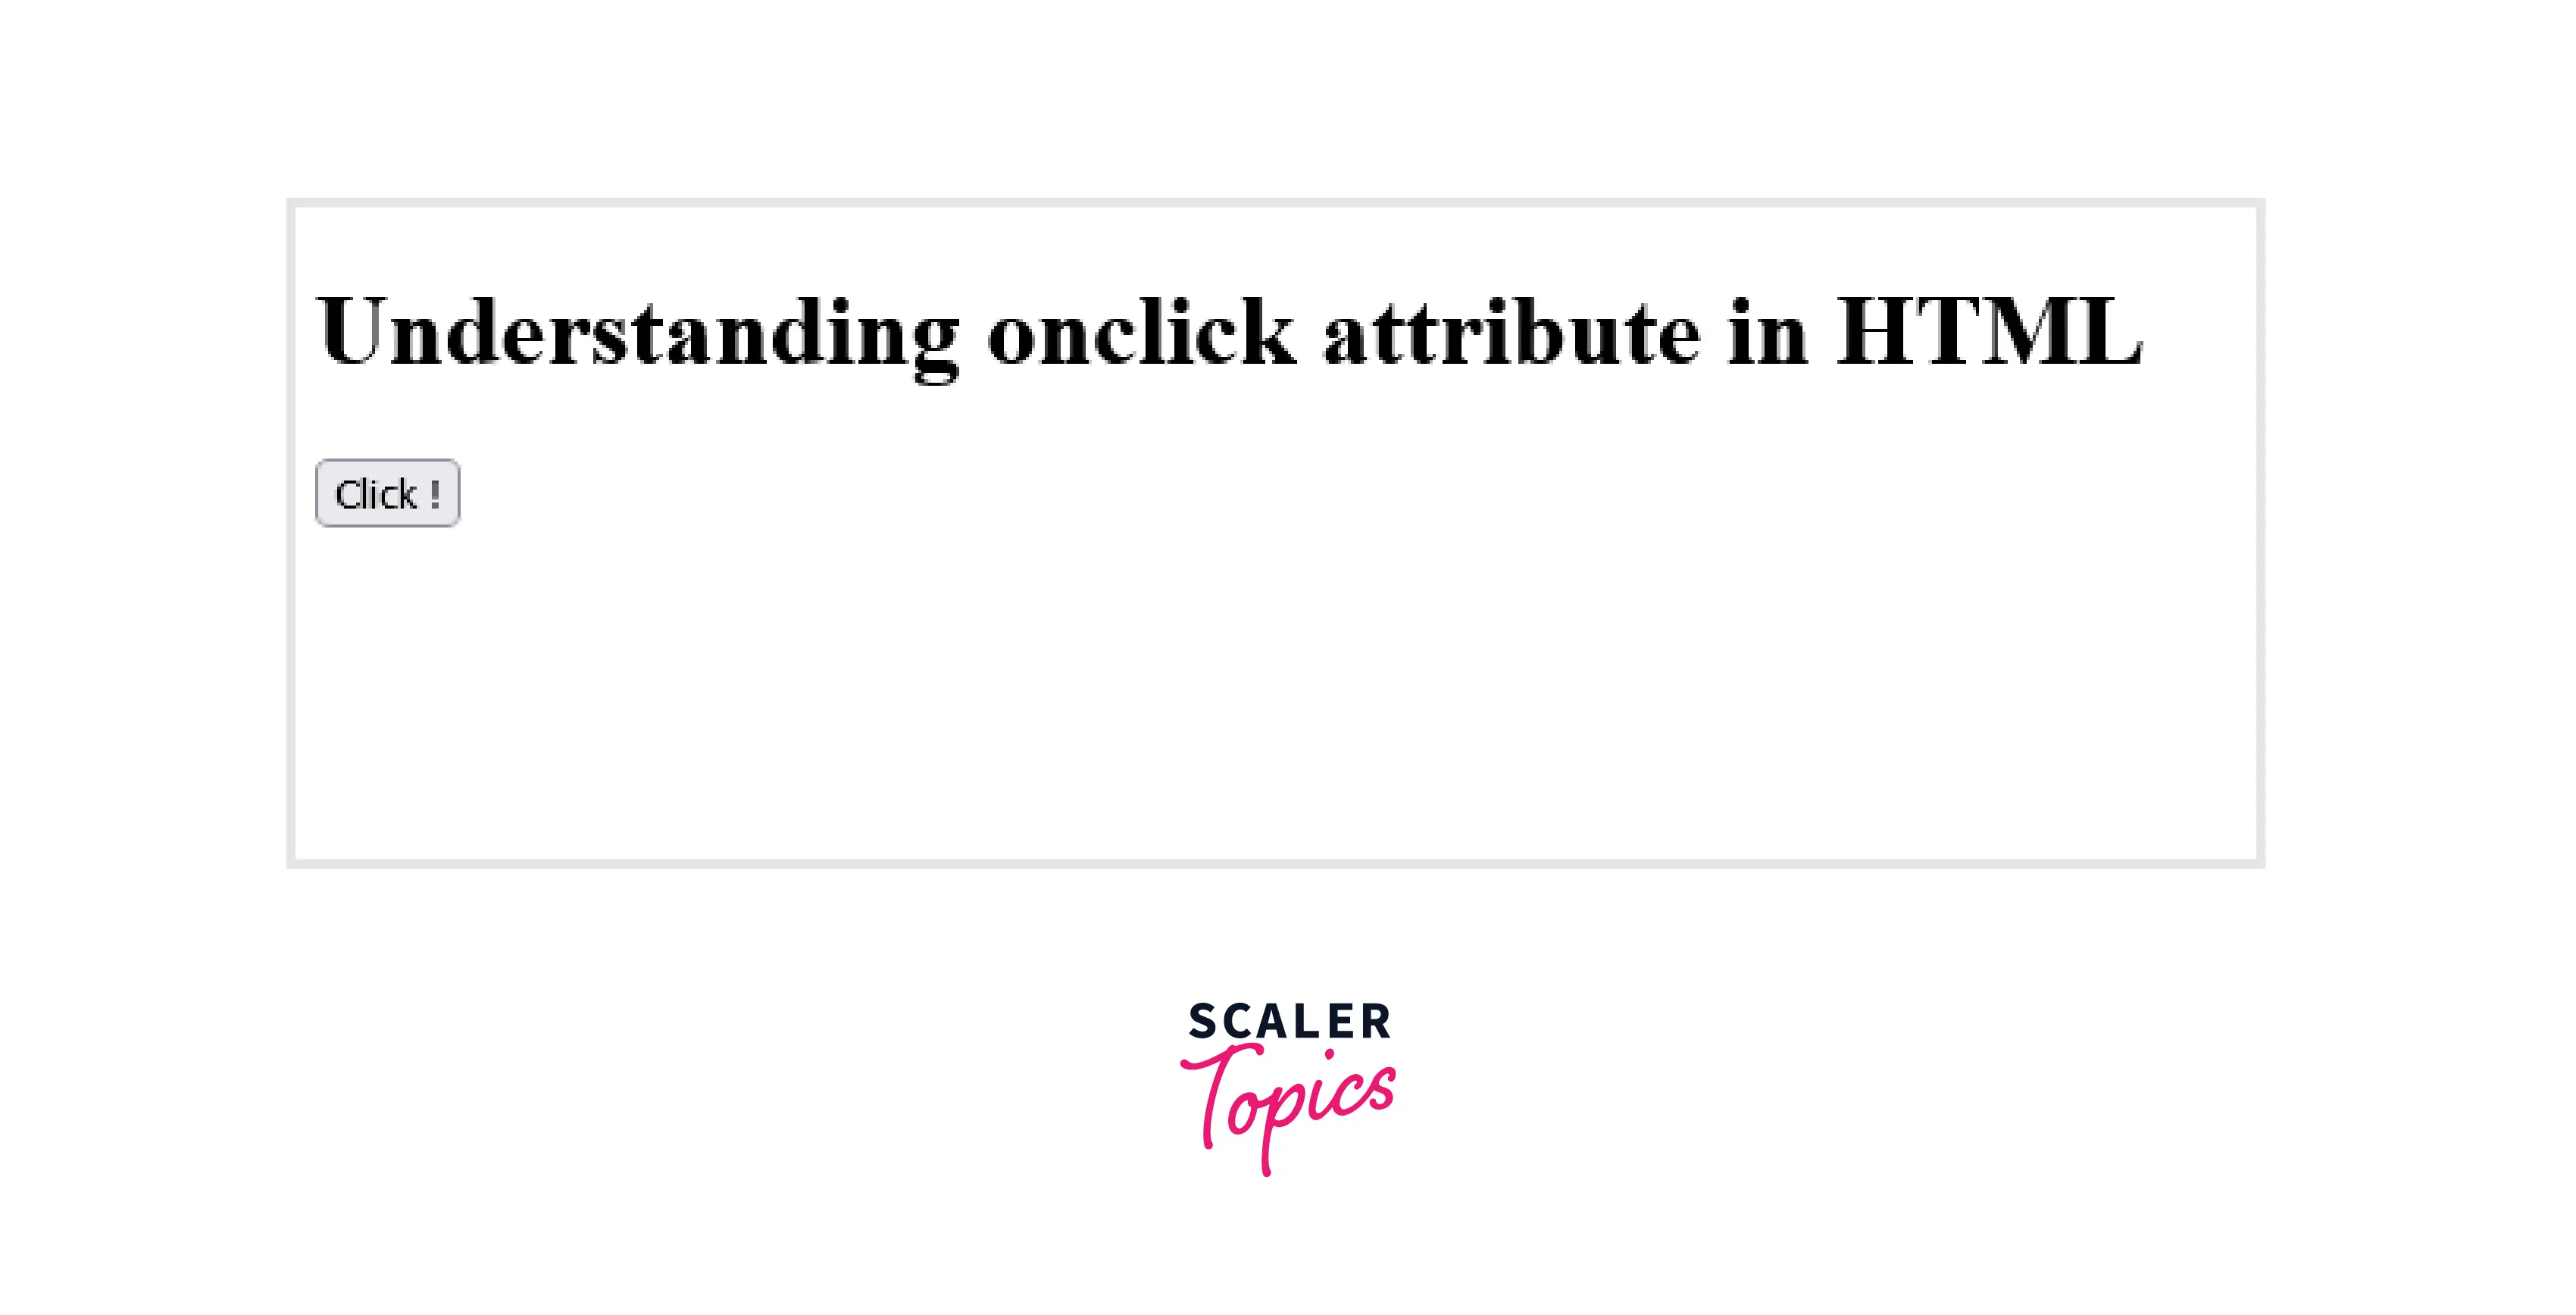
In this example, we have implemented onclick attribute in HTML document. The basic idea is to trigger some functionality whenever a user clicks on a button.
Inside the body tag of HTML structure, we have used a button element with button text - Click. We have dynamically added the onclick="solve()" attribute inside the button tag and with this, whenever the button element will be clicked, solve() function will be executed. Solve() function is placed inside the script tag to showcase JavaScript functionality which will return an alert message when called.
Output After opening the HTML document on the web browser, we will be able to see the heading "Understanding onclick attribute in HTML" along with a button with the text - "Click !"
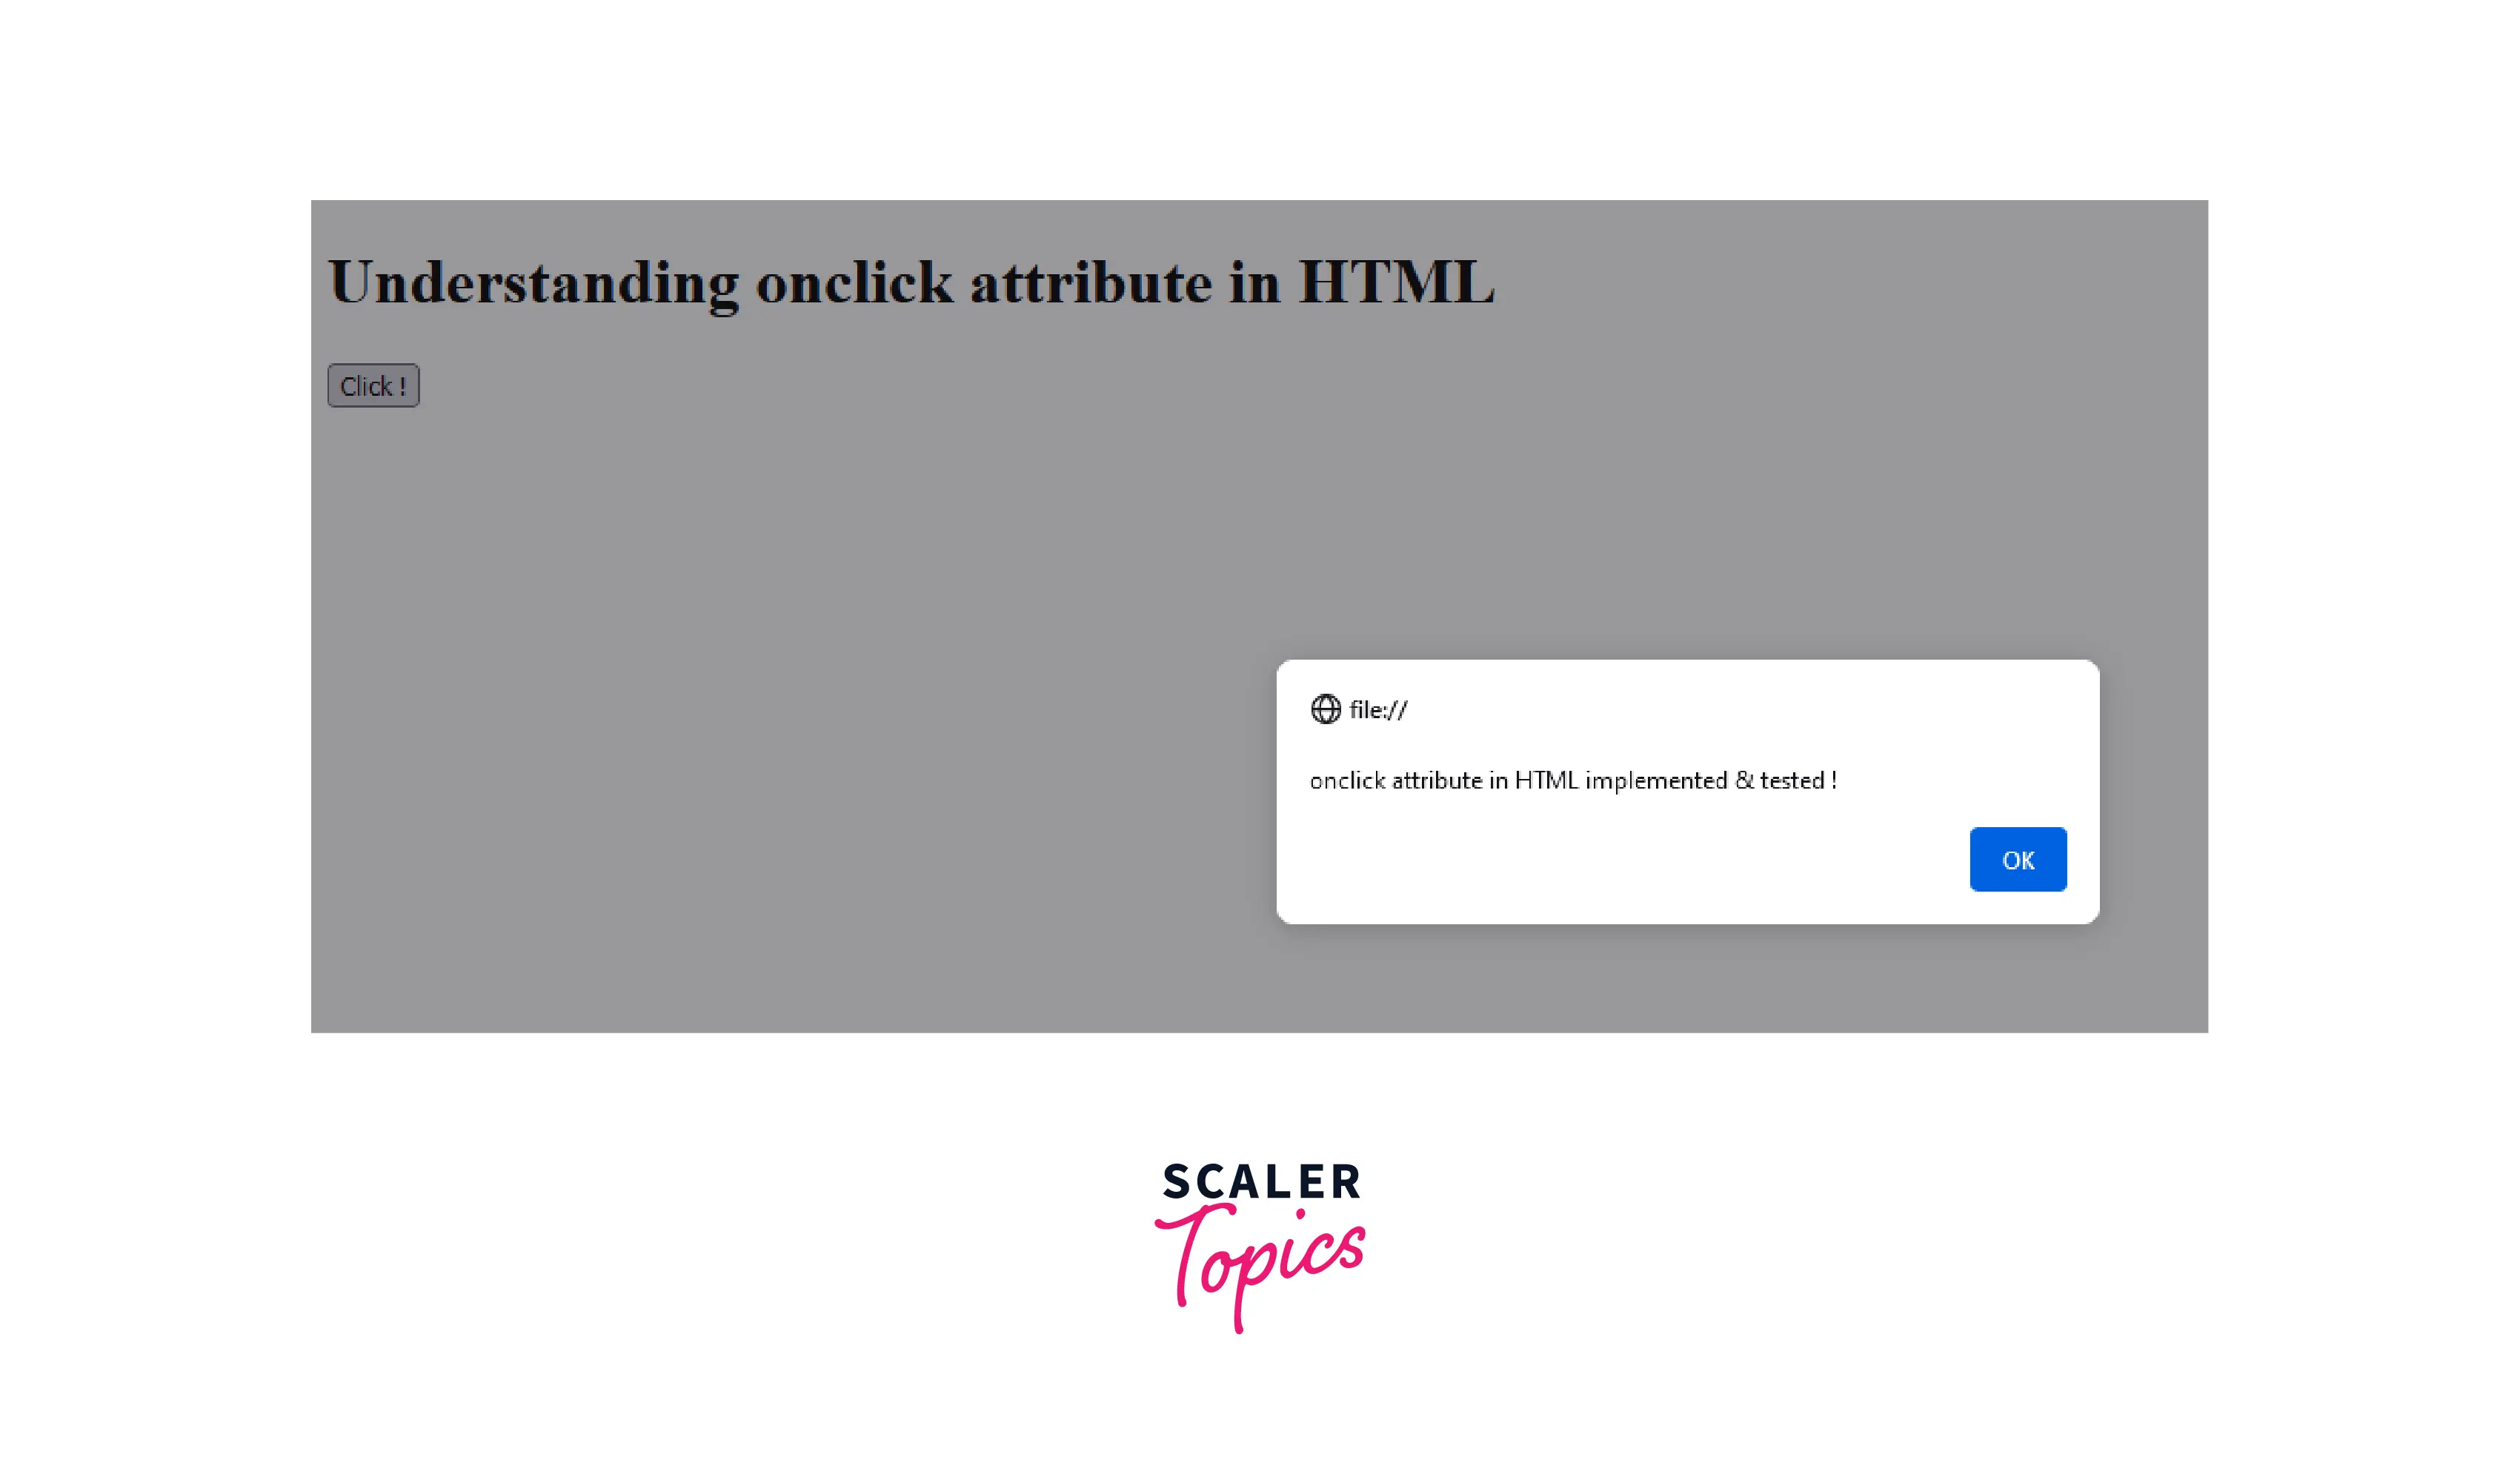
Whenever a user clicks on the button, it will display an alert box with the message - "onclick attribute in HTML implemented & tested !" as shown in the below image.
Example 2. Using JavaScript
In this example code, we have implemented another version of using onclick() event functionality. We have added id="check" inside the heading h1 tag placed inside the body tag of HTML document.
After that, we have used document.getElementById() method to access the h1 object by passing its id as the parameter value. object.onclick() = function(){} is the syntax and the functionality to be triggered is placed inside the function. Whenever the user clicks on the heading, this function will be executed. The basic idea is to change the content and the color of the heading whenever the user clicks it.
Note that regarding the innerHTML attribute used inside the function along with document.getElementById(), we have used it to change the content of the h1 element tag and by using style.color, we are changing the color of the text of the heading.
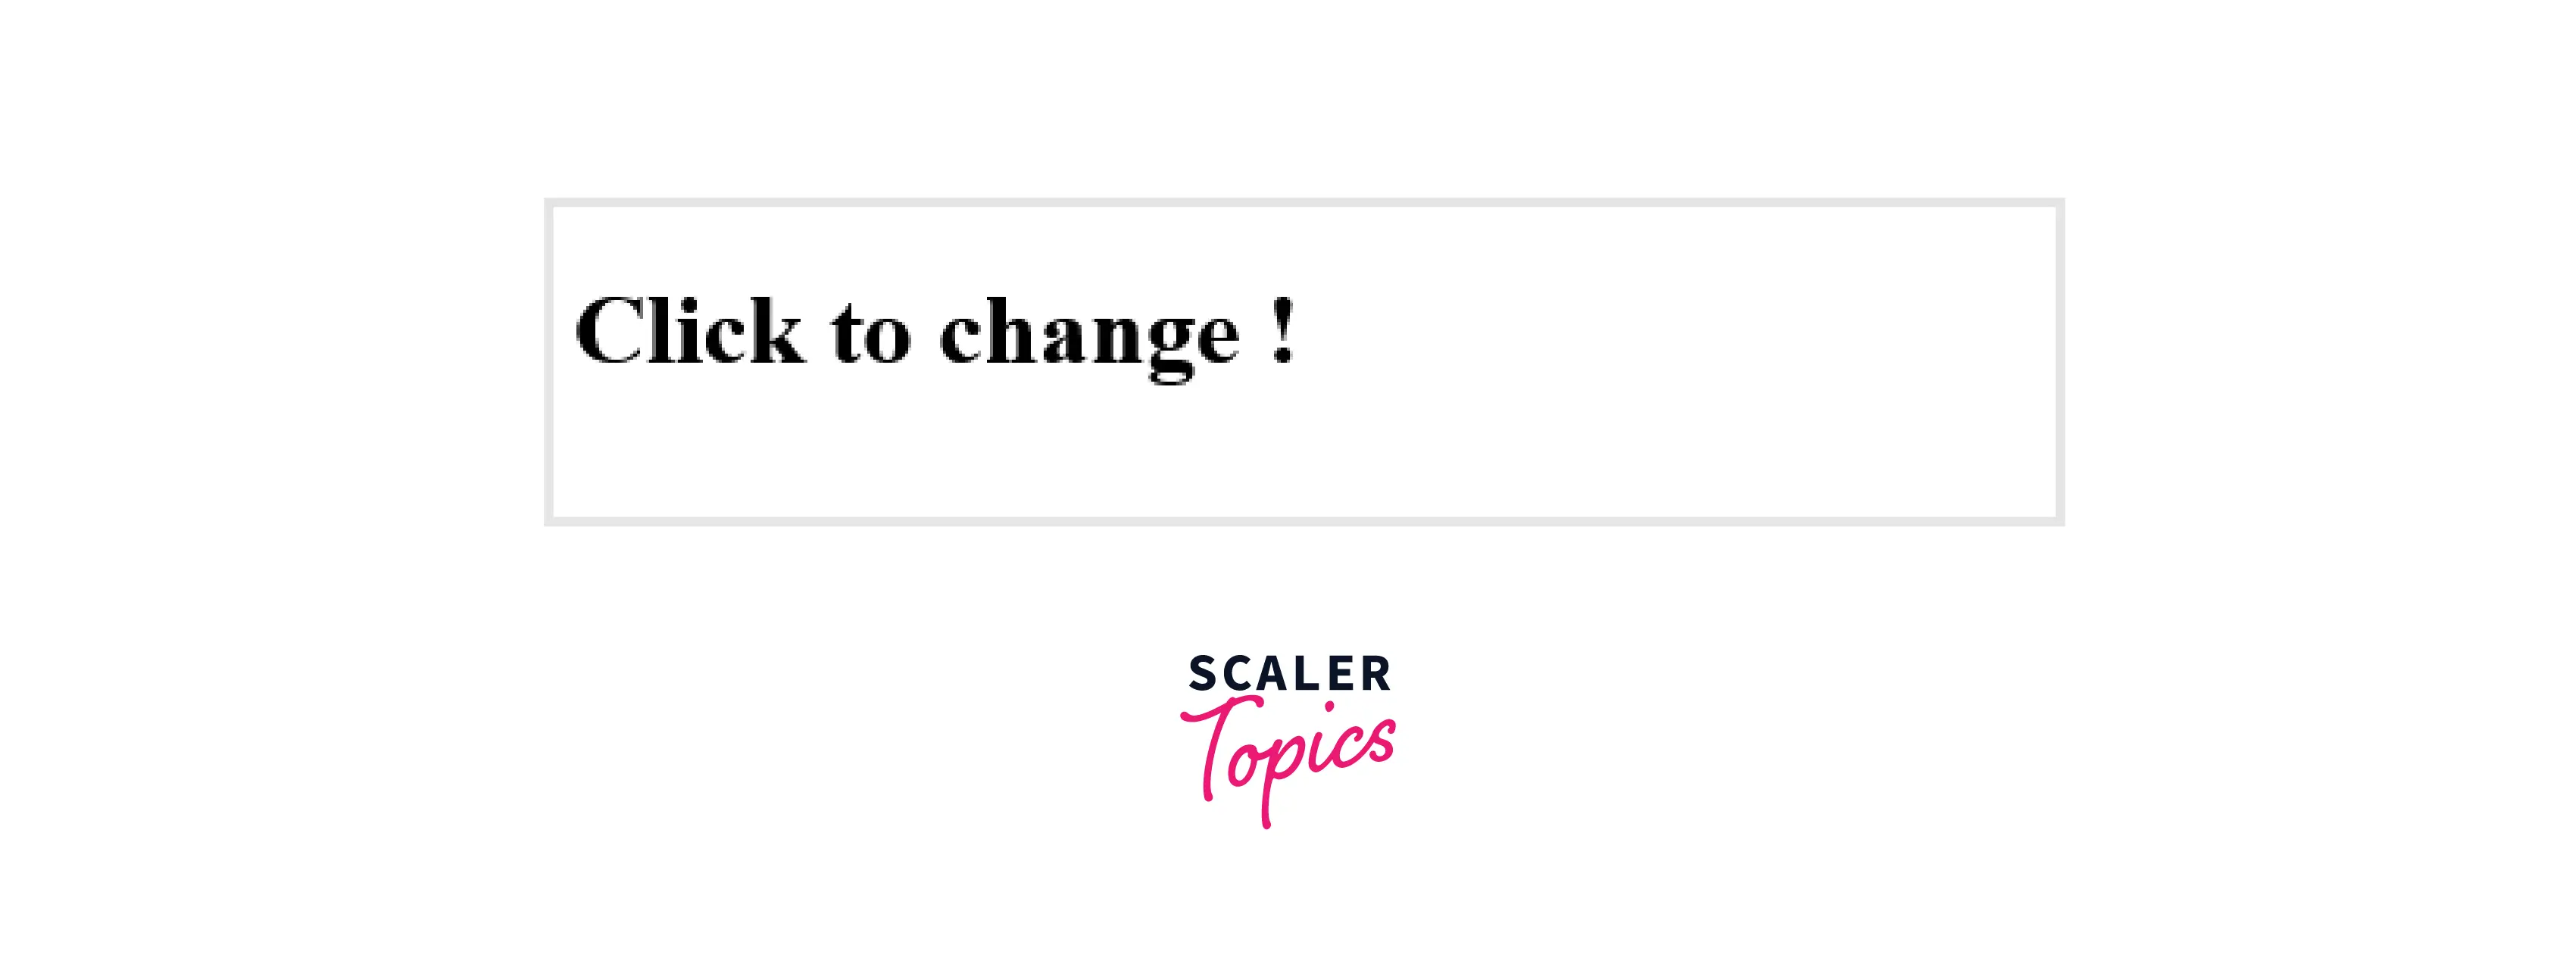
Output After opening the HTML document on the web browser, we will be able to see the heading with the text - "Click to change !"
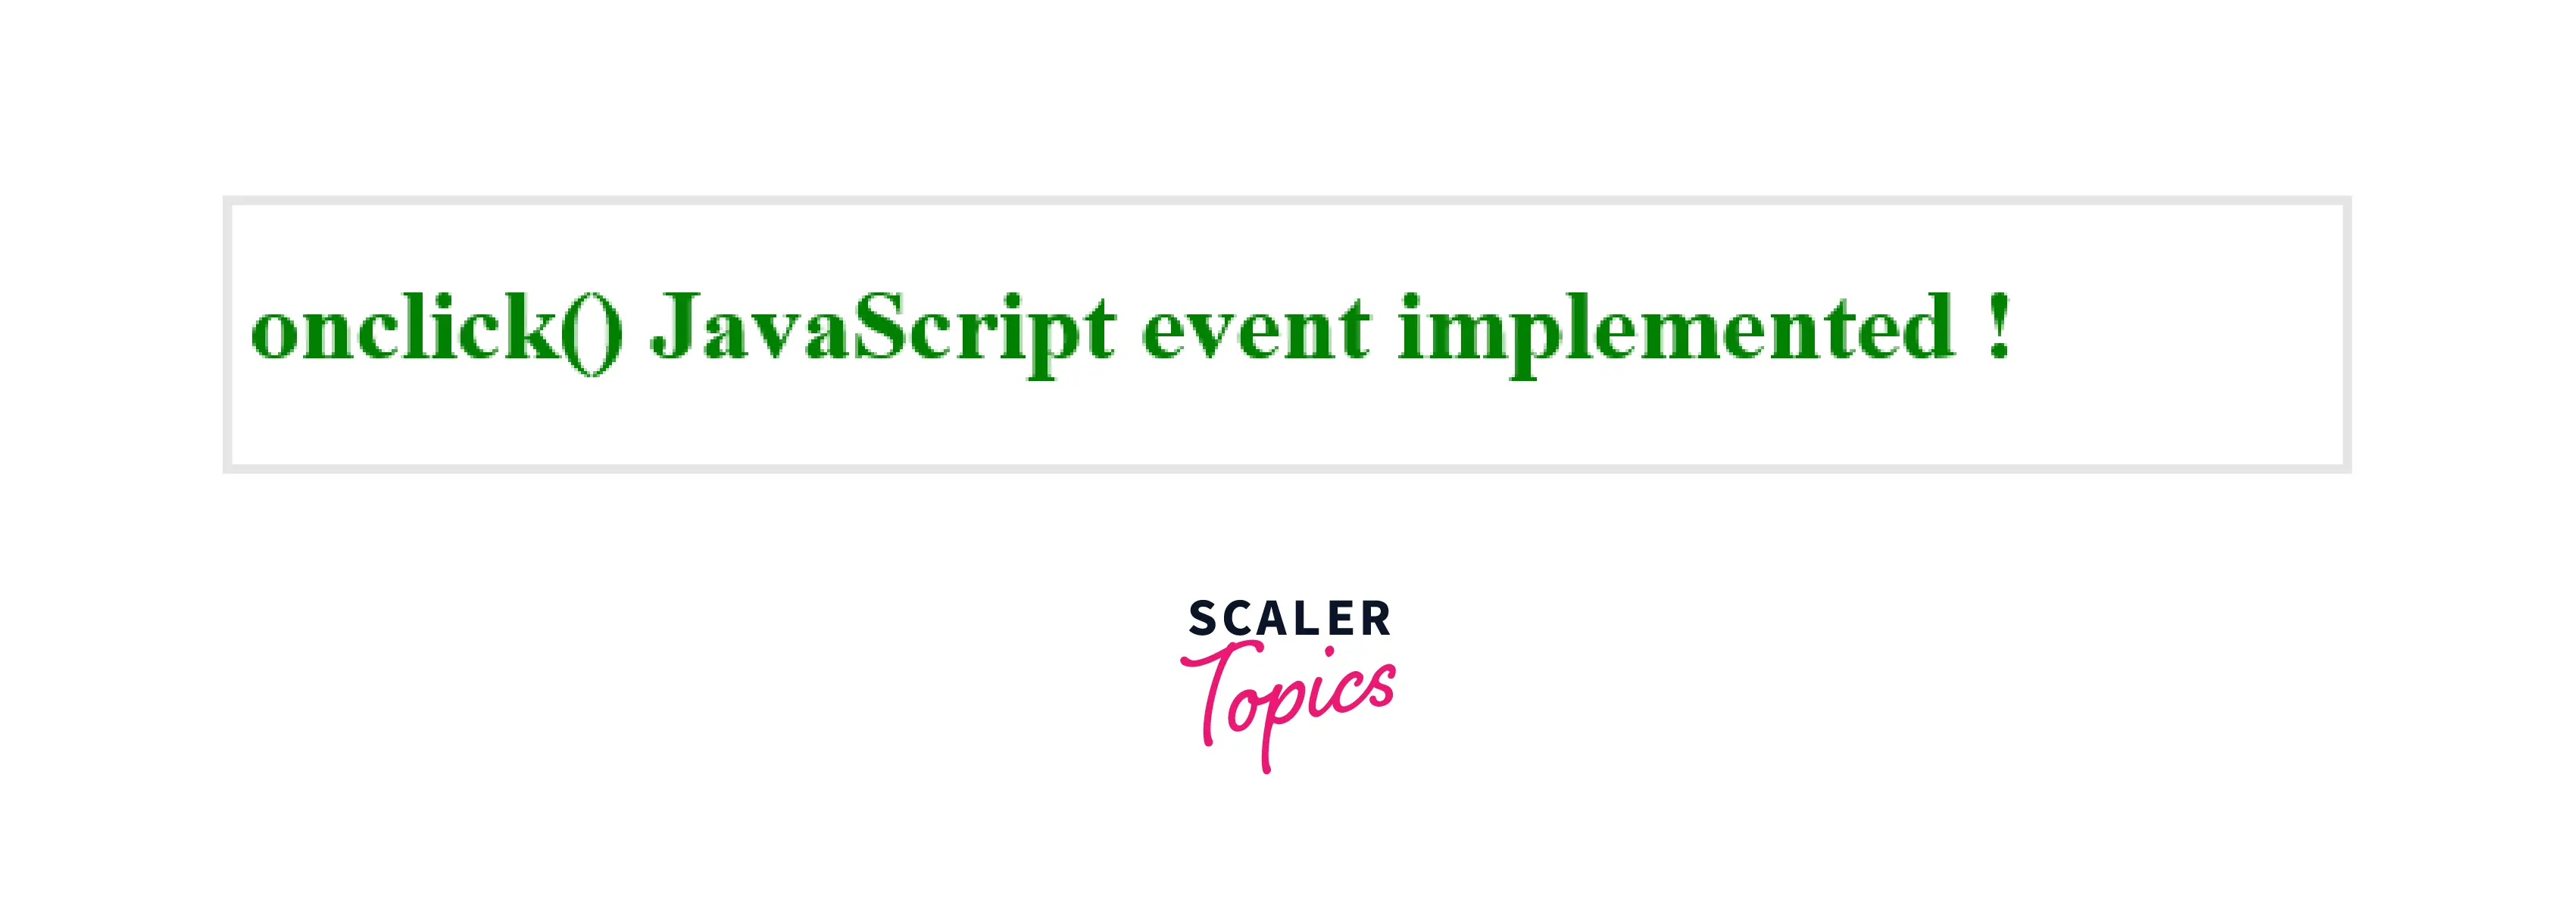
Whenever a user clicks on the heading, it will change the content of the heading, and also, its color will be changed to green as shown in the below image.
Example 3. Using addEventListener() Method
In this example code, we have used a modern way of implementing JavaScript events by using addEventListeners() method. Using this method, we can also write separate code for HTML, CSS, and JavaScript in their respective files. Here, we have used addEventListener() with 'click' event and function to be executed, as parameter values.
This is attached to the object or the element that needs to trigger the functionality of the passed-in JavaScript function. We can access the object using getElementById as we have done till now to access the h1 element tag. The basic idea is to change the content and the color of the heading whenever the user clicks it.
Output After opening the HTML document on the web browser, we will be able to see the heading with the text - "Click to change !"
Whenever a user clicks on the heading, it will change the content of the heading and also, its color will be changed to red as shown in the below image.
How to Use the click eventListener() Method in JavaScript?
JavaScript has evolved over time and in modern times, we usually keep HTML, CSS, and JavaScript code in separate files. Event listeners help us to separate JavaScript code from HTML documents.
Let us understand this concept where we will try to implement onclick() event with addEventListener() method in JavaScript by maintaining separate files for HTML & JavaScript.
Turn Learning into Career Growth
Example 1.
In this example code, we have implemented addEventListener() method to trigger onclick event by maintaining JavaScript and HTML code in different files.
HTML File Code
In the HTML document structure, we have used paragraph and button tags wrapped under the div tag, and also, we have linked the JavaScript file - "index.js" with this HTML file, stored in the same folder location using the <script> tag inside the body tag.
JavaScript File Code
As we can see in the below JavaScript code, we have used document query selectors to access paragraph tag with class name - ".name" and button element tag. We have also increased the font size by 2X larger than the original size by using size.fontSize property.
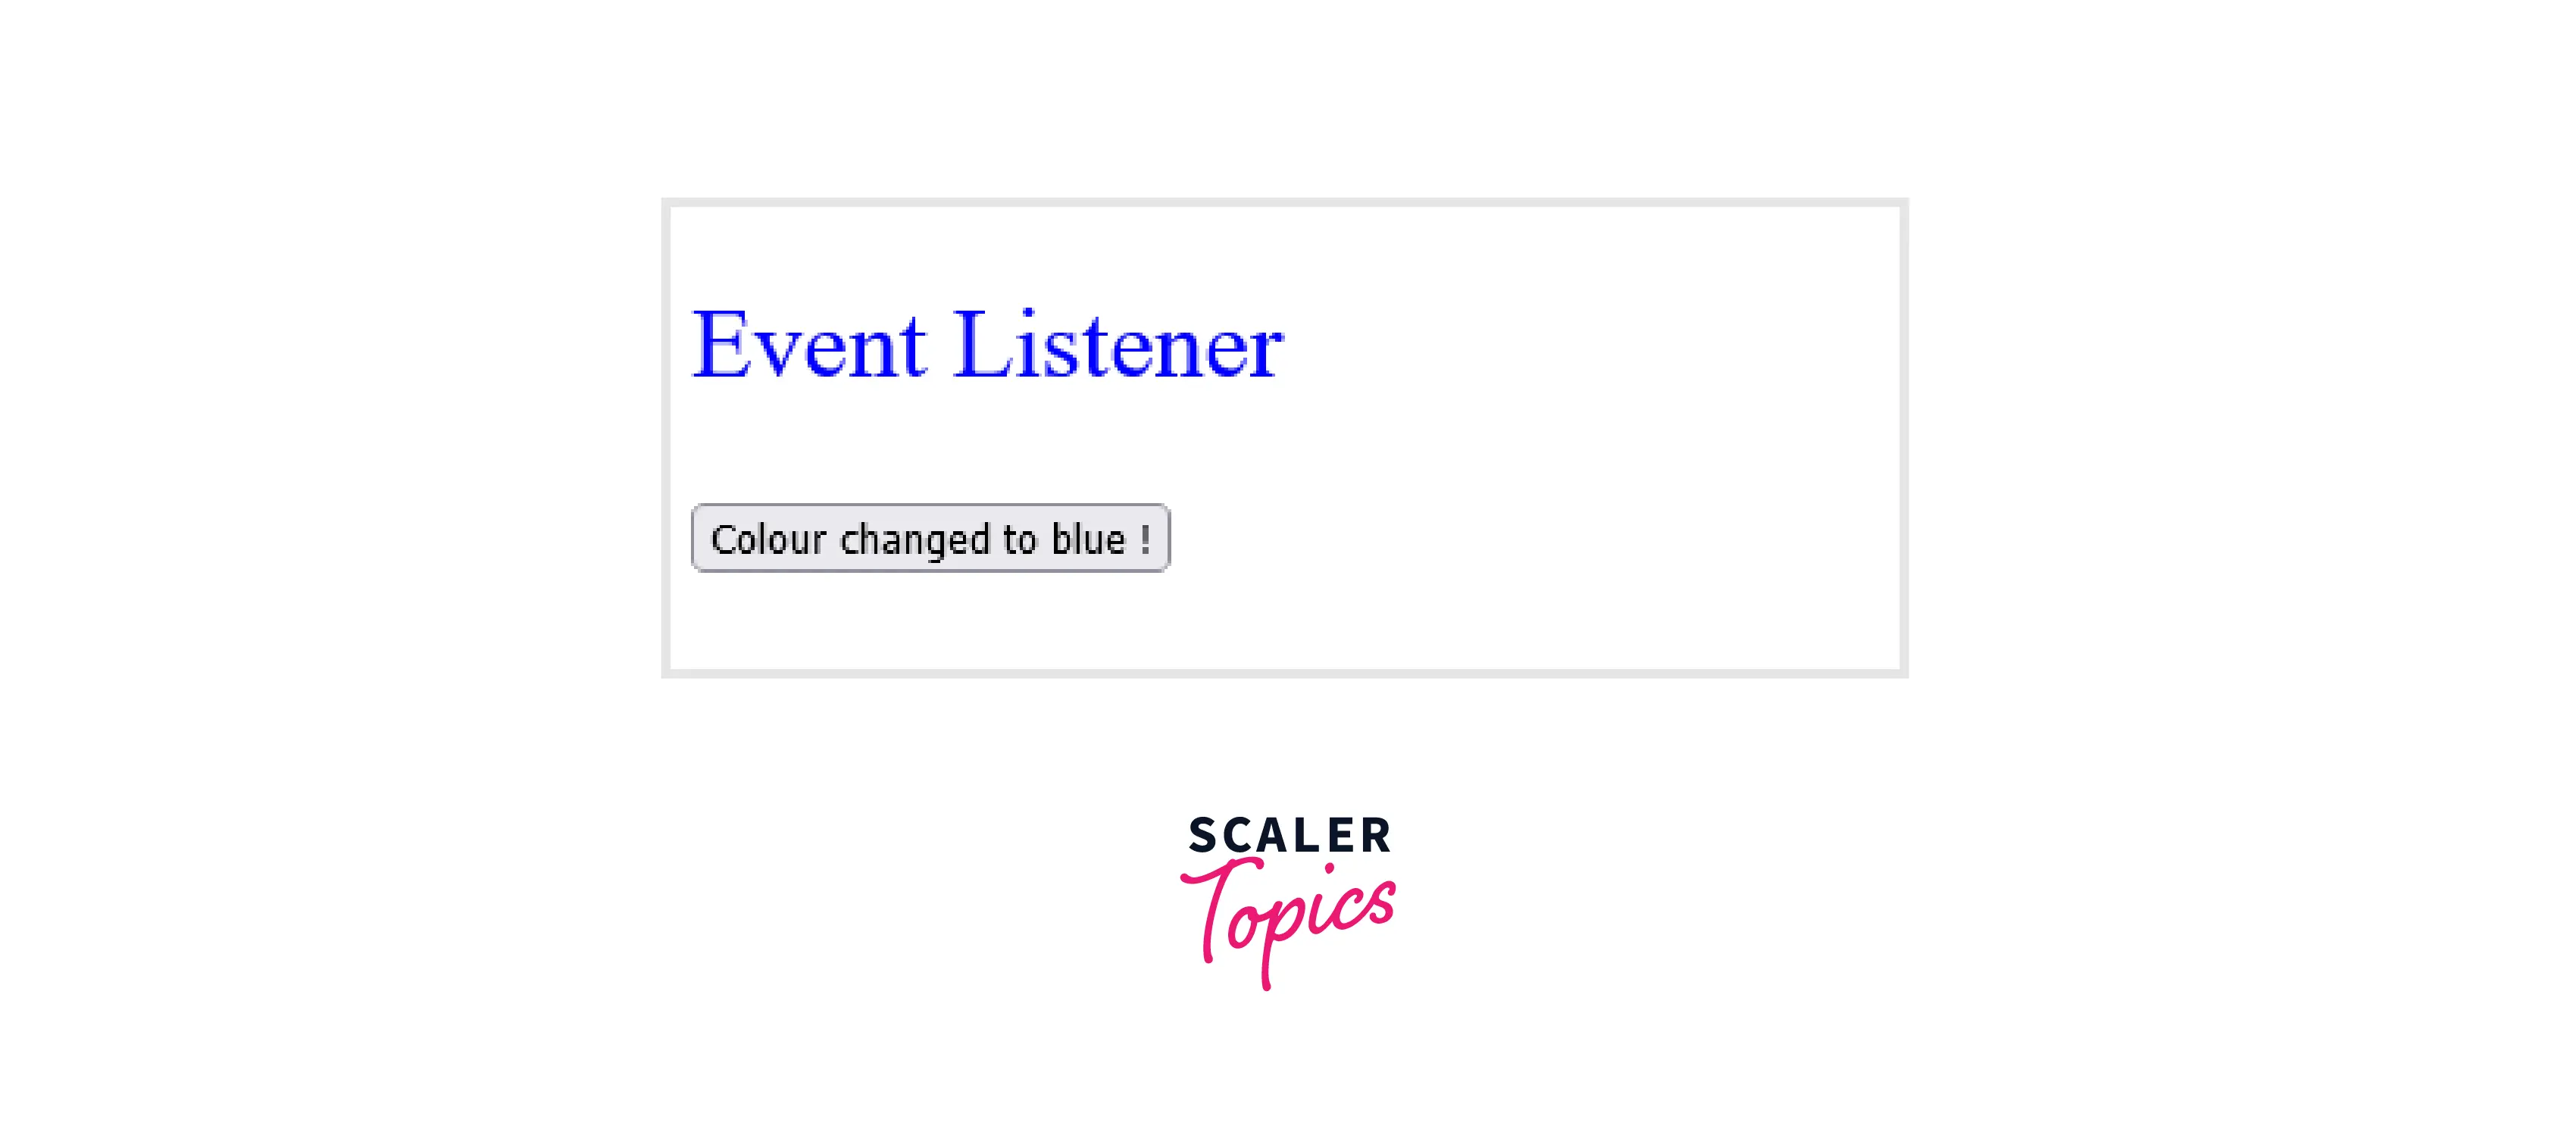
Then we used addEventListener() method with the 'click' event and function to be executed as parameter values. In the function to be triggered after click event, we have changed the color of paragraph text to 'blue' and also changed the button text to "Colour changed to blue !".
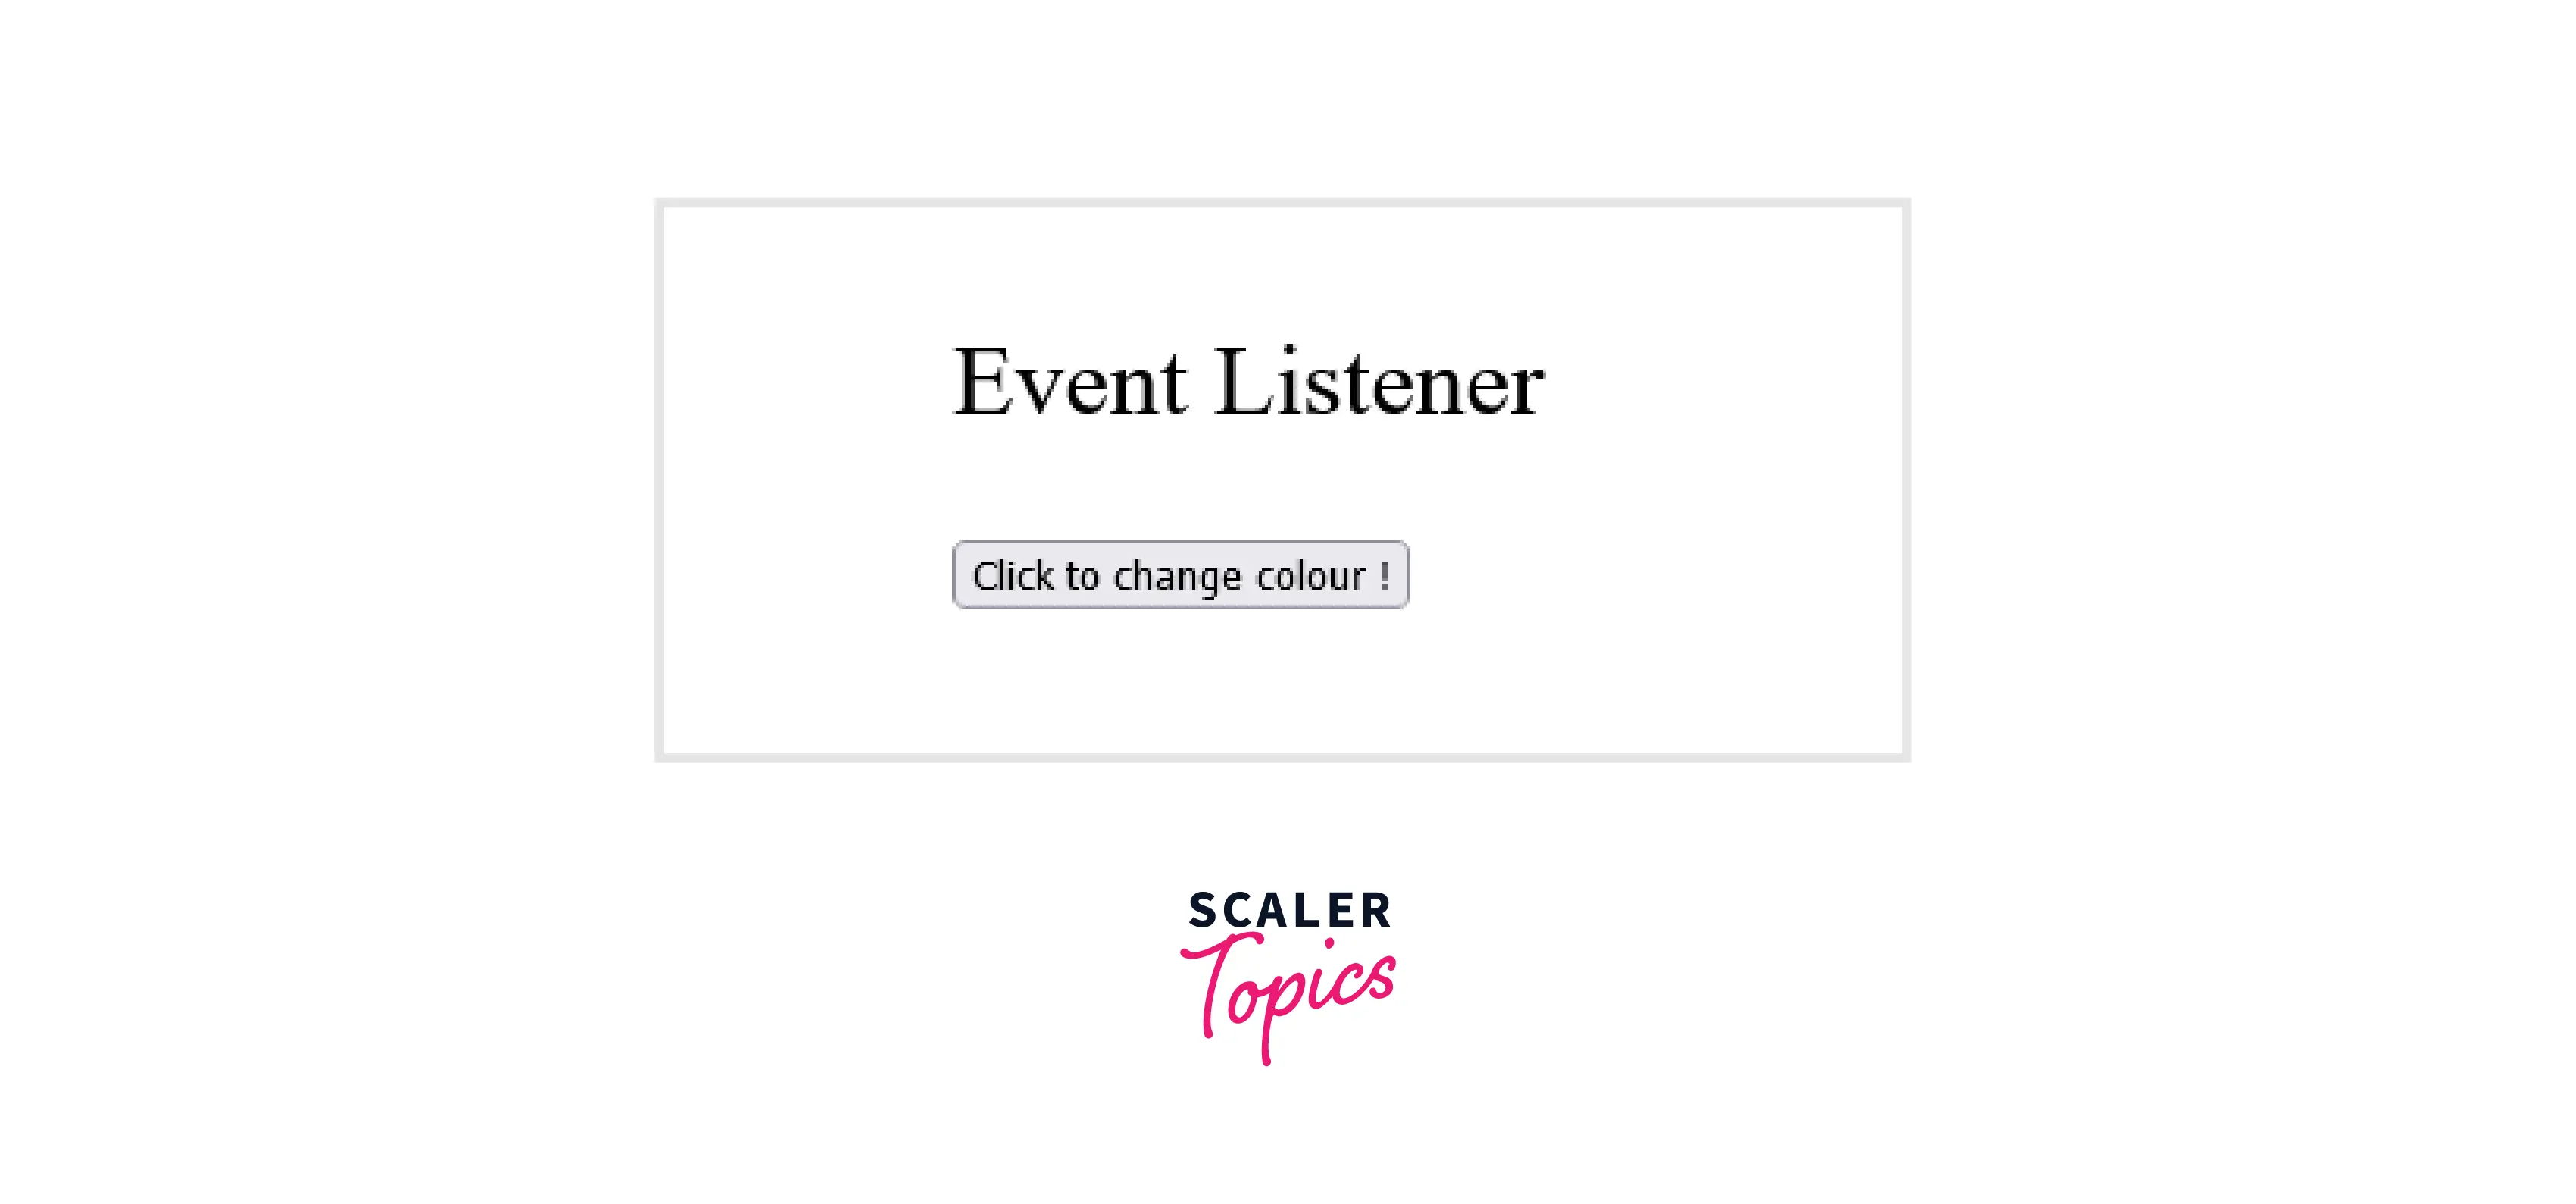
Output After opening the HTML document on the web browser, we will be able to see the paragraph with the text - “Event Listener” and a button with the text - "Click to change color!"
Whenever a user clicks on the button, it will change the color of the paragraph text to blue and also, the button text will be changed to "Colour changed to blue !" as we can see in the below image.
Building "Show More" and "Show Less" Buttons with JavaScript (Interactivity)
Web Development is a vast technical domain and to learn any topic, we can start doing it by making projects. In this article, we have learned about onclick() event attribute and the addEventListener() method and now, we will use these concepts to build an interesting mini-project.
Have you ever noticed that whenever we visit any blog website, we often see some part of the article first and when we click the "read more" button, it shows the rest of the content? Let us try to implement a similar kind of feature!
HTML Code
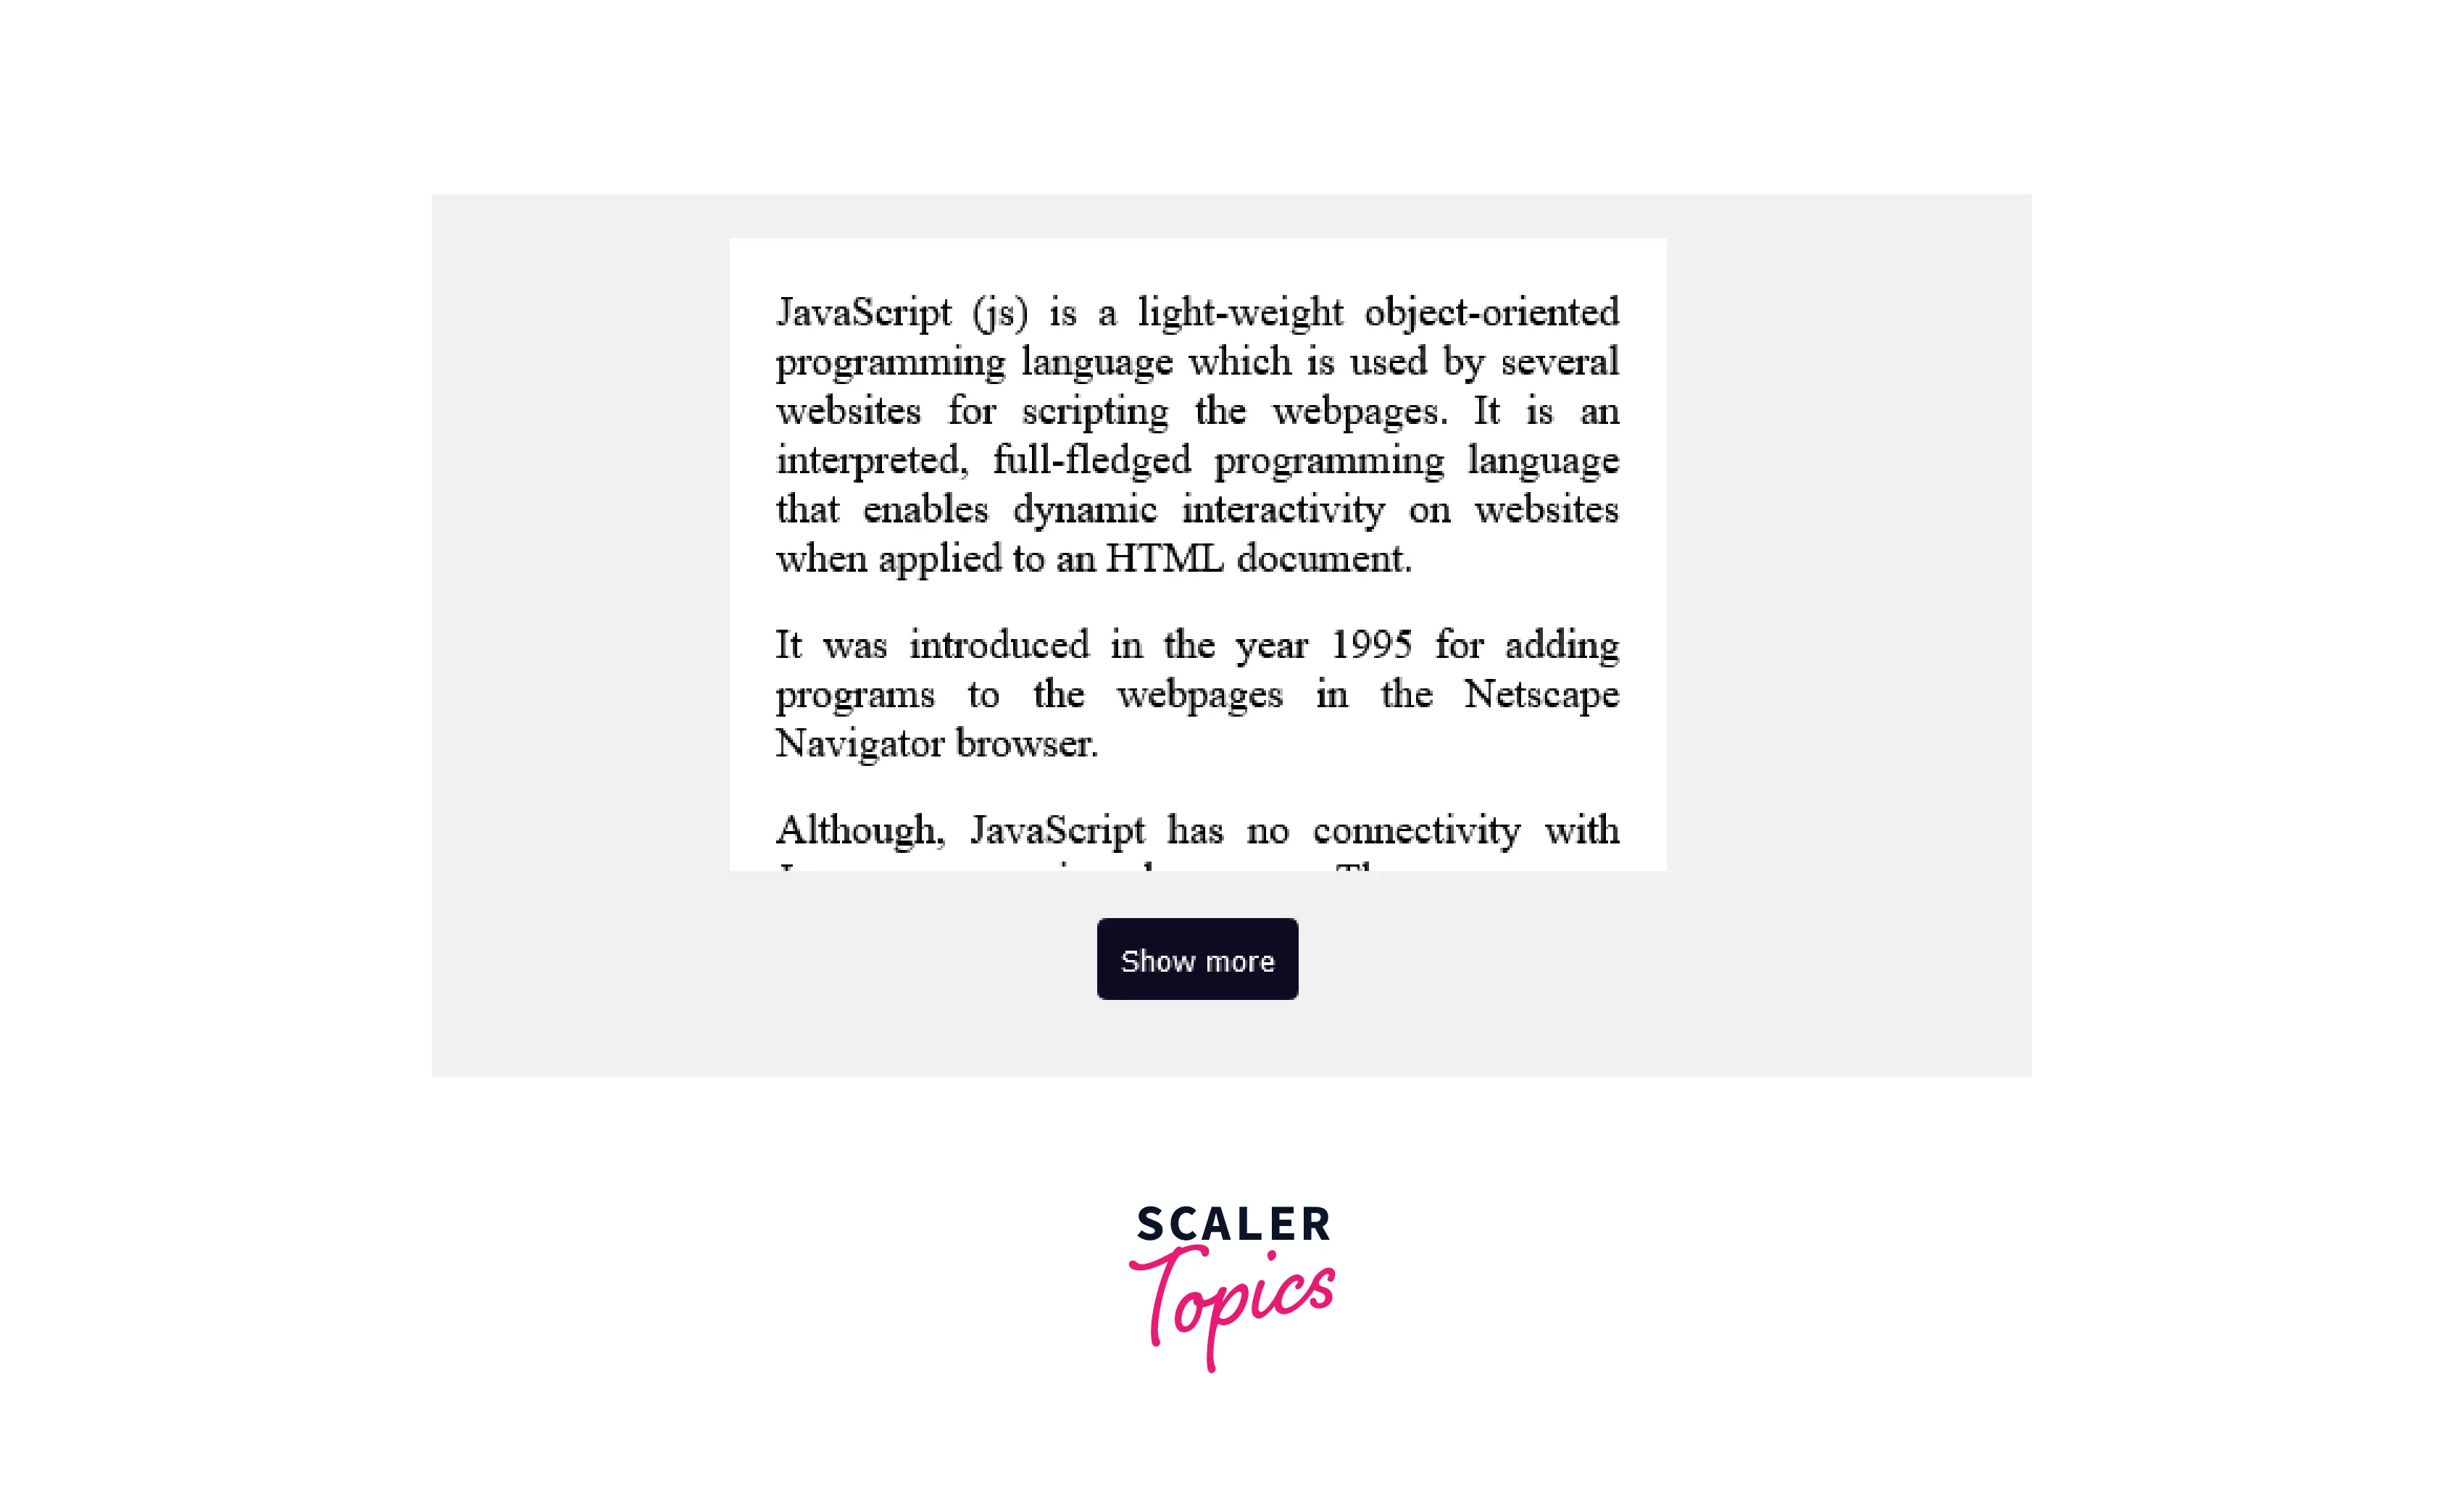
In the below HTML code, we have provided the structure of our web page where the content will be placed in a paragraph tag inside a box wrapped by 'article' tag of HTML. Note that we have used random text for the paragraph content. In the end, we have used a button that will initially show "Show more" text.
Apart from this, we have made two empty files - index.js (for JavaScript code) and index.css (for CSS code) in the same folder location. We have linked CSS file with HTML code using a link tag by providing the CSS file location in href. Also, we have linked the JavaScript file using the script tag inside the body tag.
Output As we can see in the below image, this is how the HTML structure will look like without having any CSS styling or JavaScript functionality added yet!

CSS Code
Now, let us add some CSS styling to our HTML code to make it beautiful. Starting with the universal selector (*), we are using it to remove the default and padding assigned to the elements, so that we can add our custom styling. We have also set box-sizing to border-box so that padding and border can be added within the total width and height of the elements.
Next, we have centered everything in the body using flexbox and added a grey color to the background. For the article element where the content is placed, we have set its width to 400px, added white color to the background, and added padding of 20px for the top, left, and right.
Note that we are using the overflow="hidden" property because the max height of the article element is set to 270px and hence, the whole text won't be contained and will overflow. By using this property, the overflowing text will be hidden.
Next, we have added the property of max-height set to 1000px for article.open selector. With open class attached to the article element, now the max height will be increased to 1000px to show the hidden section of the article. Later at the end, we have also applied some styling properties to the button.
Output As we can see in the below image, this is how our web page will look like after applying CSS styling to HTML document structure!
JavaScript Code
Now after adding CSS styling, it is time to add JavaScript functionalities to our code. For accessing article and button elements from HTML code, we have used document.querySelector() method by providing their ids or class names.
Next, we have added the addEventListener() method to the button element by passing the 'click' event as a parameter value. Also, we will pass the solve functional method name that will be triggered on button clicking.
In the solve() function, there will be two cases handled by the if-else conditions. If the article element has a class-name "open" attached to it, then the class name will become an empty string and also, and we will update the button text to "Show more".
While if the article element doesn't contain "open" class name, we will add "open" class name to it and also, and we will update the button text to "Show less". And with this, our web page is ready with all styling and functionalities implemented :)
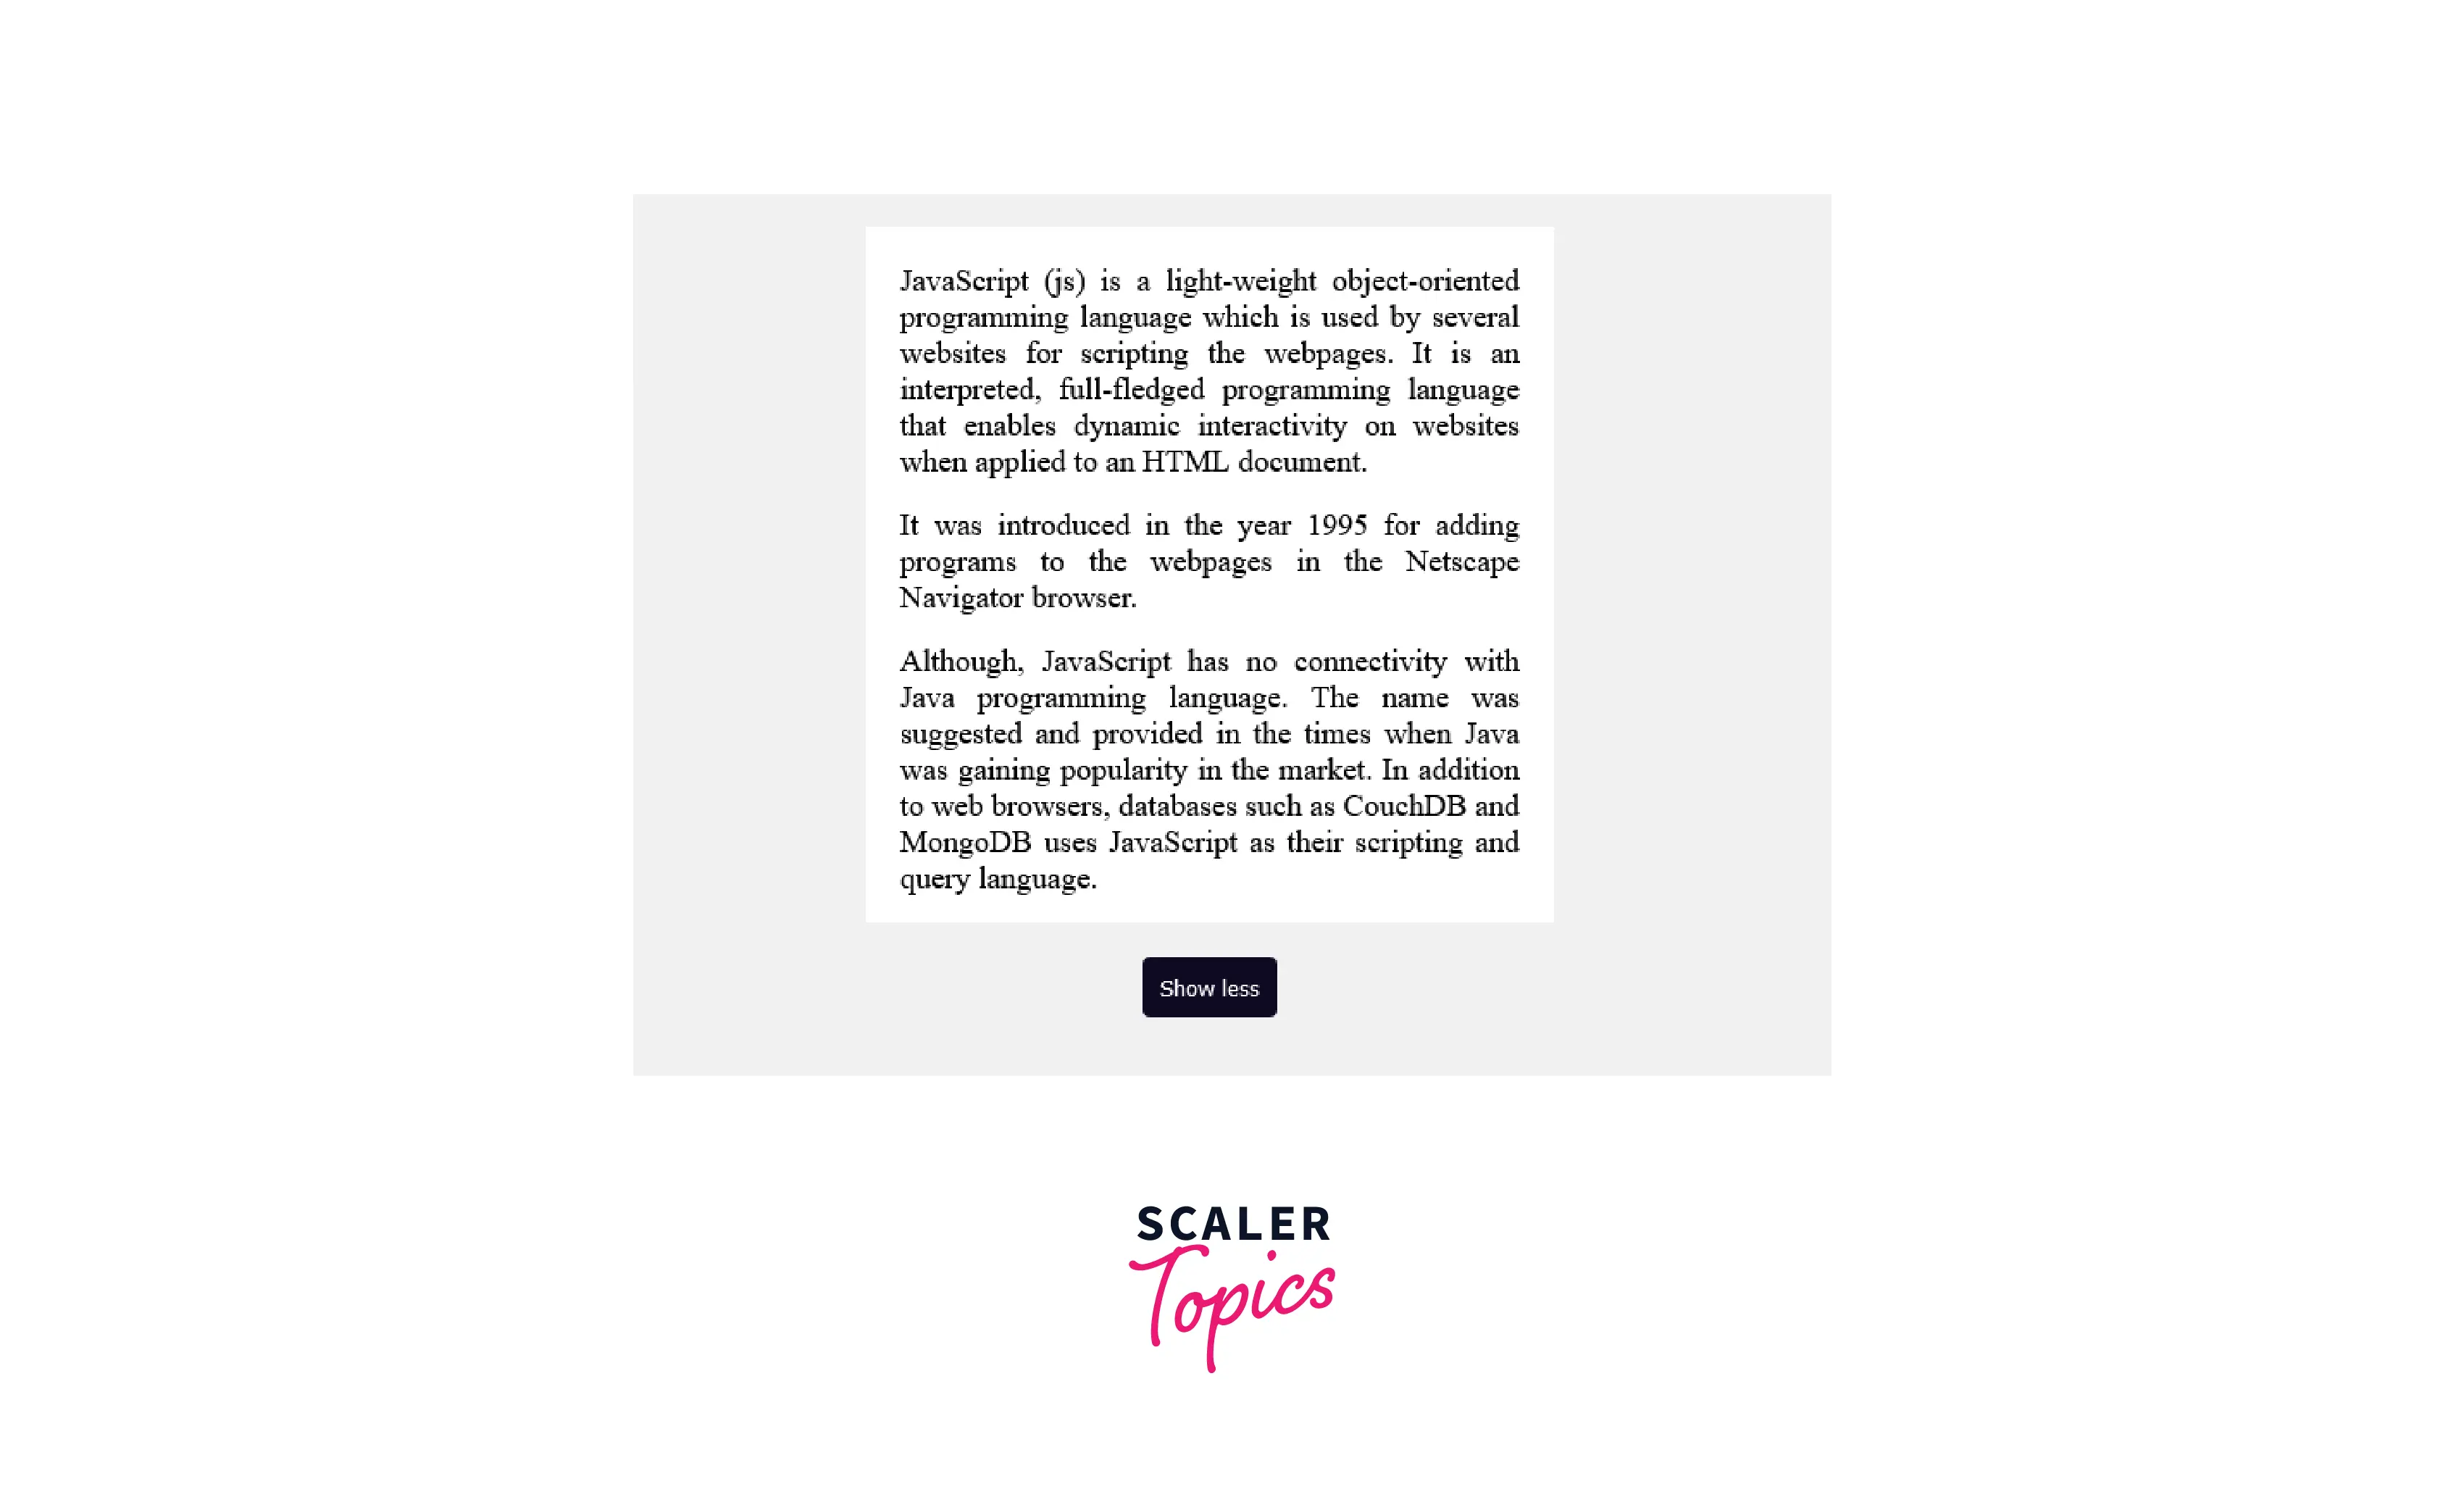
Output As we can see in the below image, after applying JavaScript functionalities, whenever the user clicks on "Show more" button, it will expand and show the whole content.
Also with this, the button text will also be updated stating "Show less". If we click the "Show less" button, it will again hide some of the content section.
Conclusion
- onclick() JavaScript method is used to handle the button click events.
- Whenever a user clicks any element (say submit button) on a web page, onclick event generally occurs.
- Users can implement the required functionalities by executing the JavaScript function placed inside onlick() method.
- onclick() JavaScript function is helpful in validating forms on submit, checking errors, generating warning messages, and in many other situational cases.
- Using JavaScript, we can add onclick() event dynamically to any element or HTML tags.
- We can also use addEventListener() method by passing the ‘click’ event as a parameter for triggering button click events.
- addEventListener() method in JavaScript helps us to separate HTML & JavaScript code into separate files.
- Note that we can use query selectors in JavaScript to access the element tags which we want to trigger after button click event.
- For accessing element tags using query selectors, we need to add either an id or a class name to those element tags in HTML document.