Kotlin Environment Setup
Overview
Kotlin Environment Setup involves installing the Java Development Kit (JDK) for Kotlin compatibility. Next, the Kotlin compiler can be added via the command line or build tools like Gradle and Maven. Integrated Development Environments (IDEs) such as IntelliJ IDEA offer seamless Kotlin support with plugins. Code editors like Visual Studio Code can also be configured using extensions. This setup equips developers with the necessary tools to write, compile, and run Kotlin code efficiently for a wide range of applications, from Android app development to backend services.
Kotlin Environment Setup
Kotlin Environment Setup using the command line involves installing the Kotlin compiler and configuring your system's PATH variable to access it. Here's a step-by-step guide to help you set up Kotlin on your system:
-
Install Java Development Kit (JDK): Kotlin runs on the Java Virtual Machine (JVM), so you need to have the Java Development Kit (JDK) installed on your system. You can download the JDK from the Oracle website or use OpenJDK, which is a free and open-source alternative. Make sure to install JDK 8 or later.
-
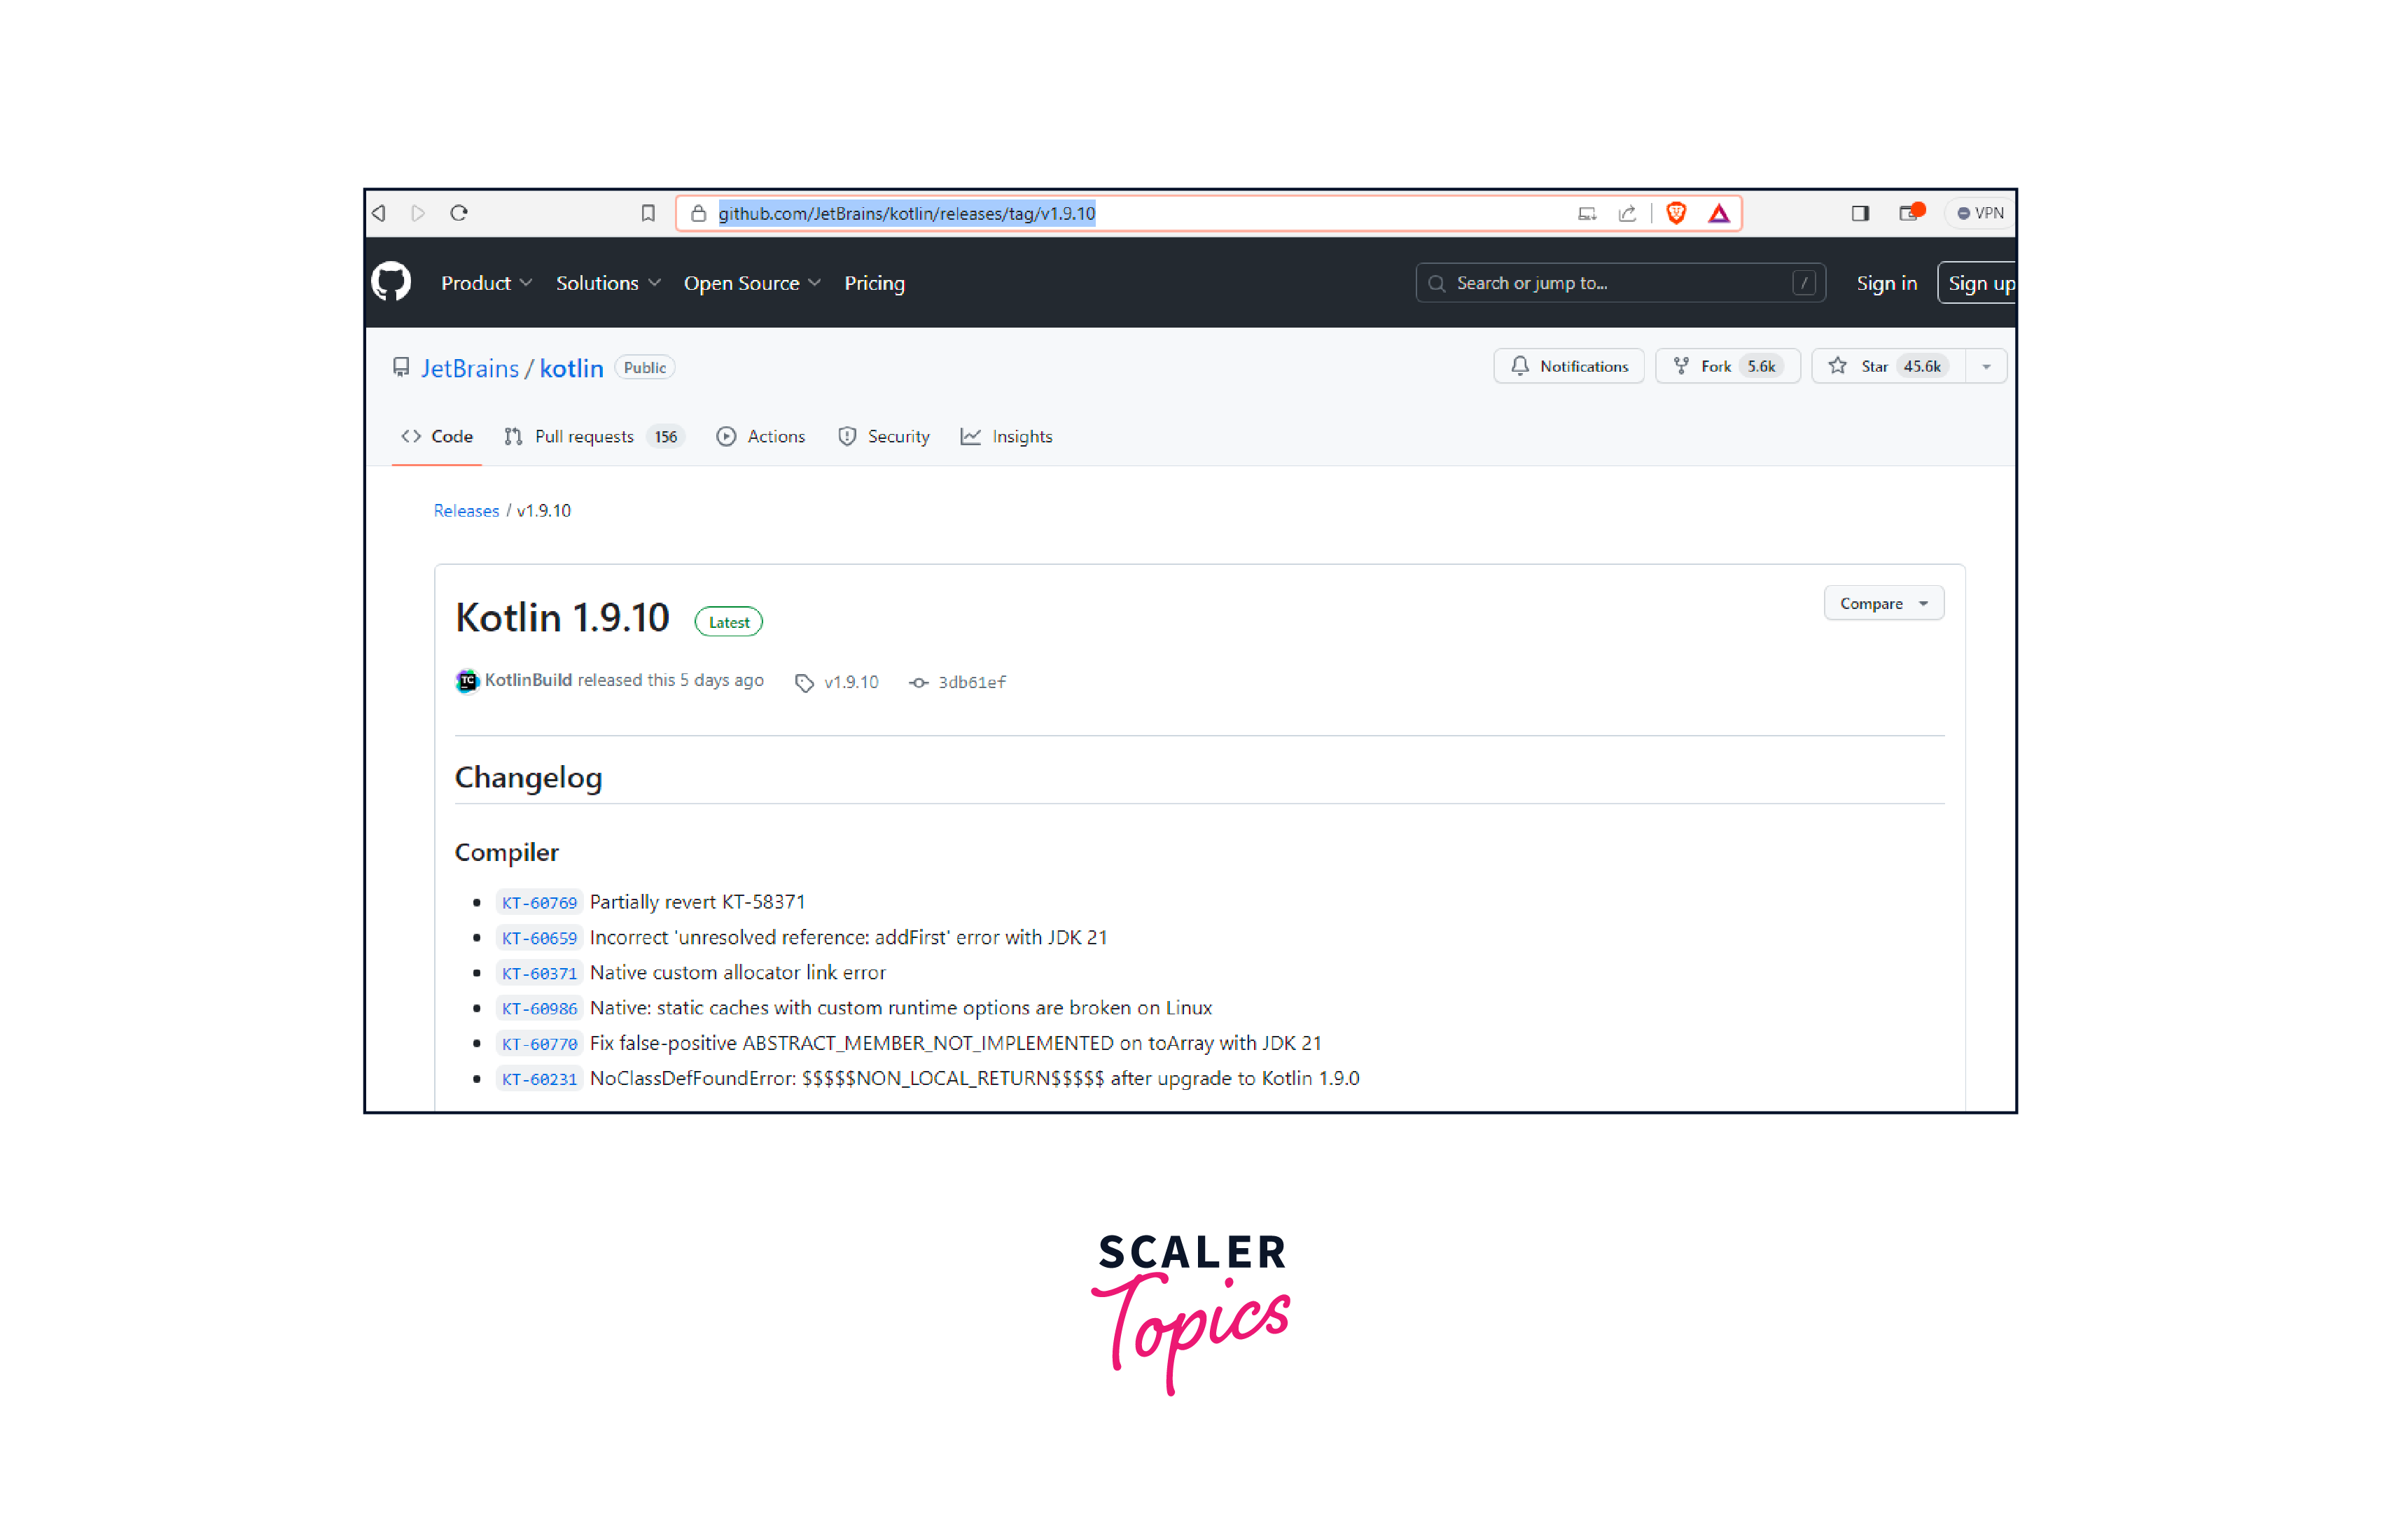
Download the Kotlin Compiler: You can download the Kotlin compiler from the official Kotlin website or use a package manager like SDKMAN! (recommended for easier management).
Option 1: Manual Download
- Go to the Kotlin download page: Kotlin Download Page
- Download the Kotlin Compiler for your platform (Windows, macOS, or Linux).
 Option 2: Using SDKMAN! (Recommended)
SDKMAN! is a tool that helps manage software development kits, including Kotlin. To install SDKMAN!:
Option 2: Using SDKMAN! (Recommended)
SDKMAN! is a tool that helps manage software development kits, including Kotlin. To install SDKMAN!:
- Open your command-line terminal.
- Run the following command:
- Follow the instructions to complete the SDKMAN! installation.
-
Install Kotlin using SDKMAN!: Once SDKMAN! is installed, you can use it to install the Kotlin compiler.
- Open a new terminal window (or run source ~/.bashrc or source ~/.zshrc to refresh the environment).
- Run the following command to install Kotlin:
-
Verify Kotlin Installation: To ensure that Kotlin is properly installed, you can check its version using the following command:
 5. Set Up PATH (Optional but Recommended):
To use the kotlinc command from any directory, it's recommended to add the Kotlin compiler's bin directory to your system's PATH.
5. Set Up PATH (Optional but Recommended):
To use the kotlinc command from any directory, it's recommended to add the Kotlin compiler's bin directory to your system's PATH.
- Open your shell's configuration file (e.g., ~/.bashrc for Bash or ~/.zshrc for Zsh) using a text editor.
- Add the following line at the end of the file:
- Save and close the file.
- Run source ~/.bashrc or source ~/.zshrc to apply the changes to your current terminal session.
- Write and Run Kotlin Code: You're all set! You can now write Kotlin code in a text editor of your choice and save it with a .kt extension. Compile the code using the kotlinc command and run the compiled bytecode using the java command.
That's it! You've successfully set up the Kotlin environment using the command line. You can now start writing and executing Kotlin programs on your system.
Transform Your Career
Choose from our industry-leading programs designed for career success
Modern Software and AI Engineering Program
Master full-stack development with AI integration

Modern Data Science and ML with specialisation in AI
Advanced data science techniques with AI specialization
Advanced AIML with Specialisation in Agentic AI
Deep dive into AIML with focus on Agentic systems
DevOps, Cloud & AI Platform Engineering
Build and manage AI-powered cloud infrastructure
AI Engineering Advanced Certification by IIT-Roorkee
Premier AI engineering certification from IIT-Roorkee
Kotlin Environment Setup
Install JDK for Windows
Kotlin Environment Setup in an integrated development environment (IDE), such as IntelliJ IDEA, is a convenient way to develop Kotlin applications. Here's a guide on how to set up the environment using IntelliJ IDEA and install the JDK on a Windows system:
-
Install Java Development Kit (JDK):
Before setting up Kotlin, you need to have the Java Development Kit (JDK) installed on your system. Follow these steps to install JDK on Windows:
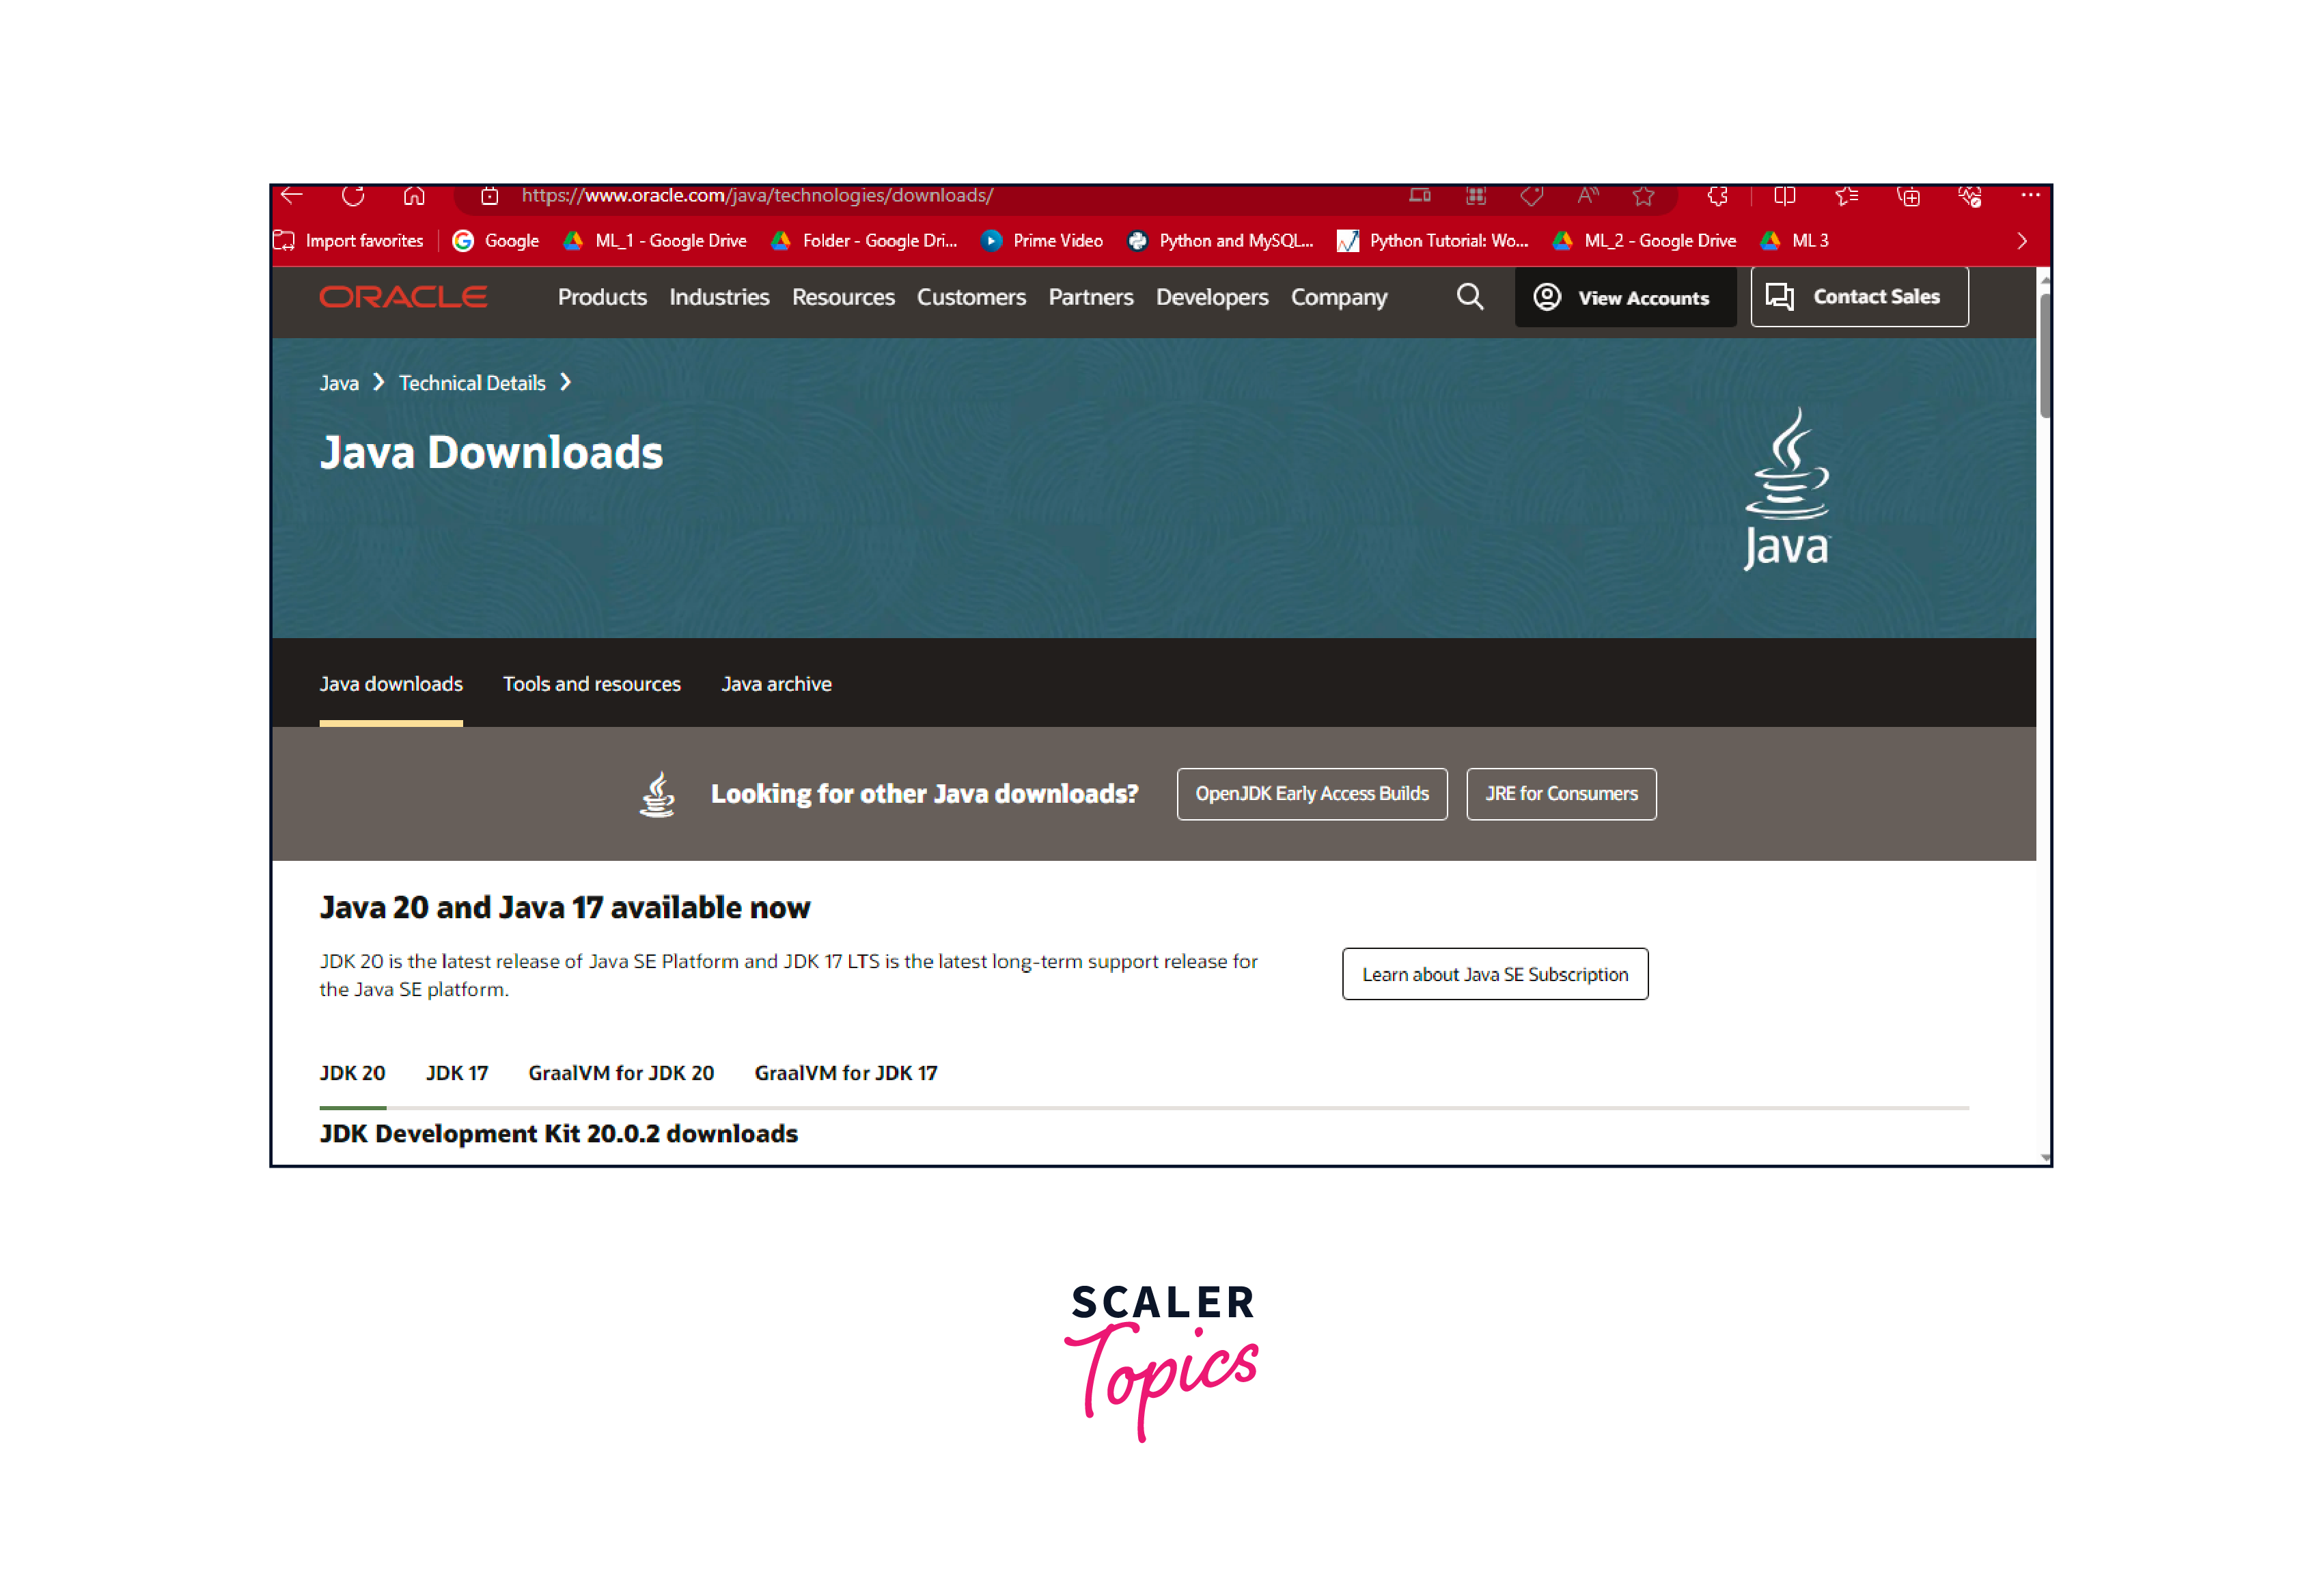
- Visit the Oracle JDK download page: Oracle Download Page
- Accept the license agreement.
- Download the appropriate JDK version for Windows (Windows x64 Installer if you have a 64-bit system).
- Run the downloaded installer and follow the installation instructions.
Install JDK for Mac
Kotlin Environment Setup on your Mac using an Integrated Development Environment (IDE) like IntelliJ IDEA is a convenient way to develop Kotlin applications. Here's how you can set up the environment:
-
Install Java Development Kit (JDK):
Before you can work with Kotlin, you need to have the Java Development Kit (JDK) installed on your Mac. Follow these steps to install JDK:
- Visit the Oracle JDK download page: Oracle download page (Note: Oracle JDK may require an Oracle account).
- Download the version of JDK that you want to install. Make sure to choose a version that is compatible with Kotlin (JDK 8 or later).
- Follow the installation instructions provided by Oracle to install the JDK on your Mac.
Alternatively, you can use OpenJDK, which is a free and open-source alternative to Oracle JDK. You can install it using package managers like Homebrew or SDKMAN!. Here's how to do it using Homebrew:
- Install Homebrew if you haven't already. Open Terminal and run:
- Install OpenJDK using Homebrew:
- Once installed, you can manage different versions of OpenJDK using brew commands.
- Visit the Oracle JDK download page: Oracle download page (Note: Oracle JDK may require an Oracle account).
Install JDK for Linux
Sure, here's a step-by-step guide to installing the Java Development Kit (JDK) on Linux as part of Kotlin Environment Setup in an IDE:
-
Download the JDK: You can download the JDK from the official Oracle website or use an open-source distribution like OpenJDK.
Option 1: Oracle JDK (Recommended for commercial use)
- Visit the Oracle JDK download page: Oracle Download Page
- Accept the terms and conditions.
- Download the appropriate JDK version for your Linux distribution.
Option 2: OpenJDK (Recommended for open-source use)
- Open a terminal window.
- For Ubuntu-based systems, you can use the following command to install OpenJDK 11 (or a different version):
- For other Linux distributions, use the package manager specific to your distribution.
-
Verify JDK Installation: After installation, you can verify that the JDK is correctly installed by running the following command in your terminal:
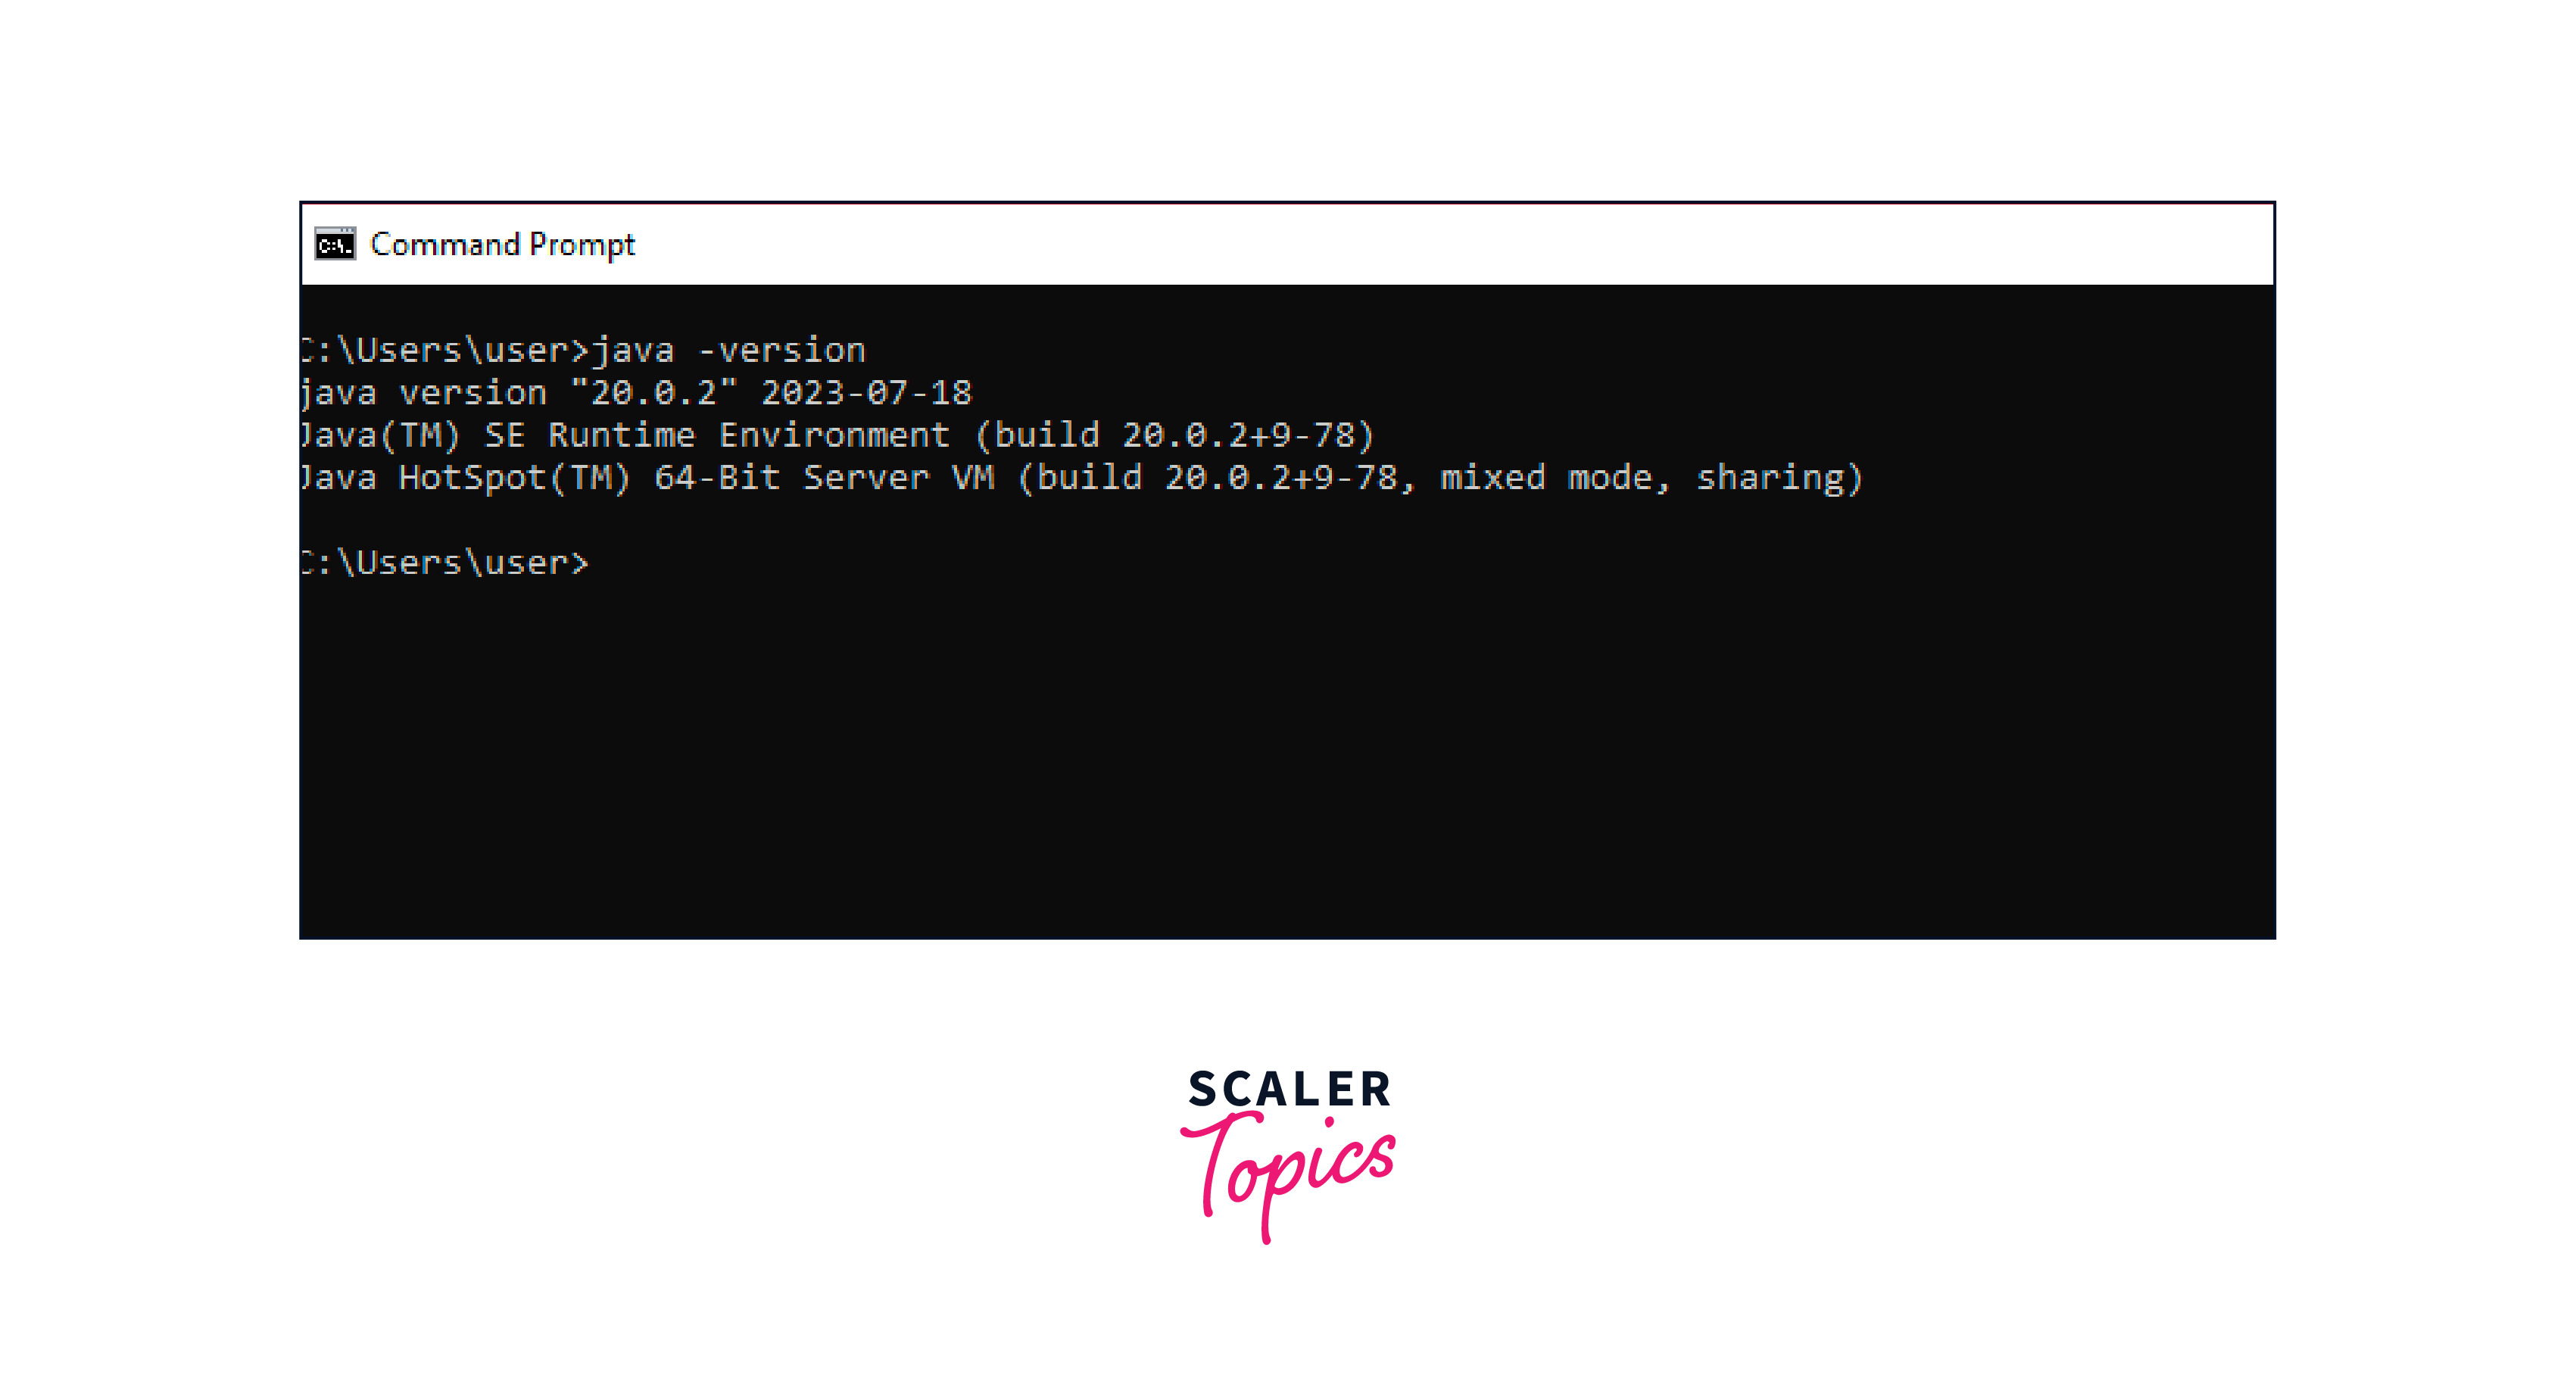 This should display information about the installed JDK version.
-
Set JAVA_HOME Environment Variable: Many IDEs require the JAVA_HOME environment variable to be set in order to locate the JDK installation. Here's how to set it:
- Open your shell's configuration file (e.g., ~/.bashrc for Bash or ~/.zshrc for Zsh) using a text editor.
- Add the following line at the end of the file, replacing /path/to/your/jdk with the actual path to your JDK installation directory:
- Save and close the file.
- Run source ~/.bashrc or source ~/.zshrc to apply the changes to your current terminal session.
Turn Learning into Career Growth
Configuring IDEs for Kotlin
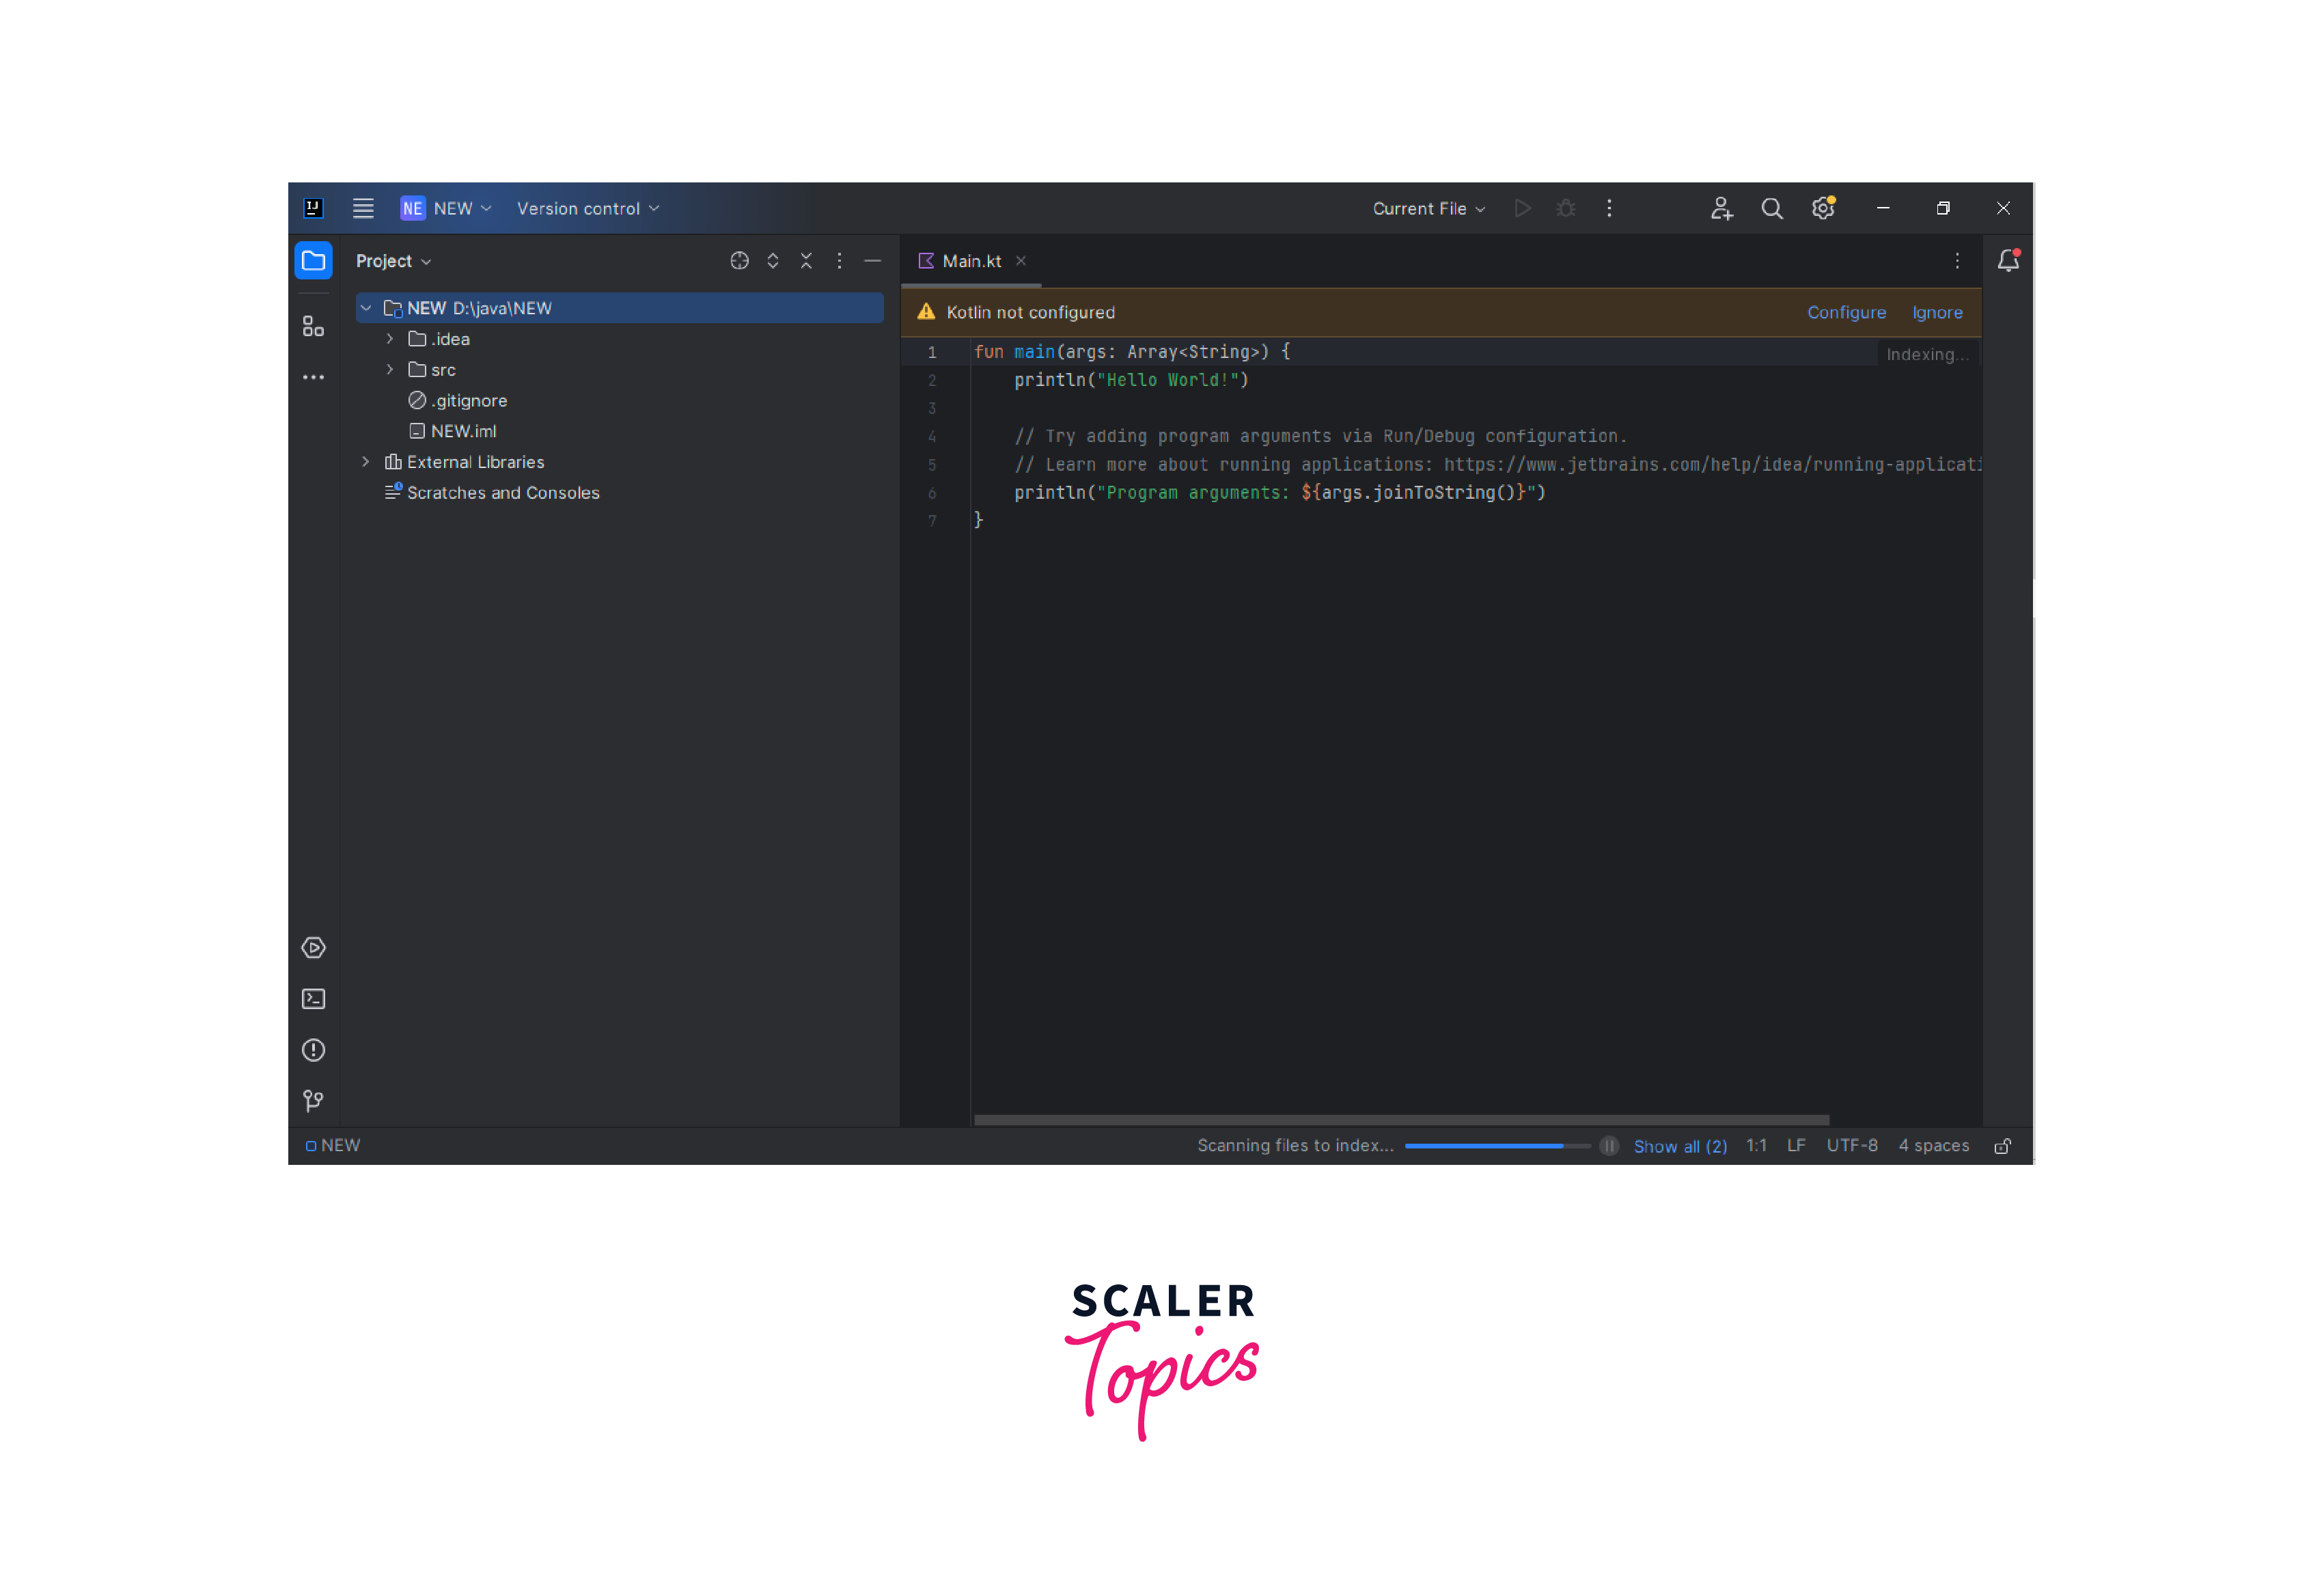
Configuring Integrated Development Environments (IDEs) for Kotlin can vary slightly between different IDEs. Here's a guide on how to configure Kotlin in some popular IDEs: IntelliJ IDEA, Android Studio, and Eclipse.
Please note that these instructions are based on the state of these IDEs up to my knowledge cutoff in September 2021. The interfaces and steps might have evolved since then, but the general principles should remain similar.
IntelliJ IDEA
-
Install IntelliJ IDEA:
- Download and install IntelliJ IDEA from the JetBrains website.
- Run IntelliJ IDEA and complete the initial setup.
-
Install Kotlin Plugin:
- Open IntelliJ IDEA.
- Go to "File" > "Settings" (or "IntelliJ IDEA" > "Preferences" on macOS).
- In the "Plugins" section, search for "Kotlin" and install the "Kotlin" plugin if it's not already installed.
- Restart IntelliJ IDEA to activate the plugin.

-
Create a Kotlin Project:
- Click on "File" > "New" > "Project" to create a new project.
- Choose "Kotlin" as the project type and follow the prompts to set up your project.
Android Studio
Android Studio is based on IntelliJ IDEA and includes built-in support for Kotlin development.
-
Install Android Studio:
- Download and install Android Studio from the official Android Studio website.
- Run Android Studio and complete the initial setup.
-
Create an Android Project with Kotlin:
- Click on "Start a new Android Studio project" on the welcome screen or go to File > New > New Project.
- Follow the prompts to create a new Android project.
- During project creation, you can choose to use Kotlin as the programming language.
Eclipse (with Kotlin Plugin)
Eclipse doesn't natively support Kotlin, but you can use the Kotlin Plugin for Eclipse to enable Kotlin development.
-
Install Eclipse:
- Download and install Eclipse IDE for Java Developers from the Eclipse website.
- Run Eclipse and complete the initial setup.
-
Install Kotlin Plugin:
- Open Eclipse.
- Go to Help > Eclipse Marketplace.
- Search for Kotlin and install the Kotlin Plugin for Eclipse.
- Follow the prompts to complete the installation.
-
Create a Kotlin Project:
- Click on File > New > Project to create a new project.
- Choose Kotlin as the project type and follow the prompts to set up your project.
Remember that each IDE might have slightly different menus or options, so be sure to consult the official documentation of the IDE or plugin if you encounter any issues or need more detailed instructions.Sure, here's a concise conclusion in 8 point-wise lines:
- Successful Setup: Setting up a Kotlin environment is essential for efficient development.
- IDE Versatility: IDEs like IntelliJ IDEA, Android Studio, and Eclipse offer tailored support.
- Plugin Integration: Kotlin plugins enhance these IDEs with language-specific features.
- Kotlin Plugin Installation: In IntelliJ IDEA and Eclipse, install the Kotlin plugin from the respective plugin marketplaces.
- Project Creation: Create Kotlin projects in IDEs with appropriate templates and language selections.
- Code Efficiency: Kotlin's concise syntax and modern features boost coding productivity.
- Cross-platform Development: Kotlin's compatibility with Java and JVM allows for diverse application development.
- Ongoing Learning: Keep up-to-date with IDE and Kotlin updates for optimal development experiences.
Conclusion
- Kotlin Environment Setup is essential for efficient development.
- IDEs like IntelliJ IDEA, Android Studio, and Eclipse offer tailored support.
- Kotlin plugins enhance these IDEs with language-specific features.
- In IntelliJ IDEA and Eclipse, install the Kotlin plugin from the respective plugin marketplaces.
- Create Kotlin projects in IDEs with appropriate templates and language selections.
- Kotlin's concise syntax and modern features boost coding productivity.
- Kotlin's compatibility with Java and JVM allows for diverse application development.
- Keep up-to-date with IDE and Kotlin updates for optimal development experiences.