Deploy Node.js App on Heroku
Overview
Heroku is a cloud platform (PaaS) service that supports many languages. As developers, we usually develop multiple apps and projects, but this is only half of the story. We need to make this app available to the whole world, which the Heroku platform has made super simple. Initially, it is only made for Ruby on rails, but now it supports Node.js, javascript, Django, and many other languages.
Pre-requisites
- Basic knowledge of the function and their execution in javascript.
- Node.js and npm must be installed on your system.
- An existing Node js app ready for deployment.
- A heroku account for deployment purposes.
- Basic knowledge of git version control software.
How to Deploy a Node Js App on Heroku?
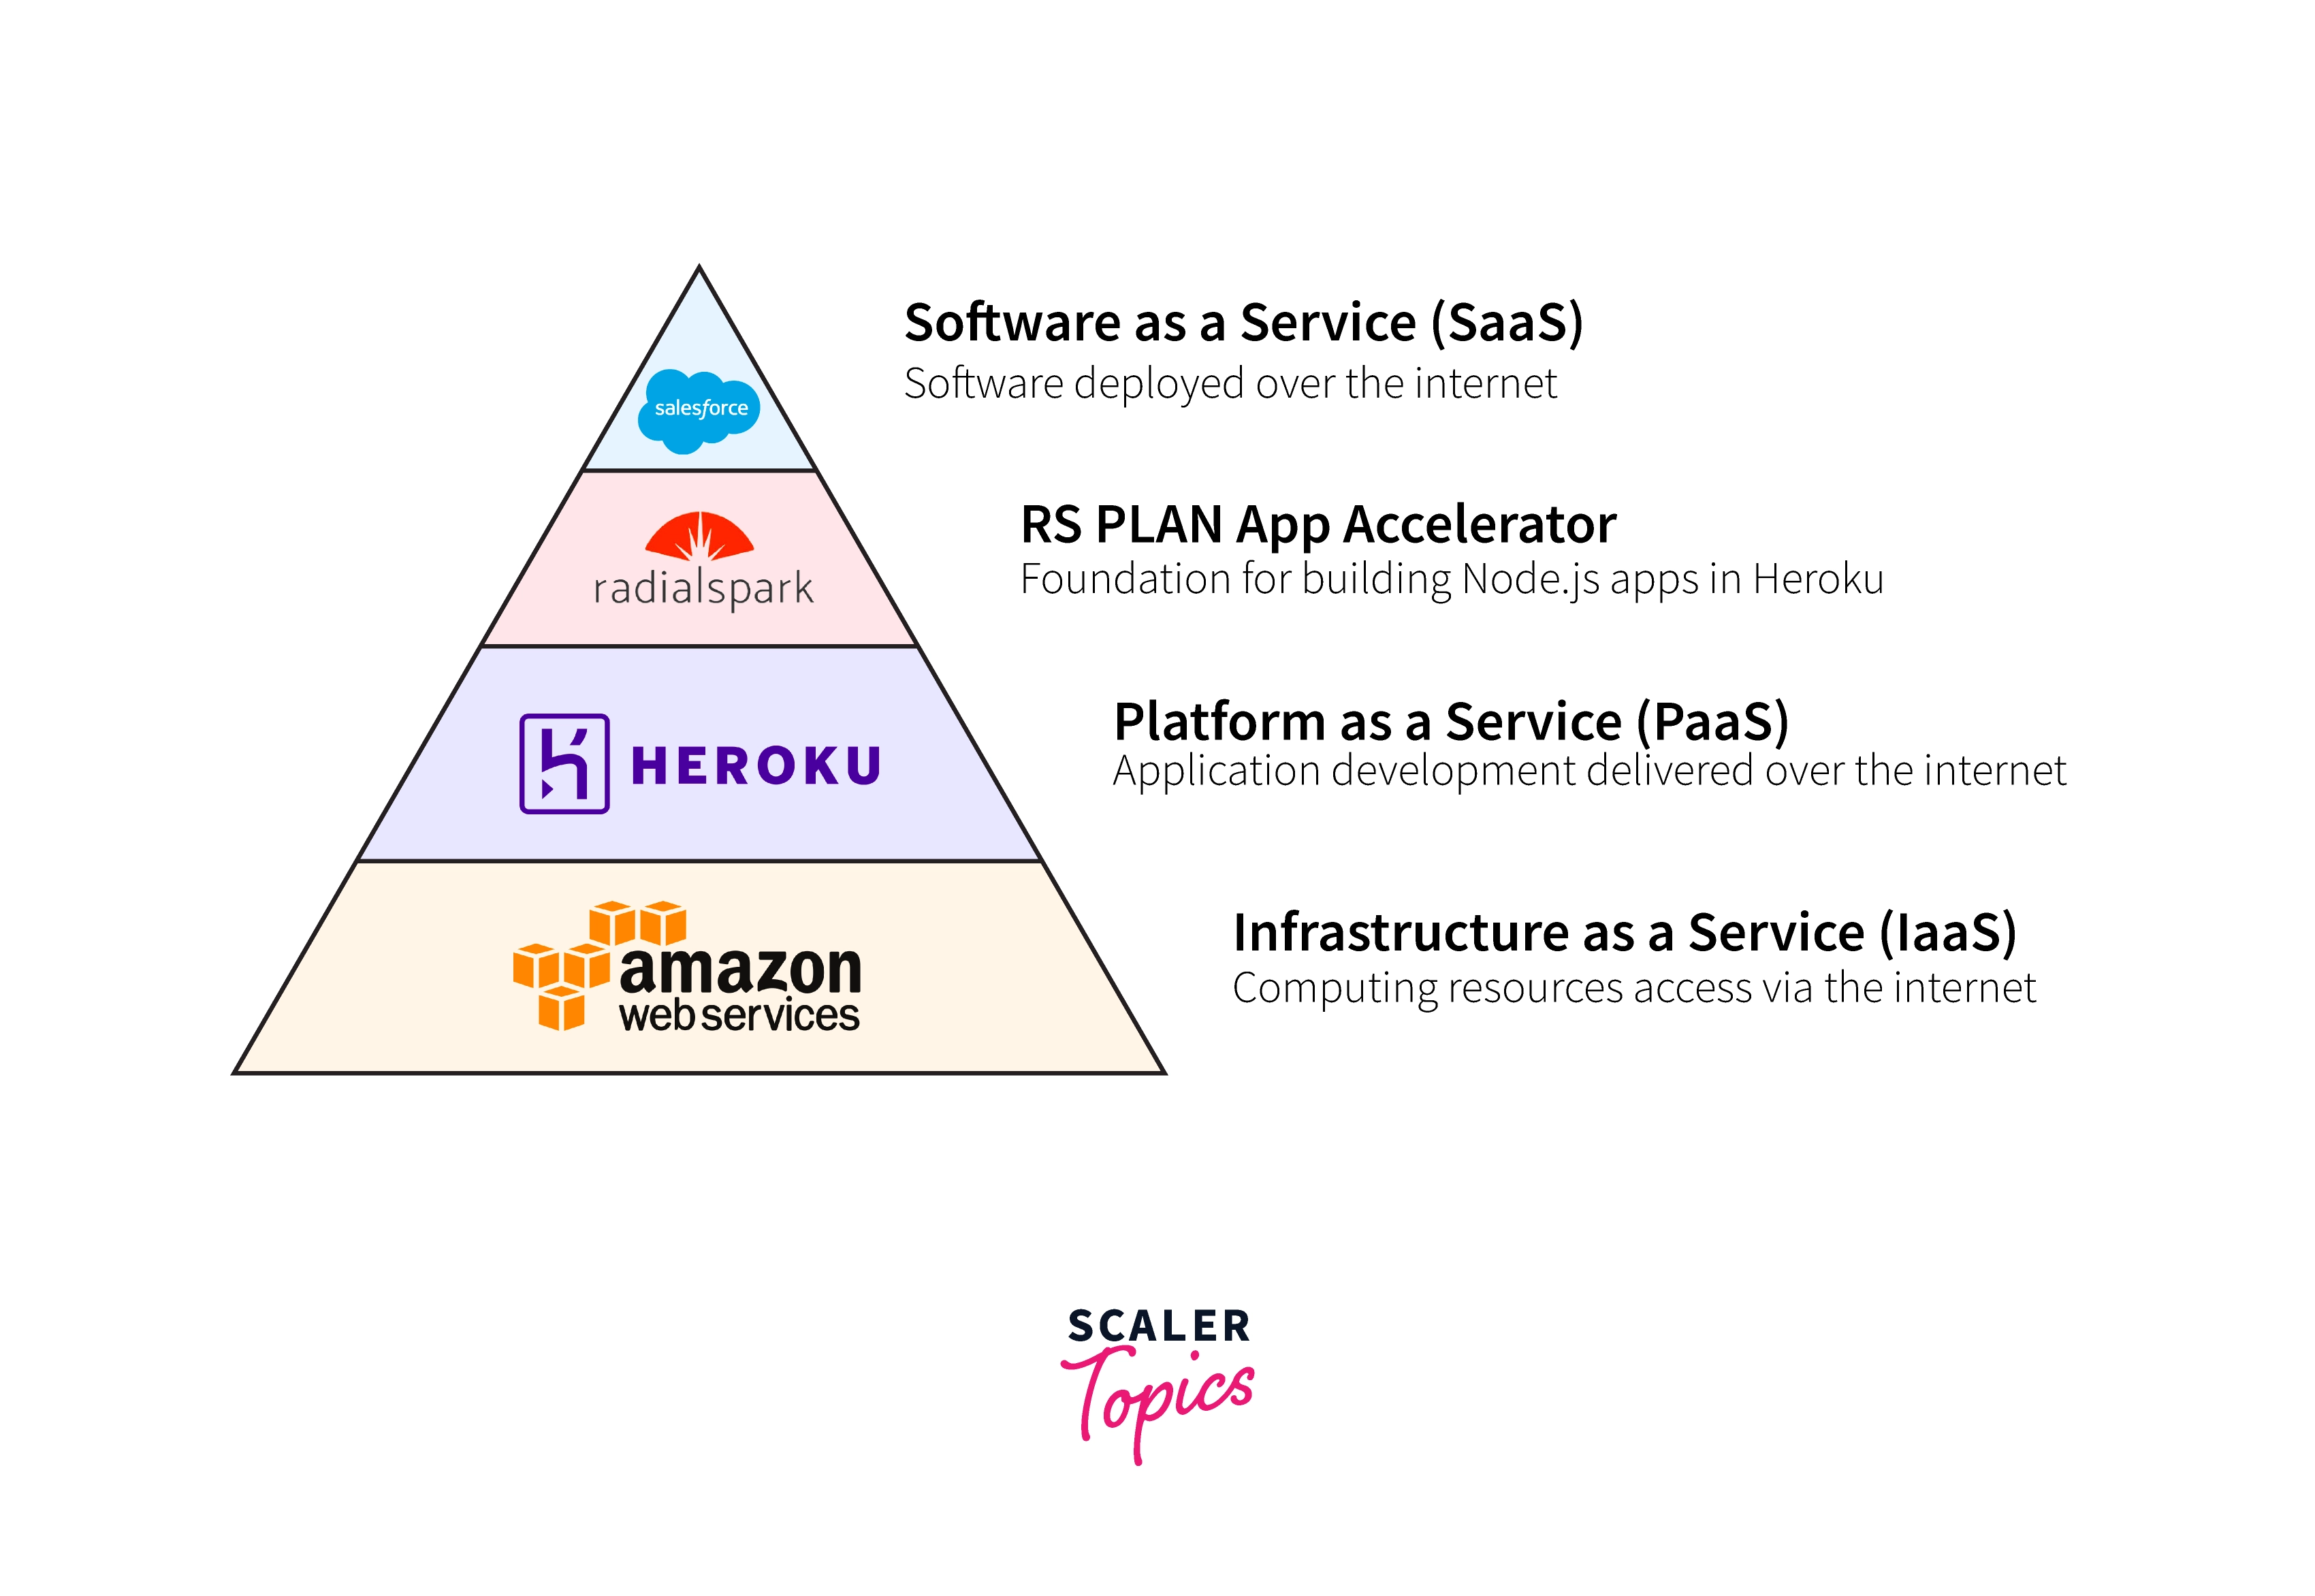
All Heroku-based apps are hosted by (AWS) Amazon Web Service, which is an Infrastructure as a Service provider (IaaS). Heroku acts as a middle man between Infrastructure and Salesforce. All the major operations like storage and networks are handled by AWS. Salesforce is at the top of the pyramid and acts as a Software as a Service (SaaS).
In this article, you will be building a simple app and learning how to deploy a simple demo Node.js app to Heroku. In the end, you will have a basic app running in the public domain that can be accessed by anyone in the world.
There are multiple free hosting services available for getting your Node.js apps up and available publicly. One of these services is Heroku, a cloud platform that allows us to deploy the node js app on Heroku, manage, provide data services and even scale your app on the web (some of these features are also paid).
Heroku can publish your app only when your app is running on your local environment and has a package.json available on the root directory of your project with some specific scripts (engines). Heroku also looks for a Procfile when the deployment process is started. Hence we need a Procfile and a git repository to commit the code, then we can just push the code to Heroku using Heroku CLI and git which will be explained in the latter section of the article.
Transform Your Career
Choose from our industry-leading programs designed for career success
Modern Software and AI Engineering Program
Master full-stack development with AI integration

Modern Data Science and ML with specialisation in AI
Advanced data science techniques with AI specialization
Advanced AIML with Specialisation in Agentic AI
Deep dive into AIML with focus on Agentic systems
DevOps, Cloud & AI Platform Engineering
Build and manage AI-powered cloud infrastructure
AI Engineering Advanced Certification by IIT-Roorkee
Premier AI engineering certification from IIT-Roorkee
Installing Nodemon and Express Module in the Project Folder
Installing Nodemon in Project Directory
Every time we make some changes in Node.js code, we need to restart the server so that the changes take effect. This can slow down our development process after every change. We need to start the server again. Nodemon is a third-party module that helps us overcome this problem.
Nodemon is a command line utility that monitors the filesystem and in cases of any changes, and it restarts the server automatically.
Installing Nodemon : We can install nodemon from the node package manager(npm) by running the following command in the terminal:
Running Nodemon : Suppose the starting point of the application is server.js, then we can start nodemon by executing the following command in the terminal:
Output:
On any changes in the files, the server will restart as shown in the output. We can also add a script in the package.json file to start nodemon as follows:
We can now run nodemon by executing following command in terminal;
There are a set of configuration options also available in nodemon:
- --exec: This is used to specify a binary that will be used to execute the files.
- --ext: This is used to specify a comma separated list of extensions that nodemon should watch (e.g., --ext js, ts).
- --delay: This is used to specify the time for which nodemon should wait before restarting the process. By default, it is set to one second.
- --watch: By default, the current directory and its subfolders are watched, --watch can be used to narrow down to one or more subdirectories. Nodemon will then watch only those folders and files.
- --ignore: This is used to specify the files or directories that nodemon should ignore.
- --verbose: This is used to get a more detailed output on what files were changed that triggered the restart.
Scaler Placement Report and Statistics
Scaler learners achieved 2.5x salary growth with average post-Scaler CTC reaching ₹23L.
Installing Express in Project Directory
Express.js is a Node.js framework that helps create APIs and web applications quickly. It helps in efficiently managing servers and routes. Let’s see how to add express to our project.
To install express, execute the following command in the terminal:
The package.json file will now have express mentioned as a dependency. Let’s create our sample application using express.
In the above code, we are first importing express. Then an app is created from express and it is made to listen on the specified port (8000 here). The / path will output This is sample application.!, If someone sends a request to it.
Creating a Sample Node.js Application
We will discuss how deploy node js app on heroku but first we will make a basic Node js app for deployment and understand what specific properties it must contain.
Note: If your app is ready for deployment, make sure you add the engine property in package.json in step 3 and then move to step 6 and follow along.
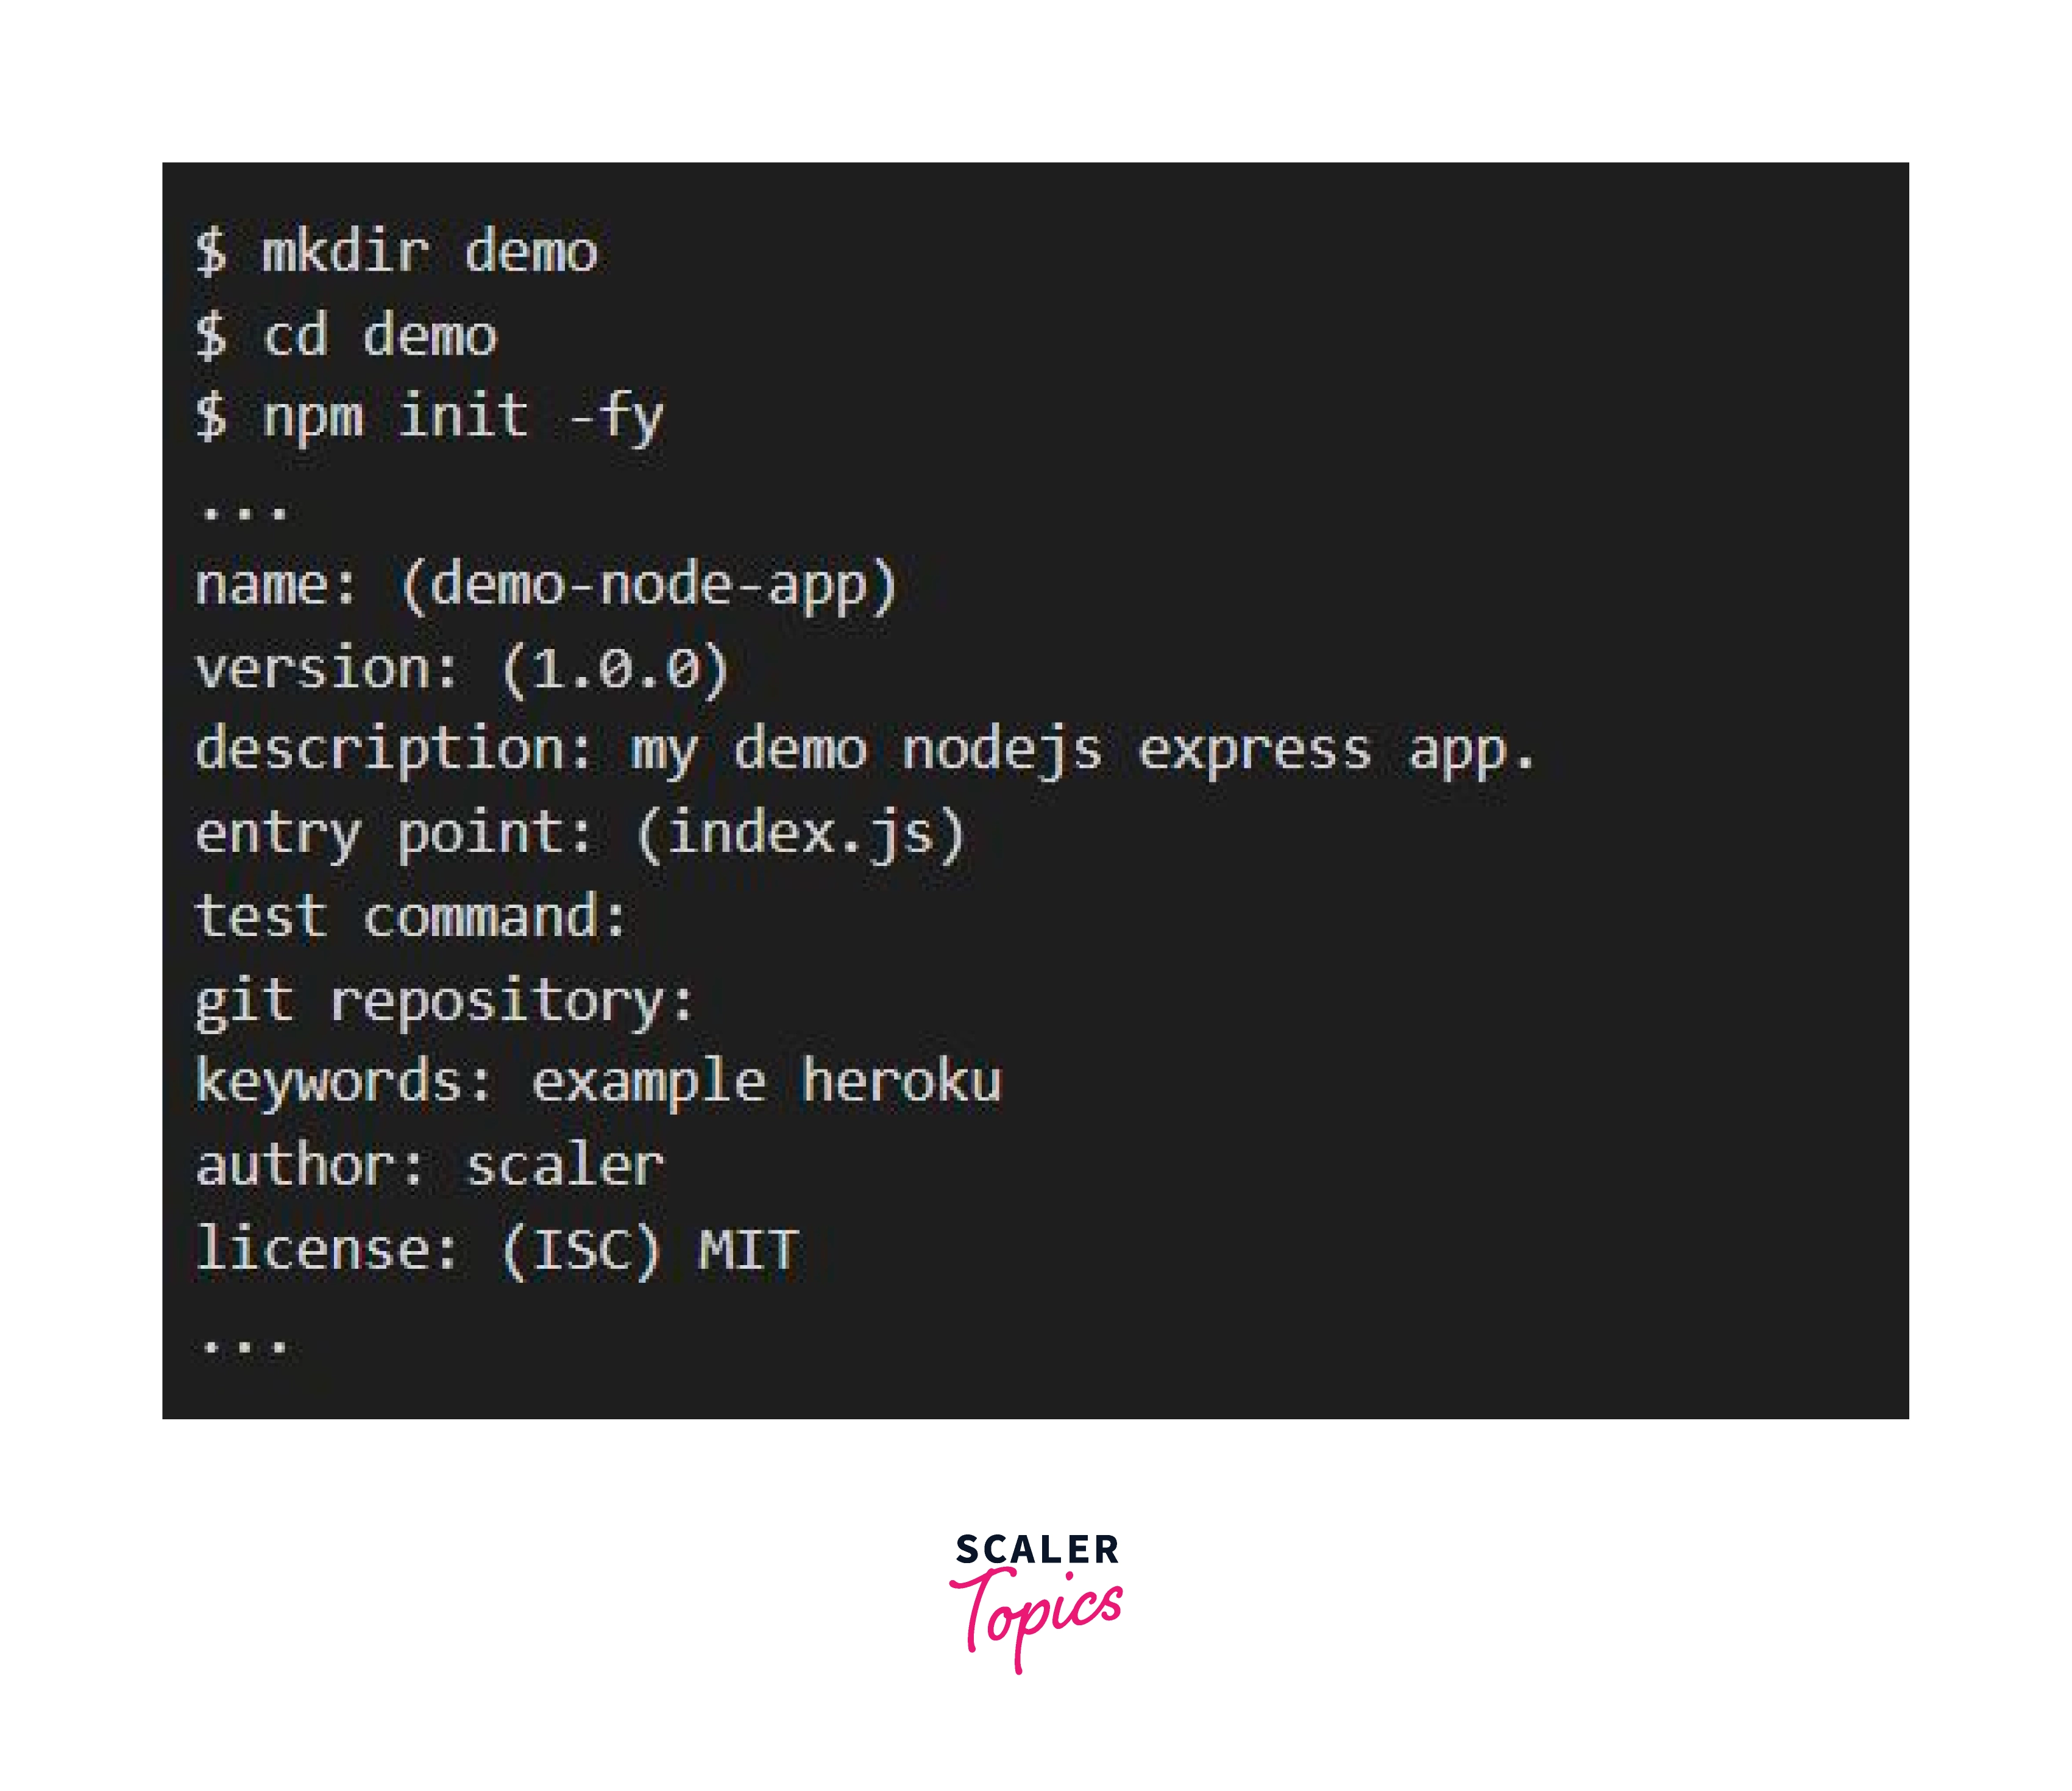
Step 1 : Open the command prompt in windows and create a new demo directory for your Node js project and move into the directory.
Step 2 : Initialize your demo project using the command npm init <initializer>. This command may be used for an existing npm package or to create a new one. When the initializer is skipped (by just calling npm init), init will fall back to legacy behavior. It starts by asking a few questions (name, version, author for your project) and then writes a brand new package.json file in the root of your demo folder.
The command -fy is used for setting up the project details for us. We can also use -y/--yes to skip the questionnaire completely. The command --scope will create a scoped package.
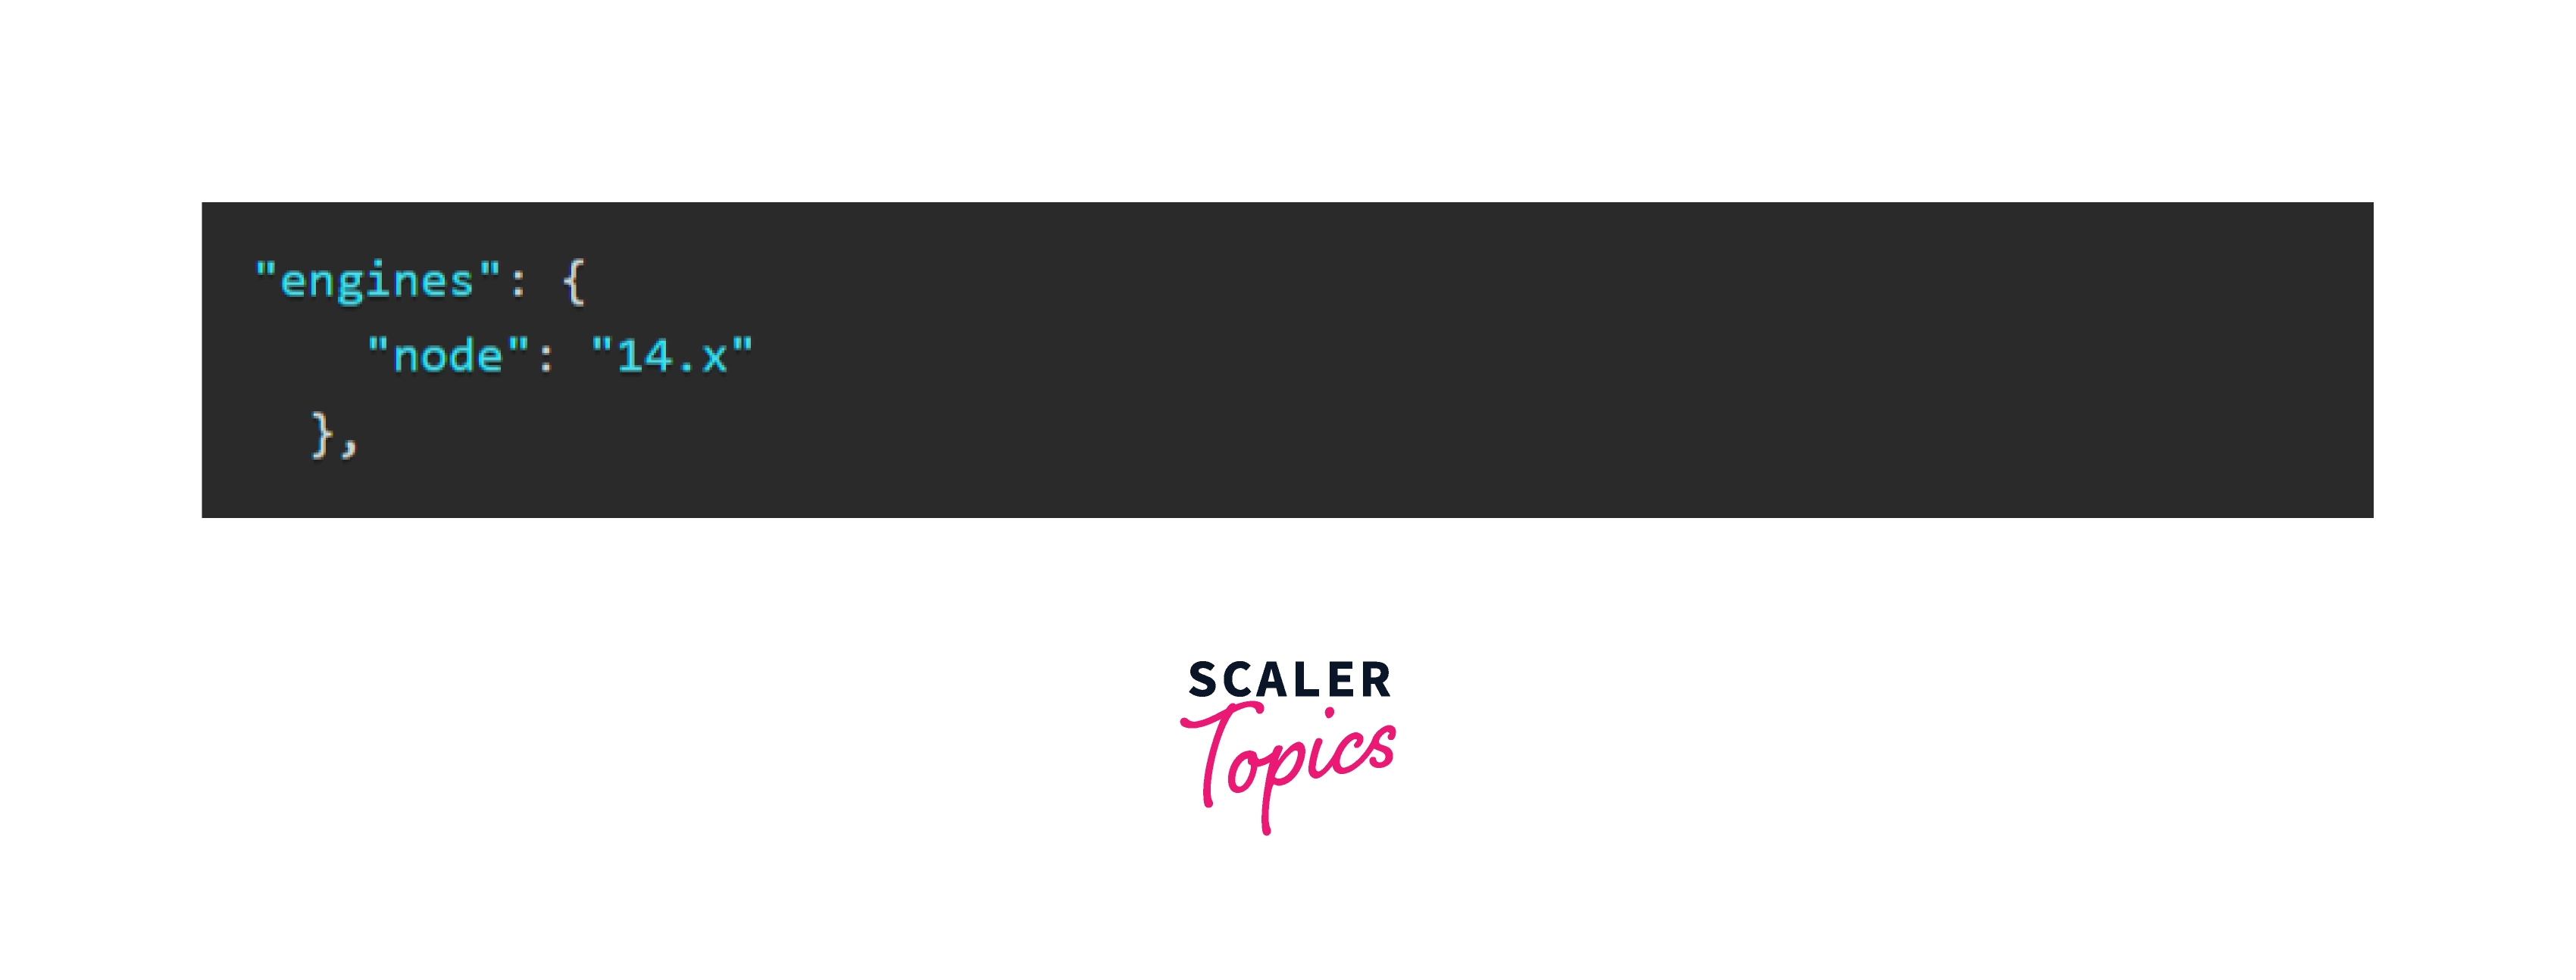
Step 3 : Specify the version of node in the package.json file so that heroku can easily verify the node version.
You check the node version in your system by using the following command.
Step 4 : Installing the dependencies Express module in the demo project folder so that you can set up the server for our project.
Now in your package.json add “start”: “node index.js” inside the scripts object.
Step 5 : Now you will create a app.js file and add the following code.
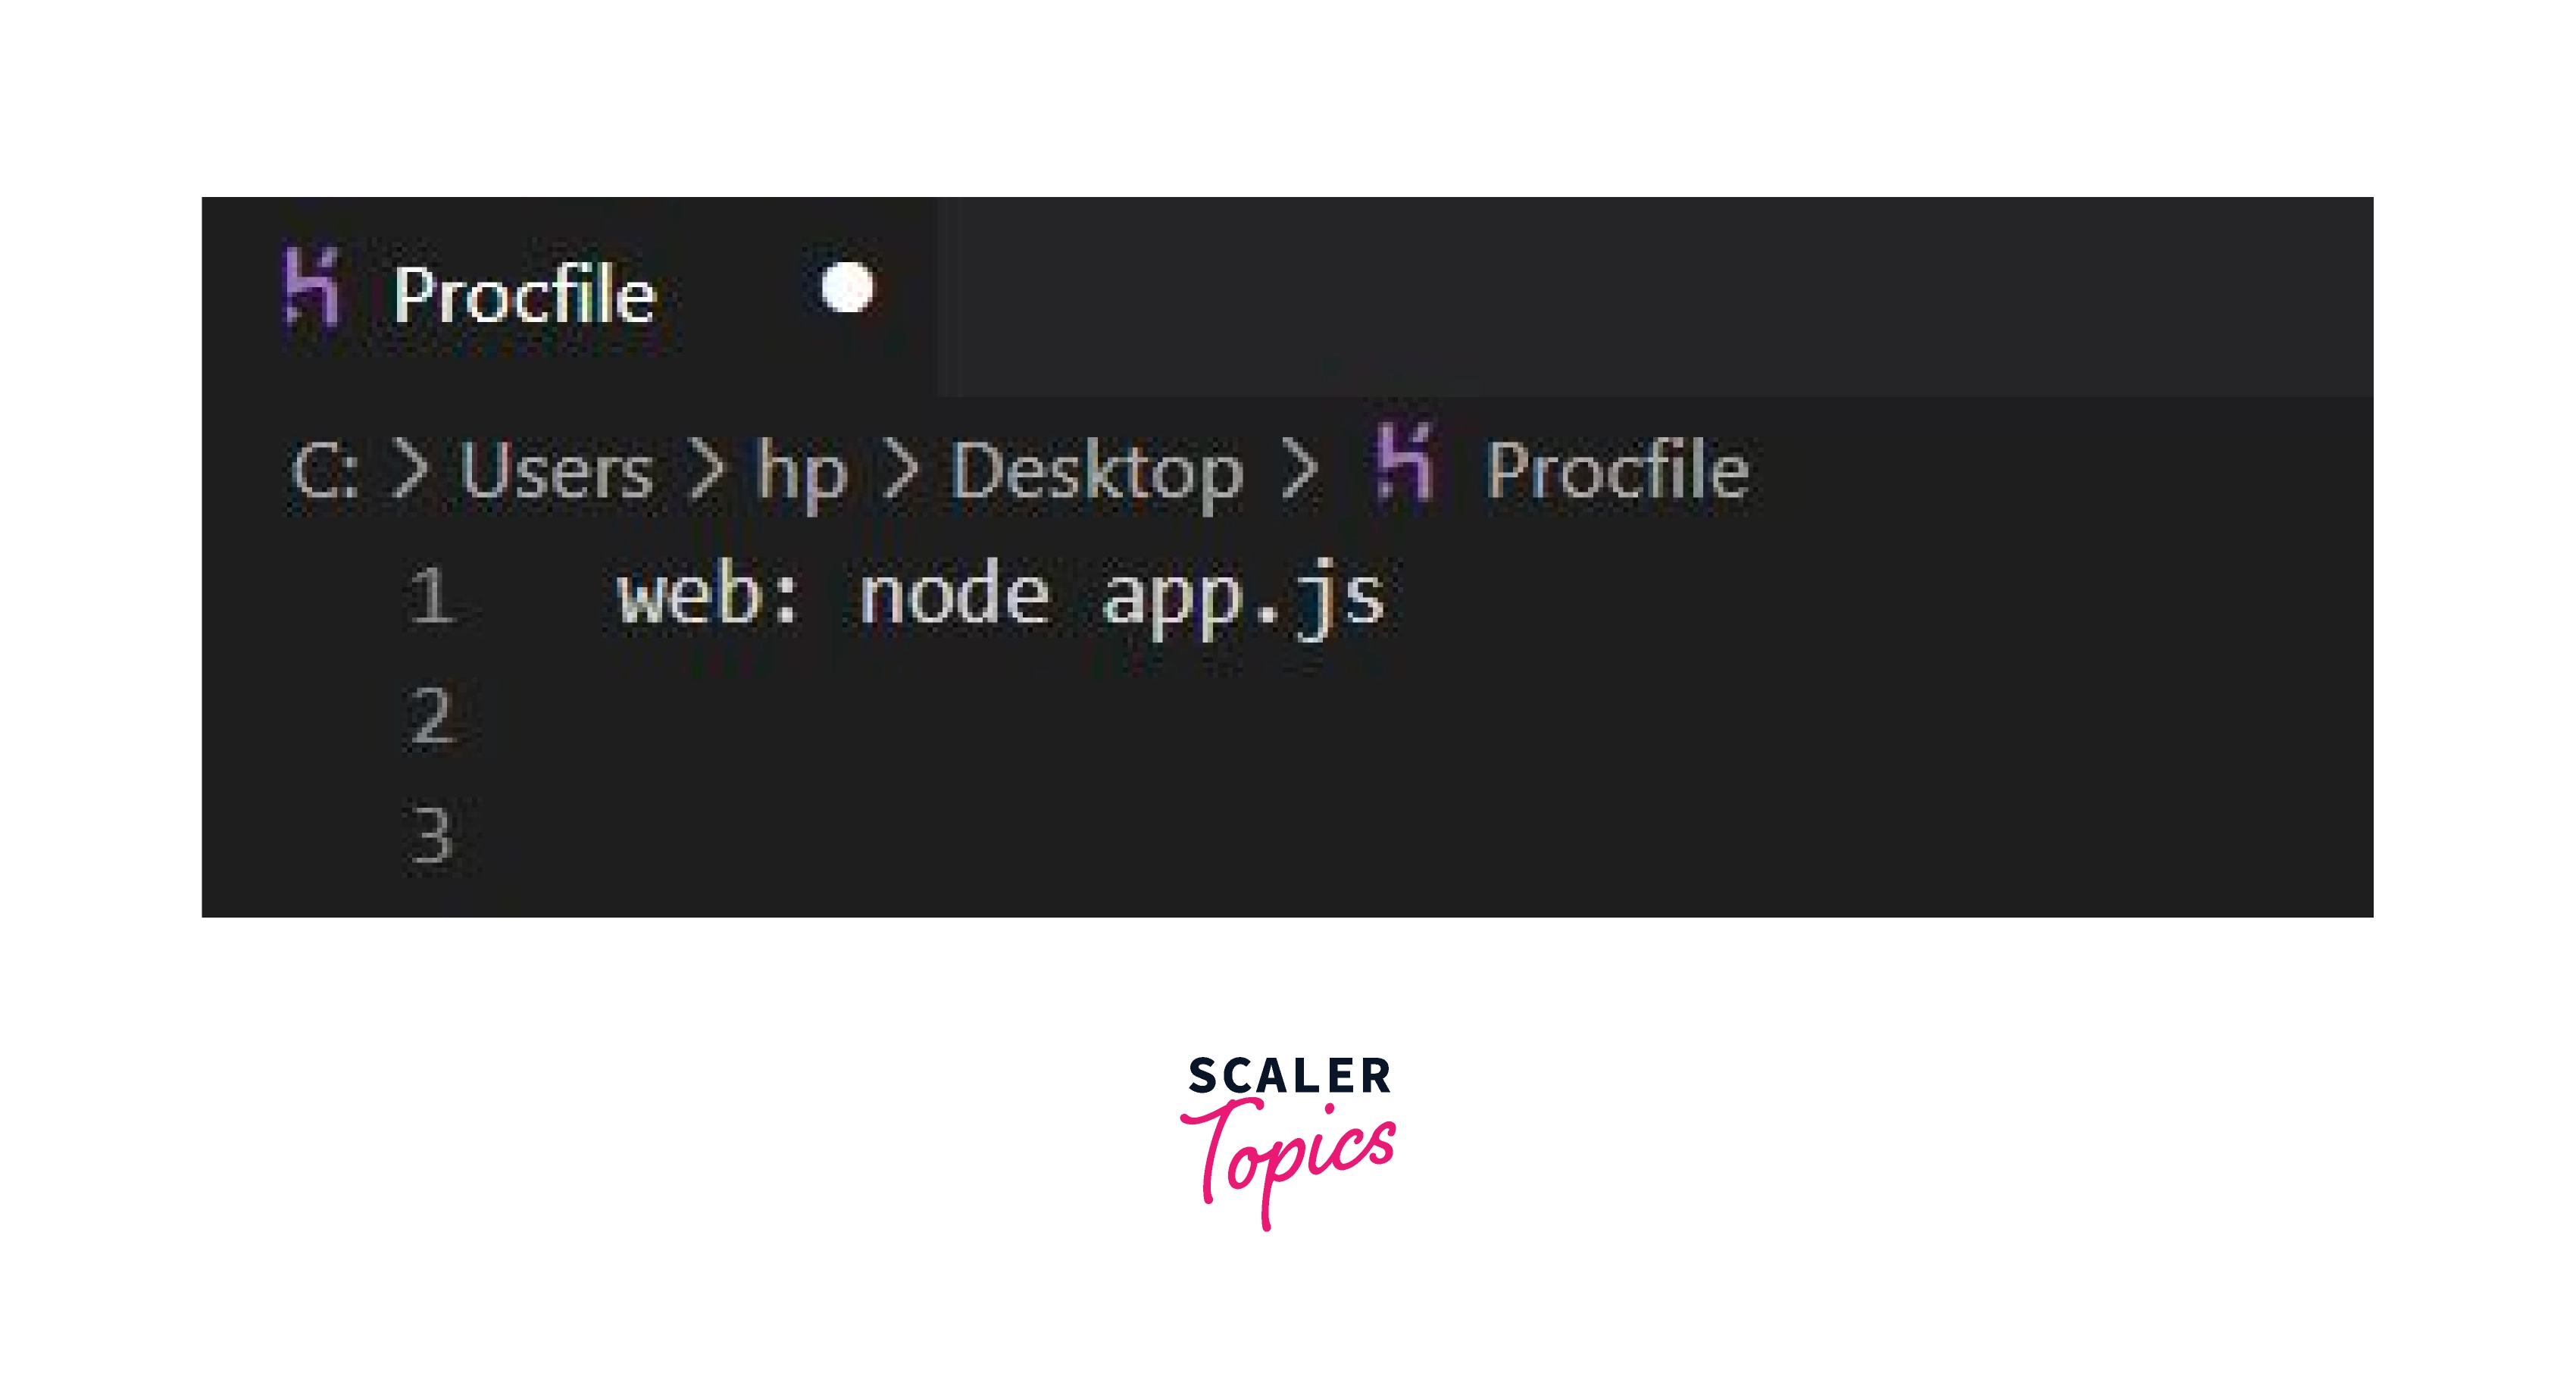
Step 6 : Now, in the root folder of the project, make a new file with the name Procfile, and make sure the file has no extension and has exactly the same name. Write the following command inside that file.
Save the app.js file, and your basic deploy node js app on Heroku is ready.
Turn Learning into Career Growth
Deploying Node js App to Heroku
Signing up for Heroku and Installing the CLI
For creating a free Heroku account, head over to signup.heroku.com and create one.; if already created, log in to your account.
Once you are logged into your Heroku account, the next thing to do is install Heroku's CLI tools, which are provided to us for deployment purposes.
For MacOS: Type the following command in your terminal for Heroku CLI installation.
For Windows : We can directly download the 64-bit installer or 32-bit installer.
We can also install Heroku CLI using npm. The Heroku CLI is built with Node.js and is installable through npm. It is always preferred to download Heroku CLI from the above two standard methods. This method is proper when you want fine-grained control over CLI updates, such as in a tested script.
Verify your installation using the following command :
The output is in this format heroku/x.y.z.
After the successful installation of Heroku CLI, we have to log in to our account. Use the command heroku login. Press any to open your web browser and complete the login process. Then the Heroku CLI will log you in automatically.
Example:
Pushing to Heroku
Deploy node js app on Heroku works through Git. Git is a open-source and free of cost software for distributed version control that is tracking changes in a set of files. It is very simple to use once you install Git in your system and understand how it works. What Git does is initialize a remote repository in your system, and then we can push all the code to Heroku, just like pushing to Github.
-
We need to initialize git in our demo project, so run the following command in your terminal at the root of the demo project.
-
Now we need to add an important file that is .gitignore file, which contains the file that we don't want to commit to the repository. Files like node_modules which take up a lot of space, don't need to be committed. These files should be generated by npm upon deployment sooner than committed to source control.
In your .gitignore file, add the following command:
Now we are ready to add and then commit all the project files into this local repository.
-
Now we need to create a Heroku app, which will correspond to our demo Node js app, by using the command heroku create. If you want a particular name for your Node js app use command heroku create <your app name>
If this is your first time using the Heroku CLI, then Heroku will ask for your credentials or log in through the browser. After this, Heroku will return the newly created app name and the URL of your Node js app. If you open that URL, you will see a Heroku welcome page. This is not our Node js app, but it is a simple Heroku app to which we will deploy our own app. Every Heroku deployed app has a unique name and URL.
Deploying Node js App to Heroku
After creating our app, a new remote will have been added to your local git repo, allowing you to deploy your Node js app to Heroku with the straightforward command git push heroku master.
Example :
Now, wait till the deployment is completed.

The files and output may be different in your case, and now let's open the Heroku app using the command given below,
Automatic Deployment Using Git
Now the deployment is finished, but whenever you make modifications to your code, you will again add and commit those changes to make them available to your live project. But we can avoid doing this extra work if you have a GitHub repository where you have committed your code already.
So Heroku provides us with an option to connect your GitHub project repository with your deployed Heroku app, and Heroku will take care of the deployment automatically whenever you commit any changed code to the GitHub repository.
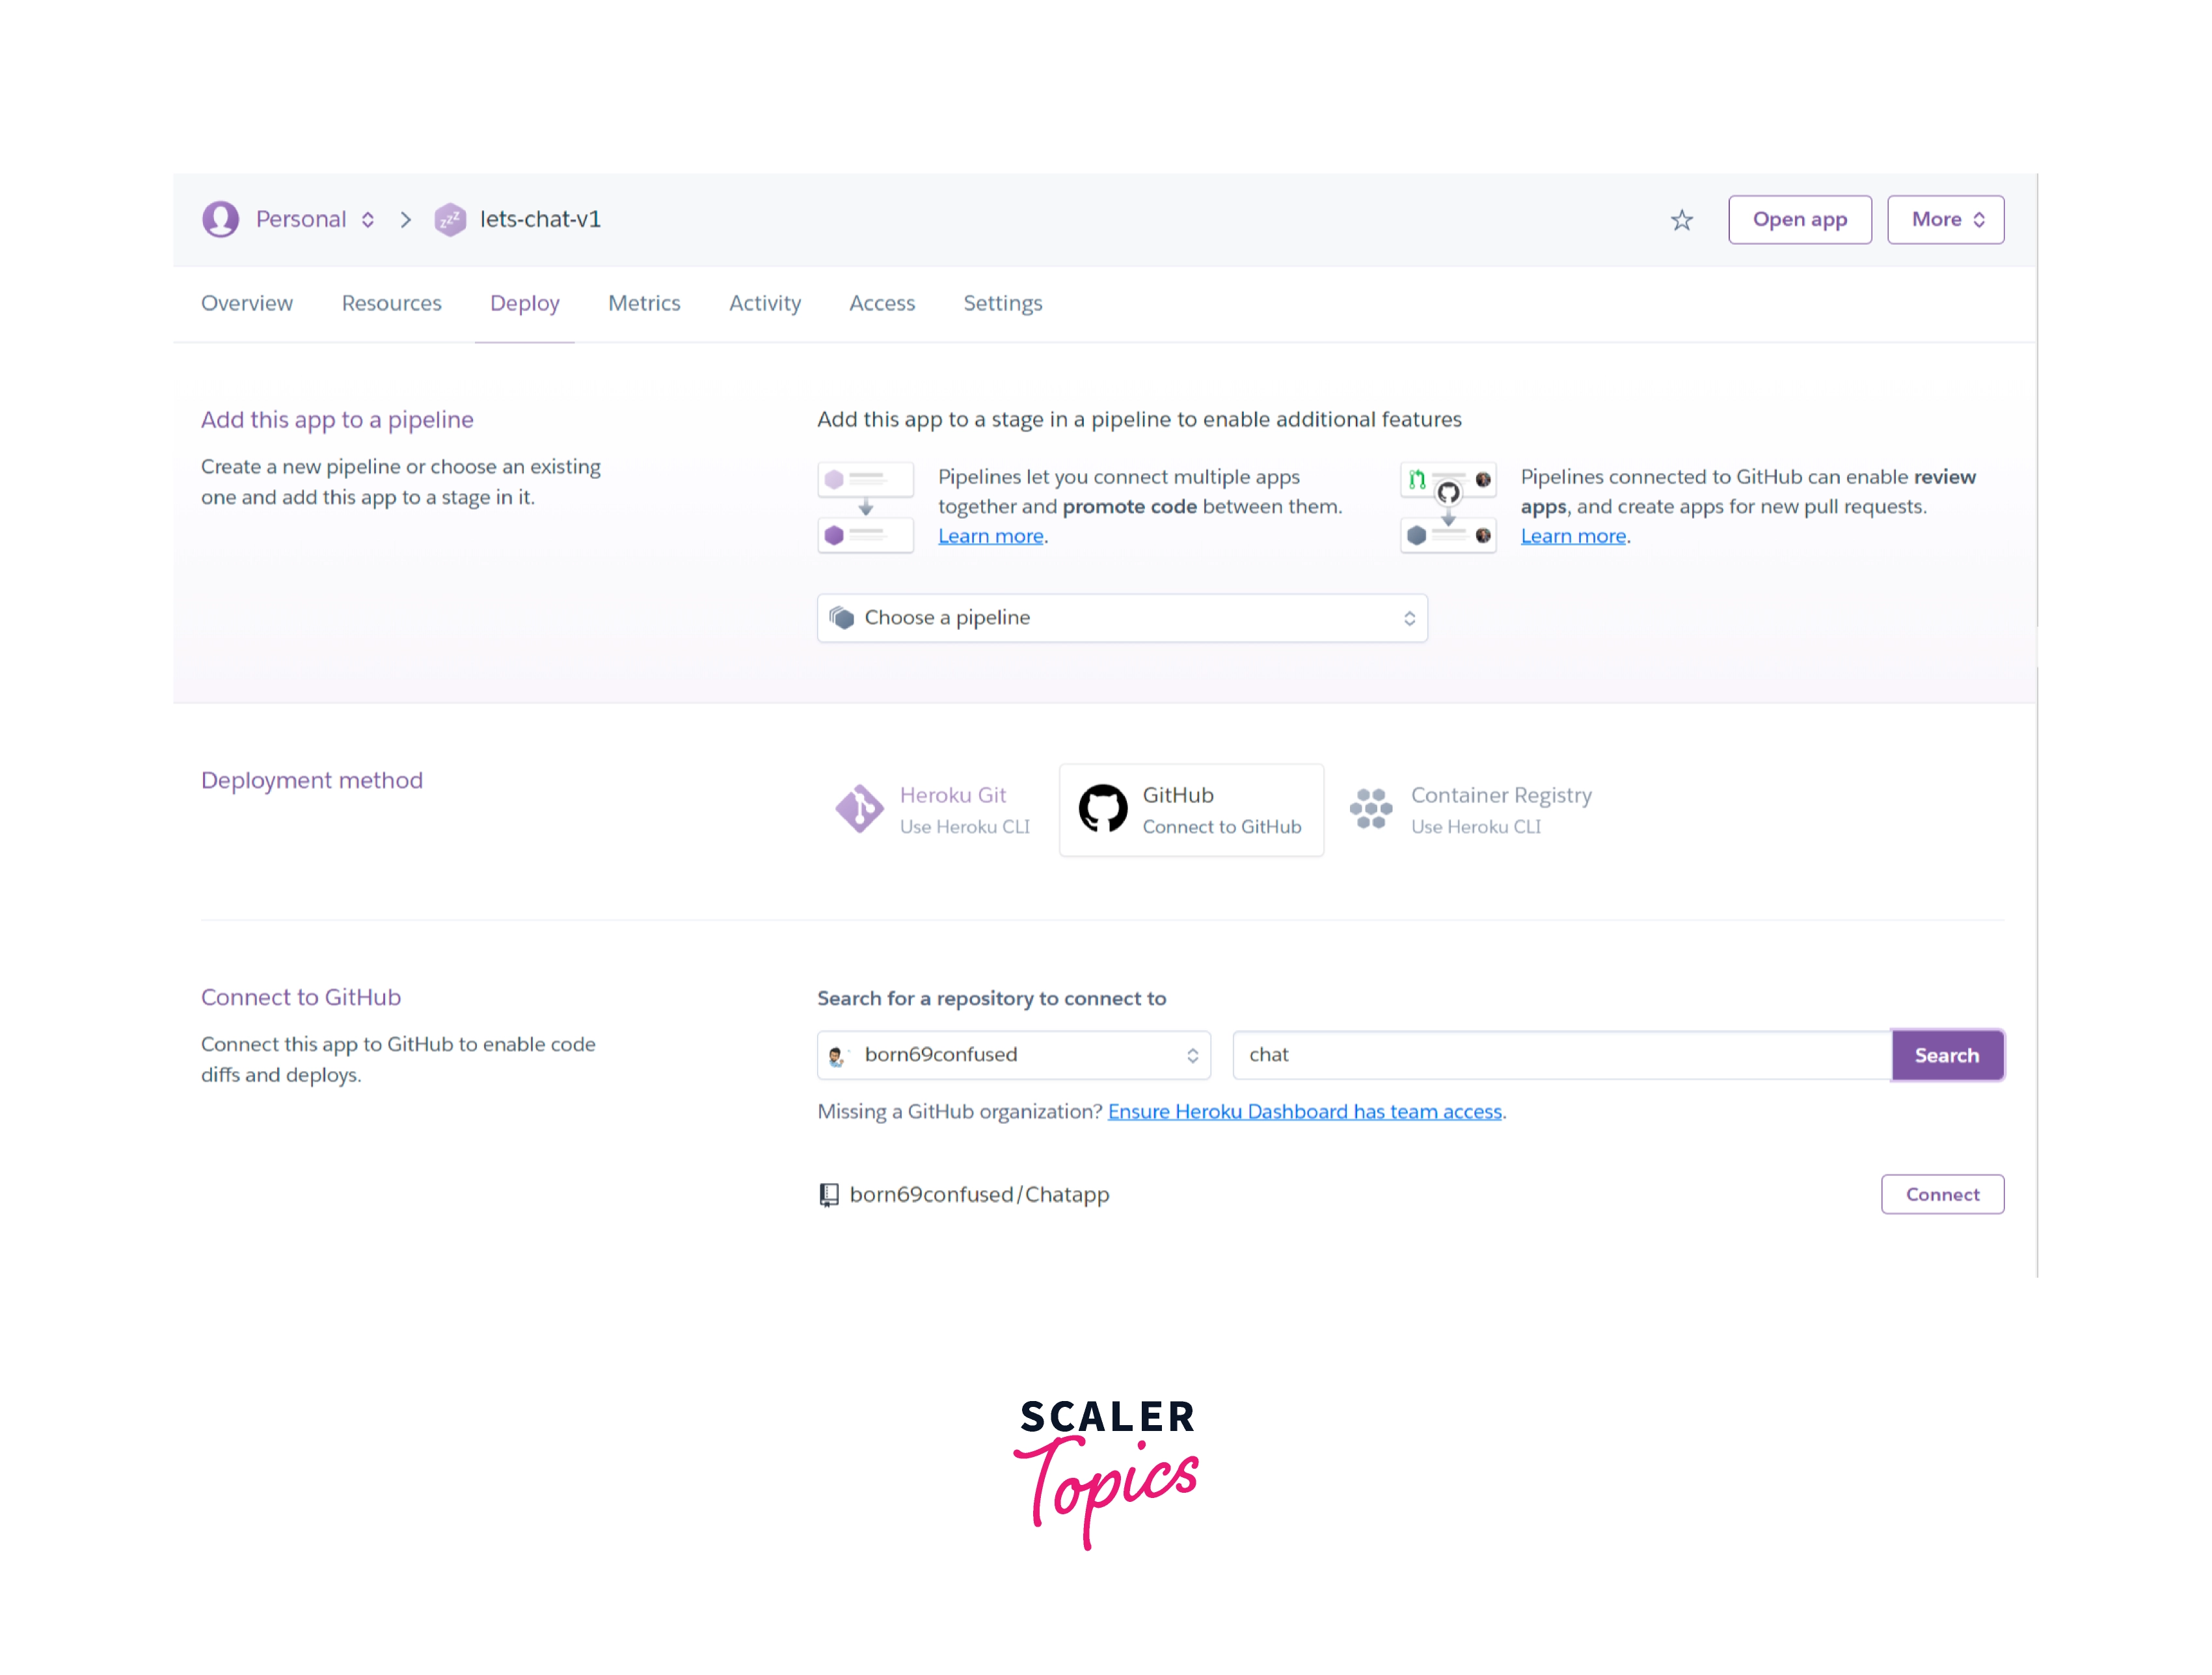
To make this happen, you can go to your Heroku dashboard and open your deployed app. Open the deployment section and select the option Github. (If your Heroku account is not connected to GitHub, you will have to connect your GitHub account to Heroku.) Then you will be able to see an input box to search the repository associated with your GitHub account. You can now search for that repository in Github and connect the GitHub repository with the Heroku app.
After connecting your repository, you can select the enable automatic deploys options, and it is all done. Now, whenever you commit new changes to your GitHub repo, Heroku will automatically deploy the node js app on Heroku (only changes).
Conclusion
- Heroku is a cloud platform that allows us to deploy, manage, and provide data services for our app.
- We need a Procfile to deploy the node js app on heroku with the following command inside it web: node app.js.
- We can give our choice of name to Heroku app using the command heroku create <your app name>
- We need to set up a public port so that Heroku can deploy our app using process.env.PORT.
- We need to initialize our project with npm init.
- package.json is a must to have file during the deployment process.
- Heroku deployment steps from initializing local git repo till deployment in brief are:-
- $ git init
- $ git add .
- $ git commit -m 'initial commit'
- $ heroku create
- $ git push heroku master
- $ heroku open
- We can automate the deployment process by connecting GitHub repository with Heroku.