Mongoose with Node js
Overview
When using Node js for backend development, developers often find themself working with a database for holding the data and querying the results from it. In that case, there is no better solution than MongoDB, as it integrates well with Node js. Also, MongoDB provides developers with options like horizontal scaling, high performance, and the ability to deal with a huge amount of unstructured data.
Pre-requisites
- Node js and npm should be installed locally on your system.
- You can also download Node js from their official website.
What is Mongoose ?
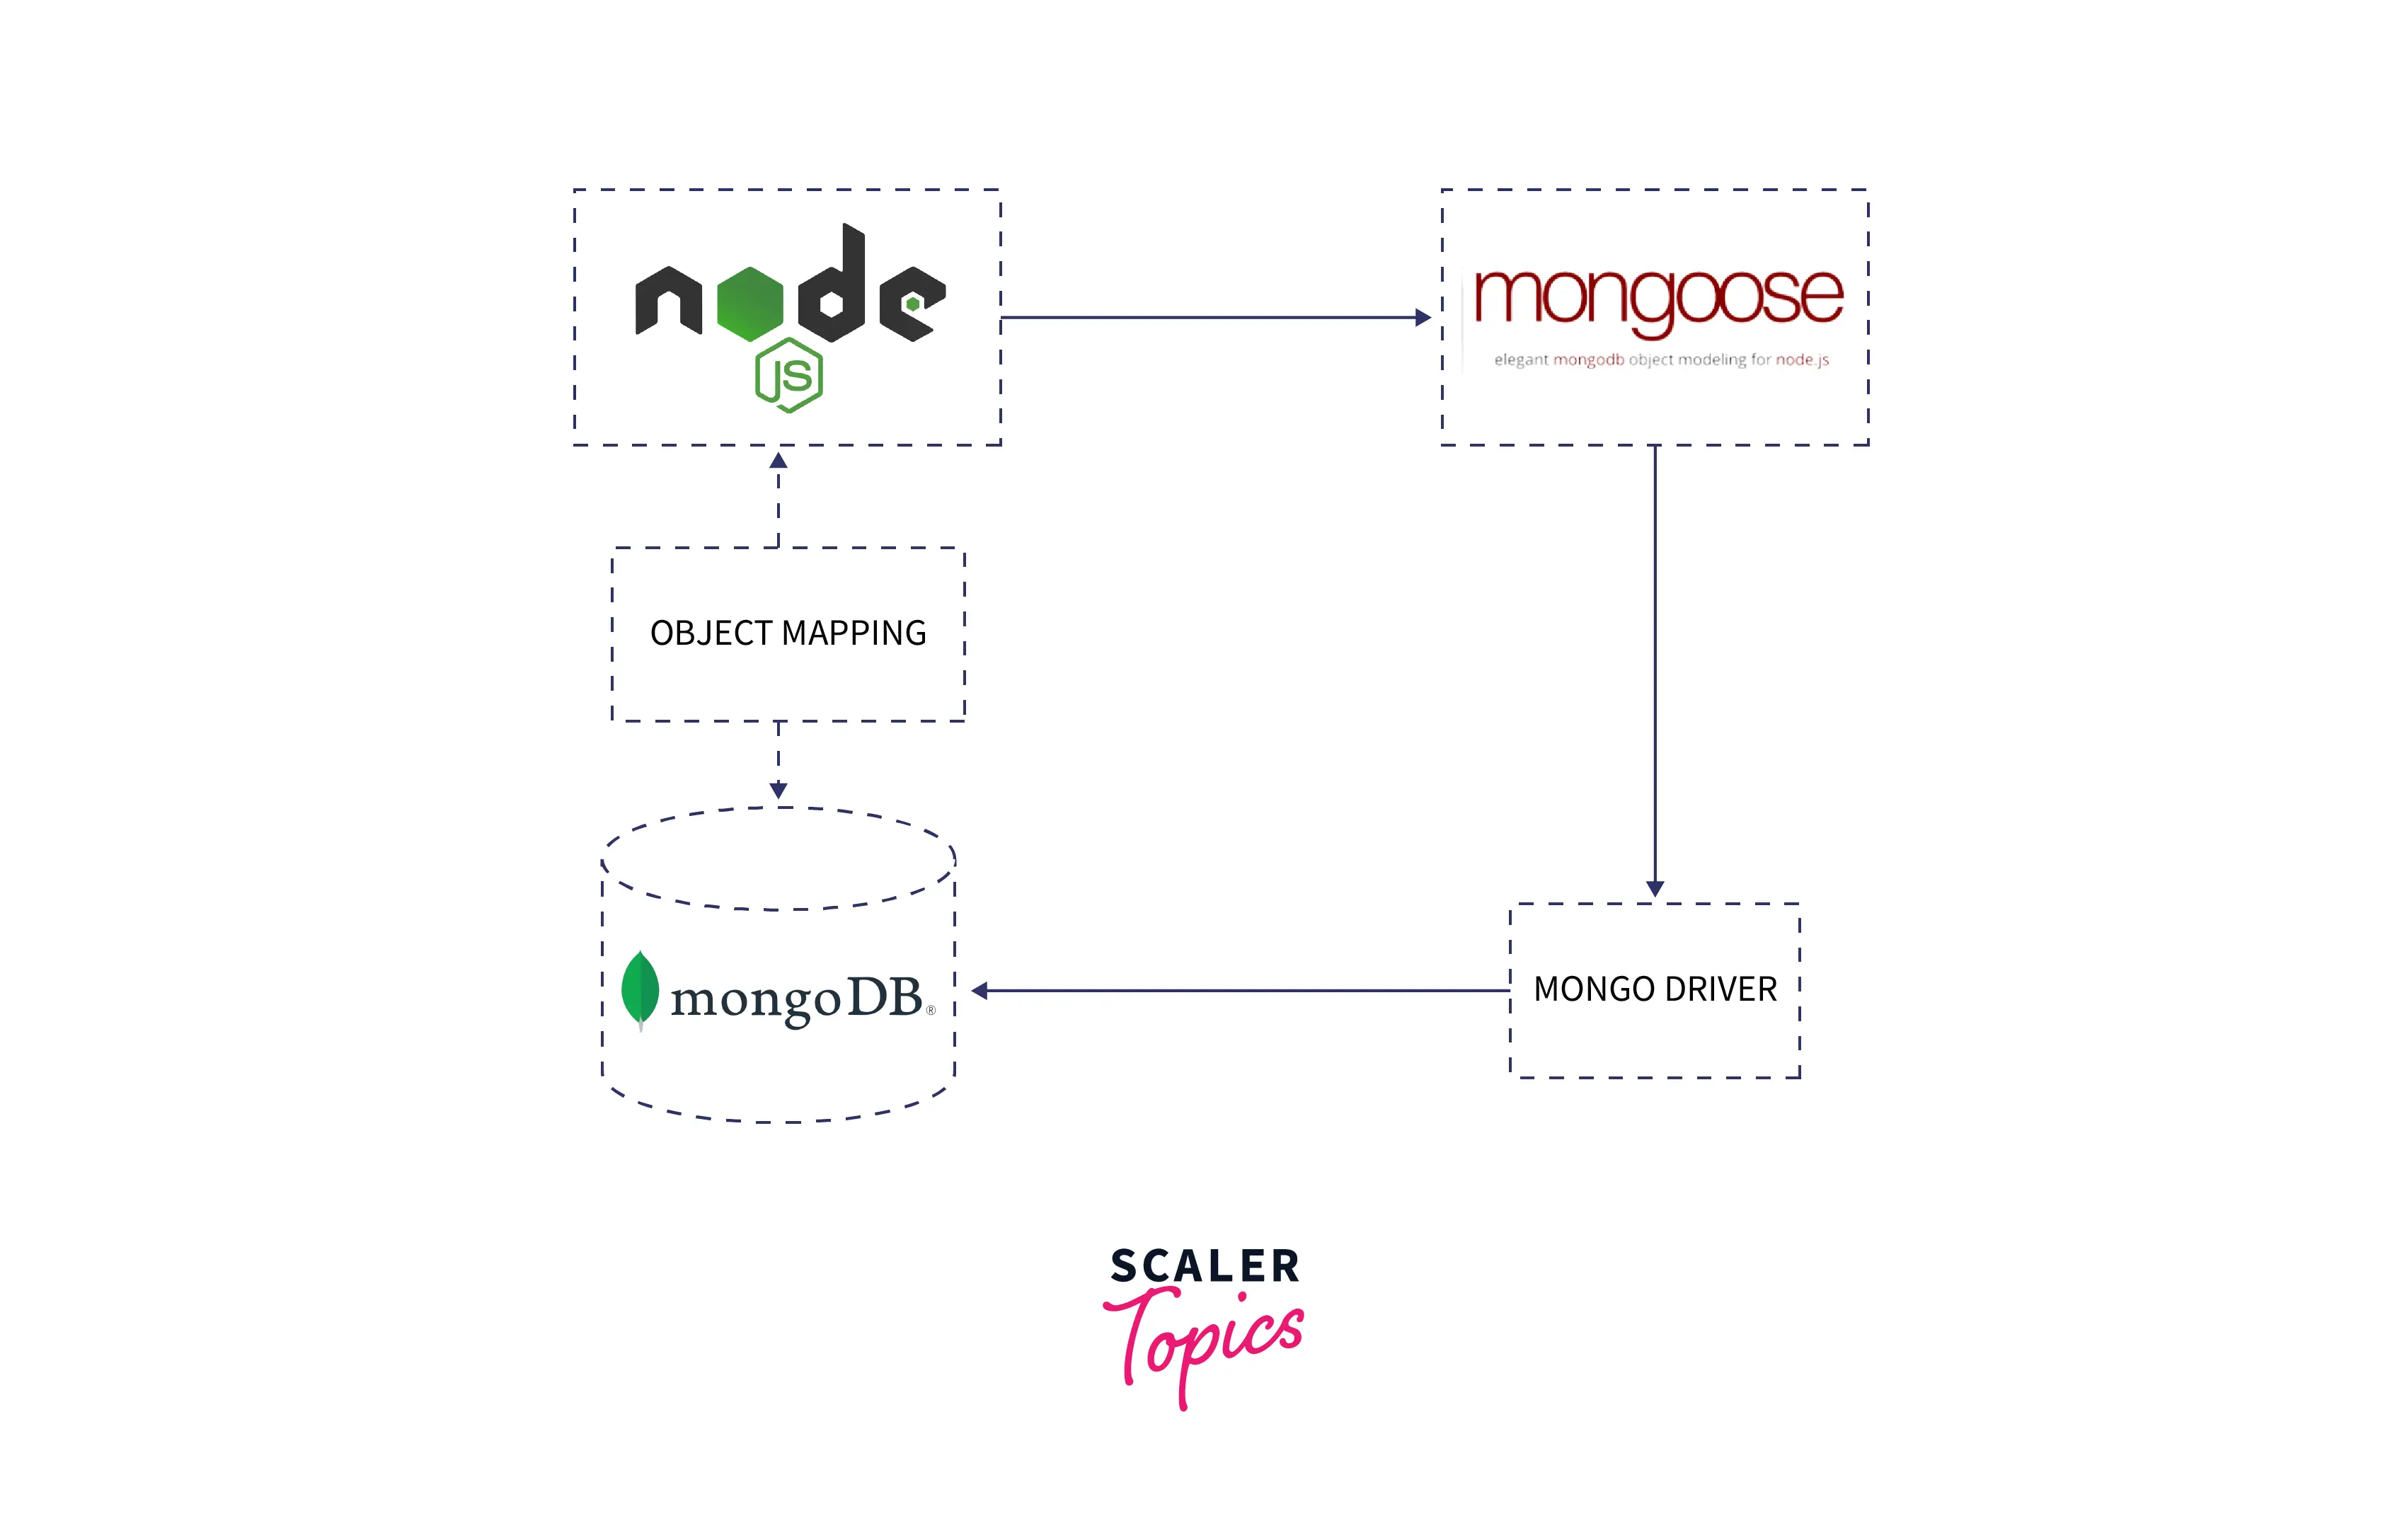
Mongoose is a Node js based Object Data Modeling (ODM) library that makes the use of MongoDB easy by aiding in the translation of javascript objects into documents and vice versa. It also manages the relationships between data and provides utilities for schema validation, query building, type casting, and much more. The data that is to be saved and updated in the MongoDB is modeled by using schemas.
The schema in a database is equivalent to a class in object-oriented programming. It is like a blueprint for the objects that are stored in the database. The schema has details about the various properties that an object will contain, the type of those properties (String, Number, etc.), and what conditions will be followed by the value of the property.
For example, a property may be specified to have a unique value. We can also specify if property can be left empty or not. The schema is used to define models, and every object that has database operations performed on it must reference some model.
Hence we can say that mongoose adds a layer of validation above MongoDB. MongoDB is a schemaless database, but to avoid the addition of junk data, we can use mongoose. This boosts productivity to a large extent because of the abstraction provided by mongoose.
Why do You Need Mongoose ?
Here are a few important properties of mongoose :
- Schemas : The MongoDB is a schemaless database. This allows the documents to have a varying category of fields with various data types. Even though this promotes the flexibility of the data model, it may create problems in the long run.
- Validation : Mongoose provides built-in validation of schema, thus saving us from writing code for validation of data that is attached to the MongoDB driver.
- Instance Methods : Mongoose makes it easy to define and manage custom methods that are defined for a particular object or document in the schema definition. Mongoose also has pre and post-save functionality for data models.
- Returning Results : The updated documents and the query results can be easily returned with Mongoose. In the update queries, Mongoose returns the modified object itself, while the native driver returns the object, flags, and the number of modified documents.
Transform Your Career
Choose from our industry-leading programs designed for career success
Modern Software and AI Engineering Program
Master full-stack development with AI integration

Modern Data Science and ML with specialisation in AI
Advanced data science techniques with AI specialization
Advanced AIML with Specialisation in Agentic AI
Deep dive into AIML with focus on Agentic systems
DevOps, Cloud & AI Platform Engineering
Build and manage AI-powered cloud infrastructure
AI Engineering Advanced Certification by IIT-Roorkee
Premier AI engineering certification from IIT-Roorkee
Mongoose Installation
After installing Node.js in your system, follow these steps :
-
Step 1 : Let us create a directory in which you will start your mongoose Node.js project.
Now navigate to the created directory :
-
Step 2 : After navigating to the project folder, run the below command :
The above command is used to initialize a Node.js project. A series of questions will be asked about the project. After that, a package.json file containing the information about the project will be created.
-
Step 3 : Now install Mongoose package using npm :
The above command will install express. A node_modules folder will be created on completion. The package.json file will have mongoose and its version mentioned in the dependencies.
Scaler Placement Report and Statistics
Scaler learners achieved 2.5x salary growth with average post-Scaler CTC reaching ₹23L.
Connecting to MongoDB
Setting up MongoDB Atlas
Now for hosting and storing your database on a cloud server, you need to connect your application to the MongoDB Atlas account. Once all the details are filled in and submitted, then you will be asked to put in the name of your organization. You can put the name of your choice in that domain. Make sure that you select MongoDB Atlas and not the cloud manager under the Select Cloud Service.
- Step 1 : Click on the New project button to create a new project. Also give your project some name of your choice.
- Step 2 : Now, we need a server to hold our database. MongoDB provides us with Clusters, a service to store the data online. Click on the green button in the middle of the screen to create your databse cluster.
- Step 3 : Now you will be asked to fill in the specification of your cluster. You are required to choose from Microsoft Azure, AWS and Google Cloud to host your database.
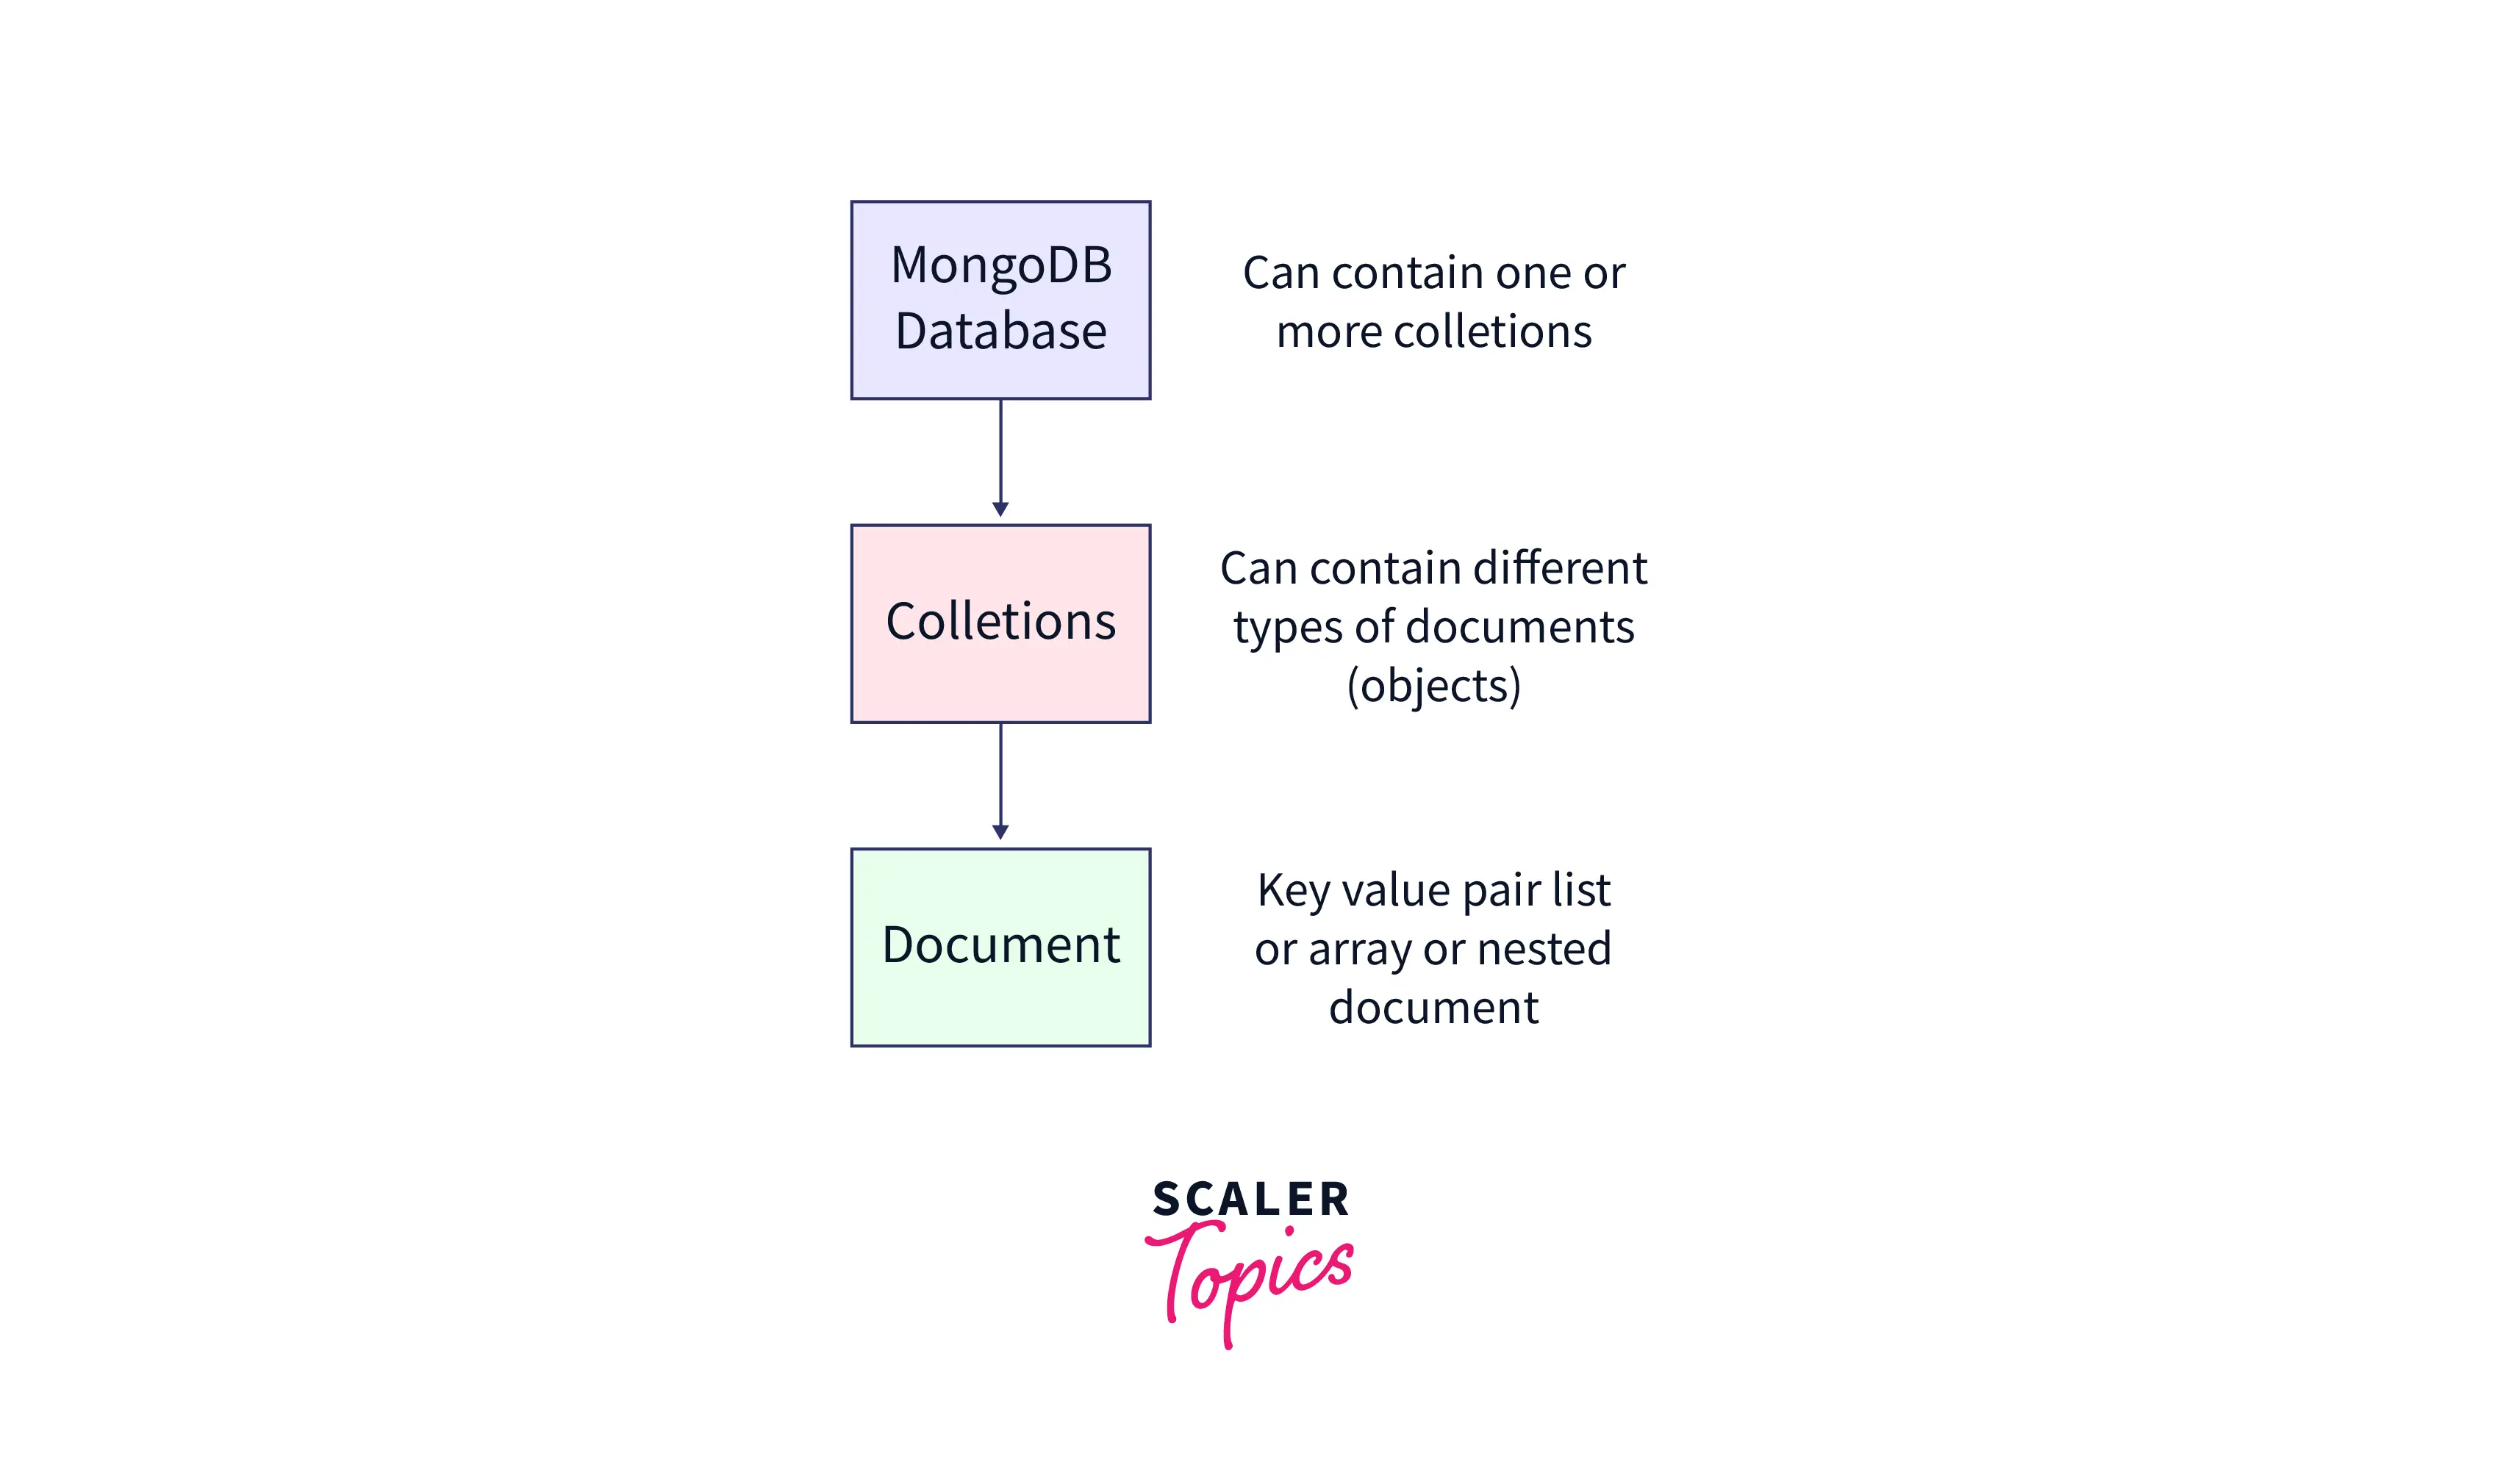
- Step 4 : Now you need to create a database for your app. Then you will need to fill in the name of the database as well as the name of the first collection.
Note : Collections are equivalent to the SQL tables. Collection contain documents with store the data values as key - value pairs.
Connecting to Our Database
Now the development environment is set up, and the database config is also completed. So we can start writing the code to connect the cloud database cluster with our app.
Now we need to pass a connection string to let mongoose know where our cloud database is hosted. You can navigate back to the MongoDB dashboard and click on the connect button to get the connection string.
After that, you will be asked to whitelist the IP address and create an admin user. The listed IP address will only be able to request and respond to the database, so add your own IP address or (0.0.0.0 to whitelist all the IP addresses). The admin user will be able to perform operations on the database. Store the admin user name and password somewhere safe as you will need that in further steps.
Now you will be shown three options after clicking Choose a connection method. As we are making an app, we need to connect through the option Connect to your application. Now copy the connection string and paste it into the code we wrote above.
Example of connection url :
Make sure to replace myFirstDatabase (posts) with the name of your own database name and <password> (12345) & admin with the password and username you created in the last step. Now you can run the app to check if you get MongoDB is ready and connected or an error that will imply the connection string or password is wrong.
How to Perform Mongoose Operations ?
Now that we have connected MongoDB to our project, let us have a look at the type of operations that Mongoose provides :
- Cursor-based querying - Whenever you are working on a single record while fetching one or a group of documents at a time from MongoDB, it is known as Cursor-based querying. This way, we can work efficiently while handling a large amount of data in a limited memory system.
- Full fetching querying - Whenever you get the entire document in response to your query, it is a Full Fetching query. You will mostly be using this type of query to work, and we will mostly discuss it.
Turn Learning into Career Growth
Defining a Model
Models are like constructors created from Schema definitions that help in creating instances called documents. They allow us to seamlessly integrate Node.js code in database calls and enforce the rules described in the schema. They are responsible for creating, reading and modifying objects in the MongoDB database.
To create a model, you need to first define a schema for the model.
Let us create a schema for a blog post. A blog post may contain the title, author information, content, images and the time of the post.
Now let us understand the above code line by line :
We will need to include identifiers of other types of documents; hence we will require an ObjectId type. To create a new schema, an object containing information about the fields and their types is passed in the Schema() function.
title, content, and image are declared as String type as they contain text. required is set to true in the title and content as they are required in every blog. Hence they must not be left empty. The trim property, when set to true, removes all the leading and trailing whitespaces in the text.
The postedBy will contain the ObjectId of a user. The user will be a document of a model User, and its ObjectId will be stored here to state that this document has been posted by the specified user. The ref property is used to specify which model the ObjectId should belong to.
The comments is an array of objects. Each object in this array will have the ObjectId of the document of the Comment model. The timestamps property has been set to true and passed in the options object. This will create two properties :
- createdAt - Date of creation of the document.
- updatedAt - Date of the latest update of the document.
Now as we have created the schema for our model the next step is to create the model itself. The mongoose.model() function is used for this purpose. It accepts two parameters :
- Collection name
- Collection Schema
So to create the Blog model :
Now we can create documents of the Blog model as shown :
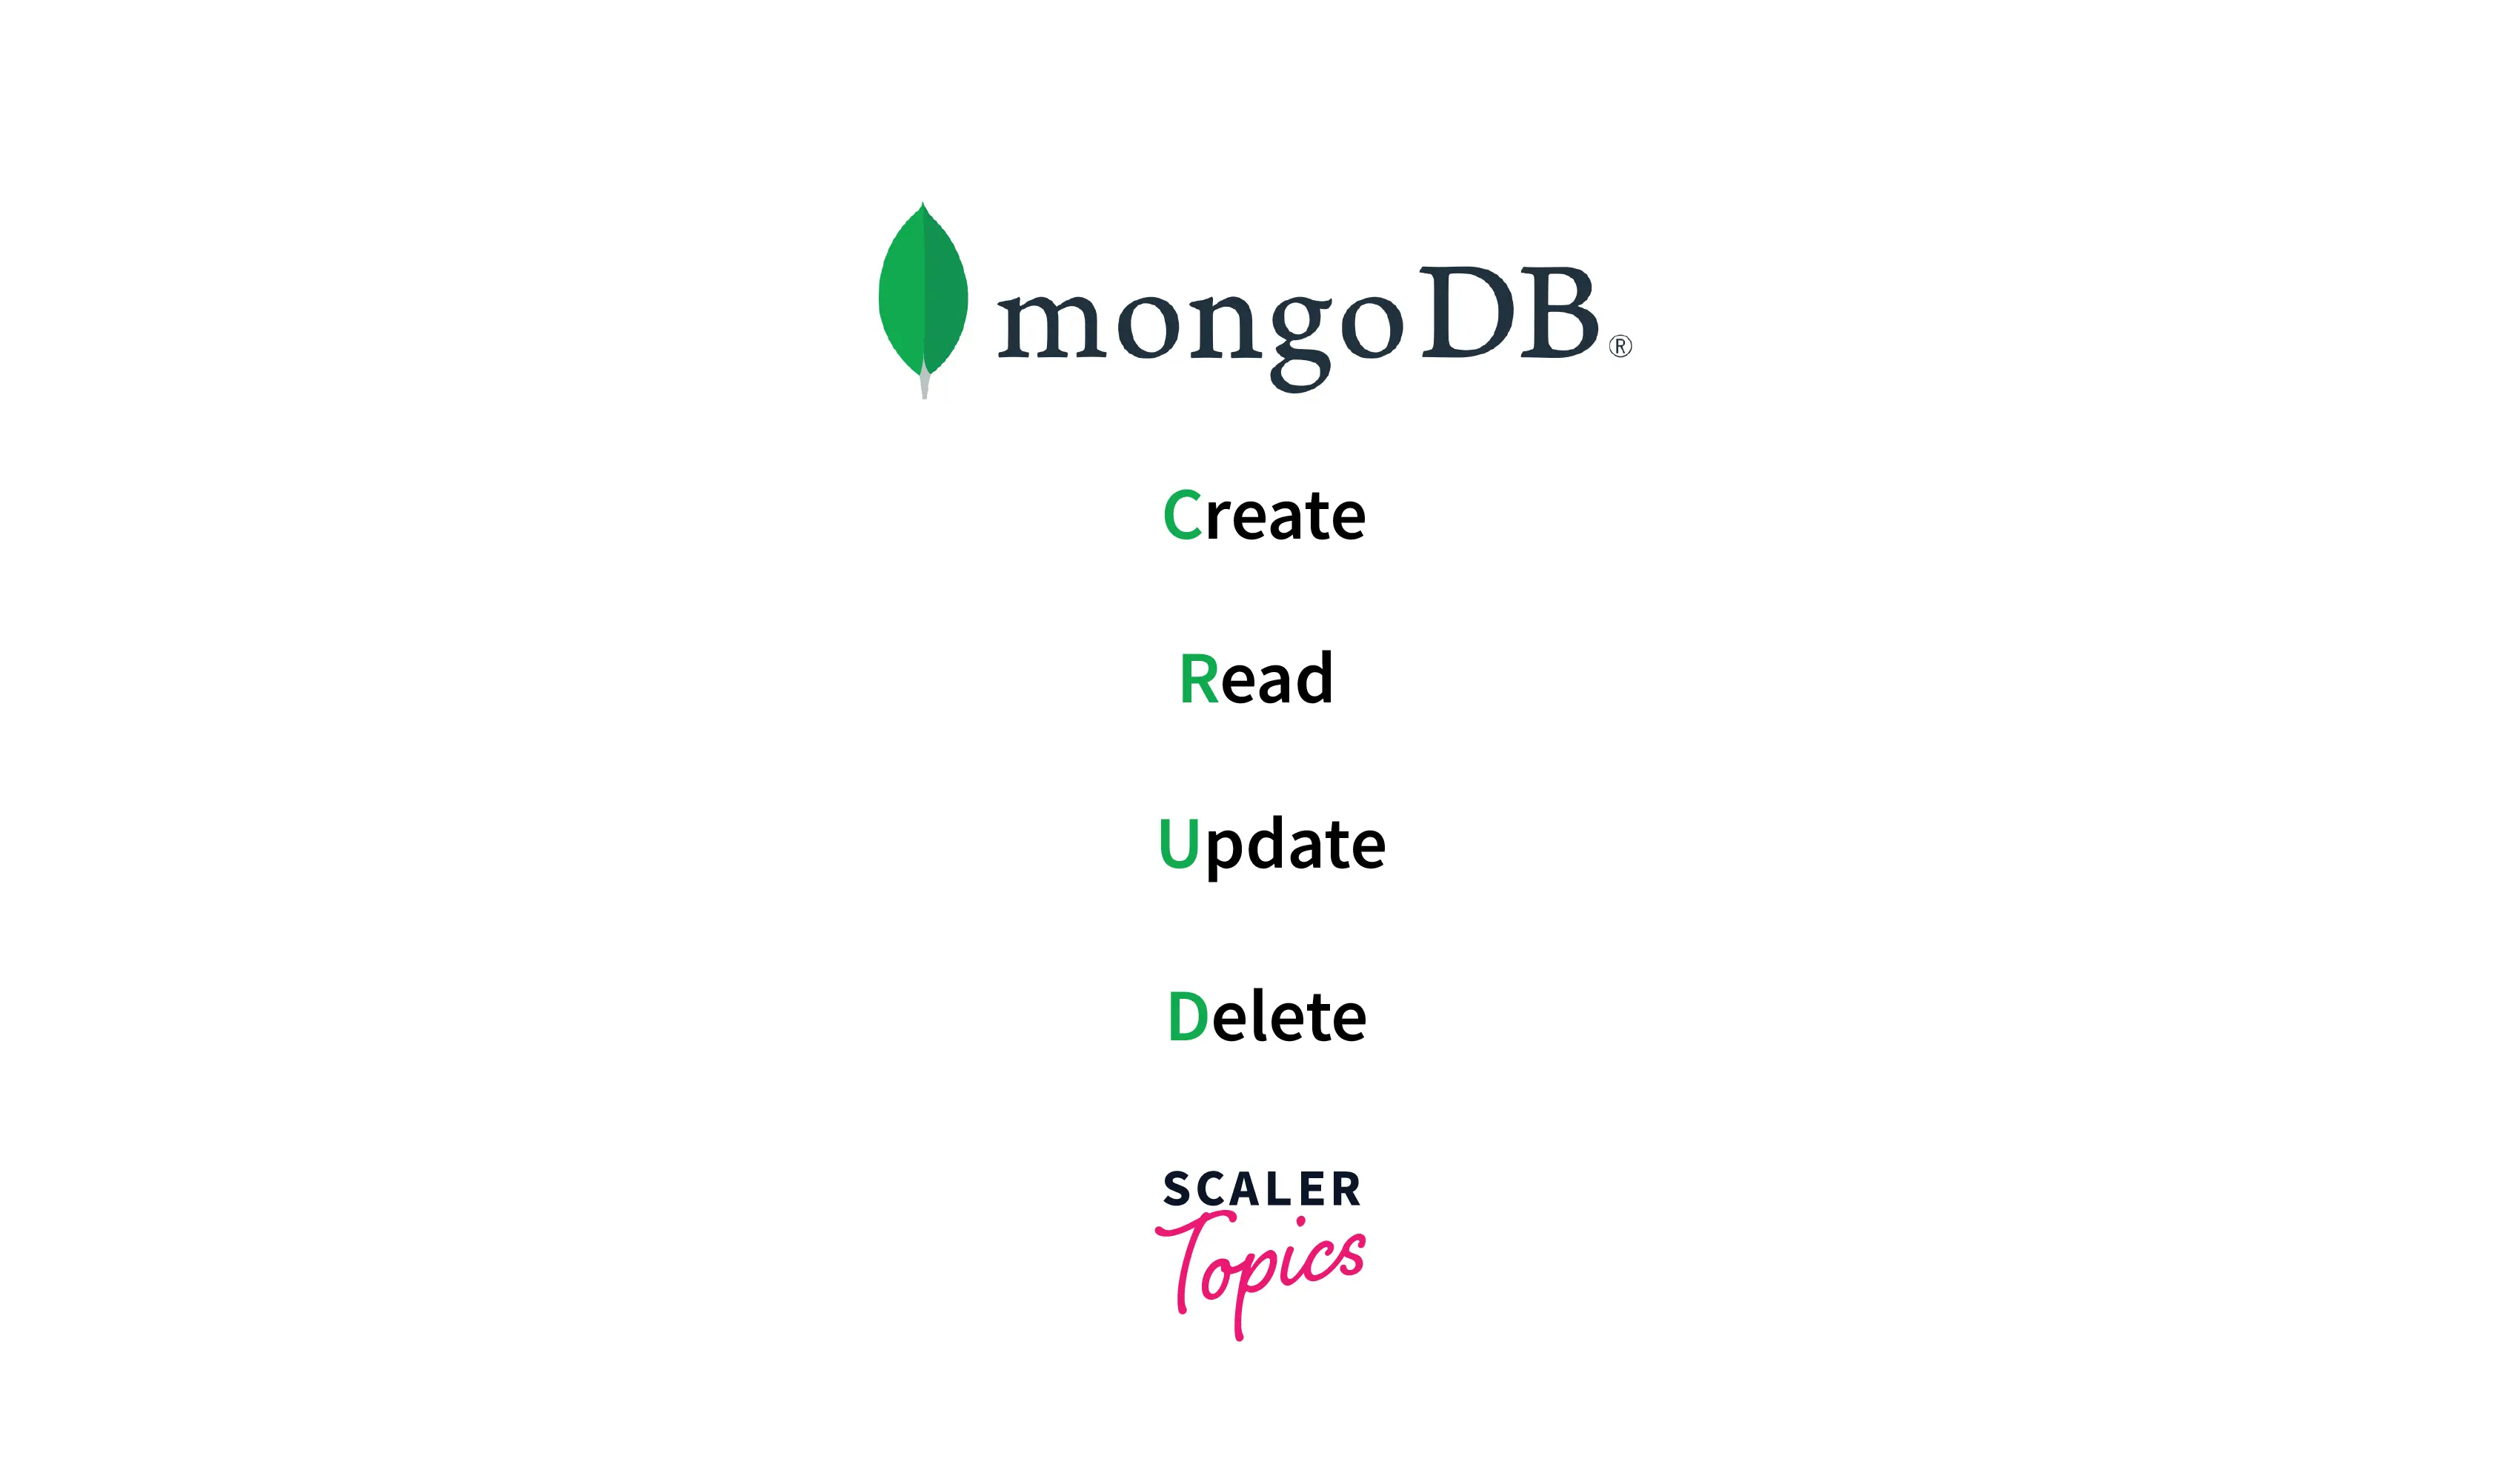
CRUD Operations
CRUD is the acronym for Create, Read, Update and Delete. These are the four fundamental operations that are required in any kind of modification in the database. Now we will look at how to perform each of them with the help of Mongoose.
Insert Single Document to MongoDB
The first operation is to create a document by using the Mongoose model. We can create documents or objects using the model that we have created in the following way:
Now to save the above document in the database, we need to use the save() function in the following way :
In the above code, the save function is an asynchronous operation. After it gets completed, either error or the result is returned.
Let us now have a look at how we will integrate this code with our mongoose Node.js project:
In the above code, we have created an express application. If you don't know about express, then you don't need to worry. We will focus mainly on mongoose here. The only thing you need to know about express is that we have used it to create an API endpoint to which users will send the data of the blog.
We are extracting the data and creating a new Blog using these details. Now the instance is saved using the save() function. As the save() function is asynchronous hence we have used the async - await combination here.
Insert Multiple Documents to MongoDB
We can also create multiple documents at the same time and also save them in the database with the help of mongoose. We can save a bunch of objects simultaneously to the specified collection. Have a look at the code below.
In the above code, we have made an array of objects that contain information about different blogs. The insert() function is used to save the documents to the database. insert() is called on the Blog collection. This will save all the Blog objects in the database.
The insert() function has got deprecated. Instead we can now use the insertMany() function for the same task.
Finding/Reading Documents
Reading or finding data in MongoDB makes use of queries. Queries are nothing but objects that contain information about how the results should be filtered.
The documents can be filtered using find(), findById(), findOne() and where() methods.
-
find(): It is used to filter the documents according to the query object passed. Paramerter:
- Query- An object that contains the various parameters on the basis of which data is filtered.
- Projection: It can be an object, string, or array of strings that specifies which fields to include or exclude. A field with a + prefix is included and the - prefix excludes the field.
- Options: It is an object that specifies some properties like sort, batchsize, etc.
- Callback: A function executed after the results have been fetched.
In the above code all the blogs with title sample blog are returned.
-
findOne(): This method returns the first occurrence in the filtered documents. Same parameter as find().
In the above code, only the first document with title as specified will be retrieved.
-
findById(): It returns the document that has the same _id as passed in the query object. It has four parameters: id, projection, Options object, and callback function.
findById will only retrieve the blog document with _id as 6353fca032803420b4f7c187.
-
where(): The where function is used to create a query.
The where the function will filter the records as per the createdAt property. Results with a date greater than 01-01-2021 will be fetched.
Scaler Placement Report and Statistics
Scaler learners achieved 2.5x salary growth with average post-Scaler CTC reaching ₹23L.
Updating Documents
To update the documents stored in MongoDB we have to first fetch the document using find(). Then we can make changes and use save() to update the changes in the database.
The above code will make use of two calls to the database. We can optimize it by reducing the number of calls. The use of updateOne() can perform this in one call.
The res will have the following properties:
- n: Number of matching documents
- nModified: Number of modified documents
- ok: If the operation was successful or not.
In the above code a blog with title A will have a new title as Sample Title A.
updateMany(), findOneAndUpdate(), and findByIdAndUpdate() can also be used to update documents with only one call.
Deleting Documents
Delete operation can also be done in a simple way. deleteOne() and deleteMany() functions are used to delete documents.
The res will have the following properties:
- n: Number of matching documents
- deletedCount: Number of deleted documents
- ok: If the operation was successful or not.
findOneAndDelete() and findByIdAndDelete() can also be used to delete documents .
Conclusion
- Mongoose is a Node js based Object Data Modeling (ODM) library that makes the use of MongoDB simple.
- The schema in a database is equivalent to a class in object-oriented programming.
- Mongoose provides built in validation and Cursor-based, full fetch querying options.
- The insert() (deprecated) function is used to save the documents to the database. Instead we use insertMany().
- Models are like constructors created from Schema definitions that help in creating instances called documents.
- The documents can be filtered using find(), findById(), findOne() and where() methods.
- To update document we need to first fetch the document using find(). Then we can make changes and use save() to update.
- We can also use updateMany(), findOneAndUpdate() and findByIdAndUpdate() to update documents.
- Delete operation can be done using deleteOne(), deleteMany(), findOneAndDelete() and findByIdAndDelete().