Multer in Node js
Overview
File upload and download have become very commonly used operations that we perform very frequently. Take the example of any social media app; the users can upload images and also download the images shown on the website. Hence it becomes important for a developer to learn how file handling is done and the client end and how these files are stored on the server end.
Pre-Requisites
- Knowledge of HTML forms or any form API.
- Node.js must be installed.
- Good understanding of Node.js and Express.
- Understanding of the request - response architecture and middleware.
Introduction to Multer
Multer in Node.js is a middleware that is used for the easy handling of multipart/form data that is used when file uploading is done. To get maximum efficiency, Multer has been built on the top of a busboy, a node.js module that is used to handle incoming HTML form data in requests. Multer is similar to the body parser in Node.js (an express middleware) in functionality, but it only supports the multipart data.
When we create any form in HTML, by default, the value of ENCTYPE attribute is application/x-www-form-urlencoded. The ENCTYPE attribute specifies how the form data is encoded when the data is sent in the request. The default content-type encodes the data in the form of key-value pairs. This type of a structure is not capable of supporting the file upload operation.
The multipart/form-data is a content-type that makes the browsers encode the form data in the format of a multipart message. Each part in this consists of a text input and a file input for representing each field in the form.
Multer is widely used because it is simple, very efficient, and also supports multiple file uploads. Multer manipulates the request object by adding two objects to it - namely the body object and file/files objects. The body object added by Multer contains the data from the text fields in the HTML form. The file or file object contains the files that are uploaded in the form. They can be accessed as req.body and req.file or req.files where req is the request object.
Processing of only multipart data (multipart/form-data) can be done with the help of Multer. No other format can be processed. In this article, you will learn how you can use Multer in Node.js to ease out the process of handling multiple file uploads. Multer also provides a lot of options or settings that are applied during the file storage.
Project Setup
To learn about Multer, let us create a small project. In this, we will create an HTML form with enctype of multipart/form-data and use it to try different functionalities of multer.
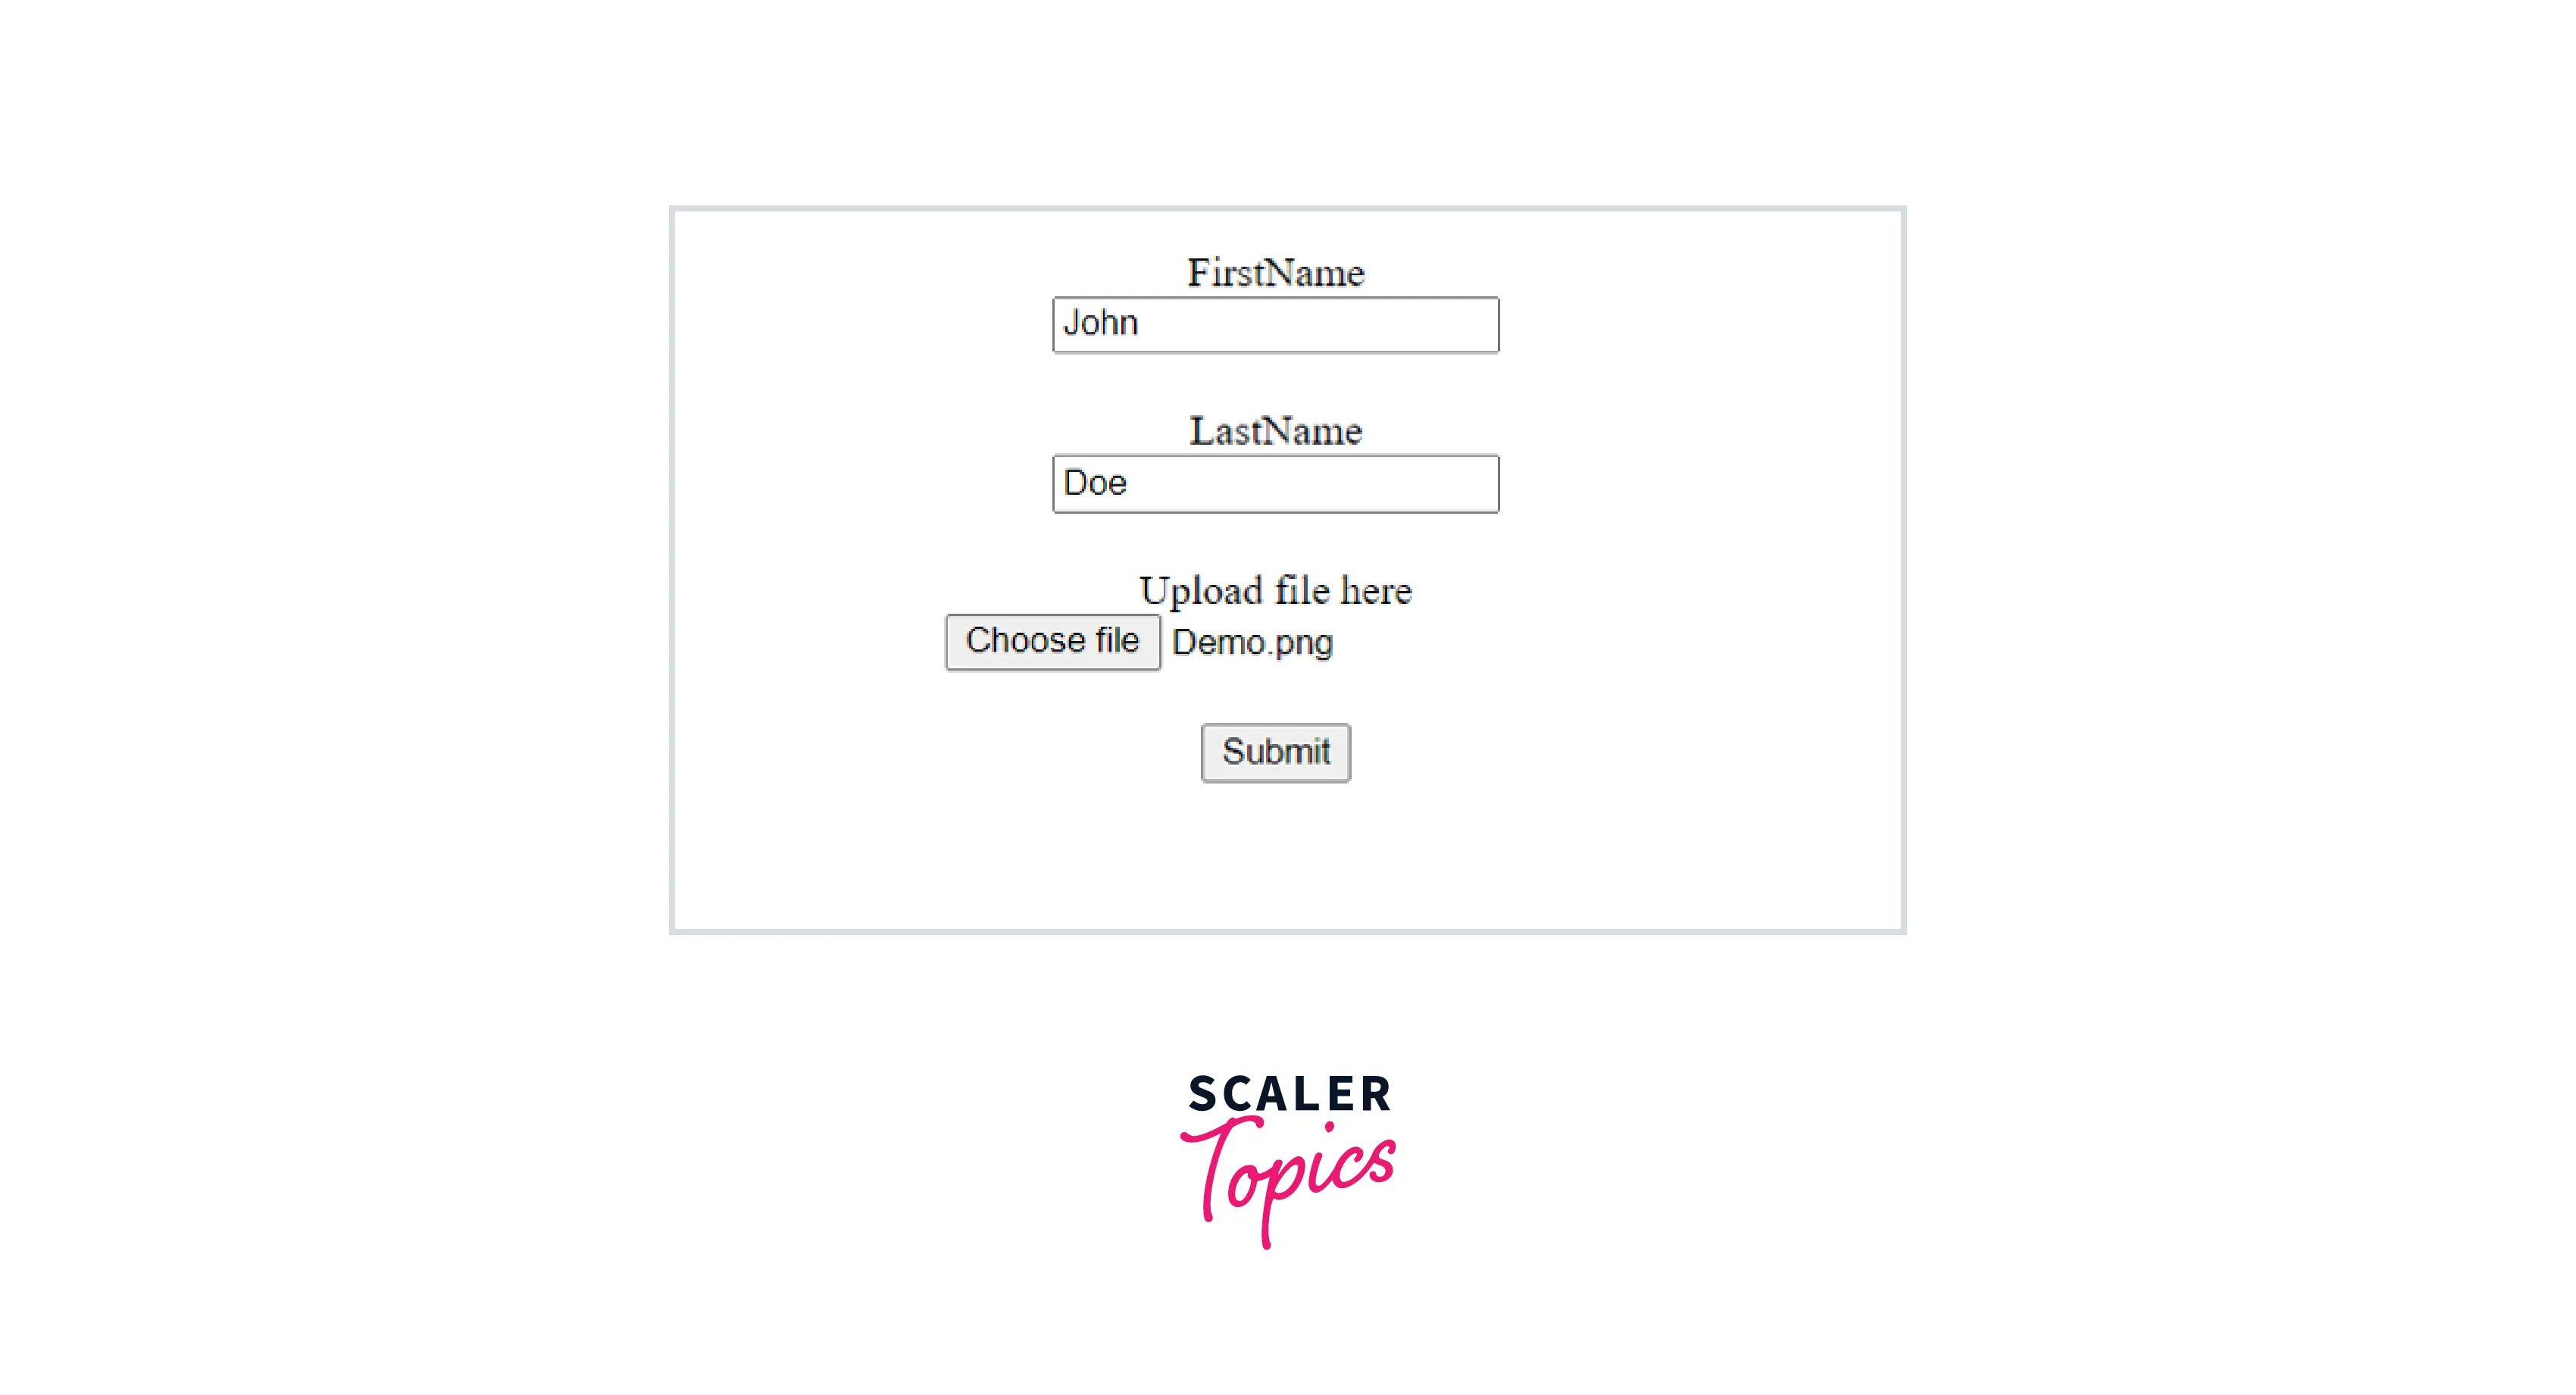
Now, as a first step, create a project directory and name it multer-demo. In this project directory, create a file index.html in which we will be making an HTML form. Write the below code in the index.html file to create a webpage with a form in it.
In the above code, a form tag is used, and the enctype attribute has been set tomultipart/form-data. The form has input tags to create text input fields for firstName and lastName, and a file input to support file upload. The form currently has the action attribute as http://localhost:3000/upload and the method as POST. The url of the API that we will be creating in Node.js is specified in the action attribute.
Now to create an API to handle the post request, you must have Node.js installed in your system. To check if Node.js is installed in your system, execute the following command in the terminal.
If Node.js is installed in your system, the above command will give the version of Node.js installed in your system, like v16.17.1.
If the command not found error occurs, then Node.js is not installed in your system. You can easily install Node.js with the help of the installer provided on the Node’s website.
After installing Node.js, to set up a Node.js project, run the following command in the current directory.
The above command will ask a set of questions as shown:
After answering all the questions a package.json file with all the information about the application will be created.
Transform Your Career
Choose from our industry-leading programs designed for career success
Modern Software and AI Engineering Program
Master full-stack development with AI integration

Modern Data Science and ML with specialisation in AI
Advanced data science techniques with AI specialization
Advanced AIML with Specialisation in Agentic AI
Deep dive into AIML with focus on Agentic systems
DevOps, Cloud & AI Platform Engineering
Build and manage AI-powered cloud infrastructure
AI Engineering Advanced Certification by IIT-Roorkee
Premier AI engineering certification from IIT-Roorkee
Installation
Now to create an API, you will be needing some other node modules that have to be installed using the Node Package Manager. Execute the below command to install express and multer.
After the successful execution of the above command, the package.json will show express and multer with their corresponding versions under the dependencies.
File Upload with Multer
Now after installing the required dependencies you can start building the API to learn the use of Multer. Create a file server.js and write the following code in it to create a server with the help of express.
In the above code, express has been imported with the help of the require() function. The express.json() and express.urlencoded() middlewares have been used. The express.json() is used to parse the incoming request object with JSON payloads. The express.urlencoded() is used to parse the request object with urlencoded payloads. They both run on a body parser. One GET endpoint at / and one POST endpoint at /upload has been created. The application has been specified to listen on PORT 3000.
On running node server.js in the terminal, the server will start. The following message will be shown in the terminal:
Now you can send requests with the help of a browser. Open http://localhost:3000 on a browser. It will show the following message:
Now open the HTML file in the browser and fill in some details in the text fields. Upload a file in the file input and submit the form. The message endpoint for file upload. will be shown on the browser, and the terminal will have the value of req.body logged out as : { }. This means that the body-parser is not able to handle the multipart format data. Hence Multer is required here.
Adding and Configuring Multer
Now to add Multer, you need to import it using the require() function. We also need to set the folder in which we need to store the encoded files. This can be configured by specifying the dest property in multer. Hence add the following two lines at the top of the server.js file.
If the dest property is not specified then the files are saved in the memory but never written to the disk. Now we will change our POST route to support the storage of files with the help of multer. Change the post route as follows:
multer({..}).single() is used when we want to handle the upload of a single file. The myFile is the value of the name attribute that we have specified for the file input tag of the HTML form. Multer will save the value of text inputs in a body object and the file in the file object. In the above code, we have logged the req.body and the req.file objects. Then send the response that the file has been successfully uploaded.
Now your final code of server.js will become:
Now start the server again and open the HTML file in the browser. Now fill the form and upload a file and then submit it.
On submitting the form, the following message will be shown on the browser:
File successfully uploaded.
In the terminal the following logs will appear:
The body object contains the text inputs as key-value pairs. The file object contains the metadata of the file that has been stored. You will now be able to see an uploads folder in the project directory. In the uploads folder a file would have been stored with the name same as the filename field in the req.file object. In our case it is 6cb17b42bb4625f6b96b0c30f6835d7a.
Normally the practice is that the file is stored in some directory on the server and the metadata or the req.file object is saved in the database. This allows fetching and decoding of file easily for further use.
The metadata contains the following fields:
| Key | Description |
|---|---|
| mimetype | Mime type of the file |
| path | The full path to the uploaded file in the disk storage. |
| fieldname | Field name specified in the form |
| destination | The folder to which the file has been saved in the disk. |
| filename | The name of the file within the destination in the disk. |
| originalname | Name of the file on the user's computer |
| buffer | A Buffer of the entire file stored in memory. |
| encoding | Encoding type of the file |
| size | Size of the file in bytes |
Now if you want to have more control over the storage of files, you have to use the diskStorage engine instead of dest object.
Use of DiskStorage
To get full control over the storage of files like the name and destination you need to use the disk storage engine. The multer diskStorage can be used as follows:
The diskstorage engine allows the manipulation of the filename and destination.
- destination - It can be given as a string or a function. If not specified the default directory for temporary files specified by the operating system is used. If a string is given as the destination, then Multer creates the directory; otherwise, if a function is given, then the directory must be created beforehand.
- filename - It determines the name of the file that is saved in the destination directory. If it is not specified, then a random name is given with no extension. The function defined should return the complete filename along with the extension.
The destination and the filename functions take three arguments - the request object (req), the file object (file) and a callback function(cb). The callback function takes two arguments: error and the name to be used for saving the file. In the above syntax, the original name has been used.
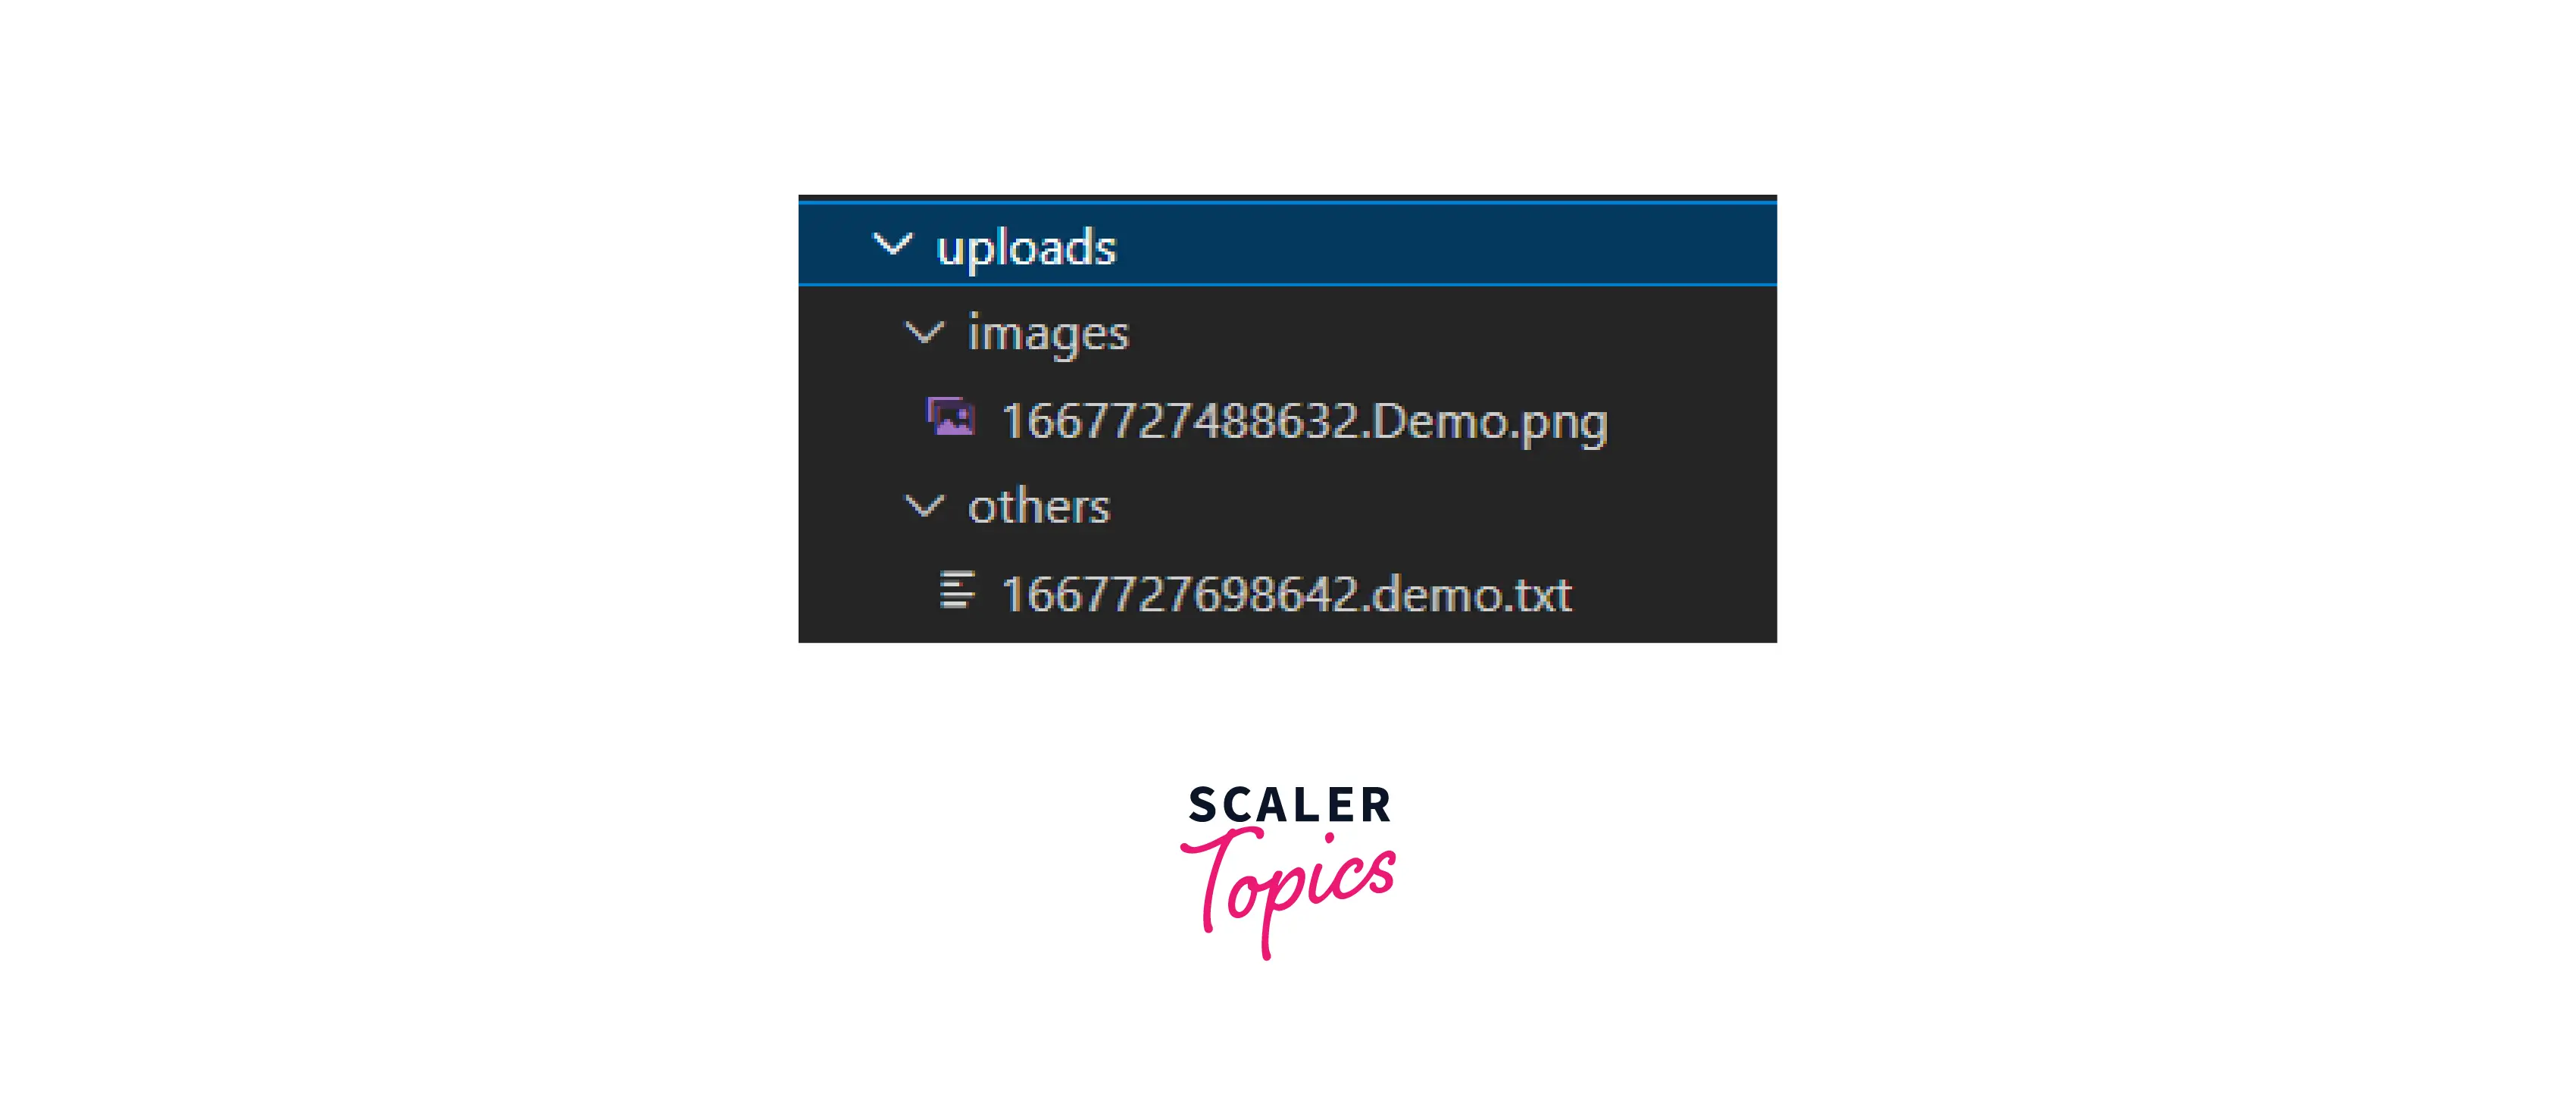
Let’s make a sample application in which we will save files in two directories images and others, on the basis of file type. images will contain images, and others will contain the rest of the files. The filename will be the current date(in milliseconds) combined with the original name and the extension.
Make two directories images and others, in the uploads folder. Write the following code in server.js.
In the above code, the diskStorage has been configured, and the multer has storage engine set instead of the destination object. The destination and filename functions have been defined in the diskStorage configuration. The destination is decided on the basis of file type with the use of if-else, and the filename has the date and original name concatenated.
On uploading an image, we got the following log in the terminal:
The file was saved in the uploads/images directory with the name of our choice.
On uploading a .txt file the following log was given:
The file was saved in the uploads/others directory with the name of our choice. The uploads directory now has the following structure:
Hence the diskStorage can help in providing more control on the destination and filename of saved files.
Turn Learning into Career Growth
Other Options in Multer
There are some other important options available in multer that can be used for configuring file uploads.
-
limits : The limits object is used to provide an upper bound on the size of the file uploaded, fieldNameSize and the number of other fields like fields, parts etc. Here is a small example to limit the size of the file:
The limits object can help in prevention of DOS(denial of service) attacks.
-
fileFilter : This function is used to decide which files must be stored and which ones can be ignored. Syntax of filefilter :
Suppose if we want only images:
Error Handling
You can handle the errors from multer by calling the multer middleware by yourself and by the use of MulterError class attached to the multer object itself.
JavaScript Maestro Seeking Full-Stack Mastery? Enroll in Our Full Stack Course and Uncover the Symphony of Front and Back-End Development.
Uploading Multiple Files
We can upload multiple files with the help of .arrays(fieldname[, max_count]). The files with the name fieldname and the number of files upto max_count can be uploaded. To handle multiple files upload the POST endpoint can be changed like this:
For multiple files, the tag for file will have multiple attribute set to true.
On sending multiple files the output will be similar to following :
The files array will have objects for each file.
Multiple Fields
For accepting files from multiple fields we can use upload.fields() function to specify the fields and their corresponding maximum counts. Here is an example :
As shown, fields is an array of objects with configuration of various fields.
Scaler Placement Report and Statistics
Scaler learners achieved 2.5x salary growth with average post-Scaler CTC reaching ₹23L.
Accept only Text Fields
upload.none() can be used to not allow upload of files. LIMIT_UNEXPECTED_FILE when file upload is done if .none() is used.
Update the post endpoint as shown below:
Now try to submit the form after uploading a file, you will see the following.
Accept all Files
upload.any() can be used to accept files of all types and sizes.
Update the POST endpoint as follows:
Now you will be able to upload any type of file.
Take your first step towards becoming a Node.js pro. Enroll in our Free Node JS course and bring your server-side JavaScript skills to a whole new level.
Conclusion
- Multer in Node.js is a middleware that is used for the easy handling of multipart/form-data that is used when file uploading is done.
- To get maximum efficiency, Multer has been built on the top of a busboy, a node.js module that is used to handle incoming HTML form data in requests.
- The multipart/form-data is a content-type that makes the browsers encode the form data in the format of a multipart message. Each part in this consists of a text input and a file input for representing each field in the form.
- The dest object is configured to set the directory in which files are to be stored.
- multer({..}).single() is used when we want to handle the upload of a single file.
- To get more control over the saving of files diskStorage engine must be used.
- limits and fileFilter are used to impose restrictions over files.
- multer.MulterError class can be used in Error Handling.
- We can upload multiple files with the help of .arrays(fieldname[, max_count]).
- For accepting files from multiple fields, we can use upload.fields() function to specify the fields and their corresponding maximum counts.