NPM Publish | Publish NPM Package
Overview
NPM or Node Package Manager is the world’s largest software repository that enables developers to publish their packages and use packages published by others. A package allows you to add some commonly used functionality to your application. If you're considering adding any generic feature to your Node application, chances are that an NPM package already exists for it. In this article, we’ll understand what NPM is, create a package and publish the NPM package using the npm publish command.
Introduction
A package may contain one or more modules and it helps us to add some functionality to our Node project. A package manager is used to manage all the project dependencies. It helps us to install, upgrade, configure, and remove the various dependencies used in our project. NPM or Node Package Manager is the default and most popular package manager for NodeJS. NPM has a CLI or command-line interface for installing and managing the project dependencies and an online repository where various Javascript packages are hosted.
Install NPM
The NodeJS installer includes both Node as well as NPM. So, if Node is already installed in your system, you can verify NPM installation by using the following command in your terminal or command prompt:
If this command logs an error saying command not found, you need to follow the steps discussed below to install NPM. Else if it logs a version number, it means that NPM is already installed, and you can skip to the next section in this article.
Step 1: Download the Installer
Go to NodeJS's official website, which will automatically detect your OS and show the installer which is supported by your OS. NodeJS is updated frequently with new features and performance improvements, but it may be unstable due to frequent updates. Hence, it is always recommended to use the latest LTS(Long-Term Support) version as it is more stable and reliable.
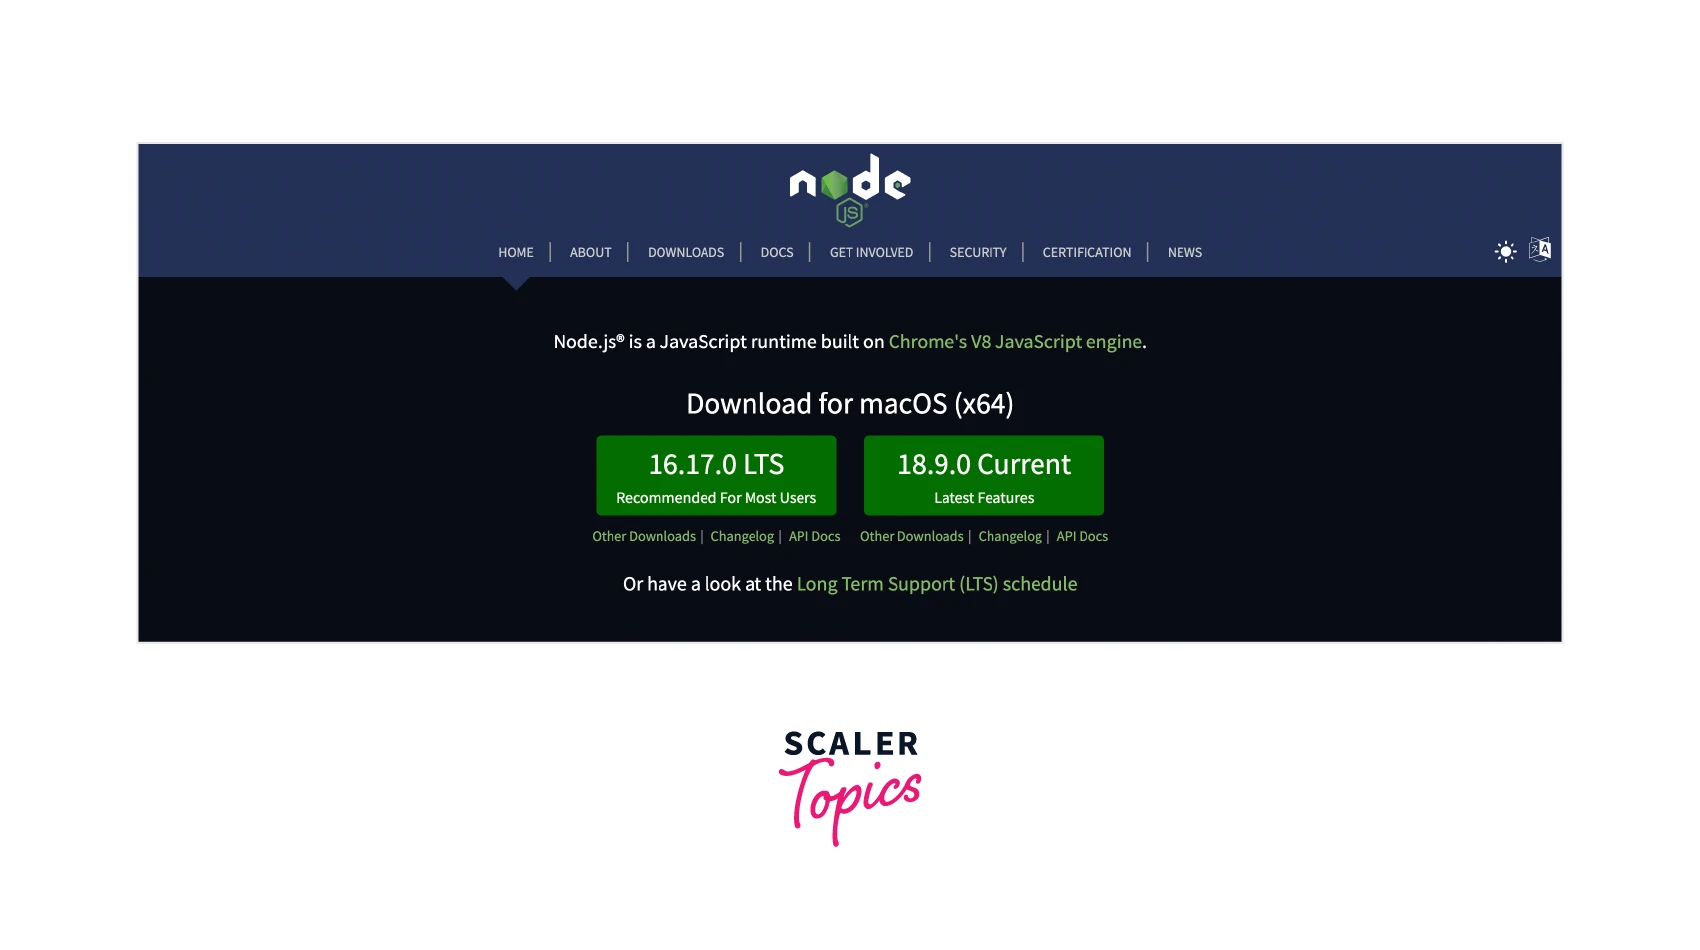
Click on the latest LTS version, and the NodeJS installer will be downloaded to your system.
Step 2: Install NodeJS and NPM
Locate and open the NodeJS installer on your computer. You’d see the version and location of the directory where NodeJS and NPM will be installed. Click on Continue

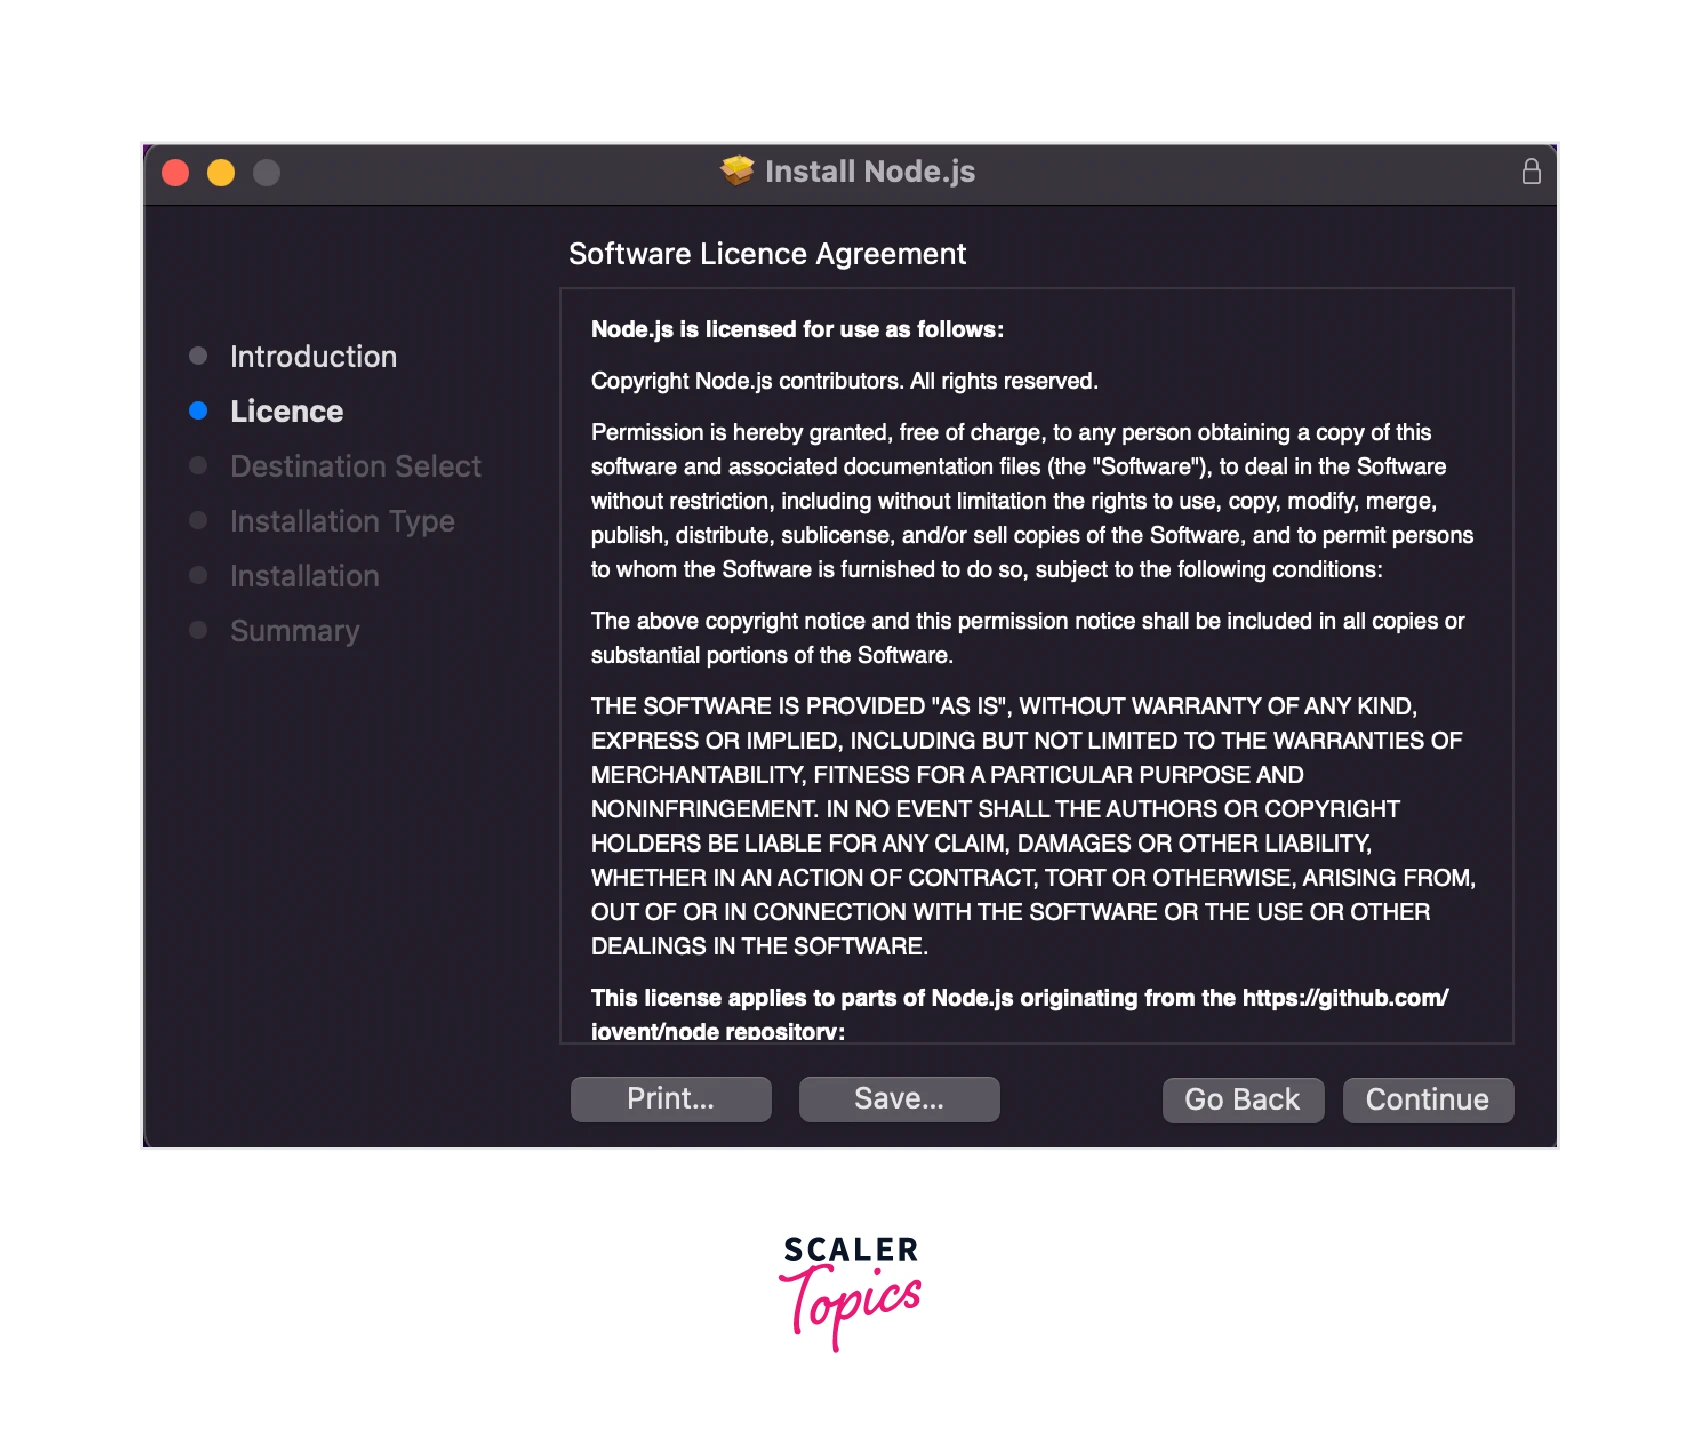
Now, you’d be prompted to accept the software license agreement.
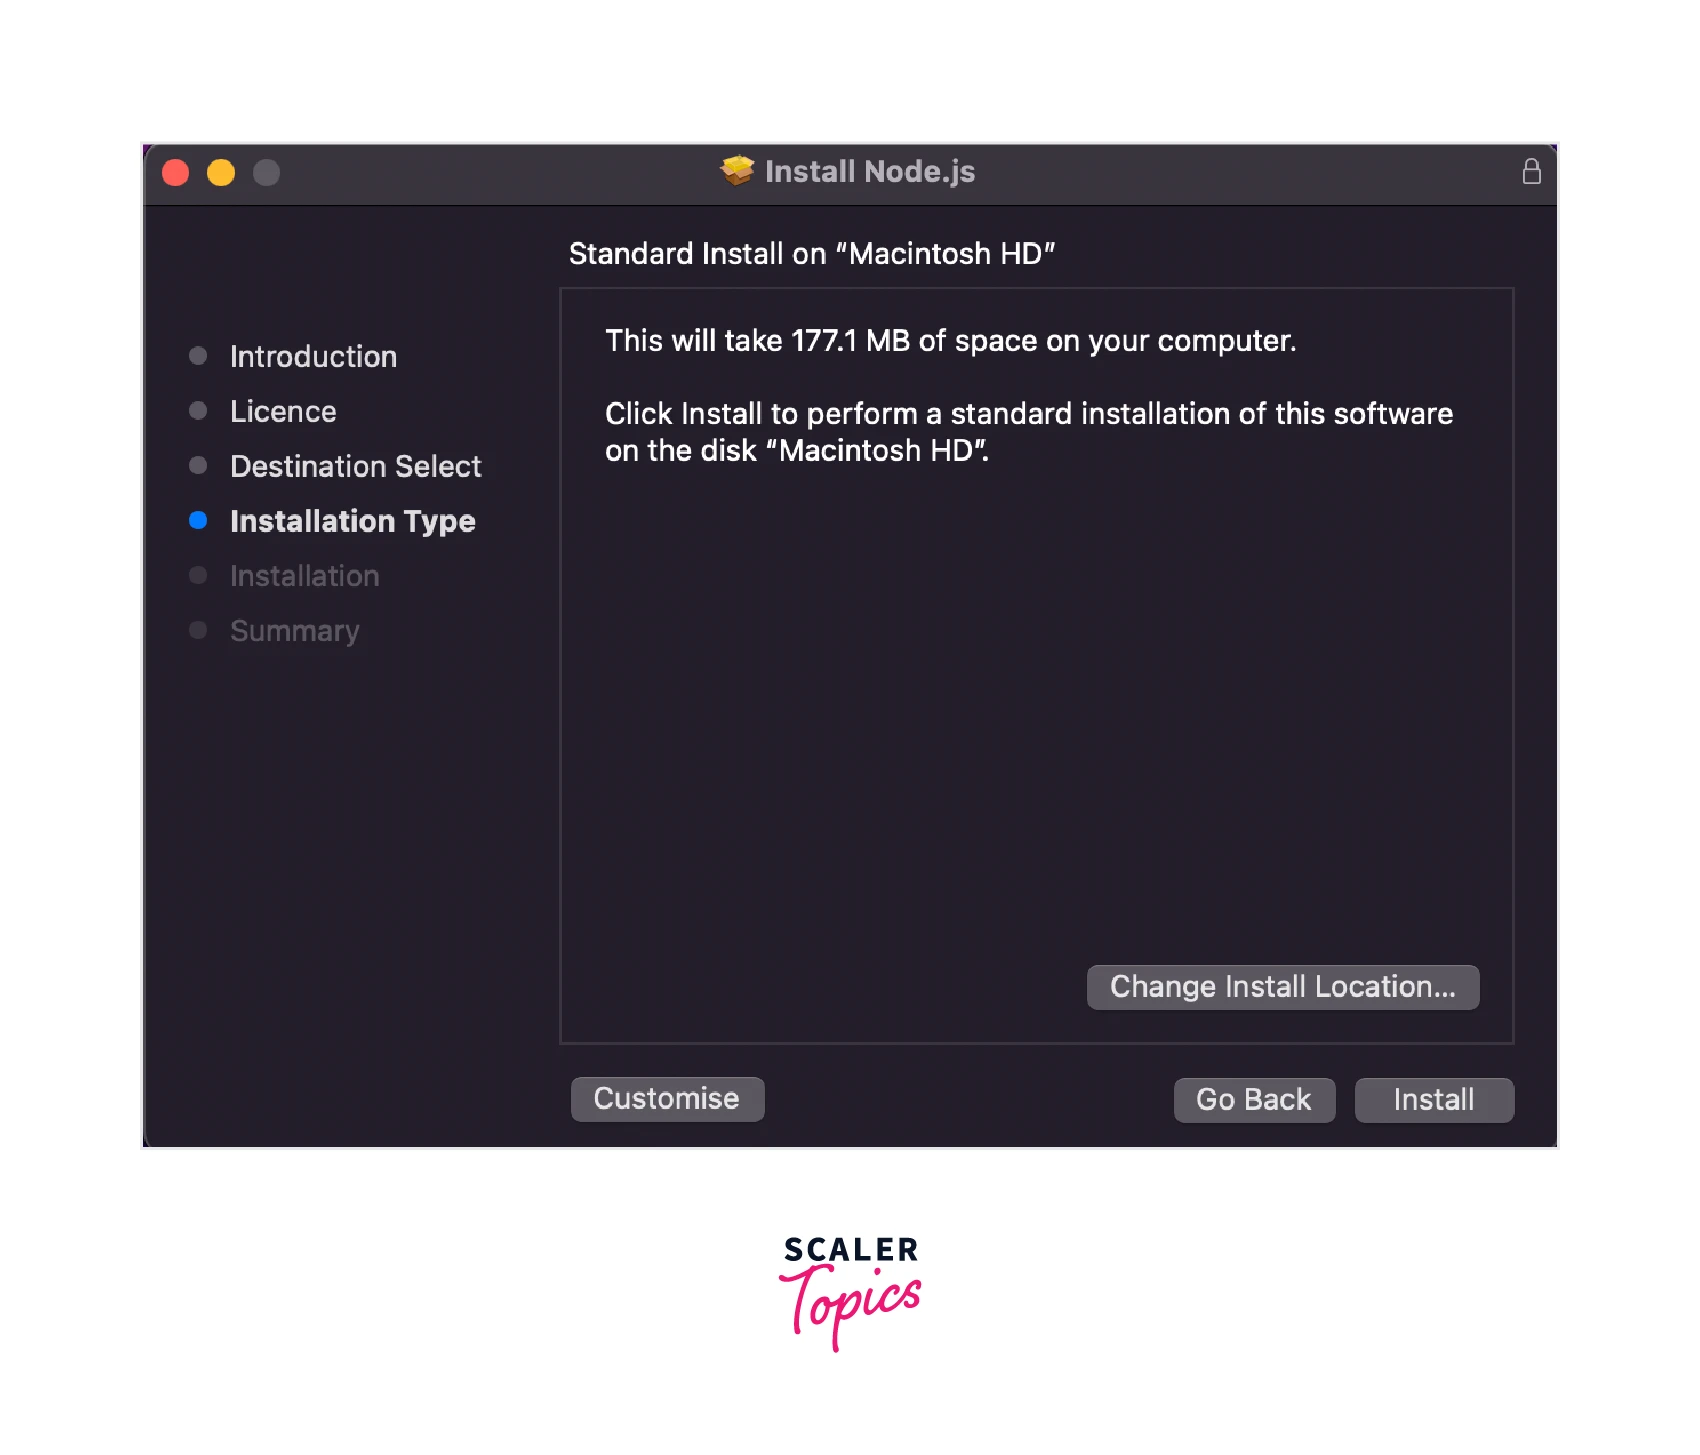
On the next screen, you’d be shown the disk space that is required for the installation. To change the location of the installation, you can click on Change Install Location and select the install location of your choice and finally click on Install
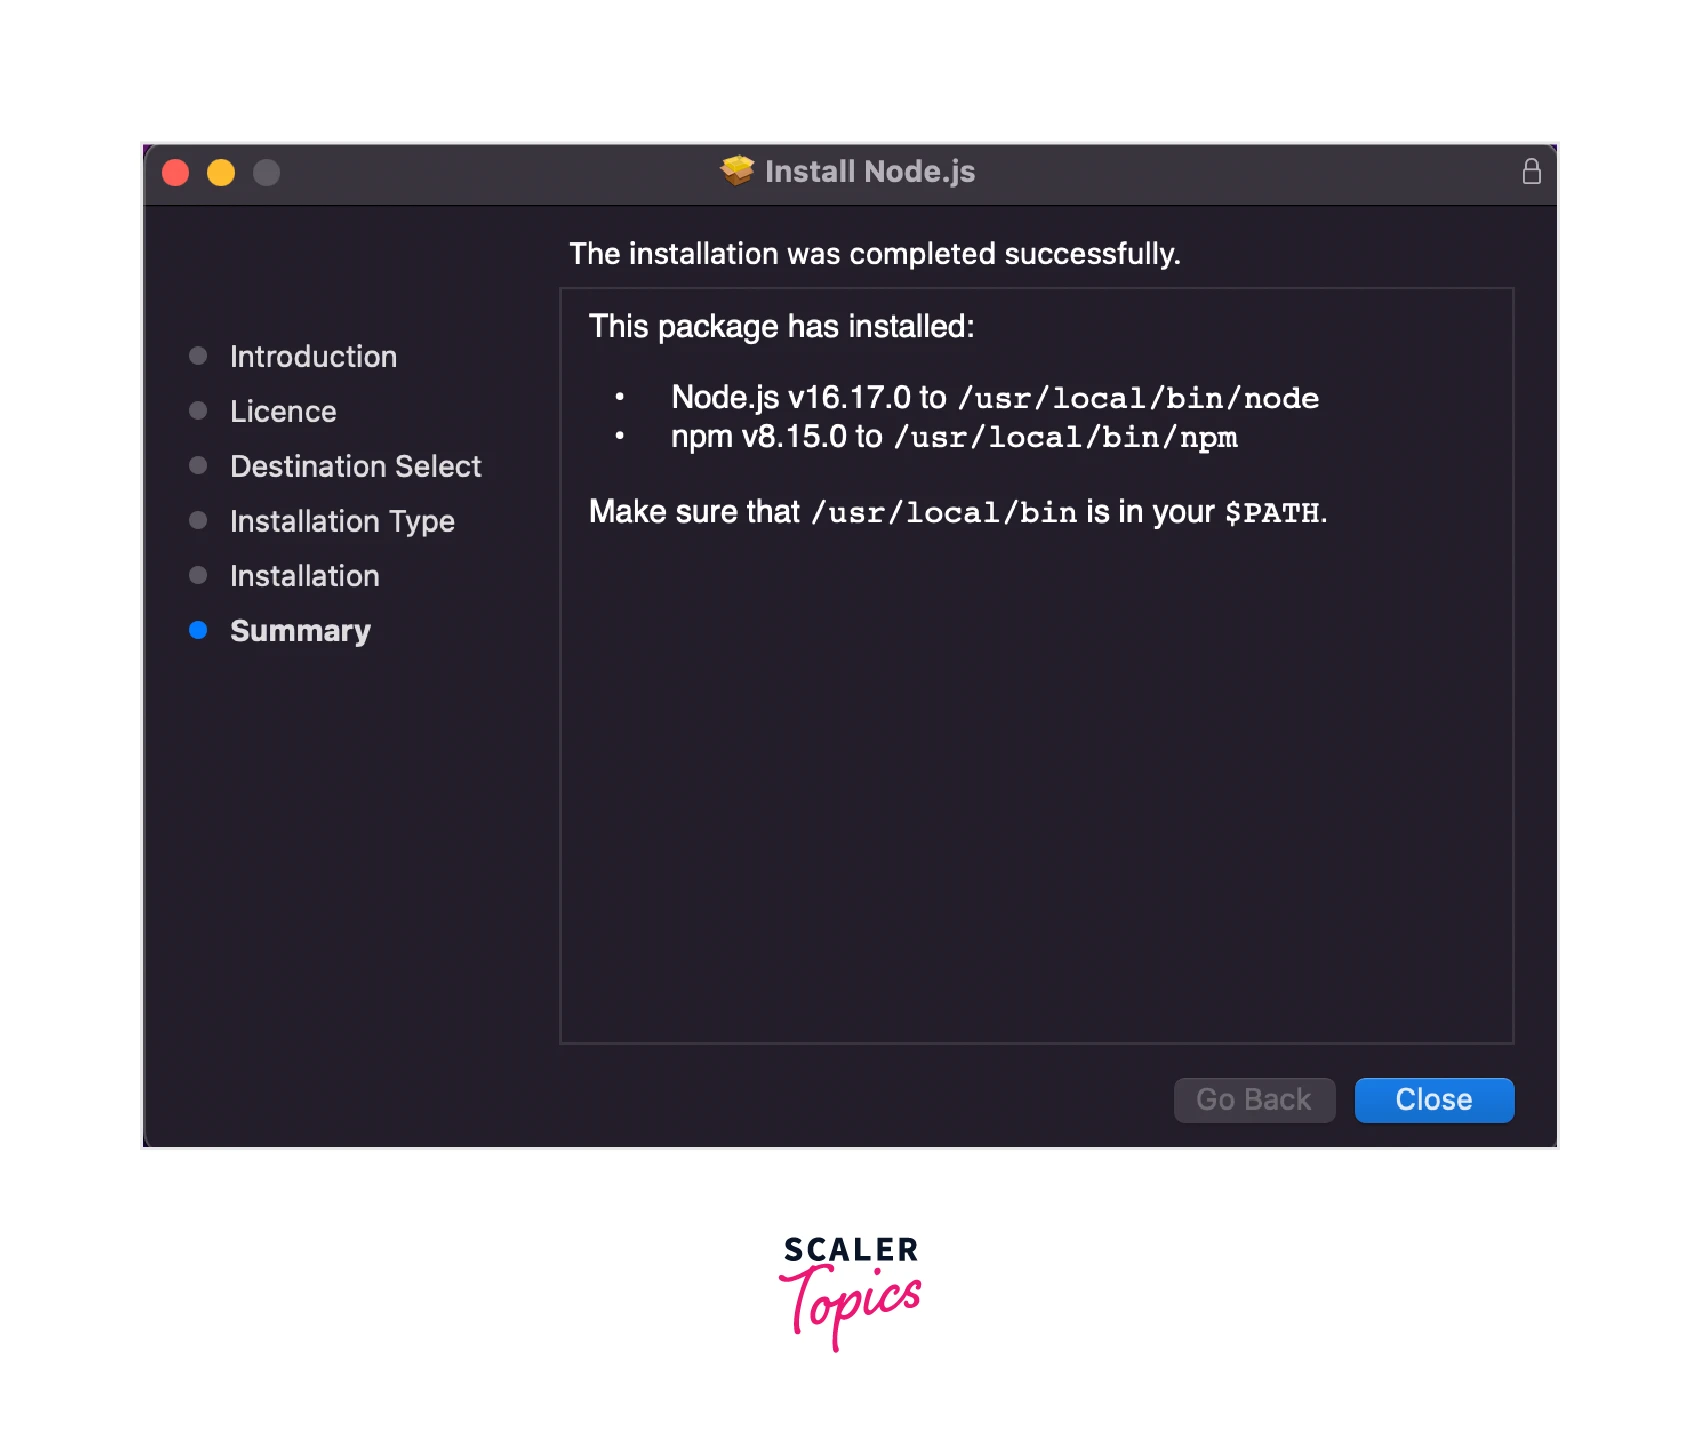
With this, Node and NPM are successfully installed on your system. Now, you can close the installer.
Step 3: Verify Installation
Open your terminal or command prompt and type node -v to check the version of Node that is installed on your computer.
Now, to check the version of NPM, use npm -v
With this, you have successfully installed Node and NPM on your computer.
Choose a Package Name
NPM package names can either be scoped or unscoped. The scope is a way to group related packages together. Each registered user and organization has its own scope in NPM. Only users who have access to the scope can publish an NPM package with that particular scope. Scoped package names are usually referenced as:
Before creating a new package repository, you should check if a package with the same name already exists on NPM. For unscoped packages, the package name must always be unique. Similarly, you cannot have two packages with the same name in the same scope. But, if there’s an unscoped package with the name my-package, you can create a new package with the same name in a different scope @myscope/my-package
Scaler Placement Report and Statistics
Scaler learners achieved 2.5x salary growth with average post-Scaler CTC reaching ₹23L.
Creating your First Package
Let’s create and publish an NPM package to count the number of words in a given string. Create a new directory word-counter and initialize NPM.
It will then prompt you to add the package details like the package name, version, description, git repository, etc. If you’d like to skip these, you can directly use npm init -y to initialize the package with its default values. This creates a file named package.json. It is a JSON file present in the root directory of every Node project and holds important information like project name, description, version, etc. It also contains the list of all the dependencies needed to run the project. Now, in the root directory, create a new file index.js. Inside this file, we’ll export a function that counts the number of words in the string passed as an argument to this function.
Thus, we have successfully created a simple package, and in the next section, we’ll learn how we can publish this NPM package.
Publishing Your Package to NPM
To publish an NPM package, we need to create an account on its website. If you don’t have an account already, go to their signup page and enter all the required details to create a new account. After creating a new account, you need to log in to NPM in your CLI. In the terminal, run
The CLI will prompt you to enter your username, password, and email. After entering these details, you should be logged into your NPM account. Now, to publish your package to NPM, make sure you’re in the root of your package directory and run
If you receive an error after running this command, it’s very likely that a package with the same name already exists on NPM. In this case, you need to change the package name in package.json to something unique. If the package was published successfully, you can go to NPM's website and search for the package name; you should see the package listed there.
Using the Published Package
Now, let's create a new Node project word-counter-test and try to use our newly published NPM package in our project. First, let us start with creating a new directory and initializing NPM.
Since our package is already published on NPM, we can install the package in our project using the npm install command. In the below command, replace word-counter with your package name
Now, create a new file index.js. In this file, we’ll import our package and use the countWords() method defined in the package
In the terminal, run node index.js, and the number of words in the string should be logged in the terminal.
Unpublishing your Package
After publishing a package on NPM, other developers may already be using it. So, it is usually not recommended to unpublish a package. For this reason, you can unpublish an NPM package within 72 hours, only if no other NPM package is dependent on your package. A package can only be unpublished after 72 hours if it has a single maintainer and not more than 300 downloads in the previous week.
To unpublish an NPM package, run the below command
This command will remove the package from NPM. If you want to remove a single version of a package, you can use this command instead:
Conclusion
- NPM is the largest software registry in the world with over 2.1 million packages.
- It also has a CLI tool that helps in installing, configuring, and managing all the packages used in our Node application.
- You should always use the latest LTS(Long Term Support) version of Node as it is more stable and reliable since the LTS version is guaranteed to receive critical bug fixes for at least 30 months.
- A package may contain one or more files that add some functionality to the Node project. A package must always have the package.json file to be published to the npm registry.
- package.json file contains all the metadata about the Node project in human-readable JSON format.
- You can publish an NPM package using the npm publish command and install it using the npm install command.
- Unpublishing an already published Node package is not recommended as other developers may already be using your package in their NPM package or other projects.