How to Install Pandas in Python?
Overview
When analyzing data using Python, Pandas is a game changer, one of the most popular and commonly used tools in data analytics. What's nice about Pandas is that it takes data from a CSV or TSV file or a SQL database and generates a Python object with rows and columns called a data frame, which looks remarkably similar to a table in statistics tools like Excel. Working with this is far more convenient than dealing with lists and/or dictionaries. However, to work with it, we must first learn how to install Pandas on our system and then install Pandas on our devices.
Introduction
NumPy may considerably simplify our lives when dealing with large amounts of numerical data. However, there are occasions when various data are involved, and Numpy is not usually the ideal choice. Pandas come in helpful in such cases. It has numerous application possibilities, but the preferable situation is to read files that are not solely numerical, such as " .csv " or " .xlsx " files which include numerical data and textual metadata about those data.
Before delving into the intricacies of the Pandas Library, we must first grasp the idea of NumPy arrays. But why NumPy? Because NumPy is the foundation of the open-source software package Pandas.
Now that you're familiar with NumPy let's move on to Pandas.
Introduction to Pandas
So, what exactly is Pandas? Pandas is an acronym that stands for " Python Data Analysis Library." Pandas is a widely used library for managing tabular data, data manipulation, and analysis based on NumPy. The fact that Pandas saves the information as a Python object containing rows and columns, comparable to data saved in Excel files, is probably its best feature. Also, we can quickly view our data in this manner, which makes our task much easier than dealing with data in the form of lists or dictionaries. Also, it has an advantage over NumPy in that it can handle numerous data types (e.g., strings), rather than only numerical data; nonetheless, this makes it slower than NumPy.
Following a quick introduction to Pandas, let us look at the prerequisites before installing Pandas on our system.
Prerequisites
To "work with" Pandas, we must first install it. Python 3.5.x or later is also required. It requires Python 3.6, 3.7, or 3.8 as a prerequisite for installation. It also relies on other libraries (such as NumPy) and has optional dependencies (like Matplotlib for plotting). As a result, the simplest approach to get Pandas up and running is to use PyPi or Conda to install it. Conda is the package manager upon which the Anaconda distribution is based. It is a cross-platform and language-independent package manager.
Now let us look at how we can install Pandas on our system. Before installing the Pandas package, ensure that you have installed Python or Anaconda and have established the environment variables to access Python, pip, or pip3 commands through the command line, shell, or terminal according to your operating system.
Install Pandas on Windows
As previously said, we can update or get Pandas to the newest version in various methods based on how we installed Python. First, let's look at installing Pandas on Windows using the pip and conda commands.
Method 1: Using pip
It's a package installation tool that simplifies the installation of Python modules and frameworks. Pip will be installed with Python by default if you have a later version of Python available (greater than Python 3.5.x). If you're using an earlier version of Python, you'll need to install pip before you can install Pandas. The simplest method to accomplish this is to update to the most recent version of Python, which can be found at this link.
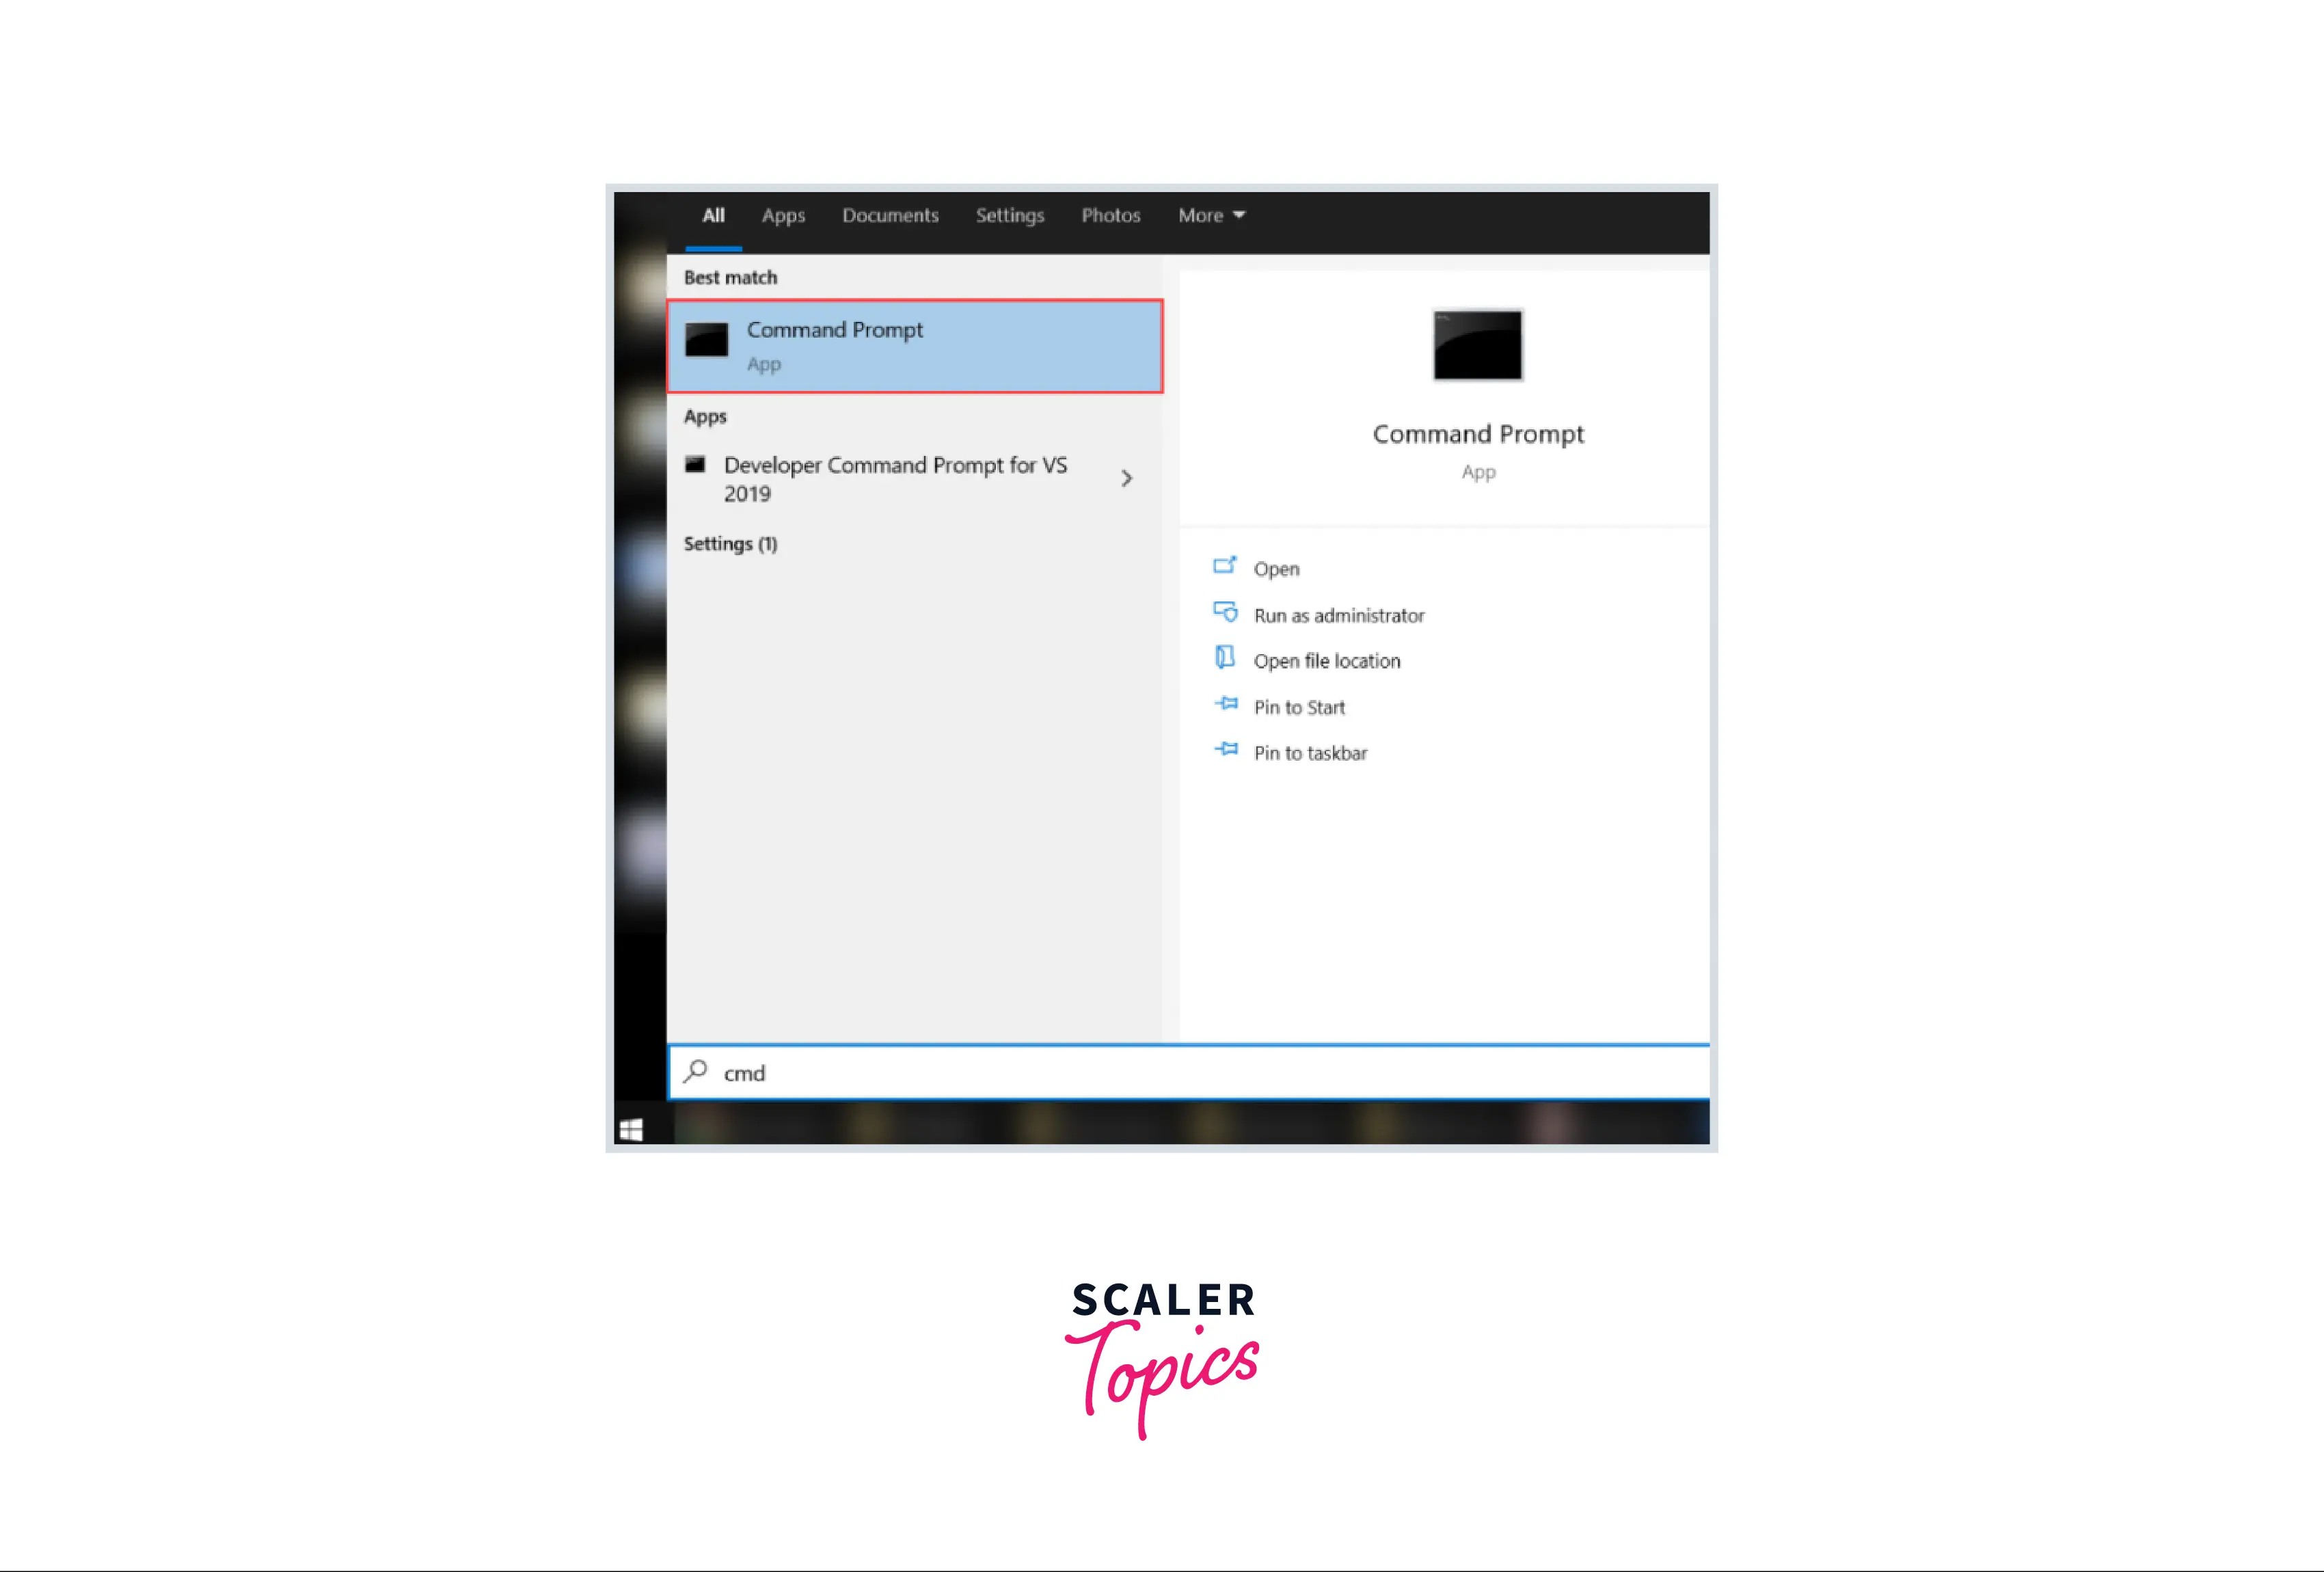
Step 1: Launch Command Prompt
To open the start menu, use the Windows key on your keyboard or click the Start button. For example, when you type "cmd" the Command Prompt app should display in the start menu, and once you can view the command prompt app, launch the app. Alternatively, you may hit the Windows key + r to bring up the "RUN" box, where you can input “cmd” and then press enter. It will also launch the Command prompt.
Step 2: Enter the command
After you open the command prompt, the following step is to enter the needed command to begin the pip installation. For example, enter the command shown below.
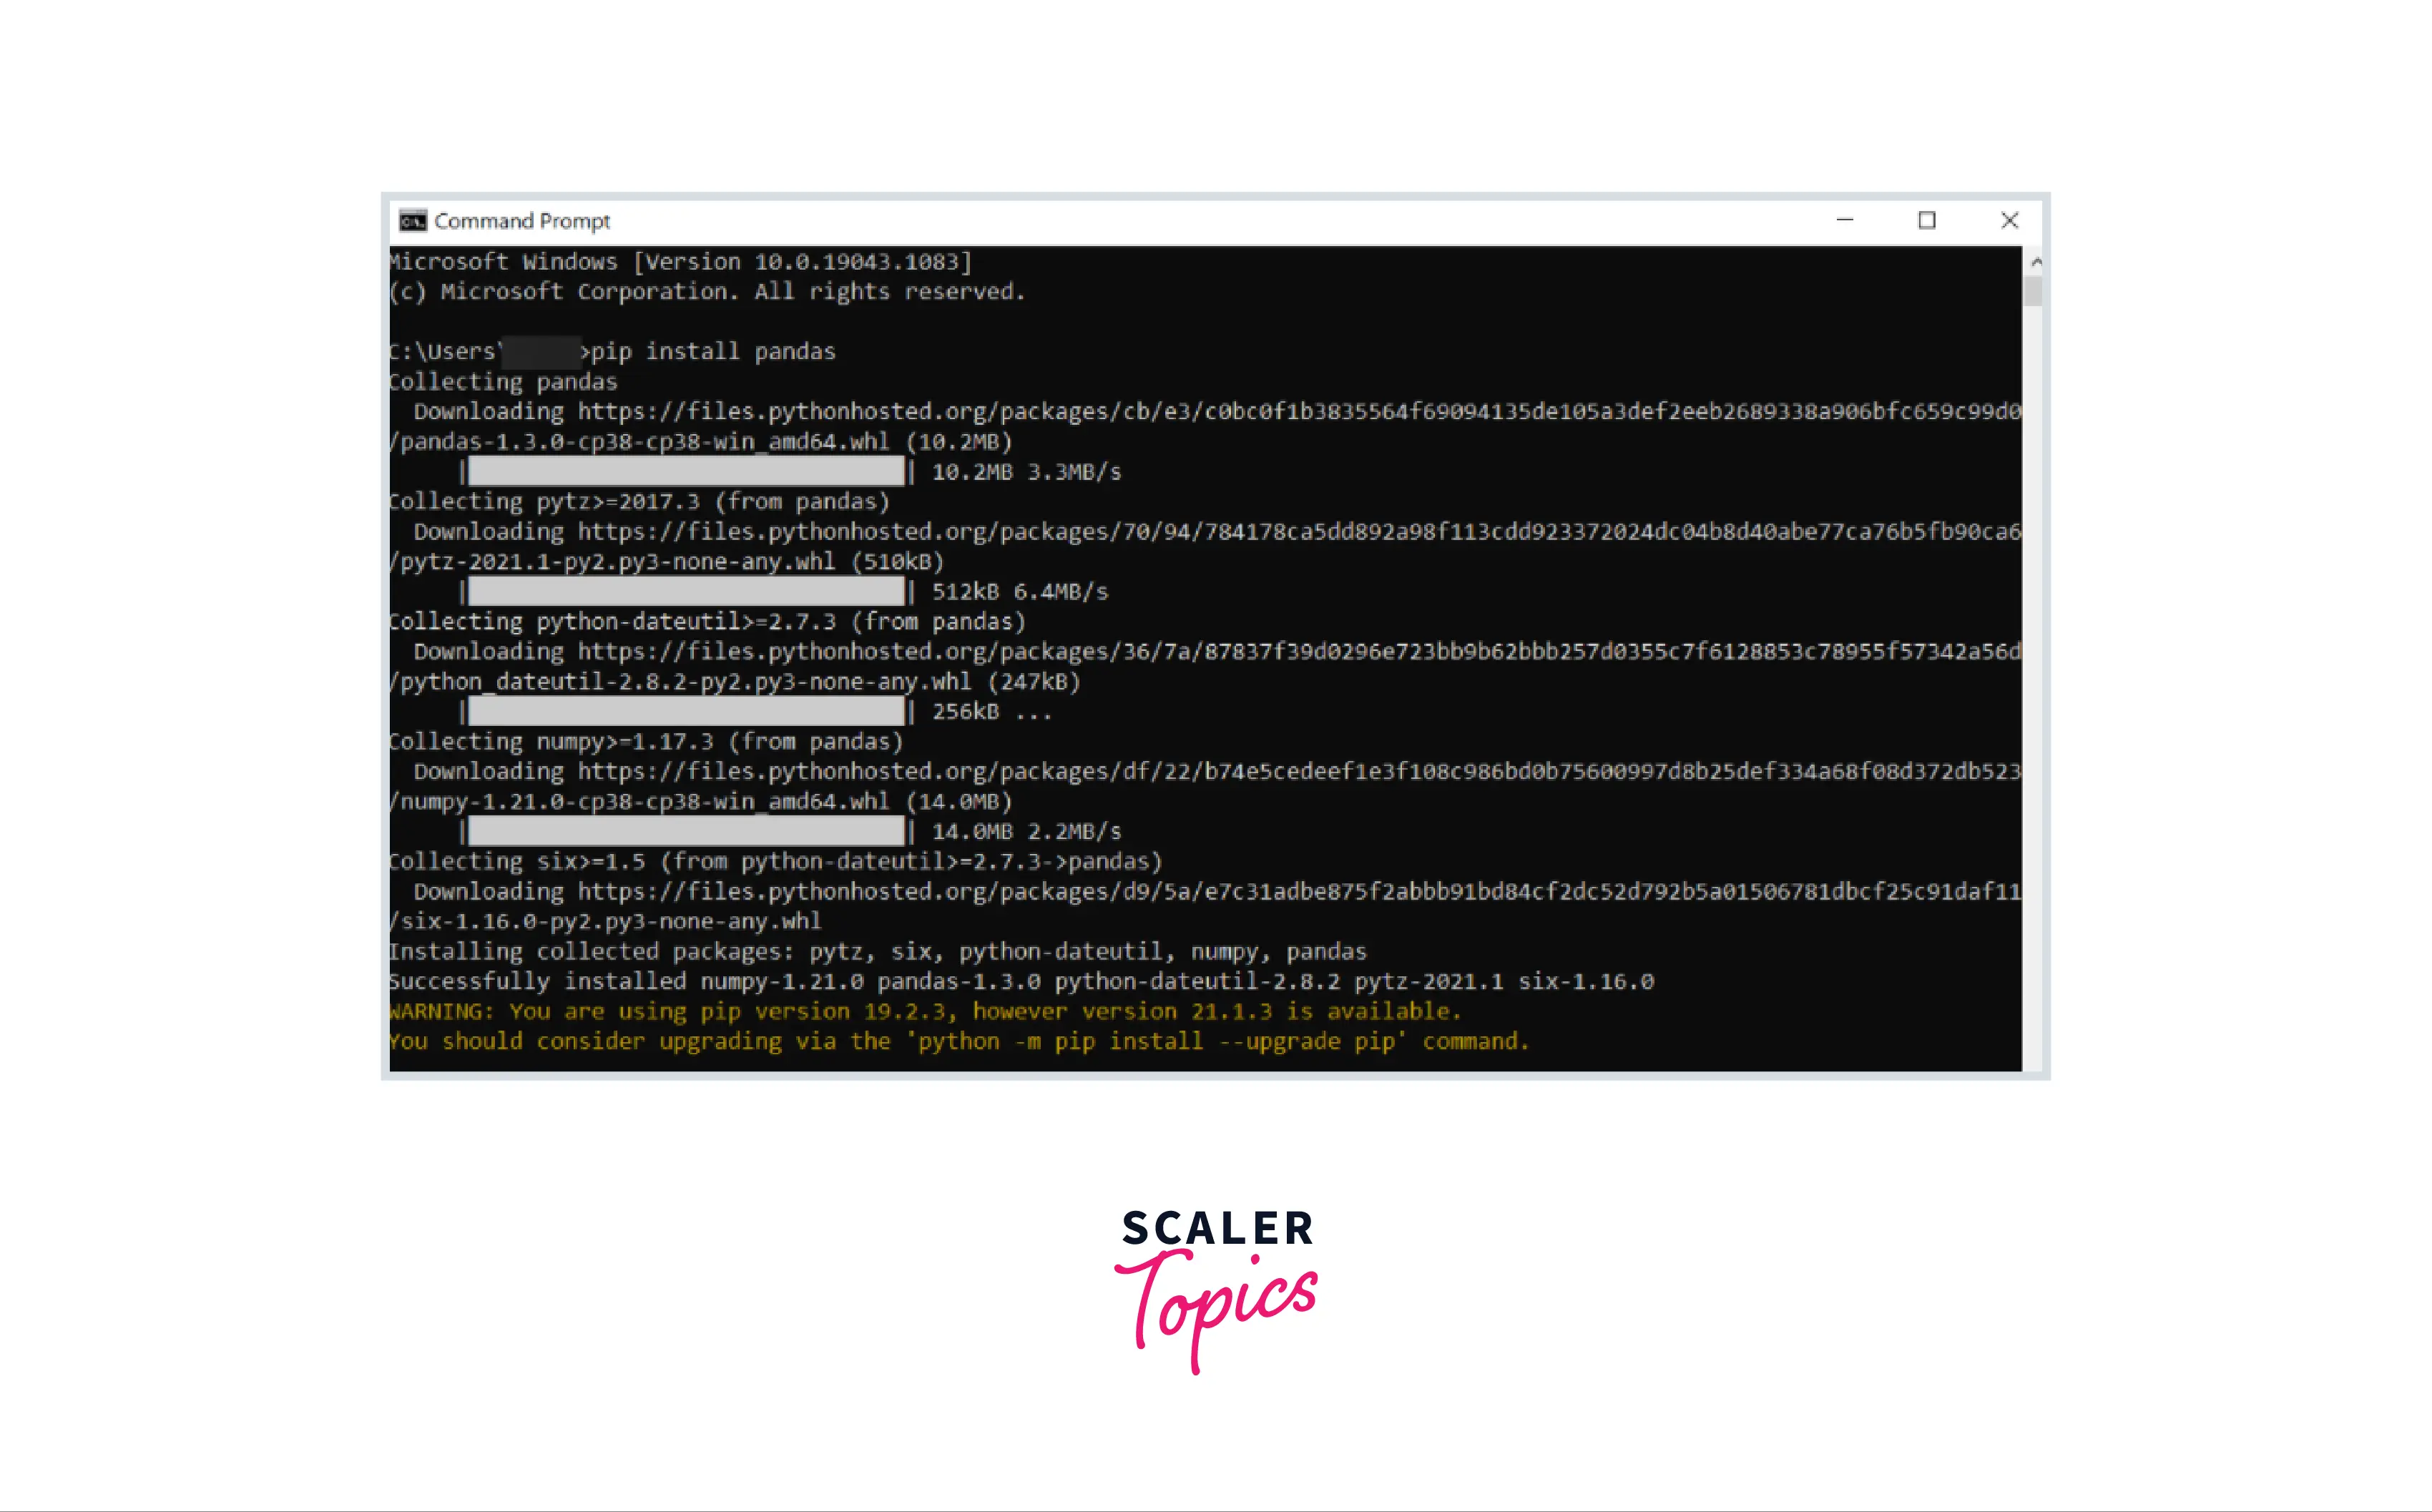
This will start the pip installation. After downloading the necessary files, Pandas will be set to operate on your computer. You can employ Pandas in your Python projects once the installation has been completed.
Transform Your Career
Choose from our industry-leading programs designed for career success
Modern Software and AI Engineering Program
Master full-stack development with AI integration

Modern Data Science and ML with specialisation in AI
Advanced data science techniques with AI specialization
Advanced AIML with Specialisation in Agentic AI
Deep dive into AIML with focus on Agentic systems
DevOps, Cloud & AI Platform Engineering
Build and manage AI-powered cloud infrastructure
AI Engineering Advanced Certification by IIT-Roorkee
Premier AI engineering certification from IIT-Roorkee
Method 2: Using conda
Installing Pandas using Anaconda is the best option if you are unfamiliar with command-line programming. Anaconda is a sophisticated Python distribution that provides access to various libraries besides Pandas. Anaconda will become increasingly handy as you learn further about Python.
Step 1 : Download Anaconda
To install Anaconda, go to this page and then click on the "Download" button on the right.

The file of the latest version of Python available for your Windows PC will start downloading.
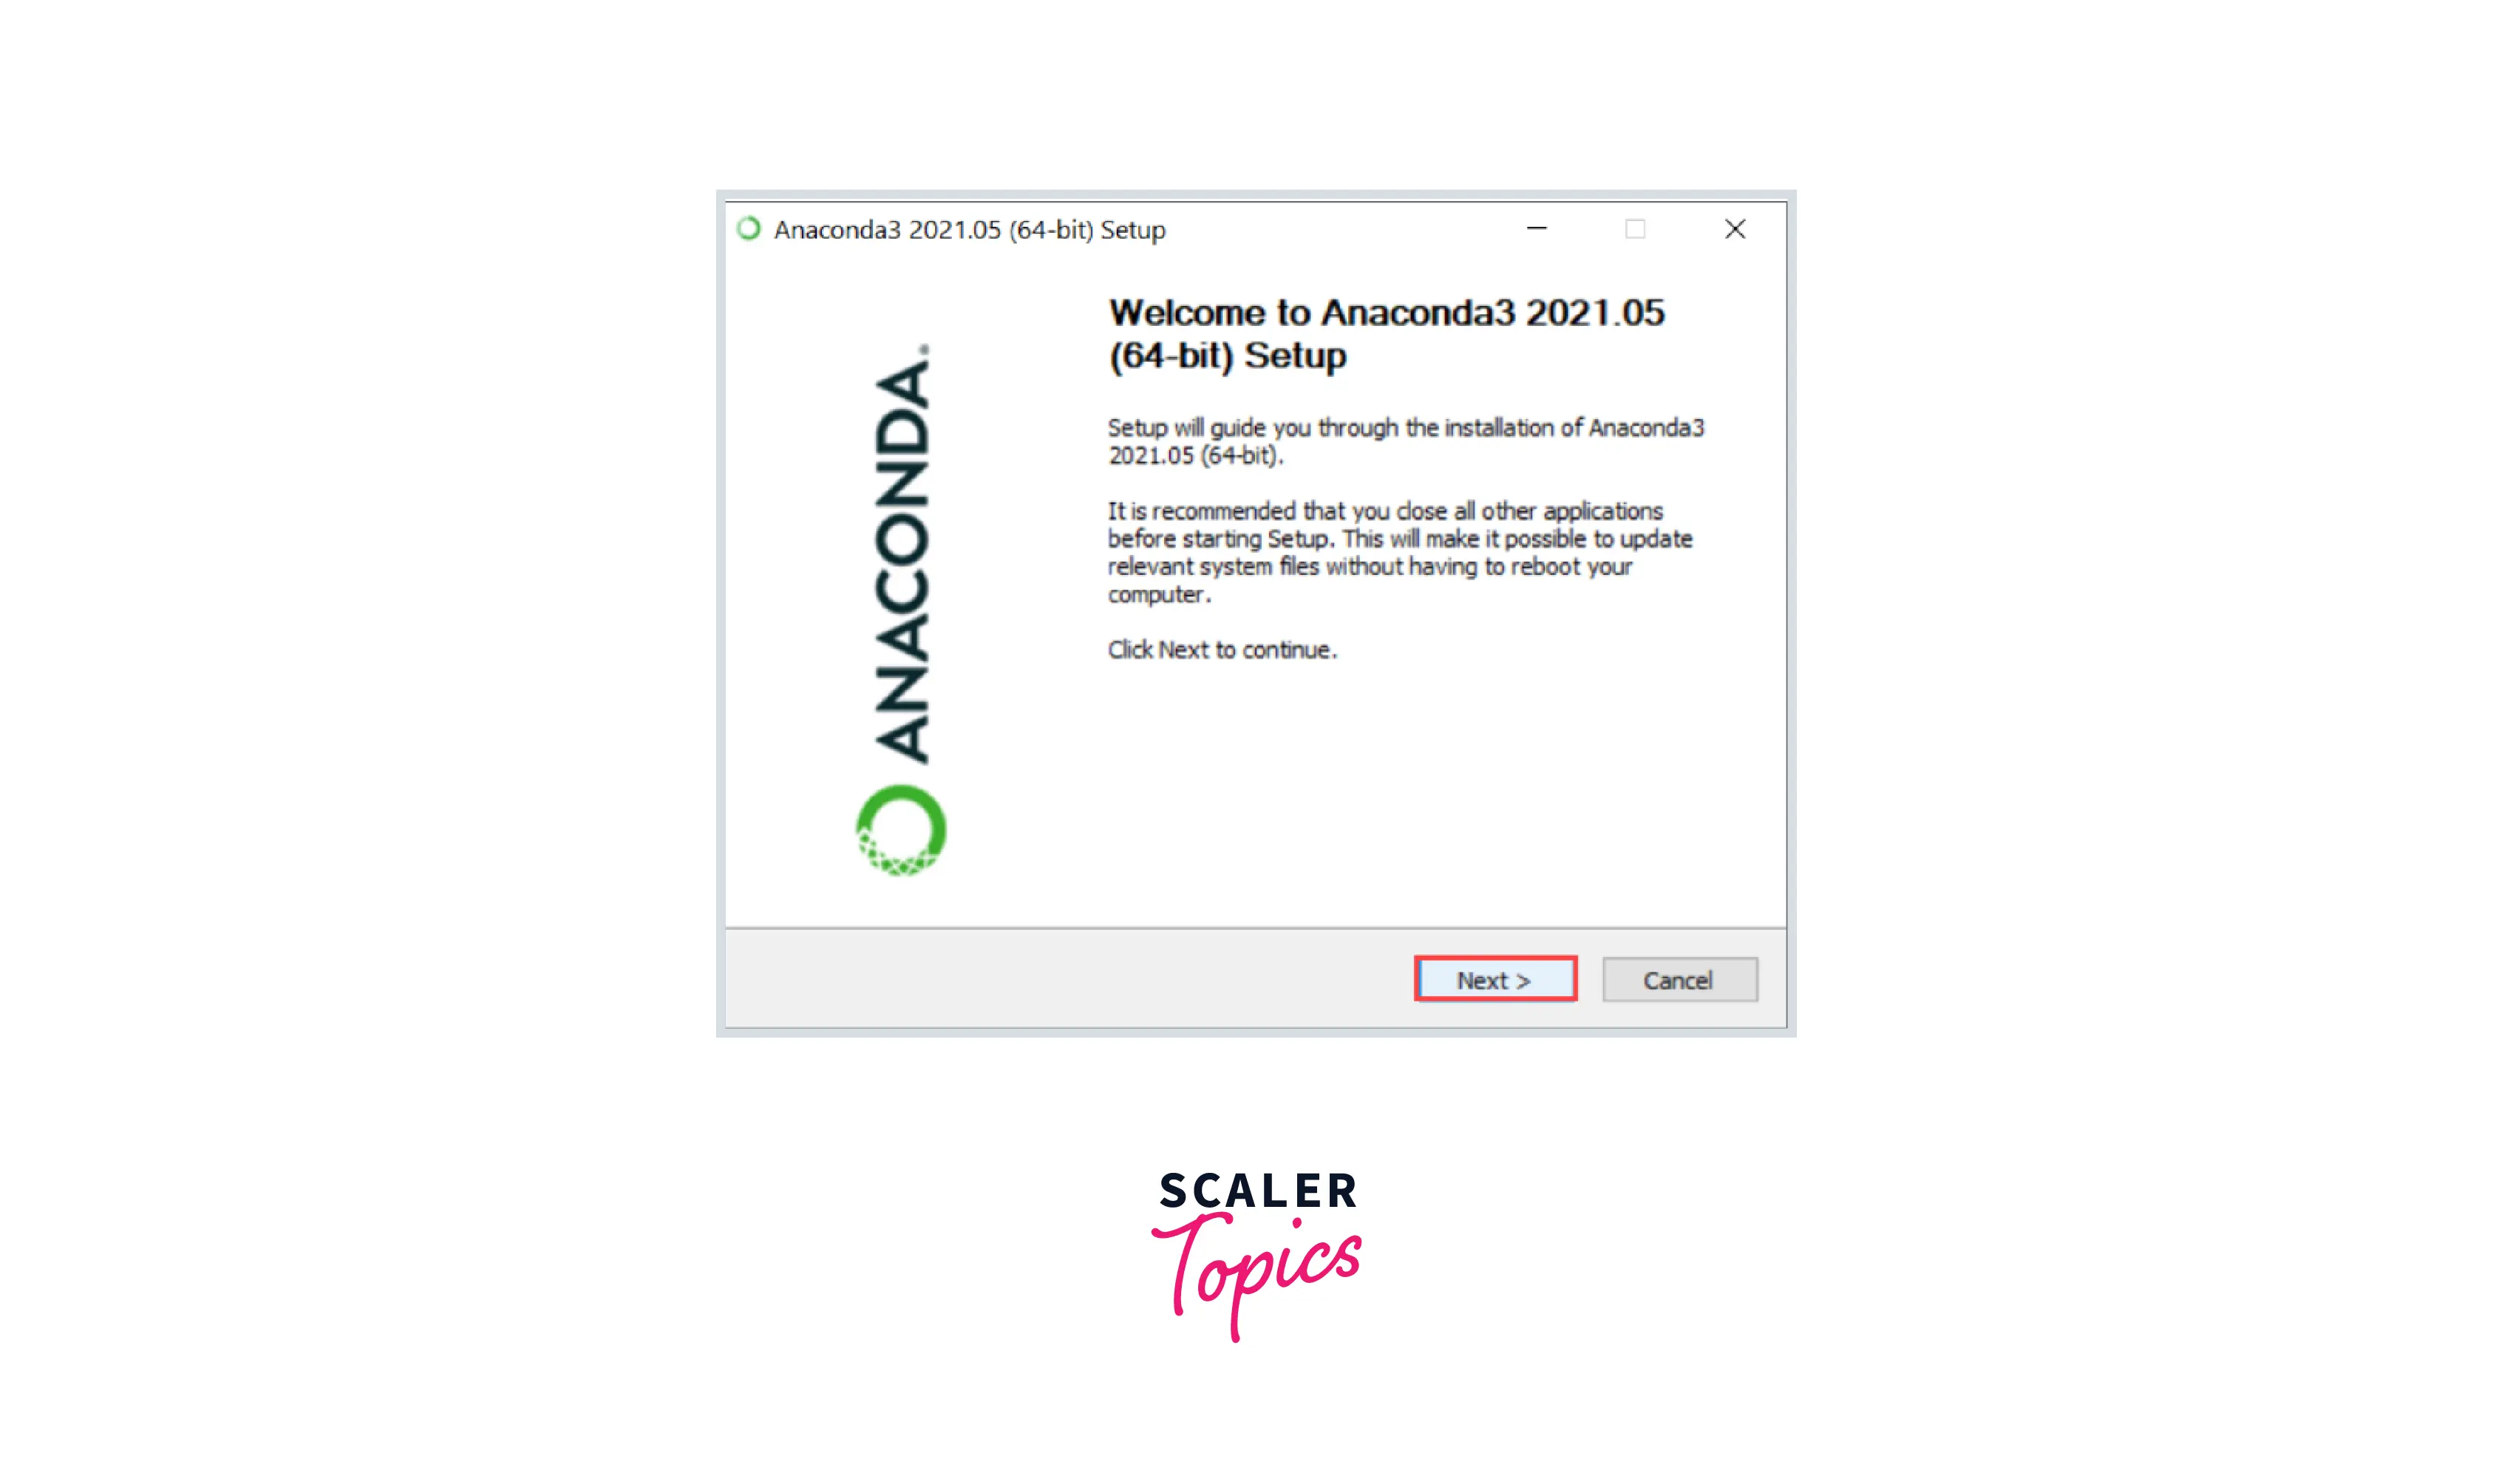
Step 2 : Install Anaconda
Start your installation from the website by clicking the "Next" button.
Then, click the "I Agree" option to accept the licensing agreement.

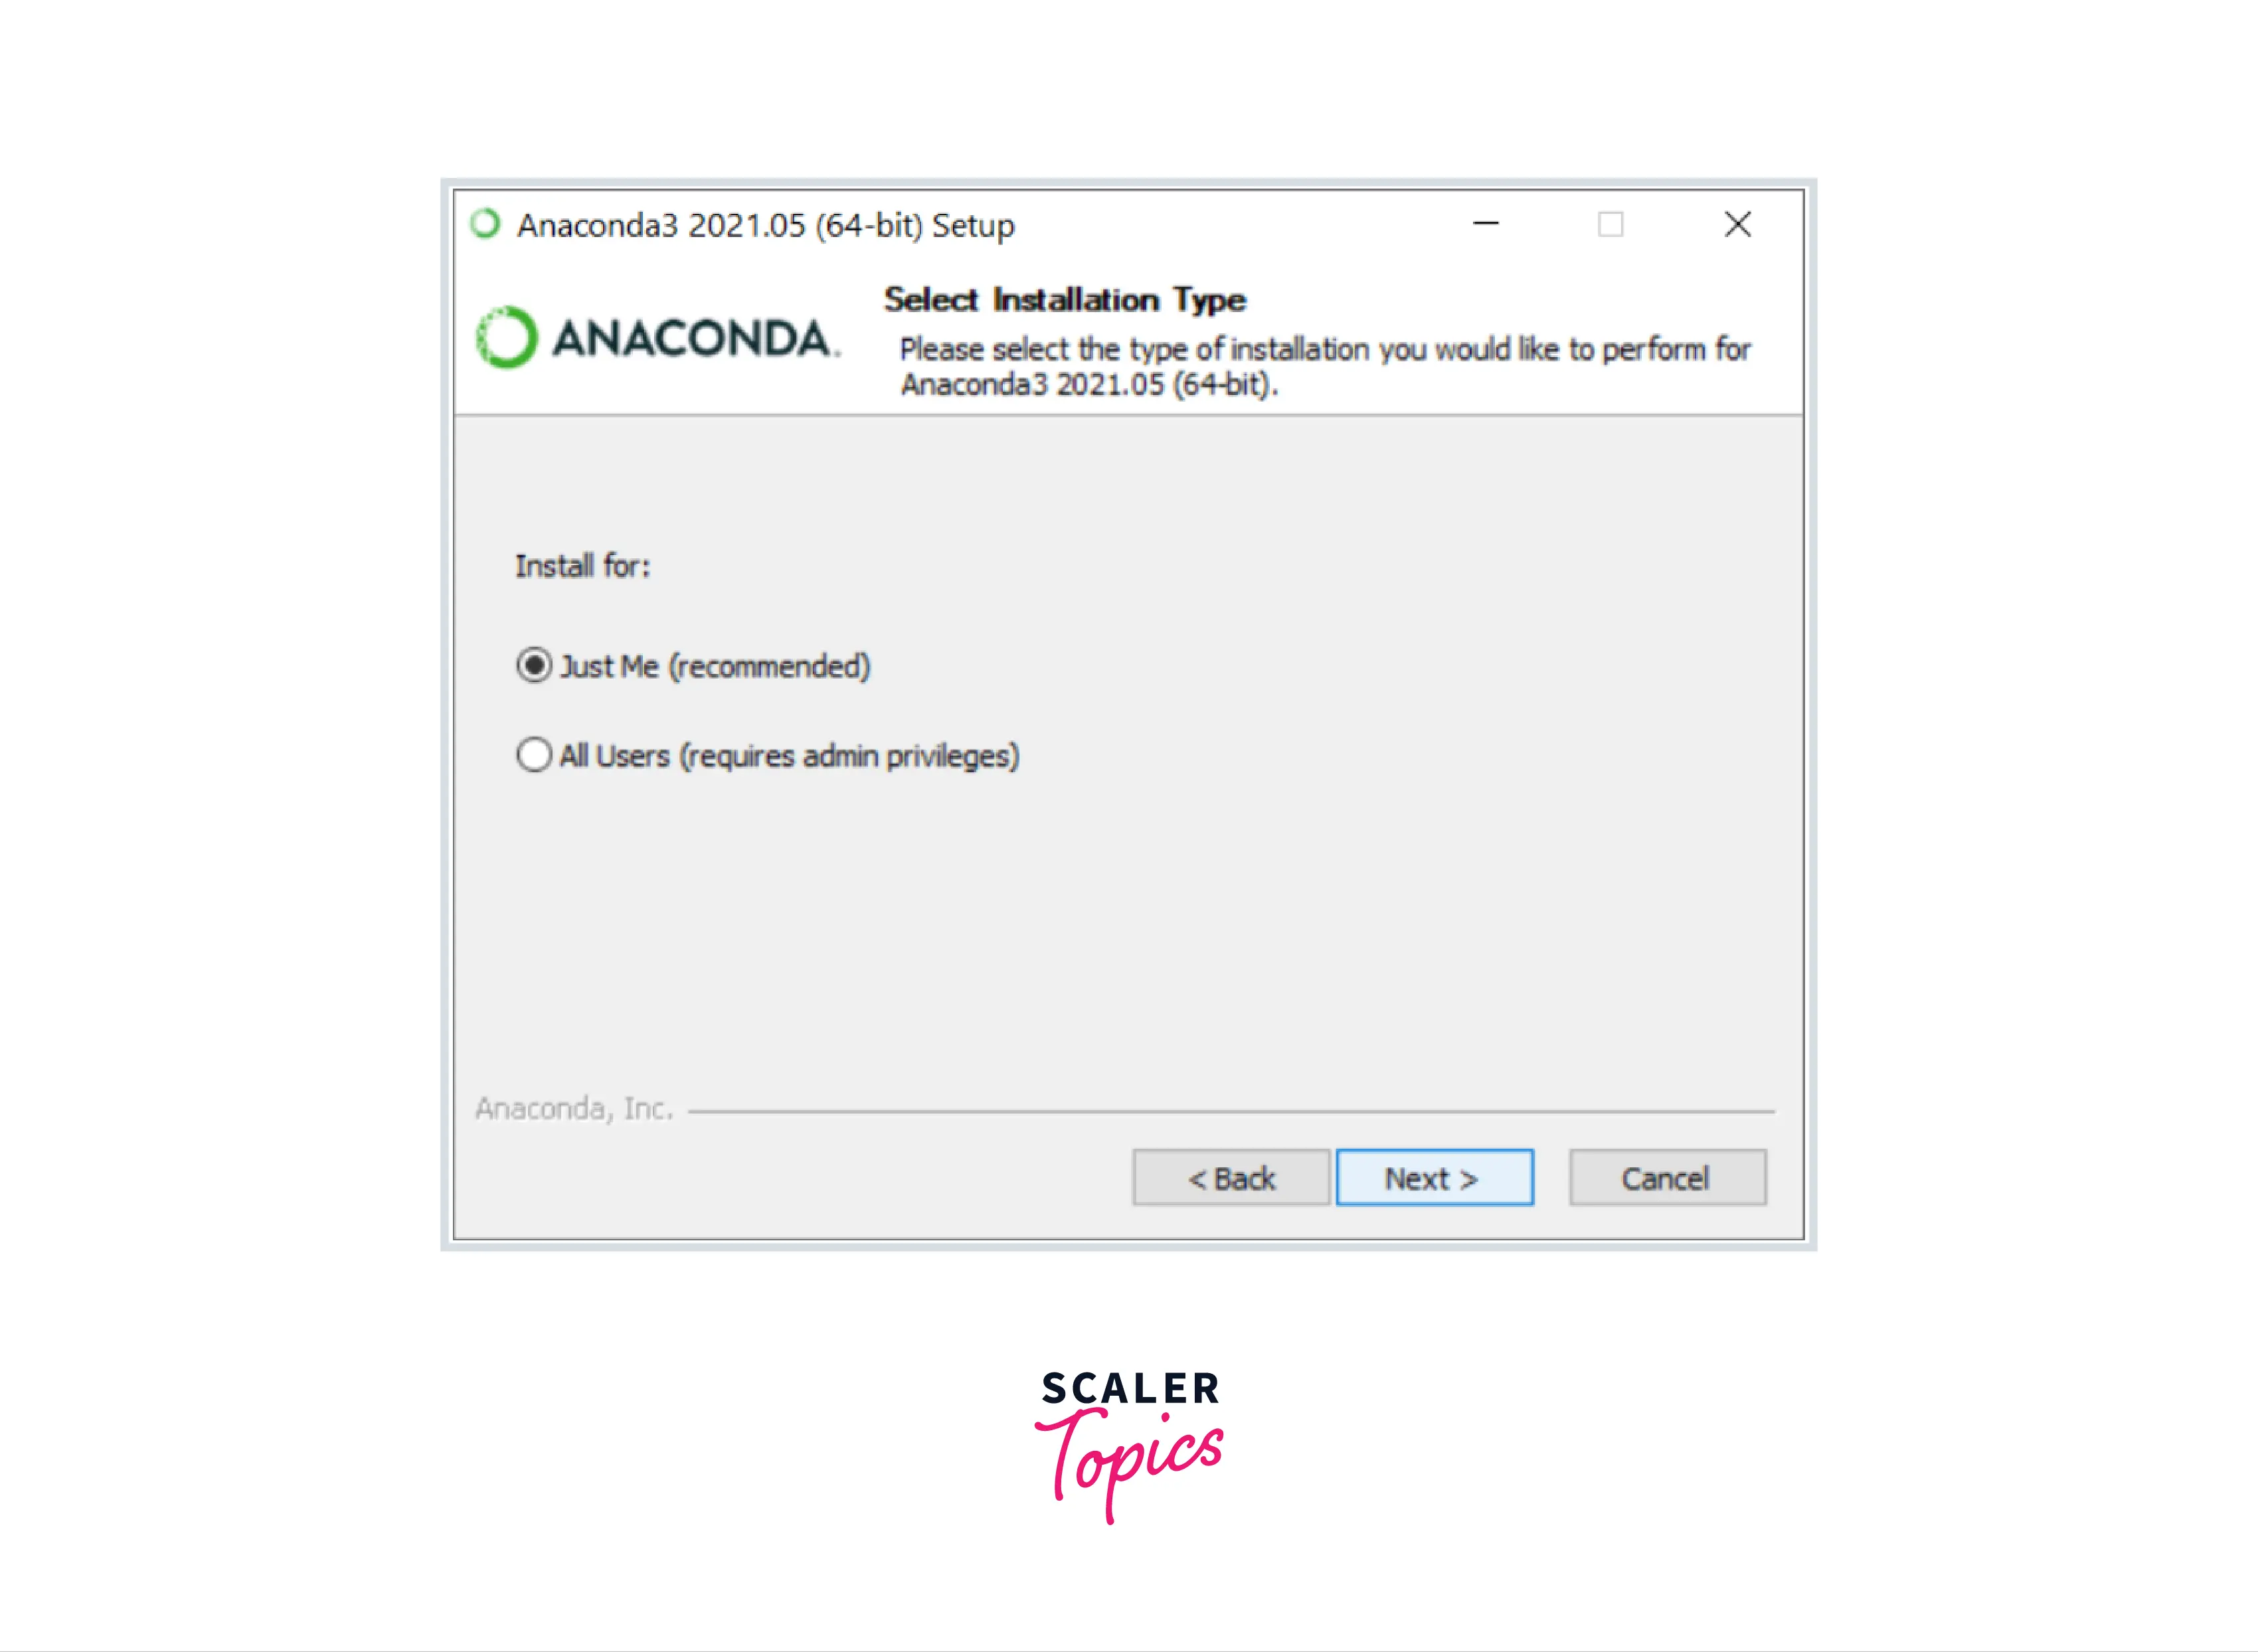
Then, pick the user accounts for whom Pandas should be installed. We proceeded by selecting the recommended "Just Me" option.
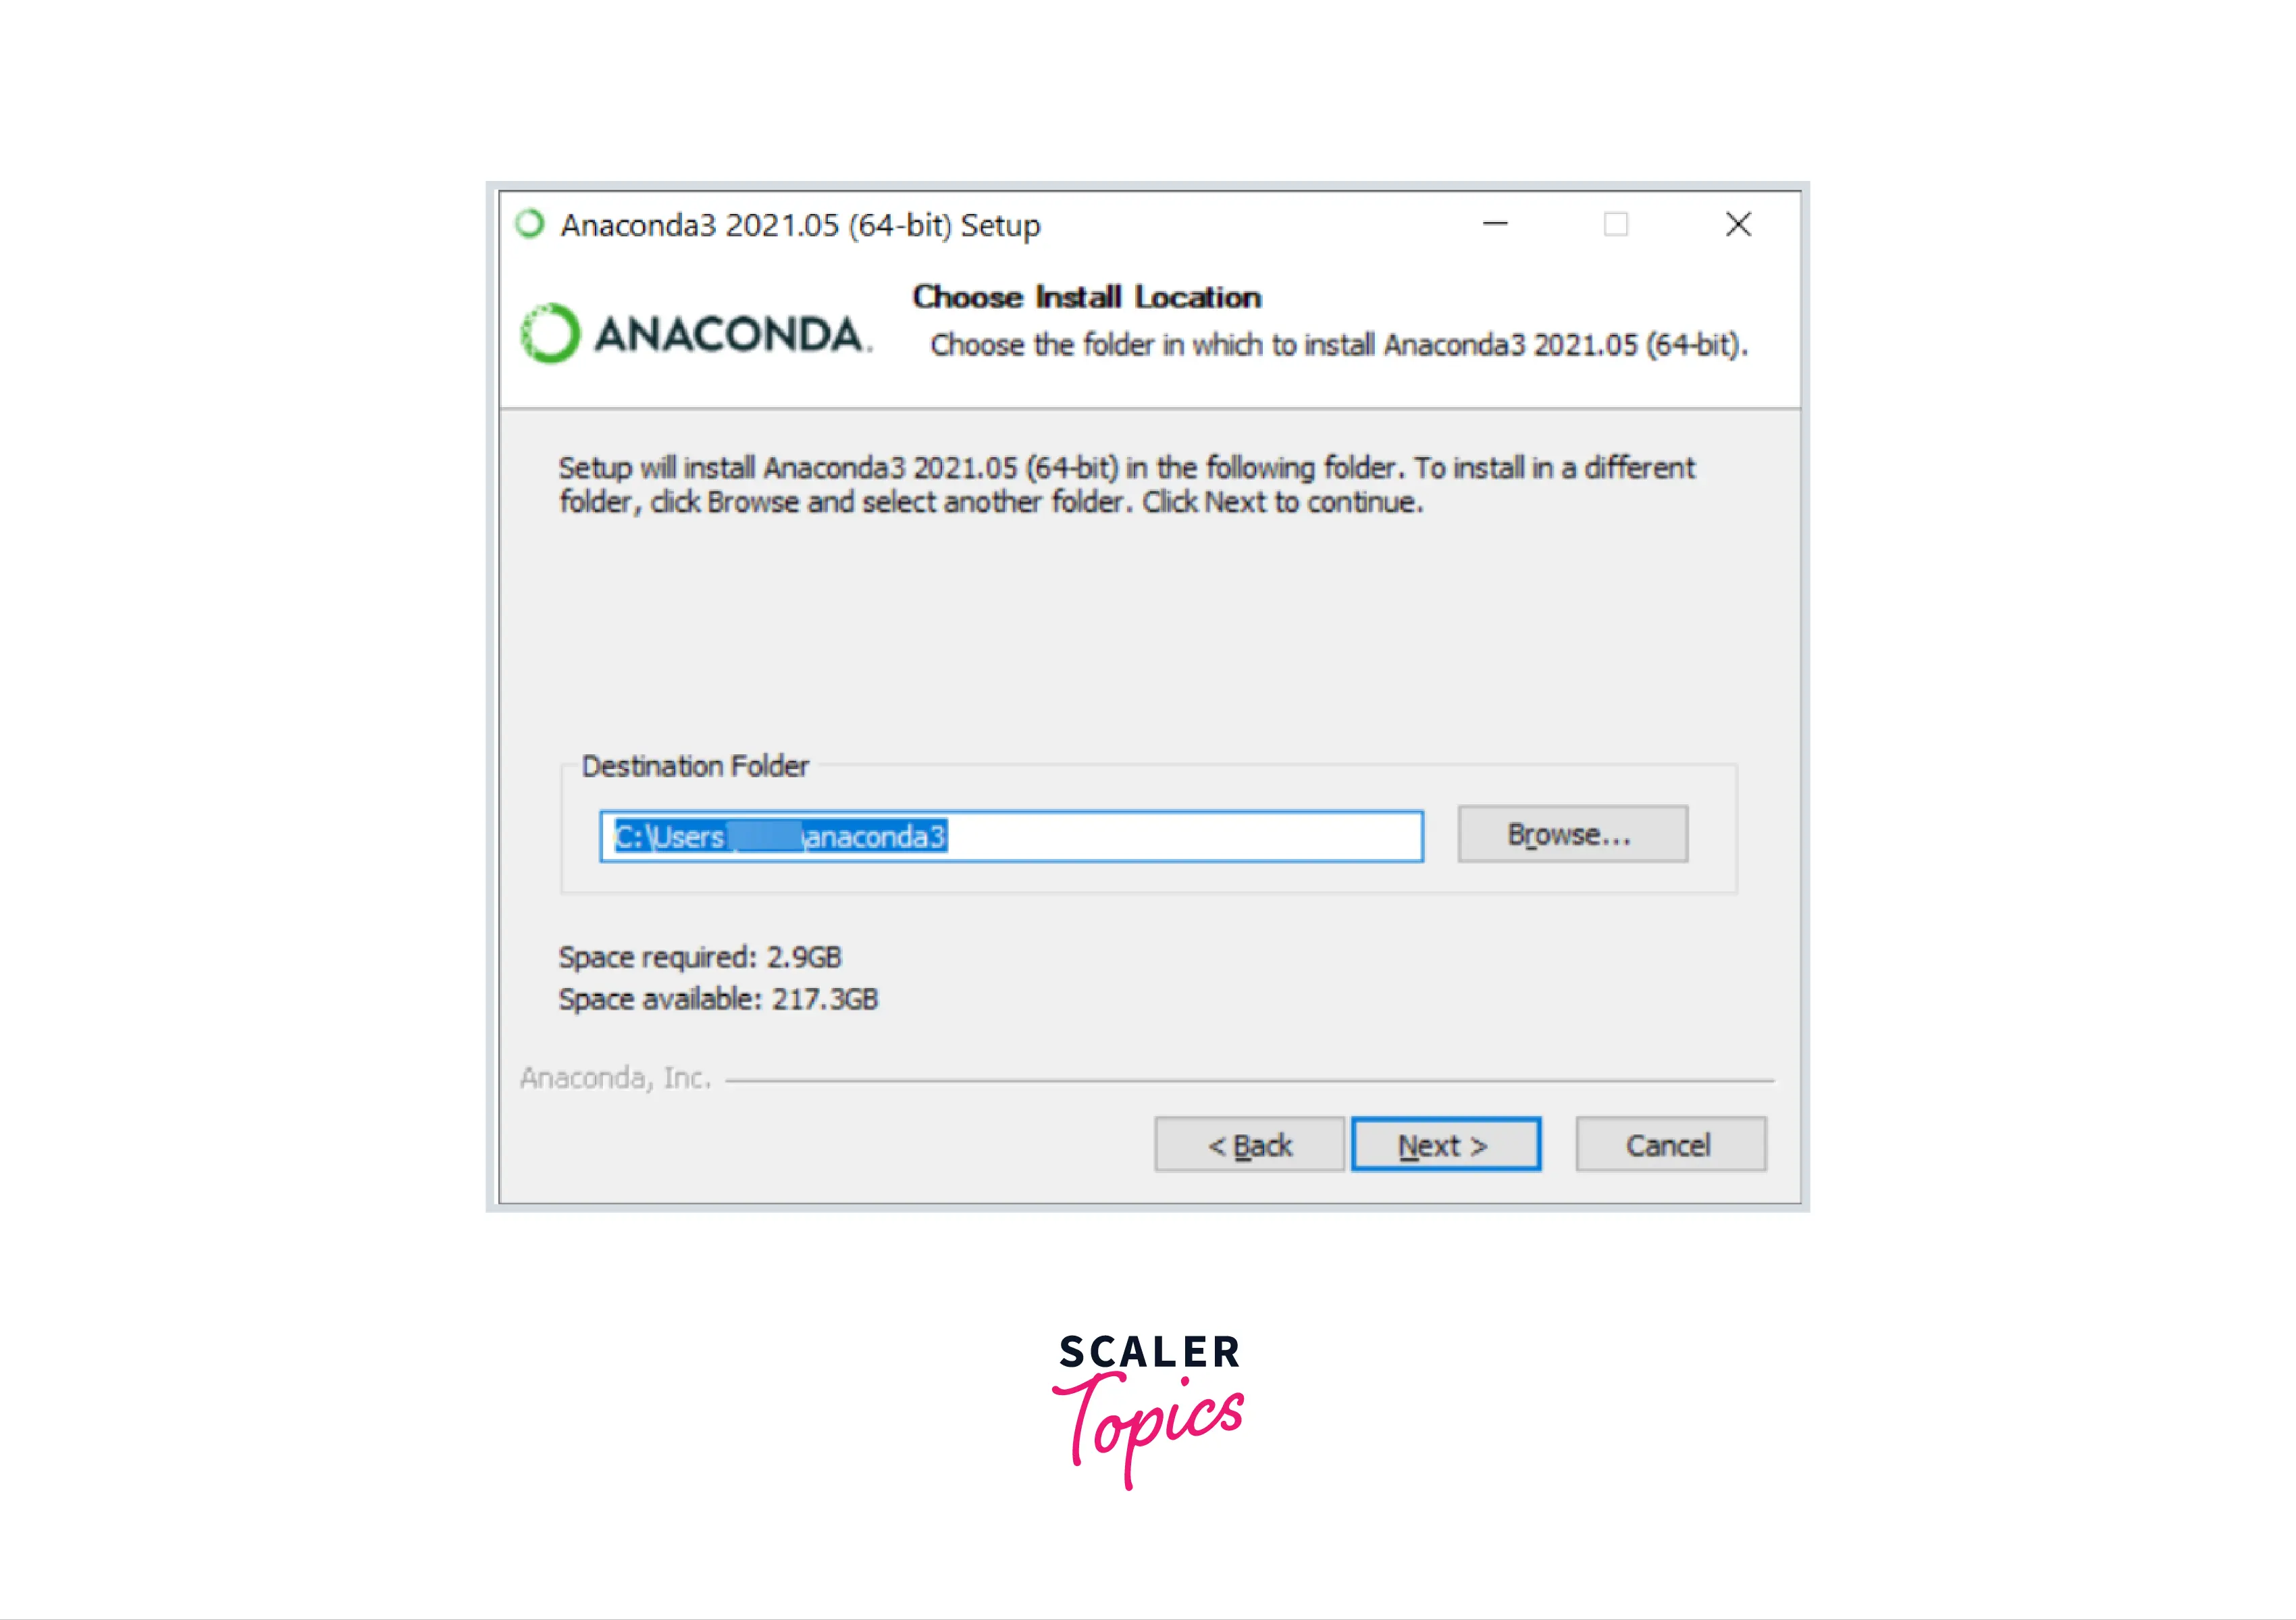
In the wizard's concluding stage, you must specify where the distribution will be downloaded.
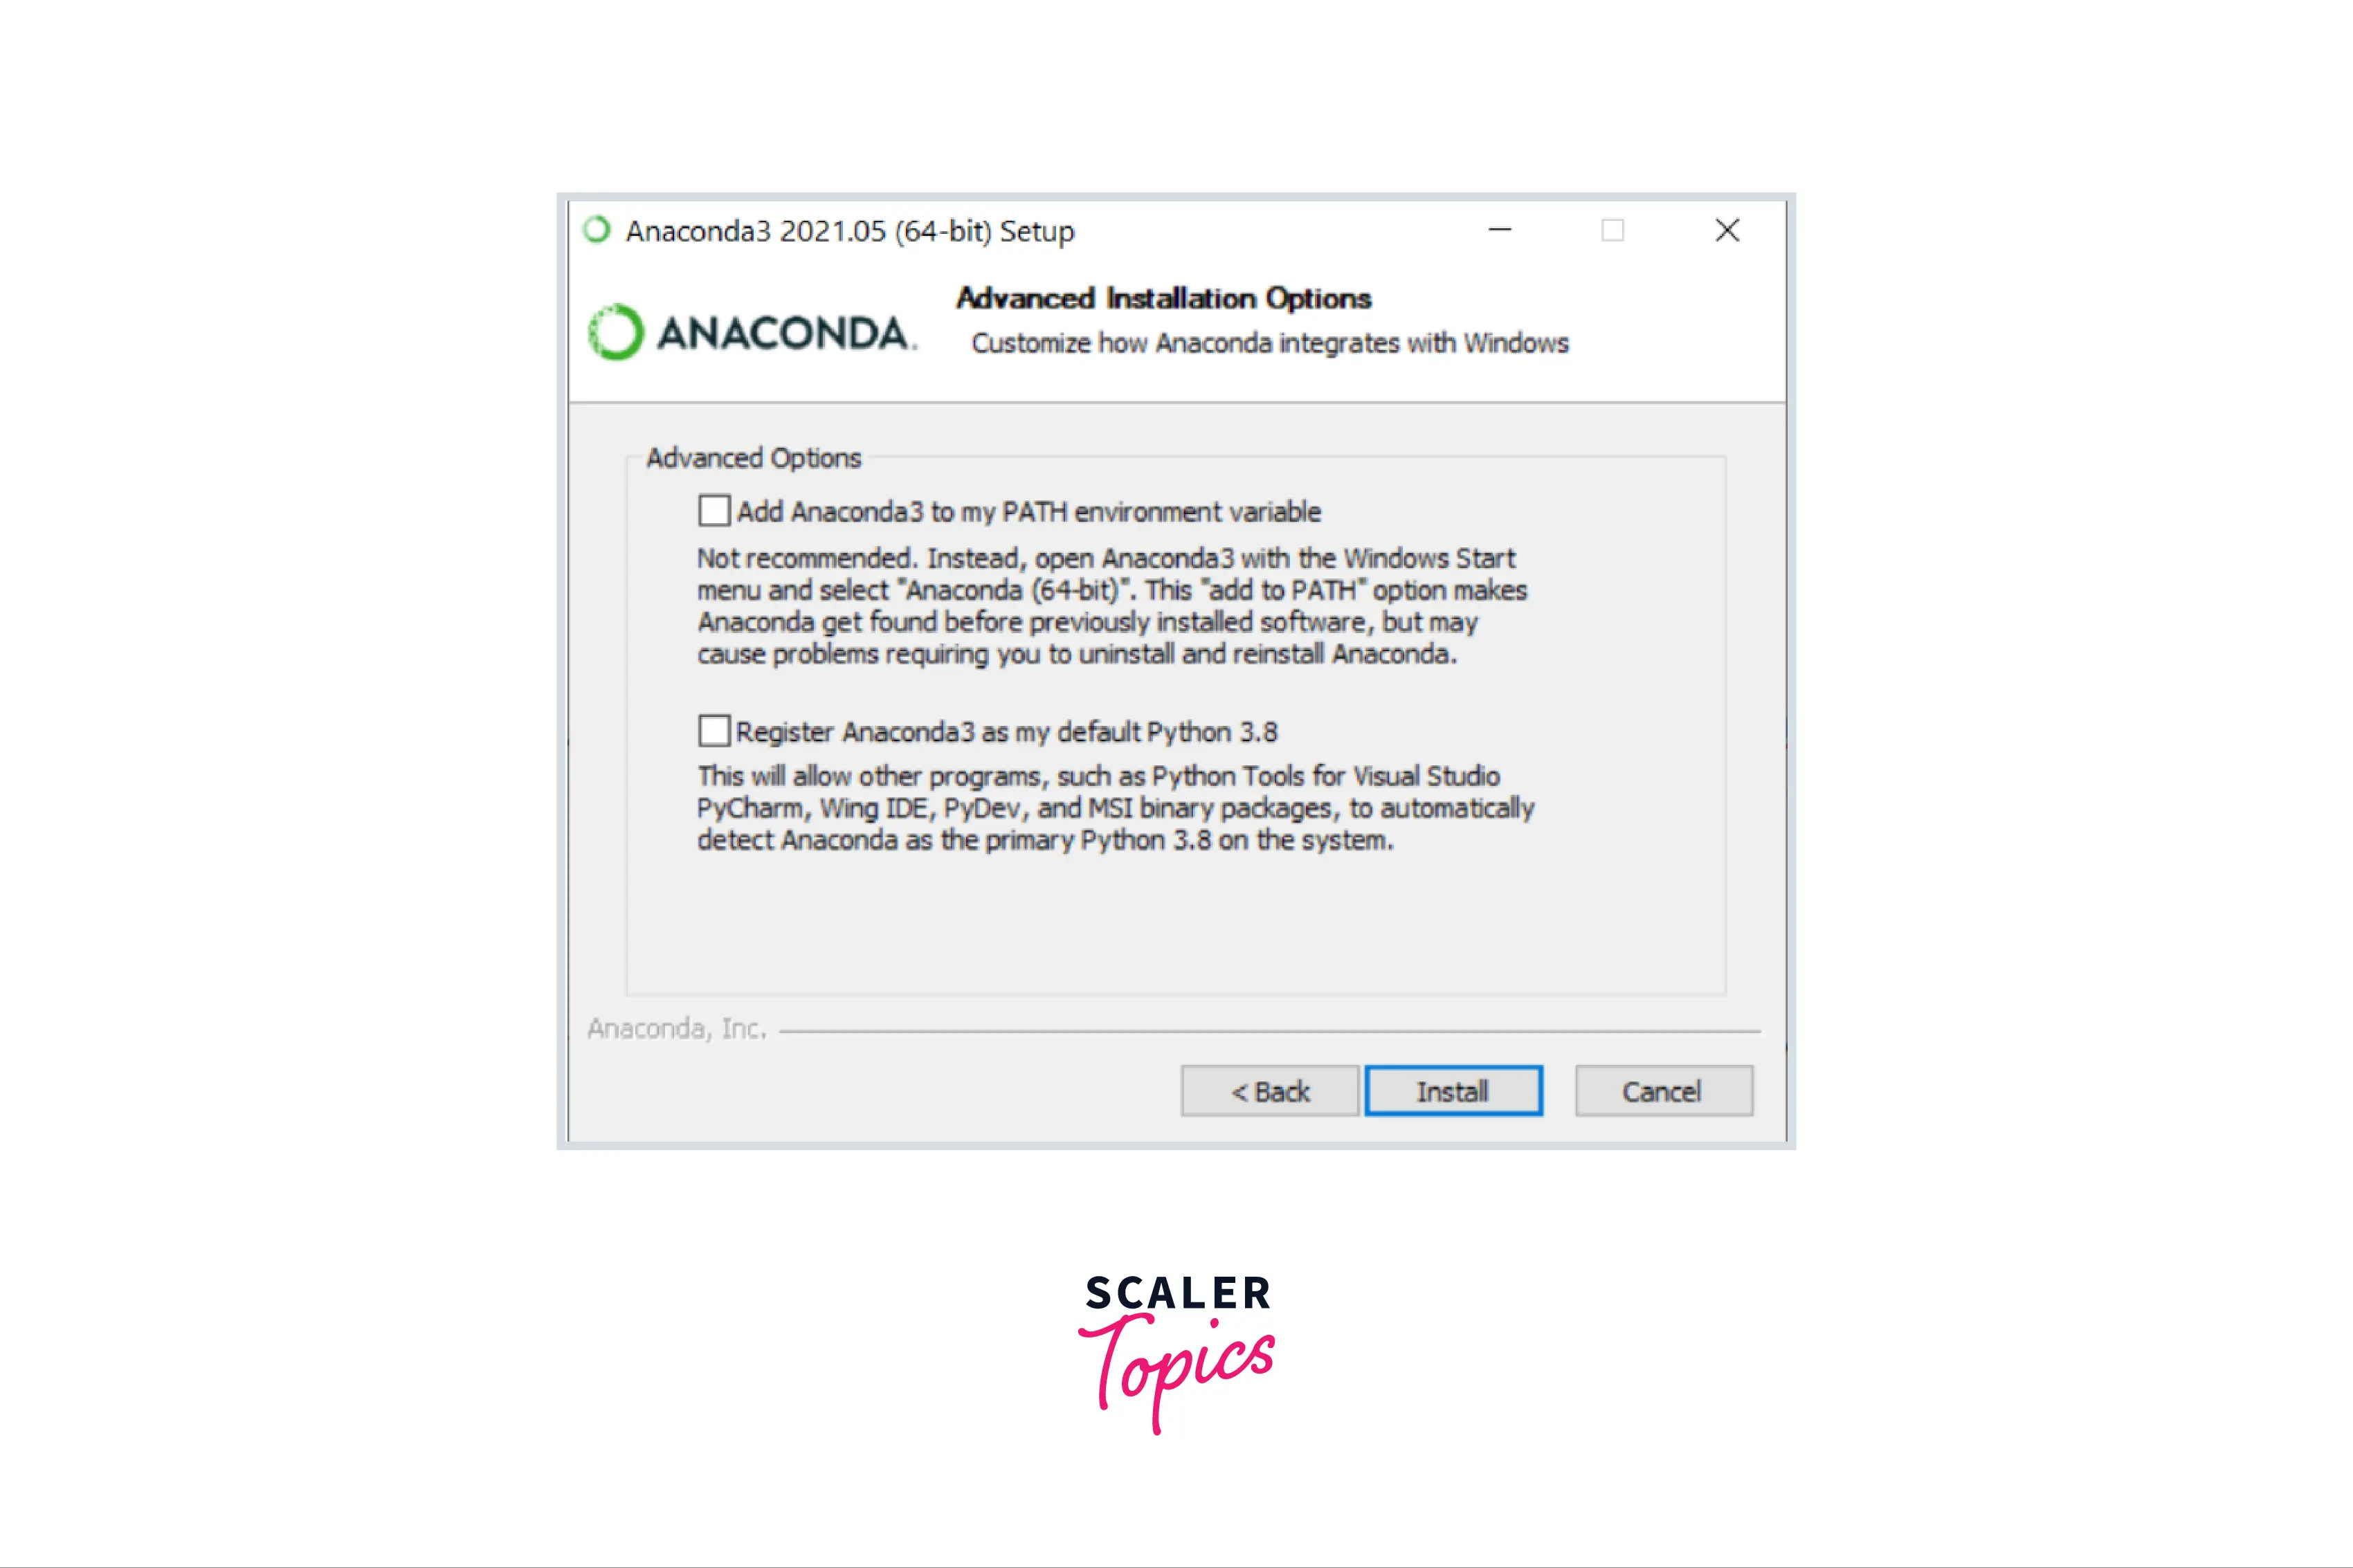
Finally, under the advanced installation options area, tick the "Add Anaconda to my PATH environment variable" and "Register Anaconda3 as my preferred Python 3.x (x over here denotes whatever the current version could be)" choices.
The installation of Anaconda will begin when you click the "Install" button. When the setup is finished, you will see the "Installation Complete" screen within a few minutes. It appears as follows:
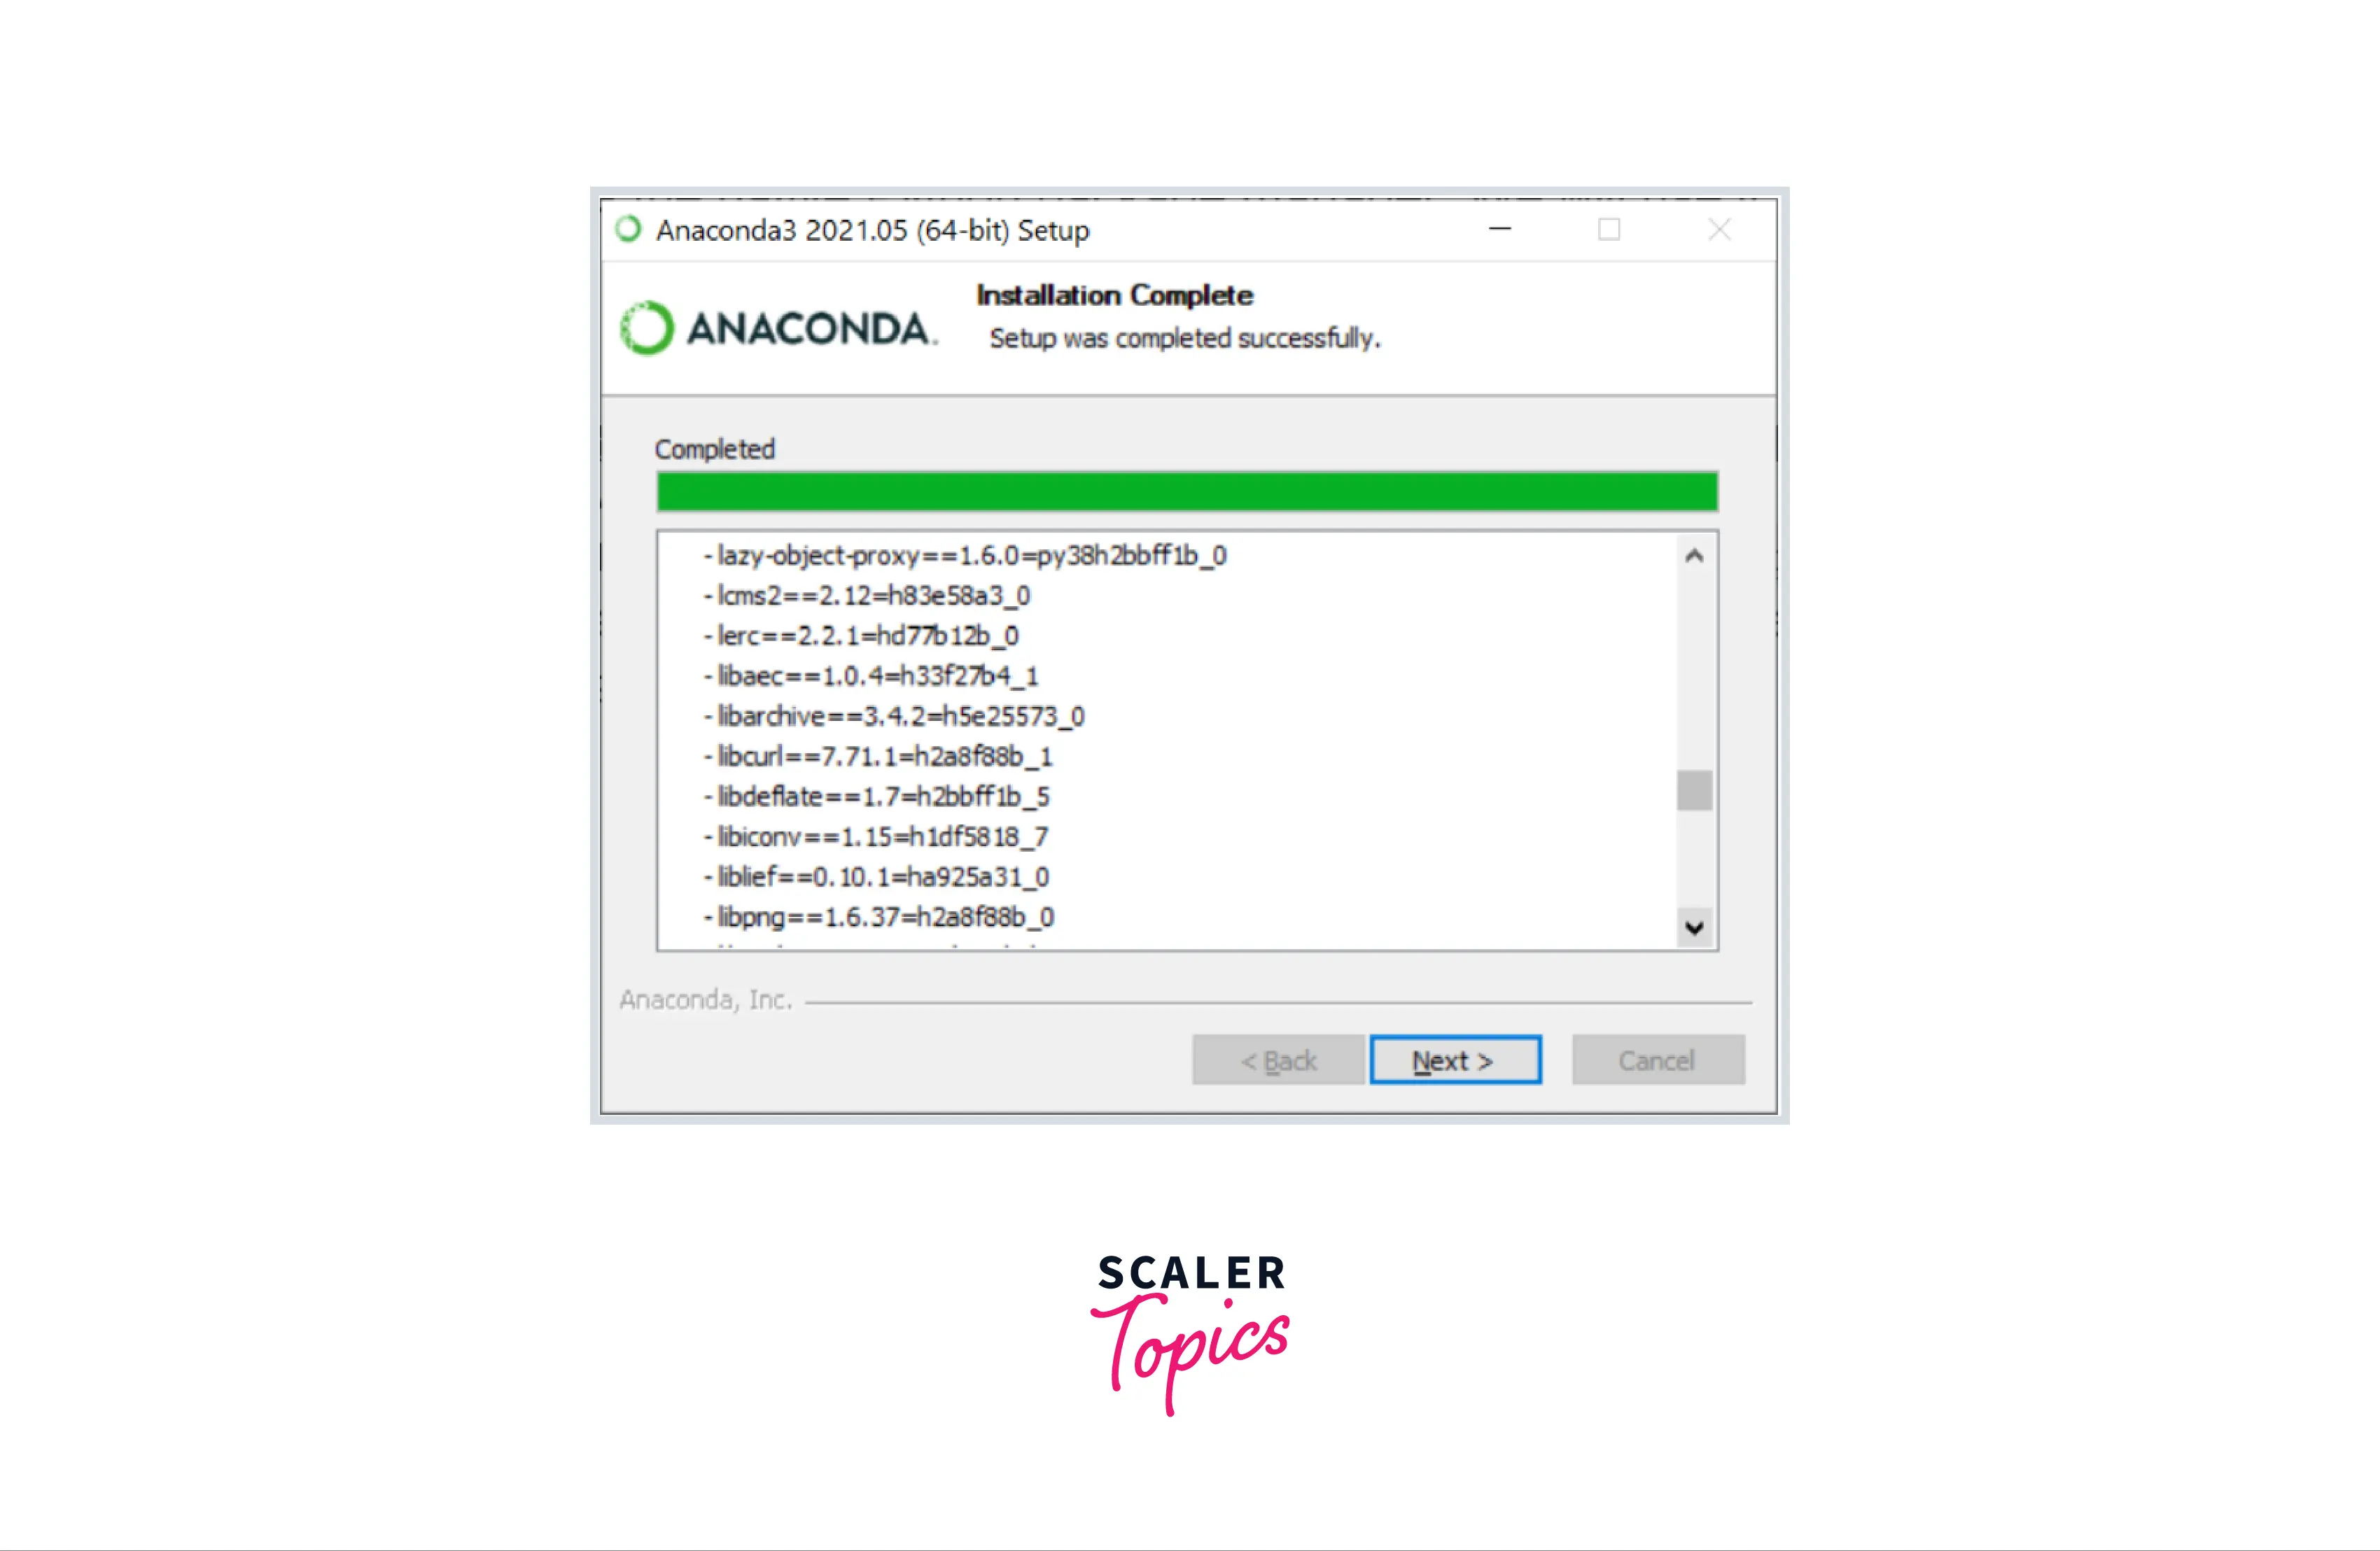
The Pandas libraries on your Windows system will all be available now. This is due to the fact Anaconda automatically downloads all of the key libraries during installation.
Install Pandas on Linux
Depending on the package management of your Linux distribution, there are three ways to install pandas. We can either :
- install it with pip,
- install it with conda, or
- download it from the package manager's repository.
Installing pandas through the distribution's package manager's repository is untrustworthy since the repository frequently contains an earlier version of pandas. Furthermore, Conda will require you to set it up before installing pandas, which will lengthen the procedure. As a result, installing Pandas using pip is the ideal option since it installs the most recent version and eliminates the need to go through multiple steps to set up another required tool.
For Ubuntu Users
Method 1 : Using Pip
This method is quite identical to the one described in the section "Install Pandas on Windows."
- Step 1: Install pip
Running the following line in your terminal will install pip3 on your Linux system:
Remember that because pip requires Python 3, Python 3 must be downloaded on your Linux system. When you execute the command, you may see something like this:
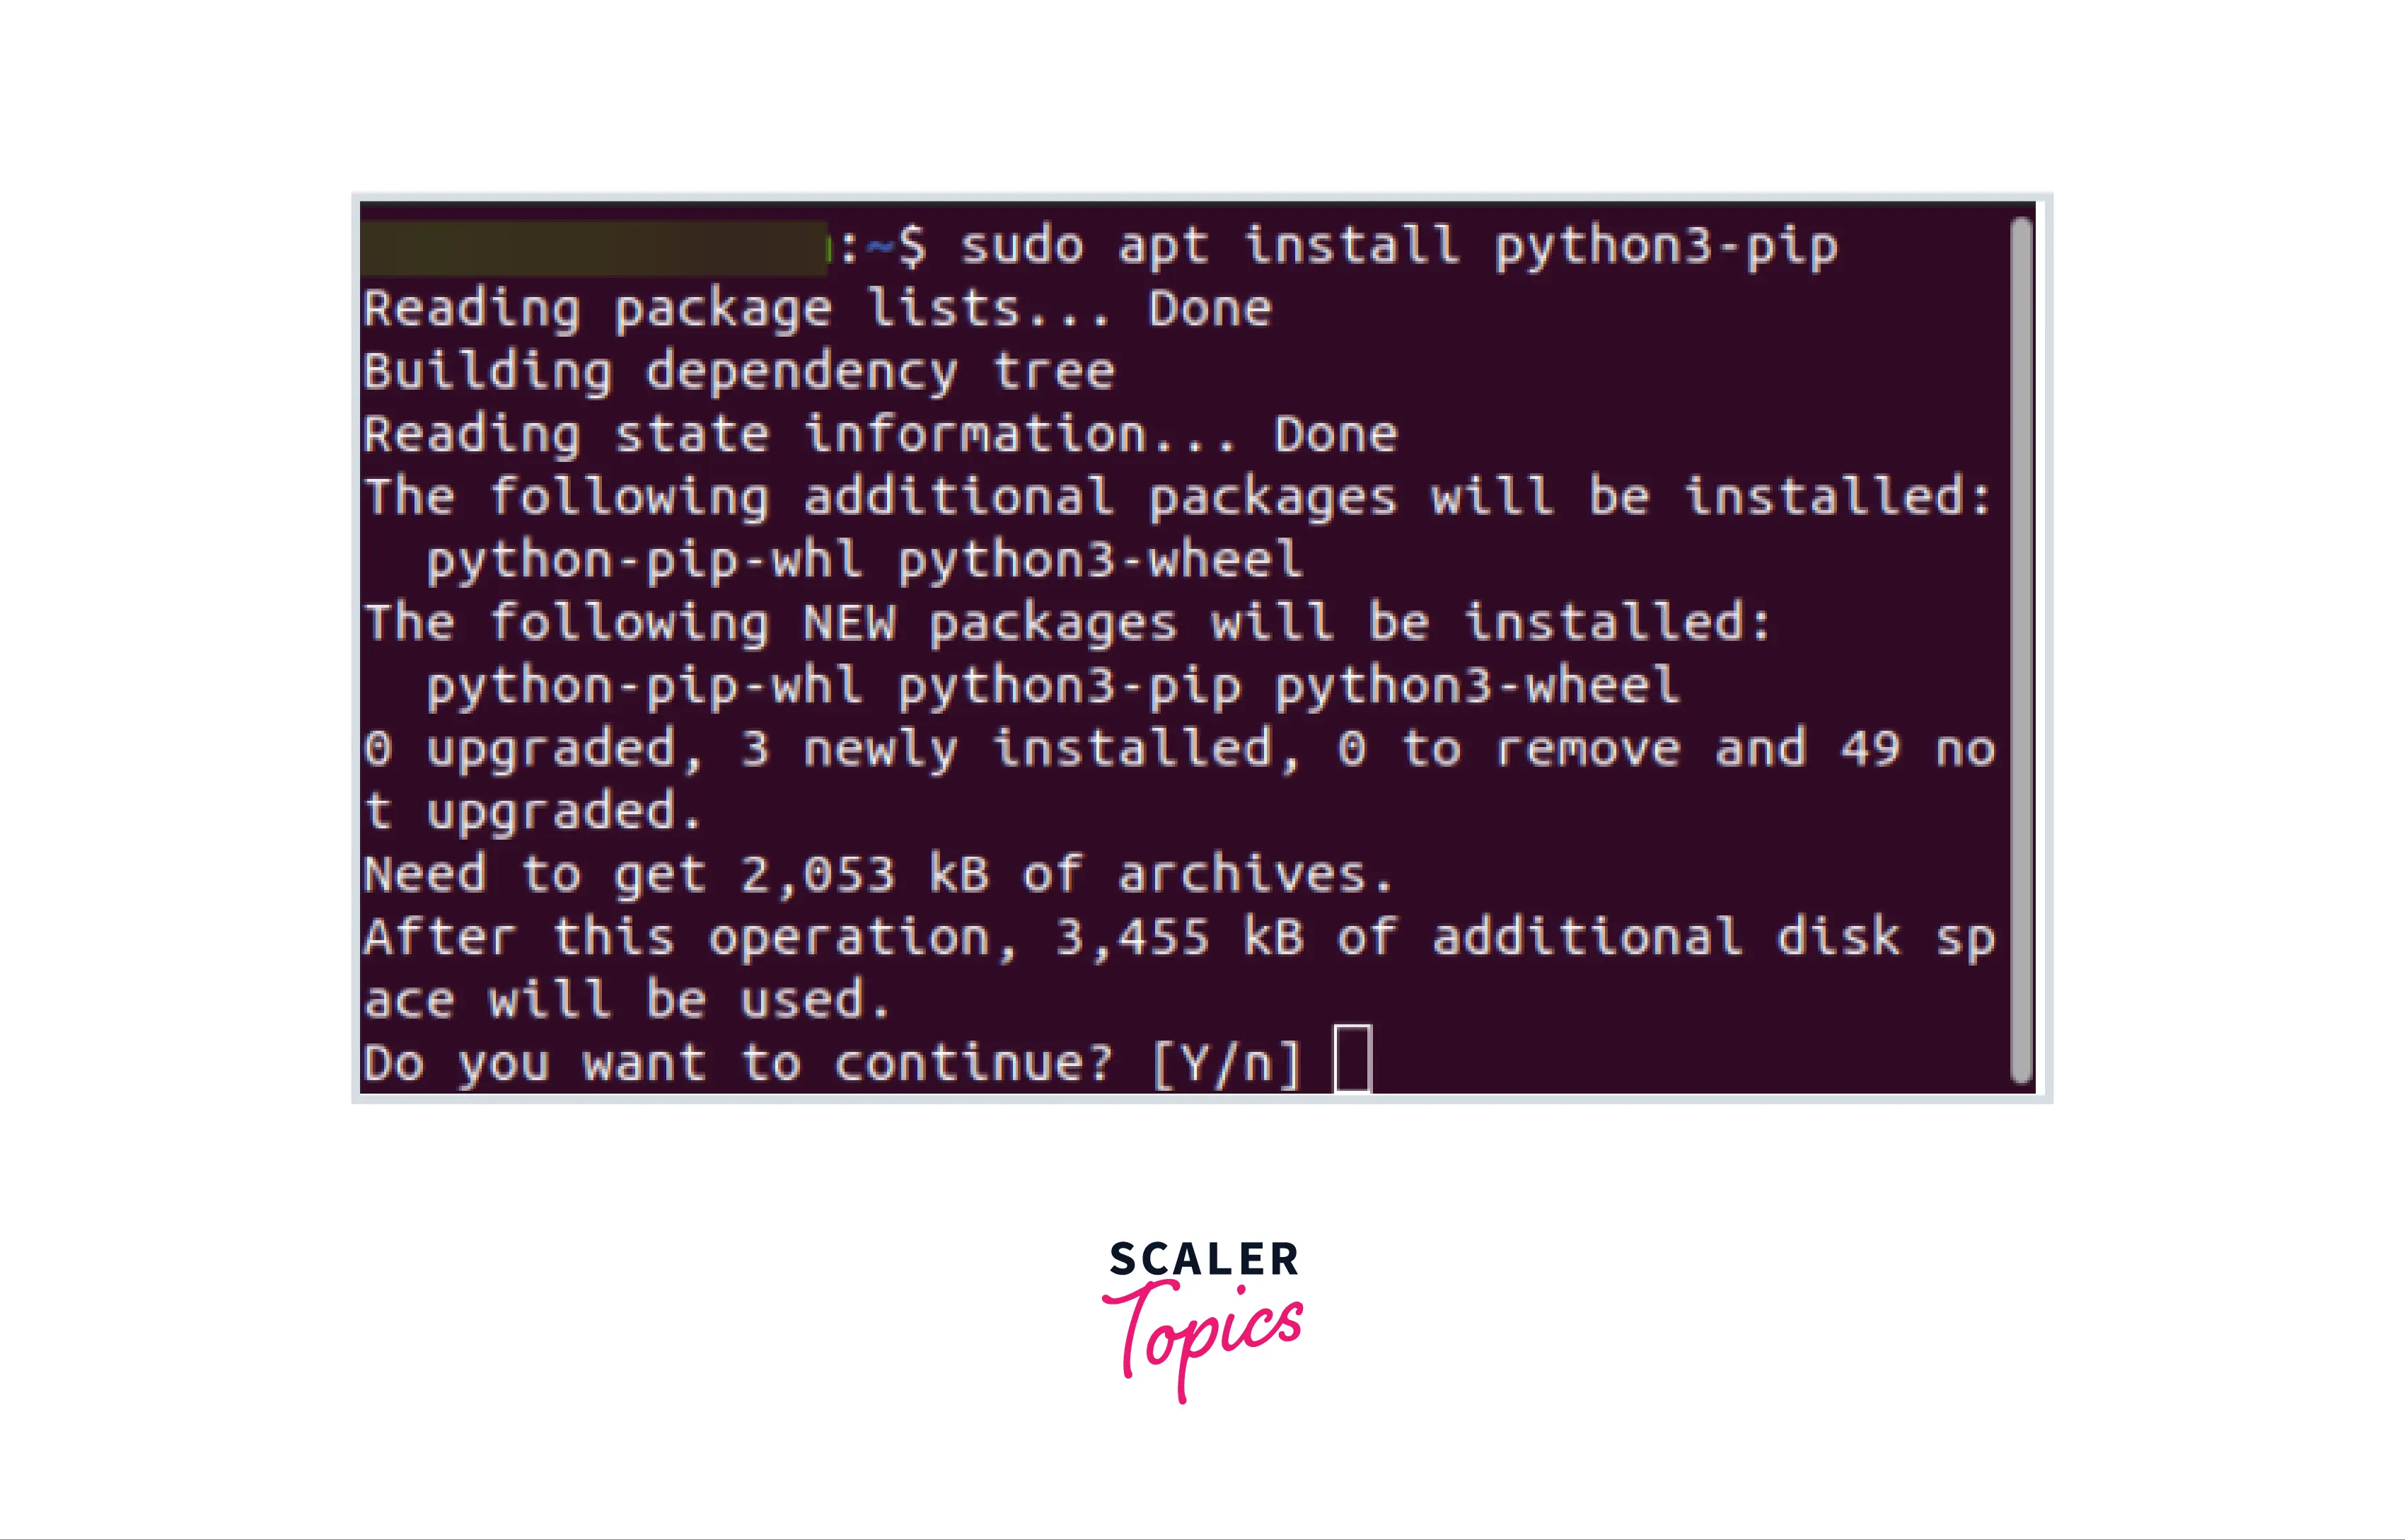
The program will also download " python-pip-whl " and " python3-wheel, " as you can see. The "Wheel" package format is integrated into Python.
To begin the installation process, type the " Y " key. When the procedure is finished, you can go to the next stage.
- Step 2 : Install Pandas
Now that pip is installed on your Linux system, and you can use it to install Pandas. You only need to execute the following command in the terminal:
When the command completes, Pandas will be installed on your Linux system.
Method 2: Using Anaconda
If Anaconda is pre-installed on your Linux computer, proceed to step 2. For example, to download Anaconda on Ubuntu 20.04, follow the following step:
- Step 1 : Install Anaconda
To begin installing Anaconda, you first must install the necessary installer. To do so, go to this website and scroll a little. To the right of the website is a section labeled "Get Additional Installers." Select the Linux icon.

Scroll to the "Anaconda Installers" portion of the website. Locate the installation for your Linux system and right-click on it. Then, select the "Copy link address" option.
You must use "wget" to install the script now that you have copied the URL to the bash installer with the ".sh" suffix to your clipboard.
Launch your terminal and browse to your home directory using the cd command. Next, make a directory called "temporary" following. Then, go to the newly formed temporary folder and use the "wget" command as described below to install the installation.
The script is huge, so you'll have to wait a while to install it.
After downloading the script, you must run it to set up Anaconda3 on your system. Make sure you're in the temporary directory before running any commands. After that, execute the following command:
The licensing agreement will be shown, and you must approve it to install Anaconda. Then, you must allow Anaconda to be added to your machine's PATH variable. Anaconda will be invoked anytime you put " $ python " in your terminal after being added to your machine's PATH.
Scaler Placement Report and Statistics
Scaler learners achieved 2.5x salary growth with average post-Scaler CTC reaching ₹23L.
For Fedora Users
Fedora users can acquire the newest version of Pandas by running the following command in their system's terminal.
Using your Linux distribution's package manager to install Pandas
Python Pandas library can be installed in various methods, although Linux distributions such as Ubuntu, Debian, CentOS/RHEL, Fedora, OpenSuse, and others include the pandas package in their official repositories. The pandas package may be installed using the apt, yum, or dnf package managers. Please see the following table for a better understanding:
| Sr No. | Distribution | Official Link | Bash Command |
|---|---|---|---|
| 1 | Debian | Official Debian Repository Link | sudo apt-get install python3-pandas |
| 2 | Ubuntu | Official Ubuntu Repository Link | sudo apt-get install python3-pandas |
| 3 | OpenSuse | Official OpenSuse Repository Link | zypper in python3-pandas |
| 4 | Centos/RHEL | Official EPEL Repository Link | yum install python3-pandas |
| 5 | Fedora | Official Fedora Repository Link | dnf install python3-pandas |
Install Pandas on Mac OS
You may install pandas on Mac OS using pip or conda as you did on Windows or Linux.
Turn Learning into Career Growth
Method 1 : Using pip
Assuming you installed pip successfully on our Mac OS device. Once pip is installed on your device, run the following command in your terminal to install Pandas.
If you're not the root user, sudo may not function well because sudo downloads Python packages in the root directory, where you might need access to write files. If you wish to download to a specific user, use the "—user" option.
Vola! Now Pandas have been installed on your device.
Advanced Usage
Using Anaconda
Installing pandas and the rest of the NumPy and SciPy stack might be challenging for novice users. However, anaconda, a cross-platform (Linux, macOS, Windows) Python distribution for data analytics and scientific computing, is the simplest method to install not just pandas but also Python and the most popular programs comprising the SciPy stack (IPython, NumPy, Matplotlib,...). After executing the installer, the user will have access to pandas and the rest of the SciPy stack without installing or waiting for any software to be constructed.
To get a clear image of how to download Anaconda for your system, follow the instructions outlined in the article earlier based on your operating system.
Using Miniconda
In the preceding sections, we described how to install pandas as a package of the Anaconda distribution. However, that method requires installing well over a hundred libraries and installing the installer, which is a few hundred mbs in size.
If you want greater control over whatever library you wish to install or have restricted internet speed, installing pandas using Miniconda may be preferable.
You may obtain your miniconda installation from the following Link. You can select the operating system and version that you want to install. You now have conda setup on your device after installing miniconda, which means you may install Pandas with the following command:
Using PyPi
Pandas may be installed via PyPI using pip. Run the following command in your terminal or command line to install pandas on your device.
Scaler Placement Report and Statistics
Scaler learners achieved 2.5x salary growth with average post-Scaler CTC reaching ₹23L.
Using ActivePython
ActivePython, like Anaconda, is a powerful Python distribution that, in addition to Pandas, gives access to a large range of libraries. This implies that after we install ActivePython, the pandas library will be downloaded automatically as part of the ActivePython installation. You may browse to the following website, search for your operating system, and then follow the procedures to get the current version of Python as well as the Pandas package on your system.
Installing directly from the source
The Pandas library's source code is available at this link, and it may be downloaded from there by following the methods outlined below:
Downloading from the git repository necessitates a current Cython installation. So, first, you should download the MinGW compiler suite on Windows. Once the property has been configured, perform the following commands from the command line:
It should be noted that if you launch an interpreter in the source directory, you will be unable to import pandas until you construct the C extensions in place using the command line as follow:
Obtaining the newest version of Pandas using the pip or conda command rather than installing straight from the source as it lengthens the process.
How to fix: ImportErrors
After you've installed Pandas, you should check to see if it was successful. You might test it by importing pandas into your application. However, you may occasionally obtain a "no module called 'pandas'" error, which is fairly common. This error arises when Python does not recognize the pandas library in your existing environment. This section will look at numerous approaches to address this issue.
This issue might occur if you have numerous Python installations on your machine and need pandas installed on the Python installation you are currently using. Type which python into your terminal in Linux or Mac OS to discover which Python installation or version you're running. If it's anything like "/usr/bin/python", you're using the system Python, which isn't advised.
Conda is highly recommended for rapid installation and package and dependency updates. You may use the methods mentioned previously in the text to install pandas using conda.
How to Fix : NameError
Another typical error message while using Pandas is NameError: name 'pd' is not defined. This problem commonly happens when we import the Python library pandas but forget to give it the alias pd. The examples below show how this problem arises in practice and how to correct it quickly.
Code:
Output:
We imported pandas but did not assign it the alias pd. As a result, an error was generated. We may either replace all of the pd's in the preceding code with pandas or provide an alias pd to pandas when importing it. For a better understanding, consider the following code:
Code:
Output:
Or
Code:
Output:
This gets us to the conclusion of the article. Kudos :tada: ! You have now successfully installed the Pandas library on your machine and will be able to resolve a few of the frequent installation errors if any one of them arises.
Ready to dive into the world of data science and data analysis? Our Free Python certification course is your gateway to exploring these cutting-edge fields.
Conclusion
This article taught us that :
- Pandas might be installed on our device in a variety of methods.
- The most straightforward ways to acquire Pandas are through pip or conda.
- To install Pandas using pip, enter pip install pandas or pip3 install pandas in the terminal or command line.
- To install Pandas using conda, execute the following command on a terminal or command line: conda install pandas.
- ImportError usually arises when the Python working environment doesn't recognize pandas. It may be fixed using conda, which automatically handles version and dependency updates.
- When dealing with Pandas, it is possible to forget to supply an alias pd; to solve this, offer an alias when importing it.