Install PostgreSQL on Ubuntu, Windows, and Mac
Overview
PostgreSQL is an open-source relational database management system. PostgreSQL is a database management system that is known for its extensibility, SQL compliance, and robustness features. Both relational(SQL) and non-relational(JSON) queries are supported by PostgreSQL. In this article, we will learn the steps of PostgreSQL installation for Windows, Mac, and Ubuntu.
How to Install PostgreSQL on Windows?
Download PostgreSQL Installer for Windows
Step - 1:
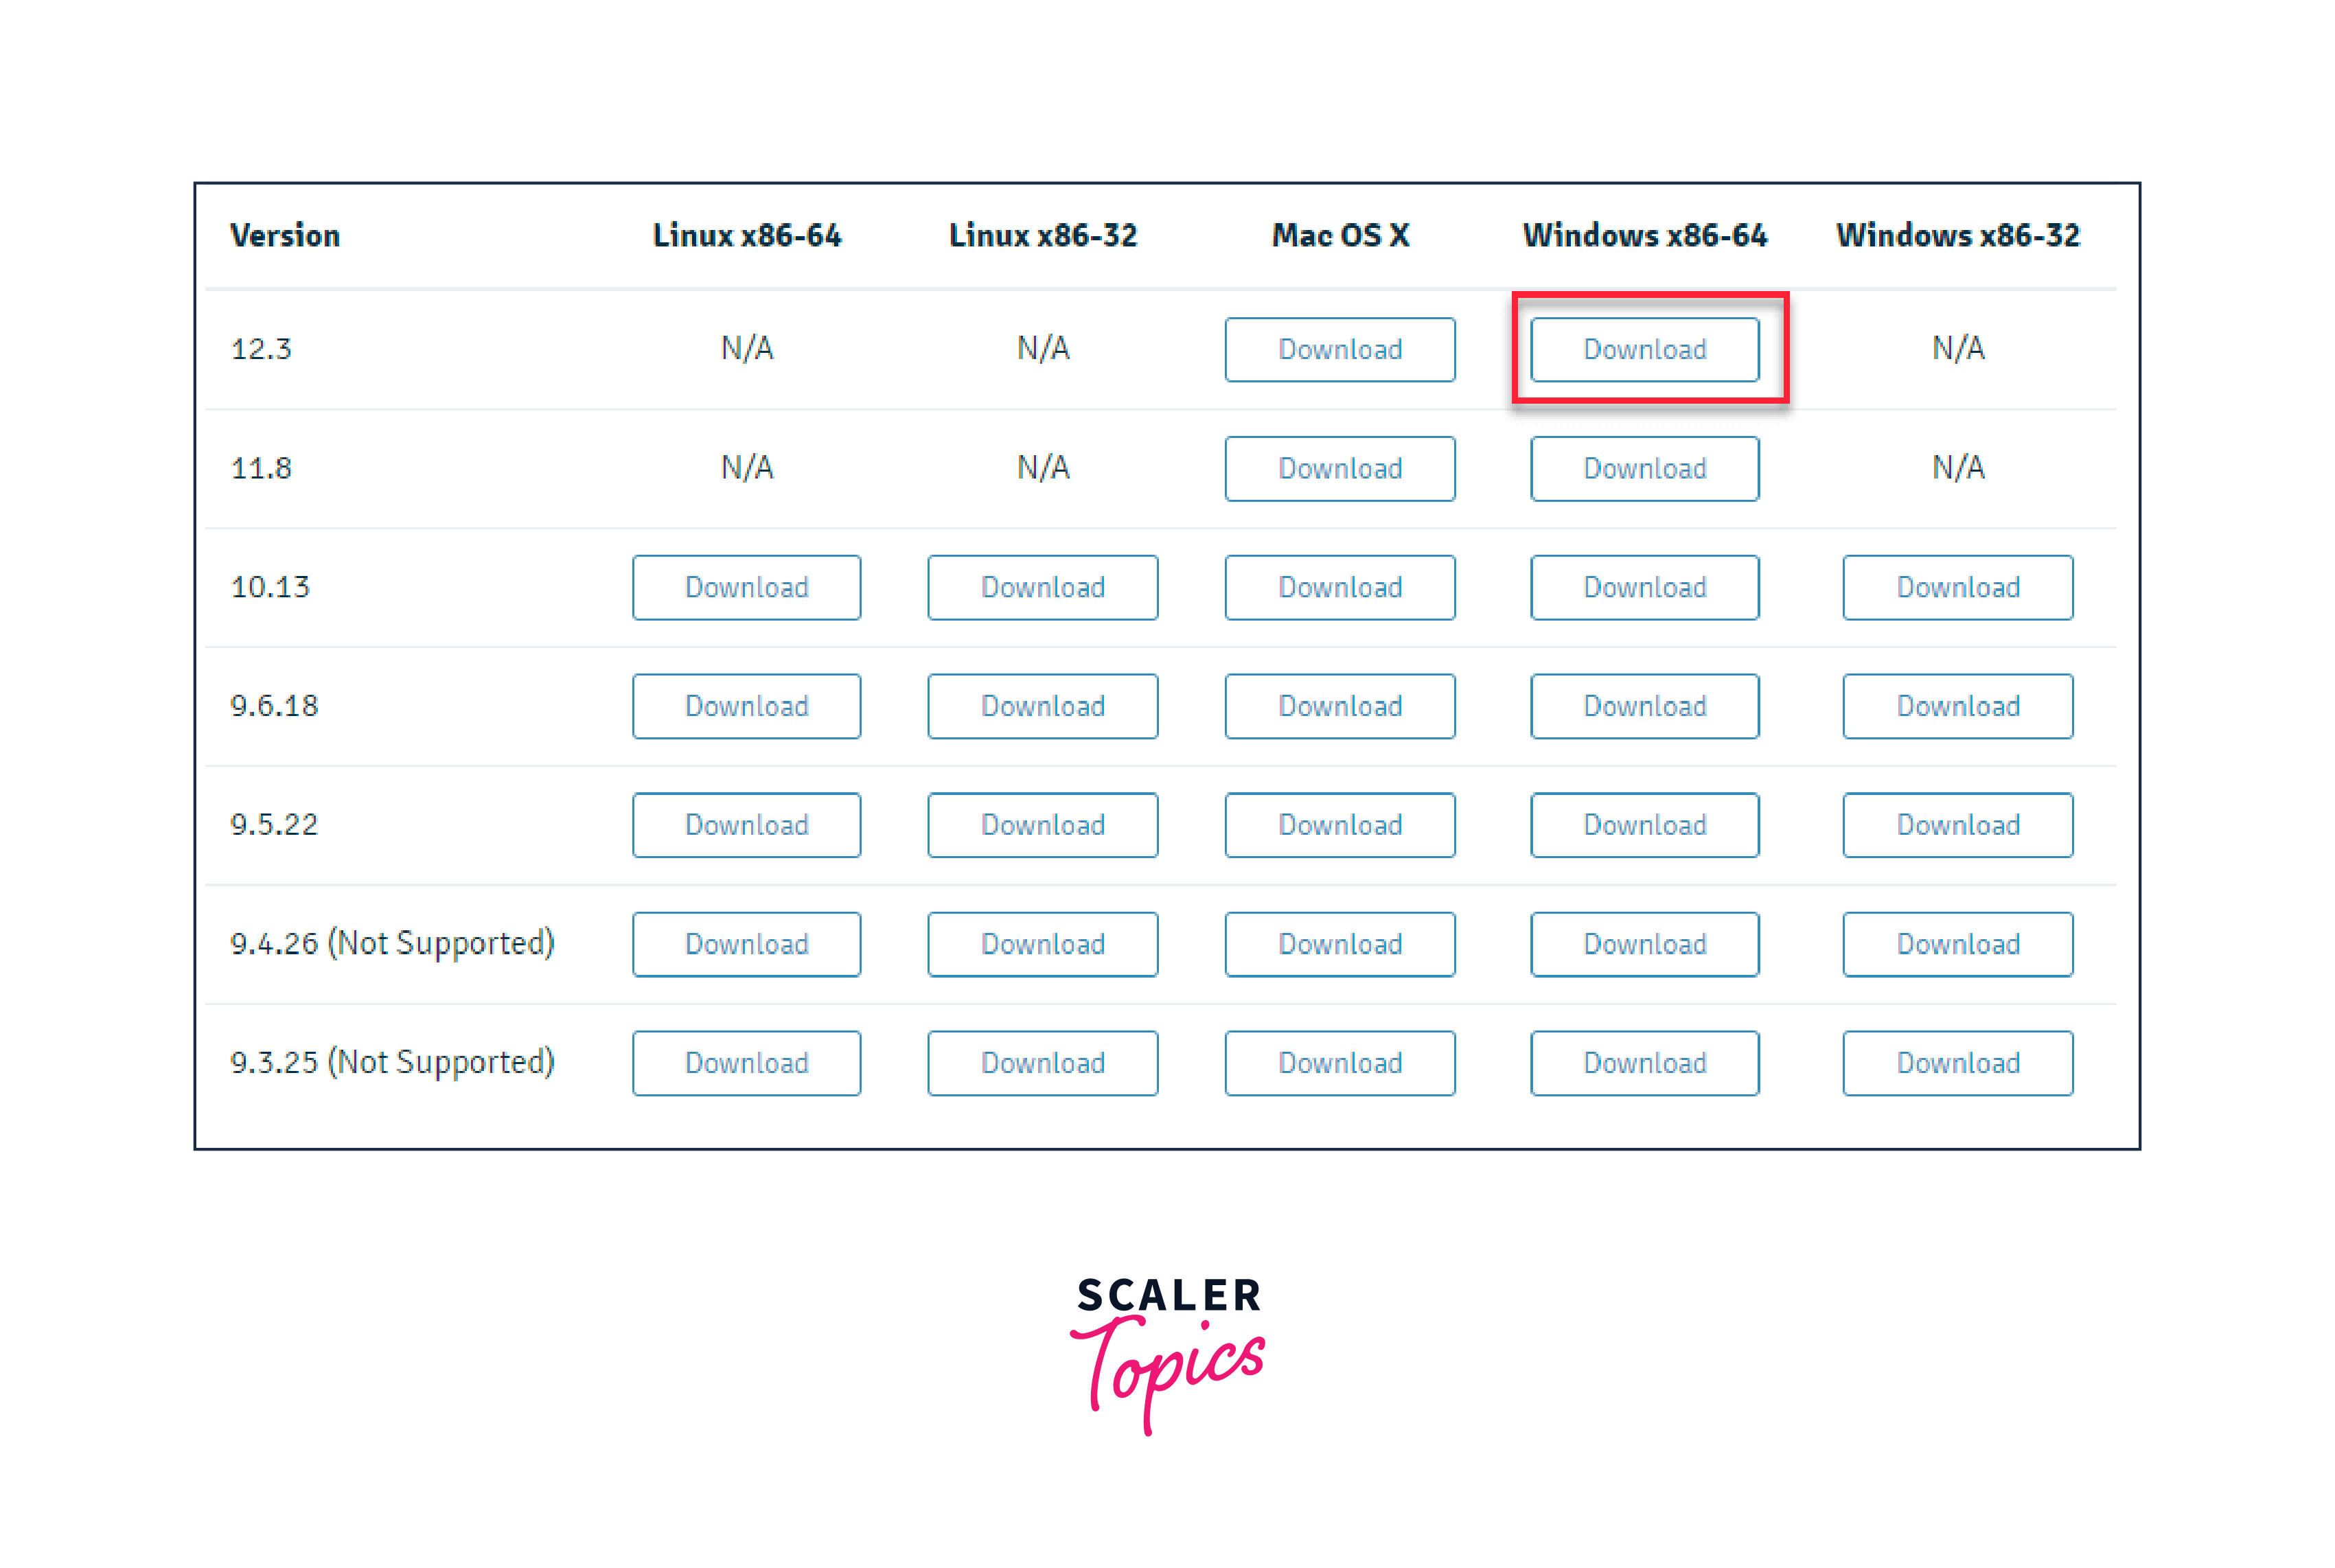
Open the download page of PostgreSQL installers on the EnterpriseDB.
Step - 2:
Now on this page click on the download option available for the windows, as shown below figure.
Step - 3:
After some time PostgreSQL will be downloaded in your system.
Transform Your Career
Choose from our industry-leading programs designed for career success
Modern Software and AI Engineering Program
Master full-stack development with AI integration

Modern Data Science and ML with specialisation in AI
Advanced data science techniques with AI specialization
Advanced AIML with Specialisation in Agentic AI
Deep dive into AIML with focus on Agentic systems
DevOps, Cloud & AI Platform Engineering
Build and manage AI-powered cloud infrastructure
AI Engineering Advanced Certification by IIT-Roorkee
Premier AI engineering certification from IIT-Roorkee
Install PostgreSQL on Windows Step-by-step
Administrator privileges are required for PostgreSQL installation on Windows.
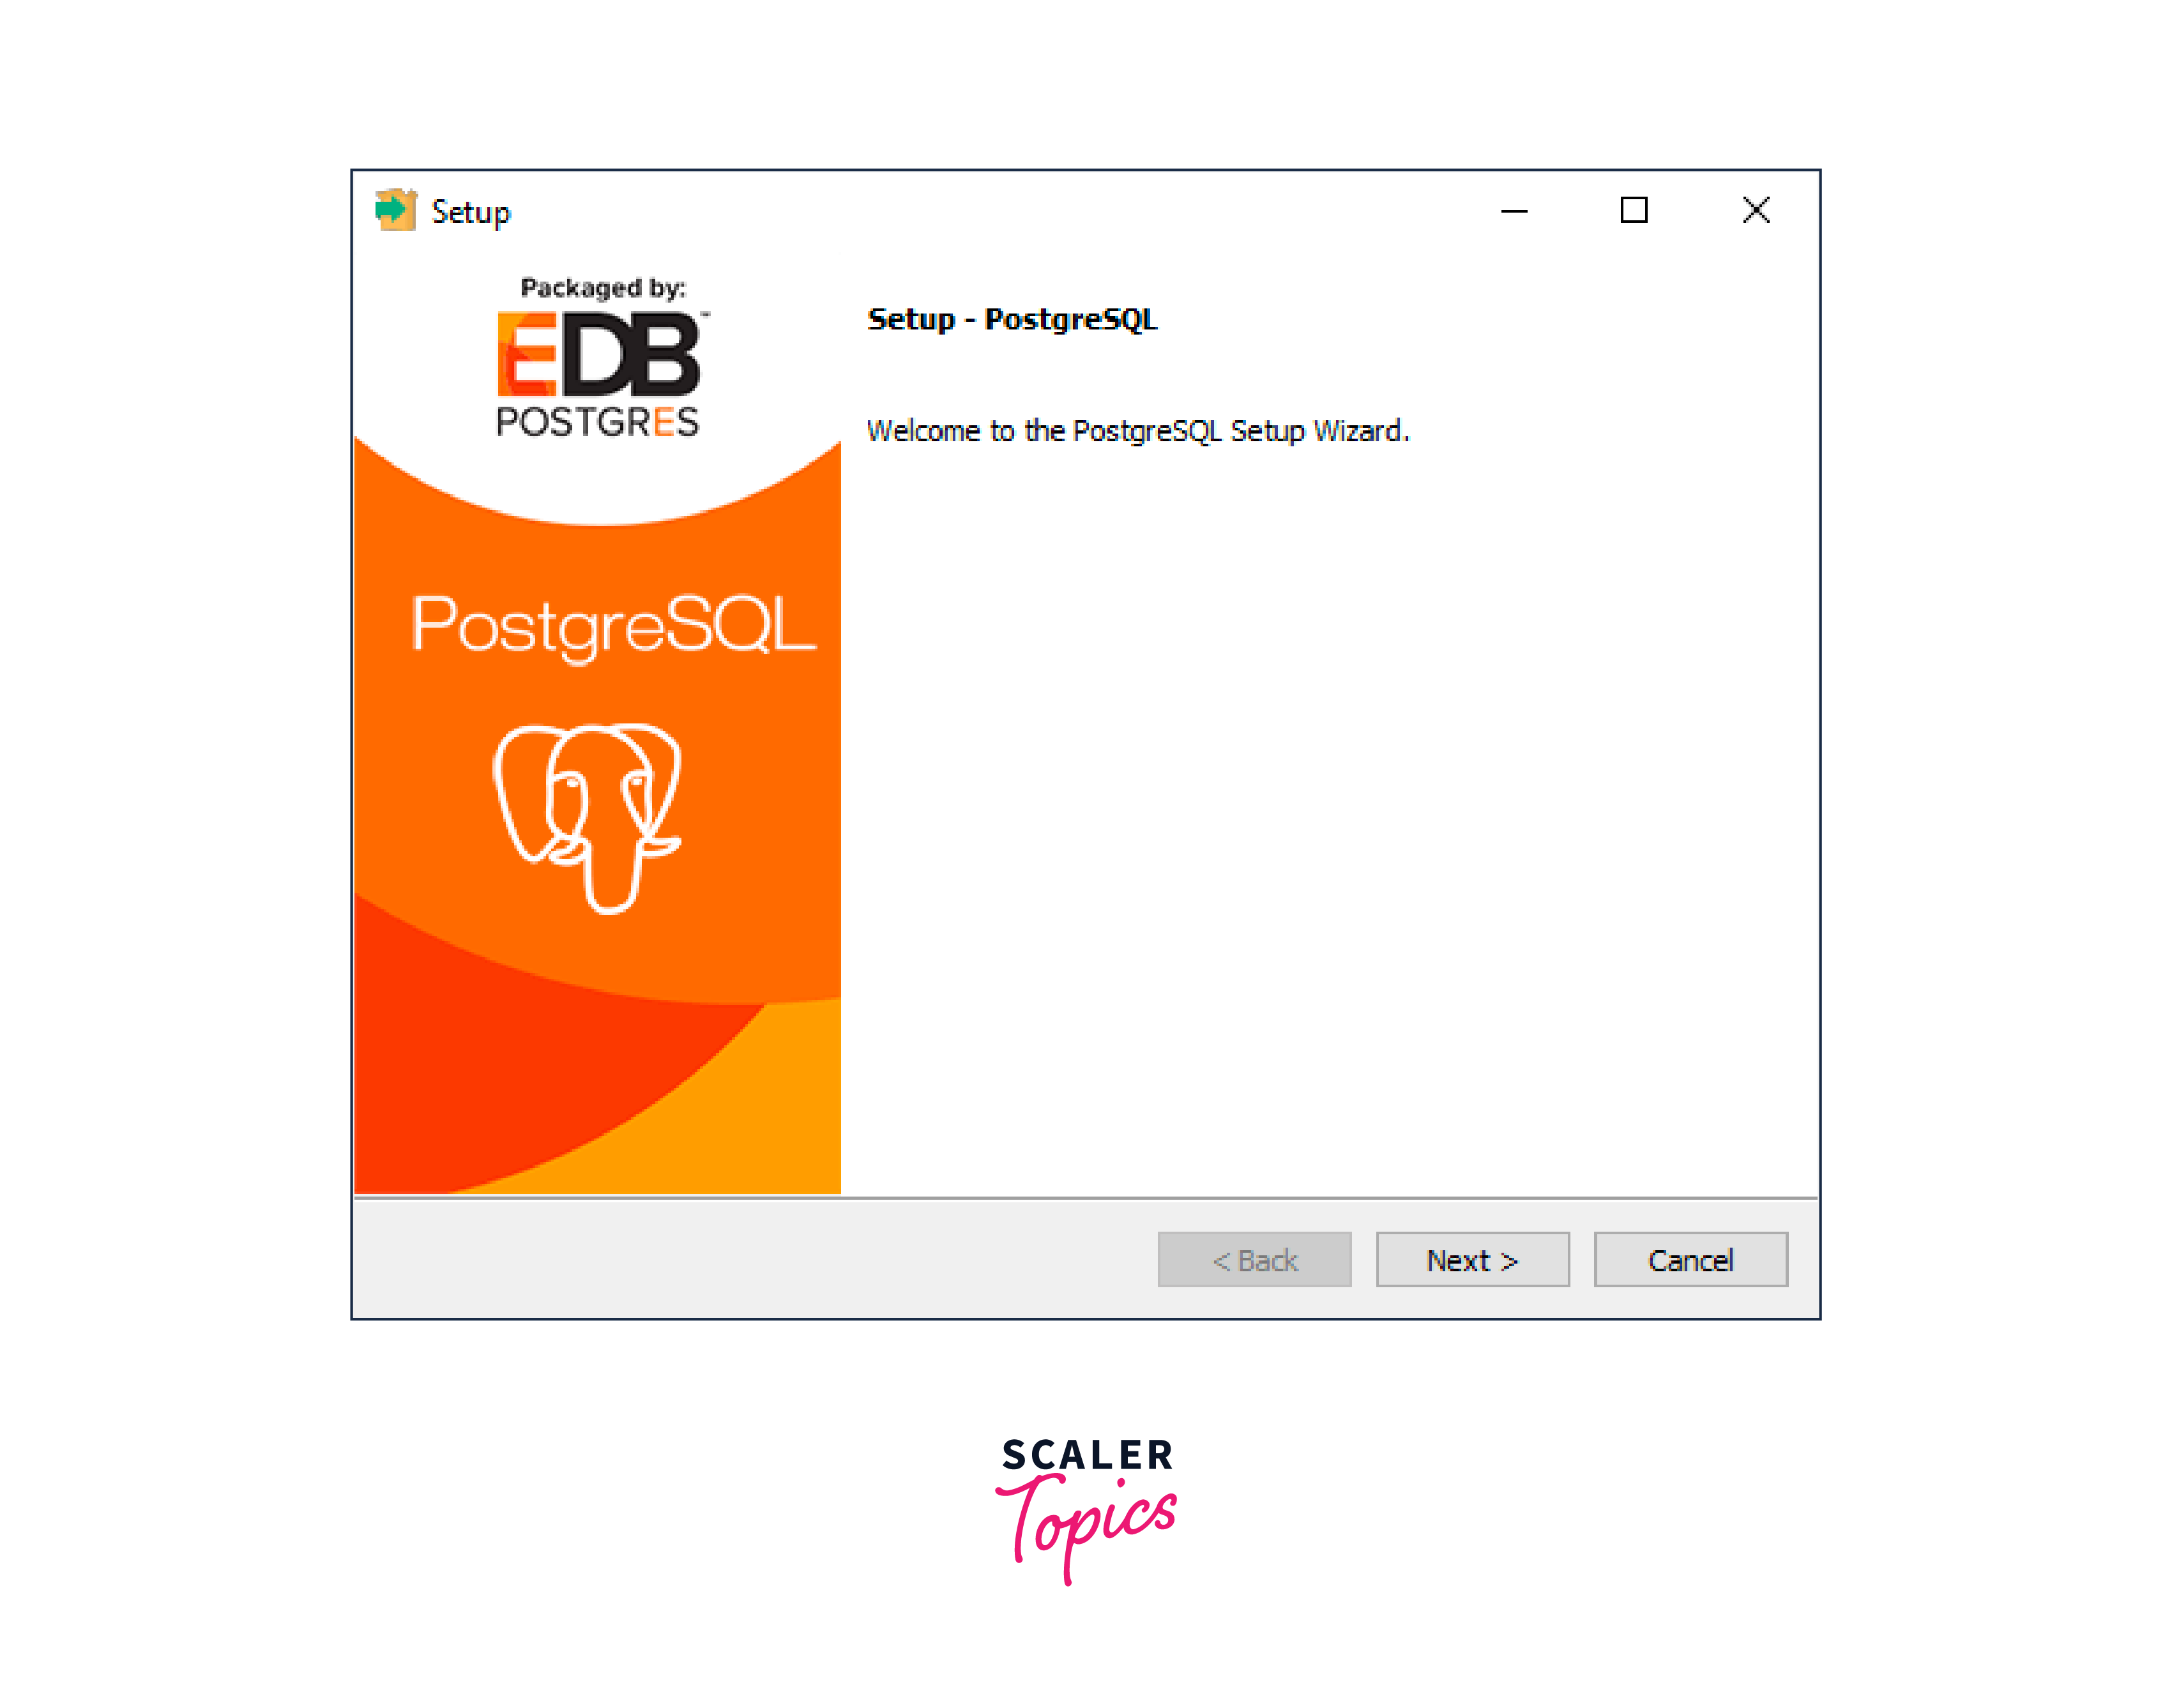
Step - 1:
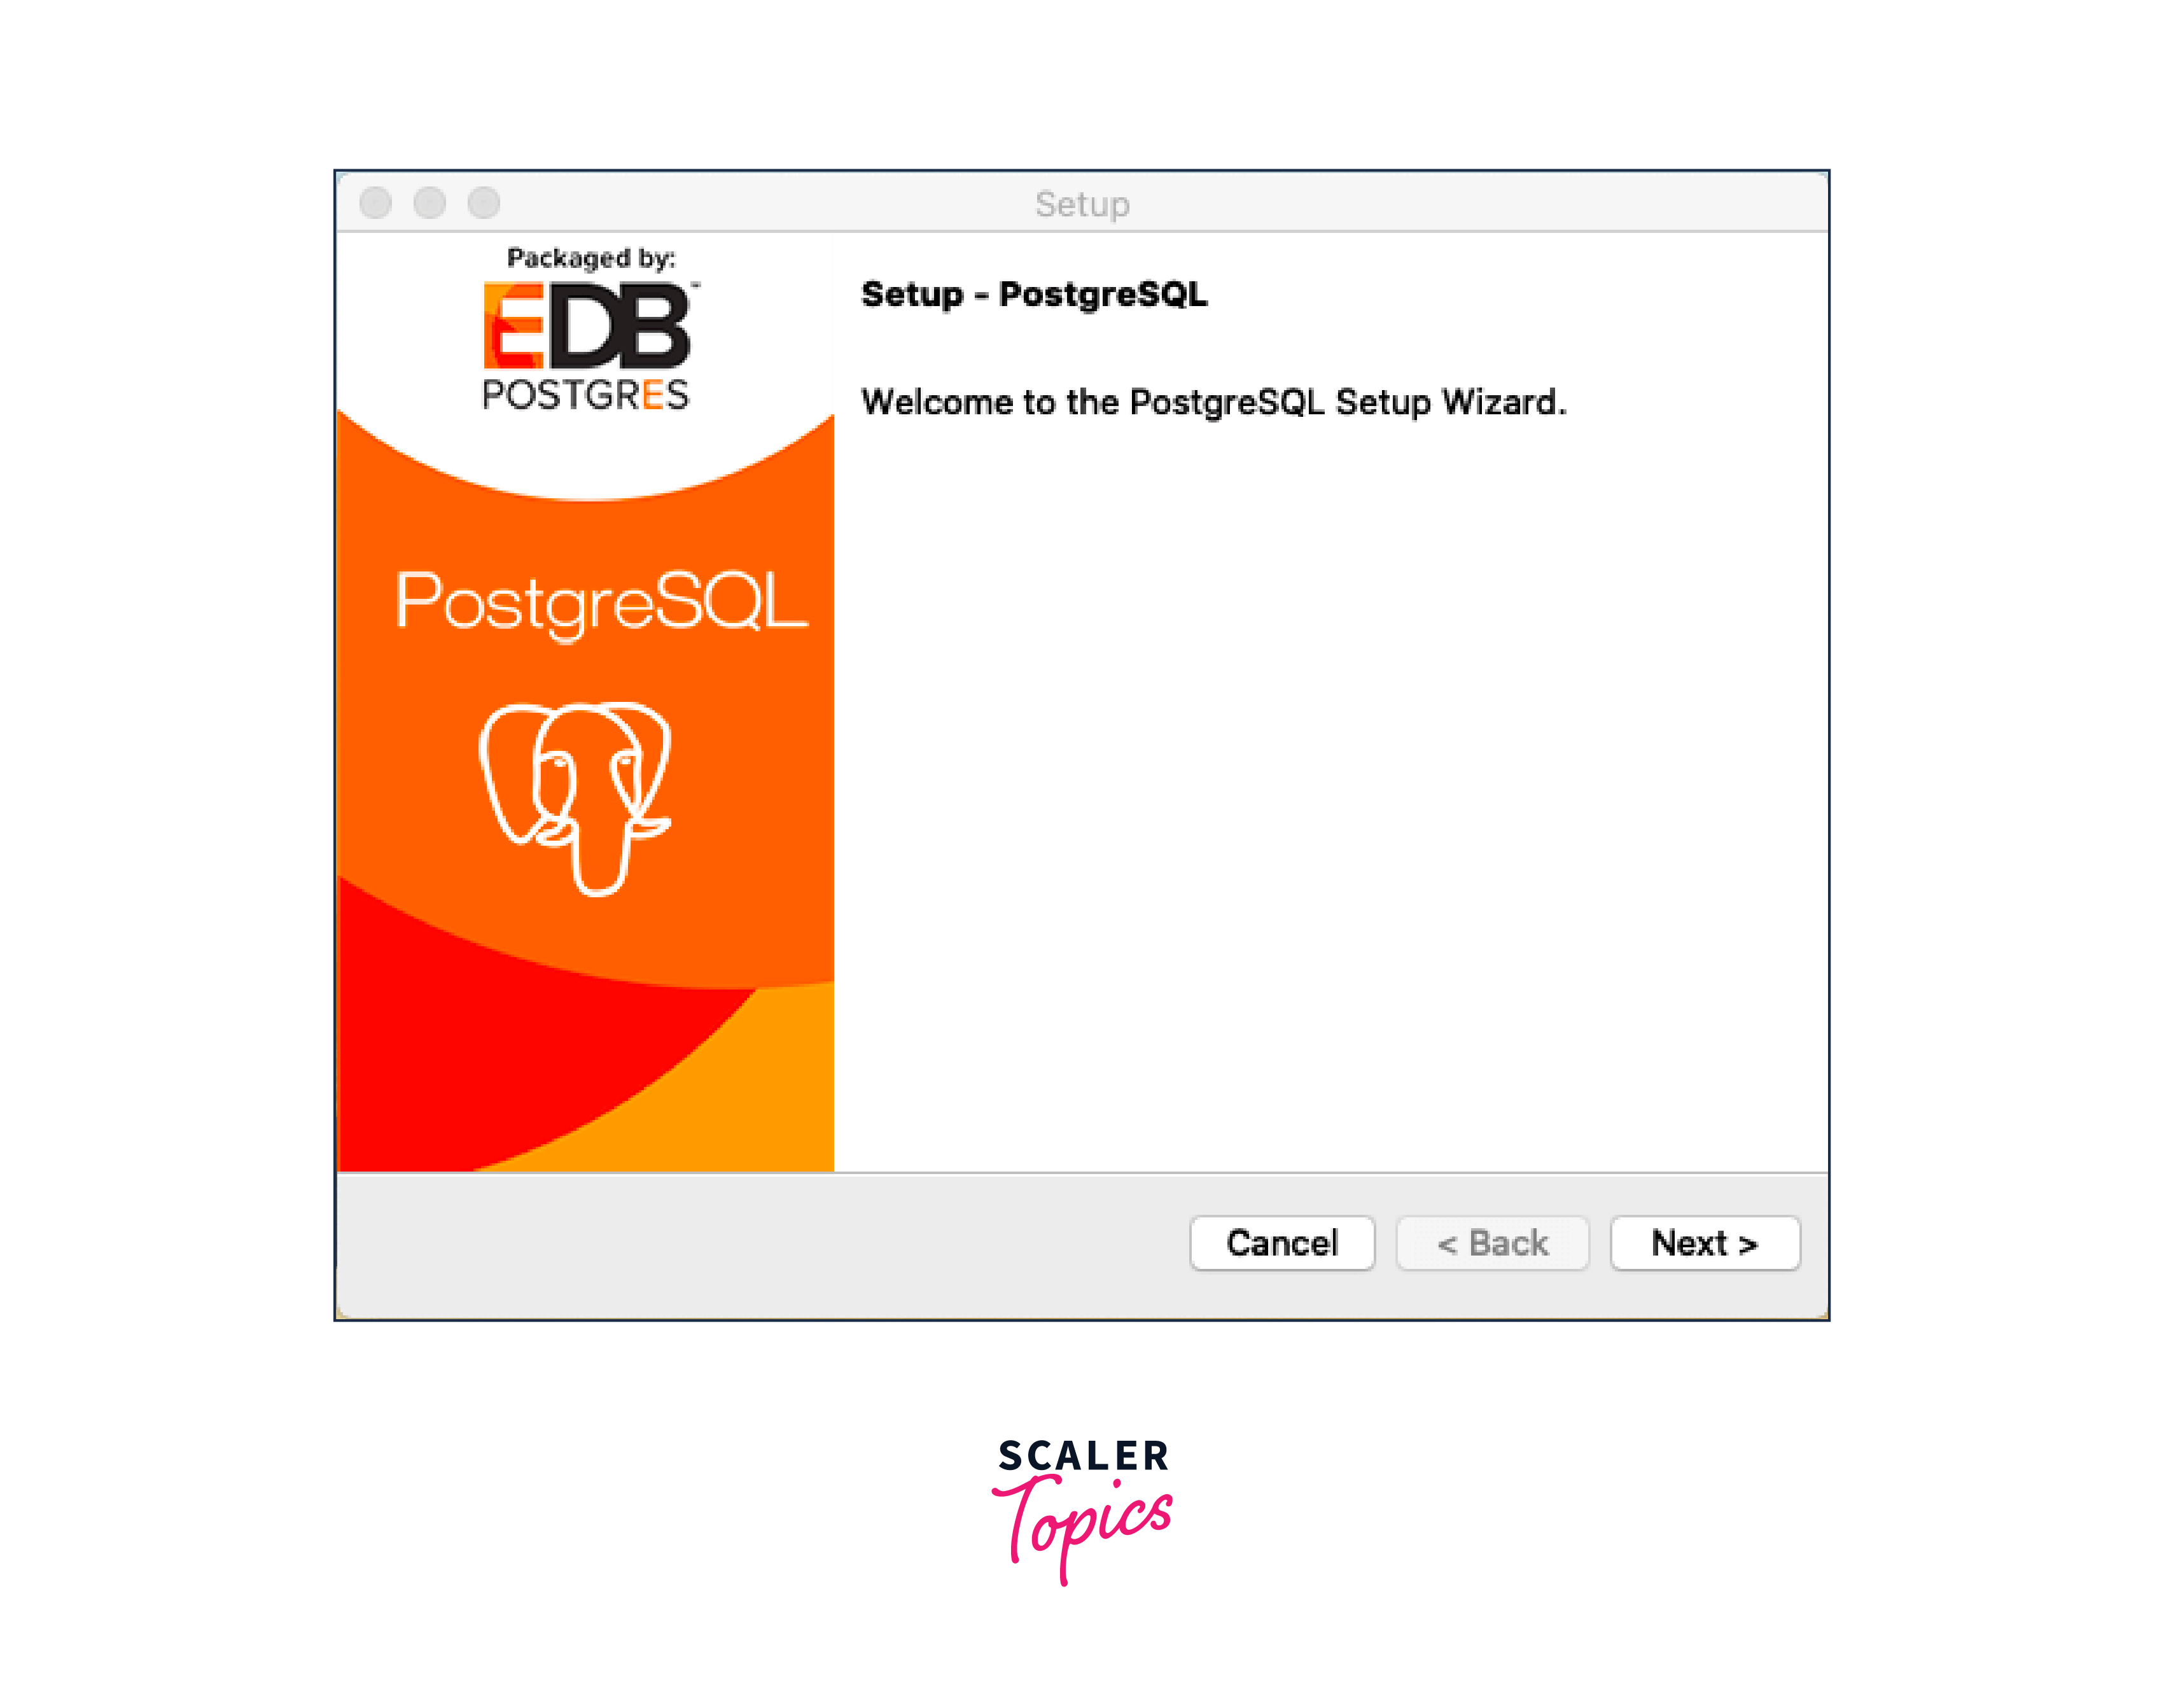
Open the installer file by double-clicking it, now the installation wizard will open on your screen, now click on the next button.
Step - 2:
Click on the next.
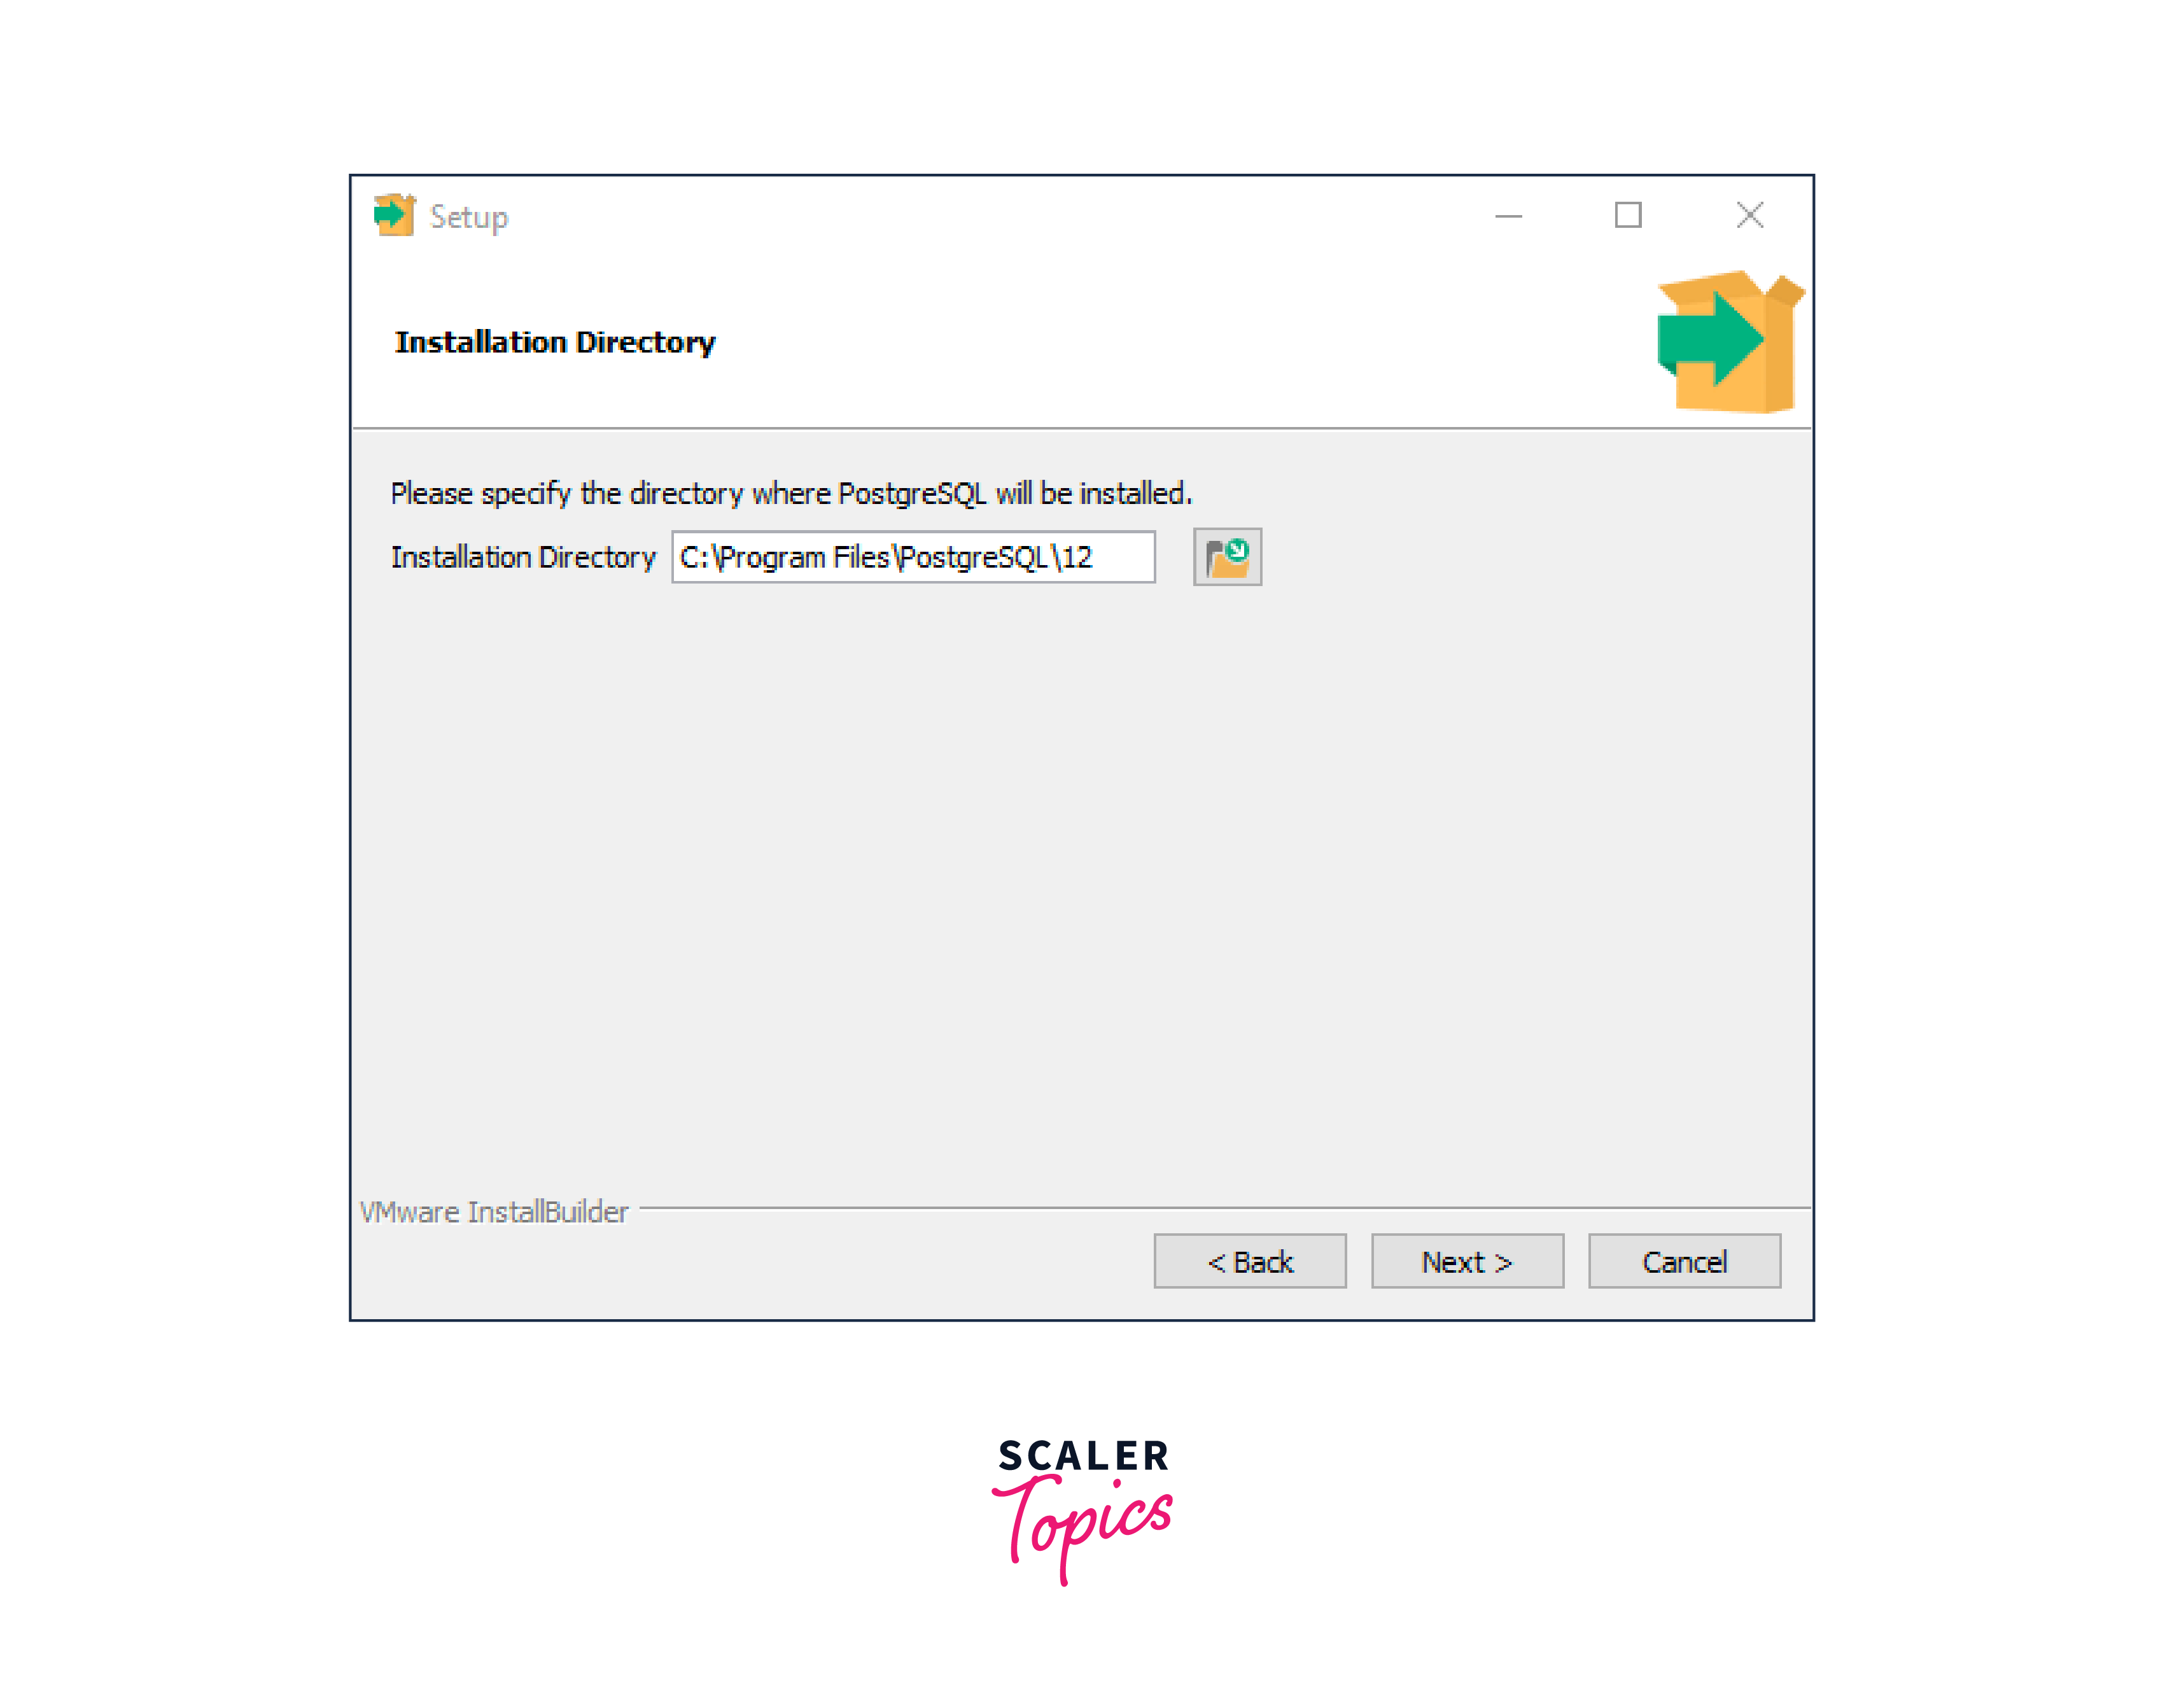
Step - 3:
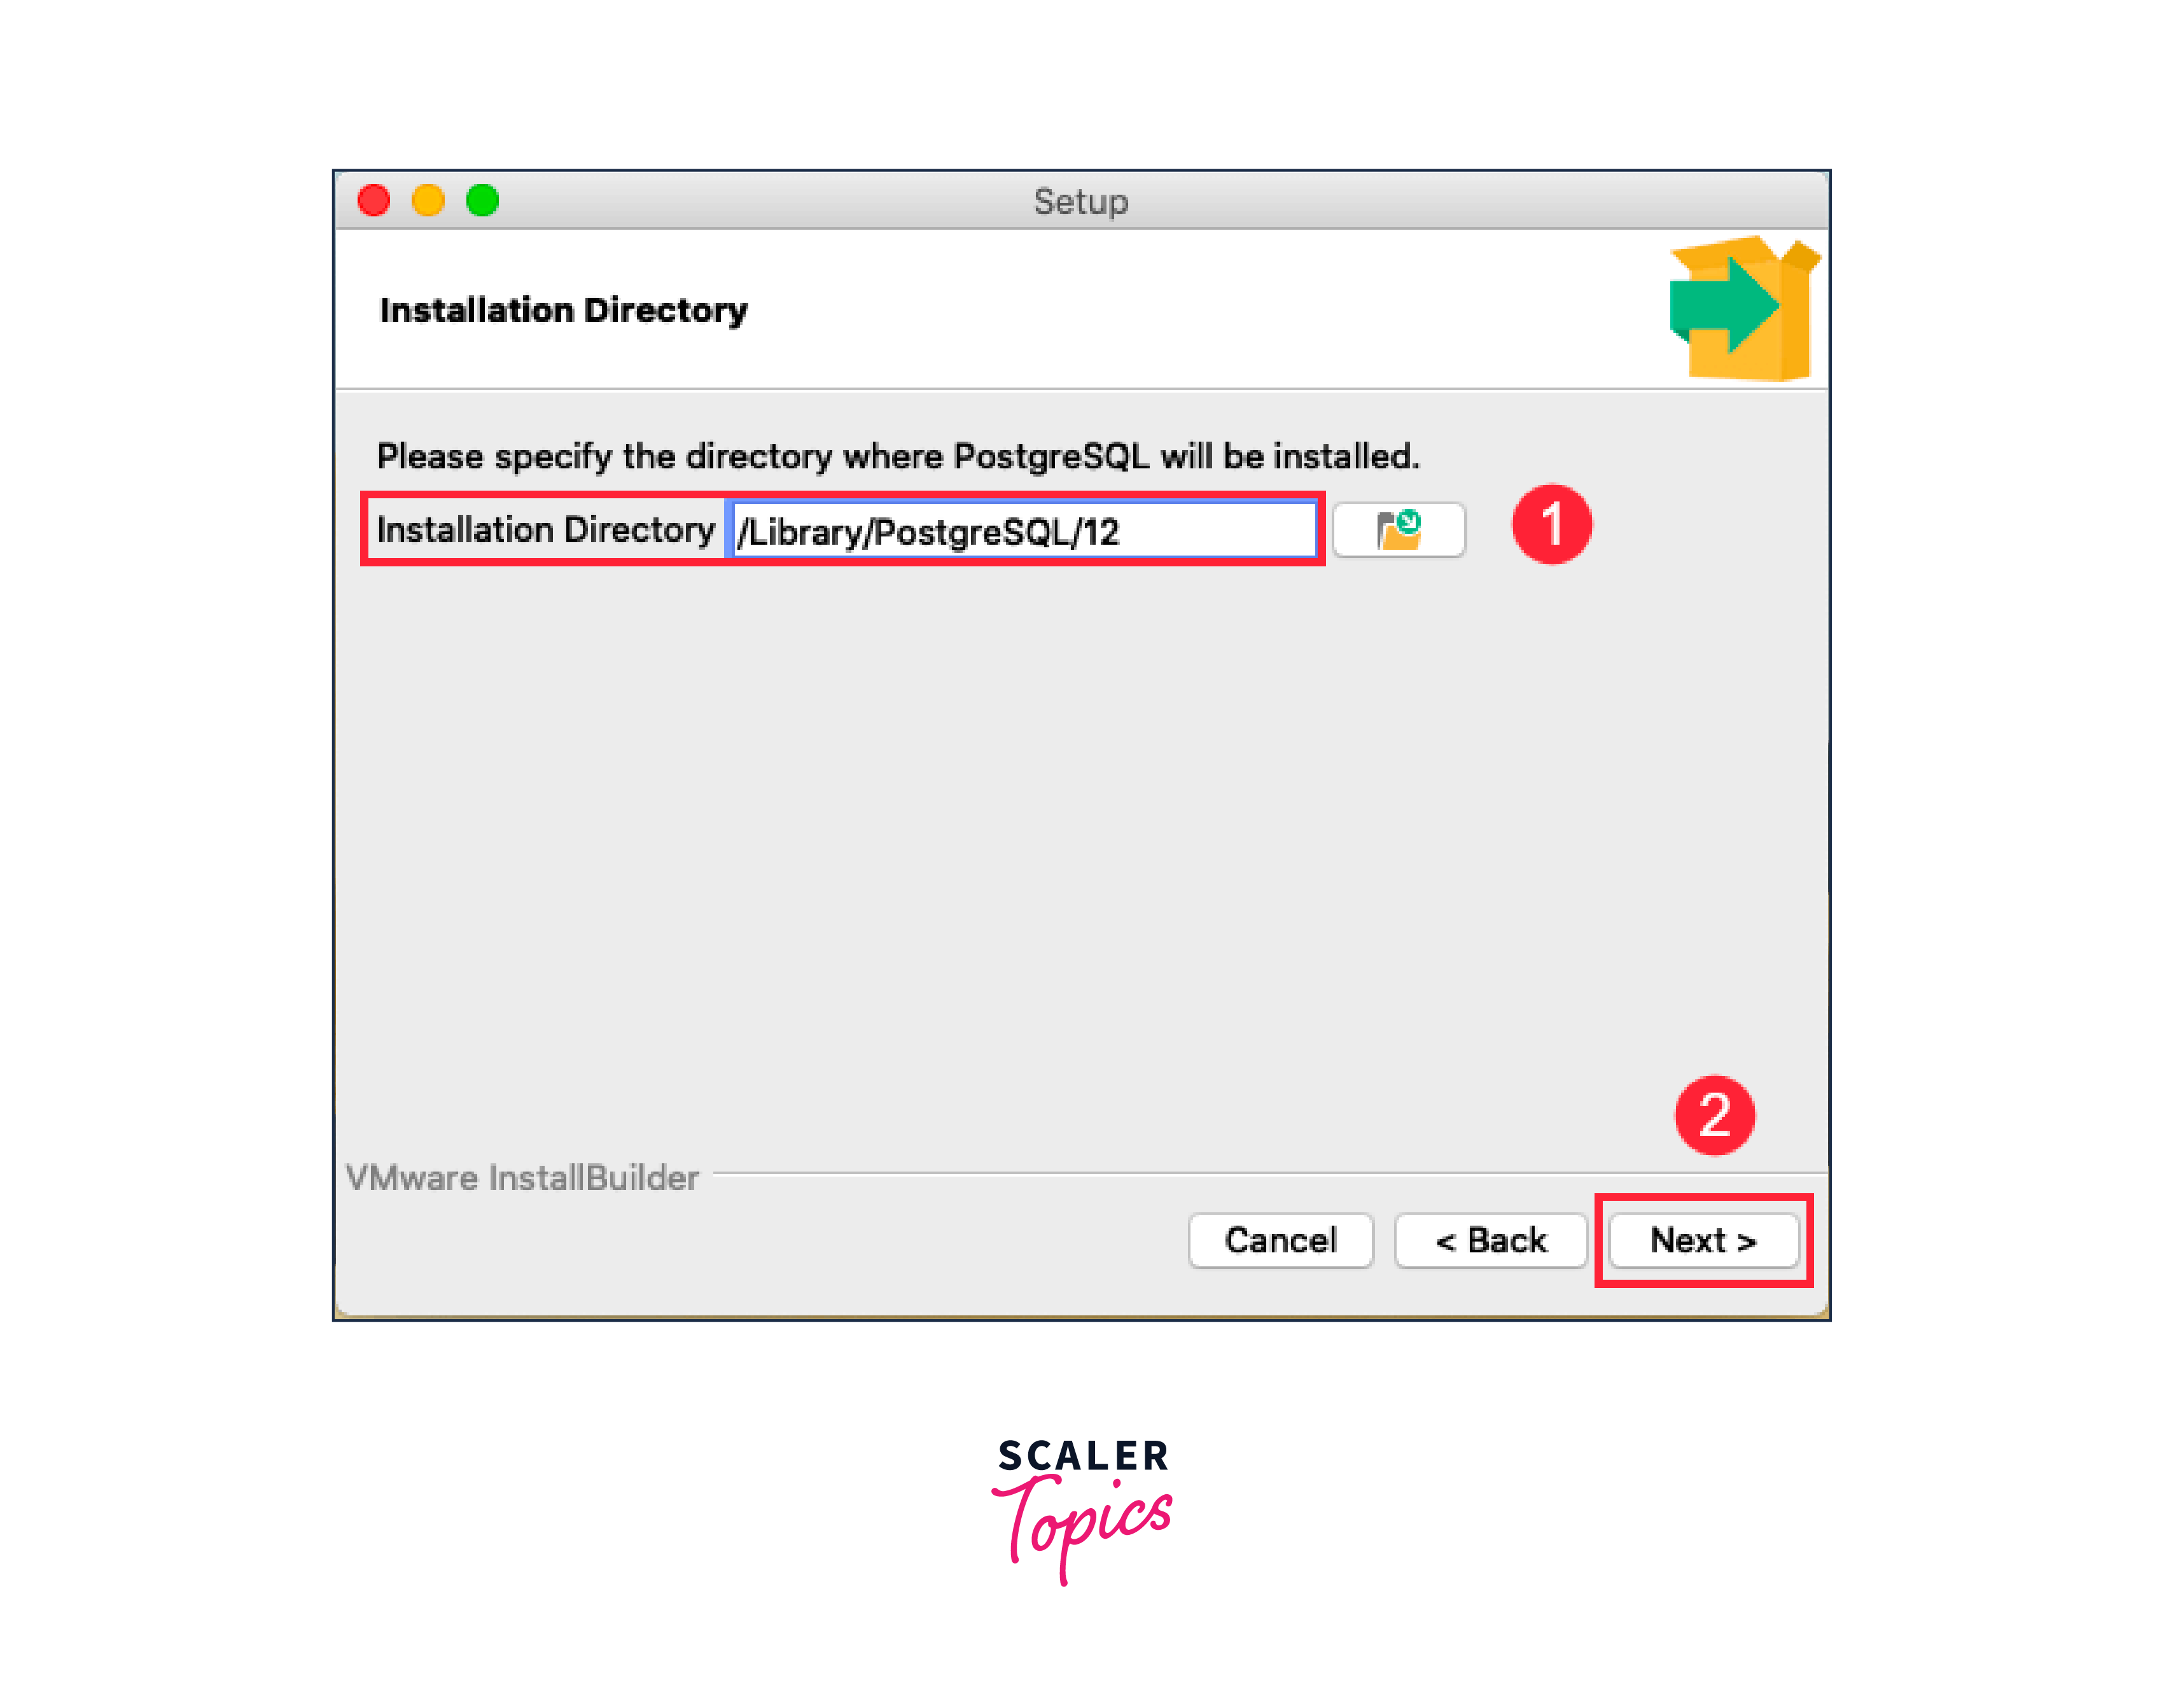
Now select the folder for Postgresql installation, you can specify any custom path or you can keep the folder by default selected by Postgresql, then click on the next.
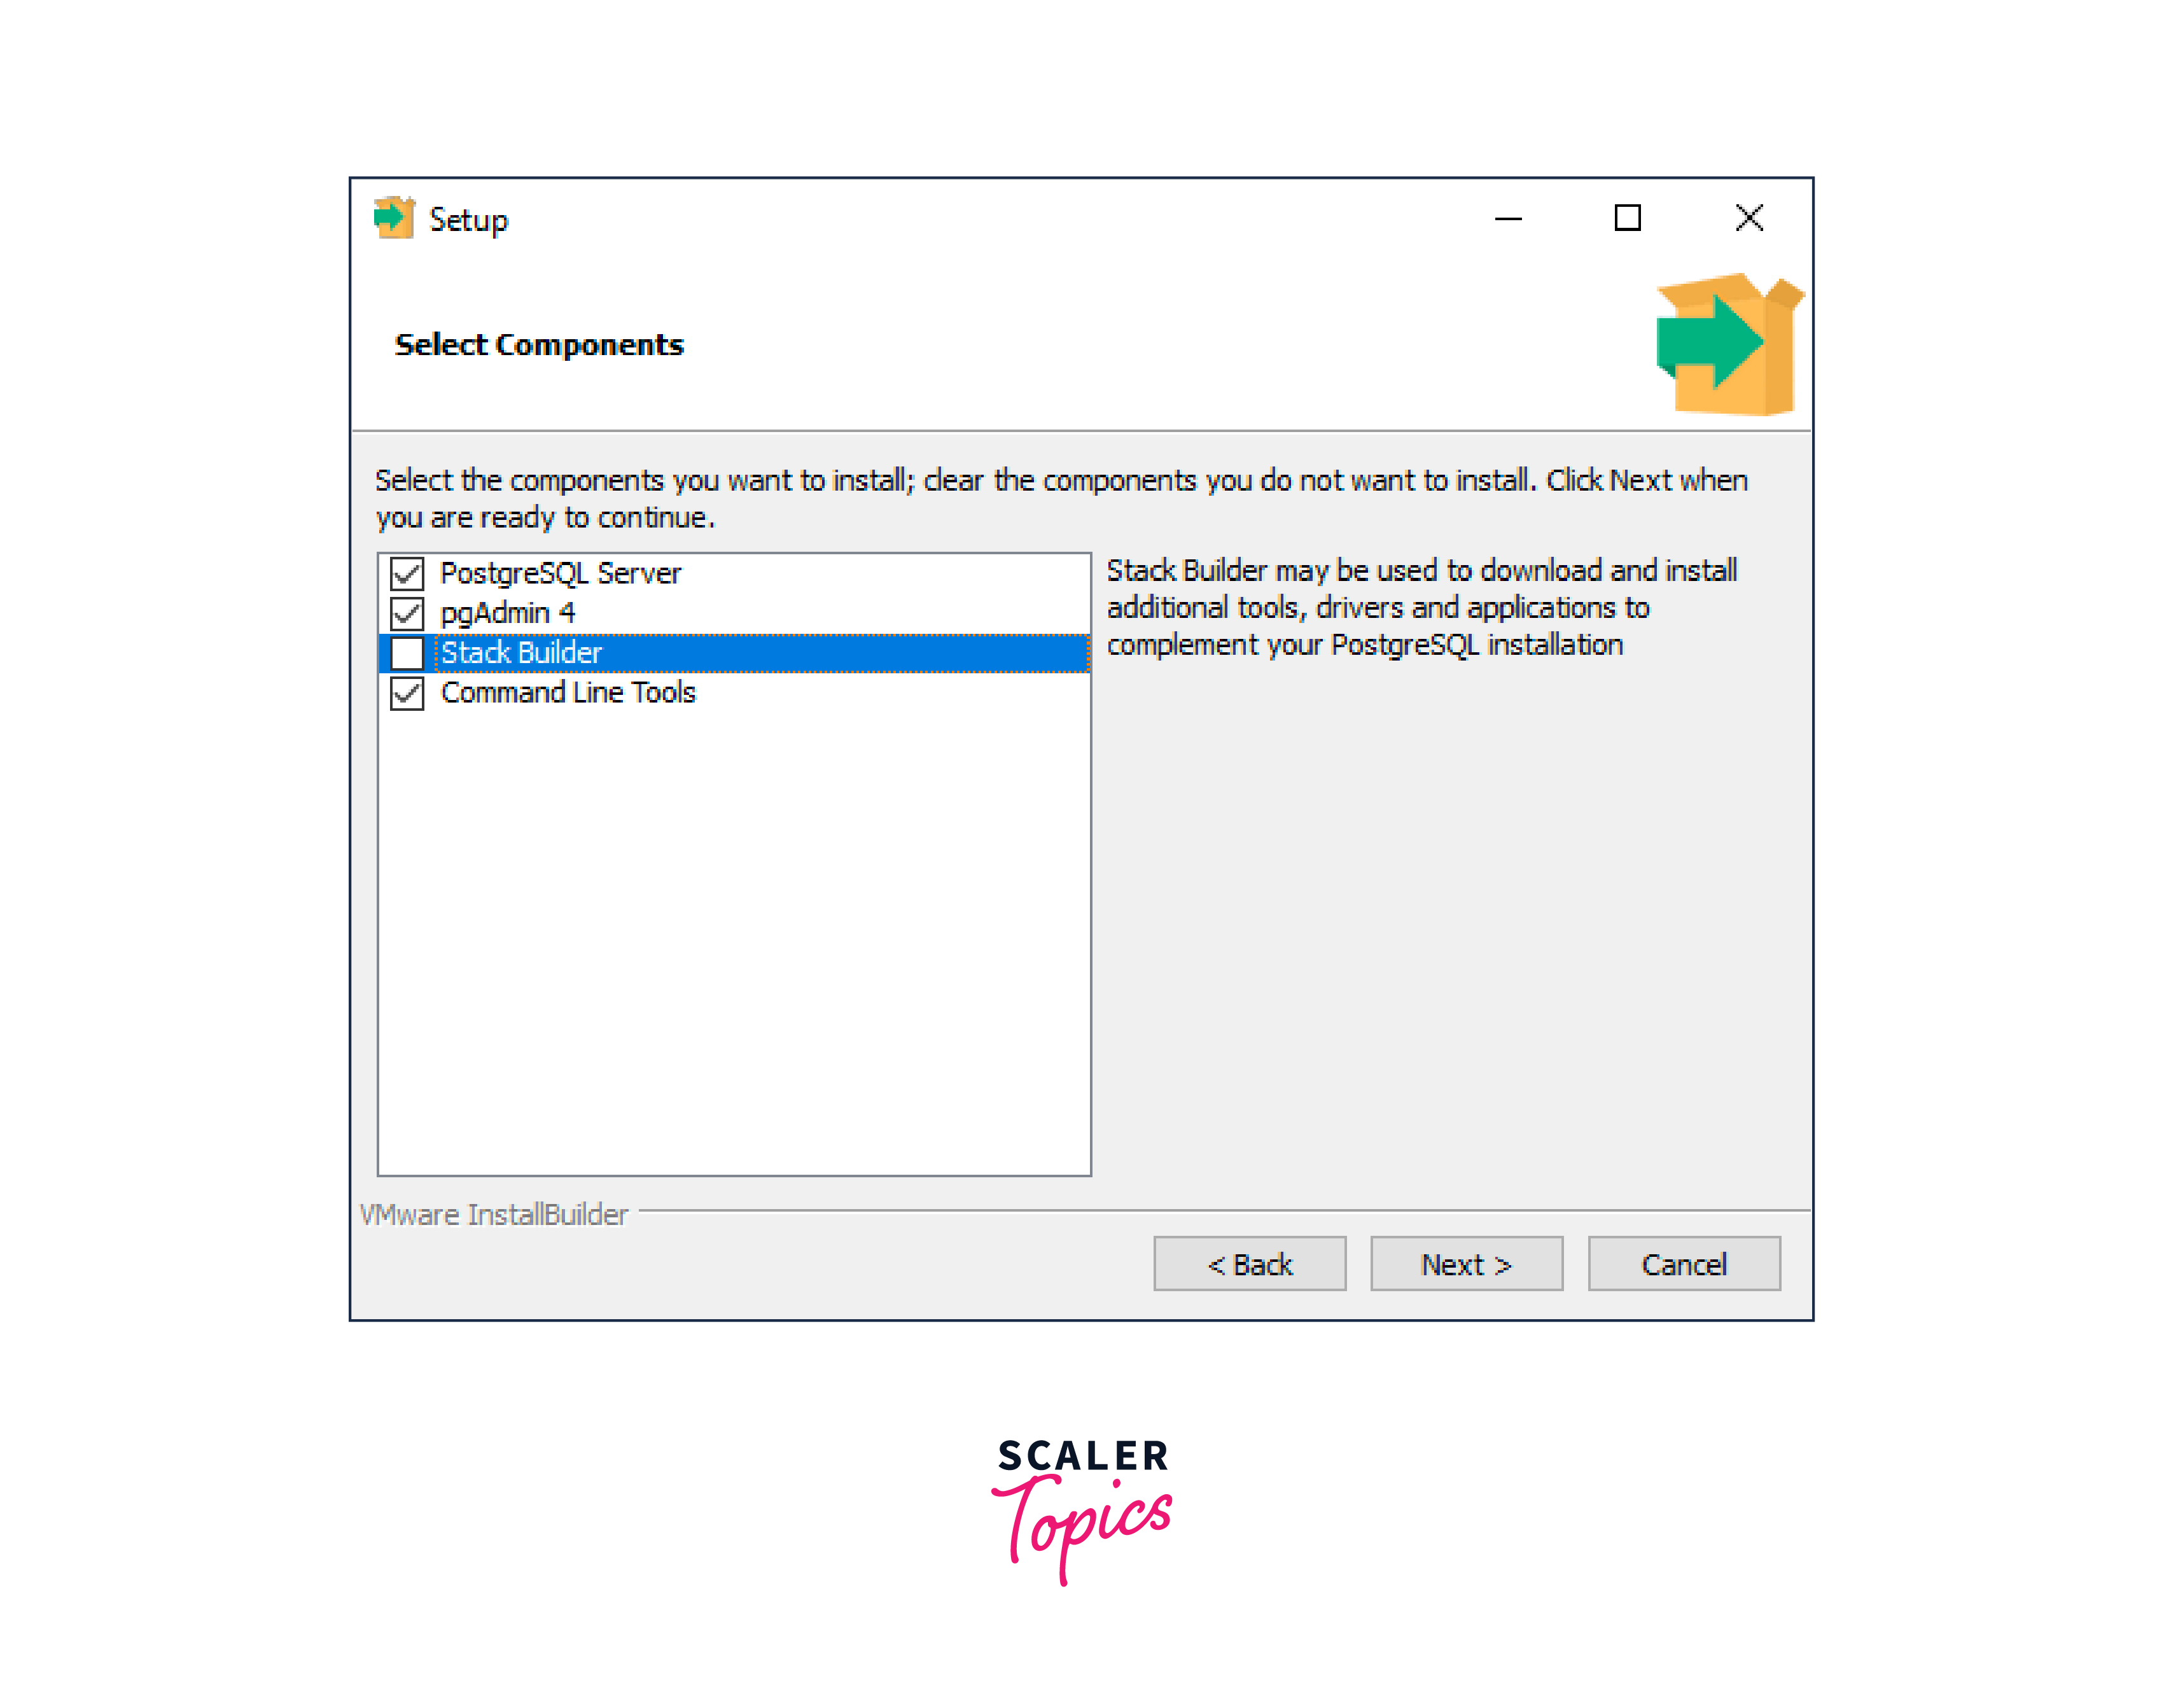
Step - 4:
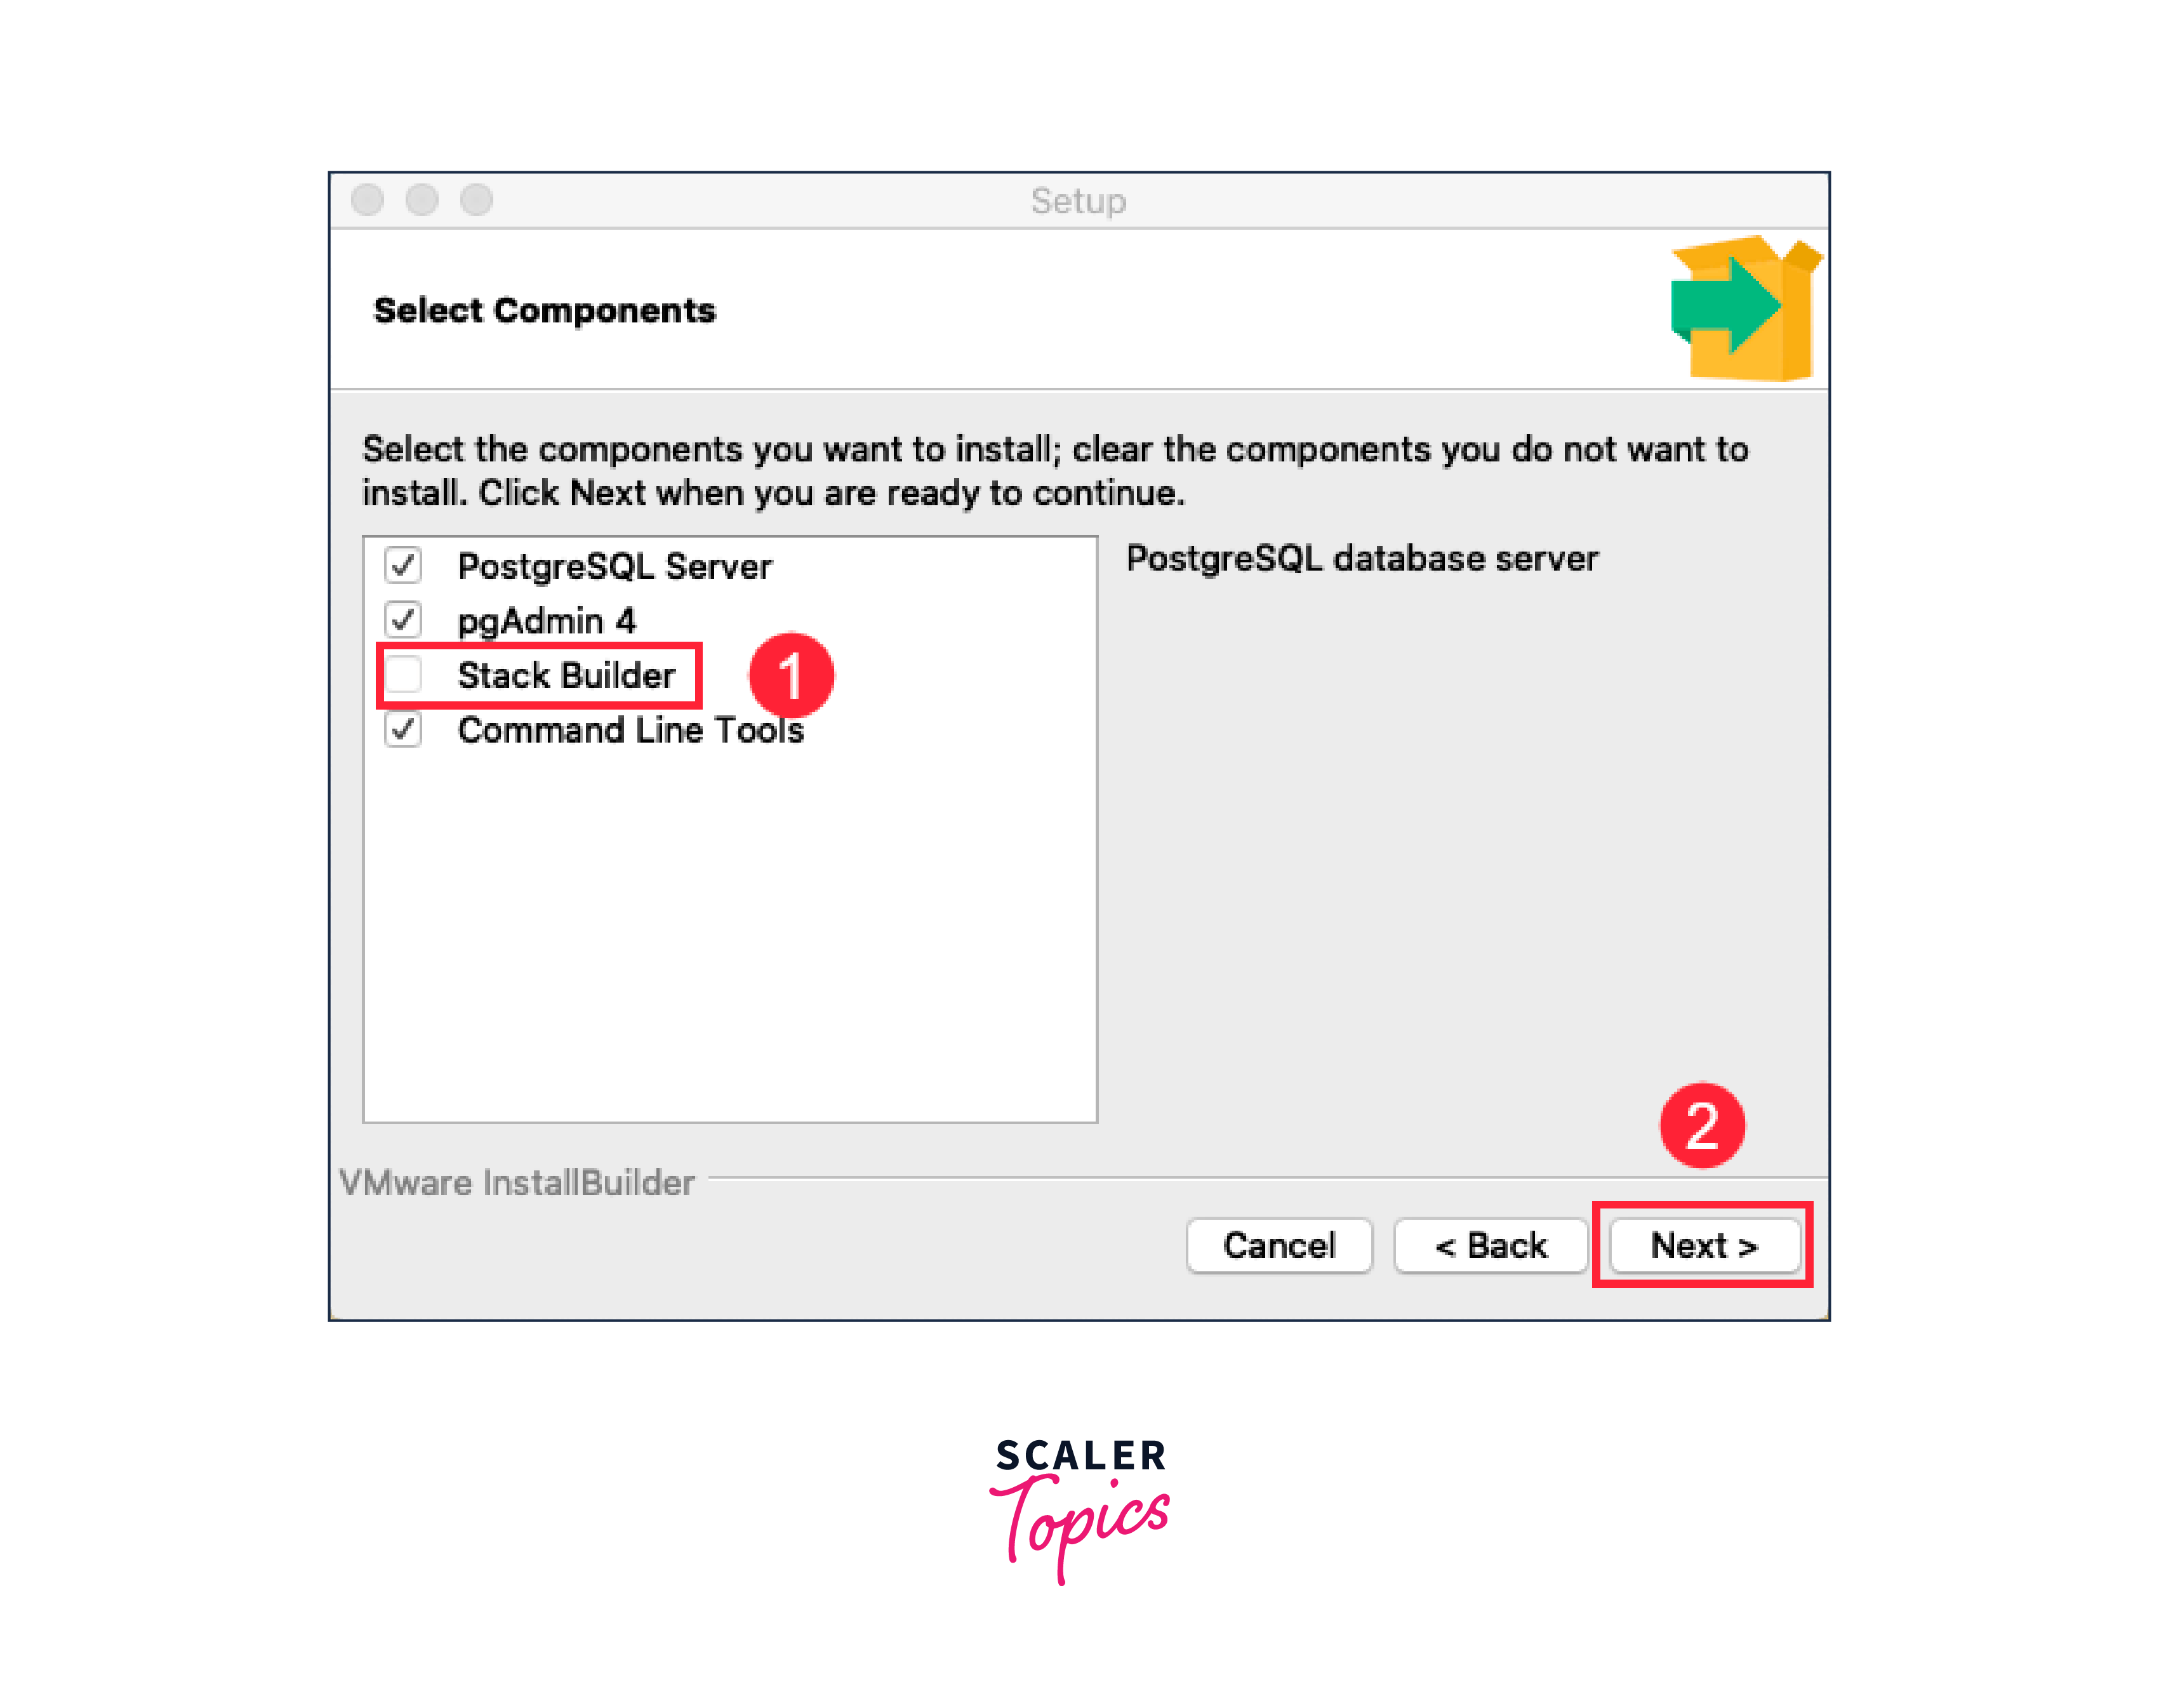
Now a window will open that will ask for a selection of different software components, select only those that you want to install:
- PostgreSQL server is installed for the Postgresql database server installation.
- pgAdmin 4 is installed to use GUI for database management.
- Stack Builder is installed to get a GUI for the installation of different drivers for Postgresql.
- Command line tools are installed for working with different command line tools like pg_restore, psql, etc. With these tools, you can use the command line for interaction with Postgresql.
Select all except Stack Builder, as it requires much, and click on the next.
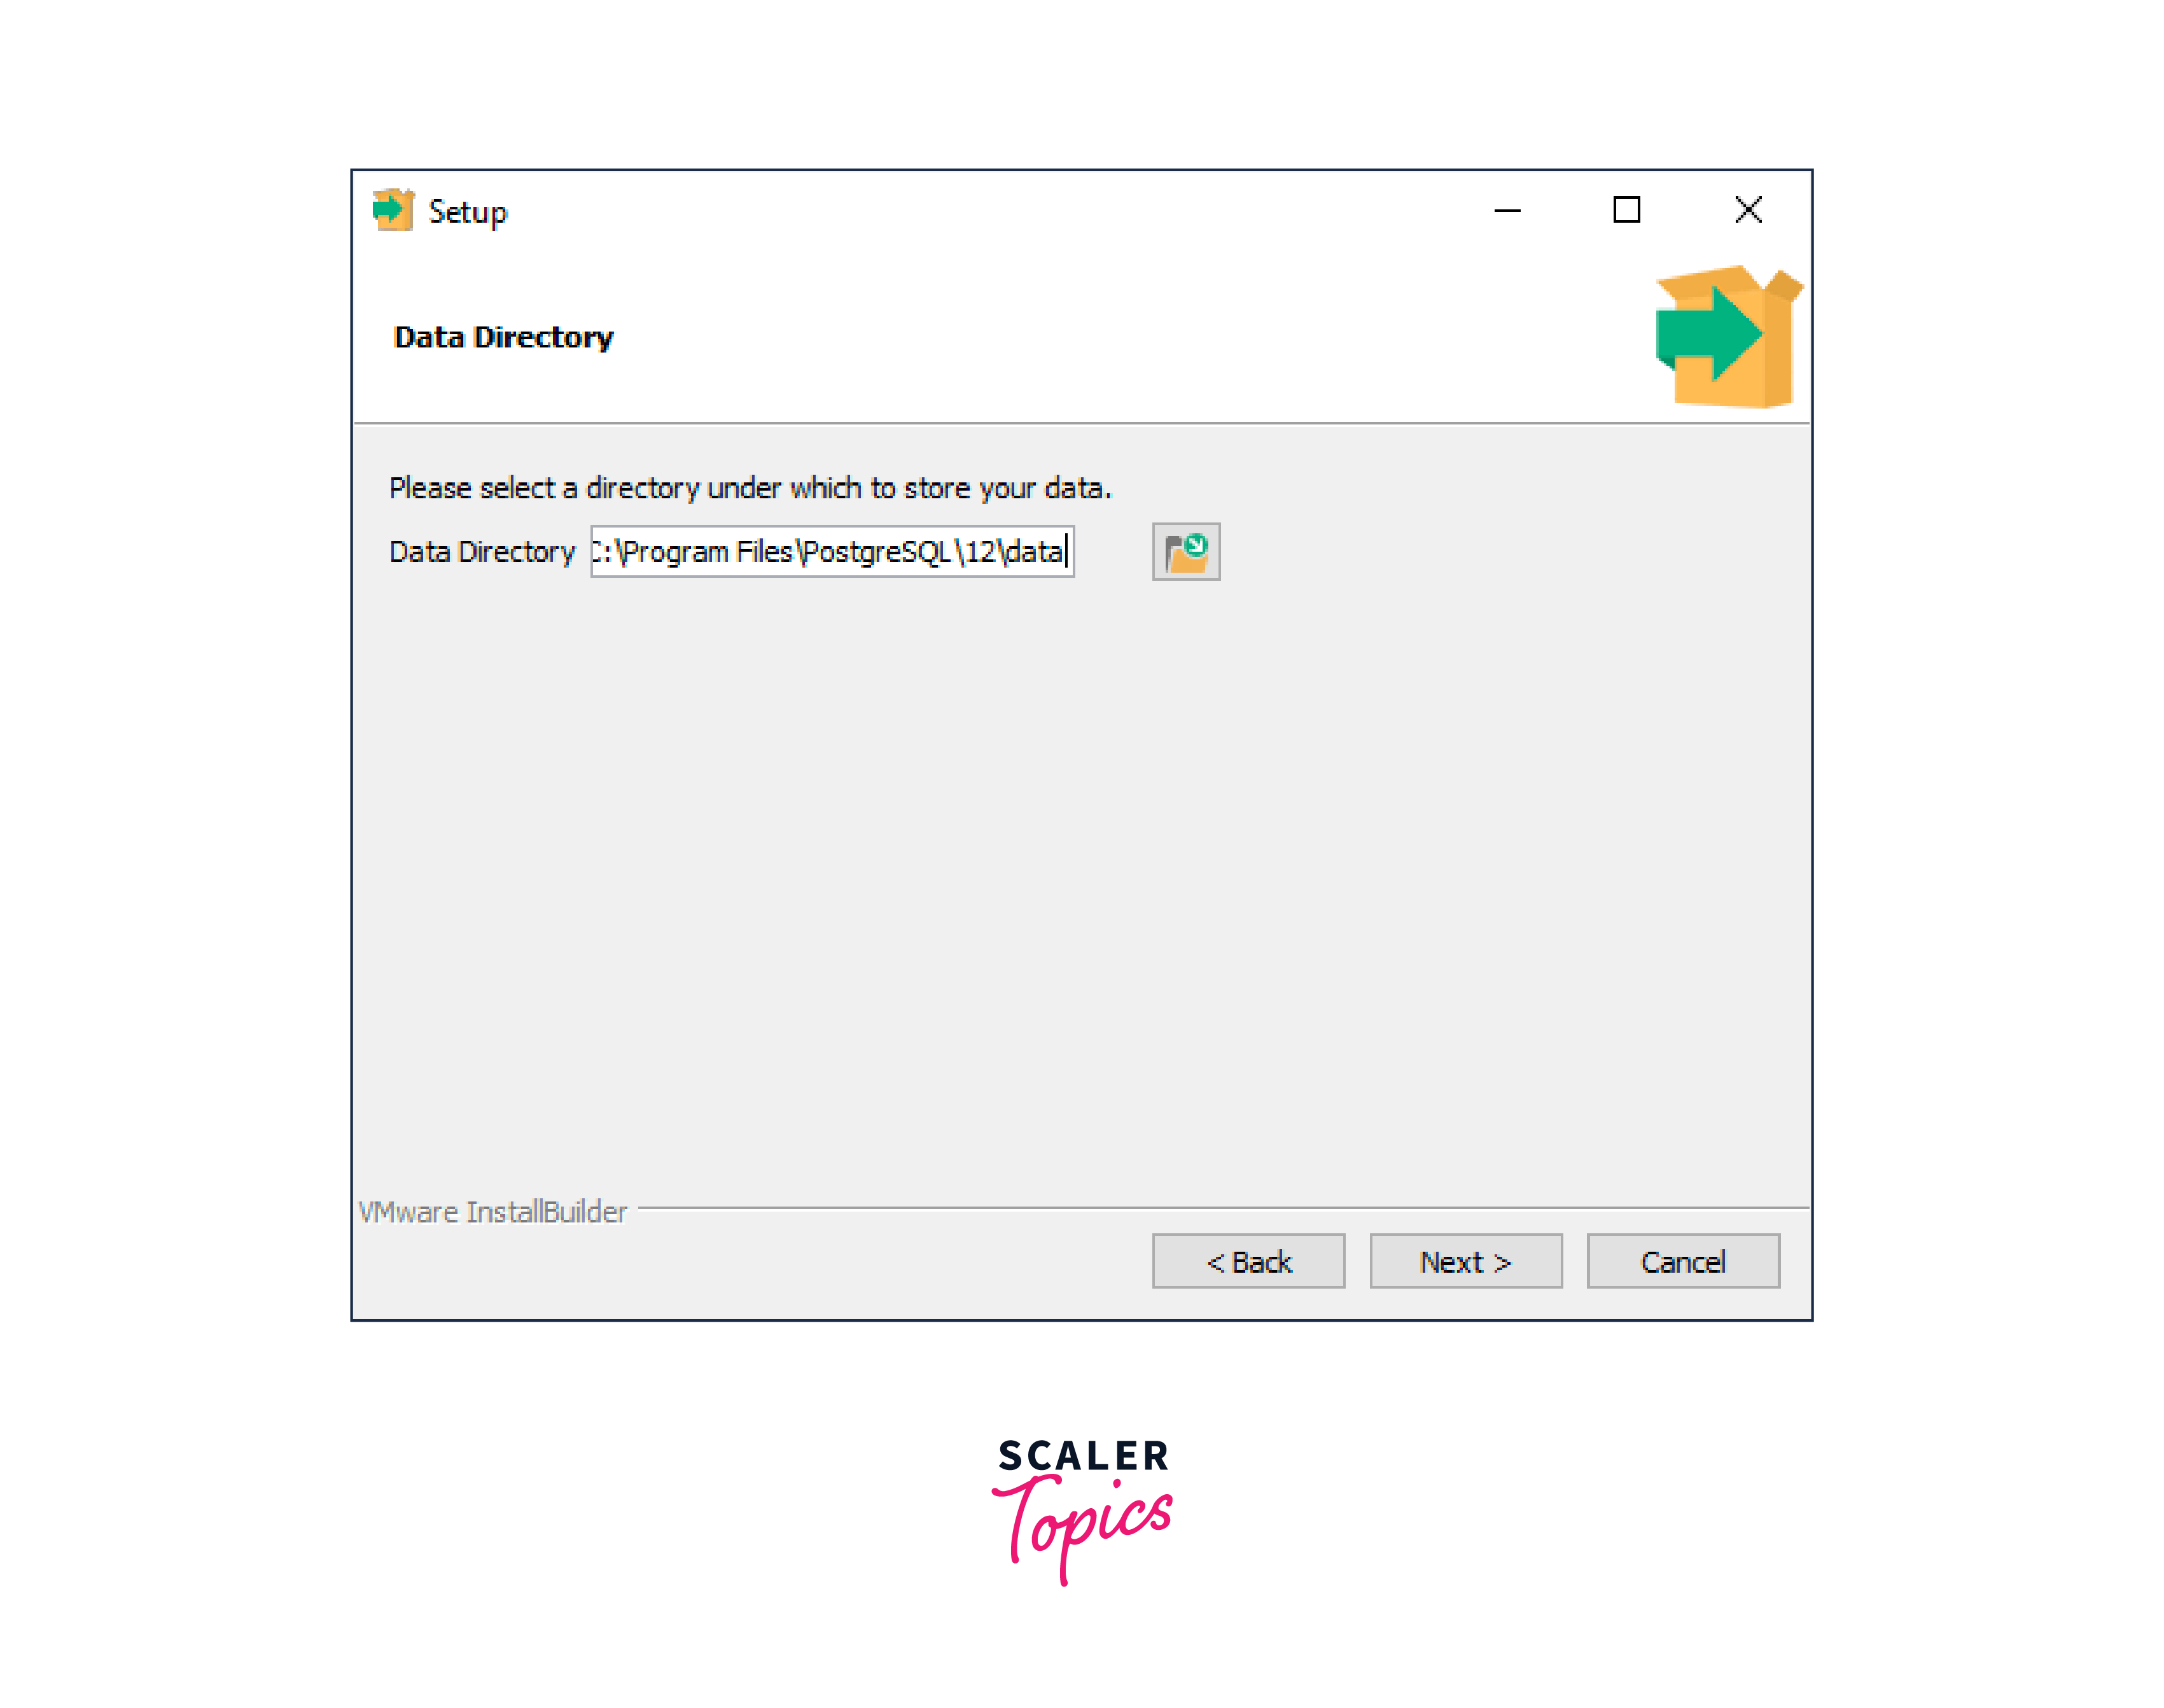
Step - 5:
Select the directory for the database for data storage or you can keep the default folder also, click on the next.
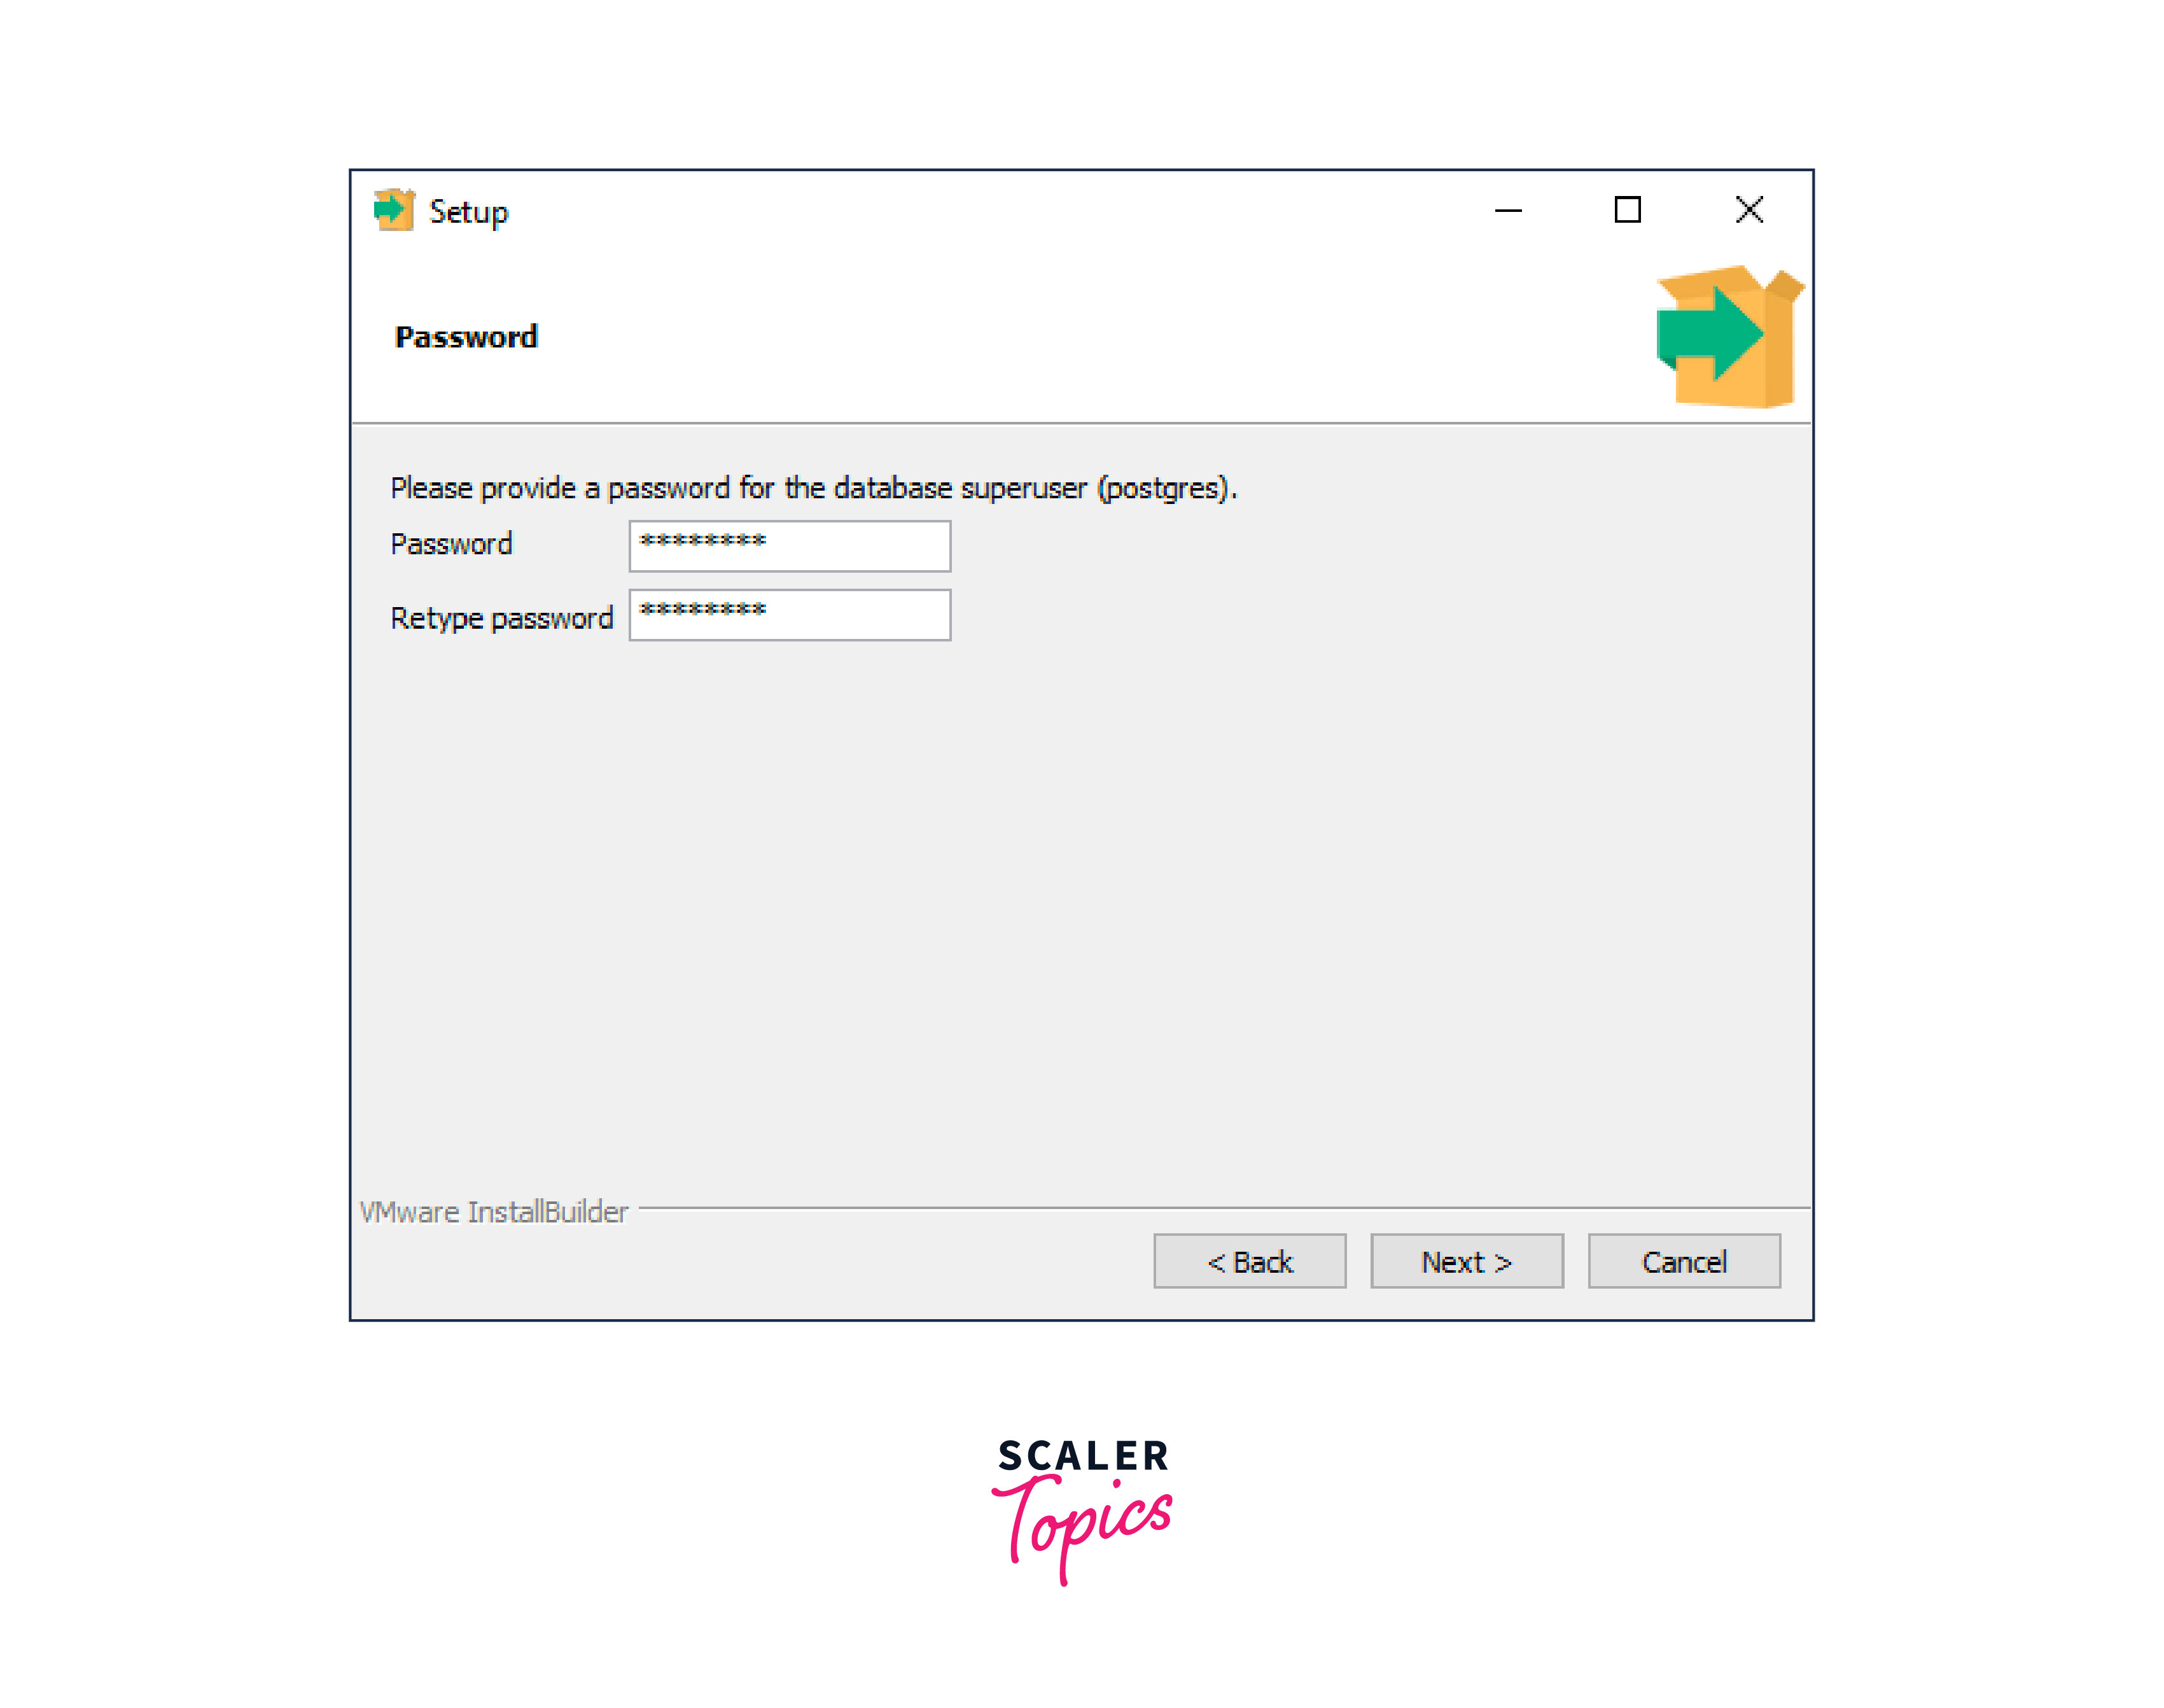
Step - 6:
Enter the password you want for the PostgreSQL user account, but you need to remember this password as it requires later to log in to the database server of PostgreSQL, re-type the password again, and then click on the next.
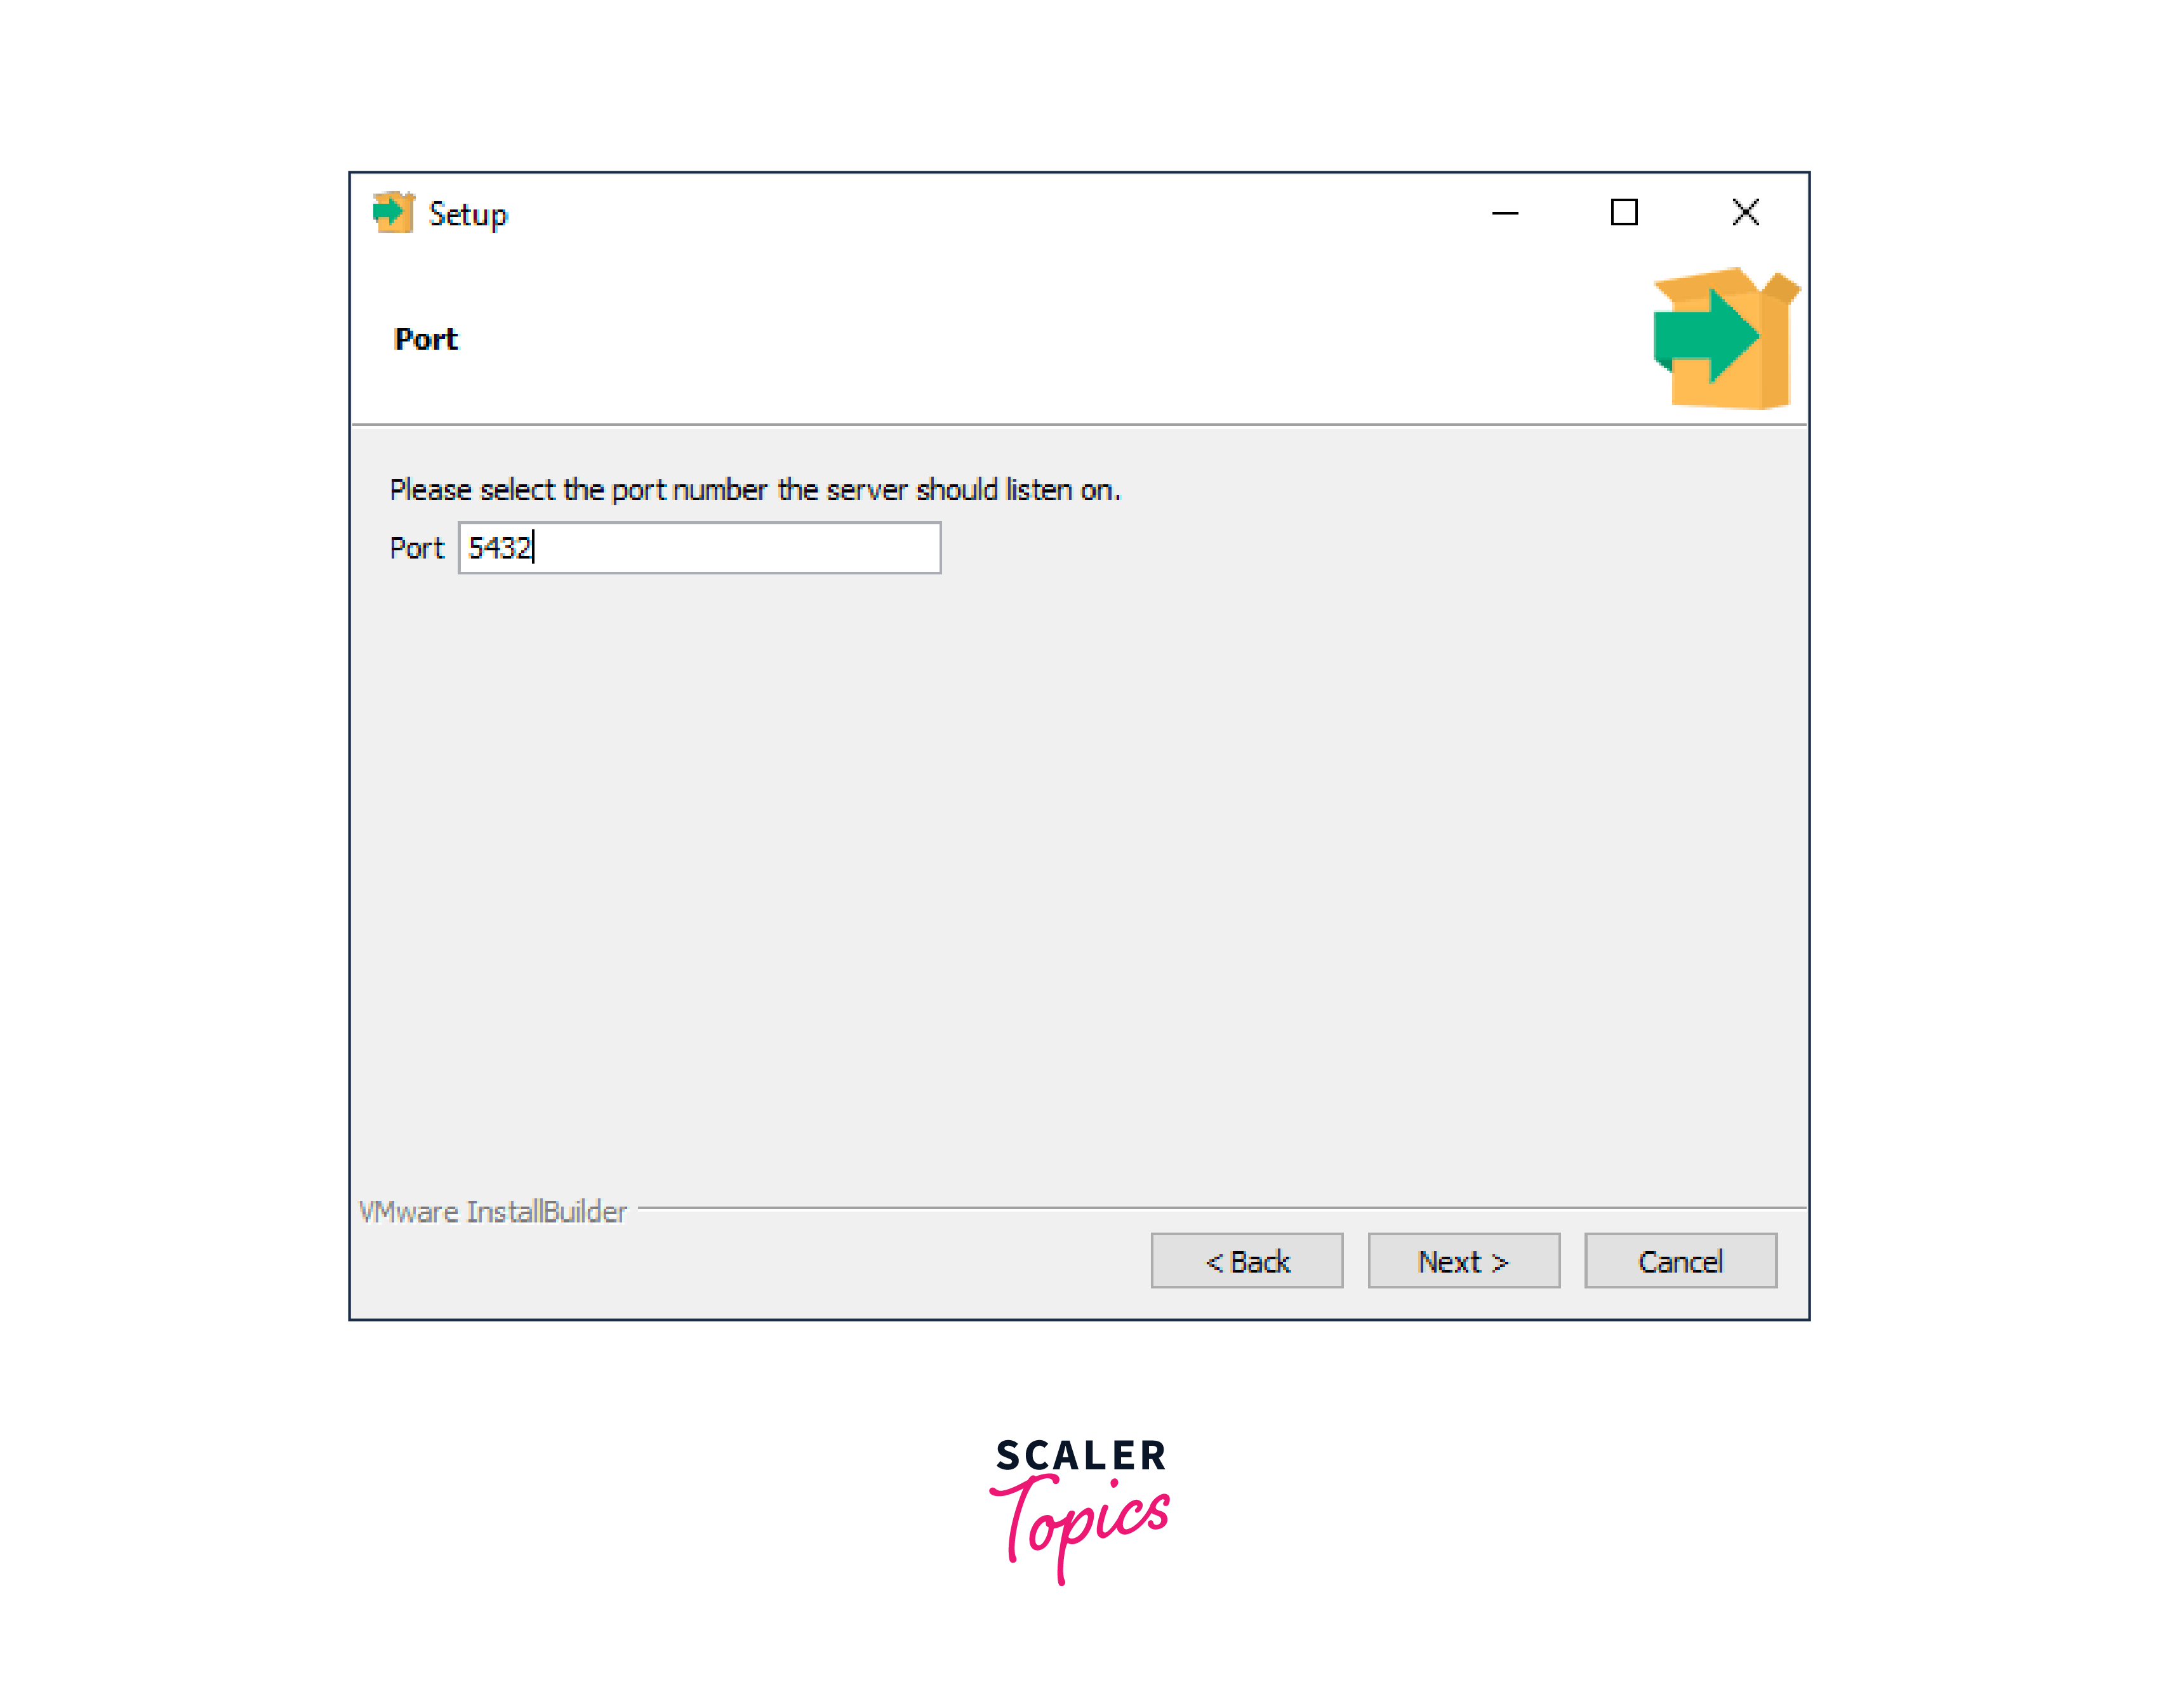
Step - 7:
Enter the port number on which the PostgreSQL server will listen, the 5432 post is used by PostgreSQL by default. It must be ensured that the entered port number is free, which means that the port number is not used by any other application.
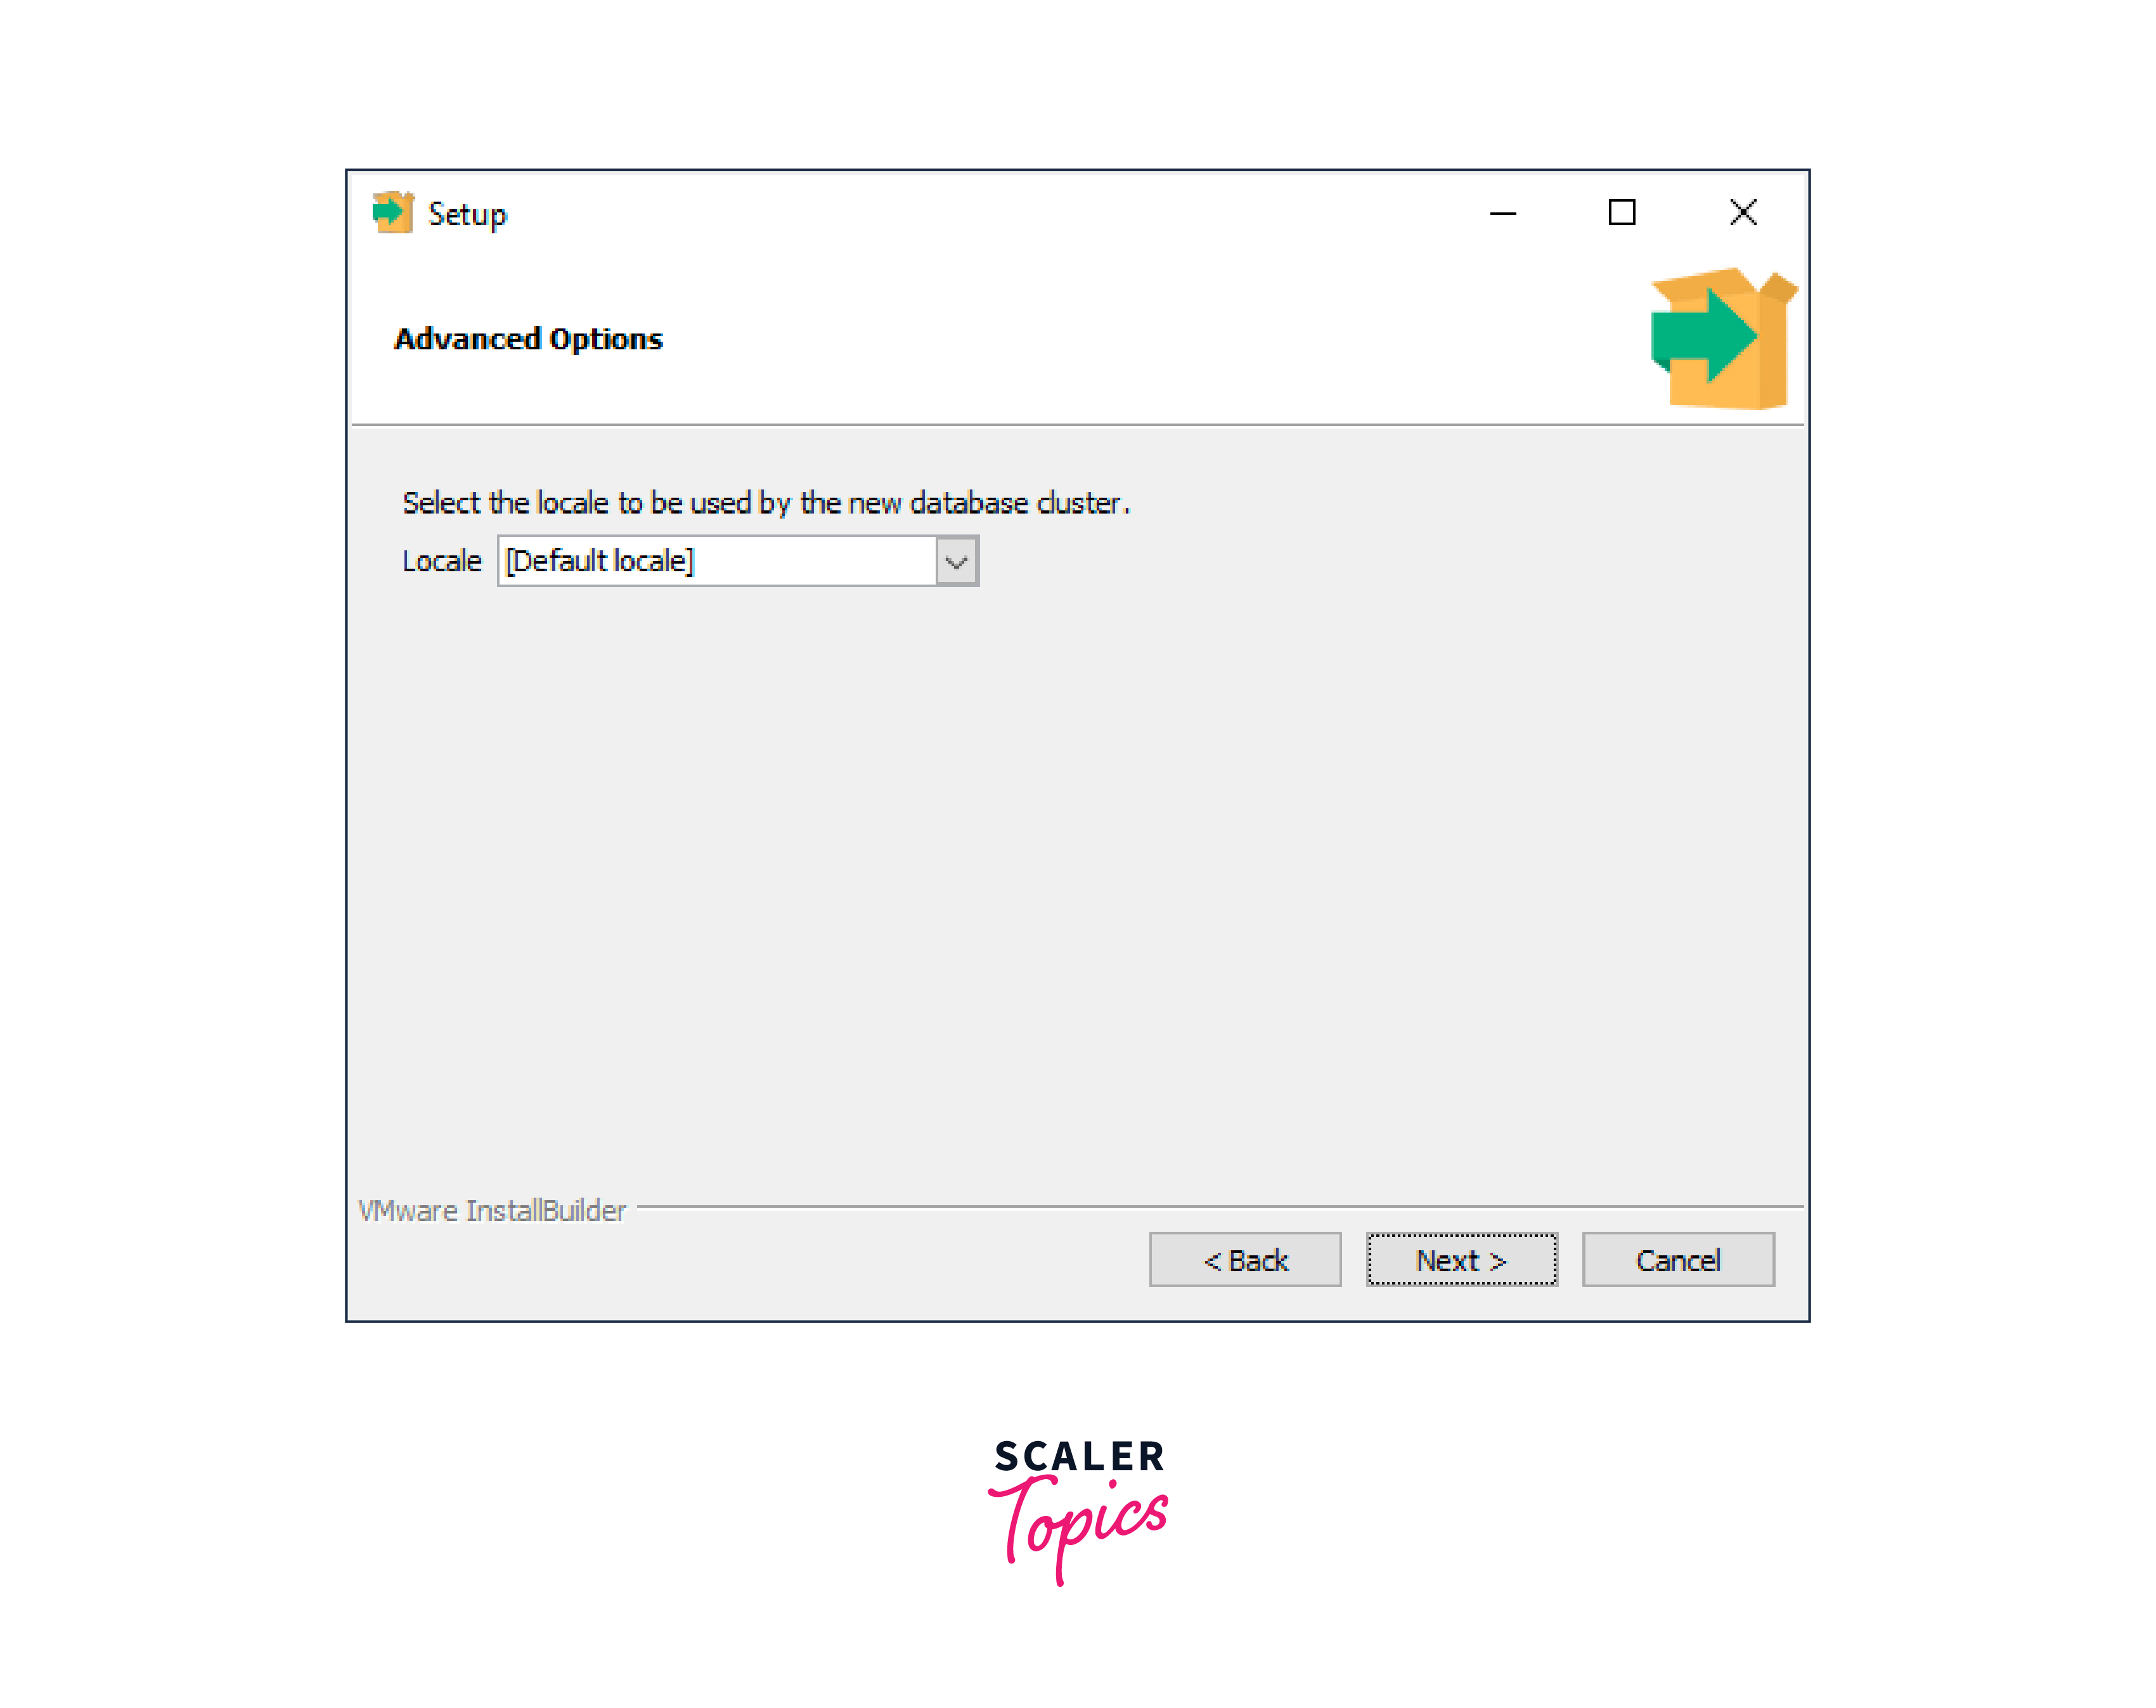
Step - 8:
Now choose the locale. The current operating system locale is used by PostgreSQL by default, then click on the next.
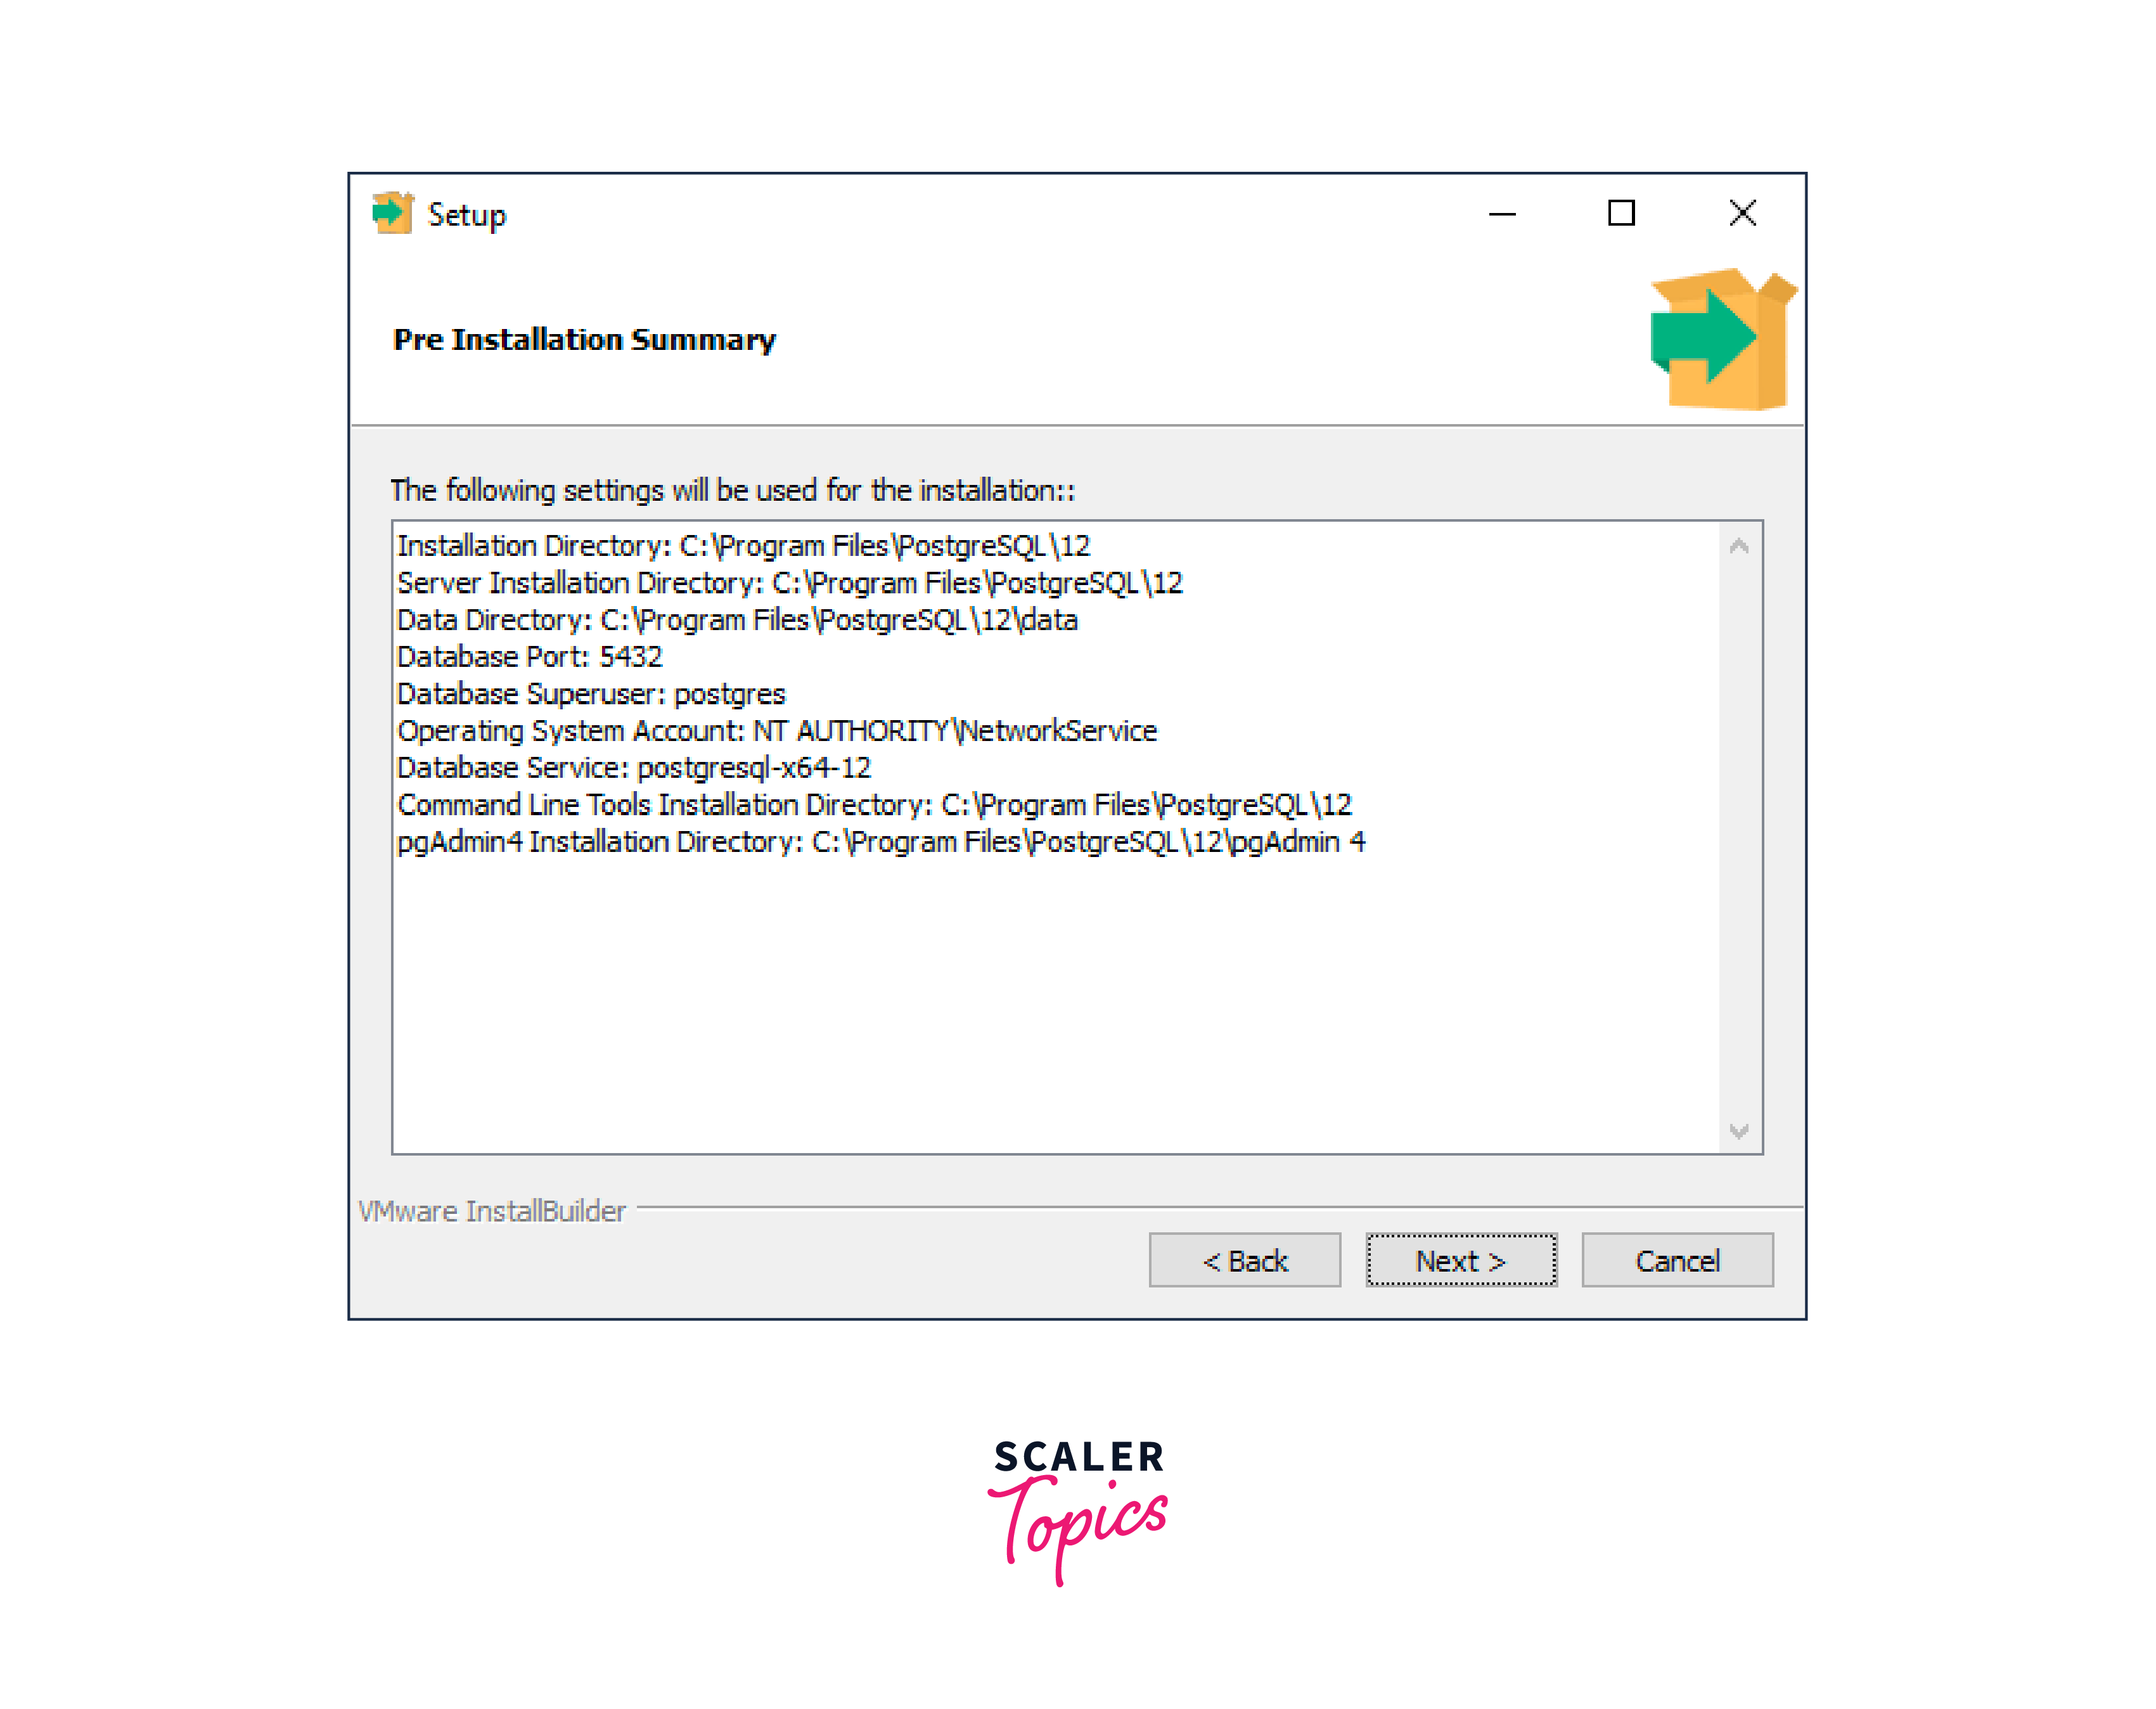
Step - 9:
Check all the installation details displayed on the screen. If every information looks right, then click on the next, otherwise go back if any detail is not correct.
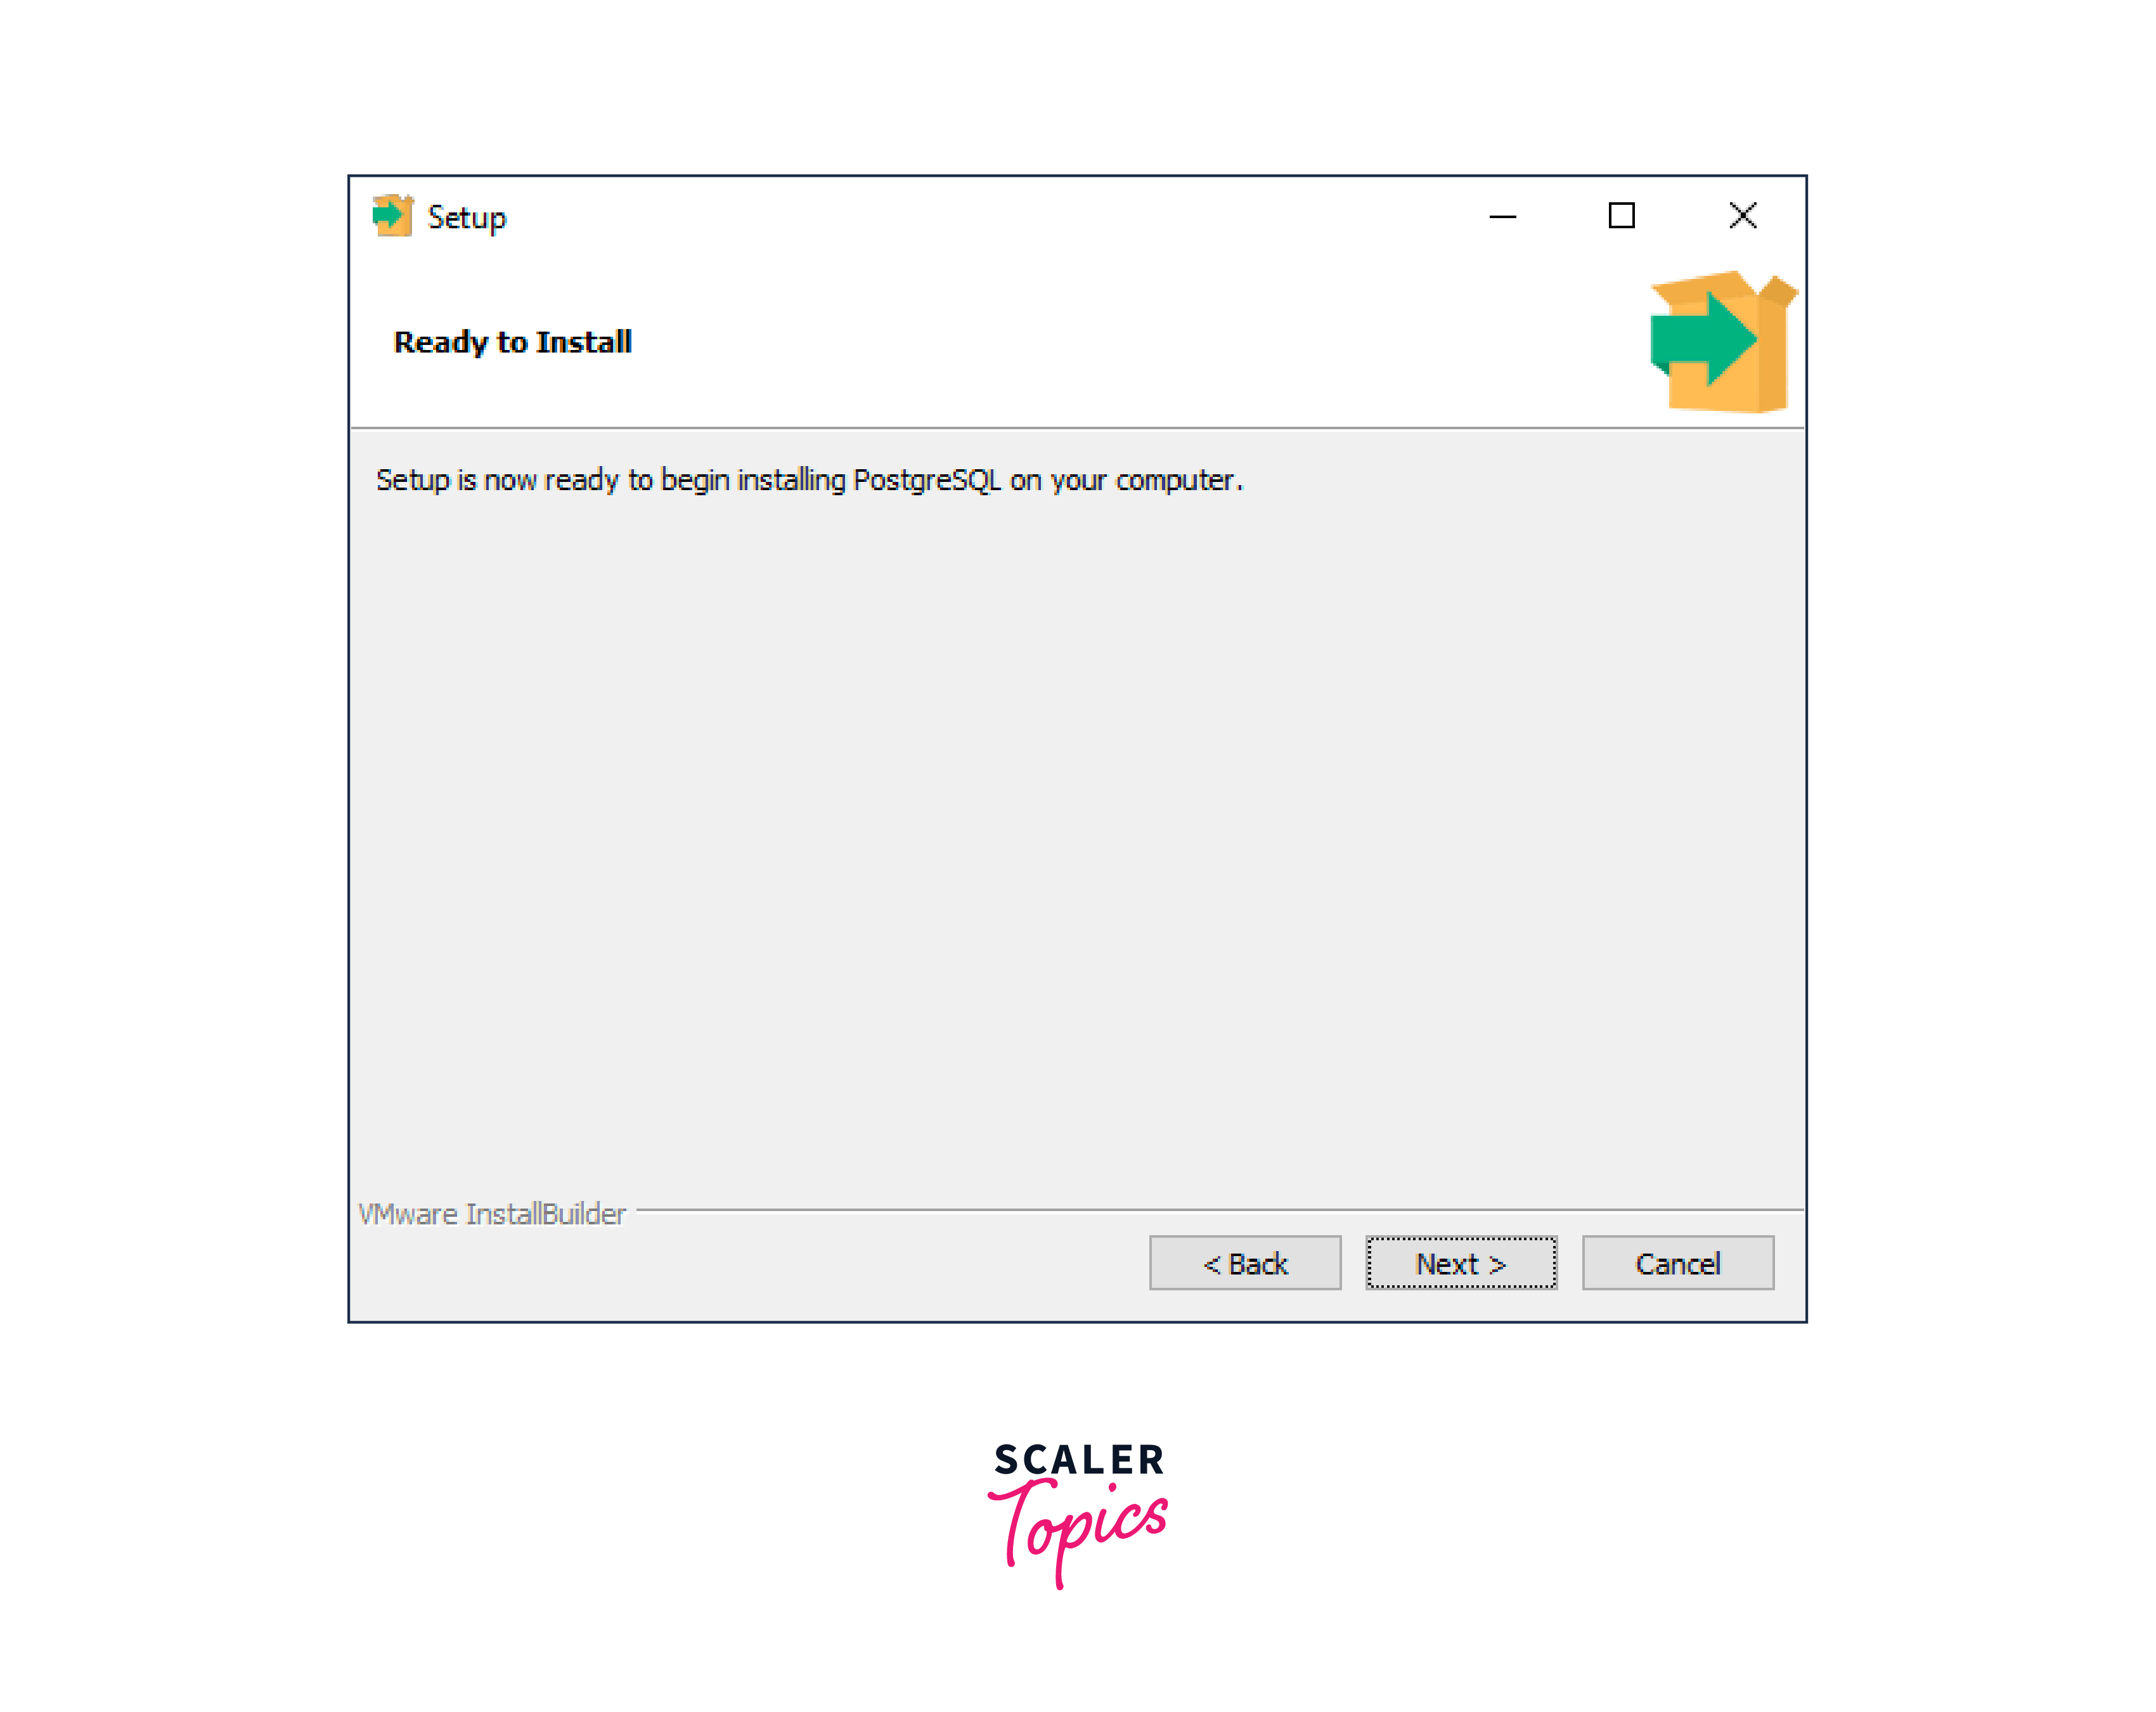
Step - 10:
Now click on the next for the installation of Postgresql in your system.
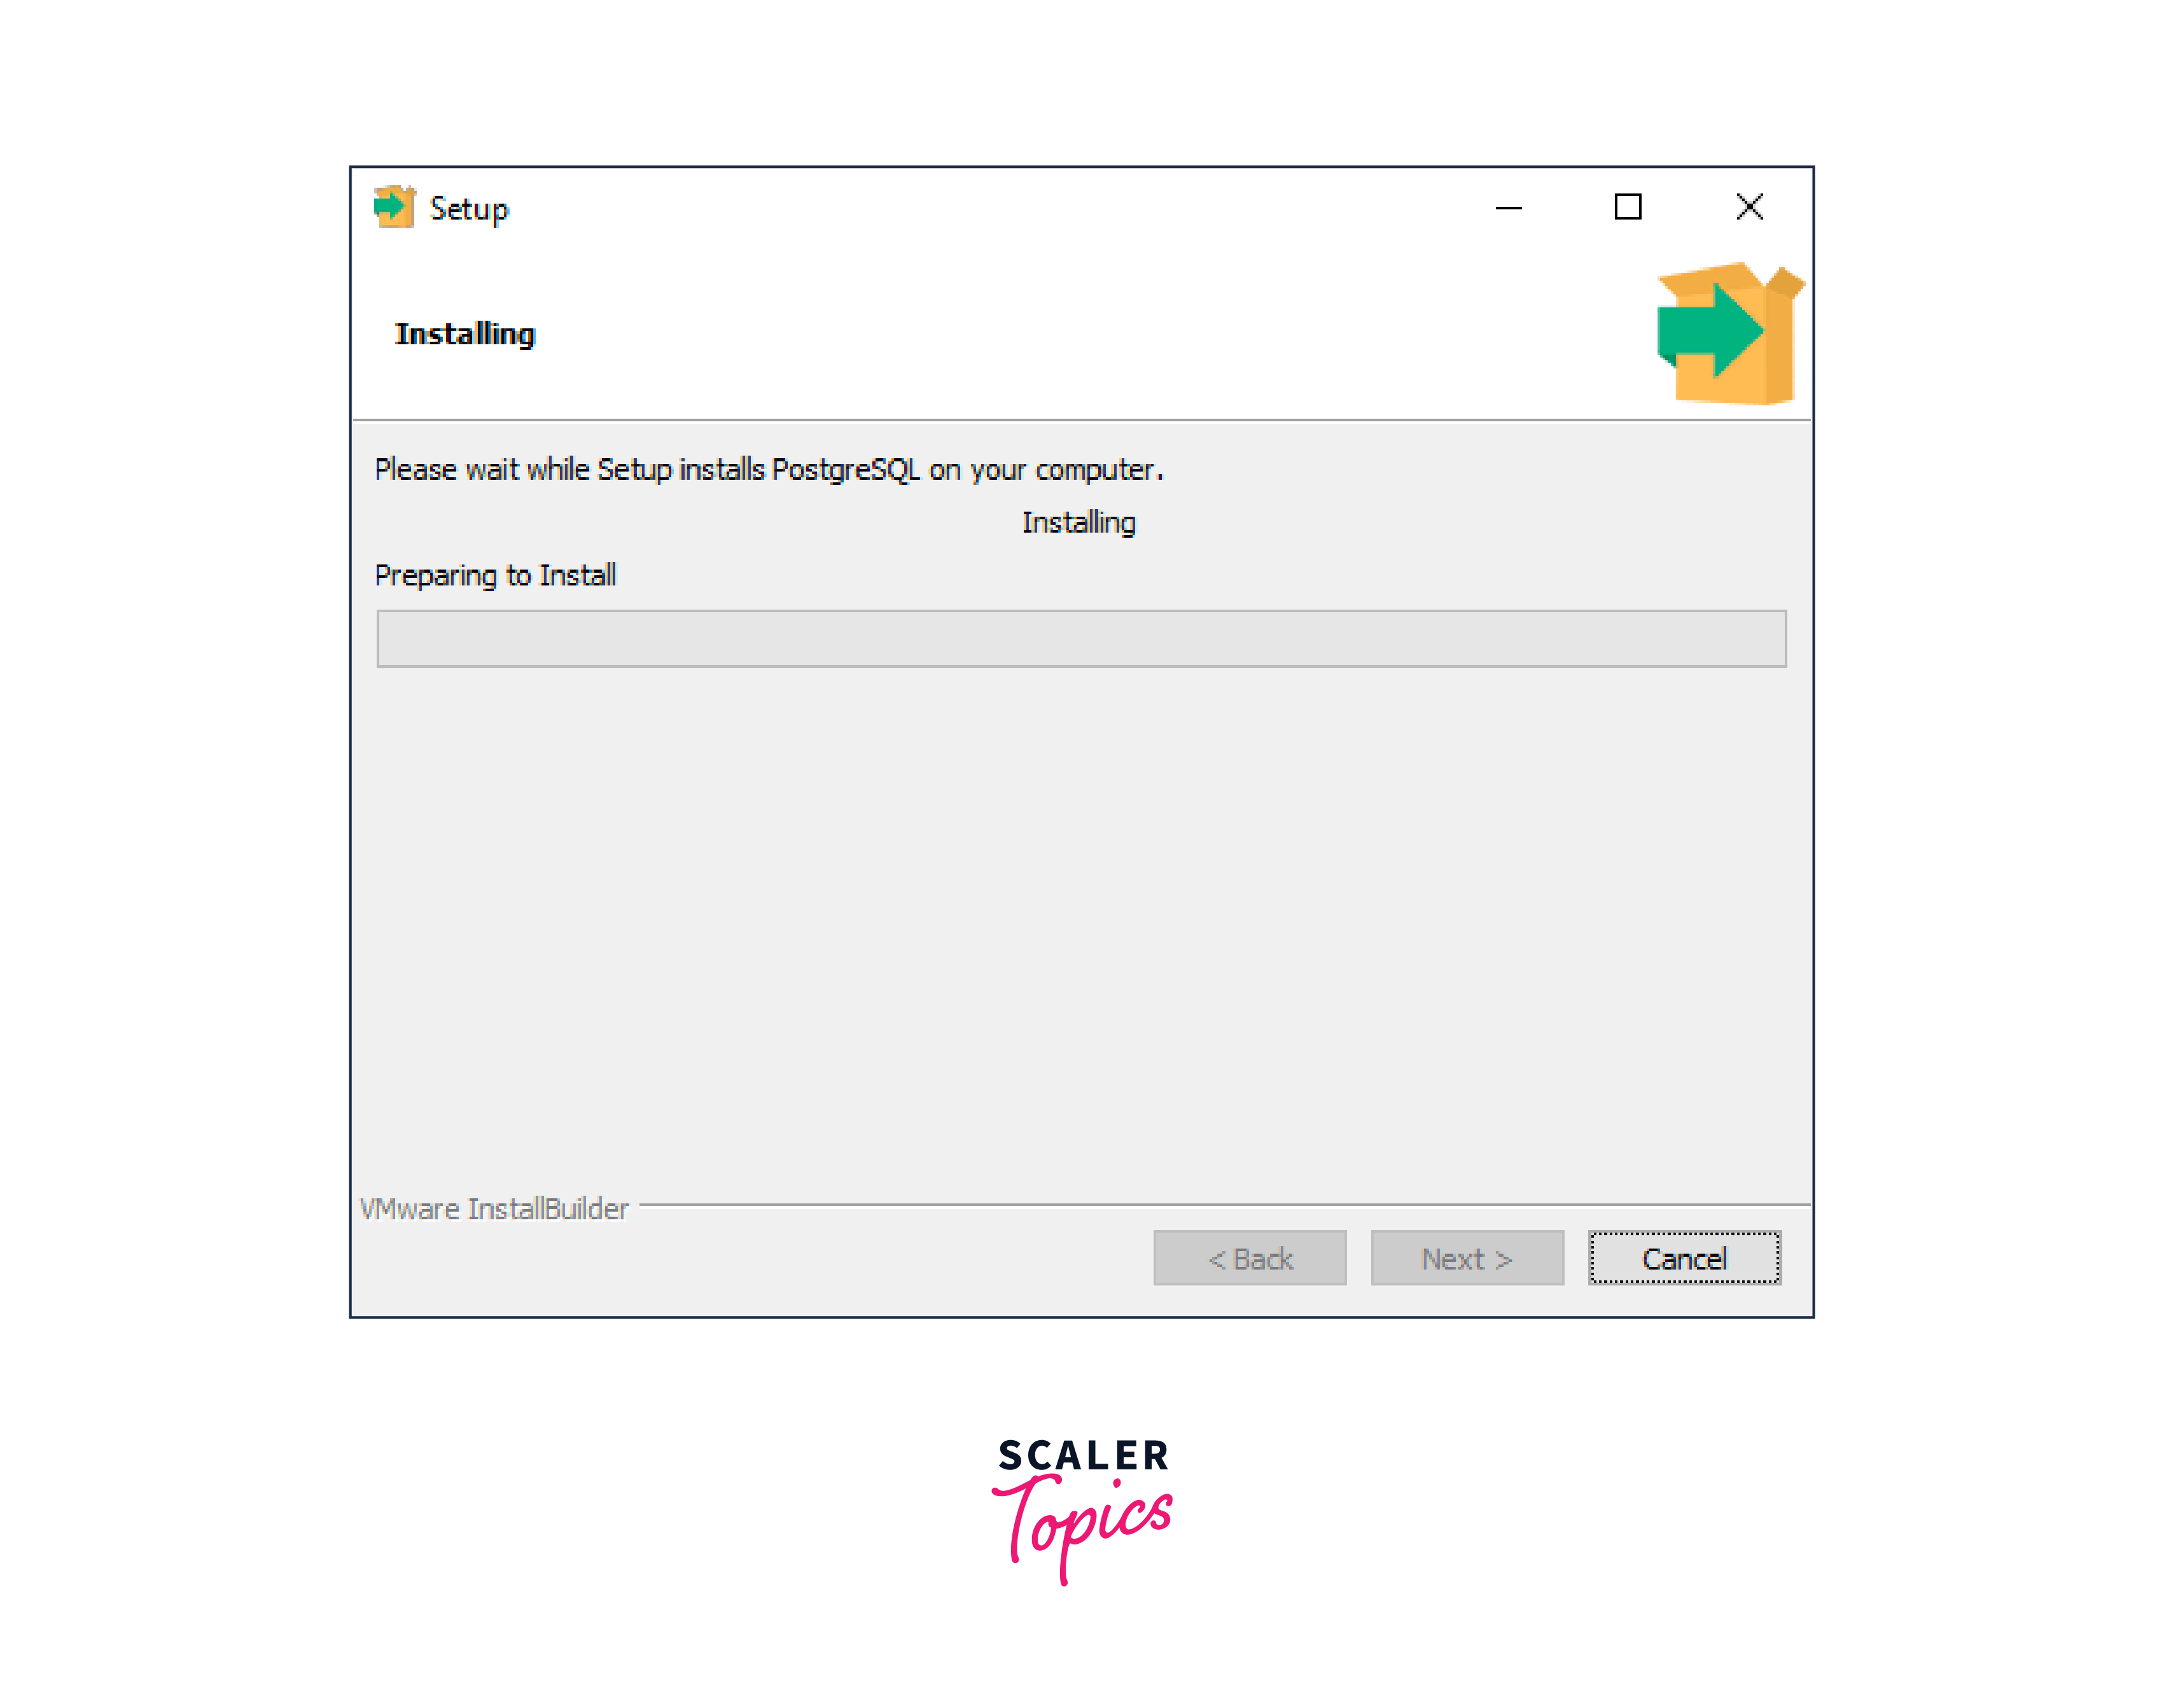
Step - 11:
Installation takes some time
The installation may take a few minutes to complete.
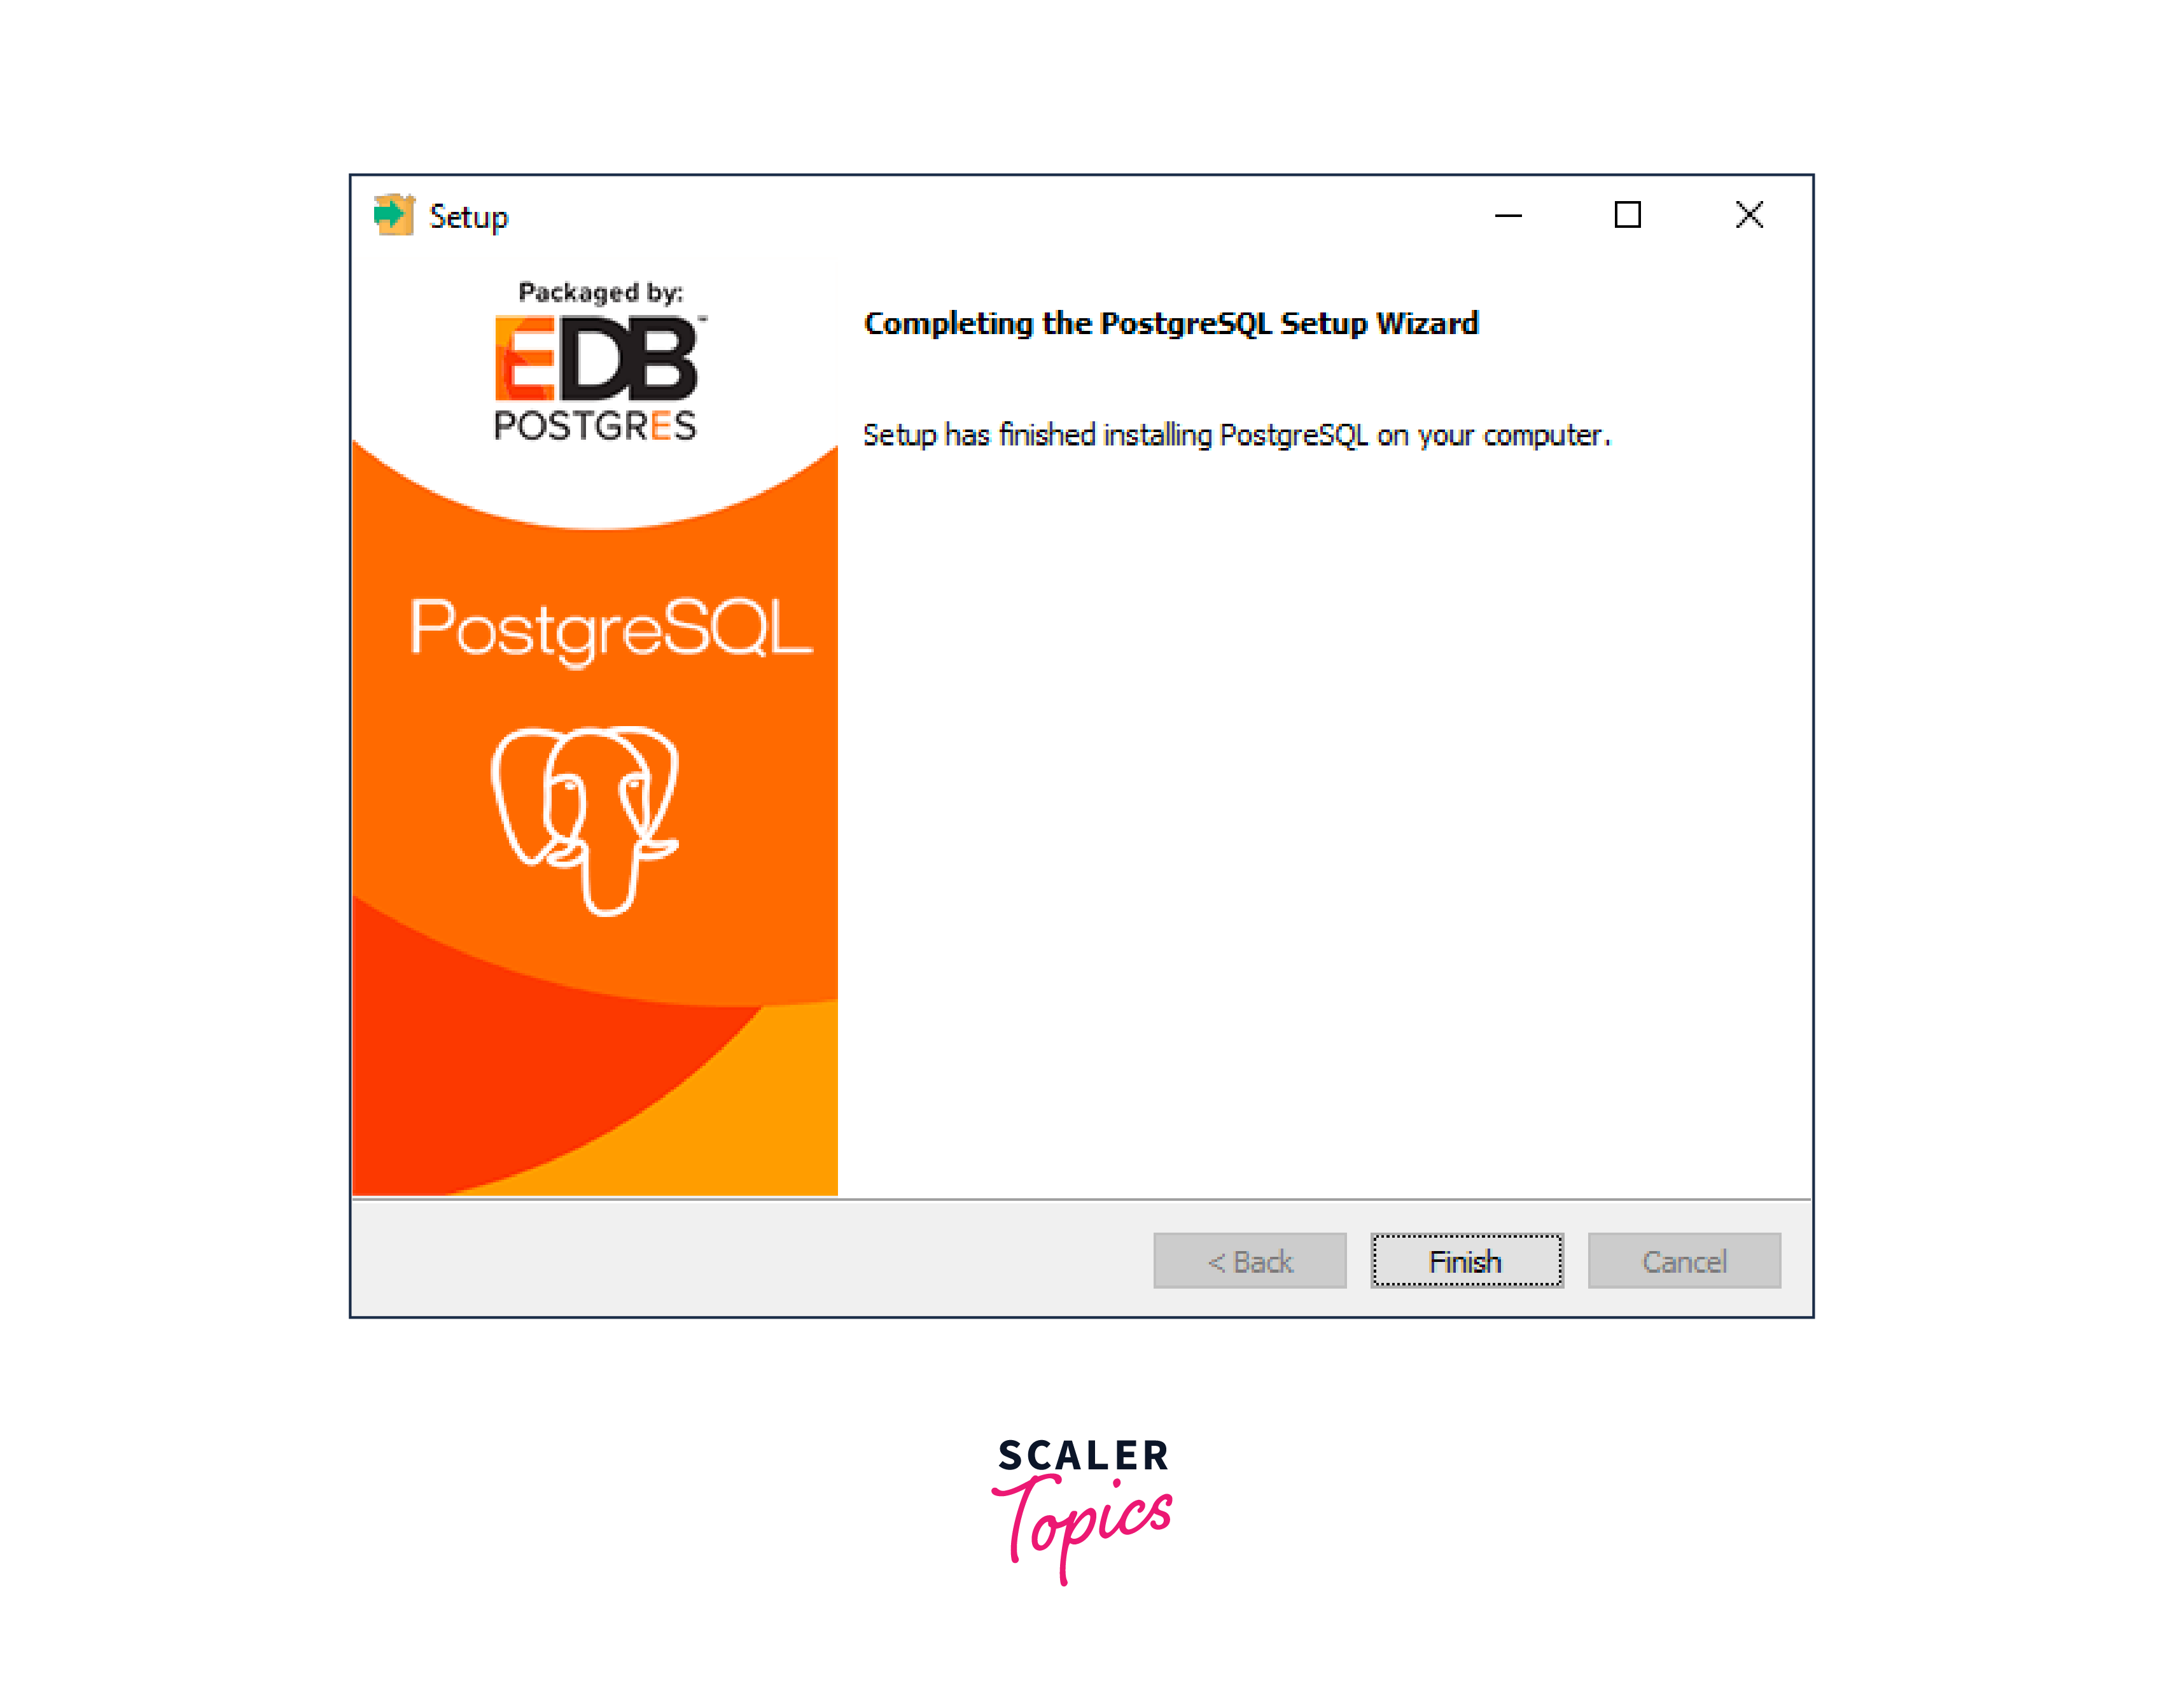
Step - 12:
After completion of installation, click on the next.
Verify the Installation
Follow the steps given below to verify the installation of PostgreSQL by the psql program.
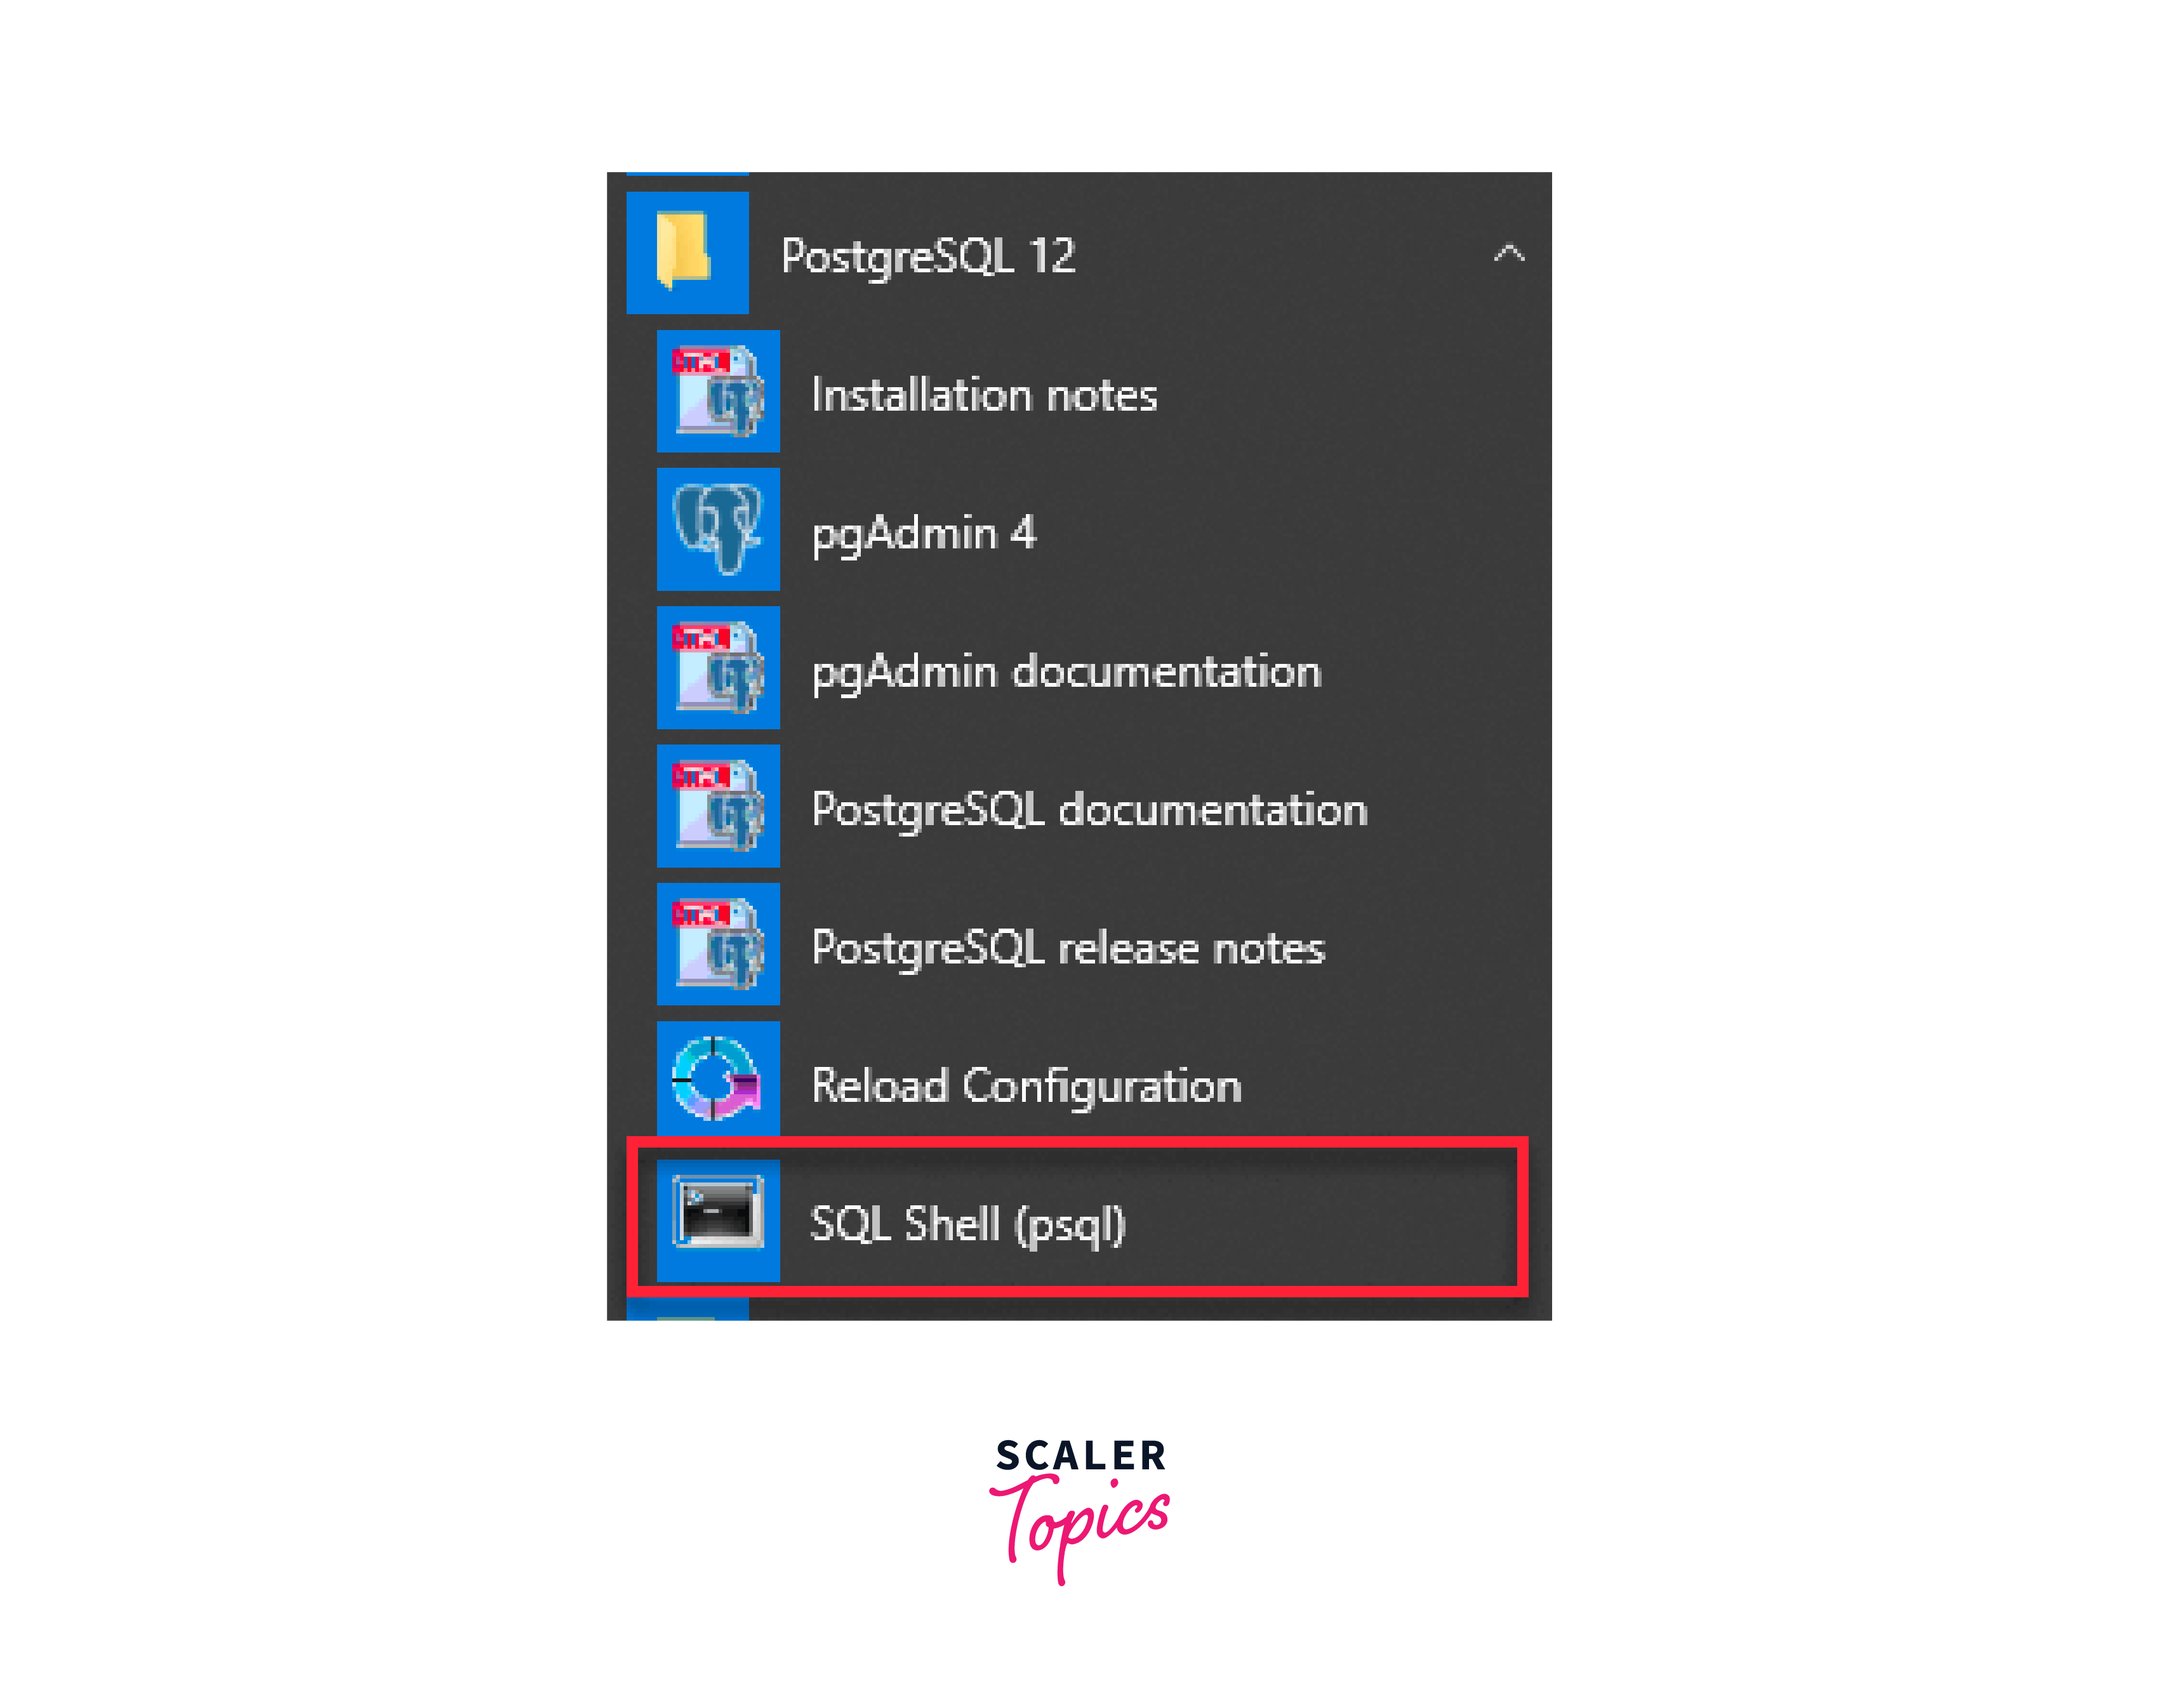
Step - 1:
Open the psql. A psql command line will be displayed on the screen.
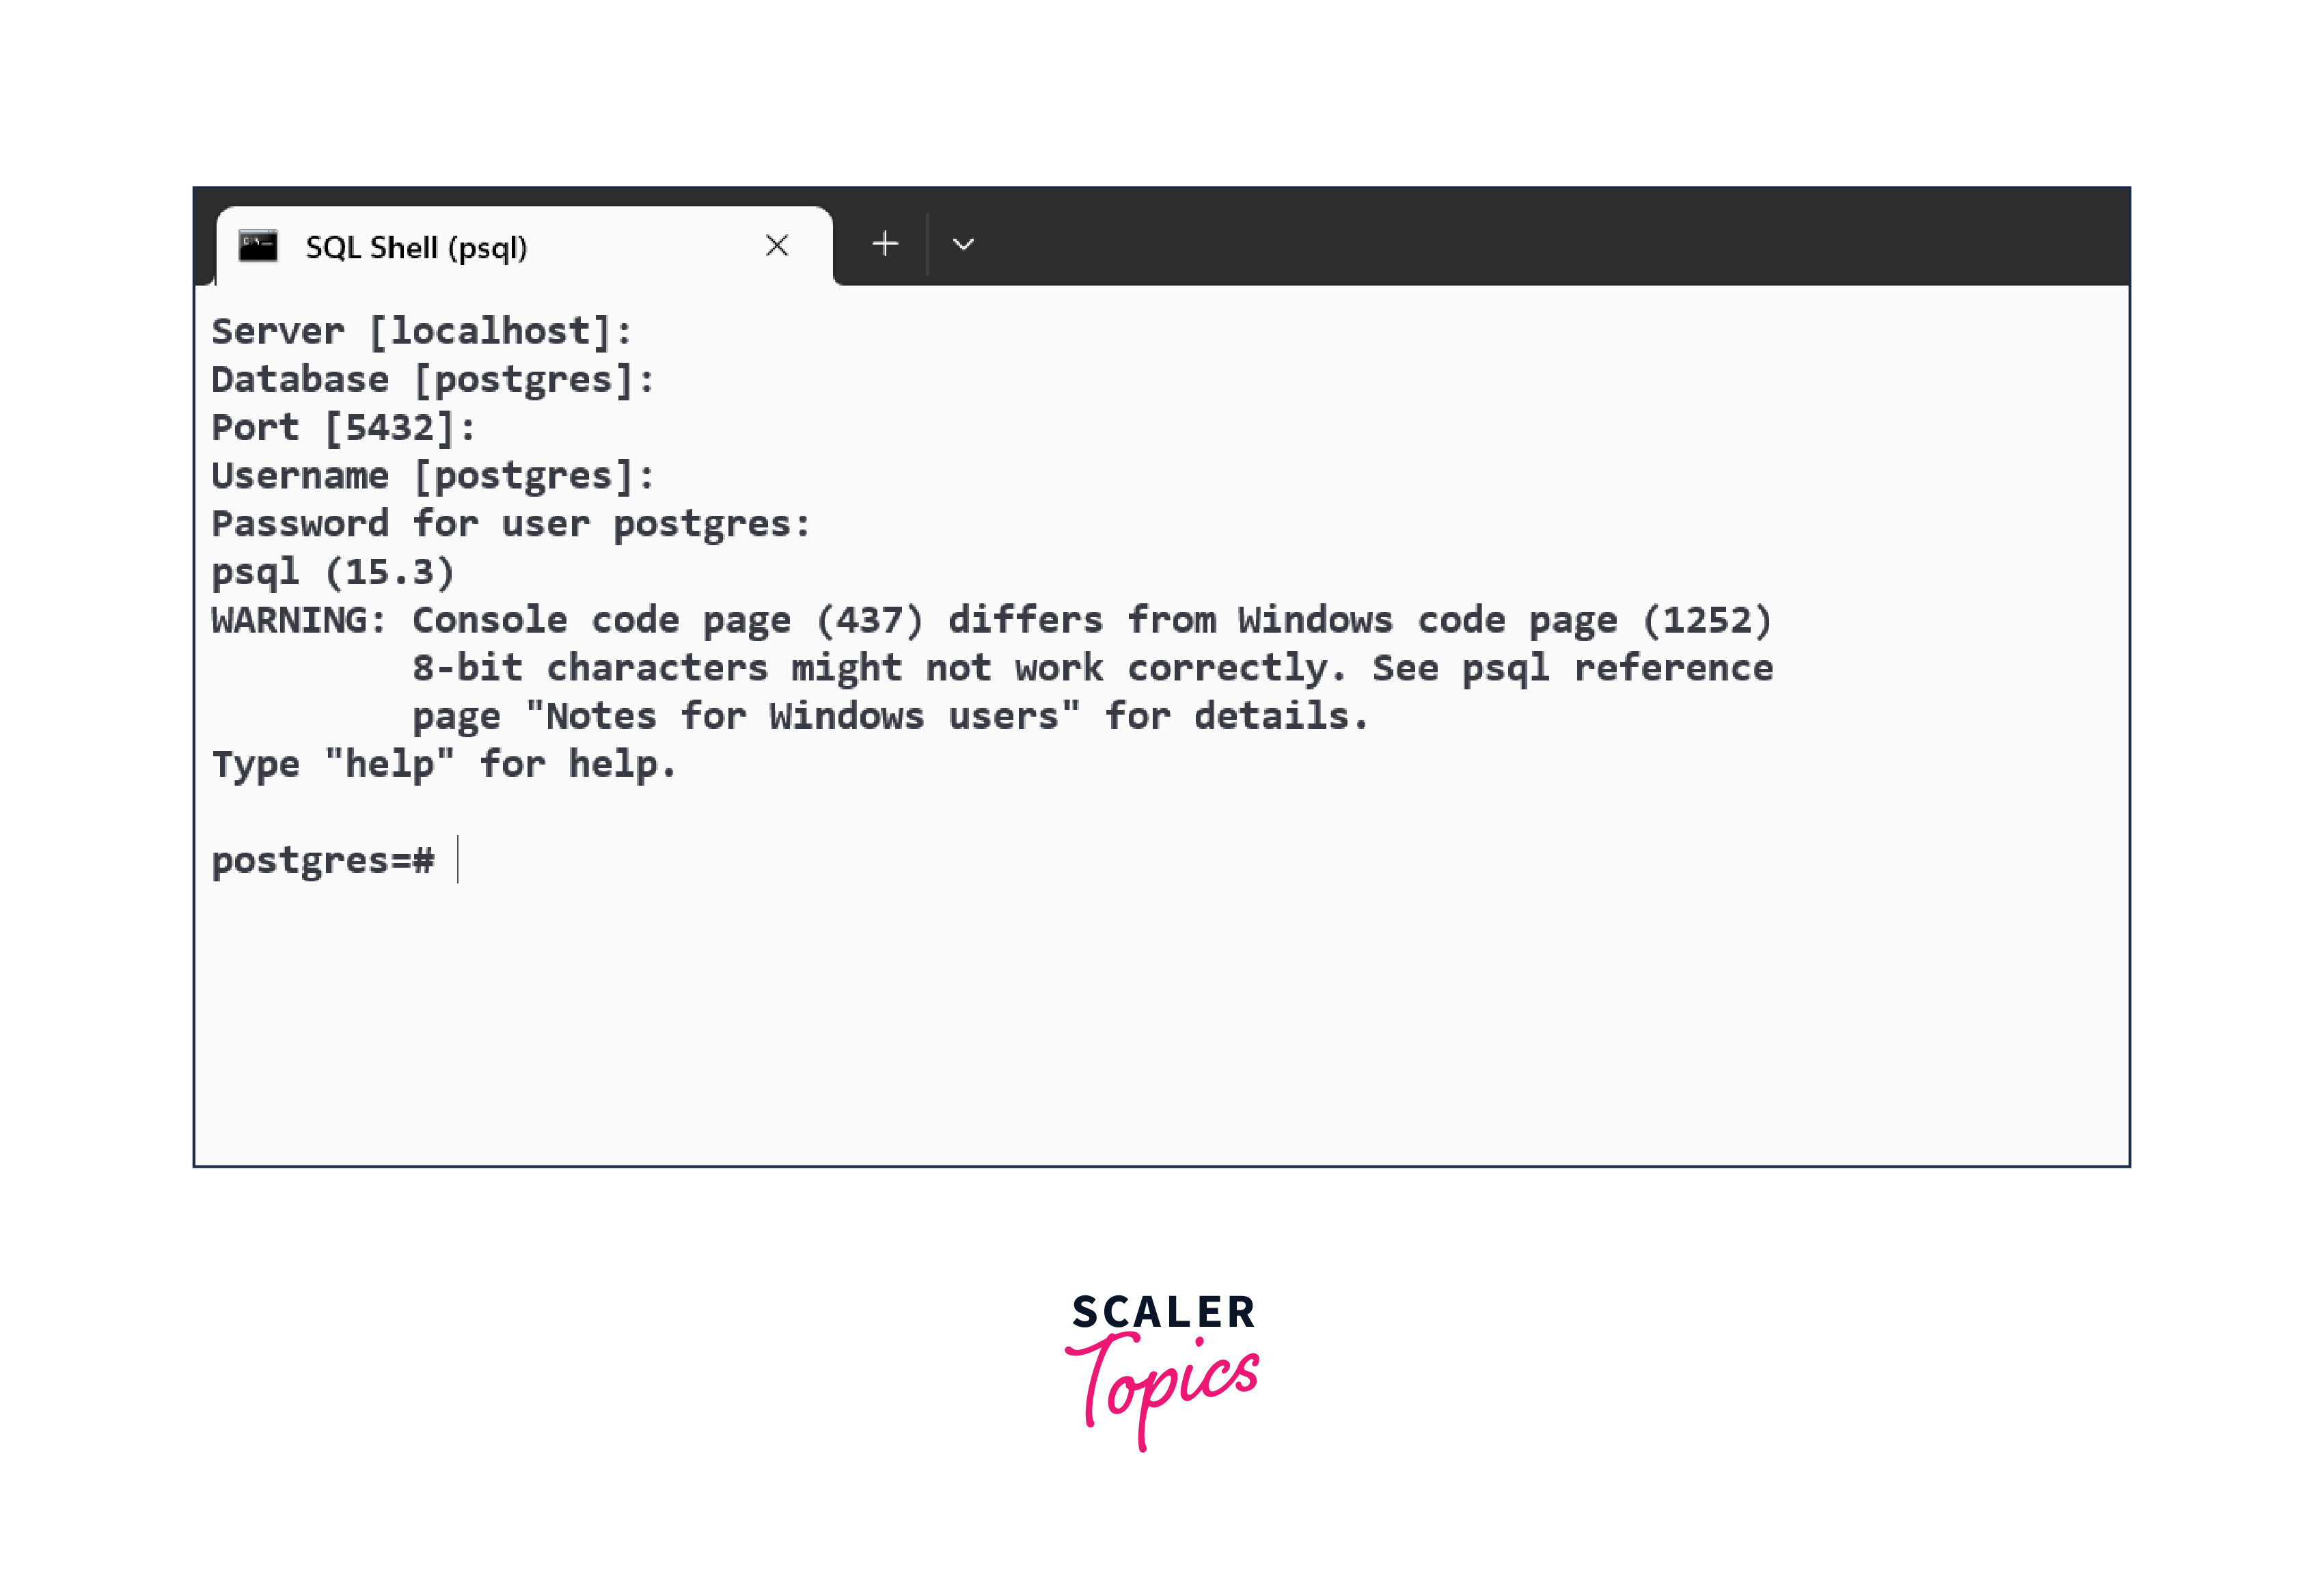
Step - 2:
Enter all the asked details like server, database, port, username, and password. You can simply press enter to accept the default. The password created at the Postgresql installation is required to be entered here.
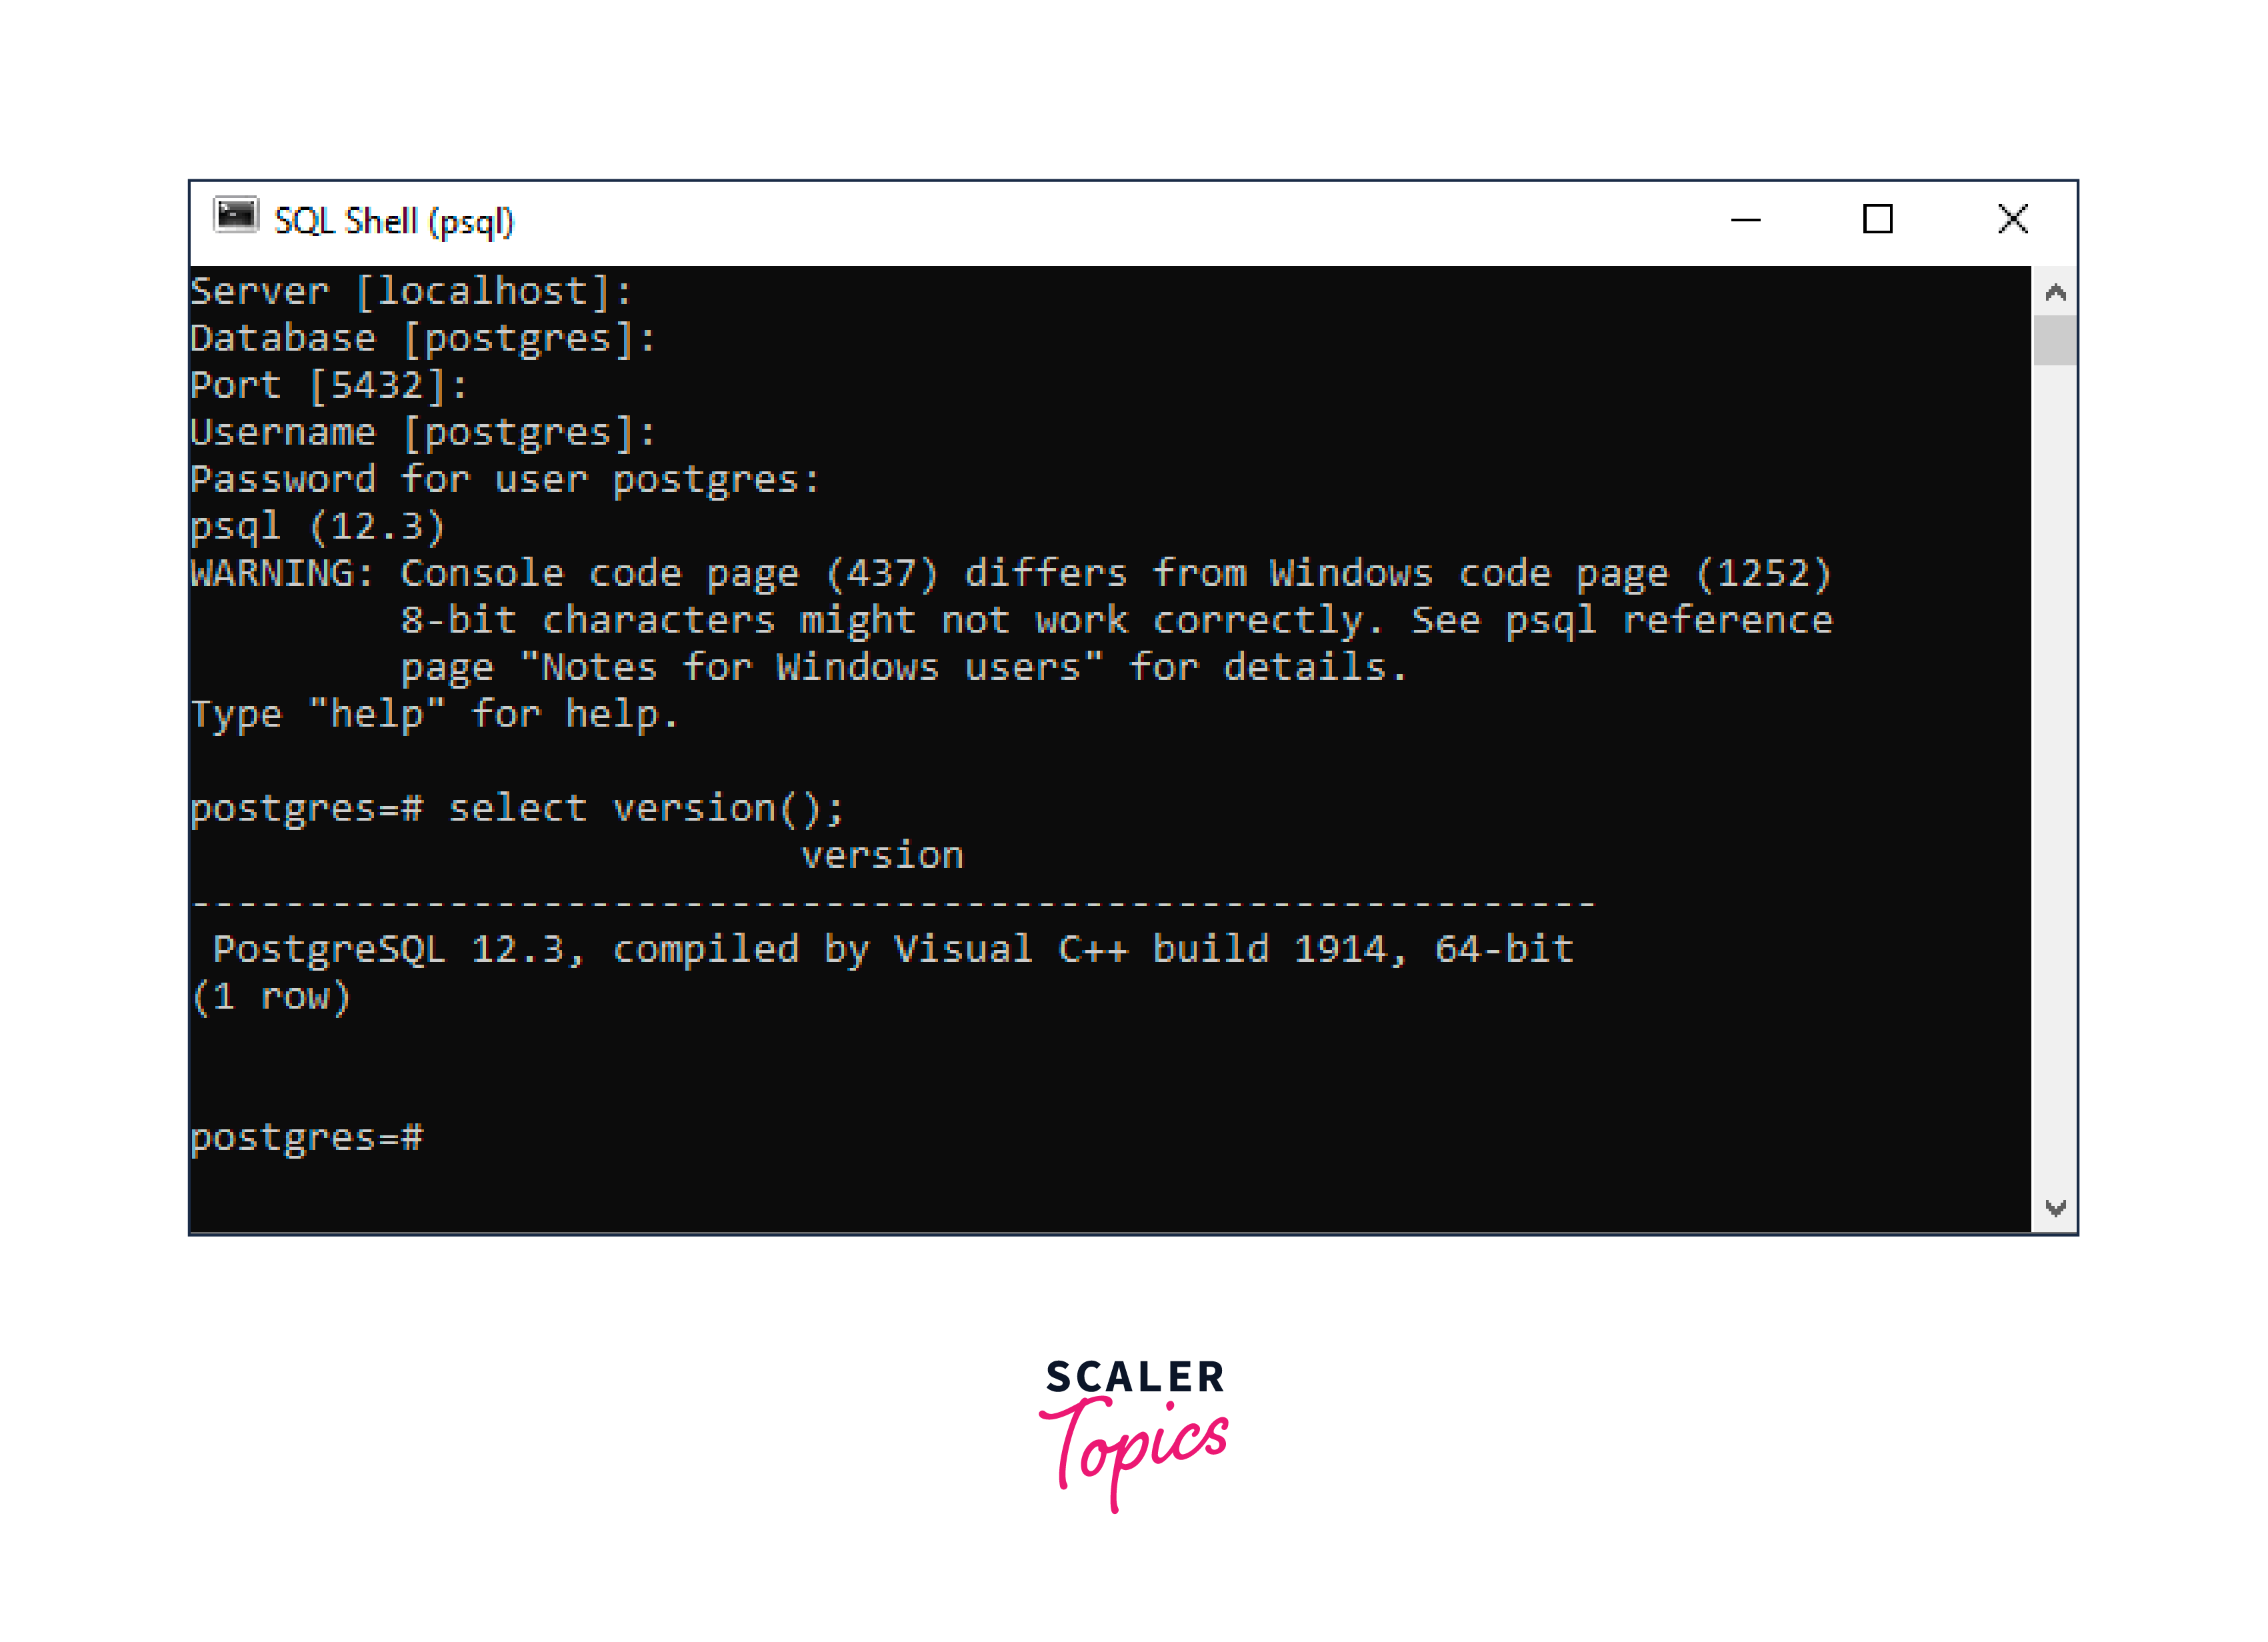
Step - 3:
Write the SELECT version(); and press enter and the output as given below is displayed, which means PostgreSQL is successfully installed in your system.
How to Install PostgreSQL Linux(Ubuntu)?
Follow the steps given below to install PostgreSQL on Ubuntu:
Step - 1:
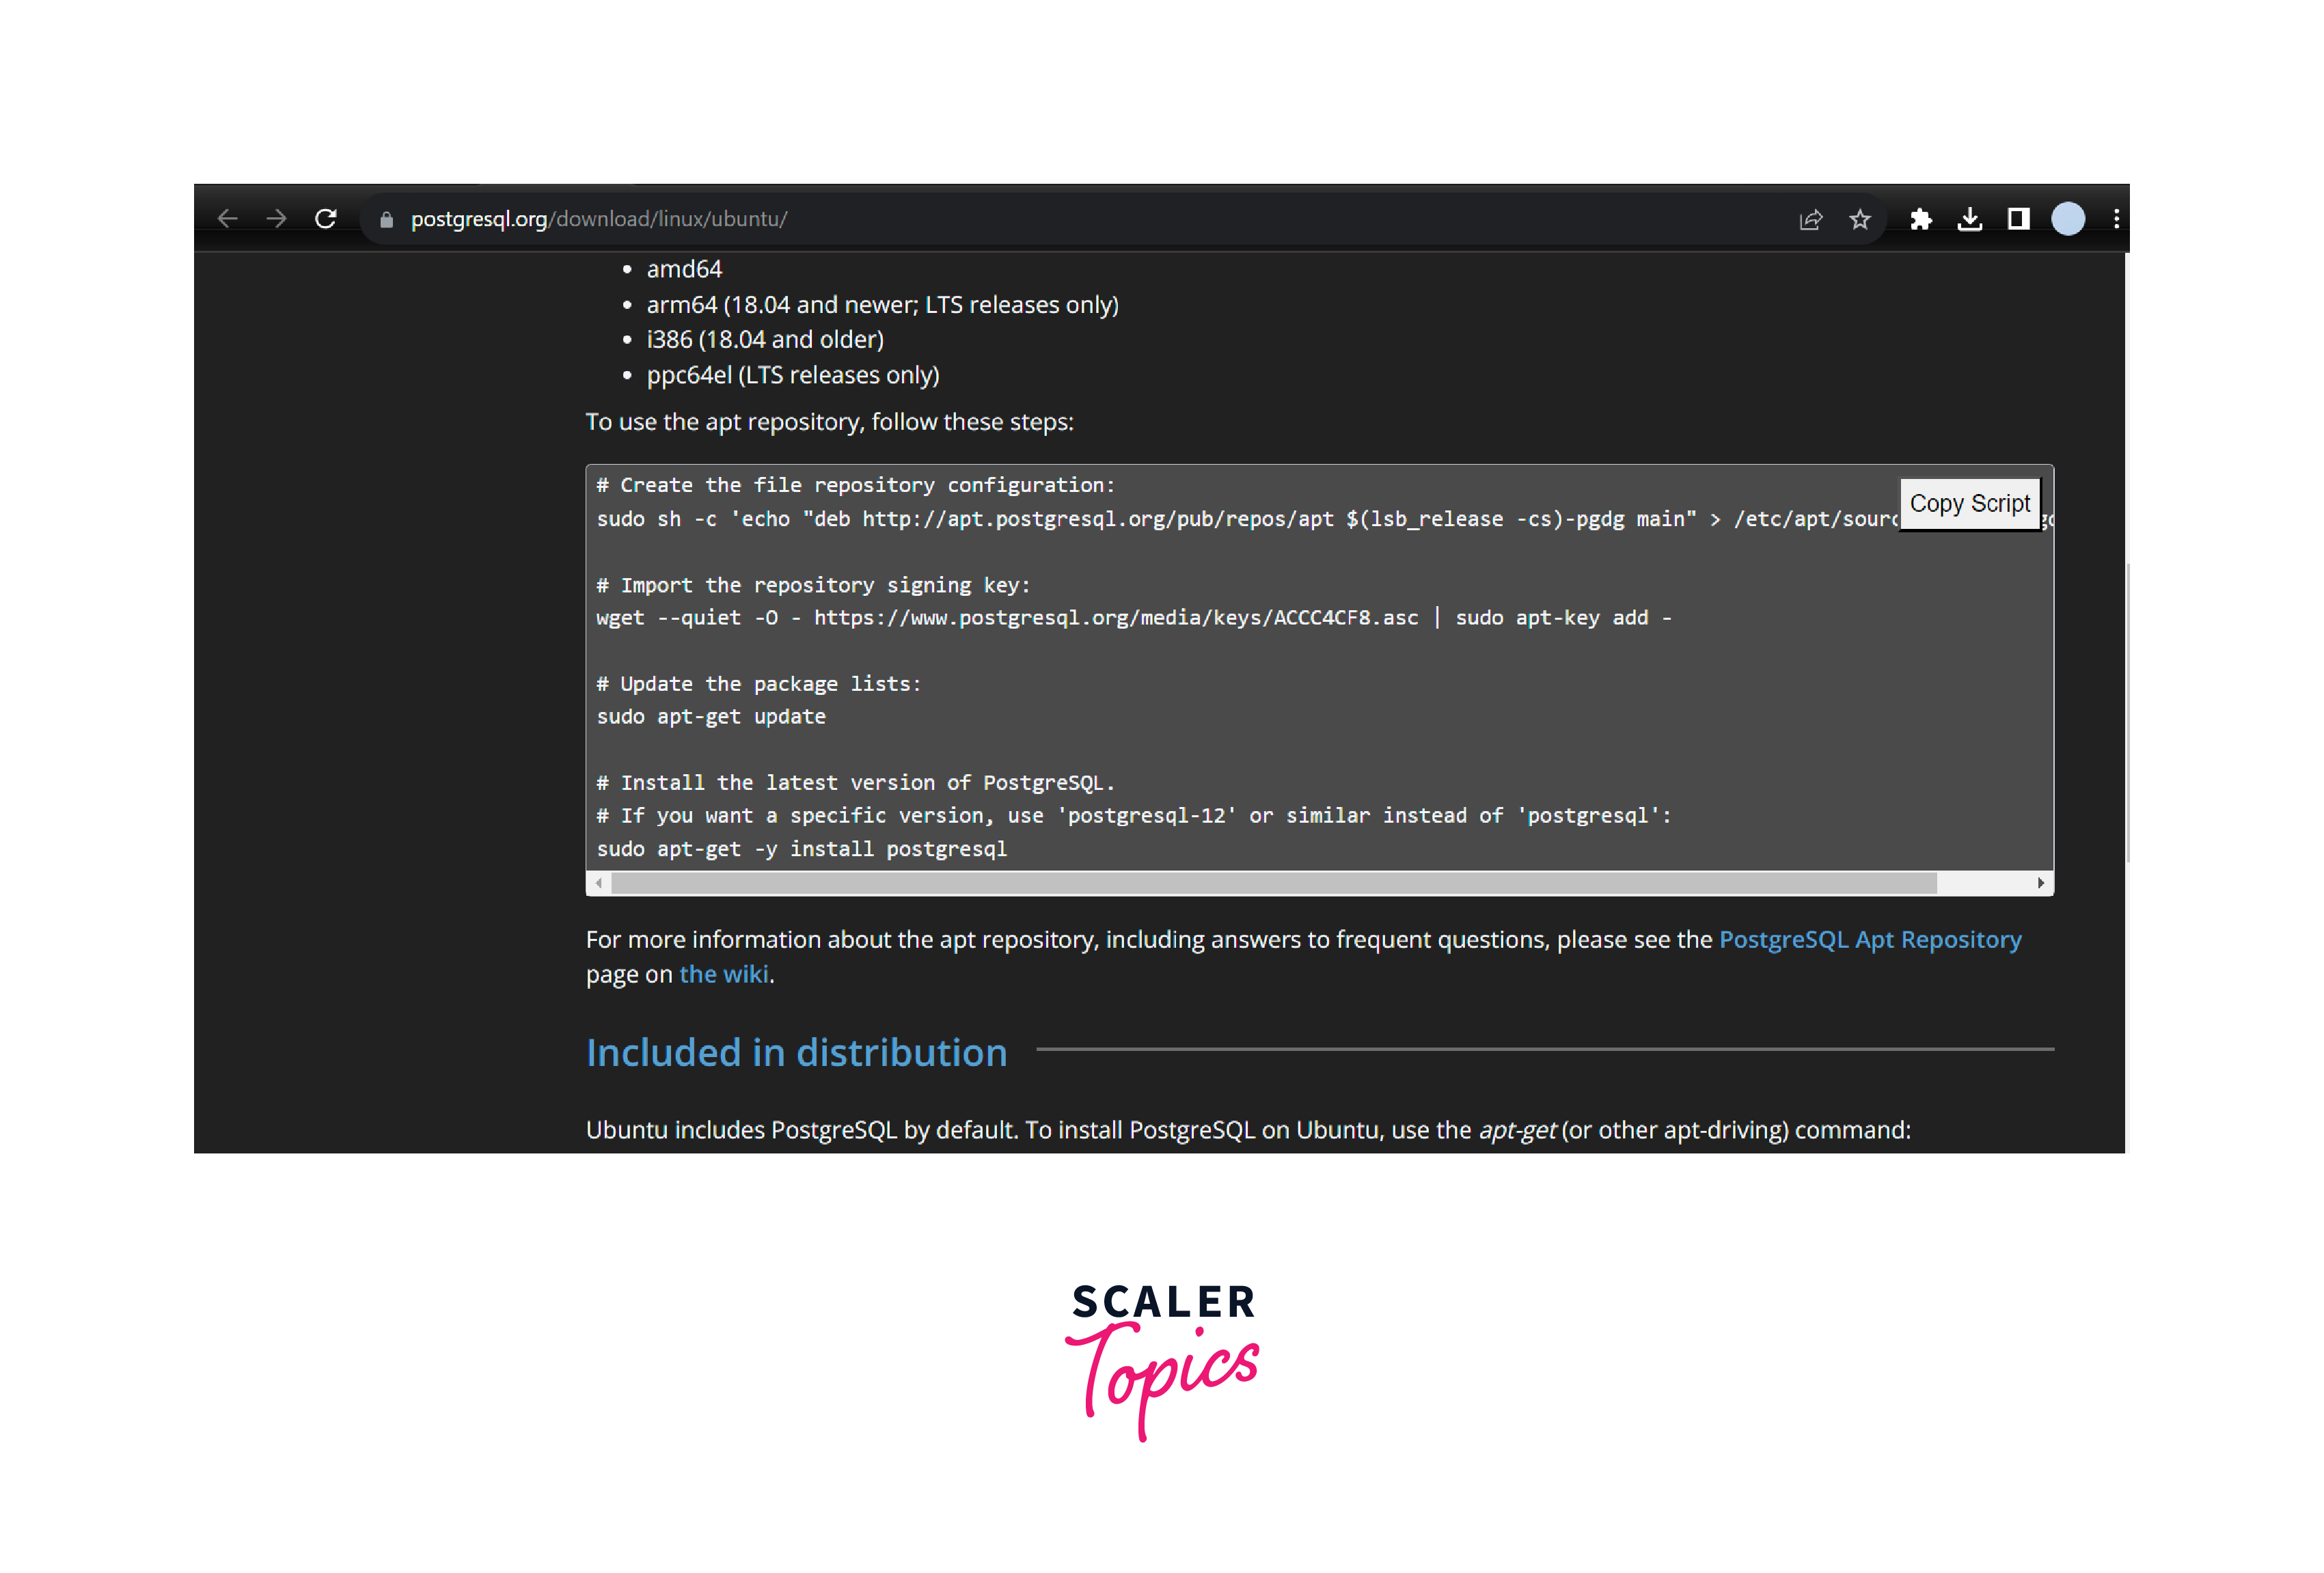
Go to the PostgreSQL download for Ubuntu page.
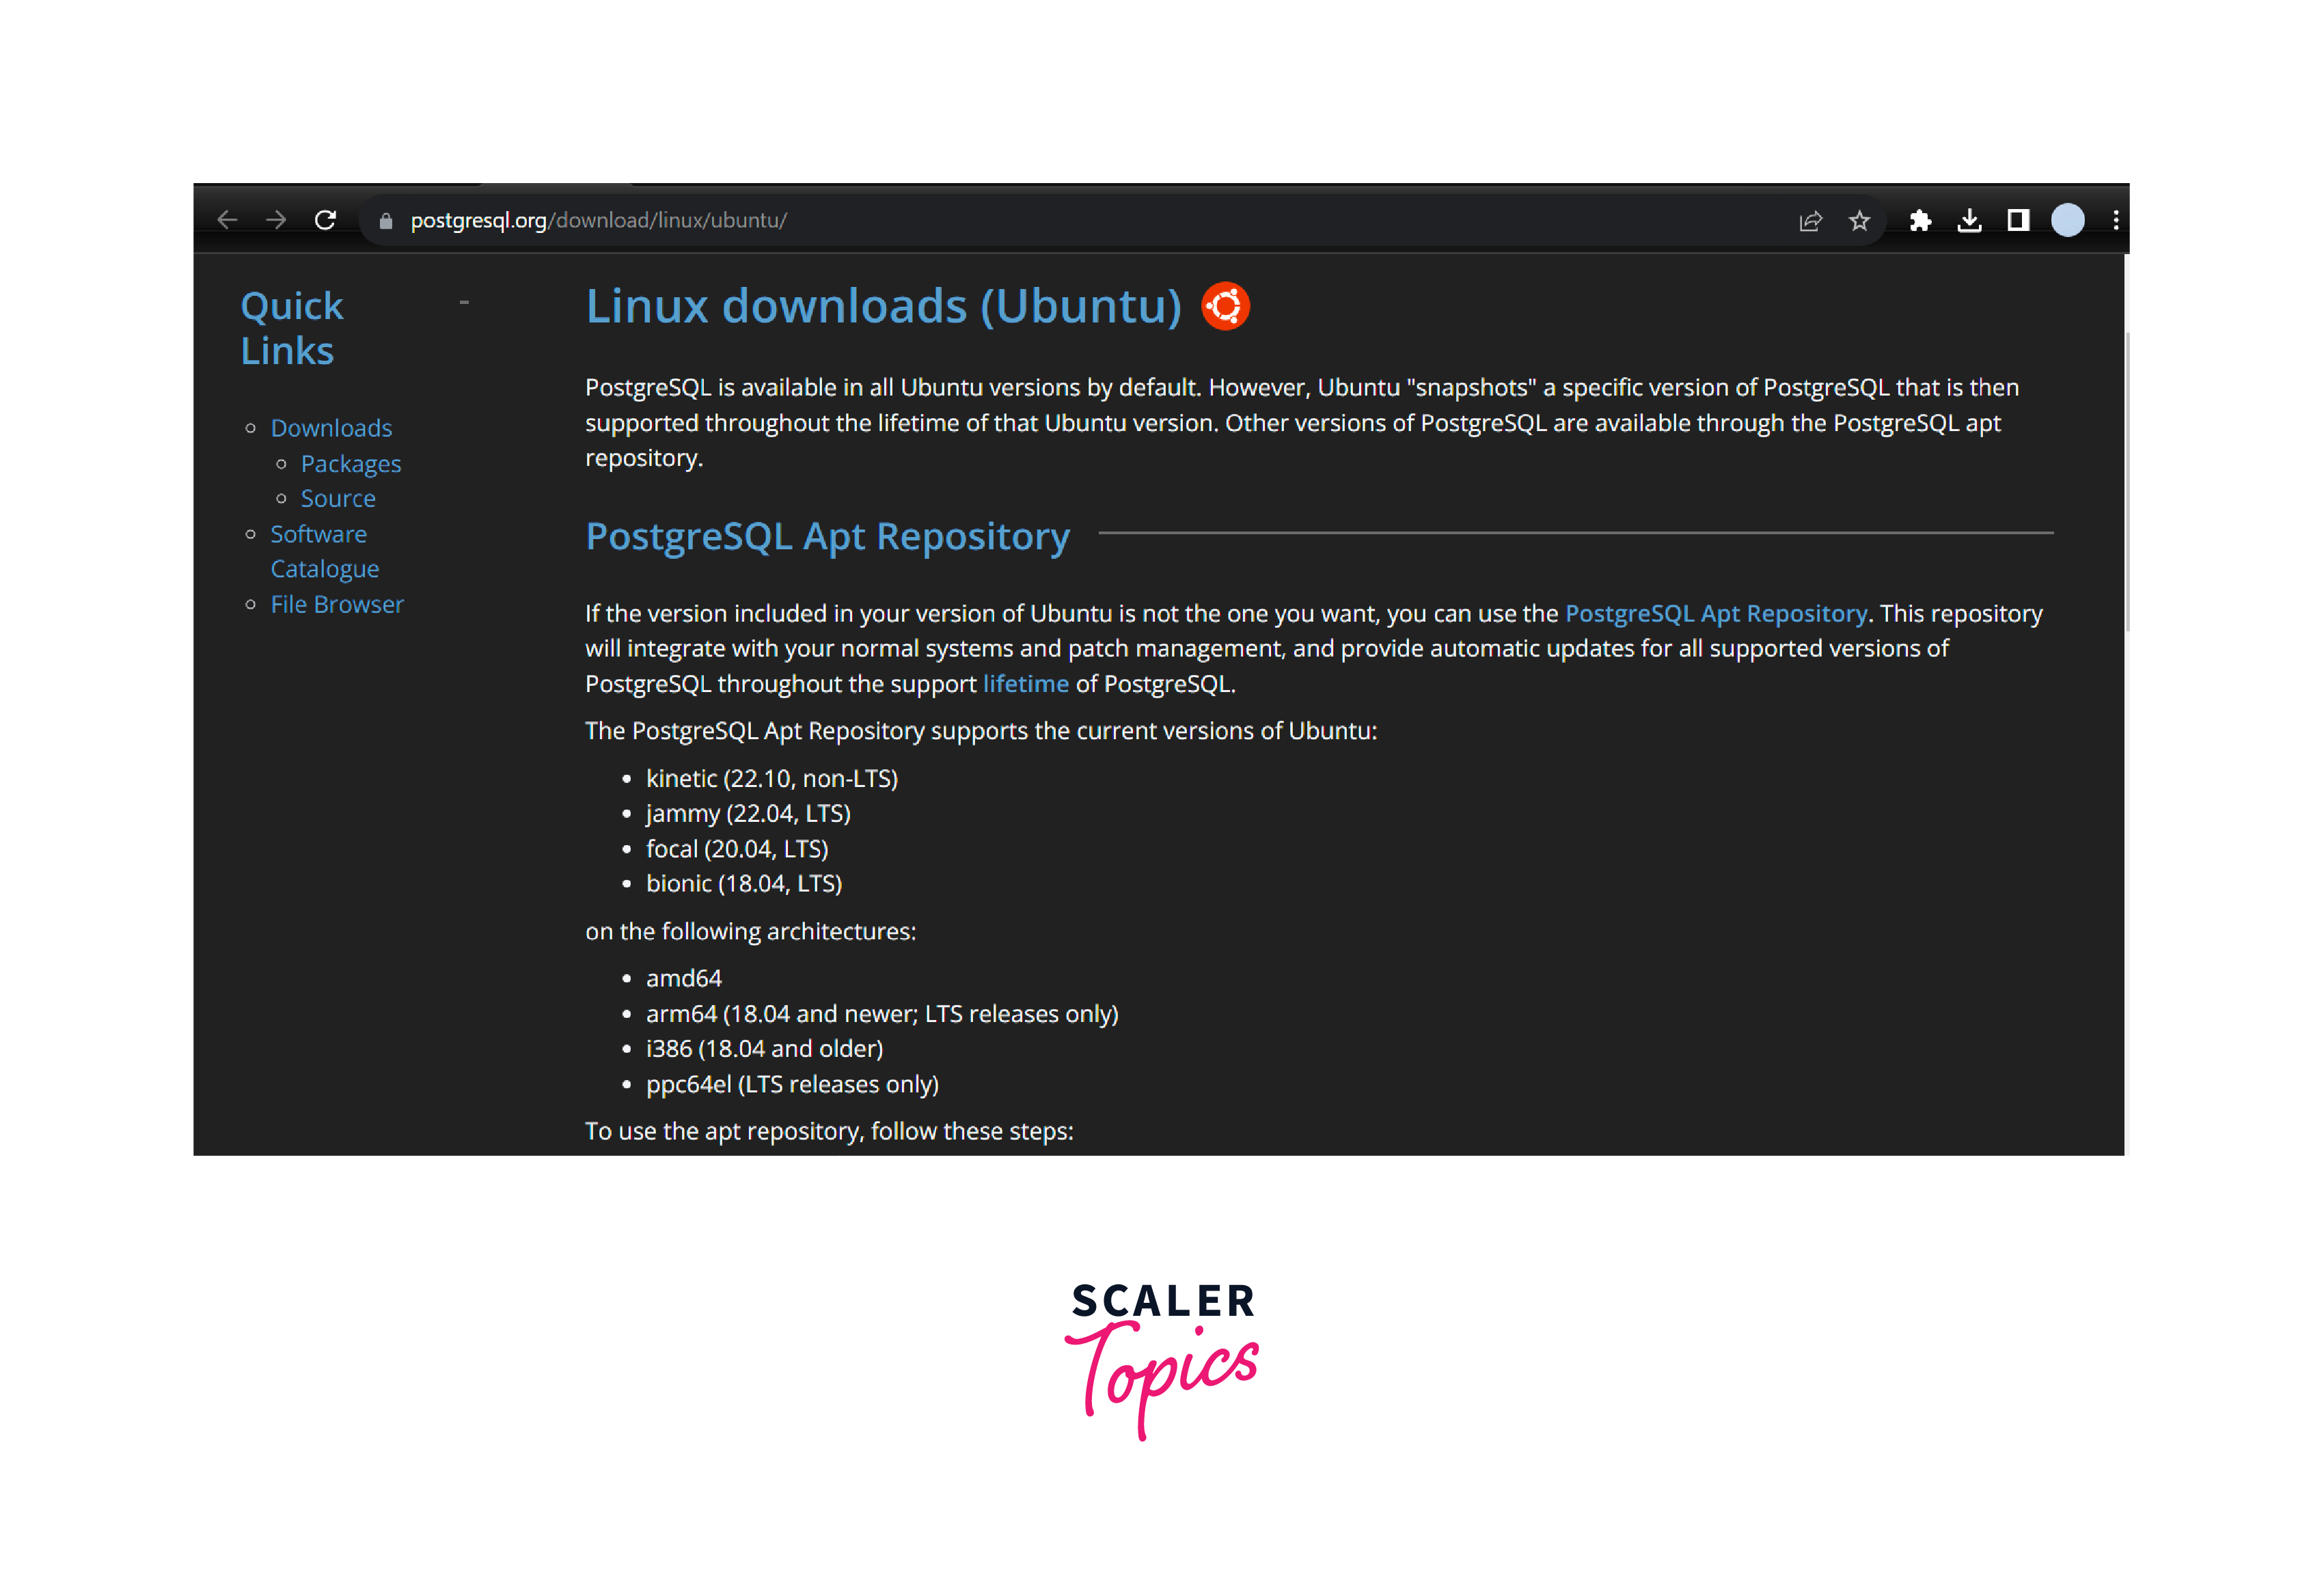
Step - 2:
A script will be there for Postgresql installation on Ubuntu. You need to copy those commands one by one and execute them.
Step - 3:
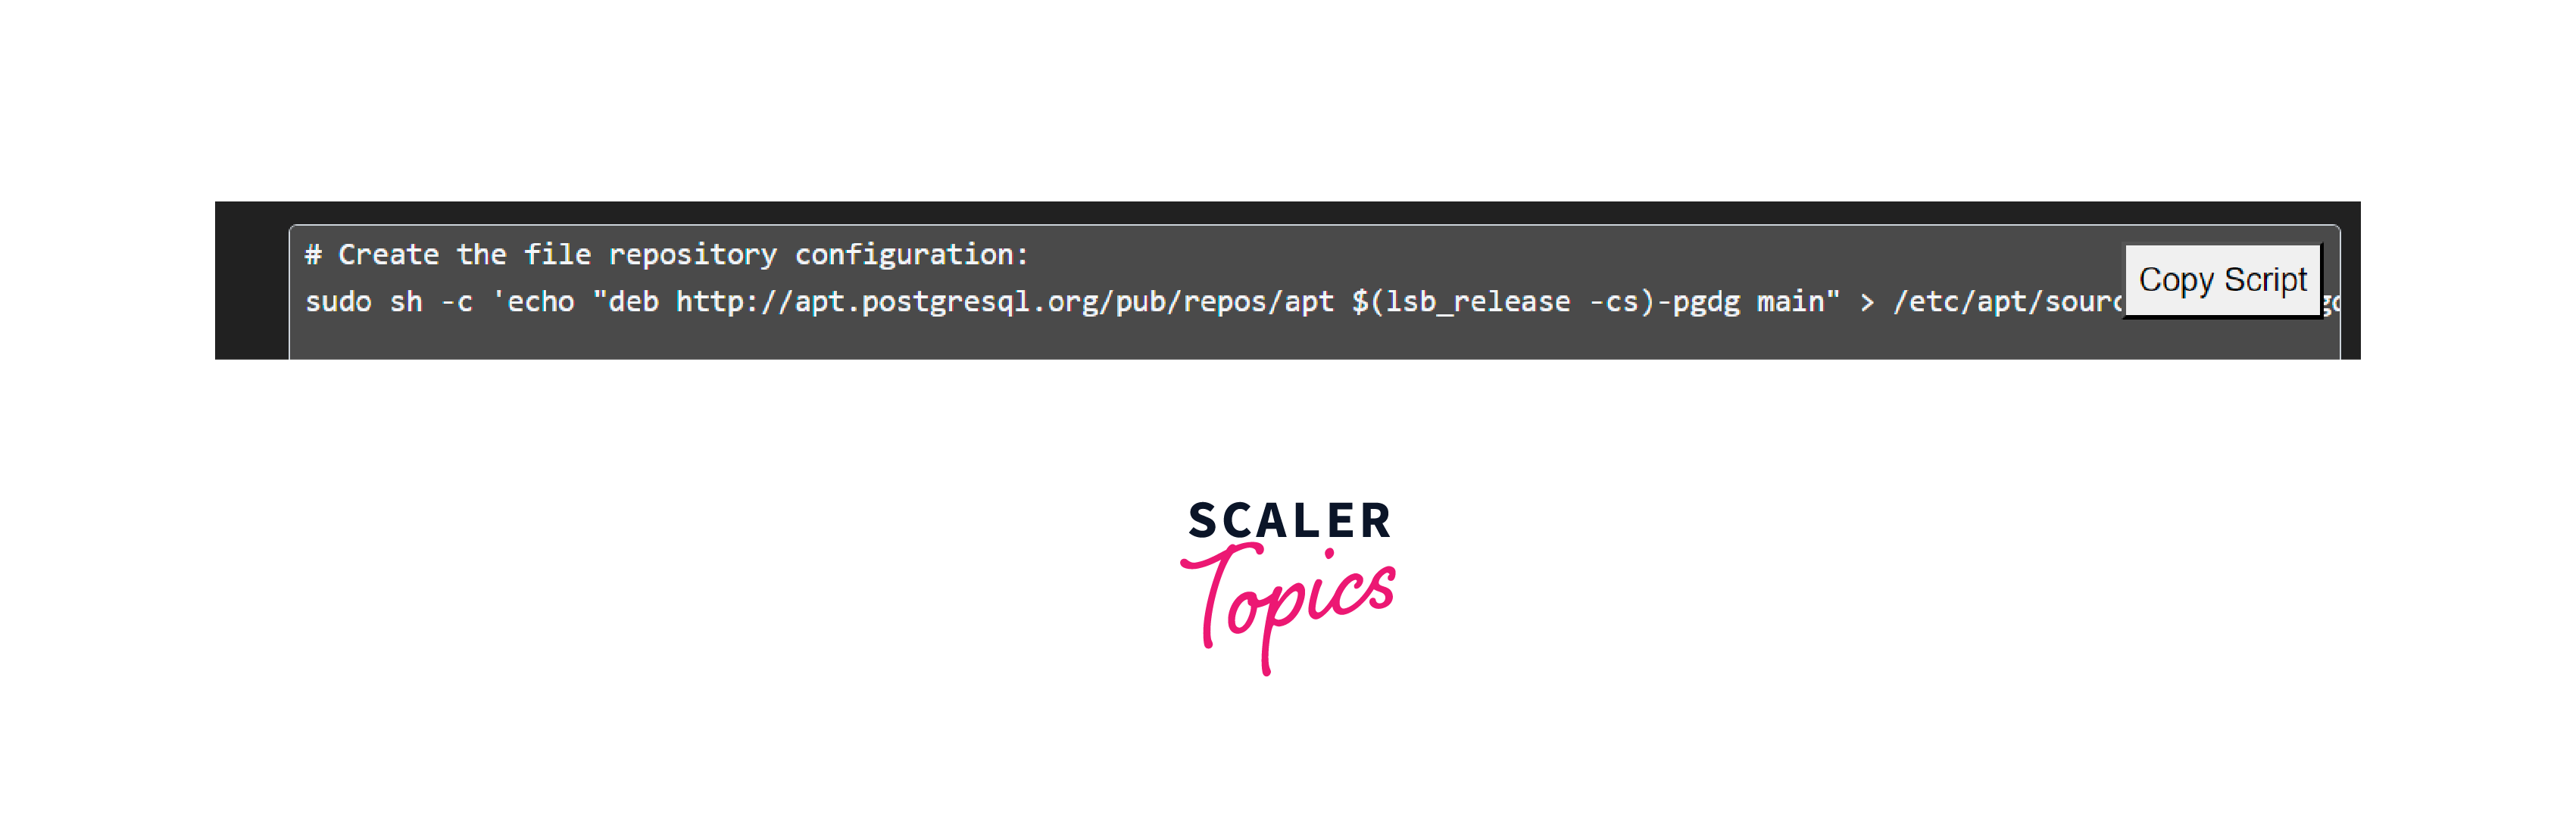
First, execute the command given below for the file repository configuration creation.
Step - 4:
Write the command given below for importing the signing key of the repository.

Step - 5:
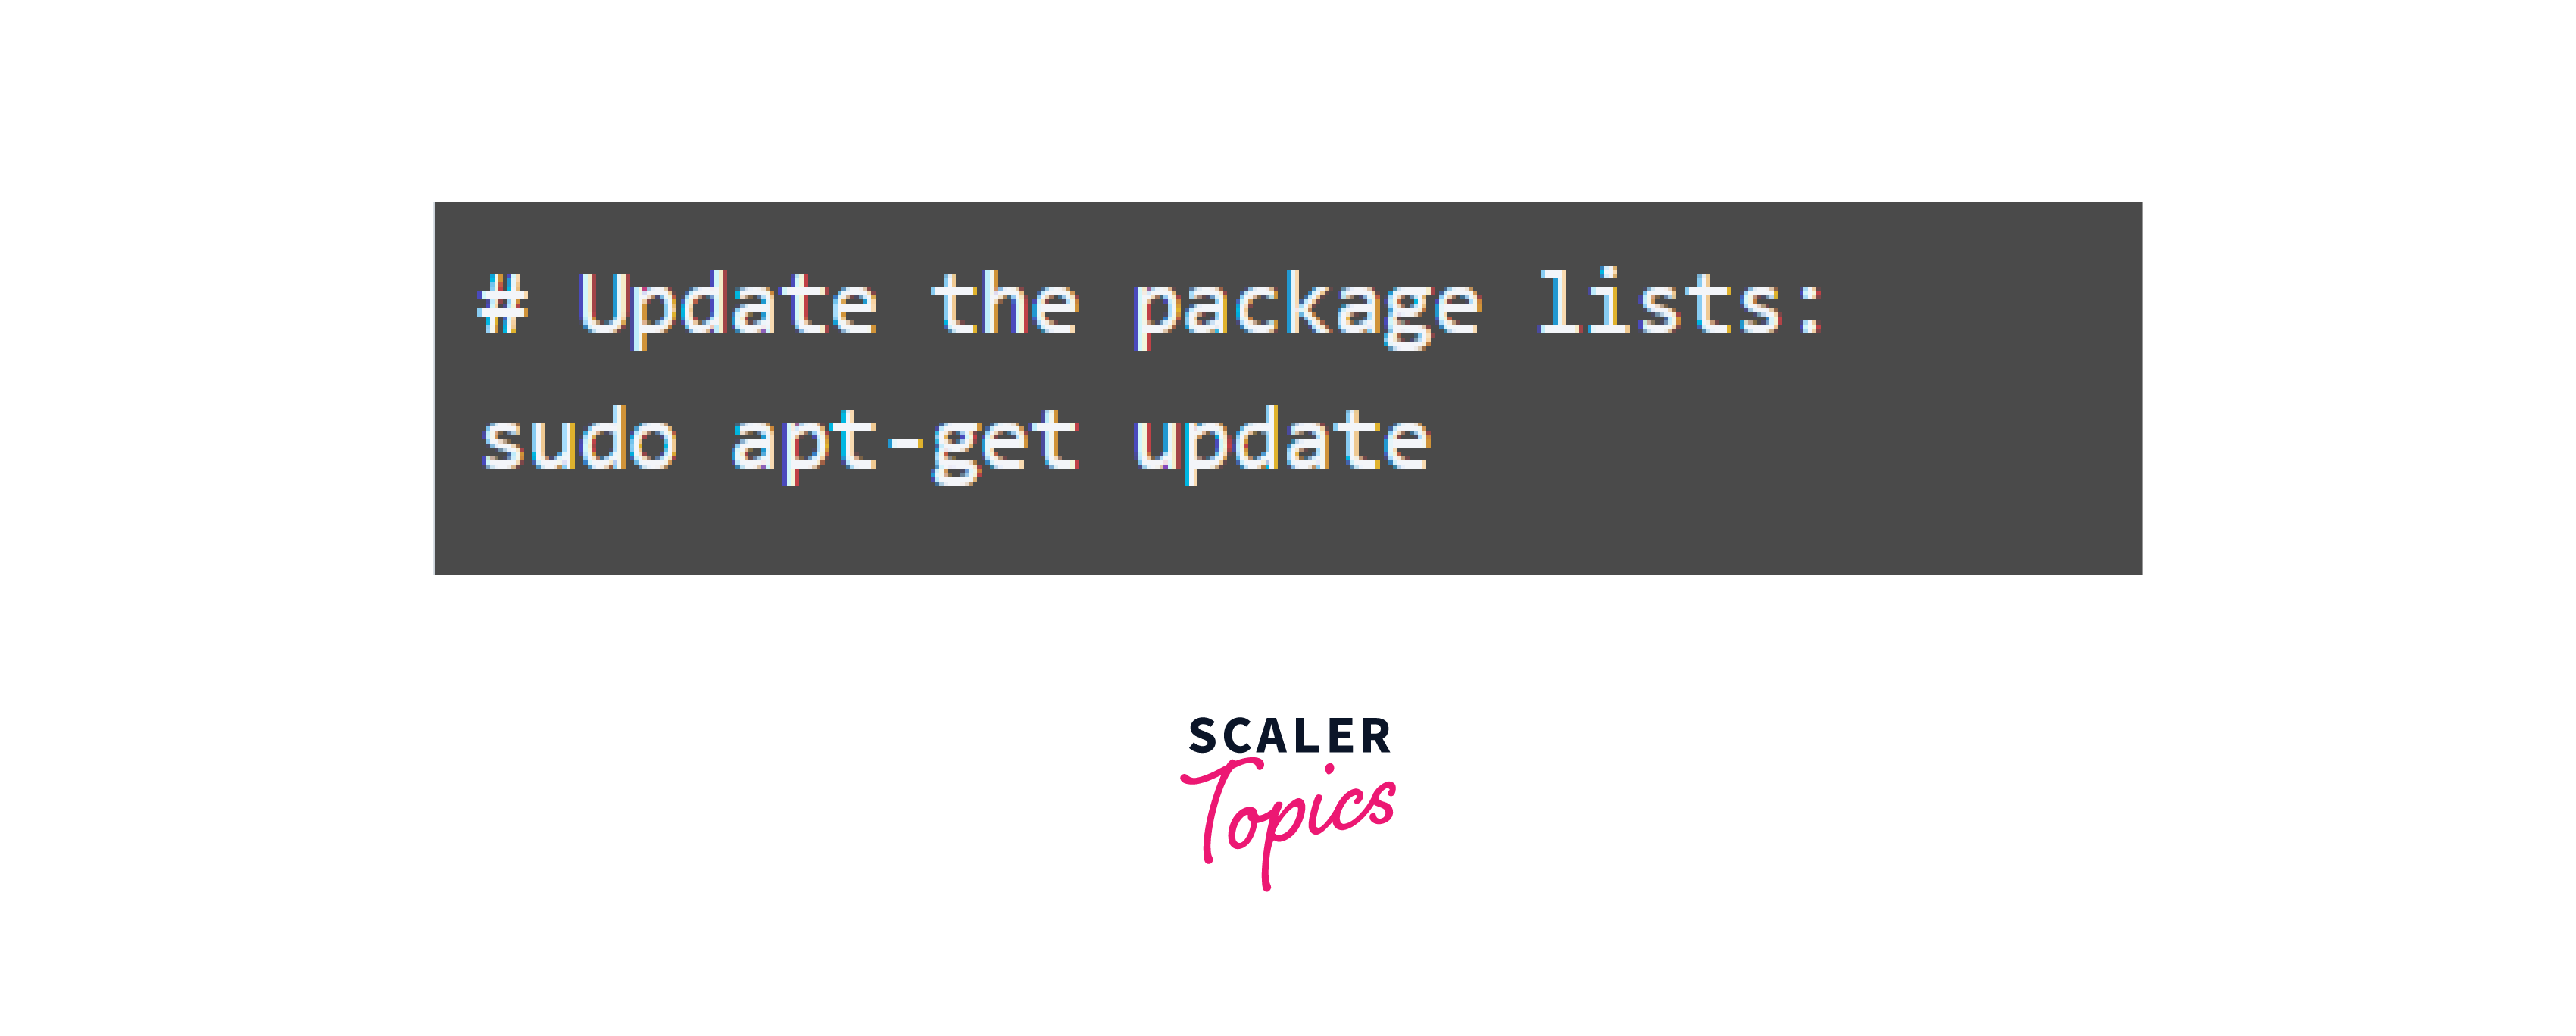
Updating the list of packages.
Step - 6:
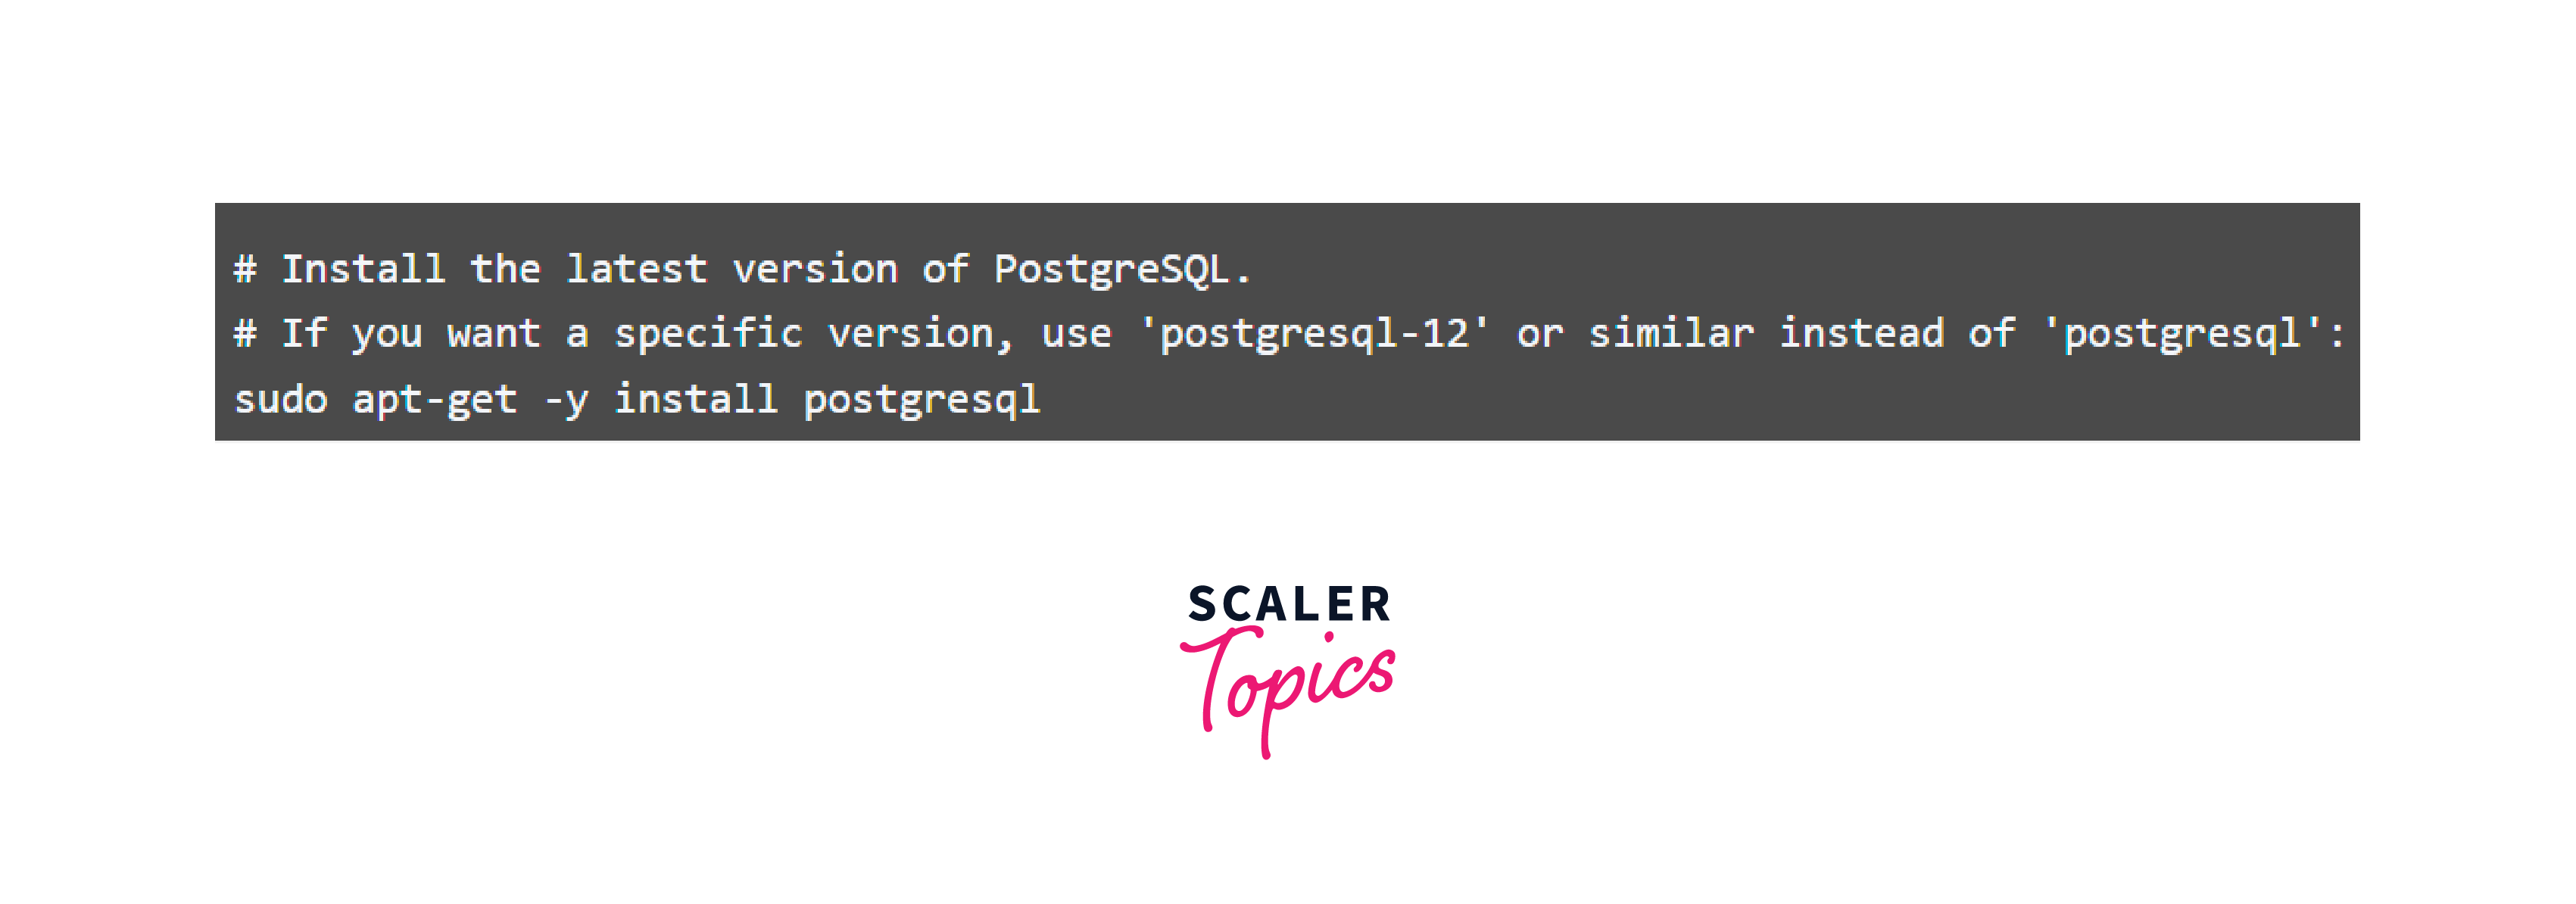
Write the below-given command for installation of PostgreSQL's recent version.
You can also write any particular version of Postgresql for installation, for that, you need to write postgresql-version in place of postgresql. For instance, you can write the below-given command for installing version 12 of Postgresql.
Now after some time PostgreSQL will be downloaded and installed in your system.
Turn Learning into Career Growth
Verifying the Installation on Ubuntu
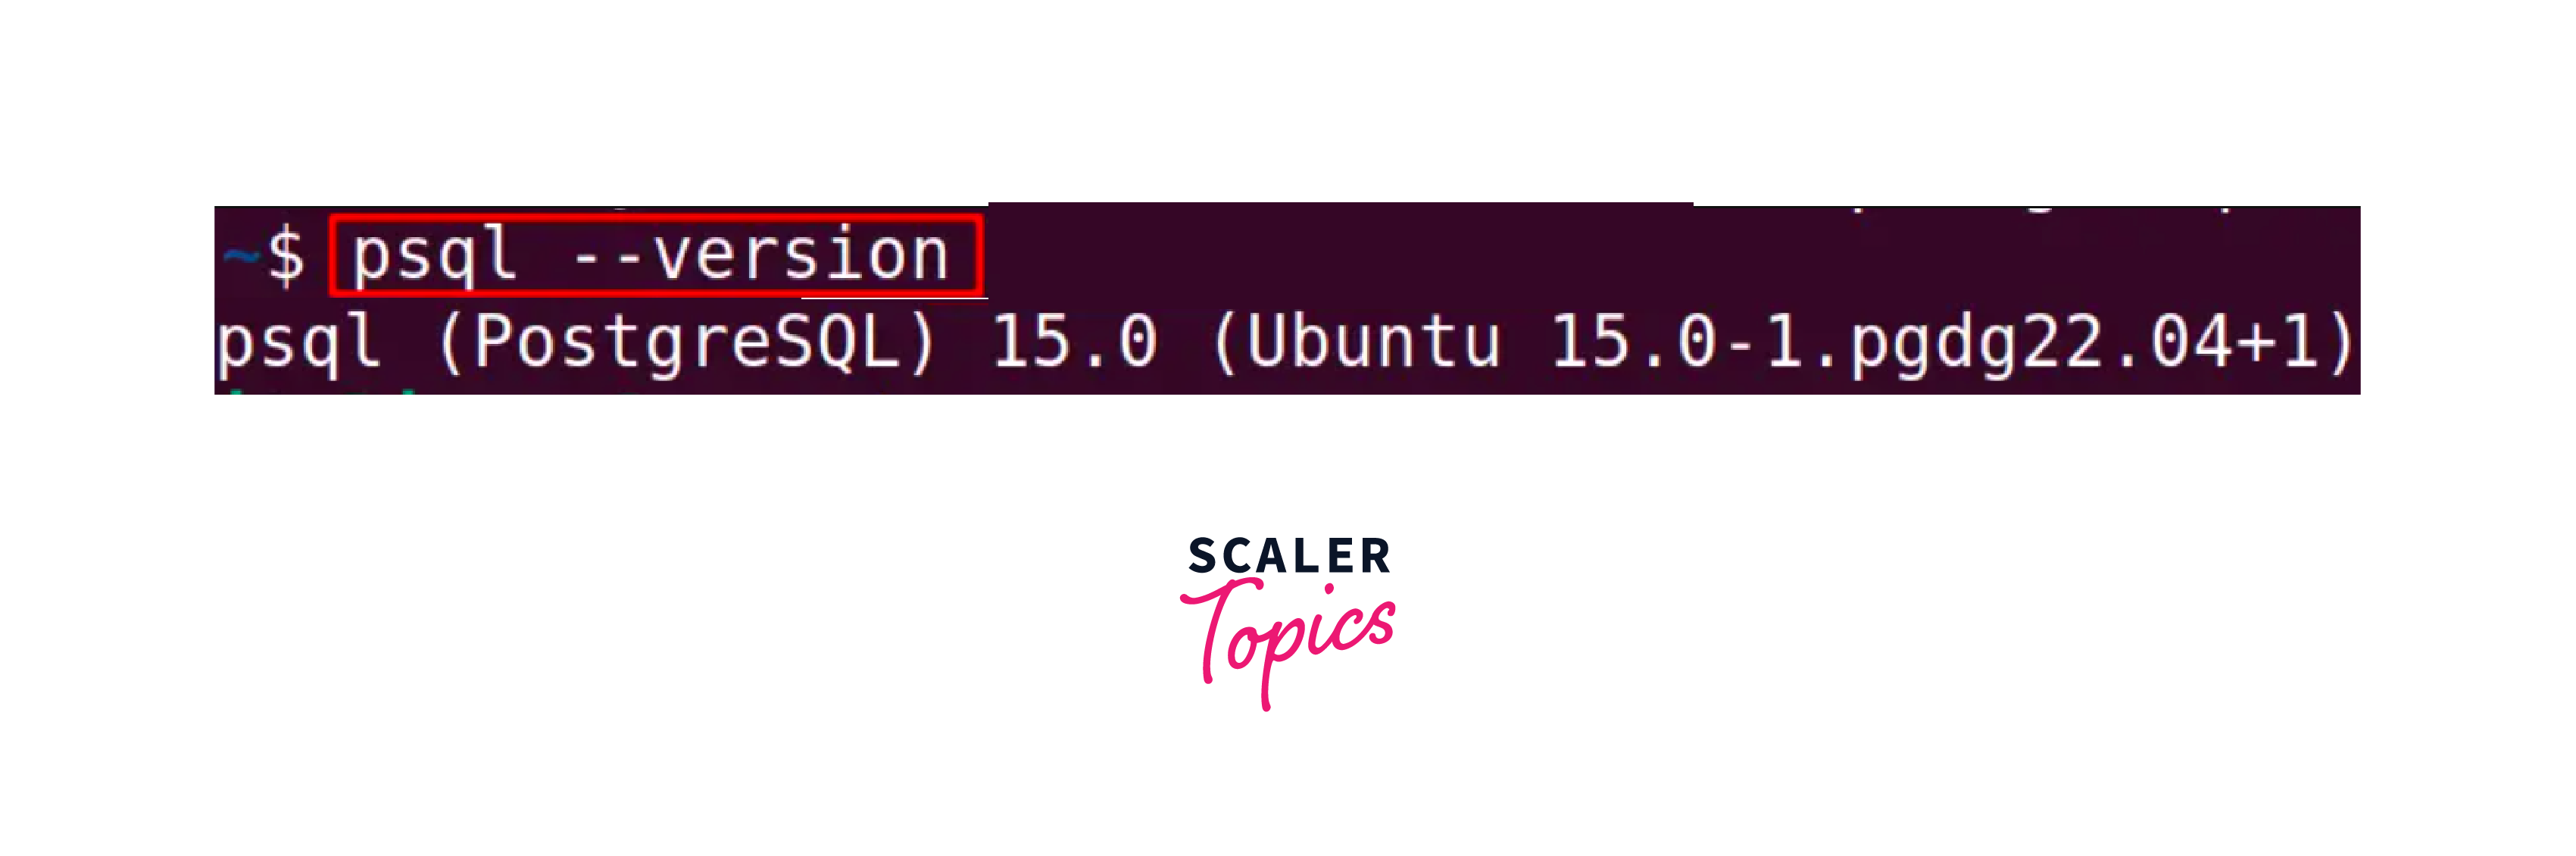
Run the command psql --version to verify whether postgresql was successfully installed or not. If PostgreSQL is installed successfully then the below output will be displayed.
How to Install PostgreSQL Mac?
Downloading the PostgreSQL for Mac
Follow the steps given below for downloading the PostgreSQL installer on macOS:
Step - 1:
Go to the PostgreSQL installer download page
Step - 2:
Now download the PostgreSQL available for macOS.
Installing PostgreSQL for Mac
Follow the steps given below for PostgreSQL installation on macOS:
Step - 1:
Double-click the installer file for the launch setup wizard.
Step - 2:
Now select the folder for installation, you can specify any custom path or you can keep the folder by default selected by Postgresql, then click on the next.
Step - 3:
Select from the list of software components that you desire to install in your system, and click on the next.
Step - 4:
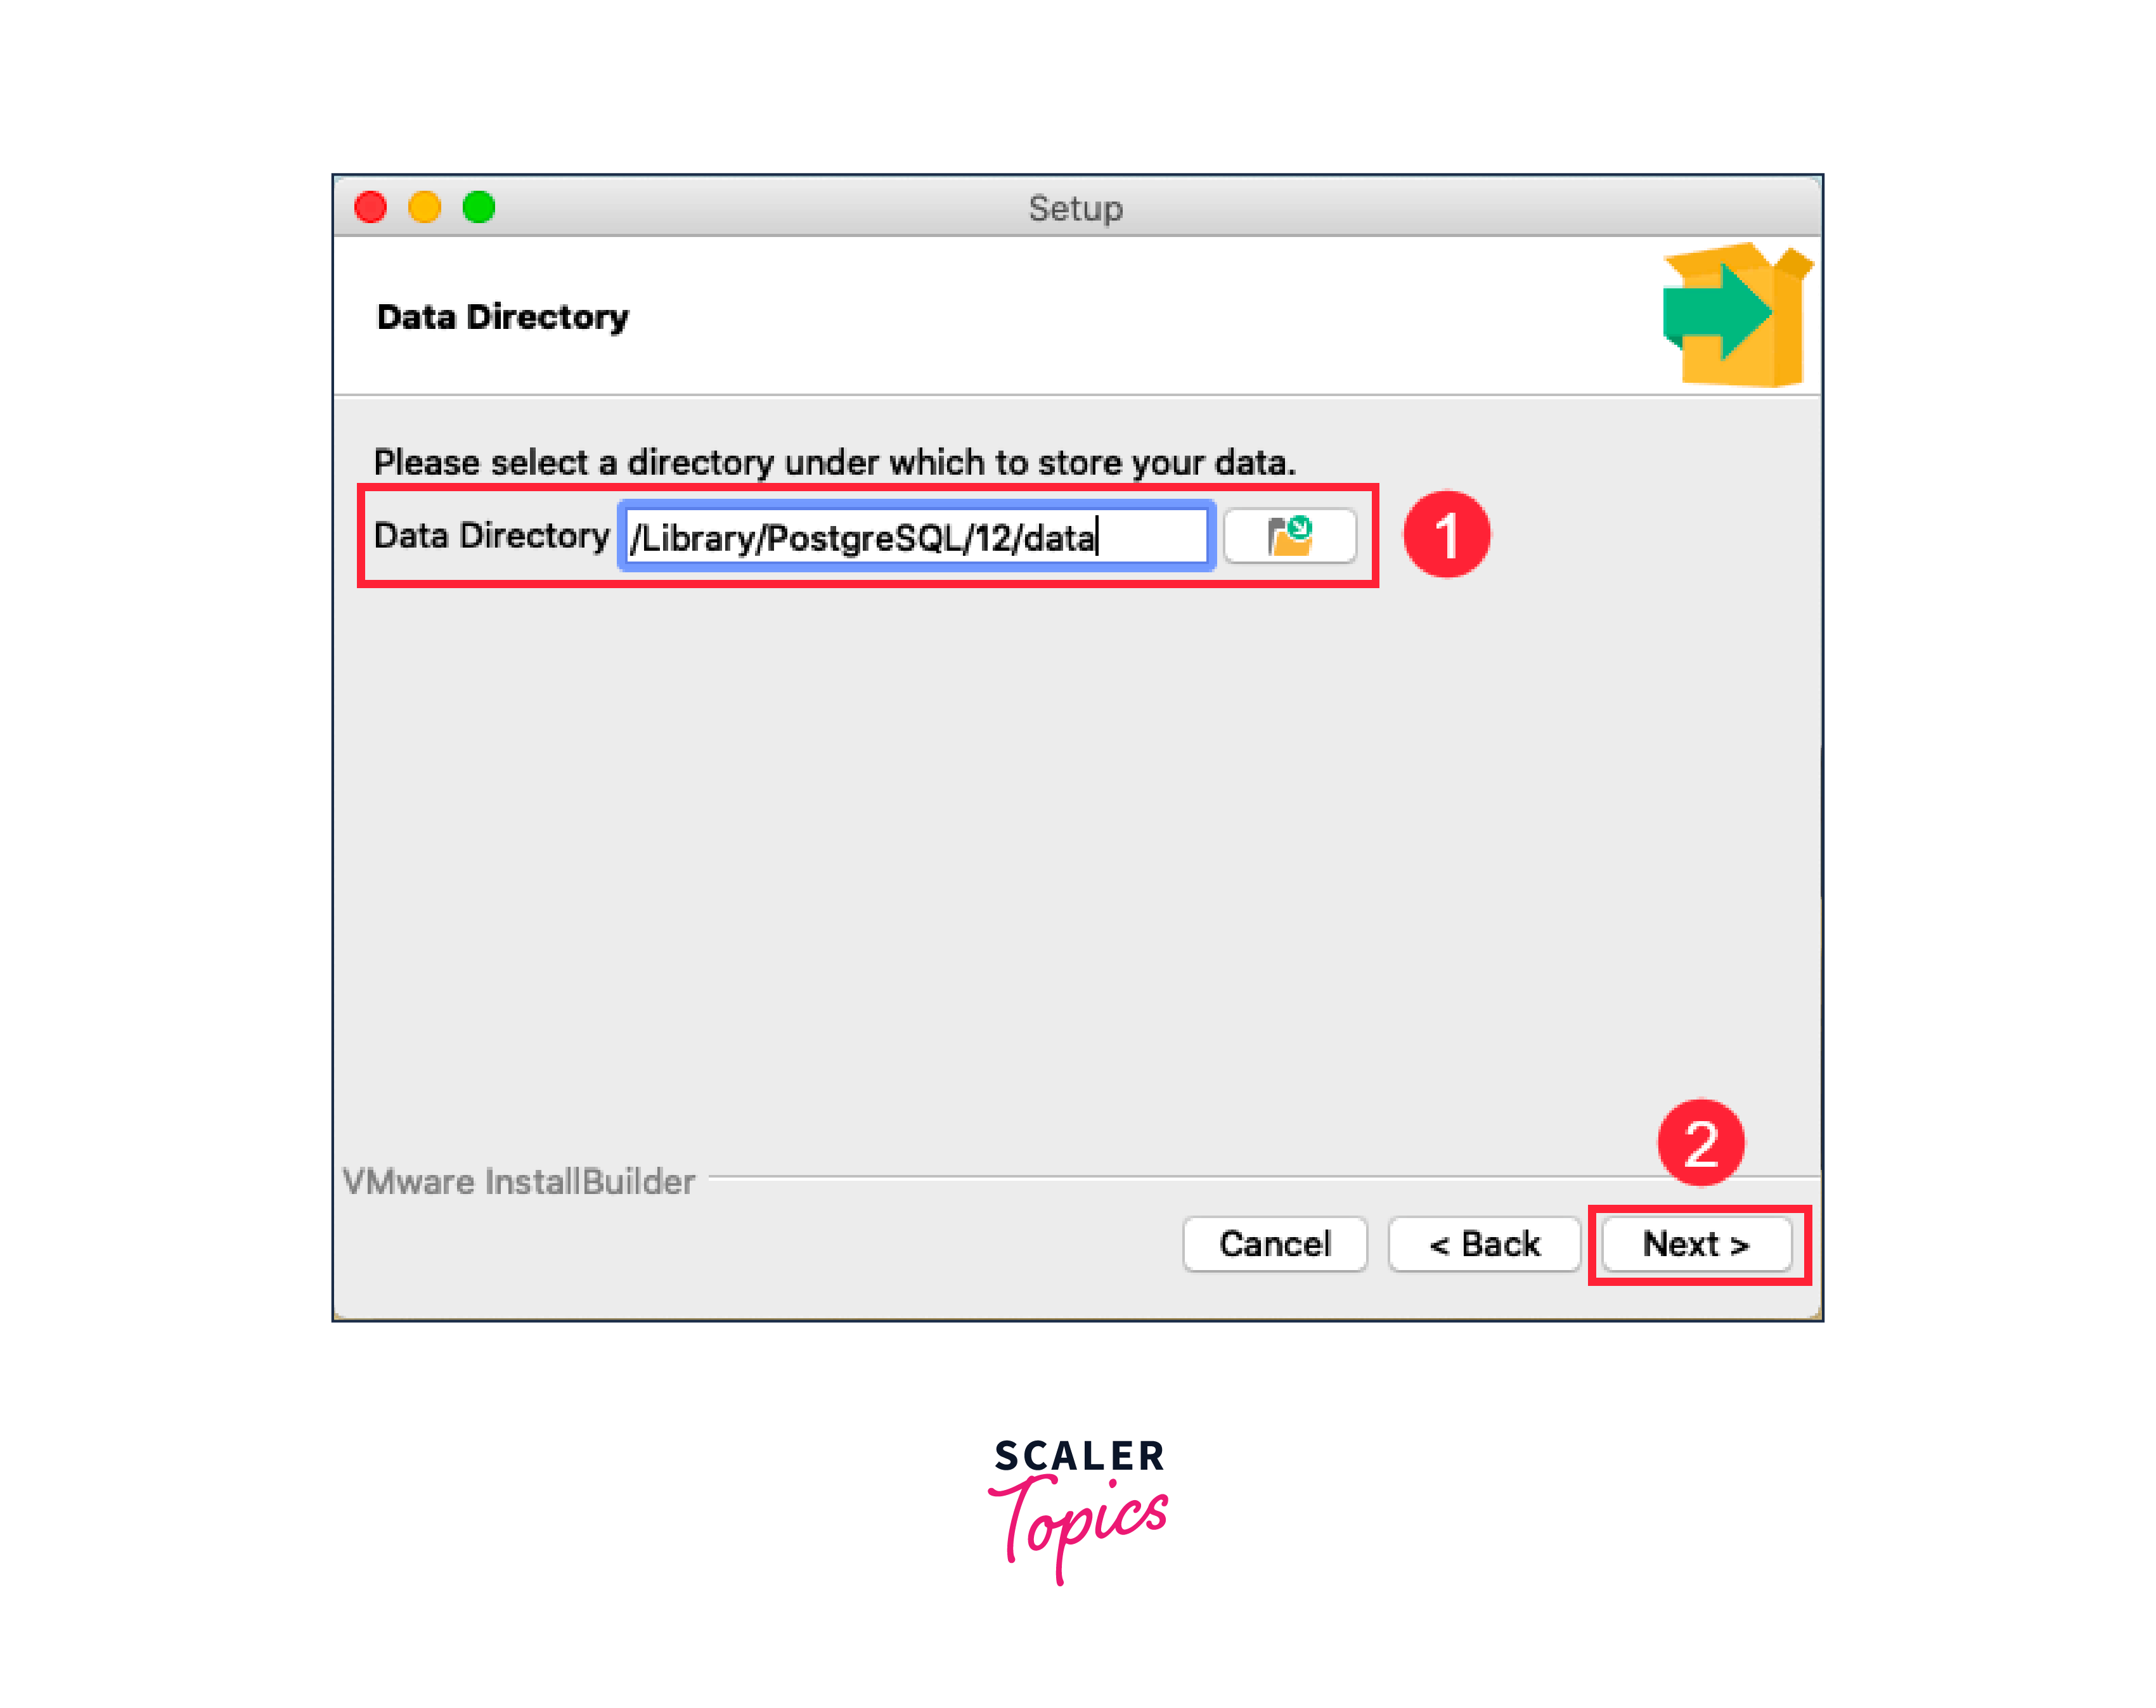
Select the directory where you want to store the data of the PostgreSQL and click on the next.
Step - 5:
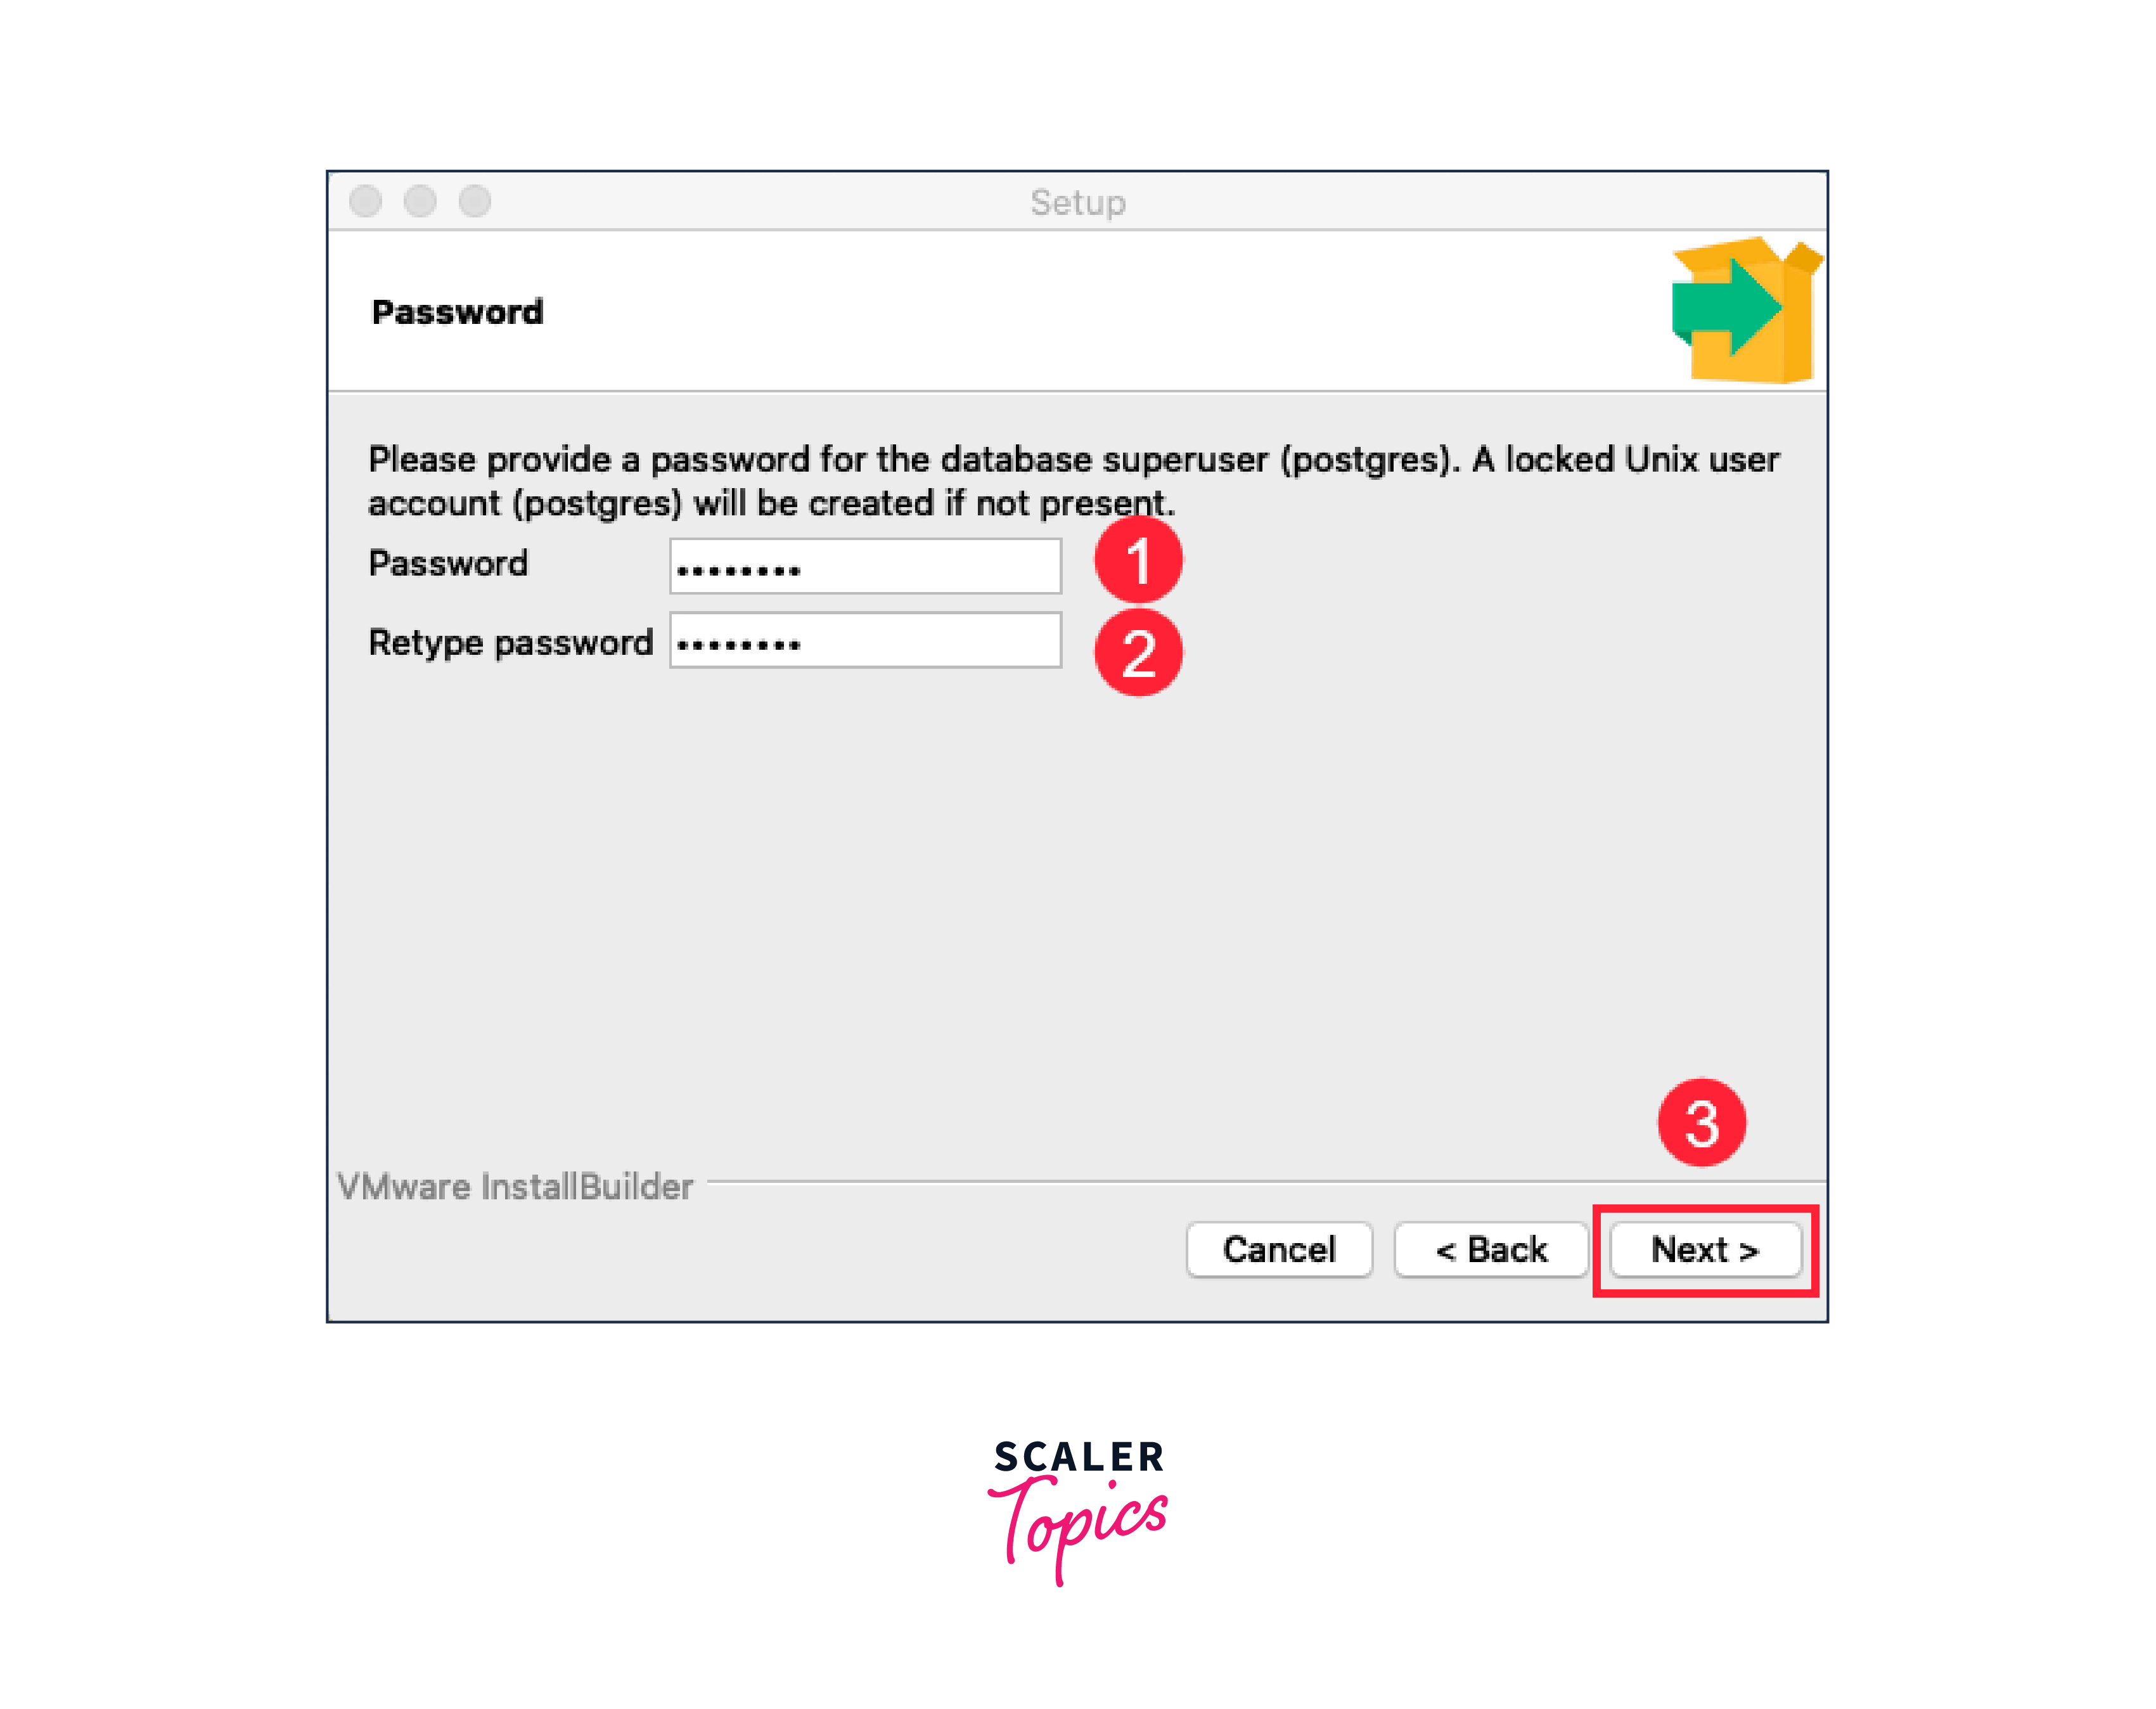
Enter the password you want for the PostgreSQL user account, but you need to remember this password as it requires later to log in to the database server of PostgreSQL, re-type the password again, and then click on the next.
Step - 6:
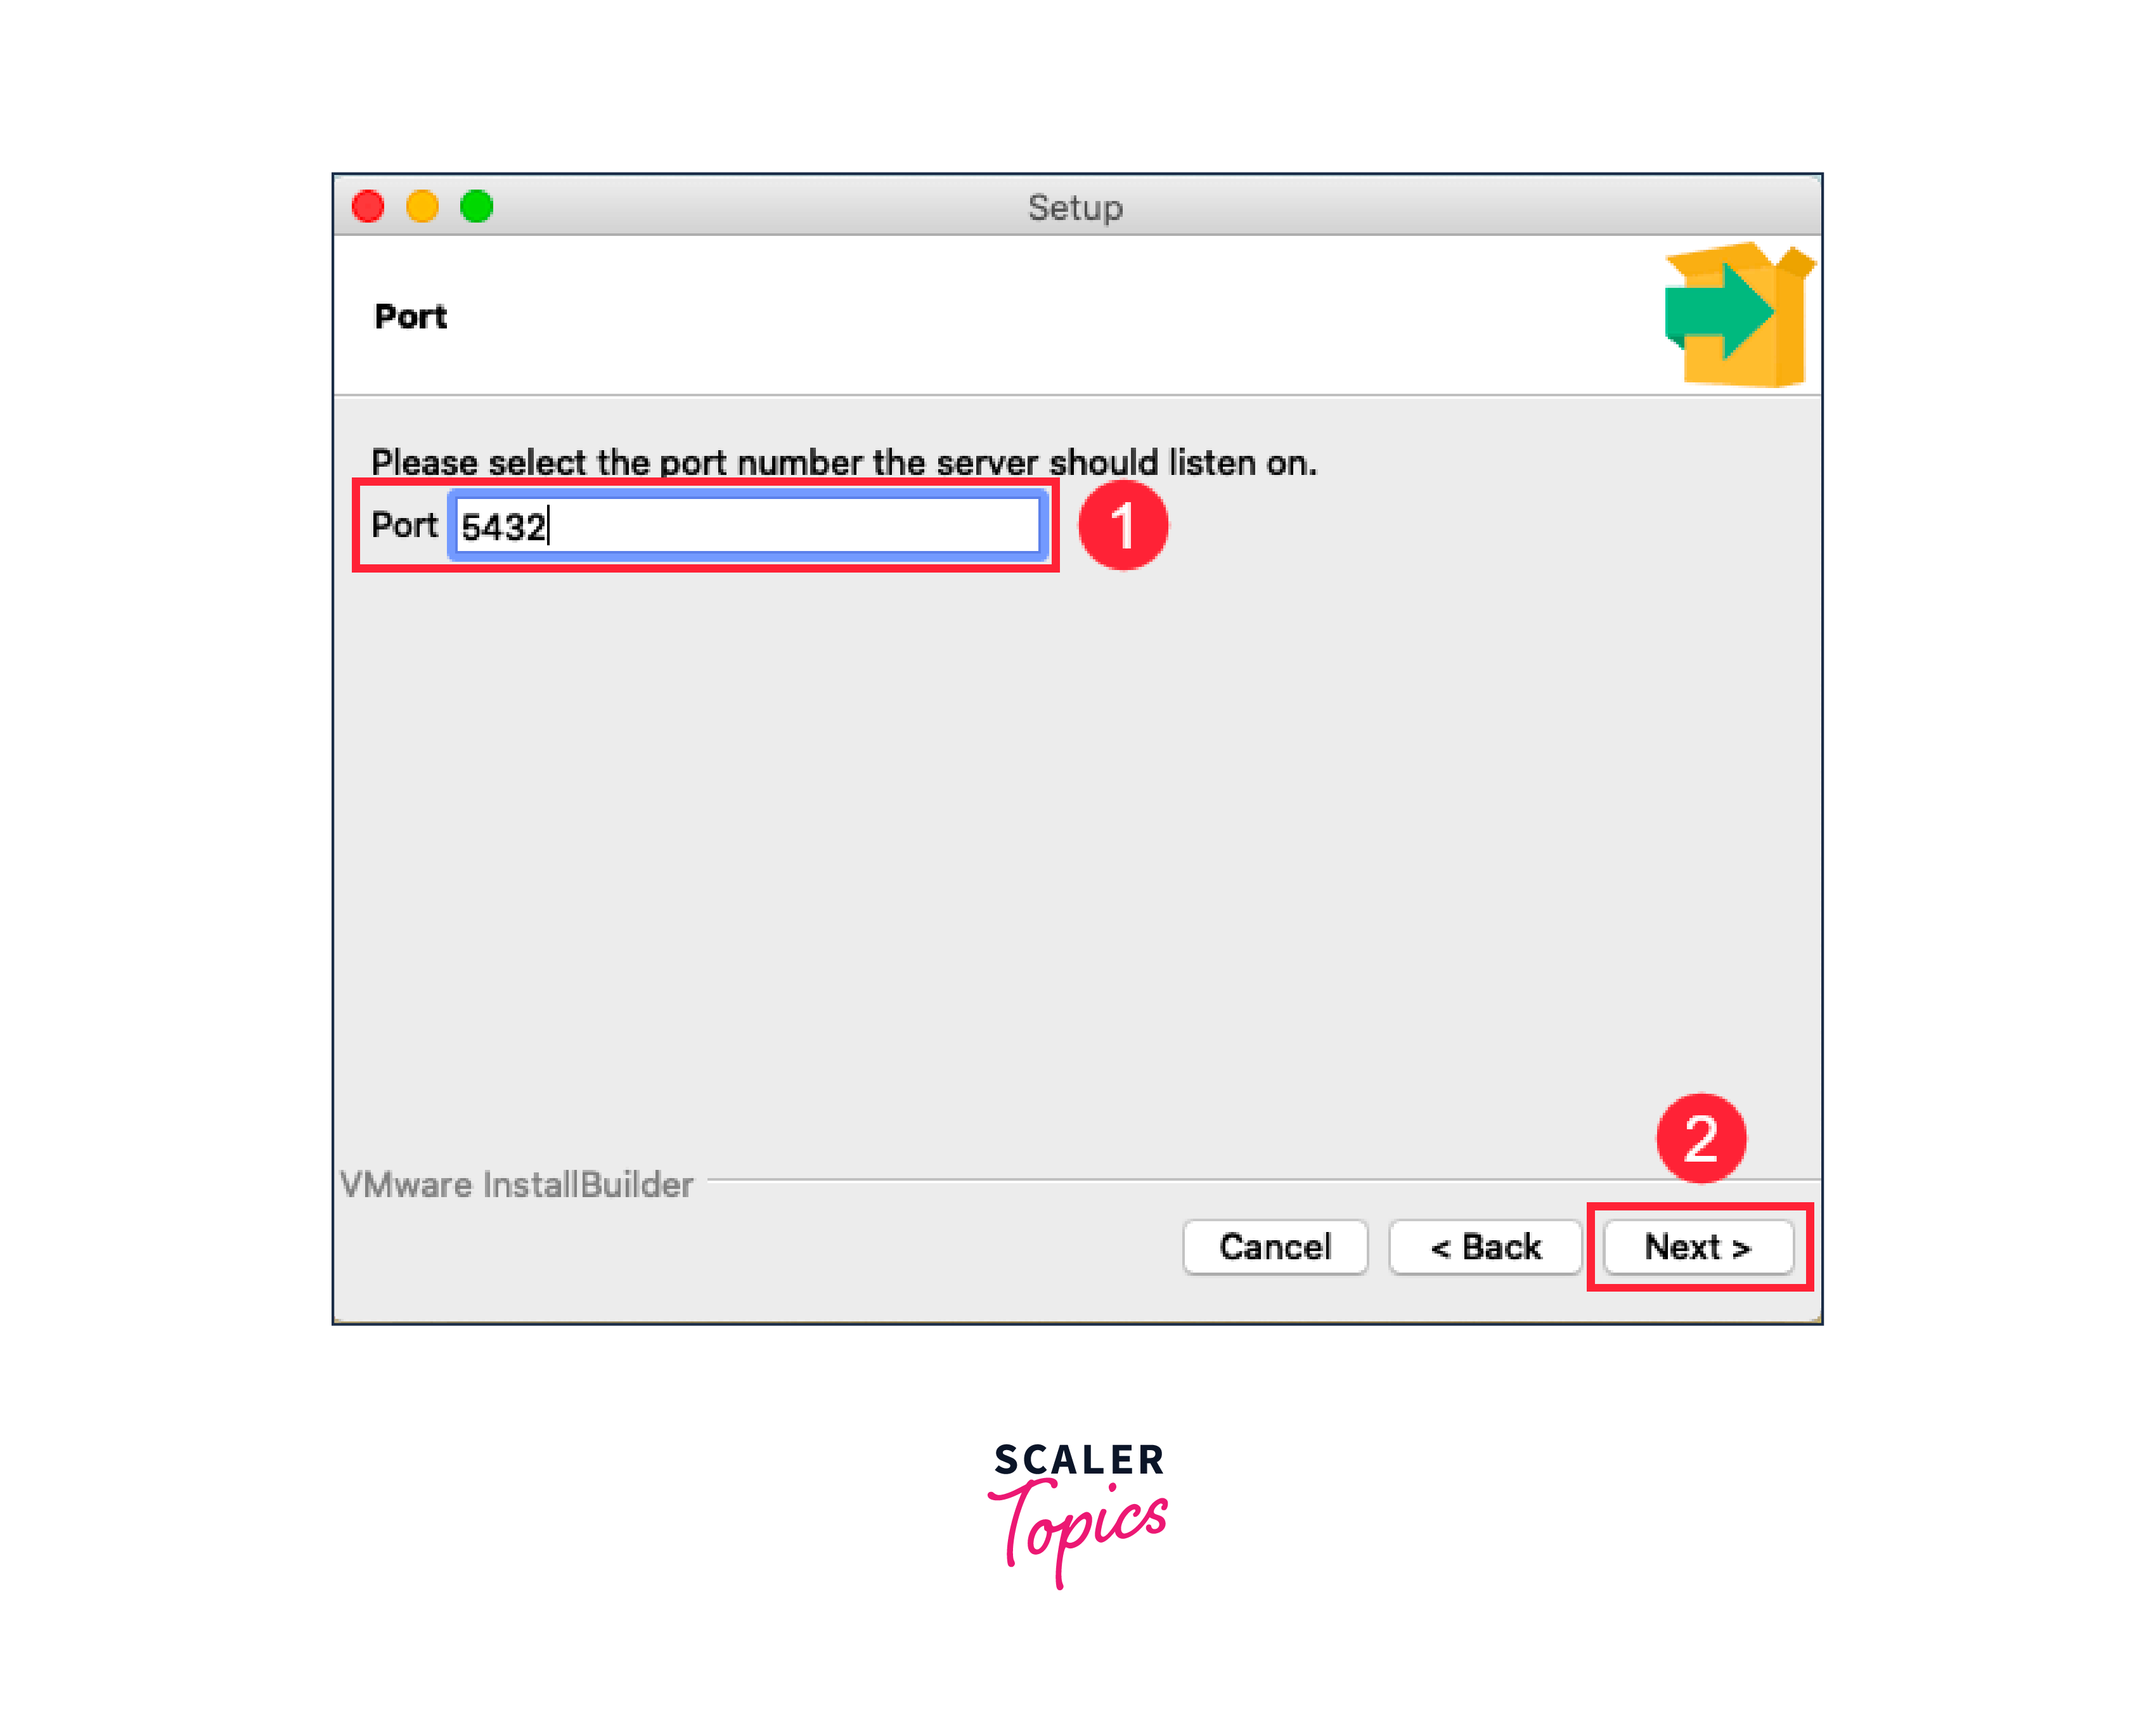
Enter the port number on which the PostgreSQL server will listen, the 5432 post is used by PostgreSQL by default.
Step - 7:
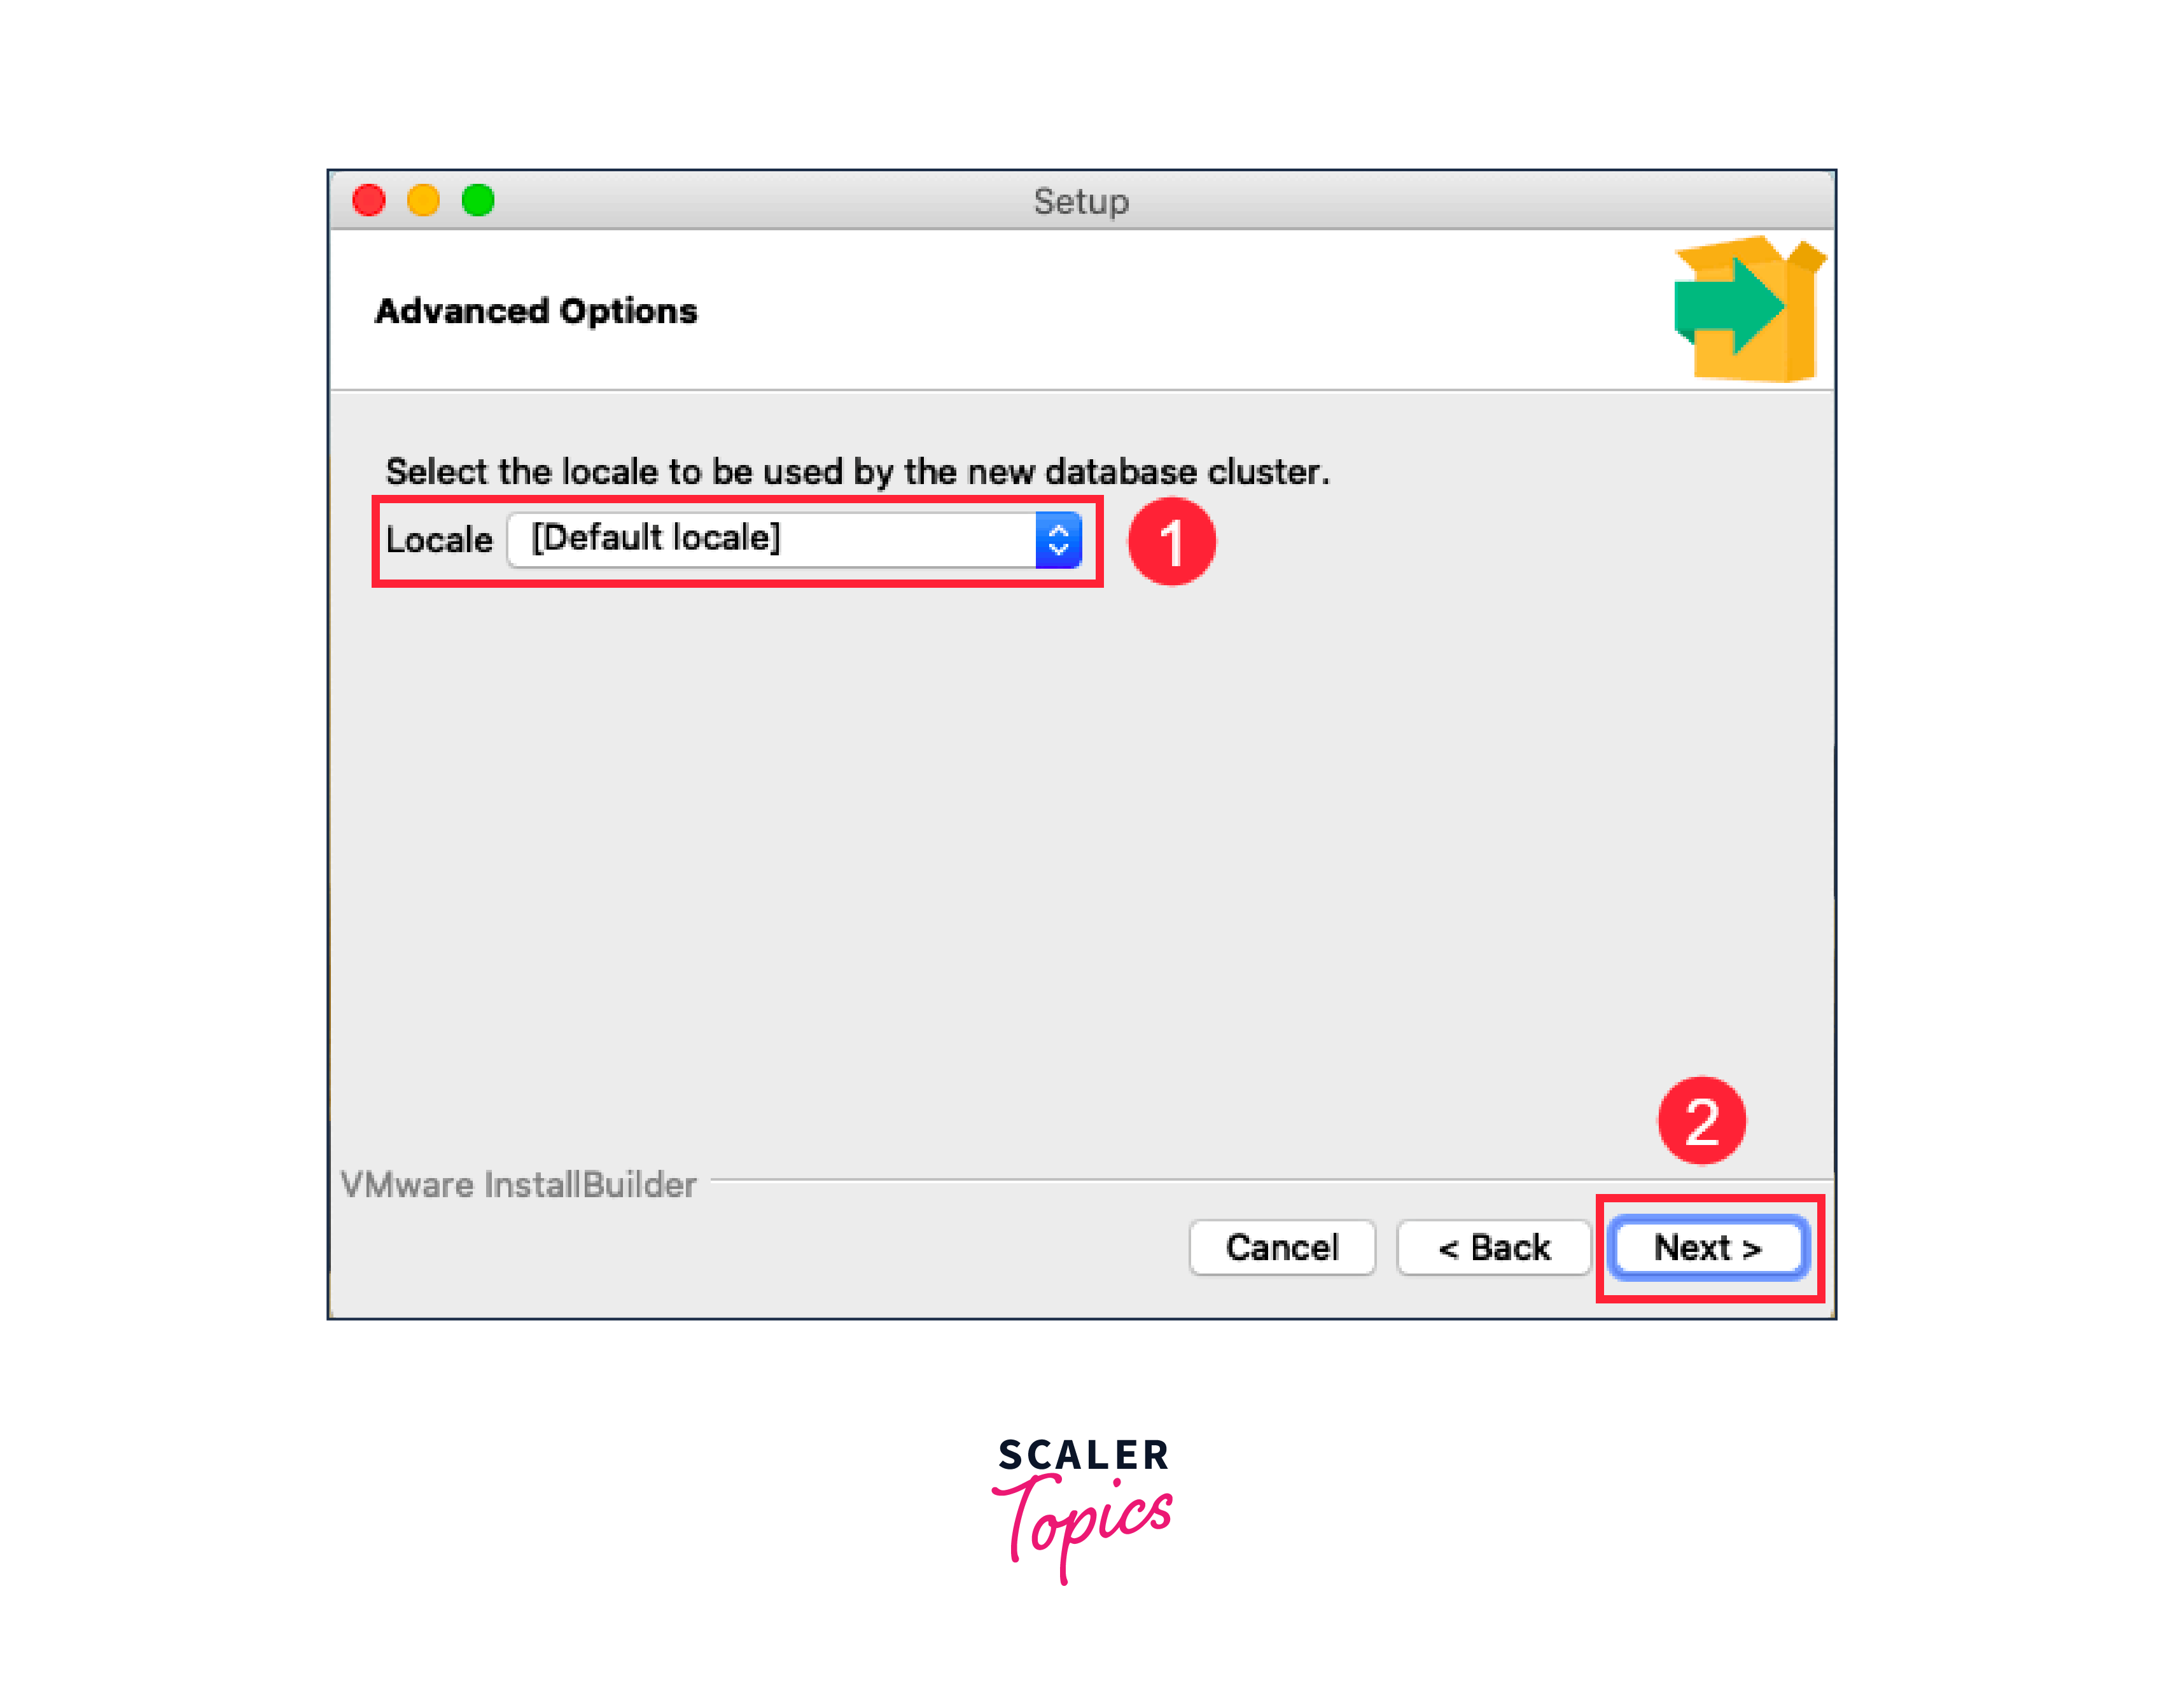
Now choose the locale. The current operating system locale is used by PostgreSQL by default, click on the next
Step - 8:
Check all the installation details displayed on the screen. If every piece of information looks right, then click on the next.
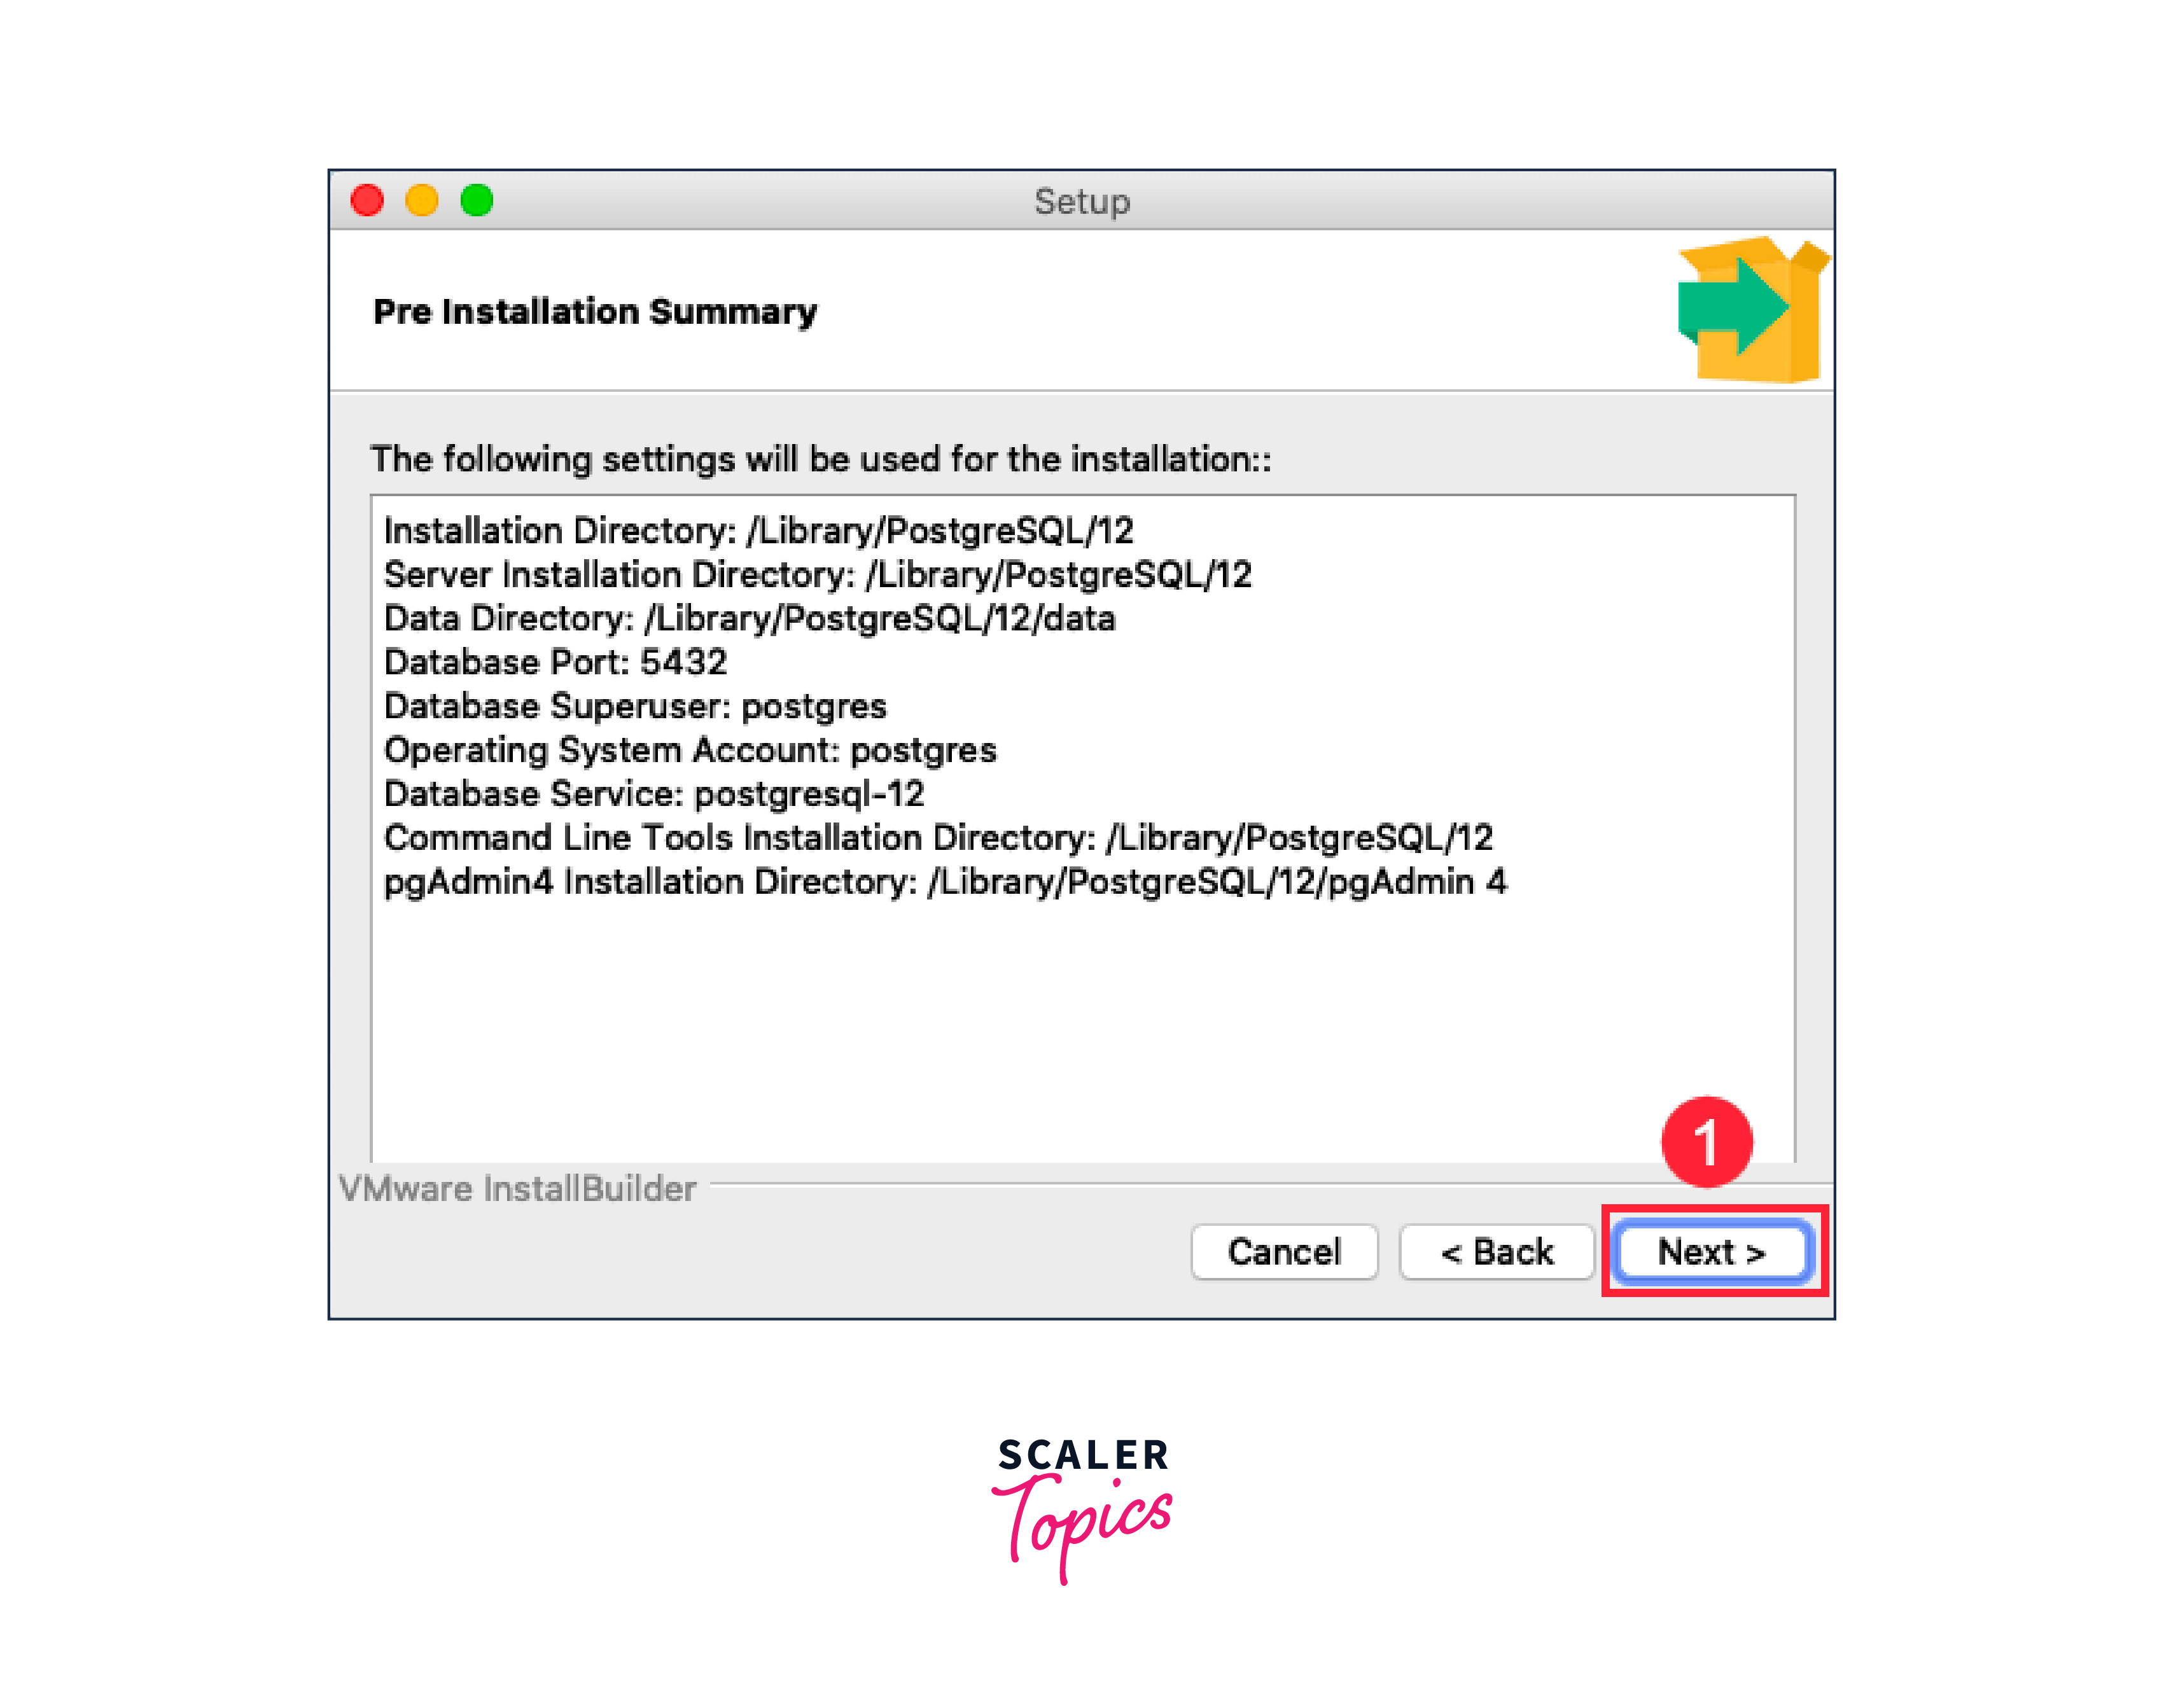
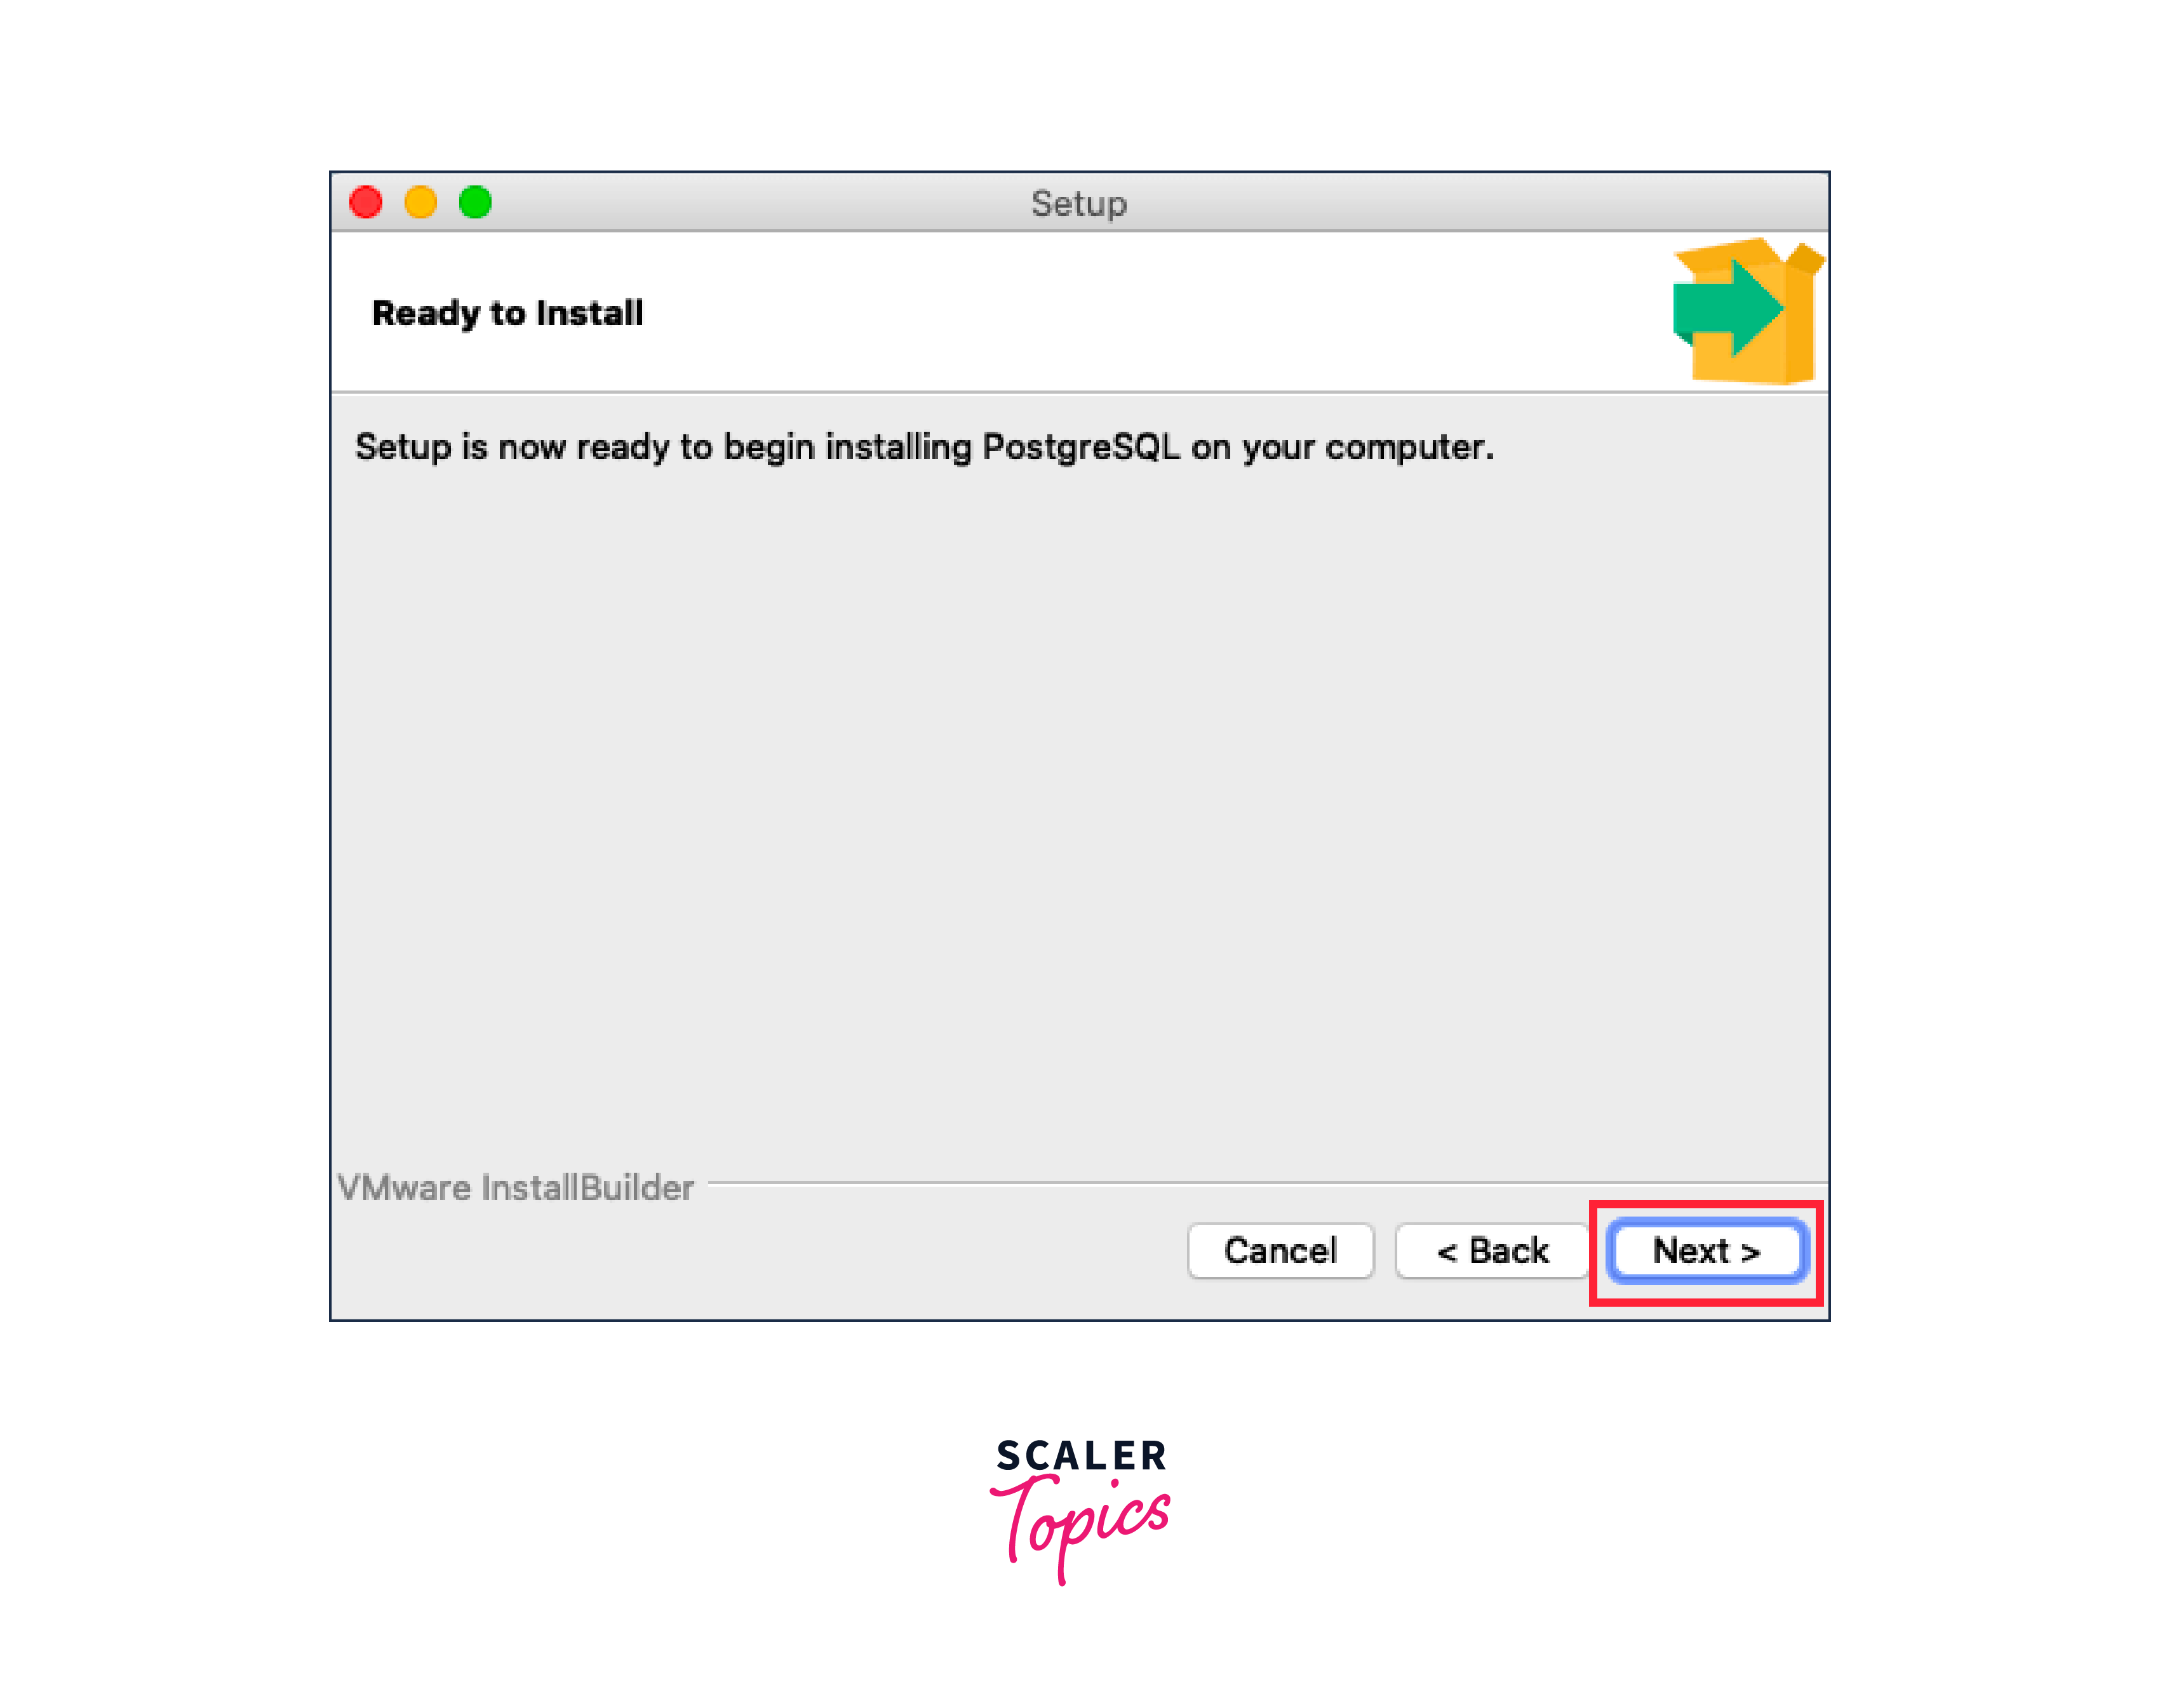
Step - 9:
Click on the next, after that PostgreSQL database server installation will start on your system.
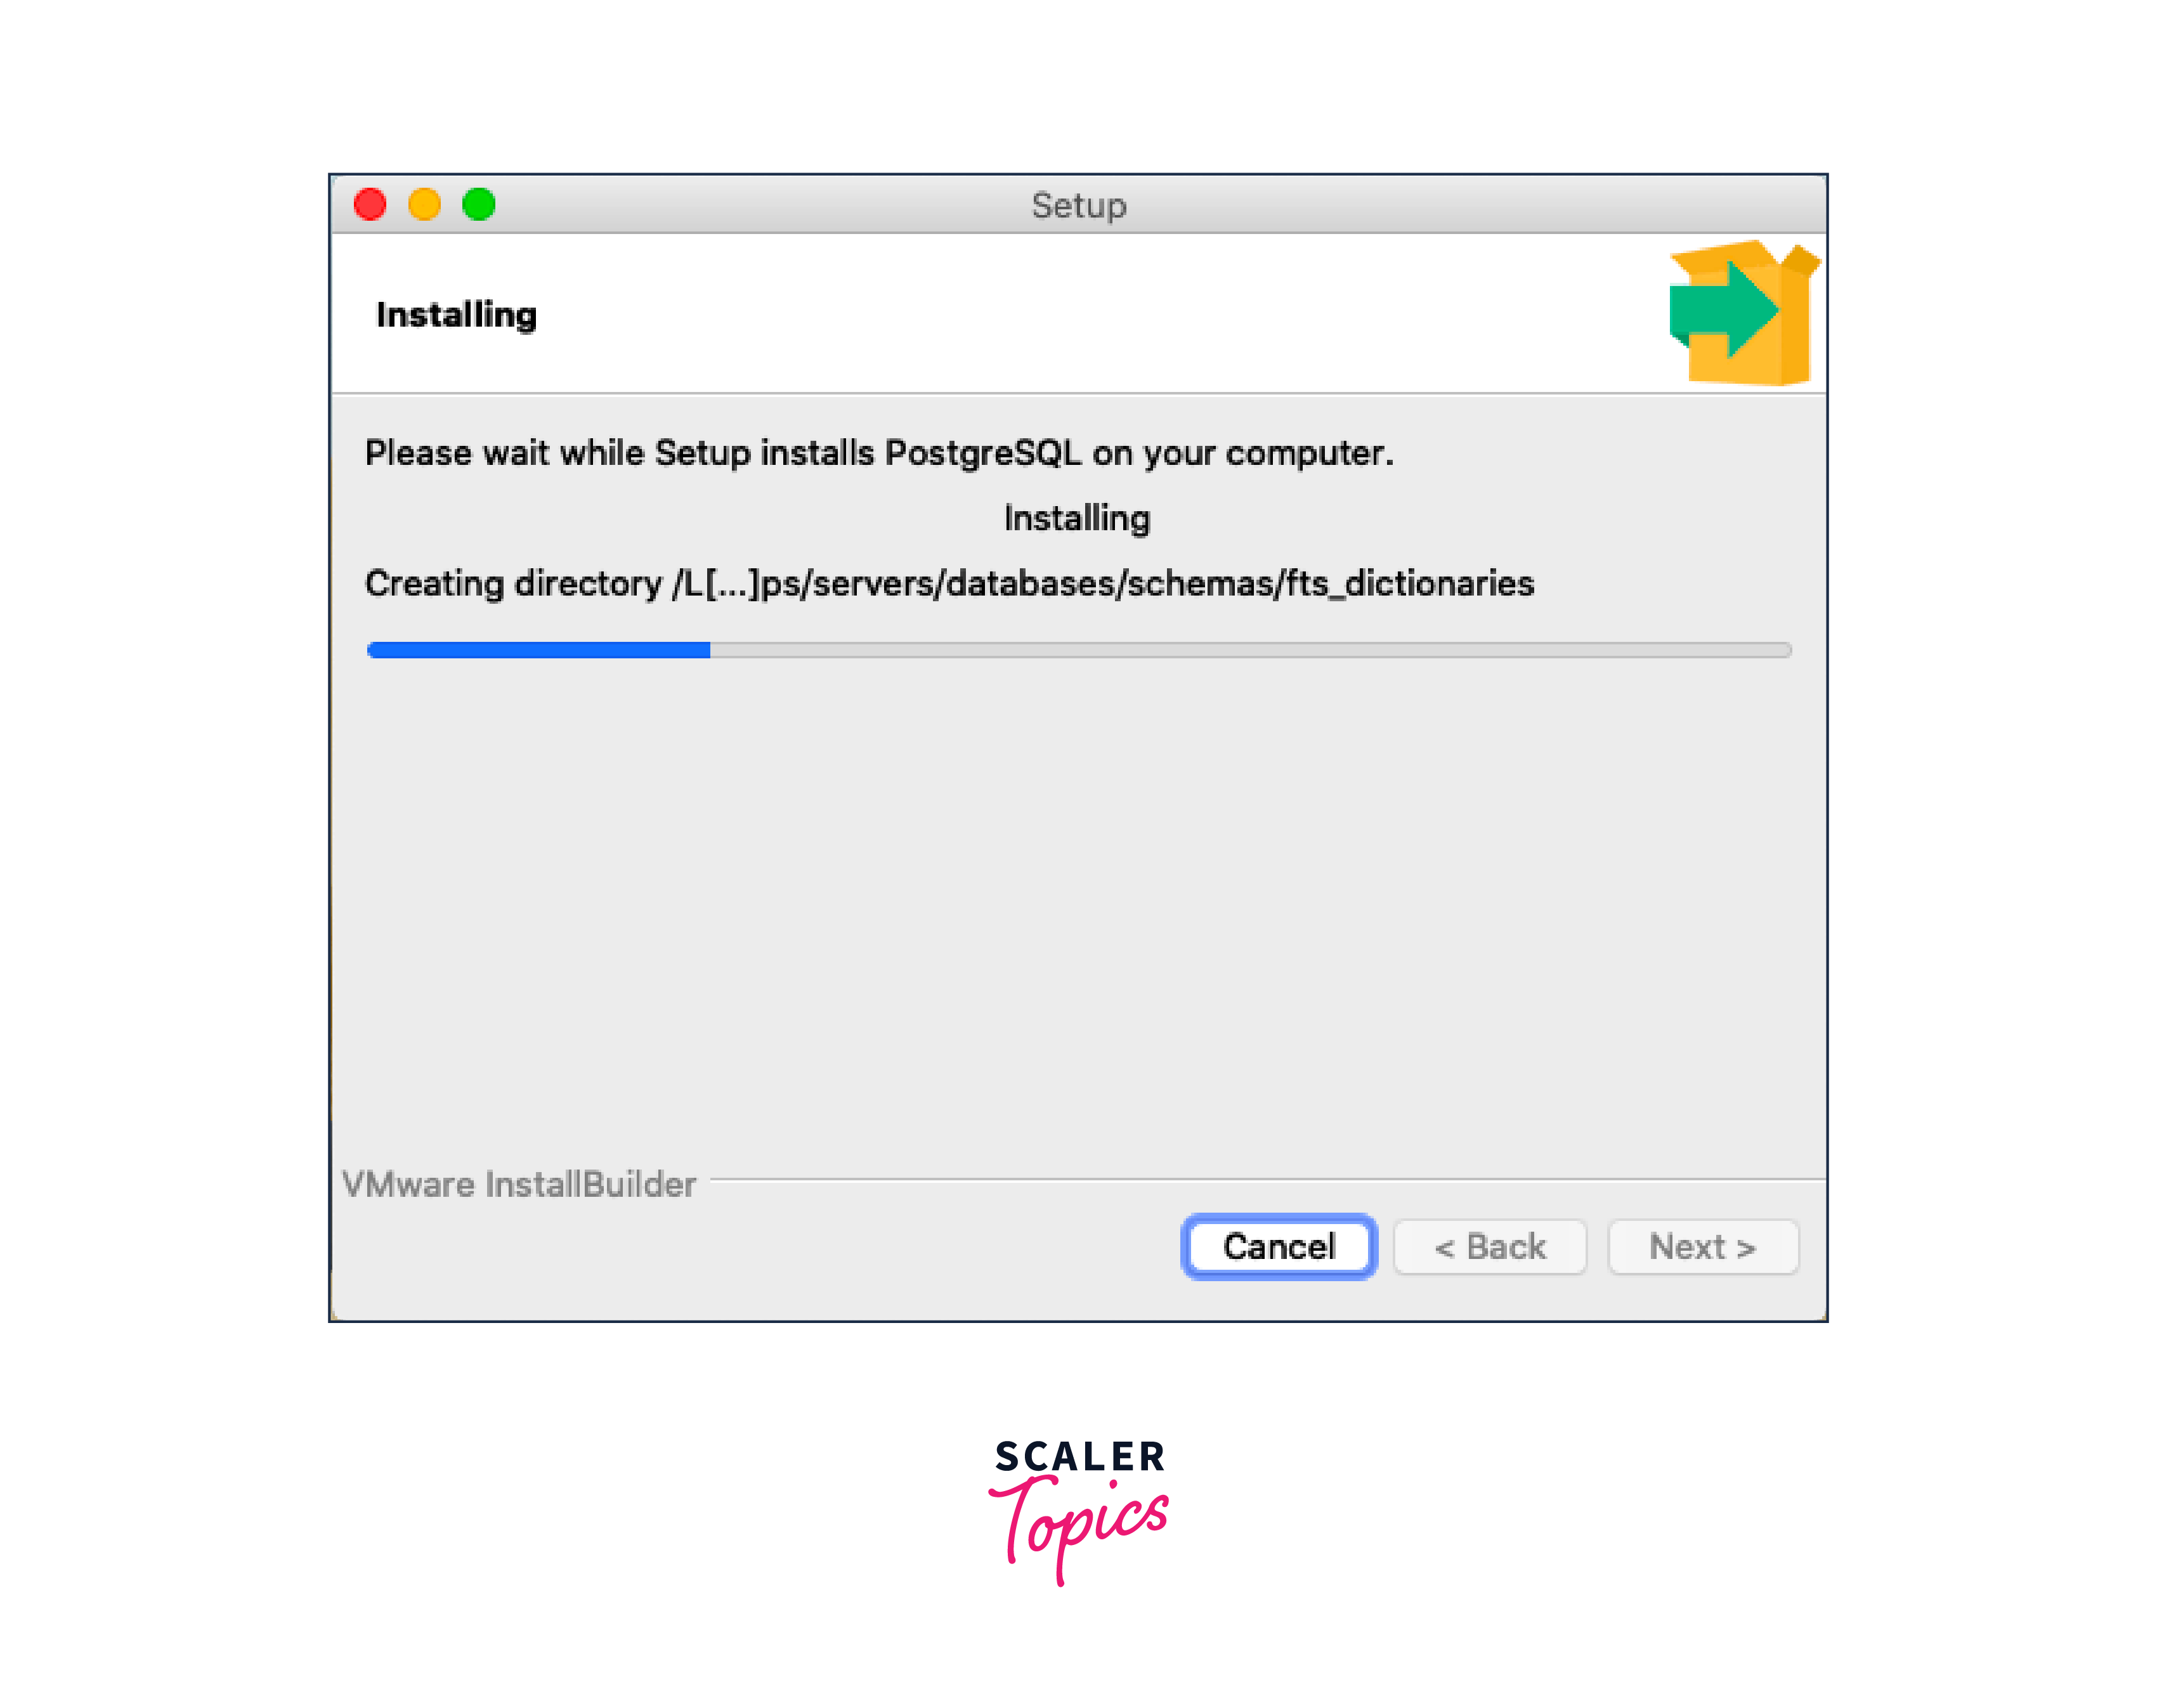
Step - 10:
Installation takes some time.
Step - 11:
When the installation is complete click on the finish.
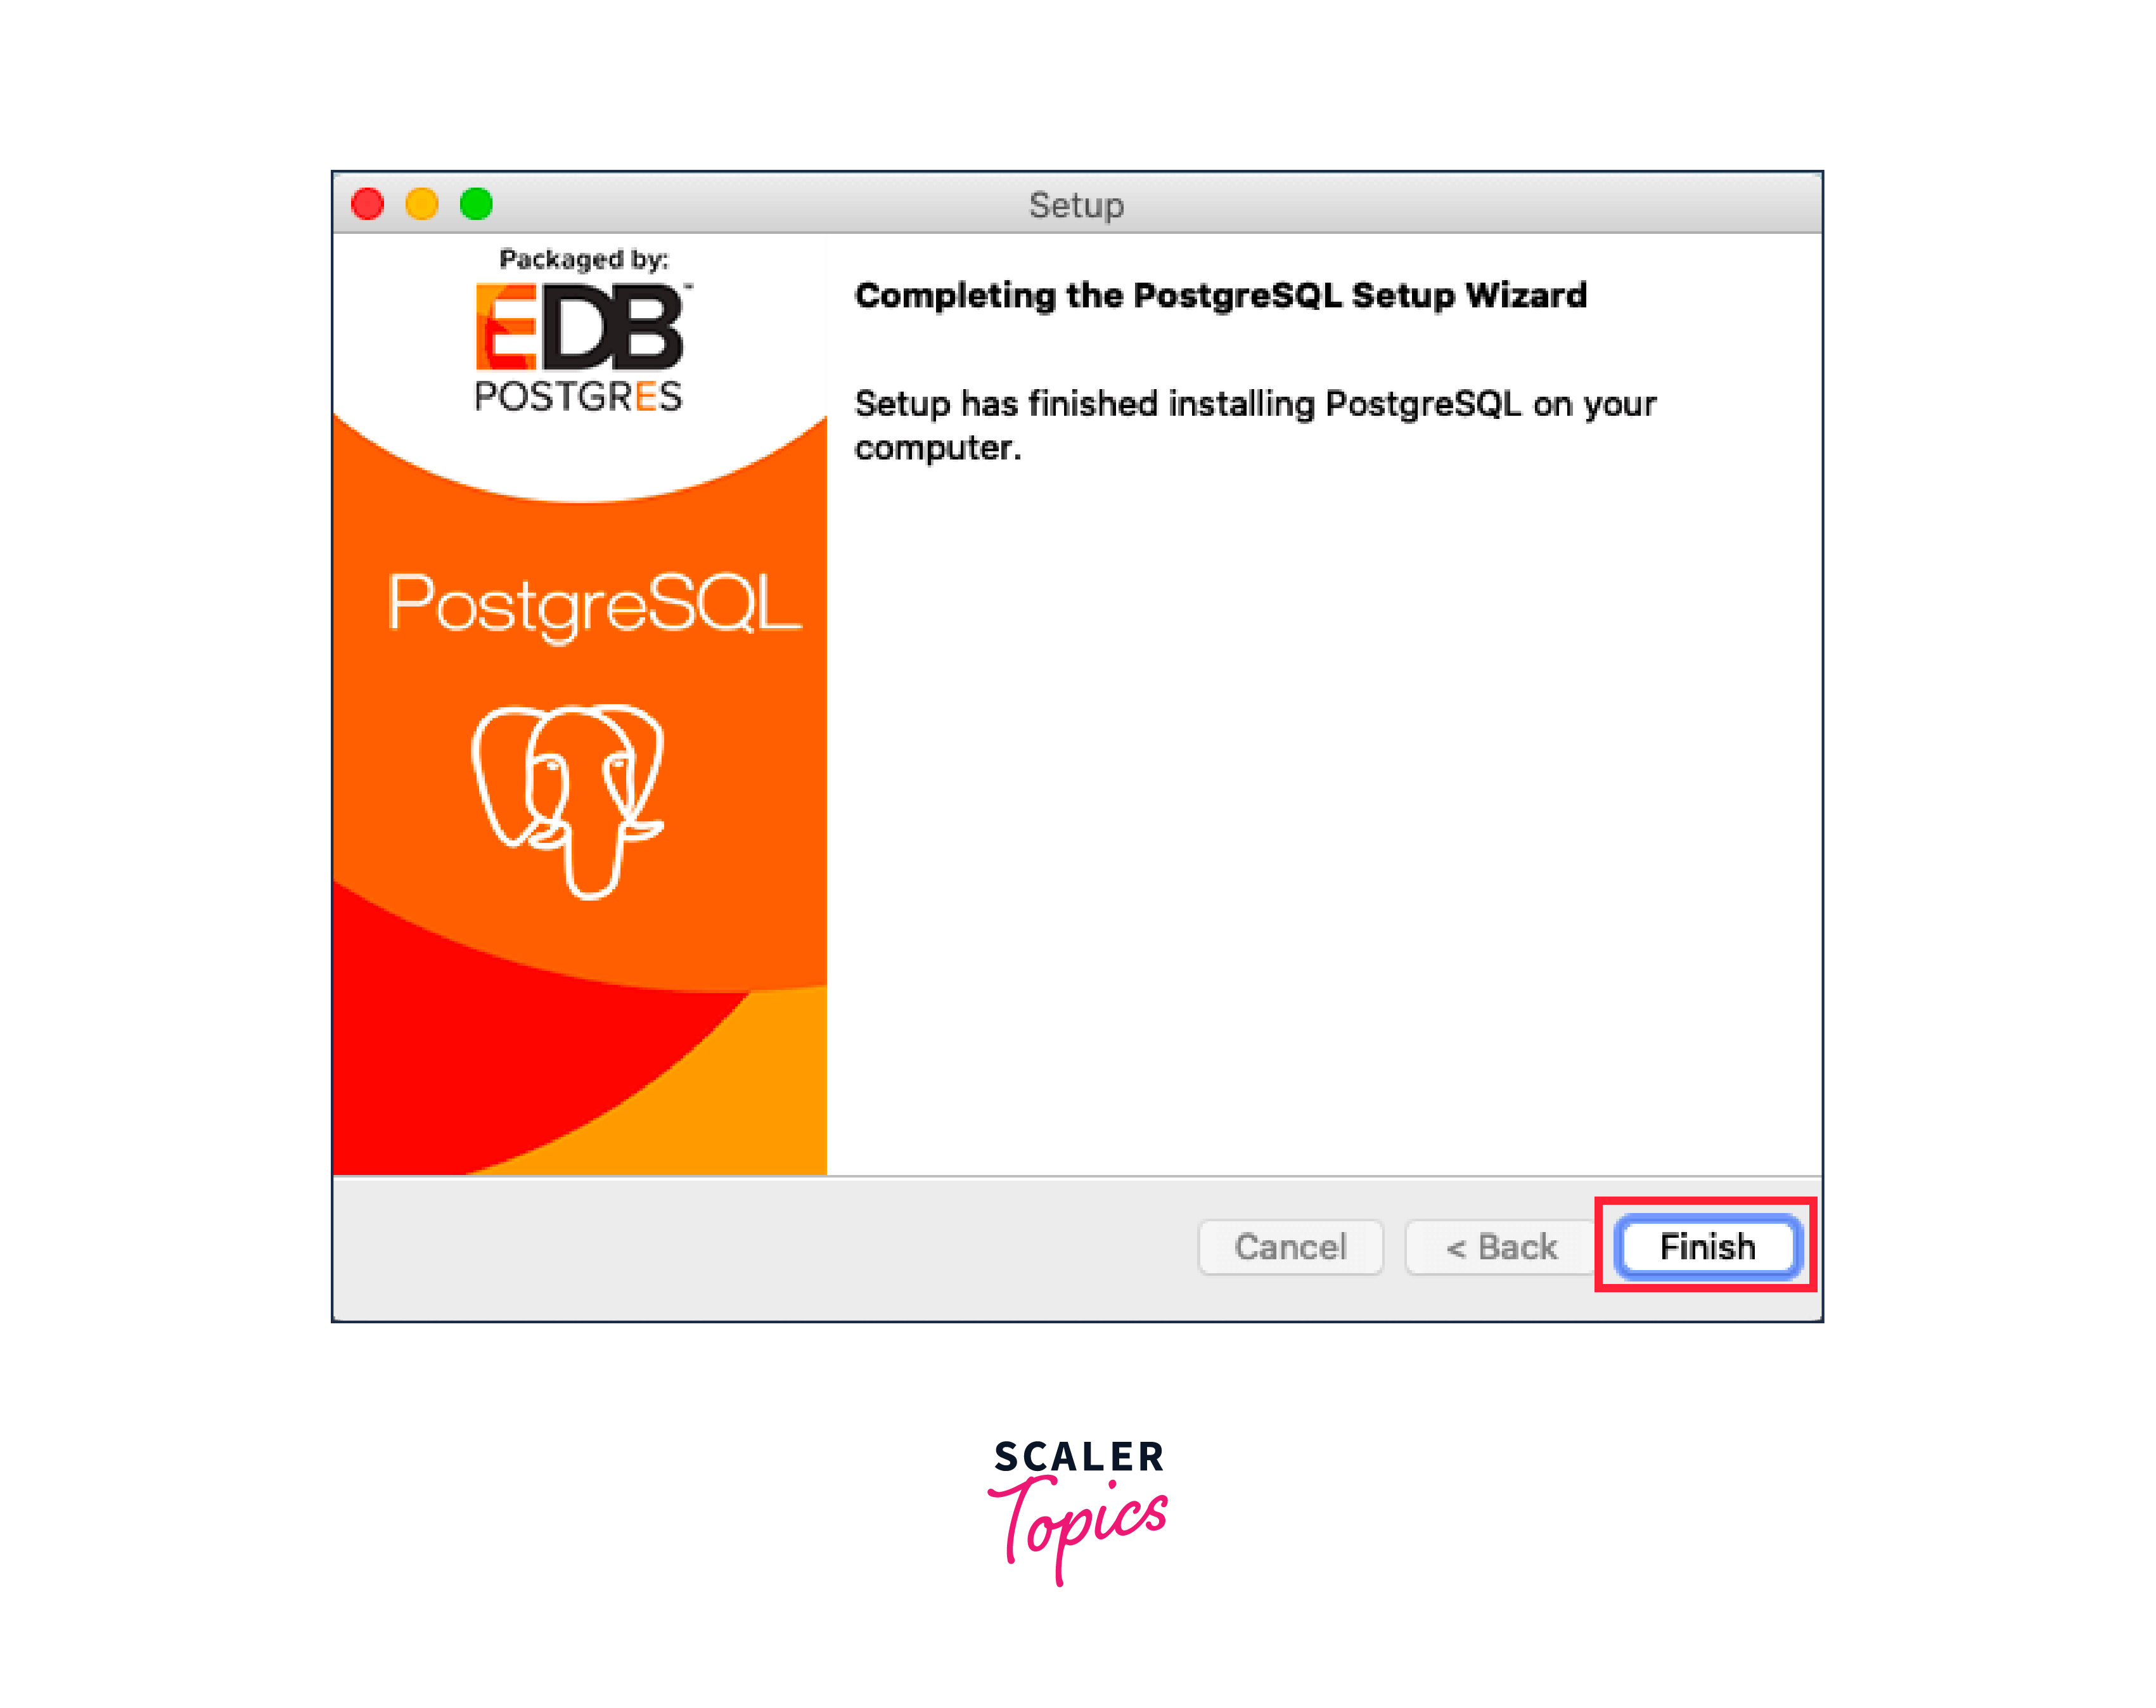
Now Postgresql is successfully installed in your system.
Scaler Placement Report and Statistics
Scaler learners achieved 2.5x salary growth with average post-Scaler CTC reaching ₹23L.
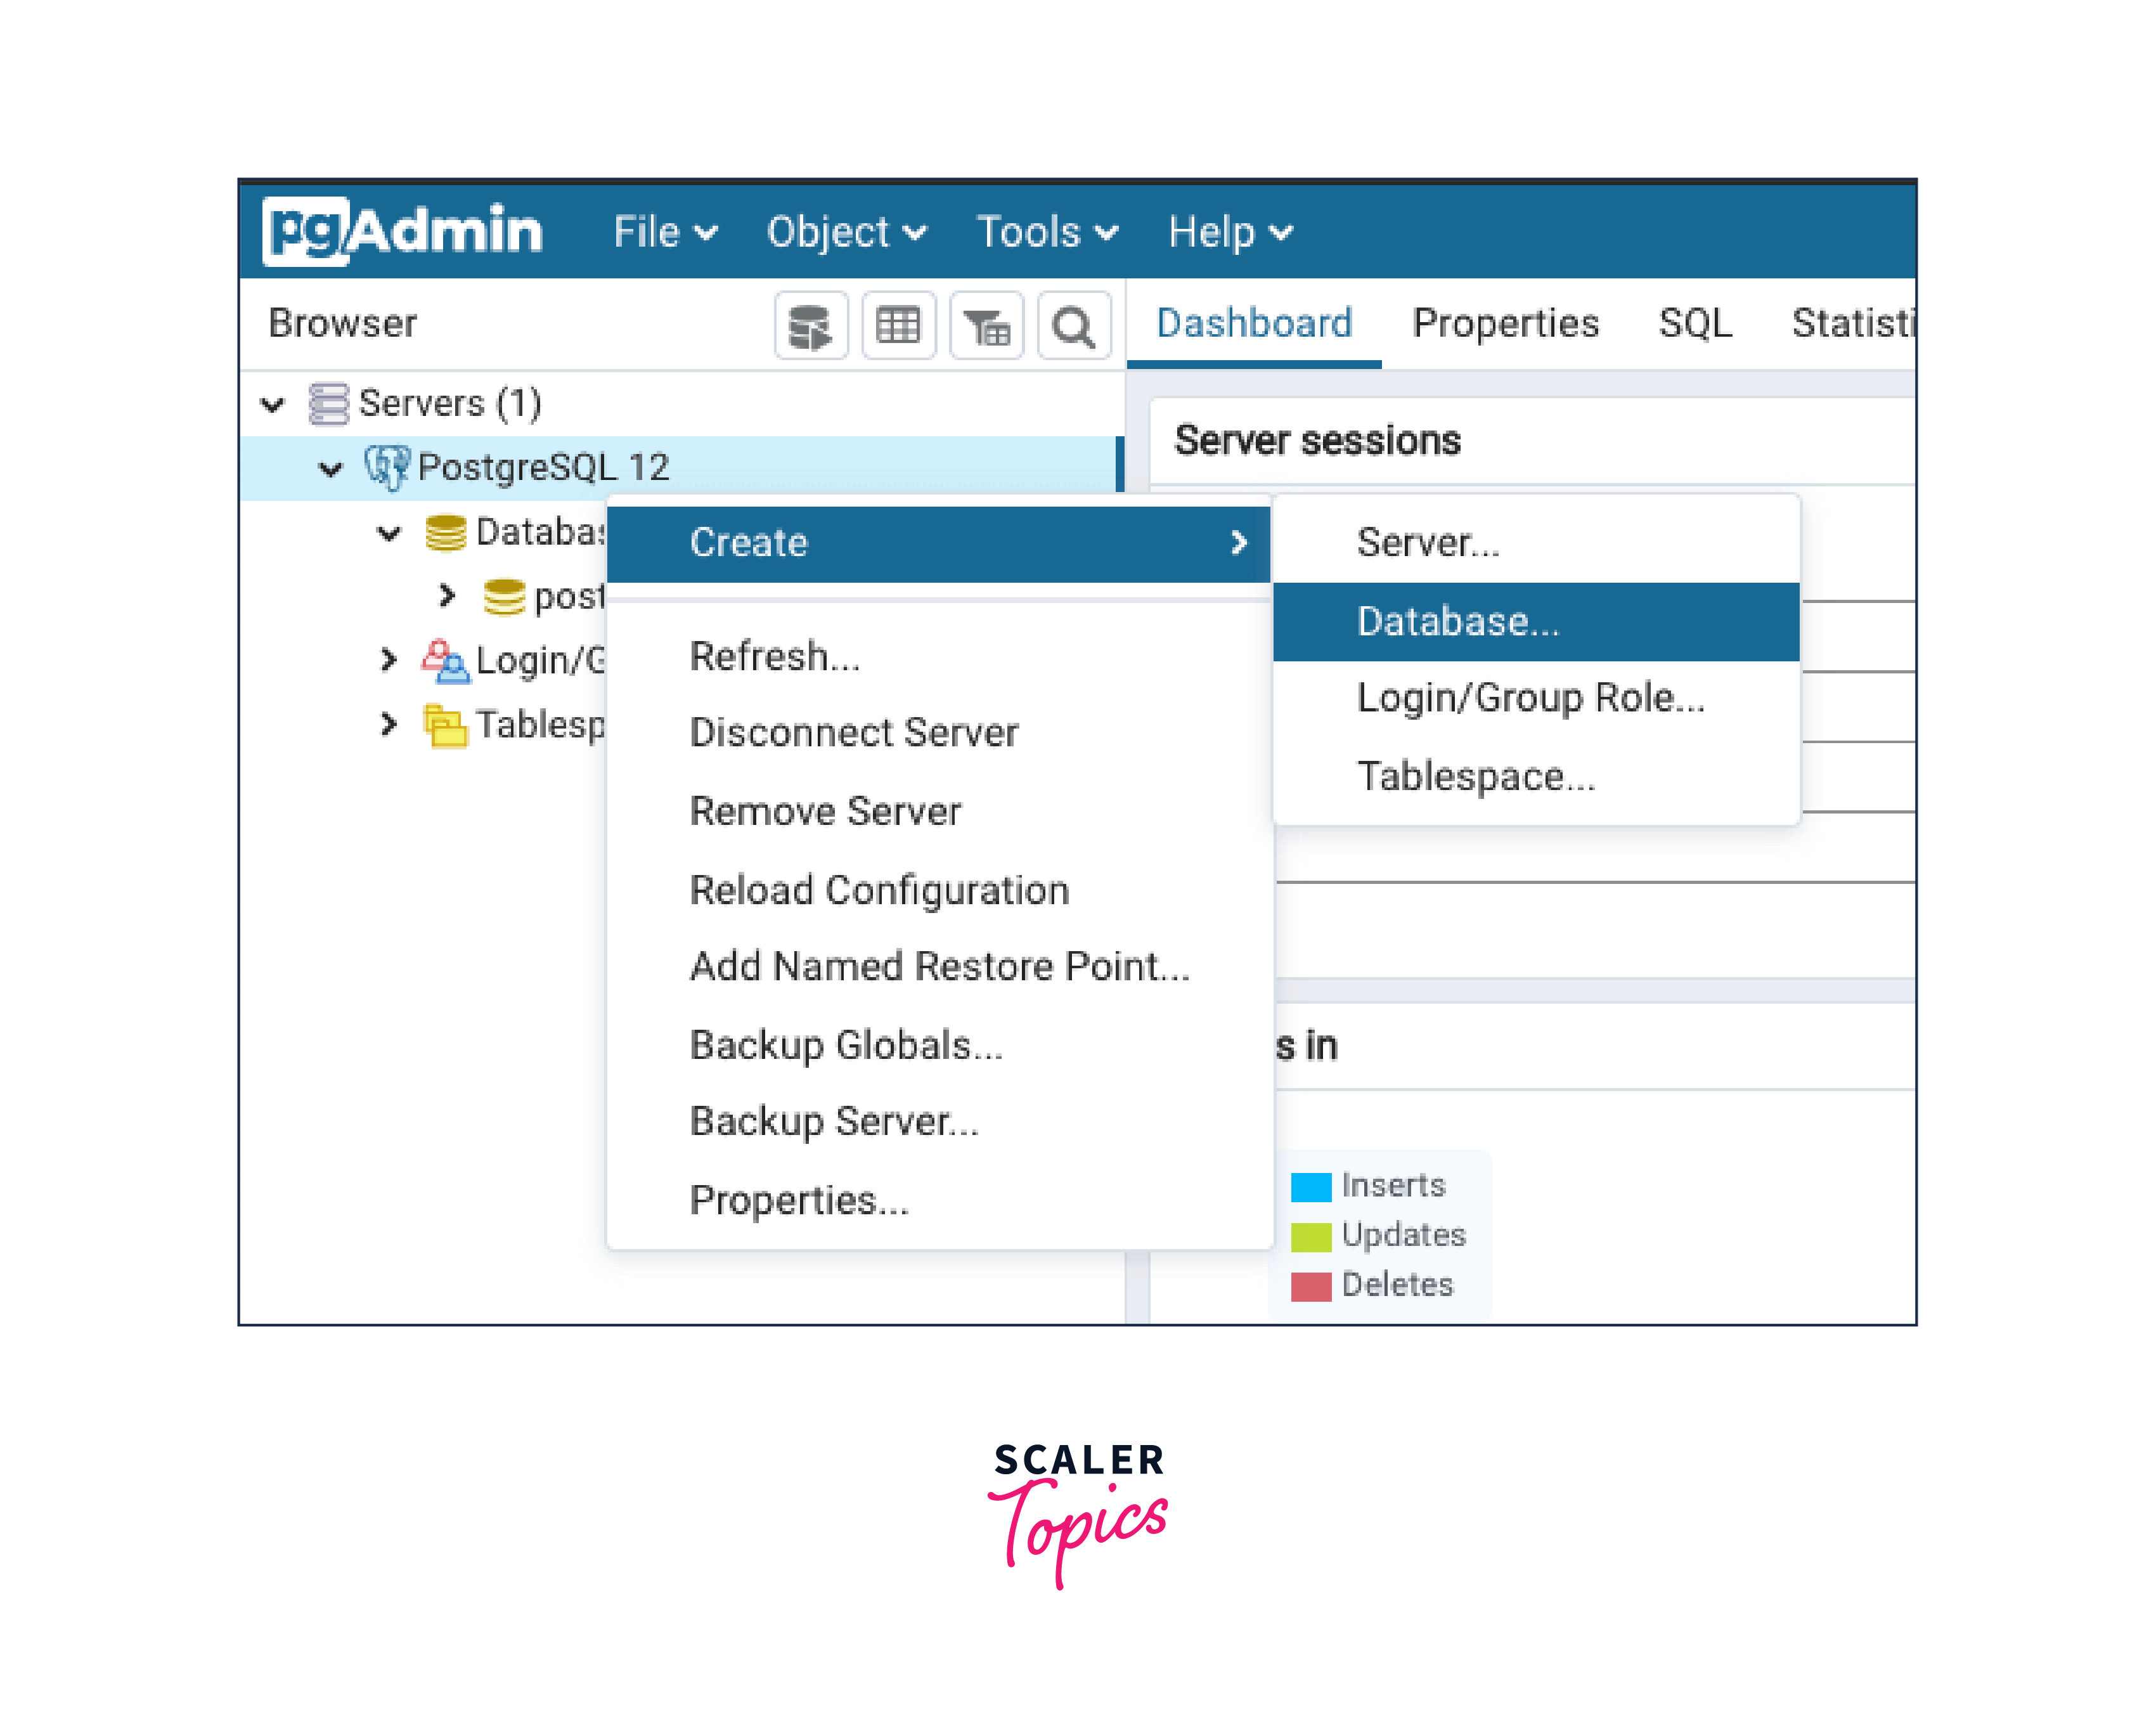
Verifying the Installation
Launch the pgAdmin to verify whether the PostgreSQl is successfully installed or not.
Conclusion
- We can install Postgresql for Windows by downloading it from the PostgreSQL installers on the EnterpriseDB and verify the installation by psql program.
- Postgresql can be installed in Ubuntu by executing the command provided on the PostgreSQL download for Ubuntu page.
- We can install Postgresql for MAC by downloading it from the PostgreSQL installer download page.