How to Create a Dataloader in PyTorch?
Overview
This article explains the steps involved in creating a DataLoader in PyTorch which is one of the primitives offered by PyTorch to generate batches of data for training deep neural networks. We also walk through the details of the components of the DataLoader object in PyTorch.
Introduction
PyTorch offers two primitives, namely torch.utils.data.Dataset and torch.utils.data.DataLoader to get the data ready for feeding in the neural networks for training.
The Dataset class deals with accessing, preprocessing, and storing the data samples, while the DataLoader class deals with the parallel loading of data as the model trains so that data loading does not become a bottleneck in the model training pipeline.
The motivation for having two separate classes to deal with the data loading part of the whole pipeline is to enhance modularity and reusability while also making the separate components more accessible.
The focus of this article is the DataLoader class, so let us next briefly look at what it is.
Scaler Placement Report and Statistics
Scaler learners achieved 2.5x salary growth with average post-Scaler CTC reaching ₹23L.
The DataLoader Class
-
DataLoader wraps and is iterable around our dataset (an instance of the Dataset class) and thus allows us to easily access the samples.
-
Pytorch has support for two types of datasets – Map-style datasets via the torch.utils.data.Dataset class and Iterable-style datasets via the torch.utils.data.IterableDataset class.
-
The DataLoader supports both map-style and iterable-style datasets and offers utilities like single or multi-process loading, customizing the order of data loading order with automatic batching (collation) and memory pinning.
The main feature of the DataLoader class is that it creates multiple sub-processes that deal with loading (batches of) data in parallel while the model trains in the main python process. This way it ensures that the model and the GPUs do not have to wait for the time the next batch of data is prepared; as with the dataloader the main process does not deal with data loading.
The syntax for the class looks like this -
Let us look into the most important arguments to understand the functionality offered by the DataLoader in PyTorch.
- dataset – This is either an instance of the torch.utils.data.Dataset class (in case of map style datasets) or an instance of the torch.utils.data.IterableDataset(in case of iterable-style datasets) and essentially defines the dataset we want to load the data from. Generally, we work with at least two divisions - a training set and a testing dataset which also means we will have at least two separate DataLoader objects to be able to load data for both the training and testing divisions separately.
- batch_size – batch_size defines the number of data points to load per batch.
- shuffle – If shuffle is set to True, the data is reshuffled at every epoch. The default value is False.
- sampler – The sampler argument takes as value an instance of the class having torch.utils.data.Sampler as the base class, and is used to define a sampling strategy to draw data samples from the dataset. This argument should not be specified in case shuffle=True.
- batch_sampler - This is also like a sampler, but is used to define a sampling strategy to return a batch of indices at a time. Importantly, batch_sampler is Mutually exclusive with the arguments batch_size, shuffle, sampler, and drop_last.
- num_workers - The default value of num_workers is 0. This argument specifies the number of subprocesses to create for data loading. If num_workers = 0, it implies that the data will be loaded in the main process only.
- collate_fn - collate_fn helps us specify a way to merge a list of samples to form a mini-batch of Tensor(s). This is useful when one intends to batch-load the data from a map-style dataset.
- pin_memory - If pin_memory is set to True, the data loader will copy the Tensors into CUDA or device (see the argument pin_memory_device below) pinned memory before returning them.
Let us understand why this argument is useful and what it deals with:

GPUs cannot access the data directly from the pageable memory of the CPU. pin_memory=True directly allocates the staging memory for the data on the CPU host and this way it saves the time taken in transferring the data from the CPU's pageable memory to staging memory (i.e., pinned memory a.k.a., page-locked memory).
-
drop_last - The default value of this argument is False. If it is set to True, the last incomplete batch of data is dropped in case the dataset size is not divisible by the batch size. If False then the last batch will be smaller. The reason why one would want to drop the last batch is that the gradient based on very small batches could lead to noisy updates to the parameters which could slow down the training of the network.
-
generator - The default value of this argument is None. If not None, the random number generator specified by this argument will be used by the RandomSampler to generate random indexes for data loading, and by multiprocessing to generate base_seed for different workers. The value of this argument is specified as a torch.Generator object.
-
pin_memory_device - pin_memory_device specifies the device to whose pinned memory the data loader will copy Tensors before returning them if the value of the argument pin_memory is set to True. If not specified, the tensors are copied to cuda pinned memory.
Transform Your Career
Choose from our industry-leading programs designed for career success
Modern Software and AI Engineering Program
Master full-stack development with AI integration

Modern Data Science and ML with specialisation in AI
Advanced data science techniques with AI specialization
Advanced AIML with Specialisation in Agentic AI
Deep dive into AIML with focus on Agentic systems
DevOps, Cloud & AI Platform Engineering
Build and manage AI-powered cloud infrastructure
AI Engineering Advanced Certification by IIT-Roorkee
Premier AI engineering certification from IIT-Roorkee
How to Create the DataLoader?
Now, we will learn to create our DataLoader in PyTorch. For this purpose, we will be using the MNIST dataset which is one of the most popular datasets for deep neural modelling.
Let us first load the dataset as it is already available in torchvision.datasets; and then we will explore the dataset a little bit.
Load the Dataset
Loading the MNIST set from torchvision:
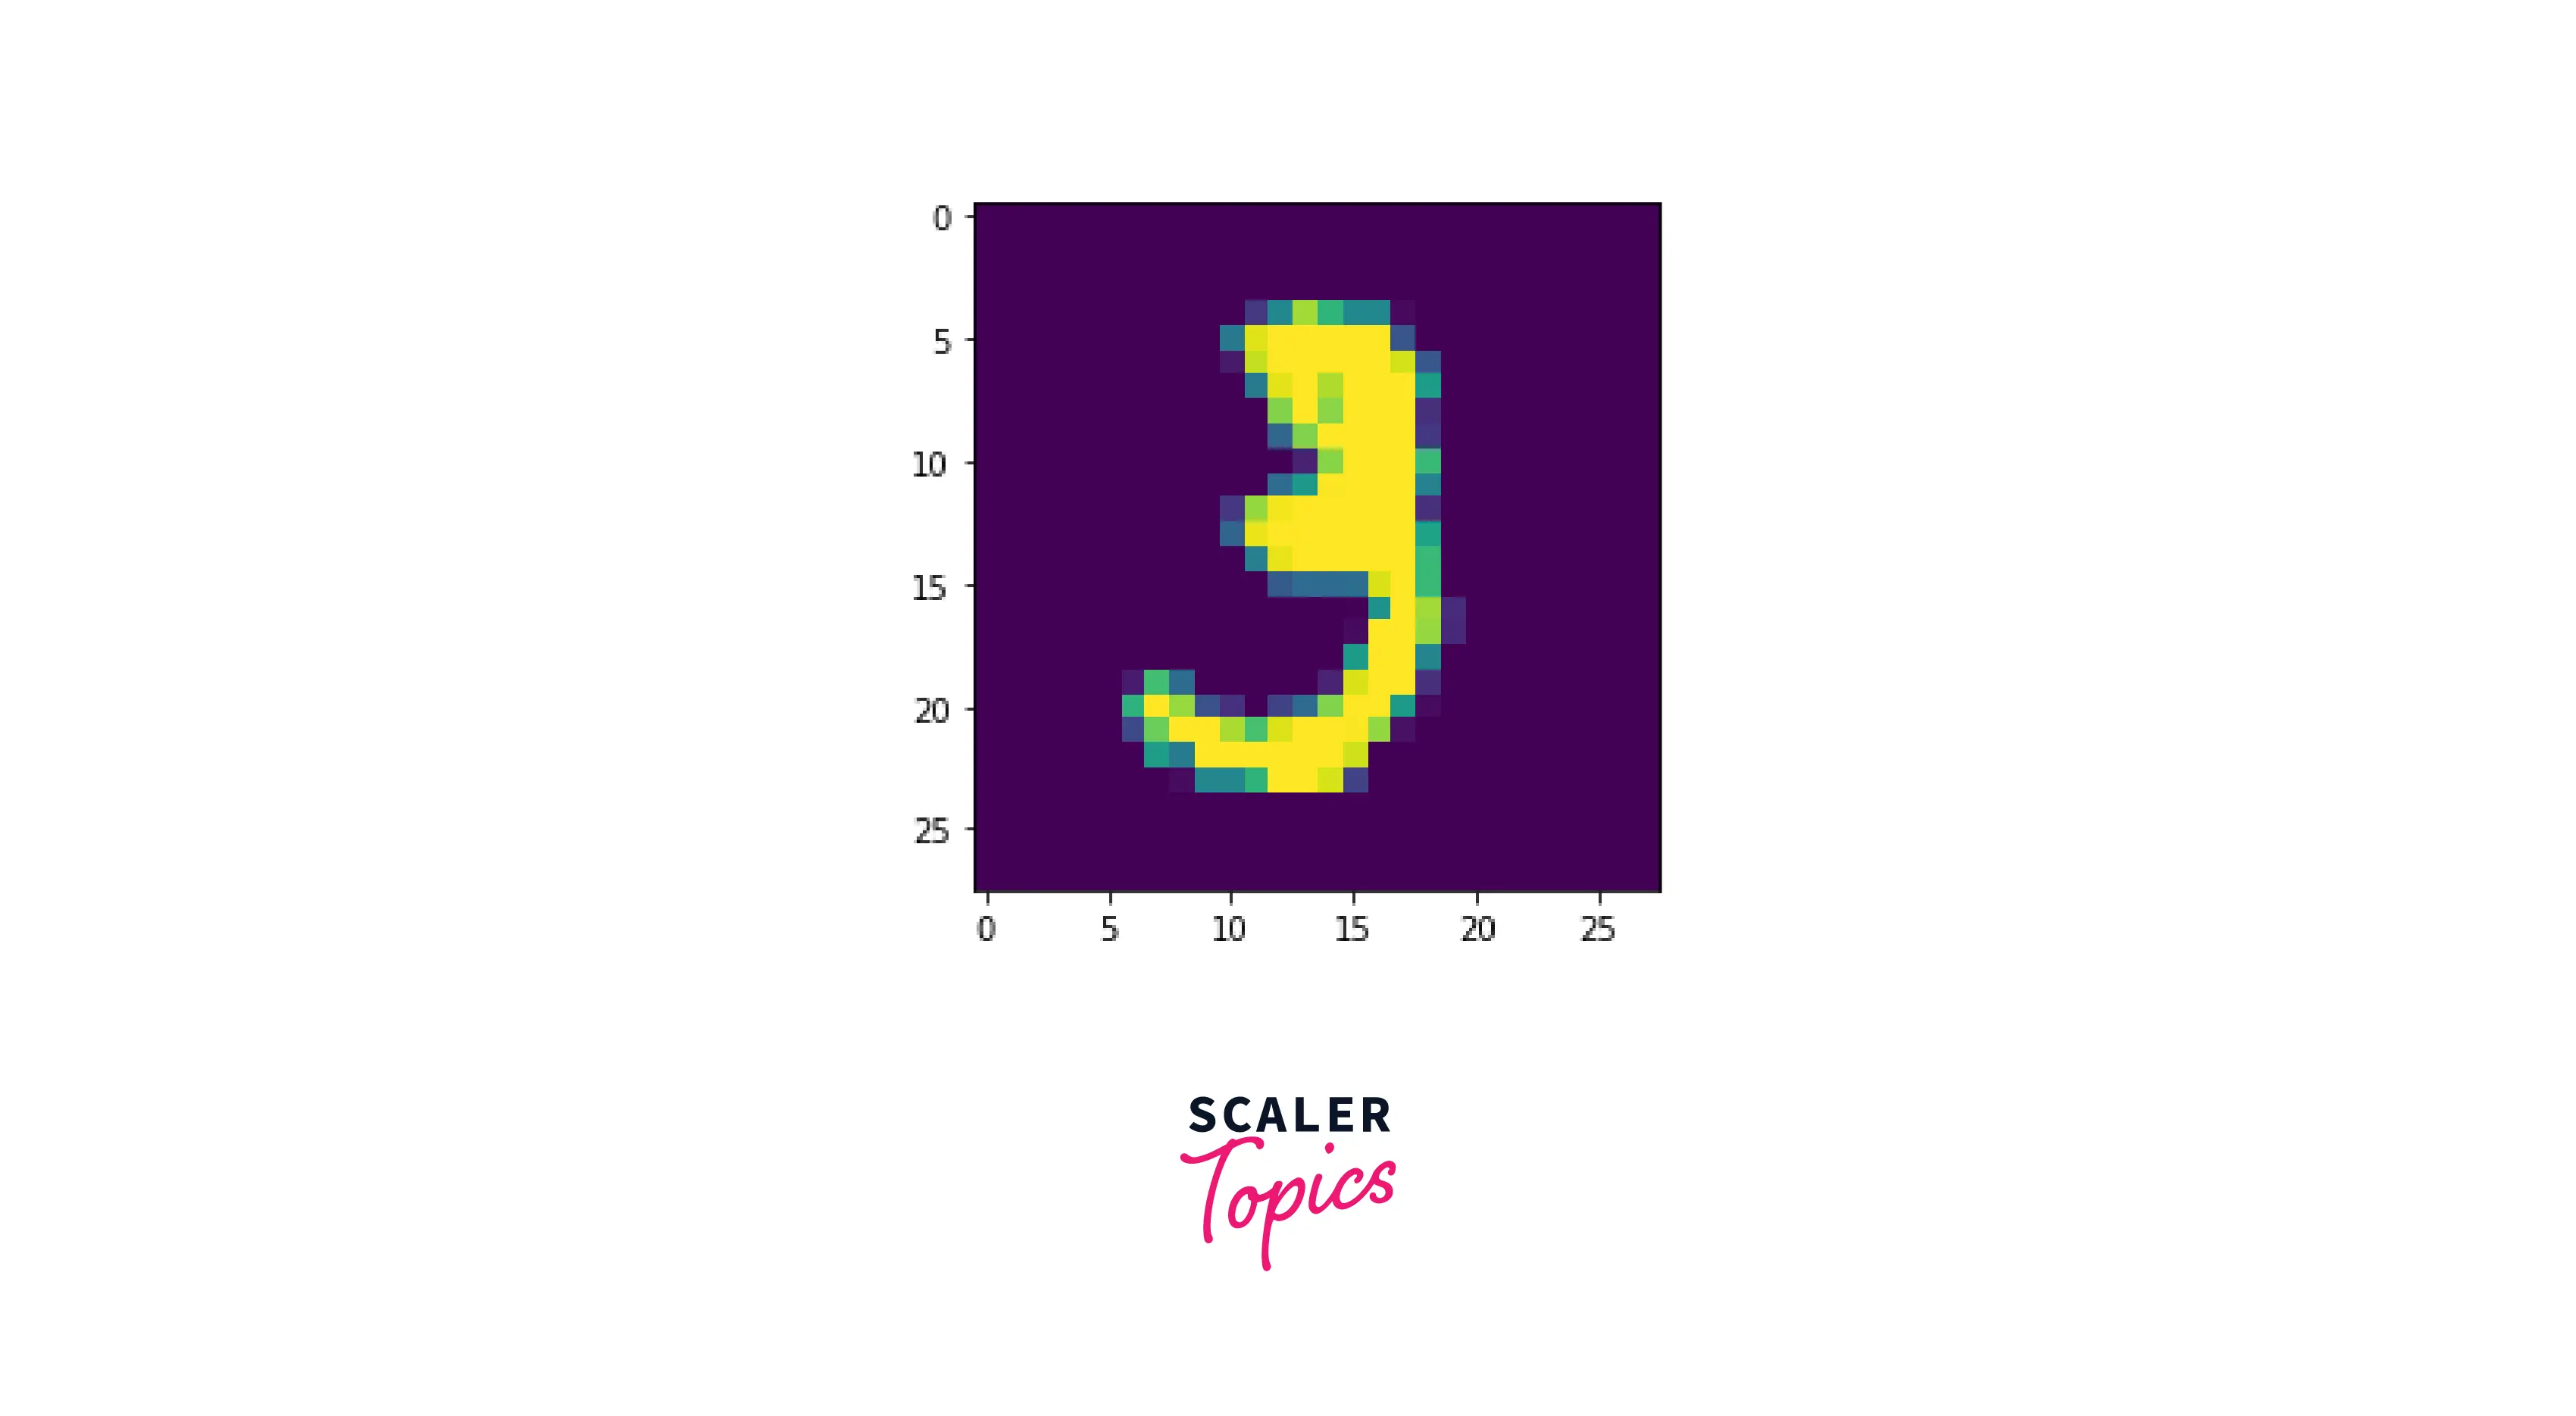
Visulaizing the Data
We can use the imshow function to visualize our data samples, like so -
output -
Create the DataLoader Object
Let us now wrap our dataset instance data_train inside the DataLoader to create a DataLoader object, like so -
As is evident, data_loader is an instance of the DataLoader class. We will be loading the data points in batches of size 16 and the data points will get shuffled at the beginning of every epoch.
Turn Learning into Career Growth
Iterating over the DataLoader in PyTorch
There are a bunch of ways to iterate over the DataLoader object in PyTorch. However, the conventional way is to access the batch serial number along with the inputs and labels corresponding to the batches.
We could use the enumerate() function to accomplish this, like so -
Here we accessed only the first batch of the dataset and printed the size of the inputs and the labels.
As we can see, the batched input size is torch.Size([16, 1, 28, 28]), which means the batch contains 16 images of size 1 * 28 * 28. The first dimension is 1 as the images in the dataset have a single colour channel, essentially, the MNIST dataset contains grayscale images 28 * 28 in size.
Next, we will access the input features and the labels in each batch separately.
Accessing Data and Targets
To access the input features and the labels in each batch separately rather than accessing the whole batch, we could use unpacking like so -
Loading Data to a GPU
Deep neural networks undergo a lot of calculations as they train. With extensive networks, a lot of data and a sufficiently large number of training epochs are required for the model to learn from the data.
To carry out such vast calculations we more often than not would want to use GPU hardware accelerators. Let us learn how to put our input data and the corresponding labels on the GPU device as we load them using the DataLoader object.
We will be avoiding hard coding and will let our program decide whether a Cuda device is available to use or not.
As simple as it gets, the .to() method is all that's needed in PyTorch to transfer tensors from one device to the other.
Data Sampler
Let us now look at the various sampling strategies available in PyTorch.
Sequential Sampling torch.utils.data.SequentialSampler(data_source) class provides the functionality to sample sequentially from the data. The elements are sampled from the whole dataset always in the same order.
The data_source argument is of the type torch.utils.data.Dataset, that is, it is an instance of the Dataset class.
Random Sampling The syntax for the class implementing random sampling is as follows -
This sampler is used to sample elements randomly from a dataset. If we sample from the dataset without replacement, then a shuffled dataset is used to draw successive elements, else we could specify the attribute num_samples to specify the total number of samples to be drawn from the data.
Subset Random Sampling
This sampling scheme is used to Sample elements randomly from a given list of indices without replacement.
The syntax looks like the following:
Weighted Random Sampling
In this sampling scheme, a list of weights is provided and the elements are sampled from [0,..,len(weights)-1] with given probabilities (the probabilities are just the weights themselves).
Note that the probabilities (weights) do not have to necessarily sum up to 1. the syntax:
Batched sampling This sampler simply wraps another sampler to yield a mini-batch of indices.
The syntax:
Your Custom Sampler If any of the pre-implemented samplers do not satisfy our sampling needs, we could implement our custom sampler using the Base class torch.utils.data.Sampler which is the base class for all Samplers.
Every custom sampler class should inherit from this base class and must implement an __iter__() method that provides a way to iterate over the indices of dataset elements, and a __len__() method that is expected to return the length of the returned iterators.
Elevate your deep learning skills with PyTorch. Join our PyTorch for Deep Learning Free Course now and stay ahead in AI.
Conclusion
In this article, we learned about one of the two primitives offered by PyTorch for data loading, namely torch.utils.data.DataLoader. In particular,
- We first looked closely at the DataLoader class and understood the motivation behind having a separate class for loading data.
- Then we understood the different functionalities provided by the DataLoader class using understanding its arguments.
- We also created a DataLoader object for the MNIST data set and learned how to utilize GPUs for model training as we load the data using the DataLoader.
- Finally, we looked at various sampling strategies available in PyTorch for loading data samples from the whole dataset.