How to Create an Image Classification Dataloader in PyTorch?
Overview
In computer vision, image classification is a fundamental task with many applications in fields such as self-driving cars, medical imaging, and surveillance.
An image classification algorithm can classify objects in images into different categories. The algorithm must be trained on a large dataset of labeled images. A set of preprocessing operations are applied to the images before they are fed into the model for training. In this article, we will create an image classification dataloader in Pytorch.
What are We Building?
We need to create an efficient data loading method to train the image classification algorithm that automates preprocessing the images and assigning labels to the training samples. In this article, we perform image classification on the CIFAR-10 dataset.
Pre-requisites
To understand how an image classification dataloader in PyTorch is made, we need the following:
- Install the necessary Python packages required to create the dataloader
- A basic understanding of preprocessing techniques for computer vision-related tasks such as image augmentation.
- This tutorial uses the CIFAR-10 dataset for image recognition.
Transform Your Career
Choose from our industry-leading programs designed for career success
Modern Software and AI Engineering Program
Master full-stack development with AI integration

Modern Data Science and ML with specialisation in AI
Advanced data science techniques with AI specialization
Advanced AIML with Specialisation in Agentic AI
Deep dive into AIML with focus on Agentic systems
DevOps, Cloud & AI Platform Engineering
Build and manage AI-powered cloud infrastructure
AI Engineering Advanced Certification by IIT-Roorkee
Premier AI engineering certification from IIT-Roorkee
How Are We Going to Build This?
To build an image classification dataloader, we first need to identify a suitable dataset. We consider the CIFAR-10 dataset, which has 10 classes: "airplane", "automobile", "bird", "cat", "deer", "dog", "frog", "horse", "ship", "truck".
Then, we will create a custom dataloader class that reads images from the data directory and performs the necessary pre-processing operations. Next, we will define image transformations using the torchvision library and, finally, use torch.utils.data.DataLoader to define the final dataloader. The train function will then call the dataloader to return images and labels, which will be used for training.
Final Output
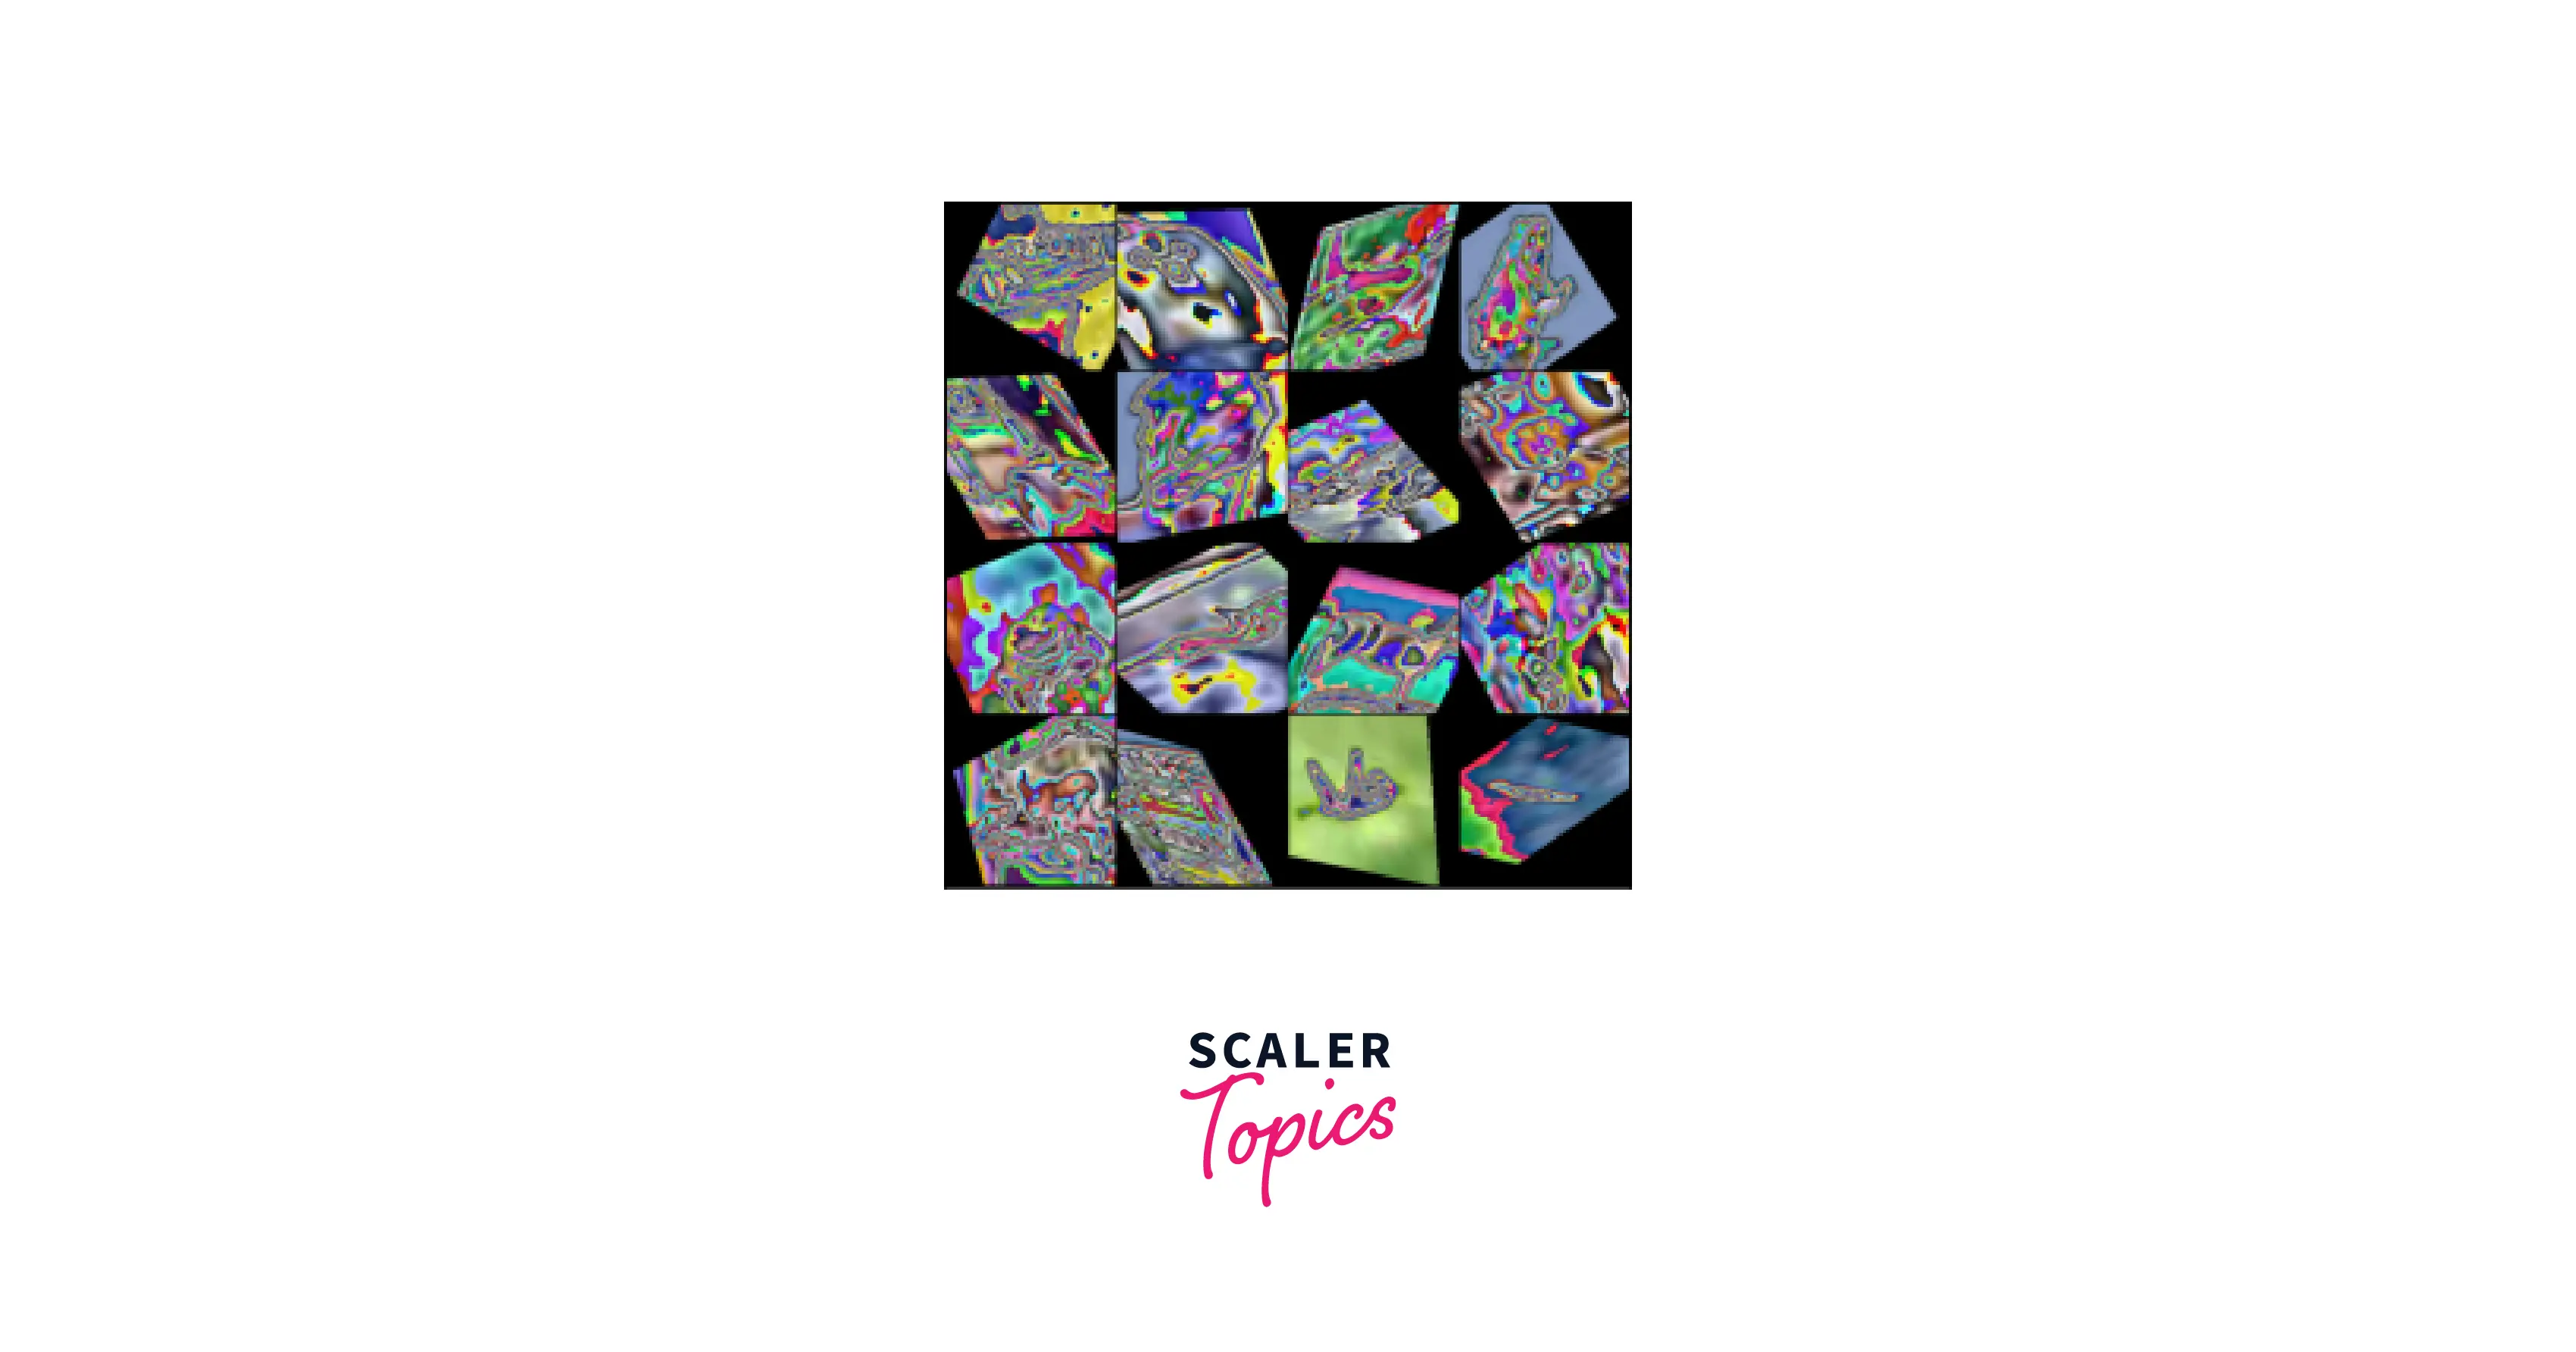
The dataloader should take raw images as input and return a tensor. The input shape of the image is (32, 32, 3), and the output of the DataLoader is a tuple containing a single batch of images, the shape of the output tensor is (batch_size, 3, 32, 32). The batch_size can be passed to the DataLoader class as a parameter. The label output will be represented as a 1D tensor of shape (batch_size)
Some examples of images before and after passing through dataloader as shown below
Requirements
To create the image classification dataloader in Pytorch, you will need to have the following libraries installed in the system:
- torch
- NumPy
- PIL
- torchvision
- pickle
Building the Image Classification DataLoader with PyTorch
This section will break down the required steps to create the image classification dataloader in PyTorch.
Turn Learning into Career Growth
Dataset
We are using the CIFAR-10 dataset, which contains a total of 60000 32x32 RGB images with 10 classes. The dataset is divided into five training batches and one test batch, each batch consisting of 10000 images. A sample of the dataset is shown below:
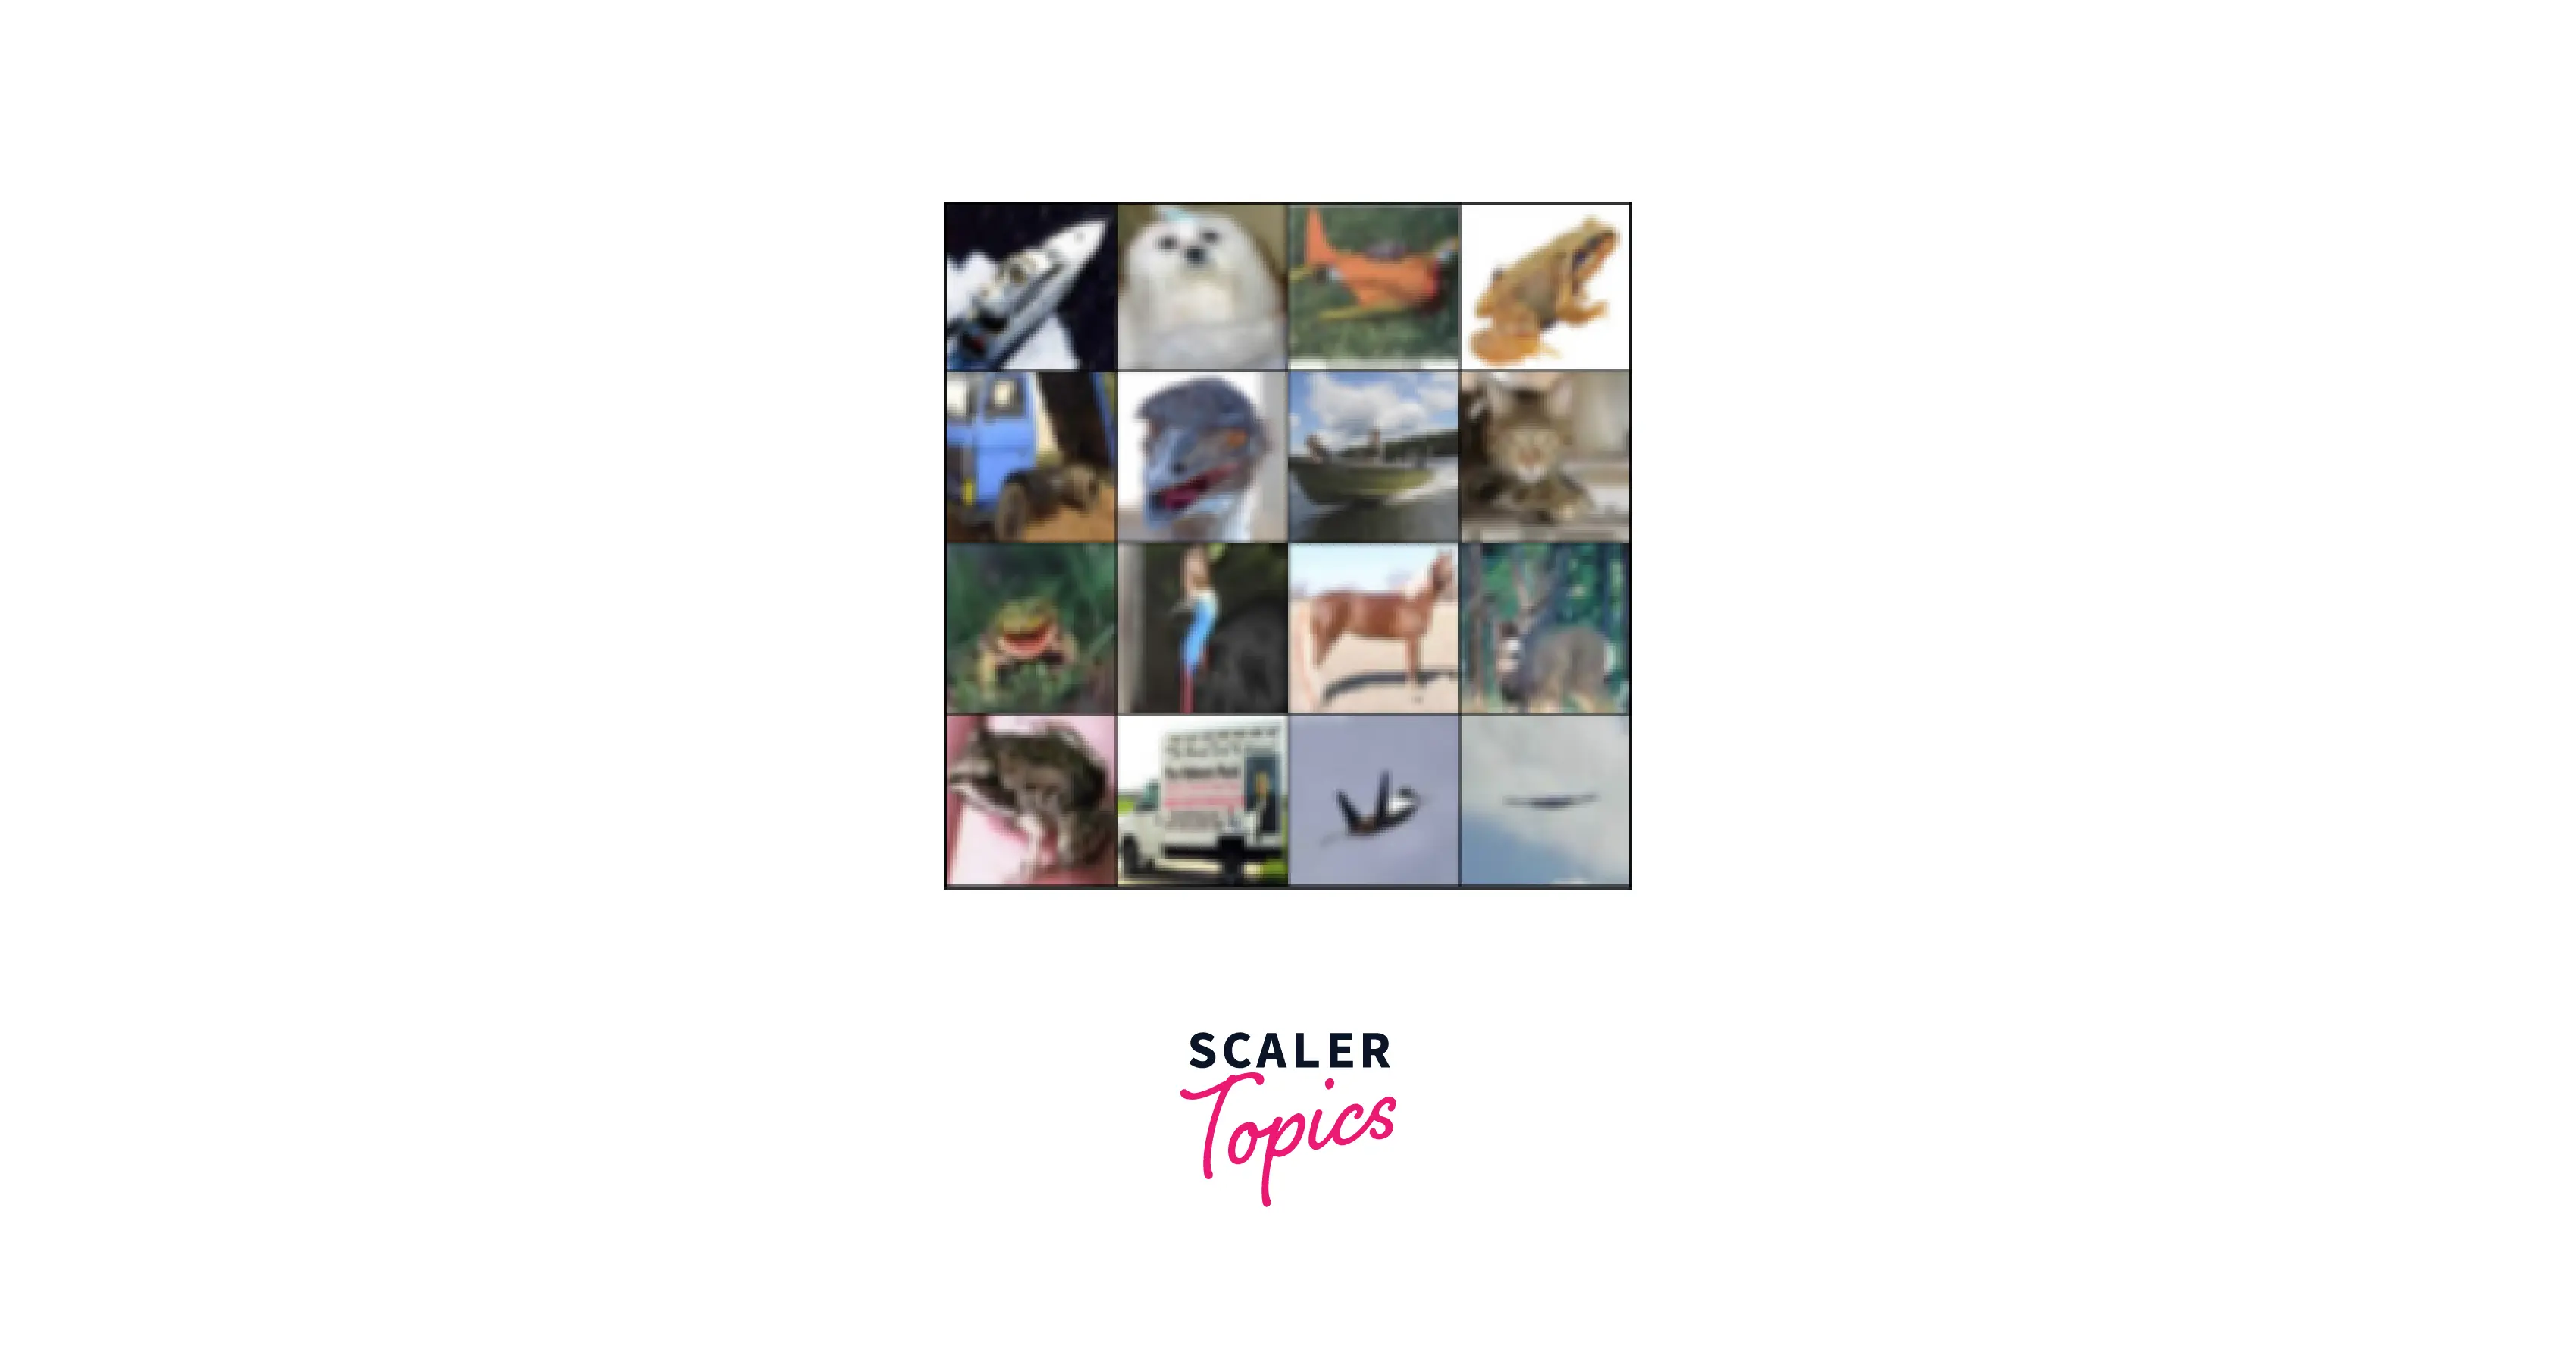
The classifications are wholly distinct from one another. There is no crossover between cars and trucks. Automobiles such as cars, SUVs, and similar vehicles are included. Only large trucks are referred to as trucks. None of them contains pickup vehicles.
Imports
Throughout this article, we will use multiple Python libraries to create the model definition and training framework. We'll use the following libraries:
Scaler Placement Report and Statistics
Scaler learners achieved 2.5x salary growth with average post-Scaler CTC reaching ₹23L.
Splitting the dataset
When using a dataset for training a machine learning model, it is important to split the dataset into training and test sets. This allows us to evaluate the performance of the model.
A typical split for the CIFAR-10 dataset uses 50,000 images for training and 10,000 for testing. Therefore, it is important to ensure that the training and test sets are representative of the overall dataset and contains a similar distribution of classes. This will help it avoid any bias in the model's evaluation.
Once the dataset has been split into training and test sets, creating validation sets from the training set is also a good idea. This will allow us to tune the model's hyperparameters and ensure it is not overfitting the training data.
Splitting the CIFAR-10 dataset is an important step in training a machine-learning model for image classification. It allows us to evaluate the model's performance on unseen data and tune its hyperparameters to avoid overfitting.
Dataset and DataLoaders
A. The Dataset class
The boilerplate code of the dataset class is defined here. The cifar10 class consists of majorly 3 methods.
Now we create our custom image classification dataloader in Pytorch. We pass the path to the dataset directory, the image transformations, and whether the dataset is being used for training or testing.
1. __init__ method
Here we define the class variables and the image transformations. We also define 2 variables "self.images" and "self.labels", we will read the images and labels and store them in these lists.
2. __len__ method
This method returns the length of "self.images" list, which is the size of the dataset in consideration.
3. load_data method
This function reads the data files using the pickle library and then stacks all the data in a single NumPy array. The function also reads the corresponding labels and loads them into "self.labels" and images in "self.images".
4. __getitem__ method
This method indexes the dataset and we can call the sample by [] operator. Then we apply the transformations functions.
B. Transformations
Image transformation is a technique in image recognition to pre-process and prepare images for machine learning algorithms. The goal of image transformation is to improve the performance of image recognition algorithms by reducing the images' complexity, increasing the algorithms' robustness to image variations, and extracting useful features from the images. Some common types of image transformations include scaling, cropping, rotation, and flipping.
In PyTorch, these transformations can be easily implemented using the transforms module.

The image on the left is the input image and the image on the right is the transformed image. The transforms applied in the code above are:
- Step 1. Resize the image to a fixed size of 200x200.
- Step 2. Flip the image horizontally with a 50% probability.
- Step 3. Convert the image to a PyTorch tensor.
- Step 4. Normalize the image with the mean and standard deviation of the CIFAR-10 dataset.
- Step 5. Apply random erasing to the image with a 50% probability.
- Step 6. Apply color jitter to the image with specified parameters.
- Step 7. Apply a random affine transformation to the image with default parameters.
- Step 8. Apply a random perspective transformation to the image with the translation of 0.2 * img_width, scale with a factor between 0.8 and 0.12 and shear parallel to the x-axis in the range (-45, 45) degrees.
This code will randomly apply scaling, cropping, rotation, and flipping to the input image and convert it to a PyTorch tensor. These transformed images can then be input to a convolutional neural network (CNN) for image recognition.
Training a CNN-based image classification model
Now we will create a simple CNN model to classify the images. For this purpose, we will use a pre-trained AlexNet model. AlexNet is an early variant of the convolutional neural networks, it consists of multiple convolutional layers and dense layers. We will use torch.hub to download the pretrained PyTorch model implementation.
This version of the AlexNet is trained on the ImageNet dataset, which has 1000 classes. Now we will use transfer learning to fine-tune the model to the CIFAR-10 dataset. We modify the classifier layers in the pre-trained model as follows:
Now we understand how the image classification dataloader in PyTorch works. We will use our custom_dataset to set the image and label to the model. We can then build and train the model. This dataloader can be used for a variety of other computer vision tasks.
We must define the model architecture and loss function to train the model. Then, we can use the torch.optim module to define the optimizer such as stochastic gradient descent or adaptive moment estimation.
After modifying the pre-trained Alexnet model, we train the model using the CIFAR-10 dataloader.
What's Next
Now that we understand the flow of the data preprocessing required for creating an image classification dataloader in PyTorch, we can utilize the concept in various other deep-learning problems in computer vision.
- This dataloader can be modified for other tasks, such as image segmentation, where we need to read the image mask instead of a label.
- After you train your deep learning model using the above-defined dataset class, you can revisit the transformations and tweak them to boost your model accuracy.
Conclusion
- In this article, we learned how to create an image classification dataloader in PyTorch. We used the CIFAR-10 dataset to create the custom dataloader. This was implemented using torch.utils.data.dataset and torch.utils.data.DataLoader.
- We also learned how to perform image augmentation/transformation using torchvision.transforms.
- After defining the dataset class, we learned how to call the training samples from the class for training. This was done by enumerate(dataloader). These samples are then used to train the deep-learning model.