Introduction to Class Component in React
Overview
The mainstay of the majority of contemporary web applications created with ReactJS is React class-based components. These are basic classes for the components (made up of multiple functions that add functionality to the application). The ReactJS Component class has child classes that are all class-based components.
Introduction
React class components were the sole mechanism to track the state and lifecycle of a React component before React 16.8, function parts were regarded as state-less.
Function components are now essentially identical to Class components thanks to the addition of Hooks. Because of how little they differ, you probably won't ever need to use a Class component in React. Even though function components are preferable, there are no plans to eliminate class components from React at the moment.
Compared to functional components, these are more sophisticated components. They are stateful because of their complexity. When react needs to maintain its state, class components can be employed. While class components can communicate with other components so that their data can be transmitted to other components using class components, functional components do not know other components that are present in the application. Javascript classes must be created to generate a class component.
Creating a Class Component
Syntex and necessary examples for the class components are given below:
Syntax
React class components can be created using the below syntax:
Here Component name can be any user-defined name and should start with a capital letter. Examples of react class components in react are as follows:
Example 1
We'll go over a few instances now to make the idea of components to react more clear. A straightforward, functional component and its call are demonstrated in the example below.
It can be seen from the code above that the term StartPage, which begins with a capital letter, is the name of the functional component. The inside render method is the name of the component. The output would look like this.
Output
Example 2
Now we will cover another example showing the use of the class component.
The code above demonstrates how to construct and call a class component in React. This code will result in the output shown below.

Example 3
We'll examine how a component can be integrated into another component in this example. This is how my component, TestComponent, is defined.
It is obvious from the example above that a react class component can be used in another component directly. We simply need to import the component. The output from the code above is as follows:

Create a class and extend React.Component to establish a React component class. Let's imagine that we want to develop an employee component that returns the element that shows employee details.
Open our Demo Project's Index.js file, Create a class called Employee, and extend React.Component from it. Any Class Component we design will depend on the outcome of a method called render and its return value. The only method that must be implemented in a class component is the render() method.
Calling the Class Component in react and rendering remains as same as the Function Component.
Let's save these adjustments so we can view the results in the browser.
Now let us create Department Component also as Class Component. Determining its name as Department and extending React.Component, we then create a Class. We will provide an element that can be used in the employee component that displays department information such as the department name and the name of the department head.
Props are Read-Only; hence, whether we declare a component as a function or a class, it must never modify its own props.
This Code will throw the Error, and It is expecting us to call the Base Class Constructor, and we do that by using Super();
If we look at the Console in the browser after adding the Base Class Constructor method, we see that the props value is undefined. We must add this parameter to the function and provide a prop to the base class function to guarantee that the props object can be accessed in the function Object. We can now see the object data in the Console log if we save this.
Now, if we attempt to change the salary using a props object, an error message will appear.
Although React is somewhat versatile it has one rigid rule which is the props can only be read. This is because the UIs for applications are dynamic and constantly changing. React components can now vary their output over time in response to user activities without breaking this constraint thanks to a new idea called "state." We now understand how to create a react class Component and a function-based Component. So, the obvious question is which one should I use and when?
If we anticipate characteristics like:
- Managing the Components' State
- Making Components Use Life Cycle Methods
- Event Handler Logic Must Be Written
In such a scenario, we shall choose a class component and in all other circumstances, we should use a function component.
Transform Your Career
Choose from our industry-leading programs designed for career success
Modern Software and AI Engineering Program
Master full-stack development with AI integration

Modern Data Science and ML with specialisation in AI
Advanced data science techniques with AI specialization
Advanced AIML with Specialisation in Agentic AI
Deep dive into AIML with focus on Agentic systems
DevOps, Cloud & AI Platform Engineering
Build and manage AI-powered cloud infrastructure
AI Engineering Advanced Certification by IIT-Roorkee
Premier AI engineering certification from IIT-Roorkee
Component Constructor
When an object is created from a class, the function method is automatically invoked. It can perform your initial setup tasks, such as setting some object properties to default values or validating the inputs that were supplied. To put it simply, the function helps to build things.
The function in React is the same. It can be used to initialize the component's local state as well as attach event handlers to the component. Like most things in React, the function method is called before the component is mounted and has a few guidelines that you should abide by while using it:
Call super(props) before using this.props The constructor's design prevents this.props object from being available right away, which can result in errors. An error would be thrown by this function:
Instead, we take the value of a prop from the constructor() and pass it to the super() method:
You would lose the ability to run setState() later on and update the property. You may just reference the property directly in your code by calling this.props.reptile rather than allocating it directly to the state.
Never call setState() inside constructor()
The ideal location to put your component's initial state is in the function. You must set the initial state directly rather than using setState() as you would in other methods in your class.
The constructor is the only place that you should assign the local state directly like that. For any place else in our component, you should rely on setState() instead.
Do not assign values from this.props to this.state Try to avoid setting values from the properties while setting the initial component state in the function.
When you act like this:
You wouldn't be able to alter the property later by calling setState(). You may just call this.props.reptile in your code to reference the property rather than allocating it directly to the state.
Bind events all in one place
Avoid using side effects or subscriptions in the constructor()
I understand that you've just created a new component and want it to obtain information from an API and set the values to the state. Doing this in the function before the component mounts make perfect sense, right?
Wrong!
ComponentDidMount(), which fires shortly after the component is mounted and won't cause you any trouble if you update the state inside of it, is where you should put the logic out for things like subscriptions that will update the state and other side effects.
Components in Components
It is evident from the discussion above that we will only choose functional components when our component doesn't require interaction with other components. However, react class components should be used when there is a need for interaction with other components. It is important to note that the employment of class components may result in the inefficiency of our application. As a result, you shouldn't use class components unless you need to.
When utilizing React to program in the past, the developers had an option when creating a component. It was possible to write, return, or inherit simple functions in the component class of the library. The former method created what was known as React class components, whereas another method is using functional components in react.
Components inside other components are referred to as:
Output
Components in Files
Since React is all about code reuse, it may be a good idea to place some of your components in distinct files.
Create a new file with the .js file extension and paste the following code within it to accomplish that. Keep in mind that the file must begin with the statement import React (like previously) and end with the phrase export default Car.
Example
We gave this new file the name Car.js:
You must import the file into your application to use the Car component.
Example
As soon as the Car.js file is imported into the application, the Car component may be used just as though it had been made there.
Output:
Using Props
Props and states are the foundation of React. If you're a young engineer, likely, you haven't had as much experience working with react class components as you should have. Class components are still used in many legacy apps even though they are no longer the standard method of interacting with React. Let's quickly review the proper way to use props in class components.
Props are available on the props object, which is reachable via this keyword, in class components. They are easily accessible by treating them like any other object's properties.
To render the application below in the App.js example above, we created a straightforward class-based component and used the portal prop.
Output
Destructuring props
Destructuring props is a very helpful technique that is frequently used in large React apps. As a result, JSX's syntax is a little bit cleaner.
To take advantage of this pattern, we have rebuilt the previous example. As you can see, we have separated the portal prop from the props object and used it directly in the application. Although it may not seem like much of a benefit to handling it in this manner, you'll discover why it's helpful when working with components that are rendering lots of props.
Default props
You may take advantage of another React feature, the default props, by using the destructuring assignment.
We have established the default value for the portal prop in the snippet of the code above. The gateway prop will default to the value "world" if the parent component doesn't provide it. The output of such an instance is shown below.
Output
Turn Learning into Career Growth
Props in the Constructor
If your component has a constructor function, the props should always be passed to the constructor and also to React.Component via the super() method.
Output
The State Object
The most complicated component of React is state, which both novice and seasoned developers find challenging to comprehend. We will therefore examine all the fundamentals of state in React in this tutorial.
A state object is pre-built into React Class components. As you may have seen, the state was used in the component function part before. Property values for the component's properties are kept in the state object. The component re-renders whenever the state object alters.
Refer to the state object anywhere in the component by using the this.state.propertyname syntax.
Creating the State Object
The state object is initialized in the constructor.
Example
Refer to the state object in the render() method:
Any number of characteristics are permissible for the state object, including:
Example
Specify all the properties your component needs.
Using the State Object
Anywhere in the component, use the syntax this.state.propertyname to refer to the state object:
Example
Refer to the state object in the render() method:
Output:
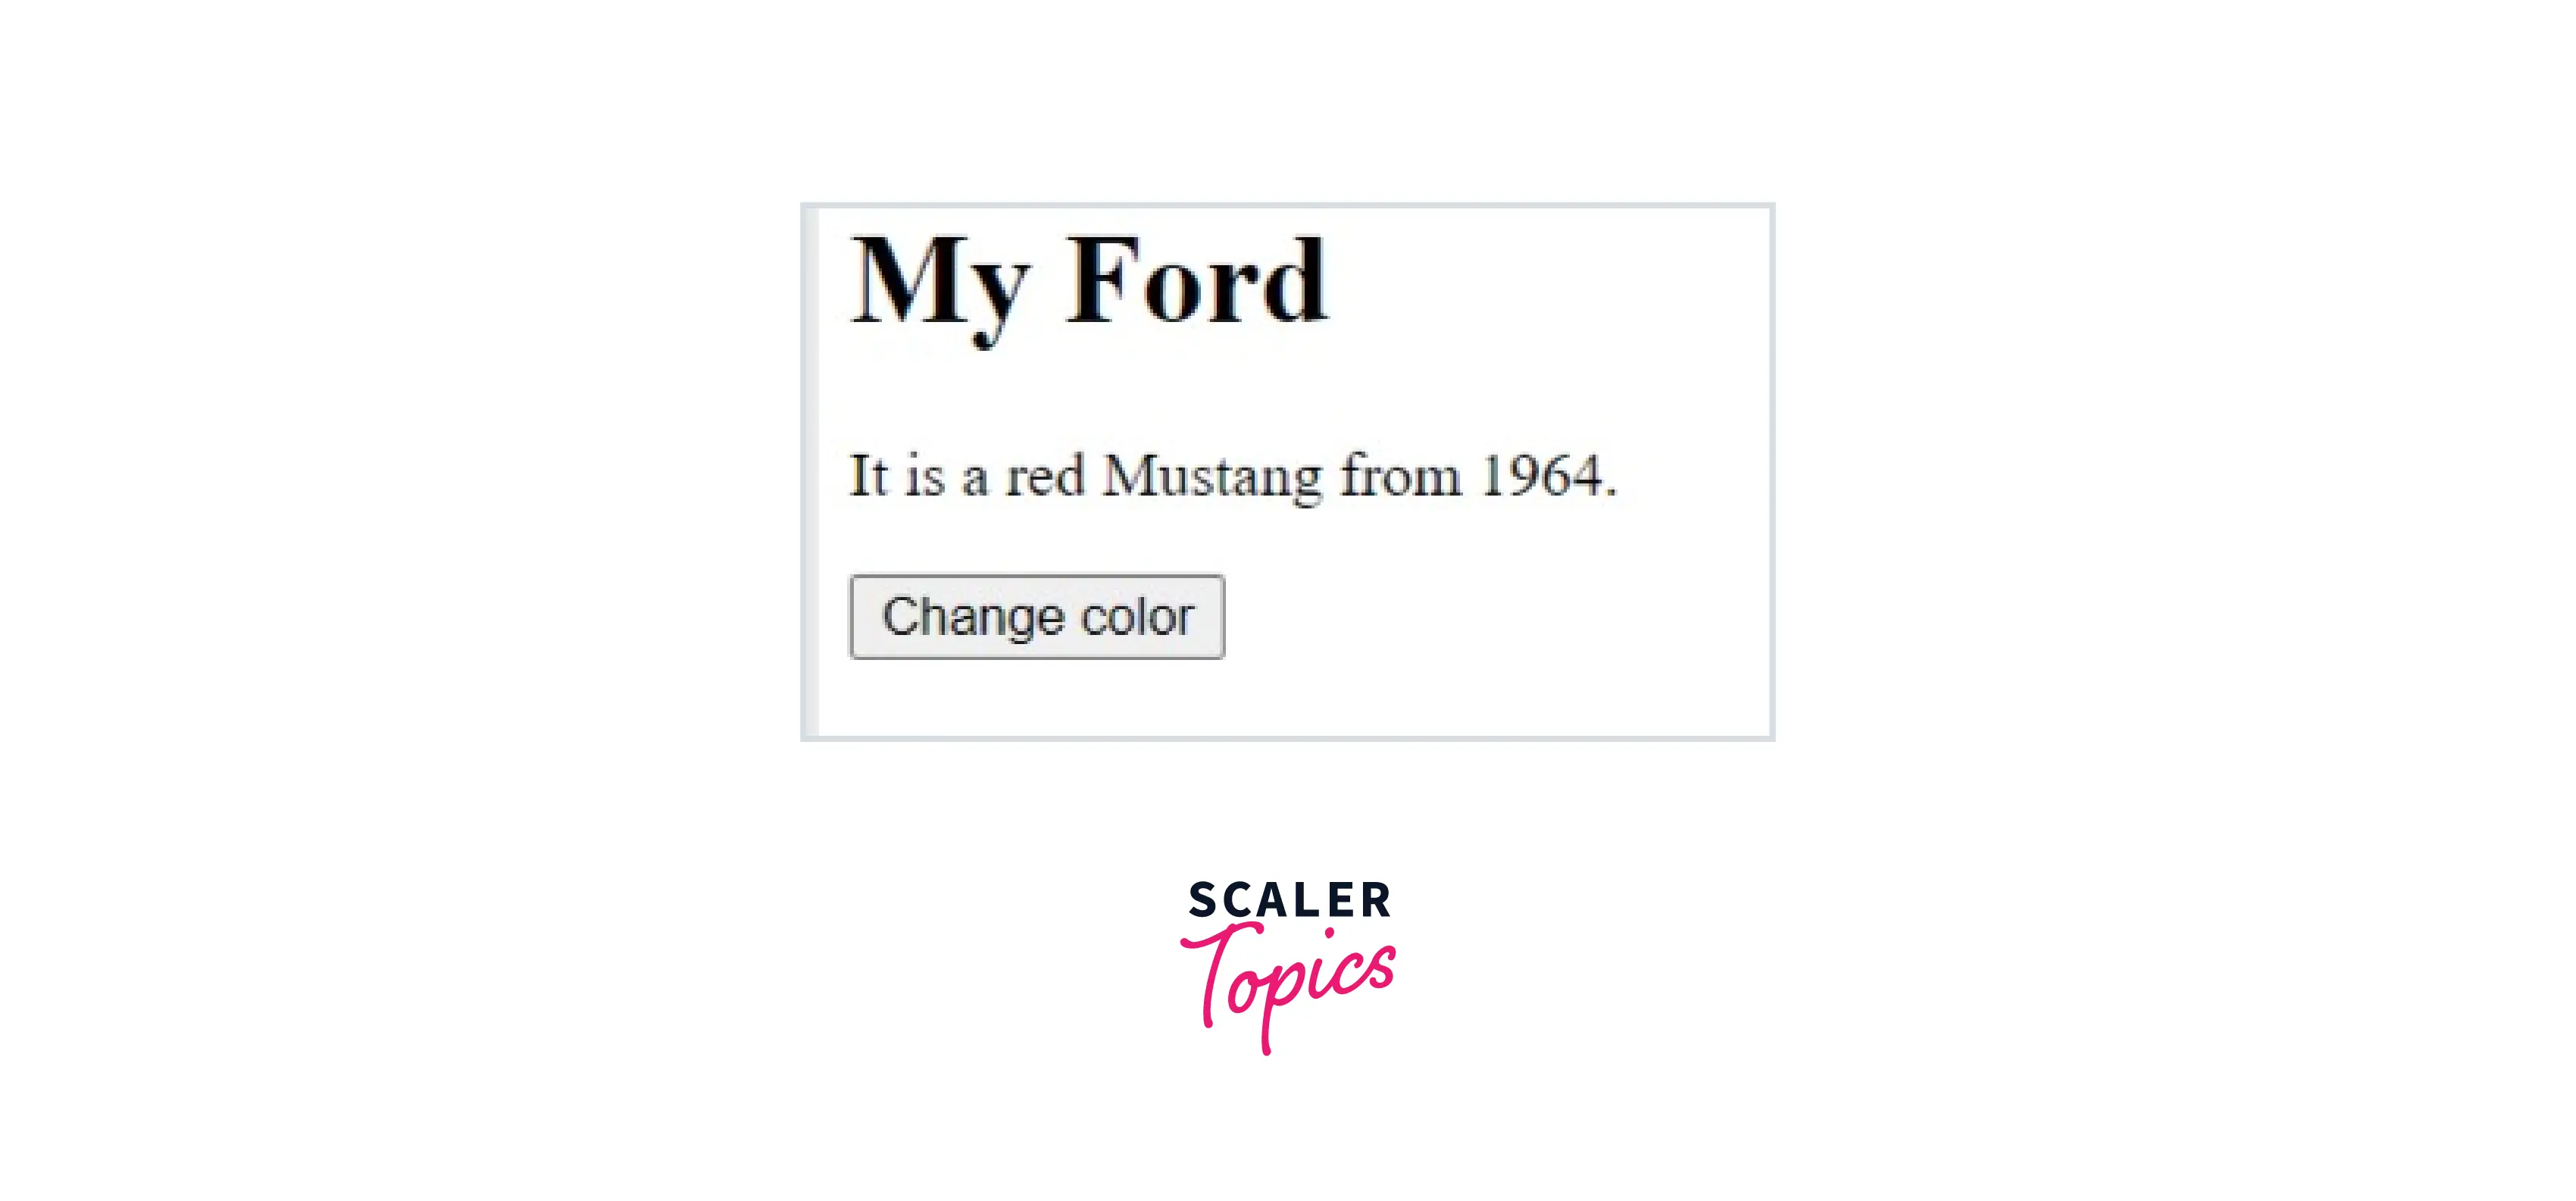
Changing the State Object
Use this.setState() to modify a value in the state object.
The component will re-render when a value in the state object changes, which means that the output will adjust to the new value (s).
Example
Add a button with an onClick event that will change the color property.
Output
To guarantee that the component knows the state object has been modified and performs the render() method, always utilize the setState() method (and all the other lifecycle methods).
Render
The core idea behind the React.js framework is to break the app up into various components. A component's lifecycle is unique to each one. We can override several of React's built-in methods at specific points in the component's life cycle.
The render() function is the only essential and crucial built-in lifecycle hook/method for class-based components. We can read props and states in the render() method and deliver our JSX code to the app's main component. We are not permitted to alter the state or introduce side effects in the render() method ( such as making an HTTP request to the webserver).
The render() method is required and is the method that outputs the HTML to the DOM.
Example
A simple component with a simple render() method:
Output
Elevate Your React Journey! Enroll in Our Full Stack Web Developer Course, Guided by Industry Gurus. Certify Your React Expertise Today!
Scaler Placement Report and Statistics
Scaler learners achieved 2.5x salary growth with average post-Scaler CTC reaching ₹23L.
Conclusion
In this article, we have learned about the following:
- Create a class component and use them in situations like managing the component's state, making components use life cycle methods and event handler logic must be written.
- Component constructor and their rules which included call super(props) before using this.props, never call setState() inside constructor(), do not assign values from this.props to this.state, and bind events all in one place.
- Components in components, components in files, react class components using props and props in the constructor.
- The state object, creating the state object, using the state object, and changing the state object.
- How to use react.js render() method to output the HTML to the DOM.