React Admin
Overview
The evolution of web applications from static content displays to interactive, dynamic pages has increased the need for effective ways to manage and sort data. This data is often accessed and manipulated through APIs. React admin simplifies building an admin interface to handle this data by connecting to the API and managing requests.
Introduction
Developing an admin page for applications that uses an API can be a complex and time-consuming task, involving building an interface and manually handling requests to retrieve or update data.
React-admin streamlines this process by providing a framework that automatically consumes the API, be it REST, GraphQL, or custom, and enables the quick construction of an admin interface using the Material-UI theme.
It's a popular choice among developers looking to create powerful and flexible admin dashboards with minimal effort. Whether you're building a small internal tool or a large-scale enterprise application, React Admin offers the flexibility and power you need to develop the perfect admin interface.
Pre-requisites
Make sure you understand the following fundamental ideas:
- React.js
- Javascript Runtime platform - Node.js
- Node package manager (NPM)
What is React-admin?
React-admin is an open-source framework for building admin interfaces using React. It provides a set of reusable components to develop complex and powerful admin dashboards with minimal effort.
React-admin's main features include:
- React-admin requires minimal setup and configuration.
- Data source support: React-admin supports various data sources, including REST and GraphQL APIs, allowing developers to connect to any backend.
- Resources: React-admin allows us to map API endpoints to resources. Therefore we can manage and display data in the admin interface easily.
- Customizable components: React-admin provides a wide range of customizable components, including list, form, and show views, which we can easily customize to suit the specific needs of our project.
- Material-UI theme: React-admin is built on top of Material-UI, which provides a sleek and modern design.
- React-admin helps developers create admin interfaces quickly and easily, which is why react-admin is a popular choice for building various web applications, from small internal tools to large-scale enterprise applications.
Transform Your Career
Choose from our industry-leading programs designed for career success
Modern Software and AI Engineering Program
Master full-stack development with AI integration

Modern Data Science and ML with specialisation in AI
Advanced data science techniques with AI specialization
Advanced AIML with Specialisation in Agentic AI
Deep dive into AIML with focus on Agentic systems
DevOps, Cloud & AI Platform Engineering
Build and manage AI-powered cloud infrastructure
AI Engineering Advanced Certification by IIT-Roorkee
Premier AI engineering certification from IIT-Roorkee
Setting Up
To begin, we'll use create-react-app to create a new React application named react-admin.
After that, we'll move to the directory of the new project.
You will have to install React Admin and its required packages by executing this command in your project folder:
The above command installs two packages:
- react-admin: It is the main package for React Admin framework, it contains all the necessary components, hooks, and functions for building an admin interface using React.
- ra-data-json-server: It is a data provider for React-admin, it allows to call of a json-server RESTful API.
Using an API As a Data Source
React-admin is a tool that operates within a web browser and retrieves information from an API. In this case, we will the JSONPlaceholder API. It is a simulated REST API created for testing and prototyping purposes. This API will act as the source of data for the application. It provides a set of endpoints that simulate the behavior of a real API, such as CRUD (Create, Read, Update, Delete) operations on resources like posts, comments, albums, and photos. It also allows developers to test their code for handling different HTTP status codes and responses, such as success, error, and validation failures.
The API is as follows:
By running the API in your browser, you will be able to view something similar to this:
Making Contact With The API Using a Data Provider
To start, we will open src/App.js in our code editor and work on the main Admin component:
App.js:
Explanation:
- We will import the Admin component from the react-admin package and a jsonServerProvider function from the ra-data-JSON-server.
- <Admin> component is the main component of react-admin. It creates the structure of the admin interface, it can receive multiple props, and the most important one is the dataProvider prop.
- jsonServerProvider function is a data provider for React-admin. It allows us to call a JSON-server RESTful API. It is also useful when we don't have a real API to connect. The function takes one parameter, the URL of the JSON-server API.
- Here, a constant dataProvider is defined and is assigned the value returned by calling the jsonServerProvider ('http://jsonplaceholder.typicode.com'). This API serves as the data provider.
Step to run the application
Run the application by using the following command:
Output:
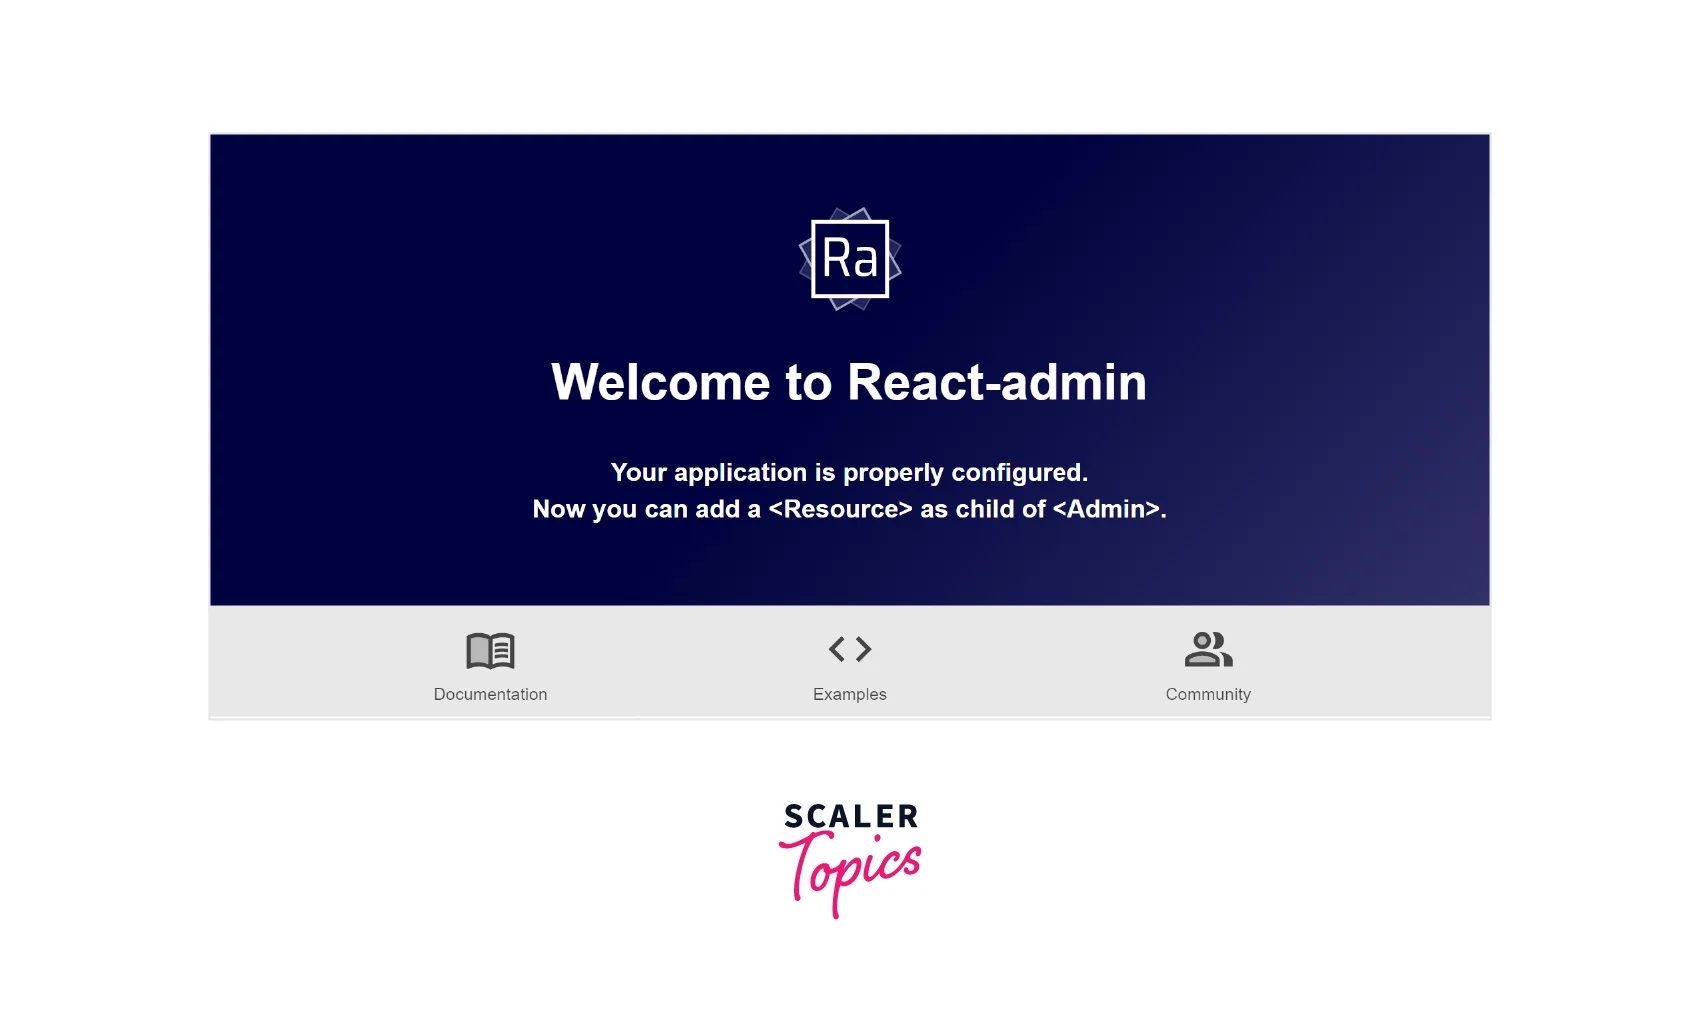
This confirms that the setup is done.
Now, we can map the API endpoints to the admin interface.
Mapping API Endpoints With Resources
The <Admin> component is the top-level component in a React-admin application which acts as a container for all the other components that make up the admin interface. It expects one or more <Resource> child components. Each Resource component defines and displays a specific resource in the admin interface.
App.js:
Explanation:
- The Resource component defines the resources to display in the admin interface. It has two required props: name and list.
- name: Each resource component maps a name prop to a specific endpoint in the API. The name prop identifies a resource and defines the routes for that resource.
- The list specifies the component that should be rendered to display the resource.
- list={ListGuesser} tells React-admin to use the <ListGuesser> component to display the list of users.
- The ListGuesser component is an automatic component that will guess the fields to display and the default sort, filter, and pagination settings for a given resource.
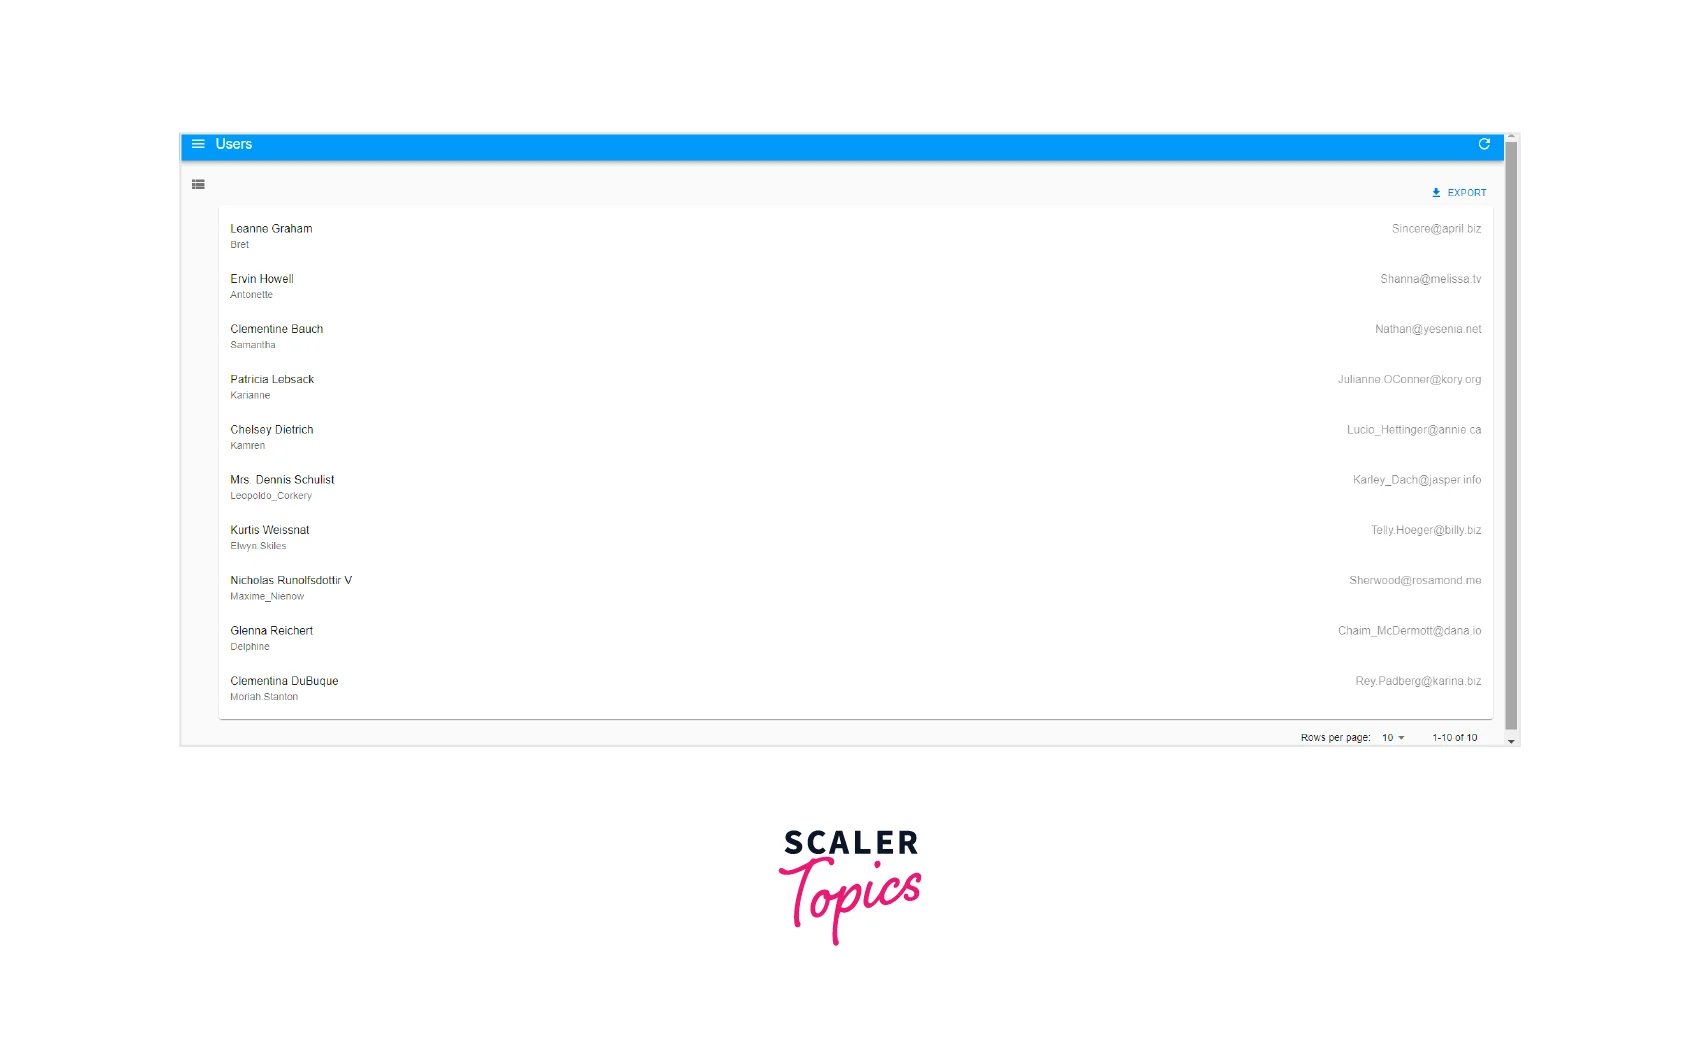
Now, our application displays a list of users:
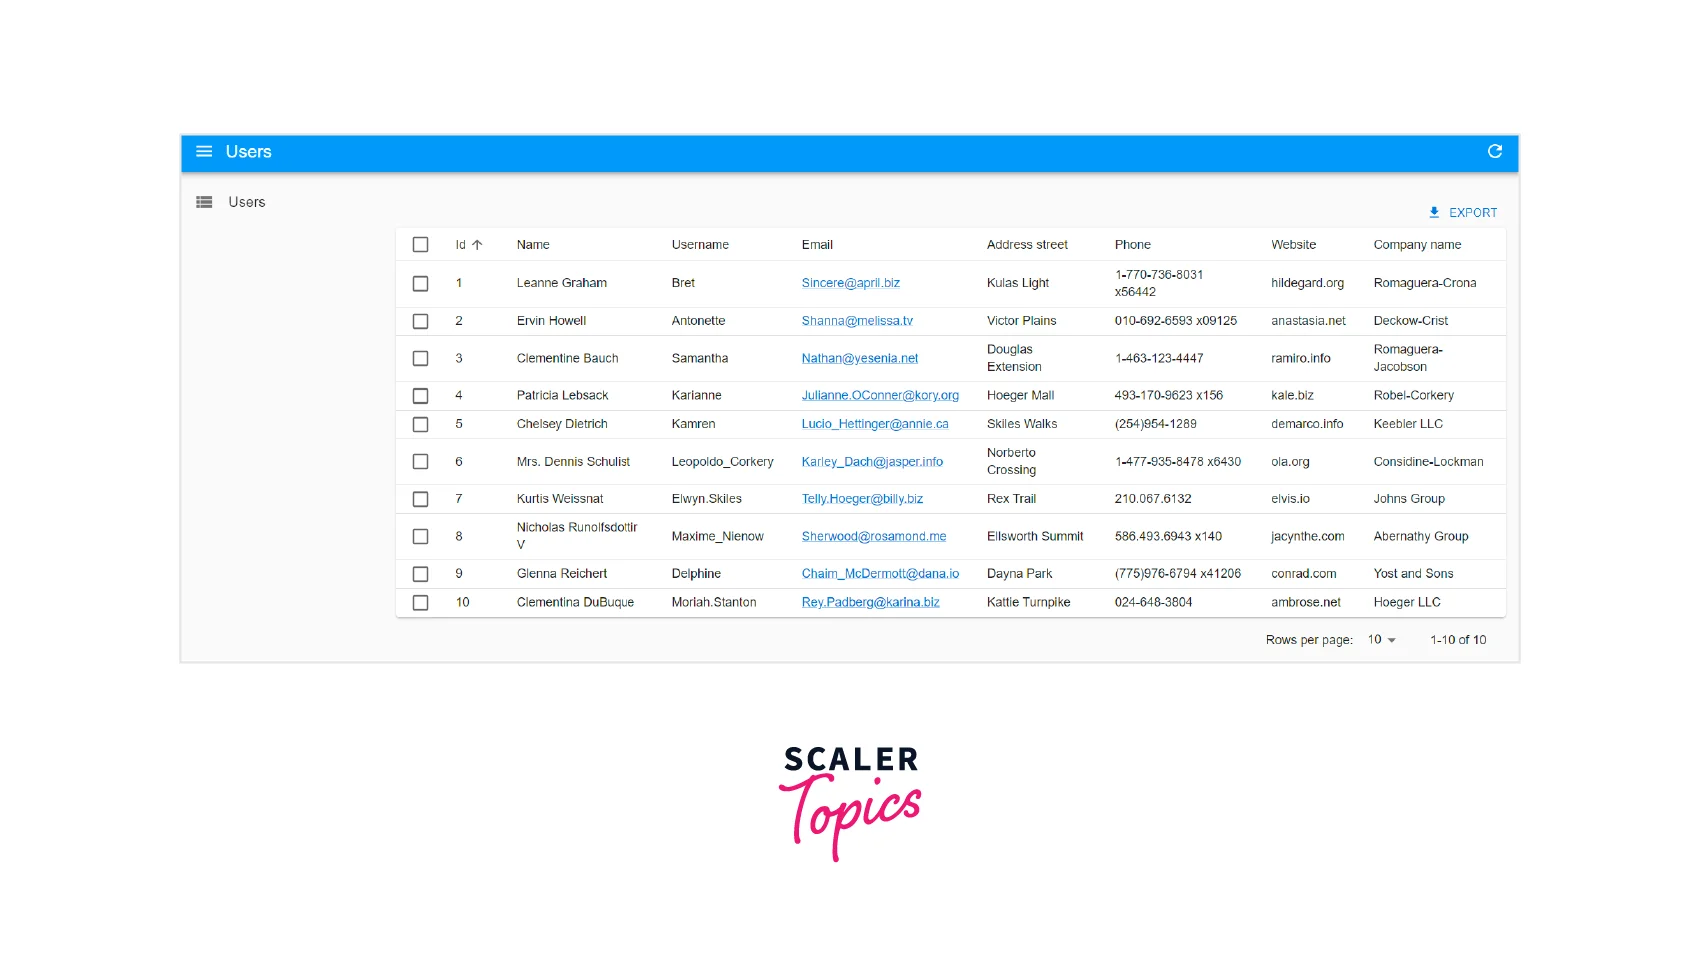
The list is fully operational. We can rearrange it by clicking on the column headers, and navigating between pages using the bottom pagination controls.
Writing A Page Component
The <ListGuesser> component is not suitable for use in a production environment - it is simply a way to create an admin quickly. Therefore, we'll need to replace the ListGuesser component in the "users" resource with a custom React component.
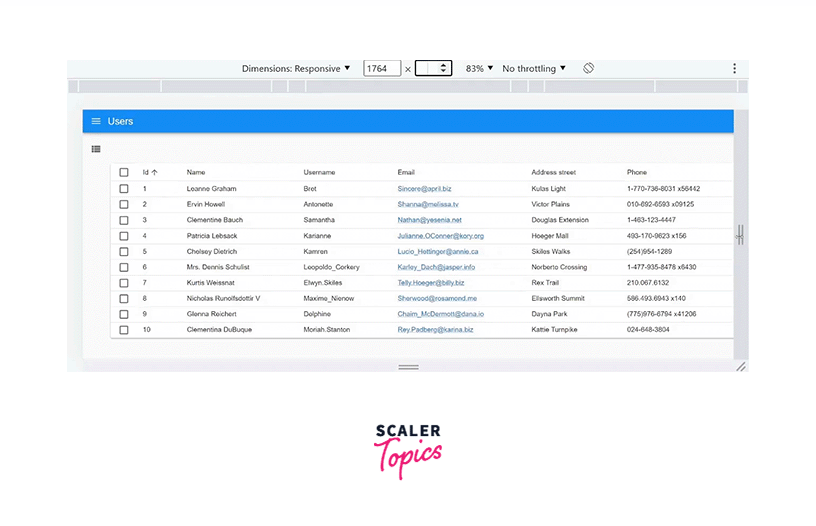
The ListGuesser component outputs a code of the list on our browser's console, which helps us understand and customize the List component.
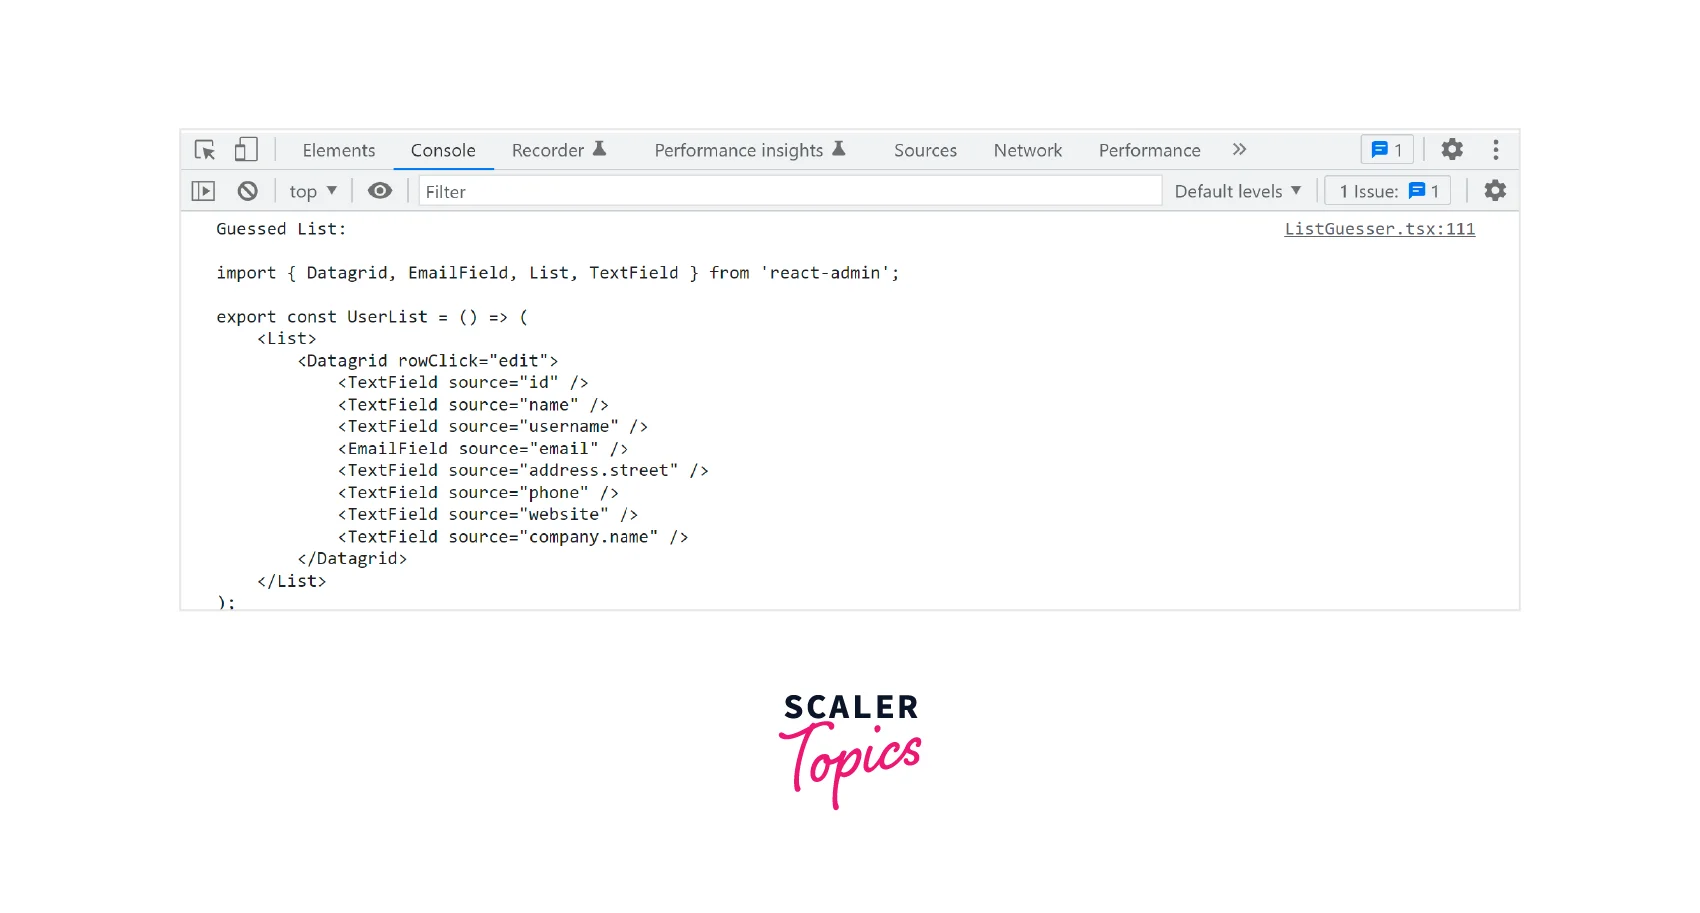
We will copy this code, and create a new UserList component.
Create a new file, Users.js in the src folder and include the following code:
User.js:
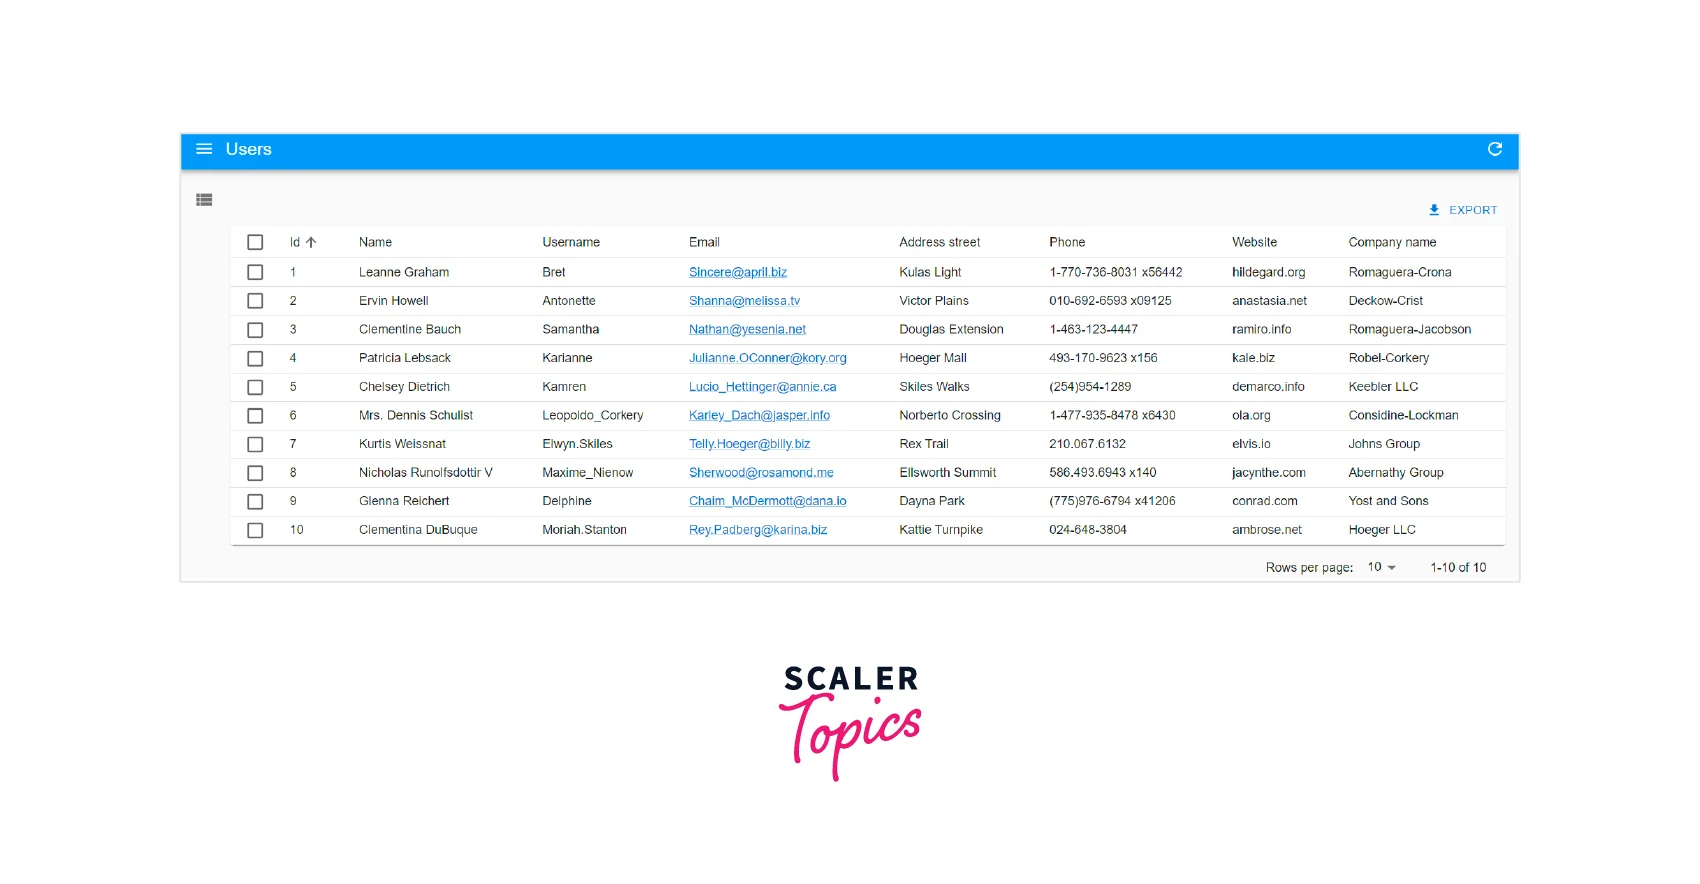
Now we will replace the ListGuesser component with the UserList component in App.js.
You won't see any changes in the browser - but now, the app is utilizing a component that can be tailored to your needs.
Turn Learning into Career Growth
Composing Components
React-admin allows developers to compose components in various ways to create a custom admin interface.
Here, we will compose the <List> with another component. Using the <SimpleList> component, we can create a customizable list with different styles and layouts.
Users.js:
Explanation:
- The <SimpleList> component is one of the built-in list components in React-admin. It is a simple list view that allows you to display a list of records of a specific resource.
- The primaryText prop of the <SimpleList> component specifies the key of the primary text field of the list items. It's the first text that appears in the list item.
- The secondaryText and tertiaryText props of the <SimpleList> component work similarly to the primaryText prop.
- The secondaryText is the second text that appears in the list item. It displays additional information about the item.
- The tertiaryText is the third text that appears in the list item.
Writing A Custom List Component
Our react-admin layout is responsive. The <SimpleList> component works well for smaller screen devices like mobile devices. On a desktop, the <SimpleList> component may consume a significant amount of space, resulting in a low information density, which is not ideal for displaying large amounts of data in a limited area. Therefore we will modify our UserList component and use the Datagrid component to suit the larger screens. We will use the useMediaQuery hook to achieve this.
Users.js:
Explanation:
- The useMediaQuery hook checks the current screen size against a given media query.
- Here, we will pass a function inside the useMediaQuery that takes the theme object as an argument. This function uses the breakpoints.down utility function from Material-UI to check if the screen size is smaller than the sm breakpoint.
- const isSmall = useMediaQuery((theme) => theme.breakpoints.down("sm")) checks if the screen width is smaller than the sm breakpoint defined in the theme, and it returns a boolean value that tells you whether the screen size matches the query or not.
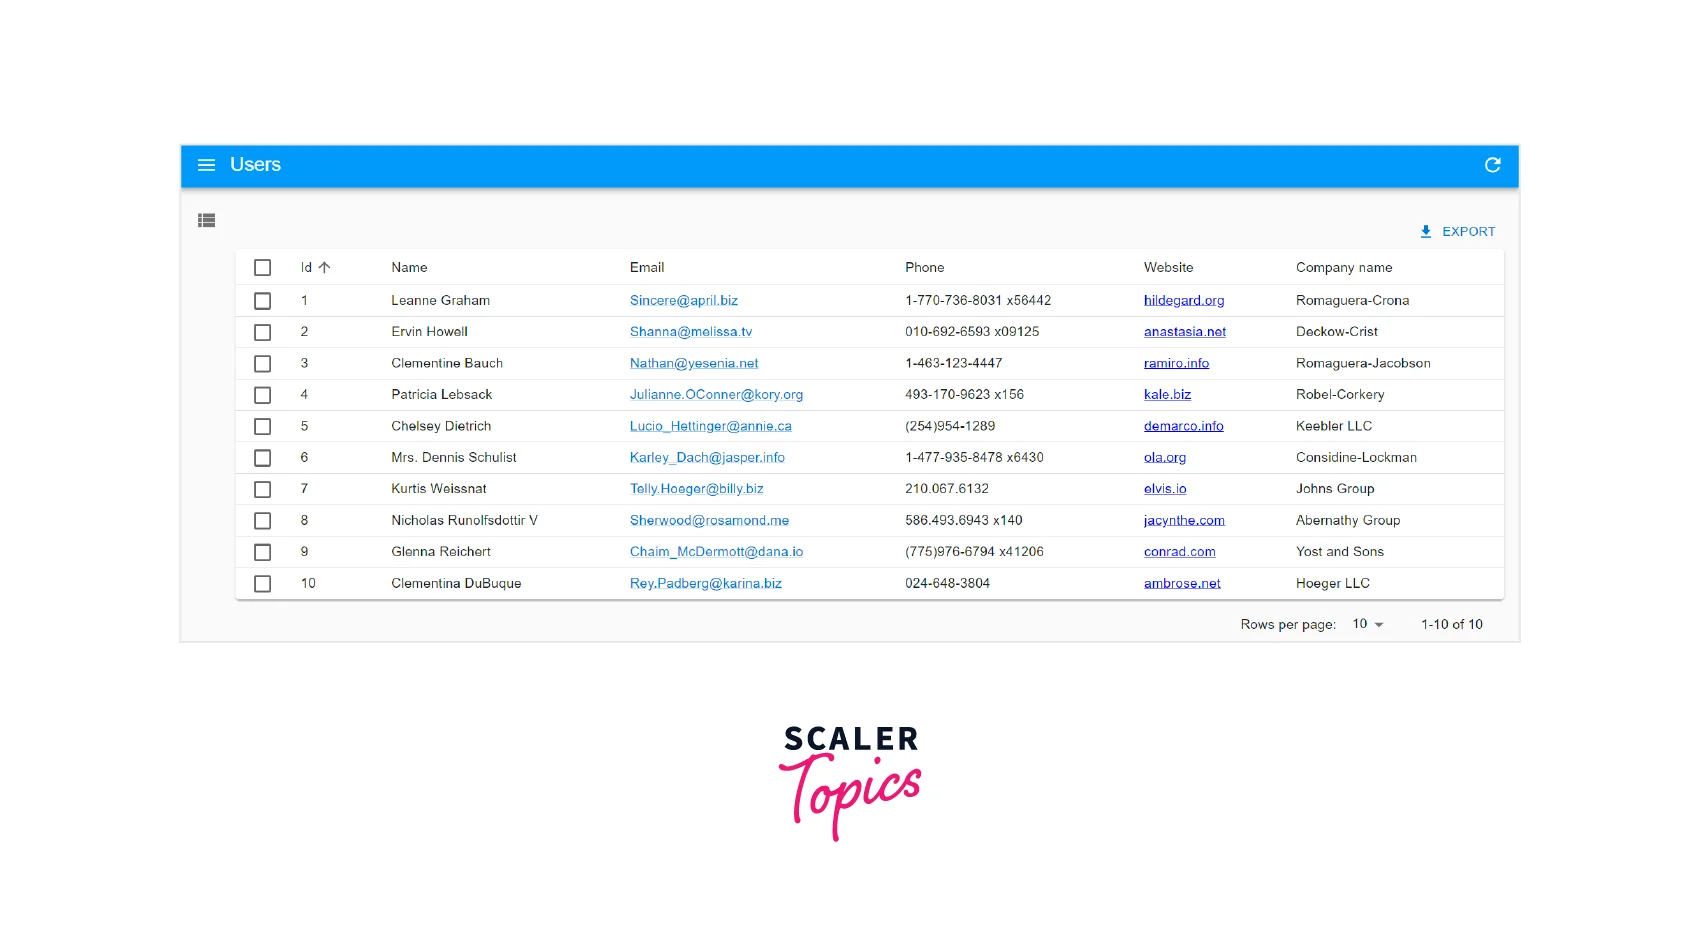
Now, our admin layout fits both the large and the smaller screens:
Selecting Columns
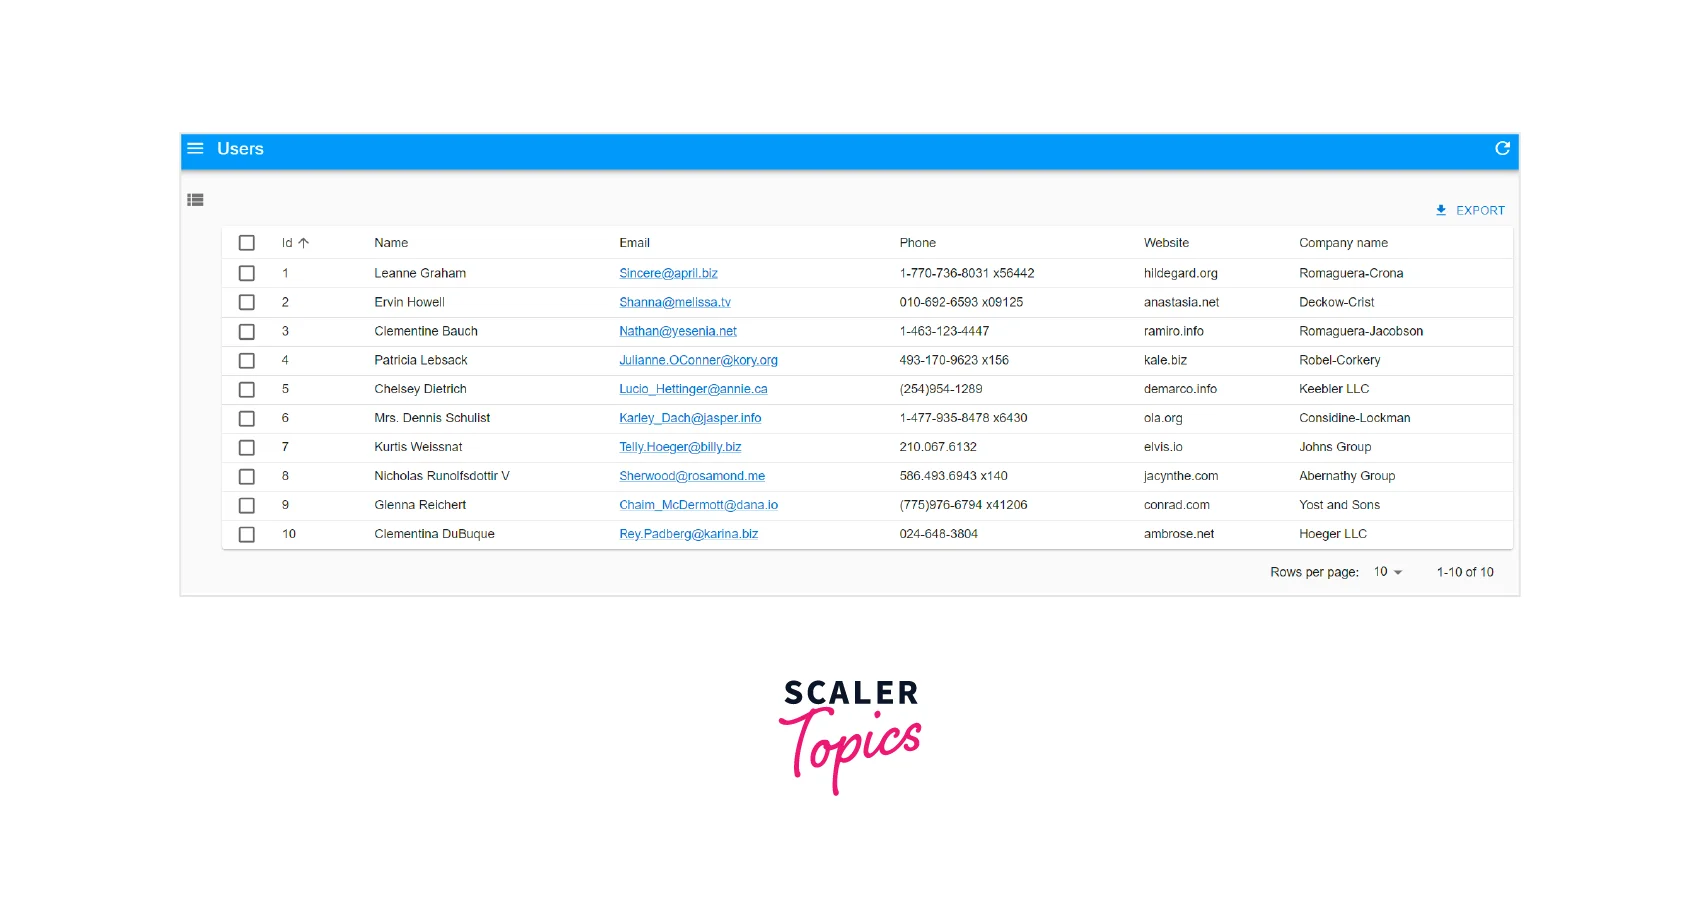
In React-admin, we can use the <List> component to display a list of records and select which columns to show in the list. The <Datagrid> component defines the layout of the list, and the <TextField> component defines the columns to be displayed. The source prop of the <TextField> component tells React-admin which field of the user record to display in that column.
The <ListGuesser> component is a convenient way to display a list of records. However, it is not ideal for production because it creates one column for every field in the response. Having a lot of irrelevant fields can lead to an inefficient grid. We can remove unnecessary columns from the <Datagrid> component. For example, if we want to remove the "address" field in the response, we can remove the <TextField> component with the source prop set to "address" from the <Datagrid>.
Users.js
Using Field Types
In React-admin, field components display the values of a record's fields in the different views (list, show, edit, create). React-admin provides a set of built-in field components to display fields such as text, boolean, date, etc.
Instead of displaying a website as text, let us show it using a clickable link by using the <URLfield>.
Users.js:

Writing A Custom Field
One of the significant features of React admin is its ability to create custom fields to display and edit data in the interface. We will create a custom field for the website field using the useRecordContext.
Create a new file CustomUrlField.js for the custom field.
CustomUrlField.js:
Explanation:
useRecordContext is a hook provided by the react-admin library that allows you to access the RecordContext in a functional component. This hook is a shorthand for the useContext(RecordContext). It gives access to the current record data and some other necessary properties.
We will use the <CustomUrlField> component in the <UserList>, instead of the<UrlField> component.
Users.js:
Customizing Styles
We can use material-UI to customize the theme of the react-admin UI. The sx prop makes it easy to apply consistent styling across your application. It allows us to use a shorthand notation for applying common styles like margins, padding, and colors.
We will use this prop to style the Datagrid component and modify the link style of the website field.
Customizing the Datagrid component:
App.js:
Customizing the Link of the website:
CustomUrlField.js:
Our react-admin application is ready.
Output:

Conclusion
- React-admin is an open-source framework for building admin interfaces using React.
- It helps developers create admin interfaces quickly and easily, making it a popular choice for building various web applications, from small internal tools to large-scale enterprise applications.
- To start using React Admin, we need to install it using npm. React Admin allows us to connect to an API as our data source. Therefore, we can manage data in our admin interface.
- To make API calls, React Admin uses a concept called Data Providers. It handles the communication with the API and provides the data to the application.
- In React Admin, resources map API endpoints to specific data entities, such as users. It allows us to compose components together to build more complex interfaces.
- We can create our custom list component to display data in a specific way, such as a table or a card layout.
- We can select which columns of data should be displayed in a list and create our custom field components.
- React-Admin enables us to customize the styles by overriding the default classes or creating your own.