React Hook Form
Overview
The way users engage with websites and web apps usually depend heavily on forms. A developer's responsibility to validate the user's data as it is submitted through the form is essential. And there are various ways to do so, one of them is using react hook form.
Transform Your Career
Choose from our industry-leading programs designed for career success
Modern Software and AI Engineering Program
Master full-stack development with AI integration

Modern Data Science and ML with specialisation in AI
Advanced data science techniques with AI specialization
Advanced AIML with Specialisation in Agentic AI
Deep dive into AIML with focus on Agentic systems
DevOps, Cloud & AI Platform Engineering
Build and manage AI-powered cloud infrastructure
AI Engineering Advanced Certification by IIT-Roorkee
Premier AI engineering certification from IIT-Roorkee
Introduction to React Hook Form
In contrast to existing form libraries in the React ecosystem, React Hook Form adopts the use of uncontrolled inputs via ref rather than relying on the state to regulate the inputs. With this method, fewer re-renders are required, and the forms are more efficient and accurate.
It is sometimes difficult to create forms in React. It entails managing all input states and updates as well as validating that input upon form submission.
In general, handling data can be easily managed for simple forms. However, it becomes a difficult chore as your form becomes more complicated, and you need to include additional validations.
Compared to formik and react final form, react hook form is the most widely used React library for building forms.
Why is this the Most Popular Form Library in React?
Here are a few of the factors that contribute to react hook form's popularity as a tool for developing React forms.
- The application utilizes refs rather than state, which results in fewer re-renders than the alternative methods available.
- In contrast to formik, react-final-form, and other options, fewer lines of code need to be written.
- You can mix your validation models by utilizing react-hook-form seamless integration with the yup library for schema validation.
- The time it takes to mount while using react hook form is less than with other options.
Features
- React hook form takes advantage of native HTML form validation.
- React hook form can be integrated with UI libraries very easily and efficiently.
- React hook form is very small in size, and it has no dependencies.
- React Hook Form eliminates pointless re-renders and lowers the lines of code you have to write. You can separate component re-renders, which improves the efficiency of your page or application.
- When constructing forms, performance is a crucial component of user experience. Without having to re-render the entire form, you will be able to choose specific input and form State updates.
- Commonly used validation packages like Yup, Zod, AJV, Superstruct, Joi, and others are supported.
Installation
The form is usually needed very frequently while developing web apps.
So let's explore the benefits and usage of react-hook-form. To install react hook form, first, you have to create a react app and then run the react hook form installation command on the terminal.
Alternatively,


Create a Form Using React Form
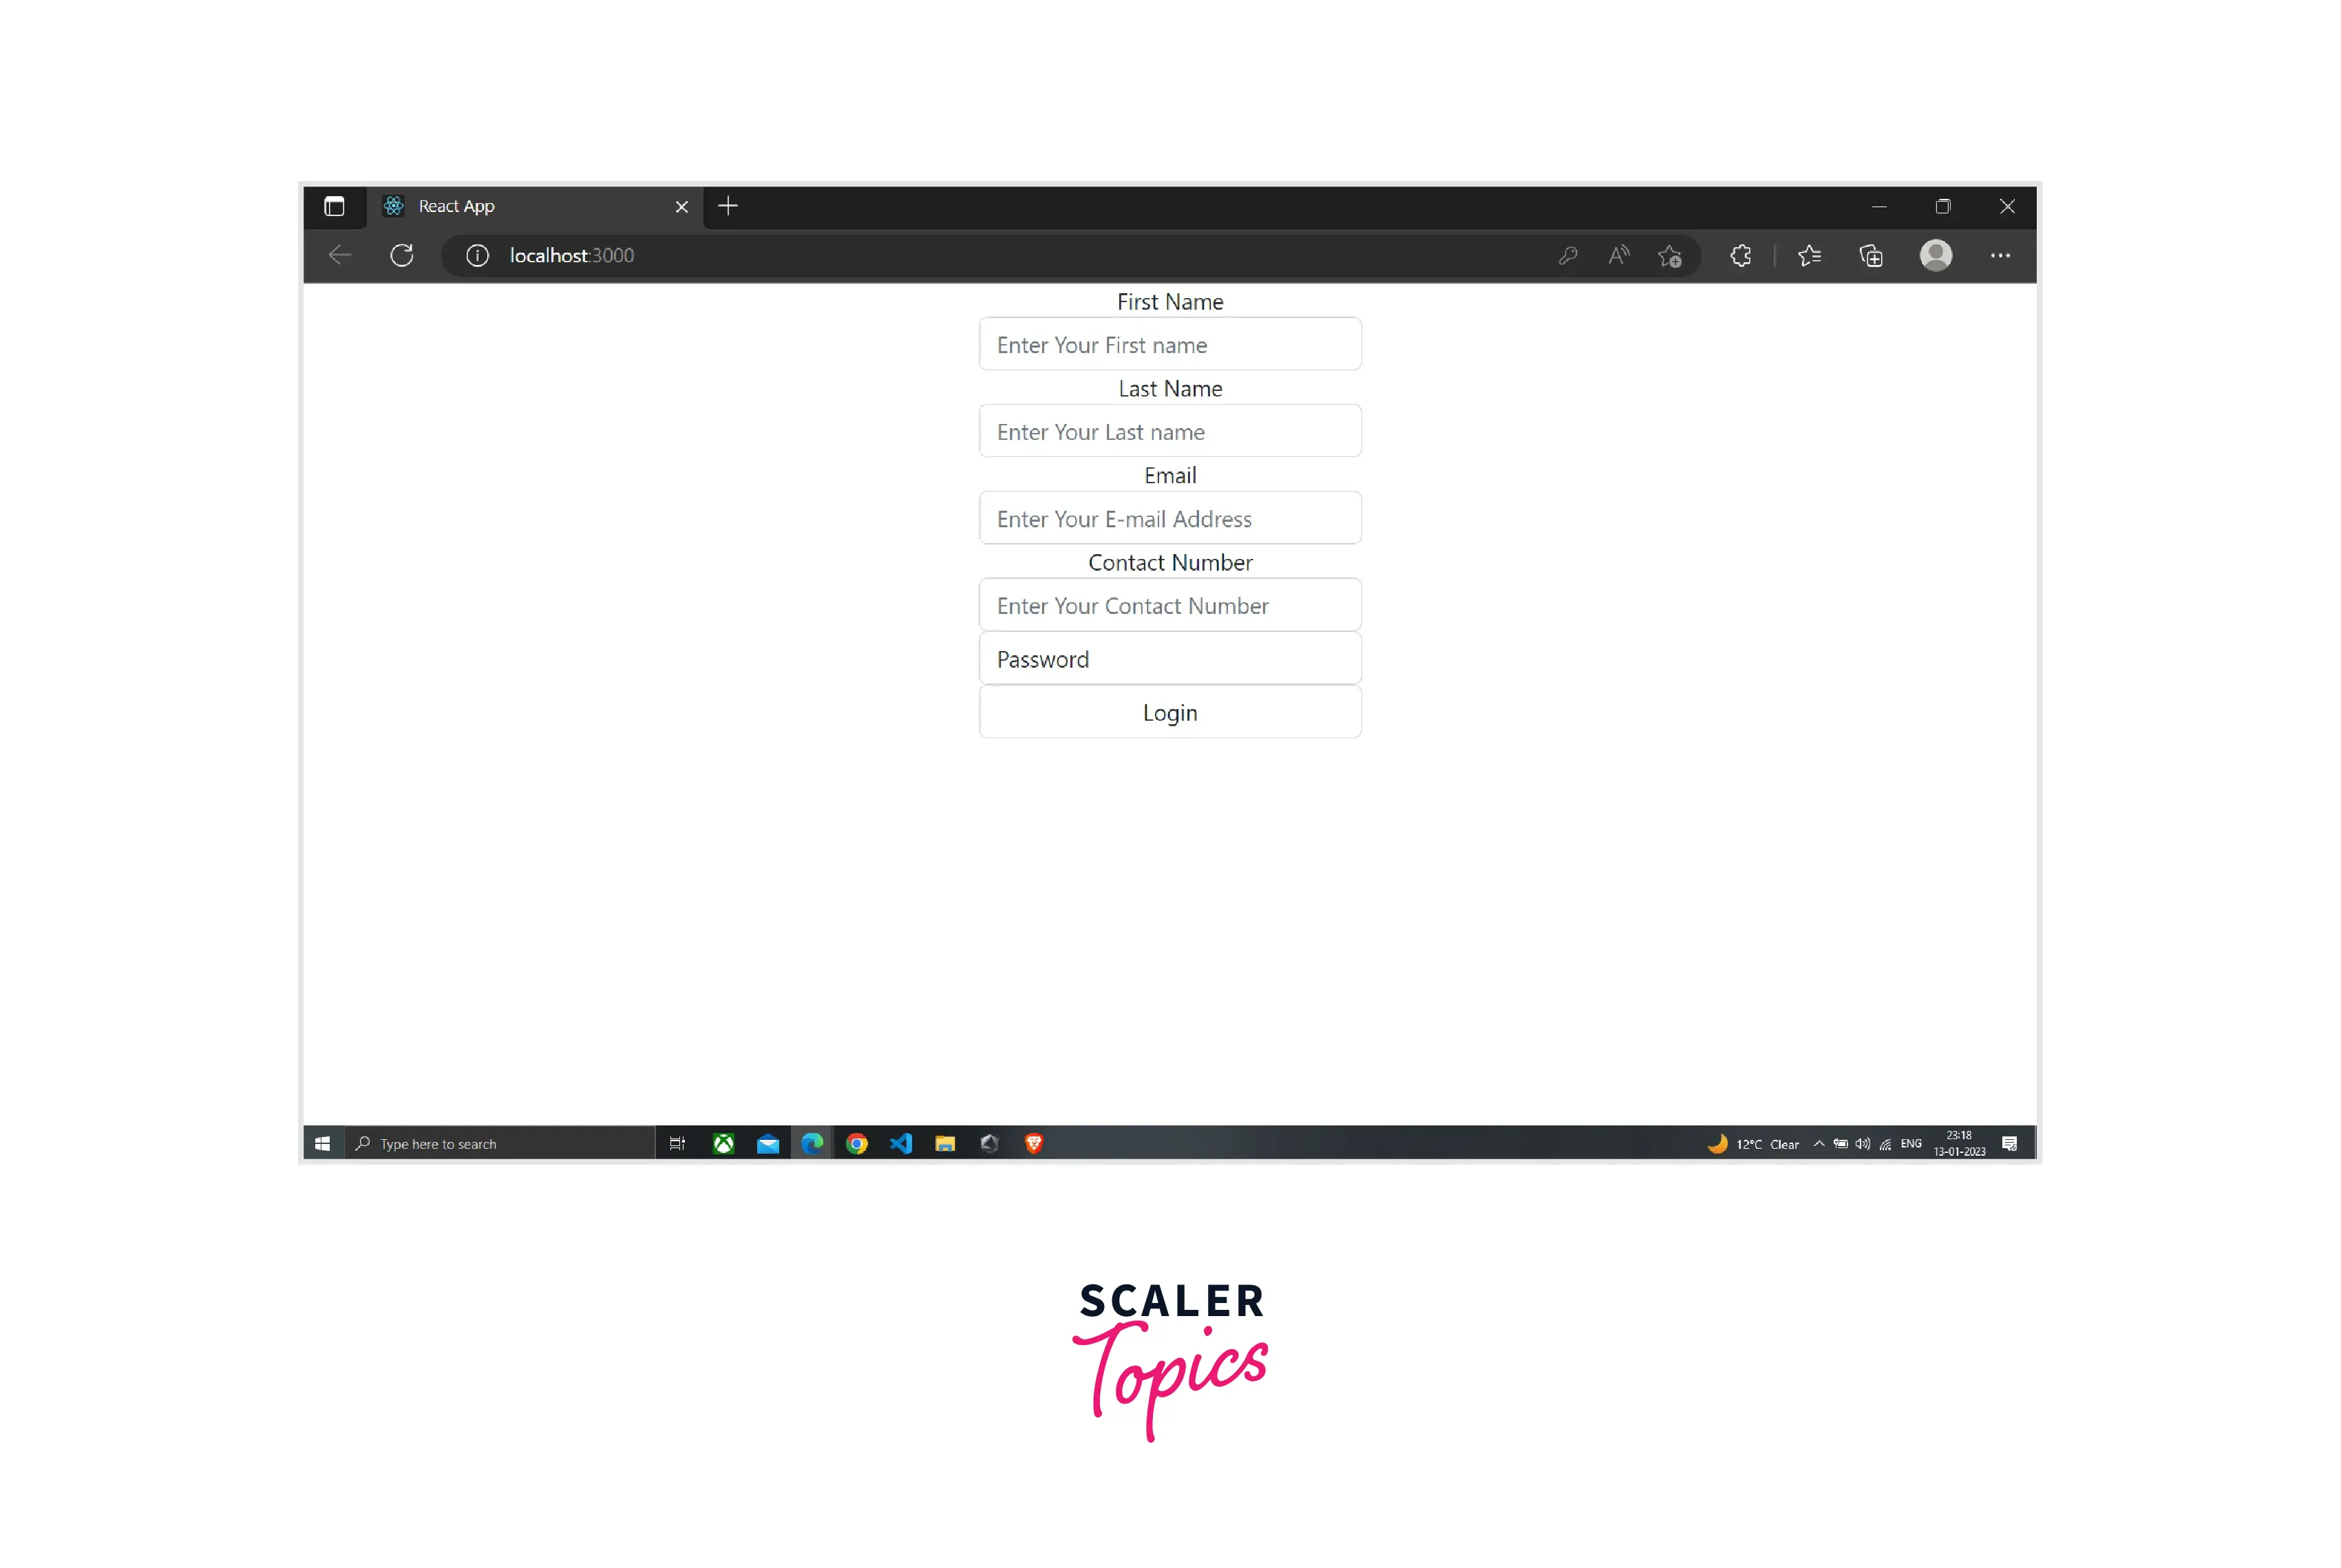
Before using react hook form, firstly, we should take a look at how we create a form, usually by only using react form.
In the above code, we have declared the firstName, lastName, contactNumber, email, and password input fields.
We have added an onChange handler and a value to each input field so that we can modify the state according to the user's input.
Additionally, a handleSubmit function has been introduced, which shows the data input into the form on the console.
This seems okay. What happens, though, if we also need to add validations, such as those for necessary fields, minimum lengths, passwords, and email fields, as well as show the associated error messages?
We can observe that with the increase in input fields, the code becomes bulky and difficult to understand, and validation also becomes complex.
Scaler Placement Report and Statistics
Scaler learners achieved 2.5x salary growth with average post-Scaler CTC reaching ₹23L.
Create a Basic Form with react-hook-form
Now that we have seen the code for a form using the react form let us see the implementation of the same form using the react-hook-form.
The initial step is to import the useForm() hook in your component using the following code:
The next step is to use the useForm hook as displayed in the following code:
The useForm Hook gives back an object with some properties. In this tutorial, we have only used the register, handleSubmit, and formState objects.
The register method enables you to register/add an input field to a React Hook Form for it to be validated and has changes to its value recorded.
The register method will be passed into the input field as follows to register the input:
The library's latest version of the spread operator syntax makes it possible for TypeScript to do stringent type checking on forms.
The register method was linked to the ref attribute in versions before v7 as follows:
It is important to note that the name prop must be passed to the input component, and the value needs to be unique.
The handleSubmit method controls form submission, as its name implies. It must be provided as the value for the form component's onSubmit prop.
There are two functions that the handleSubmit function can accept as parameters. Upon successful completion of the form validation, the first function provided as an argument will be called together with the registered field values. If the validation is unsuccessful, the second function is invoked with errors.
Now that we have covered the basic usage of react hook form, let us see the code for form using react hook form.
We can observe in the code that to all the input fields, a register method has been added, and to all those methods a unique name has been passed.
On doing console.log(...register("firstName")); we will observe that the needed event handlers such as the onBlur, onChange, etc., and also some other props that exist for the input field are logged in the console because we are utilizing the spread operator.
Additionally, we introduced the onSubmit method, which is sent to the handleSubmit function.
The handleSubmit method will take care of the submission of the form when the form is submitted. Data input by the user will be sent to the onSubmit method, where it will be logged into the console.
You can see that the user-entered information is logged in the console once we submit the form.
Additionally, this code is significantly easier than the code without react-hook-form, which we saw at the start of the article. This is because we do not need to maintain the application state ourselves and do not need to include the value and onChange handler for every input field.
Add Validations to the Form
You can provide validation options to the register function to implement validations to a field. The present HTML form validation standard is identical to the validation parameters.
The following attributes are included in these validation criteria:
- If a field is necessary, required is a flag that lets you know the field cannot be blank if this attribute is set to true.
- minLength and maxLength establish the lowest and maximum lengths for a string's input value.
- To set the maximum and minimum values in the case of the numerical values, max and min are used.
- type identifies the input field's kind; it may be an email, a number, a text field, or any other common HTML input format.
- pattern uses a regular expression to define a pattern for the input value.
Note: Keep in mind that if there are validation issues, the onSubmit handler will not run, and the relevant input field will be put into focus automatically.
We can include validation by passing an object as a second parameter to the register method, like in the following example:
Here we are defining the email field as required by using the required field validation. We use the required as well as minimum character length validation for the password field.
In case of failure of validation, the errors object, which is returned by the useForm hook starts to record the field where the validation has failed. So, to display customized error messages, you would use that errors object.
We are displaying error messages based on the type of error which is occurring. The above code can be simplified even more by making use of the optional chaining operator available with ES11.
Thus, writing less code was required thanks to react-hook-form. Since the validation is also responsive, as soon as the field is determined to be legitimate, the error notice is immediately removed.
However, the conditional checks, as well as error message codes, will also grow as the number of validations for every field rises. To further simplify the code, we can make the following modifications to the code.
We have modified the email and password validation codes in the code above.
Email input field code before modification
Email input field code before modification
No longer are additional checks required for each validation. For each input field, we are showing the error message utilizing the message property accessible within the errors object as follows:
Thus, by carrying out the task in this manner, the code is further reduced, making it simple to incorporate new validations in the future.
Add Multiple Validations
By including a validated object, you may even offer several validations for the input field. This is helpful if you have to carry out complicated validations like the following:
and we employ it as follows to show the error messages:
Turn Learning into Career Growth
Reset the Form Values
We occasionally need to reset or clean the user-entered data following an action.
For instance, after the form has been submitted, you want to display the confirmation message and then delete the form's contents to prevent the user from submitting the same information again.
To clear the form data in this scenario, we can utilize the reset method provided by the useForm hook.
The values you wish the form data to be reset to can be passed as an optional object to the reset function, which also accepts:
For the appropriate input field to be set to the provided value, the key username, email, or password, in this case, must match the name passed to the register method.
Set Initial Form Values Using defaultValues
One of the arguments accepted by the useForm hook is defaultValues.
When switching between pages, the form elements can have their initial values reset using defaultValues as shown in the example below:
In the code above, we gave the name firstName to the register method. This indicates that the initial value for the defaultValues is set using the same name.
To set the input value appropriately, you must use the same name that was used to set the starting value using defaultValues in the register method.
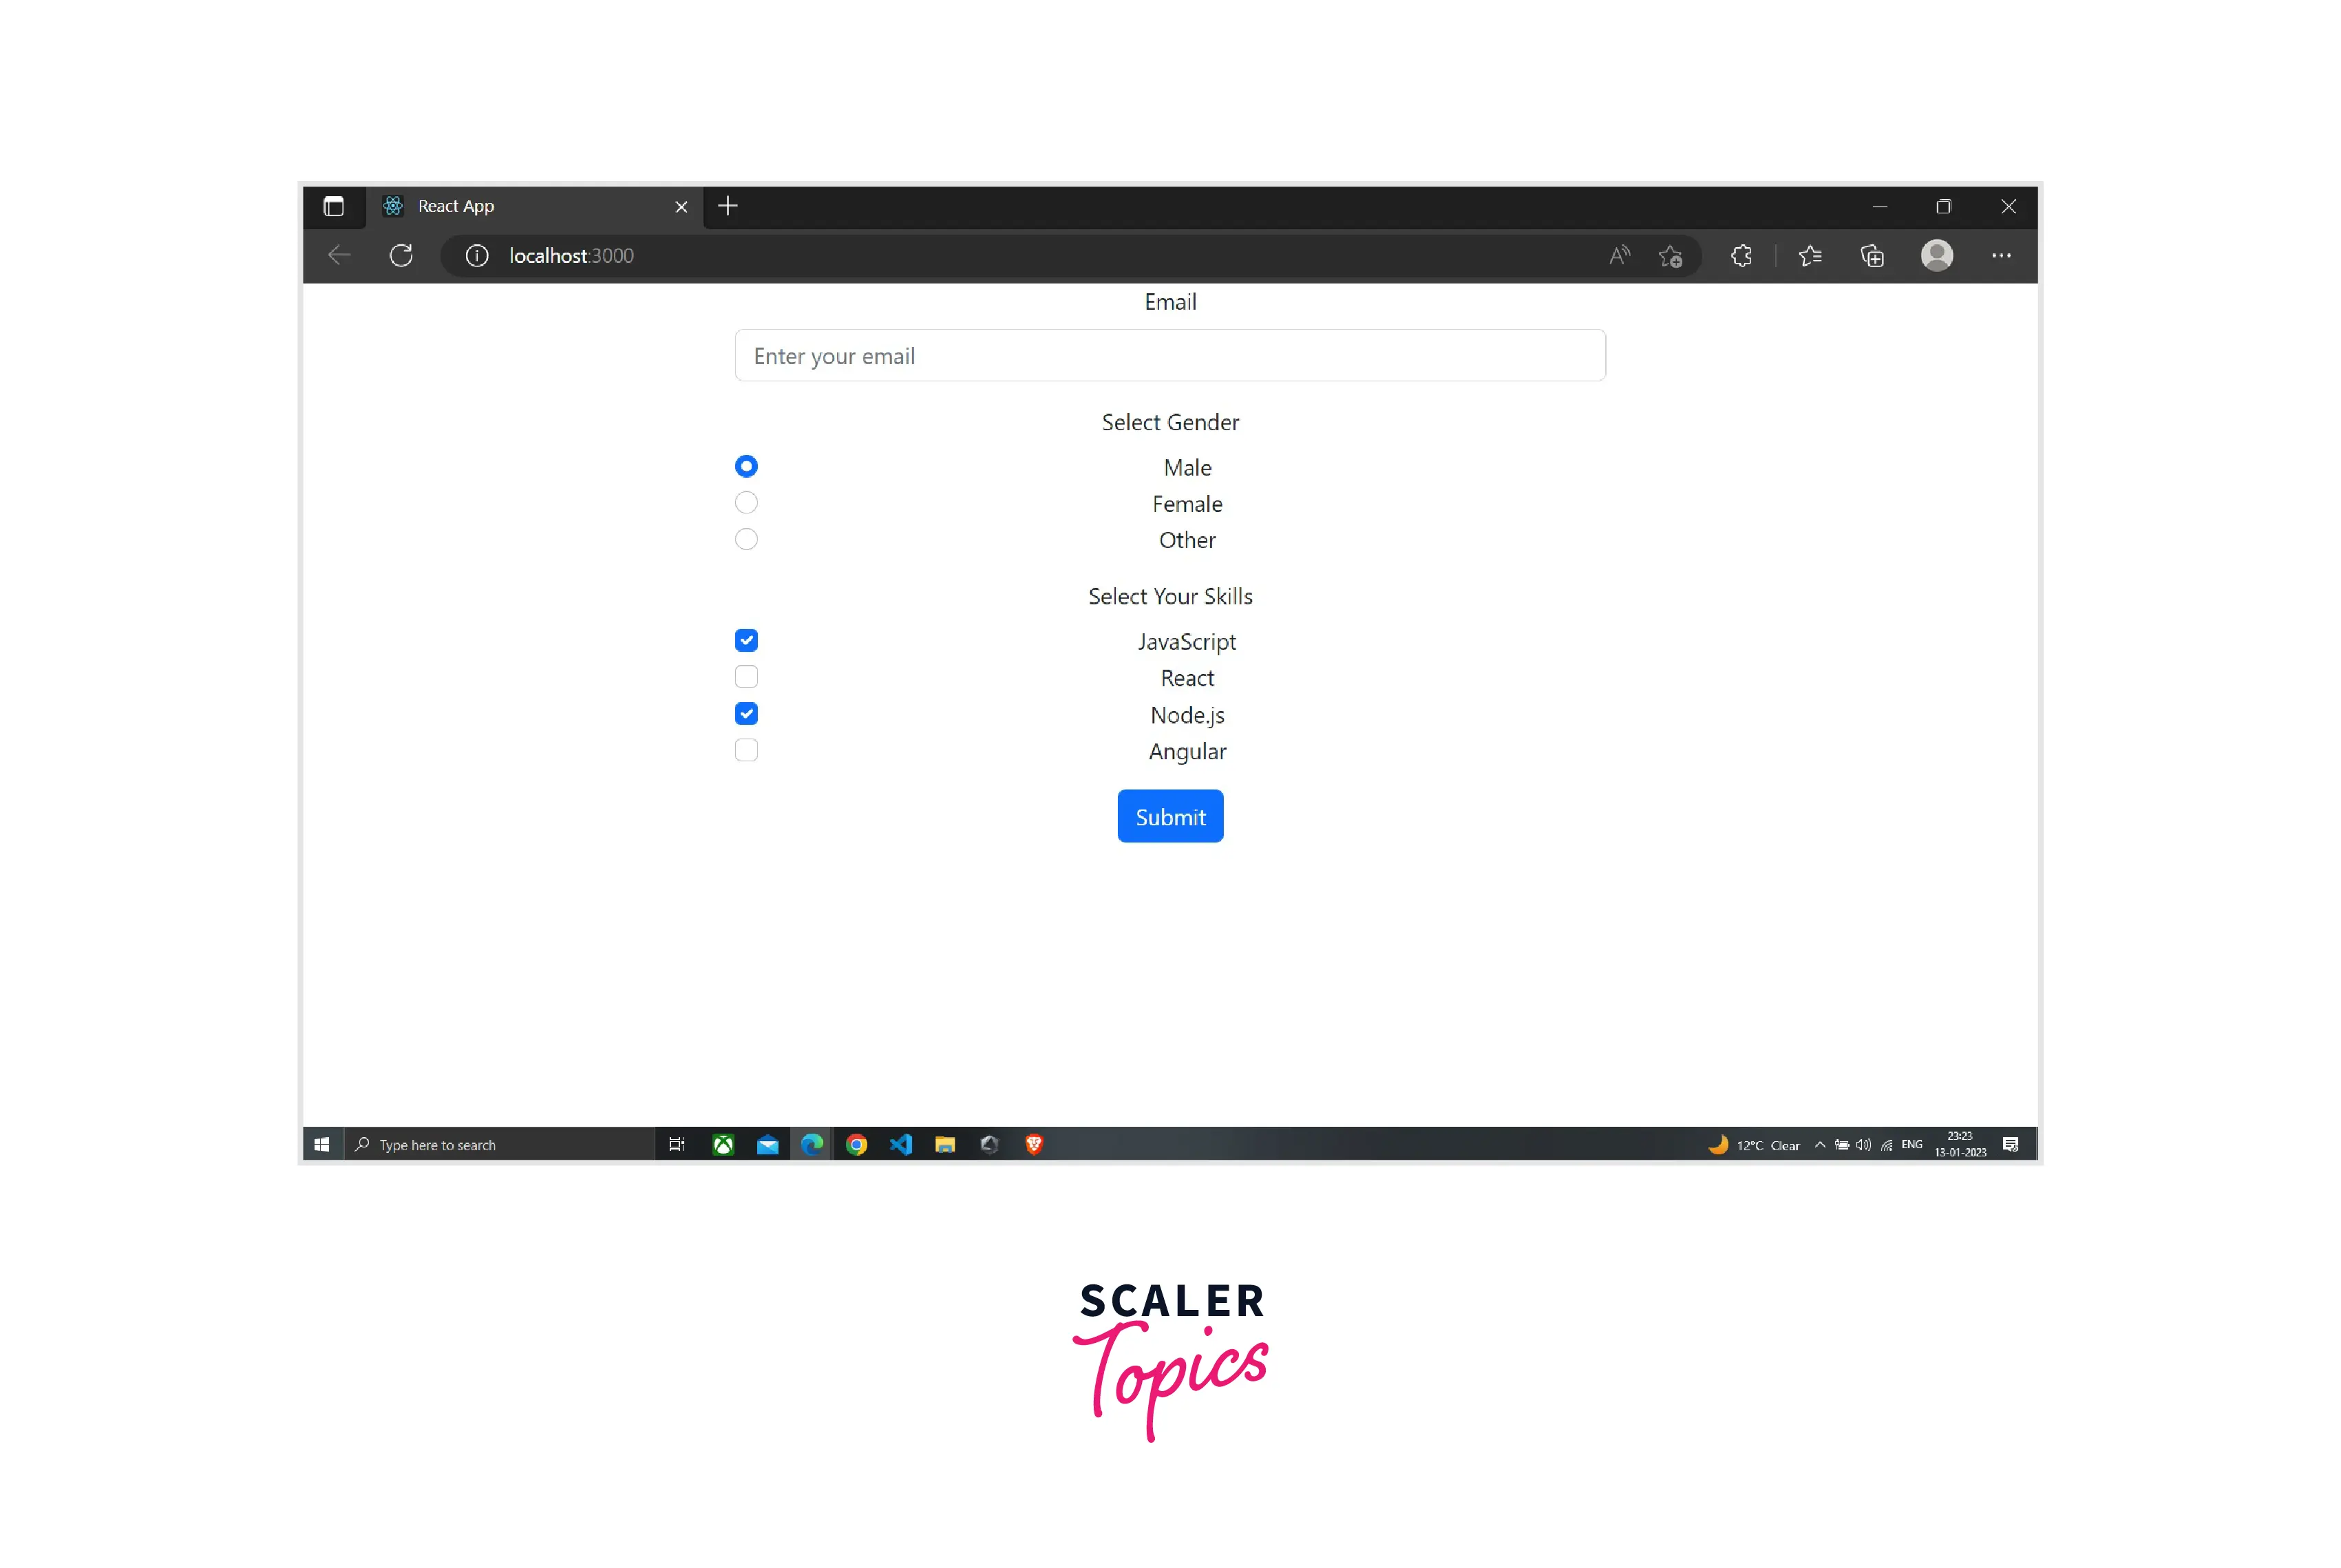
Set Initial Values for Radio Buttons And Checkboxes
We will be using react-bootstrap in the following example and Form. Check is one of its components.
First, we should see how exactly we create radio buttons and checkboxes and after that, we will be covering how to set initial values for them.
It is observed in the code above that gender and skills has been passed as the name to the register in all of the radio buttons and checkboxes, respectively. A further thing to keep in mind is that just the first radio button or checkbox has the required field validation implemented. Since we're utilizing the same name, we are not required to give each radio button and checkbox the same validation.
We can once more make use of the defaultValues option from the useForm hook to provide initial values for the radio buttons and checkboxes.
Since we can have a variety of skills, they are an object, as depicted above. Therefore, we only want to display the checkboxes that have the value true in the skills object, and the radio button is chosen if its value is male.
To determine the skills for which the value is true for the defaultValues option, we are looping over the object of the skill by utilizing the filter method, as seen below:
The skills array will become ["JavaScript", "nodejs"] after the filter method because the JavaScript and nodejs values are true. The defaultValues object would therefore appear as follows:
Because of this, only the skills for JavaScript and Node.js will be verified by default when the page loads, along with the male gender.
Keep in mind that the value used for the checkbox must match the case employthe object of the skillobject.
Because nodejs is the value of the checkbox, even if Node.js is the label, we are writing nodejs as the key in the initialValues object.
Below is the full code for the example.
React Hook Form with Other Libraries
You might find that the external UI element you wish to use in your form doesn't allow ref and can only be managed by the state in particular circumstances.
With the use of a Controller component, React Hook Form will simply interface with any third-party libraries.
To register a third-party component, just like the register function does, React Hook Form offers the wrapper Controller component. In this instance, the control object from the useForm Hook will be used in place of the register method:
Suppose you need to design a role field in the form which will take data from a select input. The react-select package can be used to generate the select input.
In addition to the name of the field, you should pass the control object to the controller component's contrutilizingBy utilizing the rules prop, you can define the rules of valiutilizingBy utilizing the as prop, the controlled component should be sent to the Controller component. To generate the dropdown choices, the Select component also an options prop as well:
The render prop mentioned above gives the child component onChange, onBlur, name, ref, and value. The input is registered by React Hook Form by spreading it into the Select component.
Let us see the full code of the example.
Conclusion
In this article, we have covered the following points.
- React Hook Form adopts the use of uncontrolled inputs via ref rather than relying on the state to regulate the inputs.
- The application utilizes refs rather than state, which results in fewer re-renders than the alternative methods available.
- React hook form is very small in size, and it has no dependencies.
- React hook form can be integrated with UI libraries very easily and efficiently.
- The time it takes to mount while using react hook form is less than with other options.
- React Hook Form lowers the lines of code you have to write.
- The useForm Hook gives back an object with some properties like register, handleSubmit, and formState objects.
- The register method enables you to register/add an input field to a React Hook Form for it to be validated and has changes to its value recorded.
- You can provide validation options to the register function itoimplement validations to a field. The present HTML form validation standard is identical to the validation parameters.
- If there are validation issues, the onSubmit handler will not run and the relevant input field will be put into focus automatically.
- By including a validate validatedyou may even offer several validations for the input field.
- With the use of a Controller component, React Hook Form will simply interface with any third-party libraries.