Thought Process to Create a Component in React
Overview
In React, a component is the basic building piece. Creating components that are genuinely adaptable and maintainable enables you to make your components future-proof.
Creating a difficult-to-maintain react component may result in a cumbersome situation for both the developer and the component's user and that's why a proper thought process is necessary to create a react component.
Understanding The Pattern
Compound components refer to the design pattern we'll employ when creating react components. The most widely used react libraries have implemented the compound component pattern. Its appeal stems from the fact that it enables you to create extremely flexible components in react.
The HTML elements for <select> and <option> provide a straightforward illustration of a compound react component, which will help us think in react. A simple example of this pattern is:
To get a better idea of the thought process to create a component, we need to understand the pattern deeply, draw boxes around each component (and subcomponent) in the fake and give them all names as your initial step. Go chat with your designer if you are working with them; they may have already done this. Your React components' names could end up matching their Photoshop layer names!
But how do you decide which part needs to be its own? Apply the same methods when deciding whether to develop a new object or function. One such technique is the single responsibility principle, that is, a component should ideally only do one thing. If it ends up growing, it should be decomposed into smaller subcomponents.
Since you frequently show a user a JSON data model, if your model was designed properly, your UI (and consequently your component structure) will map well. This happened because UI and data models frequently follow the same information architecture. Create a componentized UI where each component corresponds to a certain element of your data model.
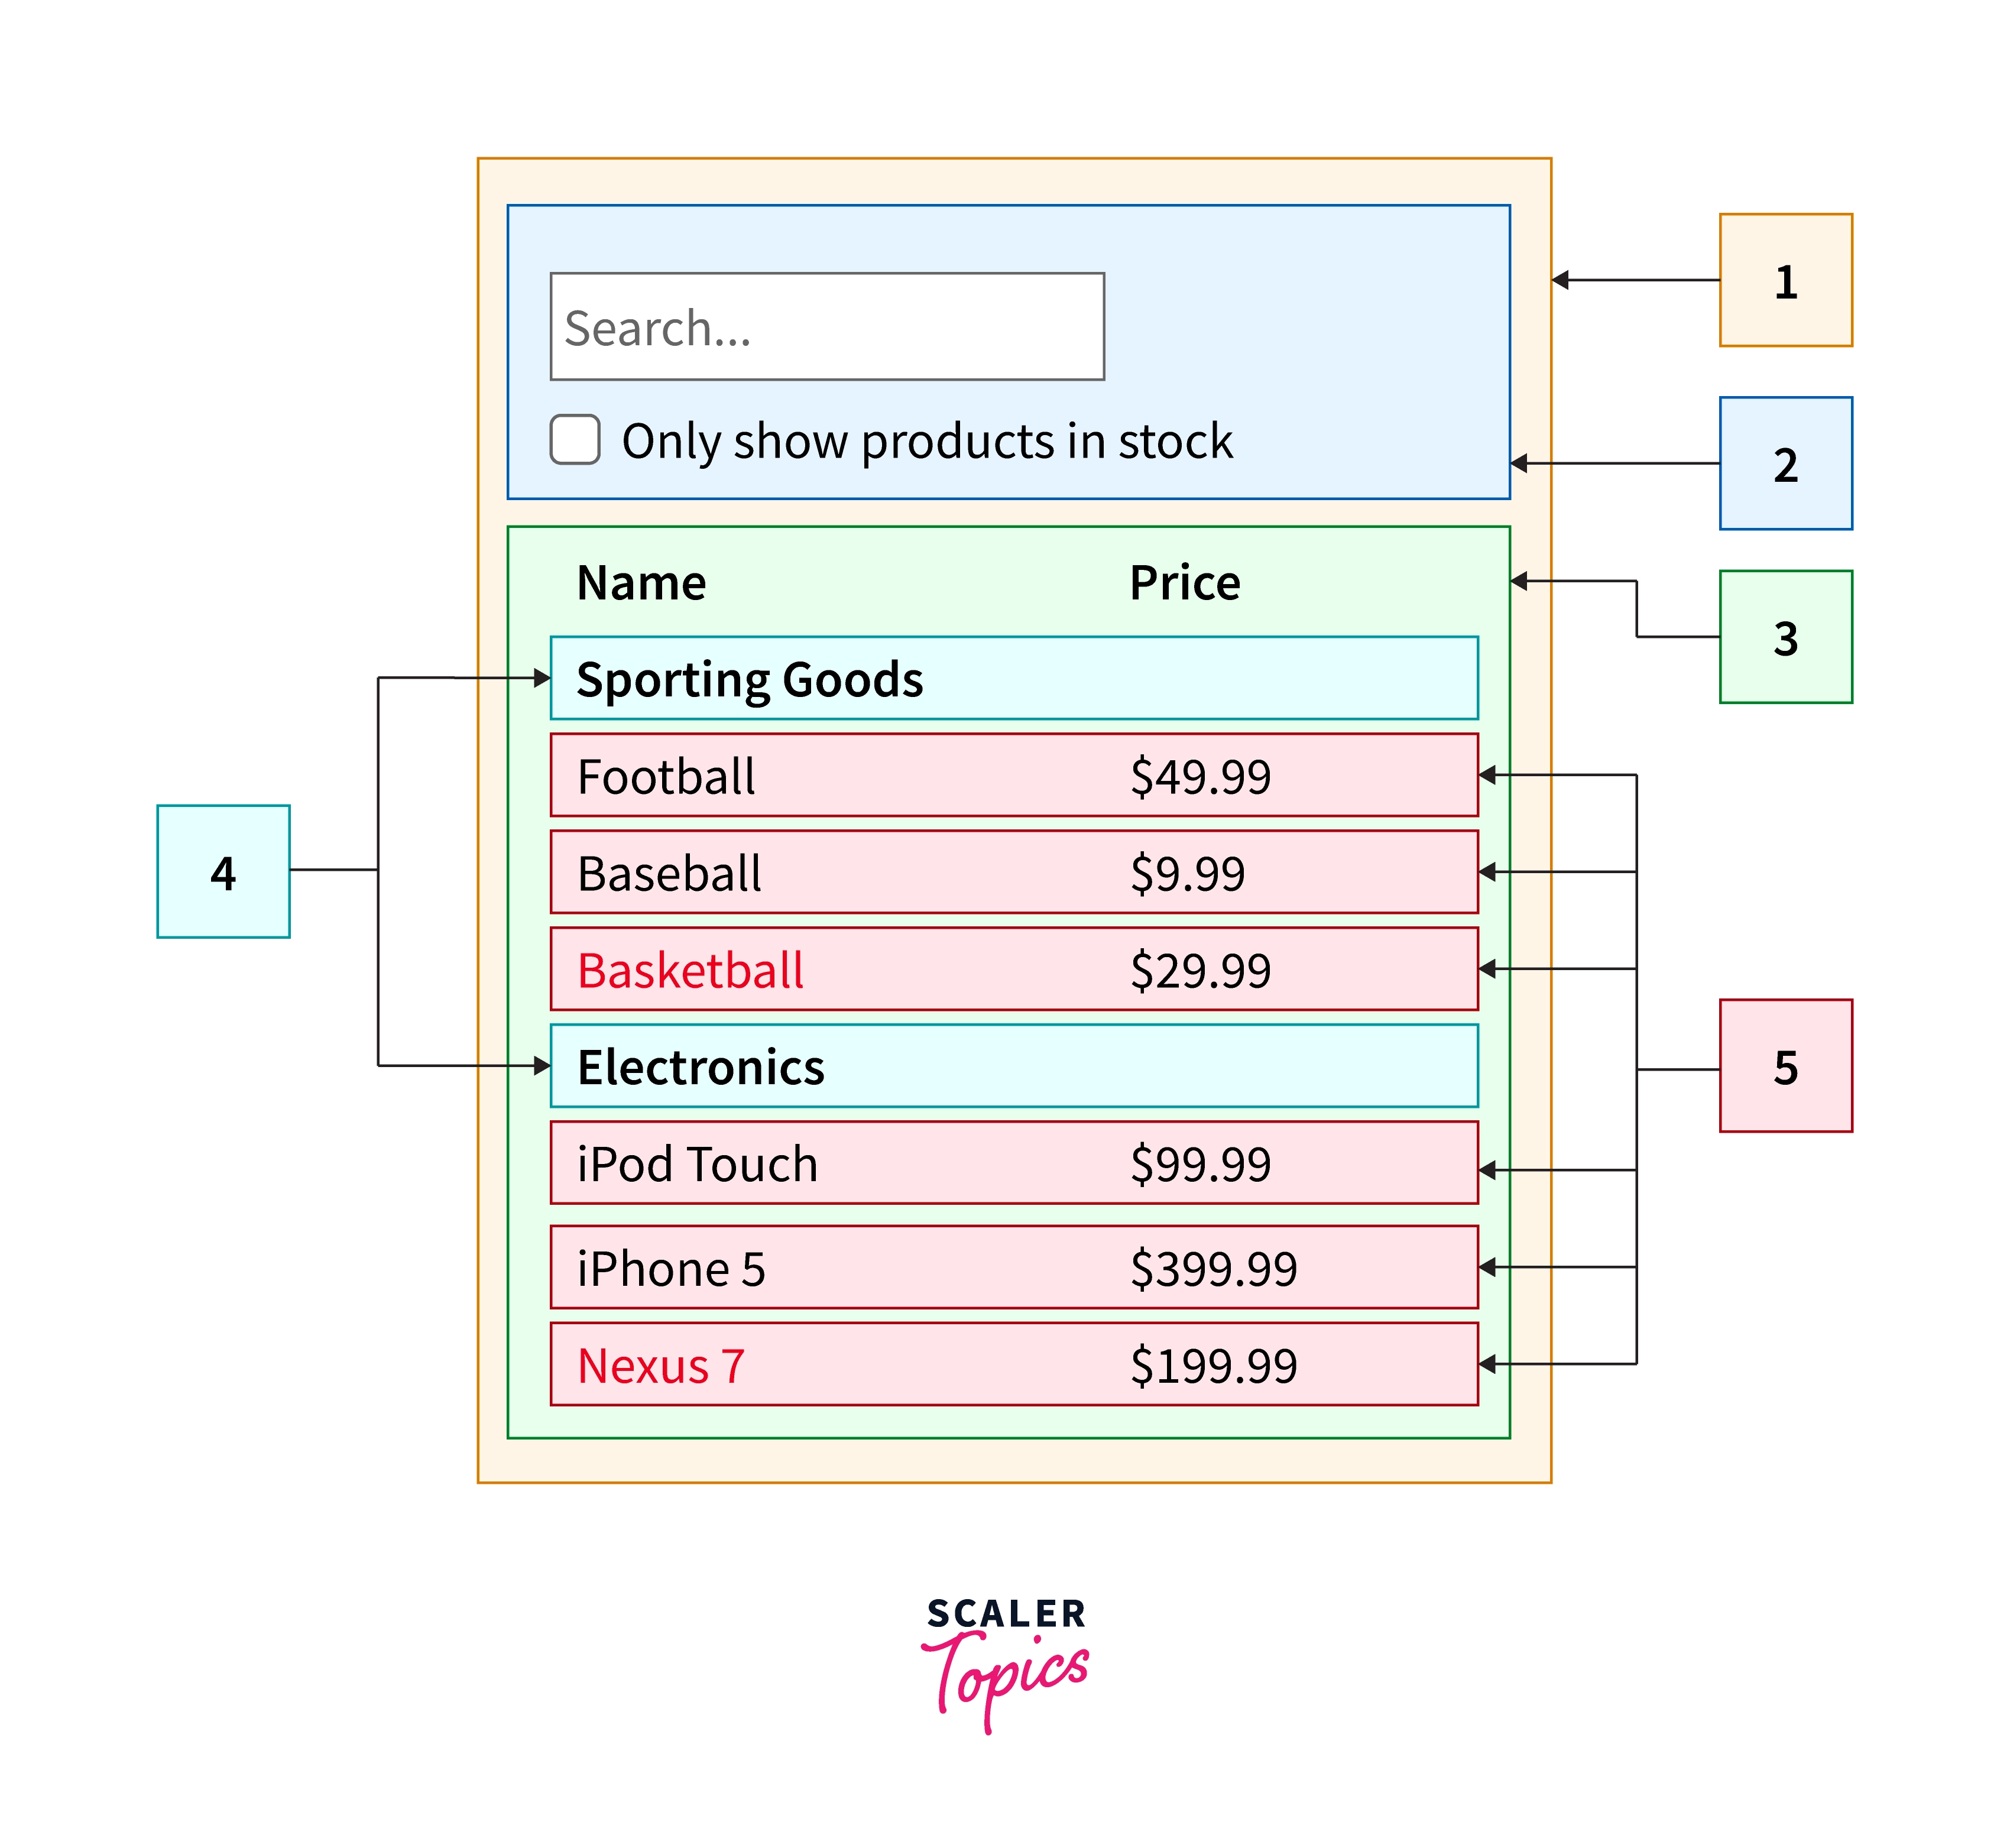
Here, you can see that our app consists of five different parts. The data that each component represents is in italics. The numbers below match the numbers in the image.
- FilterableProductTable (orange): consists of the complete
- SearchBar (blue): receives all user input
- ProductTable (green): based on user interaction, shows and filters the data collection.
- ProductCategoryRow (turquoise): a heading for each category is shown
- ProductRow (red): shows a row for every product.
You can see that the table header, which includes the labels "Name" and "Price," is not a separate component by looking at ProductTable. There is room for debate on both sides of this preference issue. For this example, we left it as part of ProductTable because it is part of rendering the data collection which is ProductTable’s responsibility. However, if this header grows to be complex (e.g., if we were to add affordances for sorting), it would certainly make sense to make this its own ProductTableHeader component.
Let's create a hierarchy for the react components in our mock we will maintain the order for better understanding. In our mock, components that are contained by other components should be treated as children in the hierarchy. Our hierarchy structure will look like this:
- FilterableProductTable
- SearchBar
- ProductTable
- ProductCategoryRow
- ProductRow
Transform Your Career
Choose from our industry-leading programs designed for career success
Modern Software and AI Engineering Program
Master full-stack development with AI integration

Modern Data Science and ML with specialisation in AI
Advanced data science techniques with AI specialization
Advanced AIML with Specialisation in Agentic AI
Deep dive into AIML with focus on Agentic systems
DevOps, Cloud & AI Platform Engineering
Build and manage AI-powered cloud infrastructure
AI Engineering Advanced Certification by IIT-Roorkee
Premier AI engineering certification from IIT-Roorkee
Creating a Common Parent Component
Writing robust components will make it easier to rapidly and easily integrate new modifications than not.
Creating a parent component that will provide API, data, and states shared by all of its children is the first step at this point. React context can be used to share states and APIs from this component with all of its children.
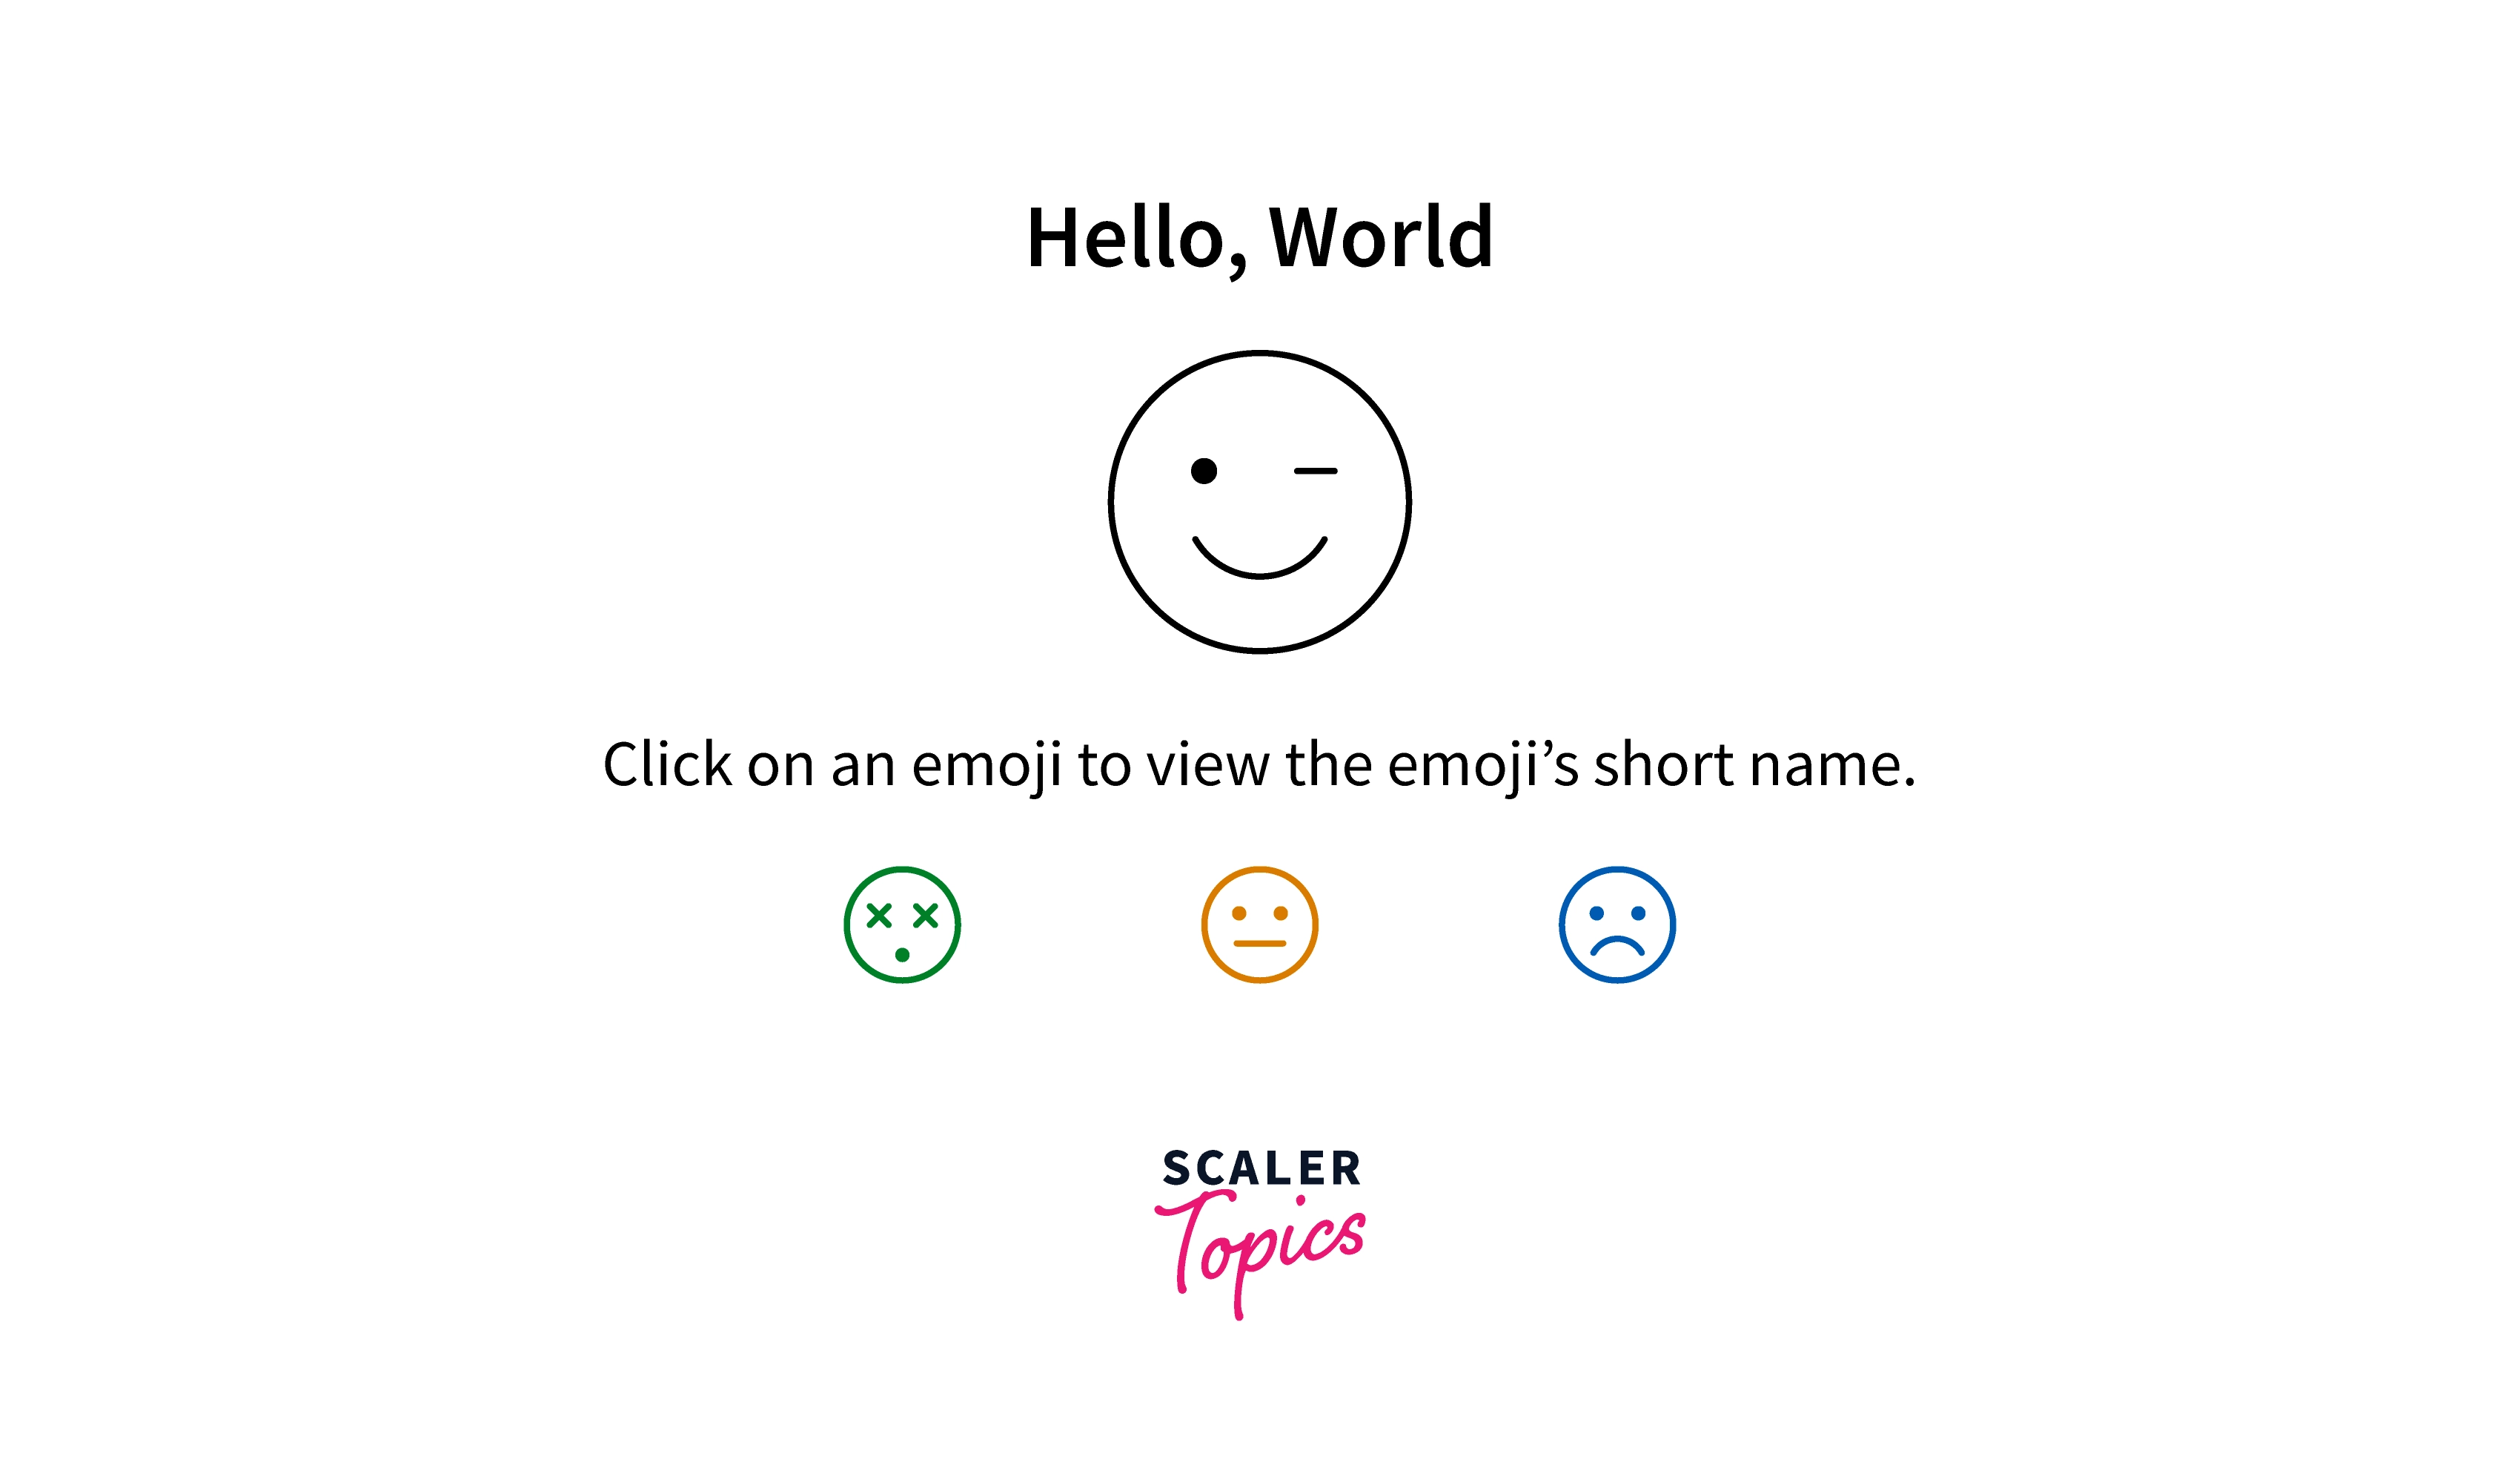
Let's build a straightforward toggle component that, depending on its toggle state, will show a message.
Example
After creating the parent, since we are now aware of our component hierarchy, It's time to put your app into action. The simplest method is to create a version that produces the UI using your data model but lacks interaction. It is best to separate these processes since adding interactivity involves more thought than providing a static version, which requires more typing and less thinking. We'll find out why.
You should create components that reuse other components and send data using props if you want to create a static version of your app that renders your data model. Data can be passed from parent to kid using props. Don't utilize the state at all to create this static version if you are familiar with the idea of the state. Only interactive data, or data that evolves, is allowed to have a state. You don't need it because this is the static version of the app.
You'll have a library of reusable parts that render your data model once you've finished this stage. This static version of your app only has to render() methods. Therefore, the components will only have that functionality. Your data model will be used as a prop by the component at the top of the hierarchy (FilterableProductTable). If you call root and alter your underlying data model. Once more, calling render() will update the UI. You can see where adjustments need to be made and how your UI has been modified. One-way binding, or one-way data flow, is a feature of React that keeps everything quick and modular.
Create A Guard Hook
In the thought process to create a component, an important step is you can stop using the child components outside of the parent context by using this guard hook.
Example
Along with creating a guard hook to find The Minimum (Yet Complete) Representation of The UI. You need to be able to cause changes to your underlying data model to make your user interface interactive. State allows React to accomplish this.
You must first determine the bare minimum of mutable state that your app requires to design it appropriately. Here, DRY is crucial: Avoid reiterating yourself. Determine the bare minimum representation of the state that your application requires, then compute the rest when you require it. If you're creating a TODO list, for instance, maintain an array of the items nearby rather than a distinct state variable for the count. Take the length of the TODO items array instead when rendering the TODO count.
Consider every single piece of data in our illustrative application. We possess
- The initial selection of goods
- The user entered the search term
- The checked-off item's value
- The product selection list
Find out which one is state by going through each one. Ask three inquiries concerning each bit of information:
- Does it come from a parent through props? If so, it's unlikely to be state.
- Is it still the same over time? If so, it's unlikely to be state.
- Is it possible to calculate it using any other state or prop in your react component? Otherwise, it isn't a state.
That is not state because the original list of products is provided as props. Since they change over time and cannot be computed from anything, the search text and the checkbox appear to be state. Finally, the filtered list of items isn't necessary because it can be calculated by adding the search phrase, the value of the checkbox, and the original list of products.
Thus, to sum up, our state is:
- The user entered the search term
- The checked-off item's value
Create Child Components
For the parent Toggle component, you may now create child components. You should bear in mind that you can use these child components right inside the toggle. It just implies that you can hand them their props. They don't need to be added to the parent component. It will enable maintaining the separation between the parent and child.
The idea is that the parent component shouldn't be aware of the contents of the child component.
Example
We've determined the bare minimum set of app state, all right. The next step is to determine which react component owns or modifies this state.
Keep in mind that one-way data flow along the component hierarchy is the foundation of React. Which component should control which state might not be obvious right away? To understand this, which is frequently the most difficult component for novices to grasp, take the following steps:
Each state in your application is as follows:
- Each component that renders something based on that state should be noted.
- Find a component with a shared owner (a single component above all the components that need the state in the hierarchy).
- The state should belong to either the common owner or a component higher up in the hierarchy.
- Create a new component specifically for holding the state and add it someplace in the hierarchy above the common owner component if you are unable to locate a component where it makes sense for it to be owned.
Let's go over this plan of action for our application:
- State-based product list filtering is required by ProductTable, and the search text and checked state must be shown in SearchBar.
- FilterableProductTable is the component with the common owner.
- The existence of the filter text and checked value in the FilterableProductTable makes conceptual sense.
Cool, so we've concluded that FilterableProductTable is where our state resides. First, add an instance property this.state = {filterText: '', inStockOnly: false} to FilterableProductTable’s constructor to reflect the initial state of your application.
After that, give a prop to ProductTable and SearchBar along with filterText and inStockOnly. Finally, you can use these props to filter the ProductTable's row data and modify the SearchBar's form fields.
By setting filterText to "ball" and refreshing your application, you can begin to see how your application will function. You'll observe that the data table has been accurately updated.
Compound Component in Action
You'll value this explicitness and modularity as you begin to construct sizable libraries of components, and as you start to reuse code, your lines of code will begin to decrease.
Building a Functional Component
You'll construct a useful react component in this phase. In modern React coding, functional components are the most prevalent. As opposed to class-based components, these are frequently shorter, and support React hooks, a novel approach to state and event handling.
A JavaScript function that returns some JSX is a functional component. There are no particular techniques to memorize, and nothing needs to be extended. You must convert the class to a function, get rid of the render method, and leave only the return statement to transform <Instructions> into a functional component.
Open Instructions.js in a text editor first to begin.
$nano src/components/Instructions/Instructions.js
Change the class declaration to a function declaration:
Next, remove the import of { Component }:
The render() method should then be deleted. You are now only returning JSX at that point.
File saving. Your page will appear as it did earlier after the browser has refreshed.
The function could easily be rewritten utilizing the implicit return as an arrow function. The primary distinction is that your body stops functioning. Additionally, you must first export the variable before assigning the function to it:
Class-based components and simple, functional components share many similarities. It's better to utilize a functional component when you have a straightforward component that doesn't keep state. How you save a component's state and use properties is where the true distinction between the two lies. Class-based components are often a little bit lengthier and employ methods and properties to set state. Functional components are often a little bit shorter and employ hooks to store state or manage changes.
Mistakes to Avoid While Building Components
Here are some of the greatest maintenance blunders that cause nothing but pain and frustration.
- Constructing intricate components.
- Adding additional duties to a single component.
- Building elements and several moving parts.
- Incorporating business logic into components.
React Component is the smallest reusable unit in the React framework. Compared to the AngularJS framework's Controller and View, it is lighter. This makes it possible for web developers to offer just one render function—one that converts props and state into HTML components.
Such a little useful component is ideal for creating simple, static websites. Nevertheless, sending callback functions as parameters is a need if there are interactions between different components. We have to nest dozens of components from the inside out, where those callback methods are passed through from parent to child components across layers and levels, especially for webpages with complex architecture. Applying the React framework to intricate interactive web applications can only lead to the codebase getting too cluttered to maintain.
React framework uses a virtual DOM differentiation mechanism for web page rendering. React will build real DOMs based on the virtual DOMs provided by render functions, which developers are expected to provide. These virtual DOMs are created by props and state.
If there is a change in state, React will execute render functions once more and then generate new virtual DOMs. It will then compare the differences between the new and old virtual DOMs and apply those findings to the actual DOM.
There are two flaws in the procedure:
- Render functions will always create fresh, finished virtual DOMs, regardless of what is altered in-state. Extremely complex render functions squander valuable computer resources.
- The React framework cannot accurately and quickly compare two DOM versions. For example, if you wanted to add an <li> at the top of a <ul> form, the React framework would assume that you changed all of the <ul> components and added an <li> at the end.
Learning the above-discussed simple five strategies will not only enable you to create React extremely maintainable components. Additionally, you'll be able to strengthen their resilience and future-proof them.
Conclusion
So, in this article, we have learned about the following:
- How a pattern is created to develop a react component.
- Creating a common parent component for react component.
- Create a Guard Hook for your component.
- Create several child components for parent.
- Building a Functional Component.
- Mistakes to avoid while building react components.
- Constructing intricate components.
- Adding additional duties to a single component.
- Building elements and several moving parts.
- Incorporating business logic into components.