Writing Markup with JSX
Overview
The term JavaScript XML (JSX) refers to a syntactic enhancement for JavaScript that is based on ES6, the most recent "version" of JavaScript. By transforming HTML into React components, JSX in React enables you to write HTML in it, making the code simpler for you to build user interfaces for your online apps.
While JSX is not required to program in React, many developers prefer JSX for development and troubleshooting.
Introduction
JSX represents JavaScript XML. JSX in React enables us to write HTML in it.
JSX is a JavaScript syntactic extension that allows you to construct HTML-like content within a JavaScript file. Although there are various ways to construct components, the majority of codebases use JSX since it is more compact and is preferred by most React developers.
Since JSX is the language used to create React elements, it serves as the basis for any markup that React will incorporate into your applications. Because JSX allows you to include JavaScript in your HTML, you'll be able to use JavaScript functions and techniques like array mapping.
Consider an instance of what happens behind the scene when JSX is "translated" into React!
You can see how much complexity is added to the code when JSX is translated into React by comparing the result to the JSX implementation. You can write more readable, editable, and cleaner code by using JSX rather than writing directly in React.
JSX code is automatically converted into JavaScript during runtime when it is written in JSX. Babel compiles your code into ES5 (the older JavaScript language) that supports all browsers to "translate" from JSX into JavaScript and React.
Why JSX?
We understood what is JSX but why do we actually need it?
Although it is not necessary to use JSX when writing React, doing so makes the process simpler because it enables you to specify the UI in HTML. JSX has the full power of JavaScript, according to its developers.
In addition to providing visual elements that are valuable when working with JavaScript UI, JSX enables React to display more informative error and warning messages for simpler debugging. JSX will throw an error your way if the HTML is incorrect or lacks a parent element so you can fix it right away.
Coders have the option of separating markup and logic into different files. React decided to group them into "components," which are loosely linked parts.
Transform Your Career
Choose from our industry-leading programs designed for career success
Modern Software and AI Engineering Program
Master full-stack development with AI integration

Modern Data Science and ML with specialisation in AI
Advanced data science techniques with AI specialization
Advanced AIML with Specialisation in Agentic AI
Deep dive into AIML with focus on Agentic systems
DevOps, Cloud & AI Platform Engineering
Build and manage AI-powered cloud infrastructure
AI Engineering Advanced Certification by IIT-Roorkee
Premier AI engineering certification from IIT-Roorkee
JSX Rules
Return a Single Root Element
Use a single parent tag to contain all of the elements that the component returns. The example below has one parent div element which nests all other divs and other headings.
You can render many components in place of one using the Fragment component, which is frequently used with the <>...</> syntax, without enclosing them in another container element. It is not mandatory to use extra <div> to your markup, instead, you can use <> and </> as:
Fragments are helpful because, unlike wrapping the elements in another container like a DOM element, grouping elements with a Fragment has no impact on layout or styling. You can use the browser tools to examine the example and notice that all of the DOM nodes for the <h3> and other tags display as siblings without wraps.
Close All the Tags
In JSX, tags must be explicitly closed: self-closing tags like <input> must be <input />, and wrapping tags like <li>languages must always be represented as <li>languages</li>.
camelCase
JSX turns into JavaScript and attributes written in JSX become keys of JavaScript objects. In your components, you will often want to read those attributes into variables. But JavaScript has limitations on variable names.
For example, their names can’t contain dashes or be reserved words like class.
This is why, in React, many HTML and SVG attributes are written in camelCase.
For example, instead of stroke-width, you use strokeWidth. Since the class is a reserved word, in React you write className instead, named after the corresponding DOM property:
Turn Learning into Career Growth
Use a JSX Converter
It can be tough to convert all of these variables in existing markup! We advise converting your current HTML and SVG to JSX using a converter. Even though converters are helpful in practice, it is still important to understand how things work so that you can confidently develop JSX on your own.
React Code:
Here's one converter that you can use : transform.tools
Converting HTML to JSX
Let's understand the conversion of HTML to JSX with an example:
HTML Code:
And you want to put the above HTML code into your component:
Now, if you copy the HTML code and paste it into your component, then it won't work and throw errors.
There needs to be an enclosing tag around any adjacent JSX items. This is due to JSX having a few additional rules and being stricter than HTML!
JSX: Putting Markup into JavaScript
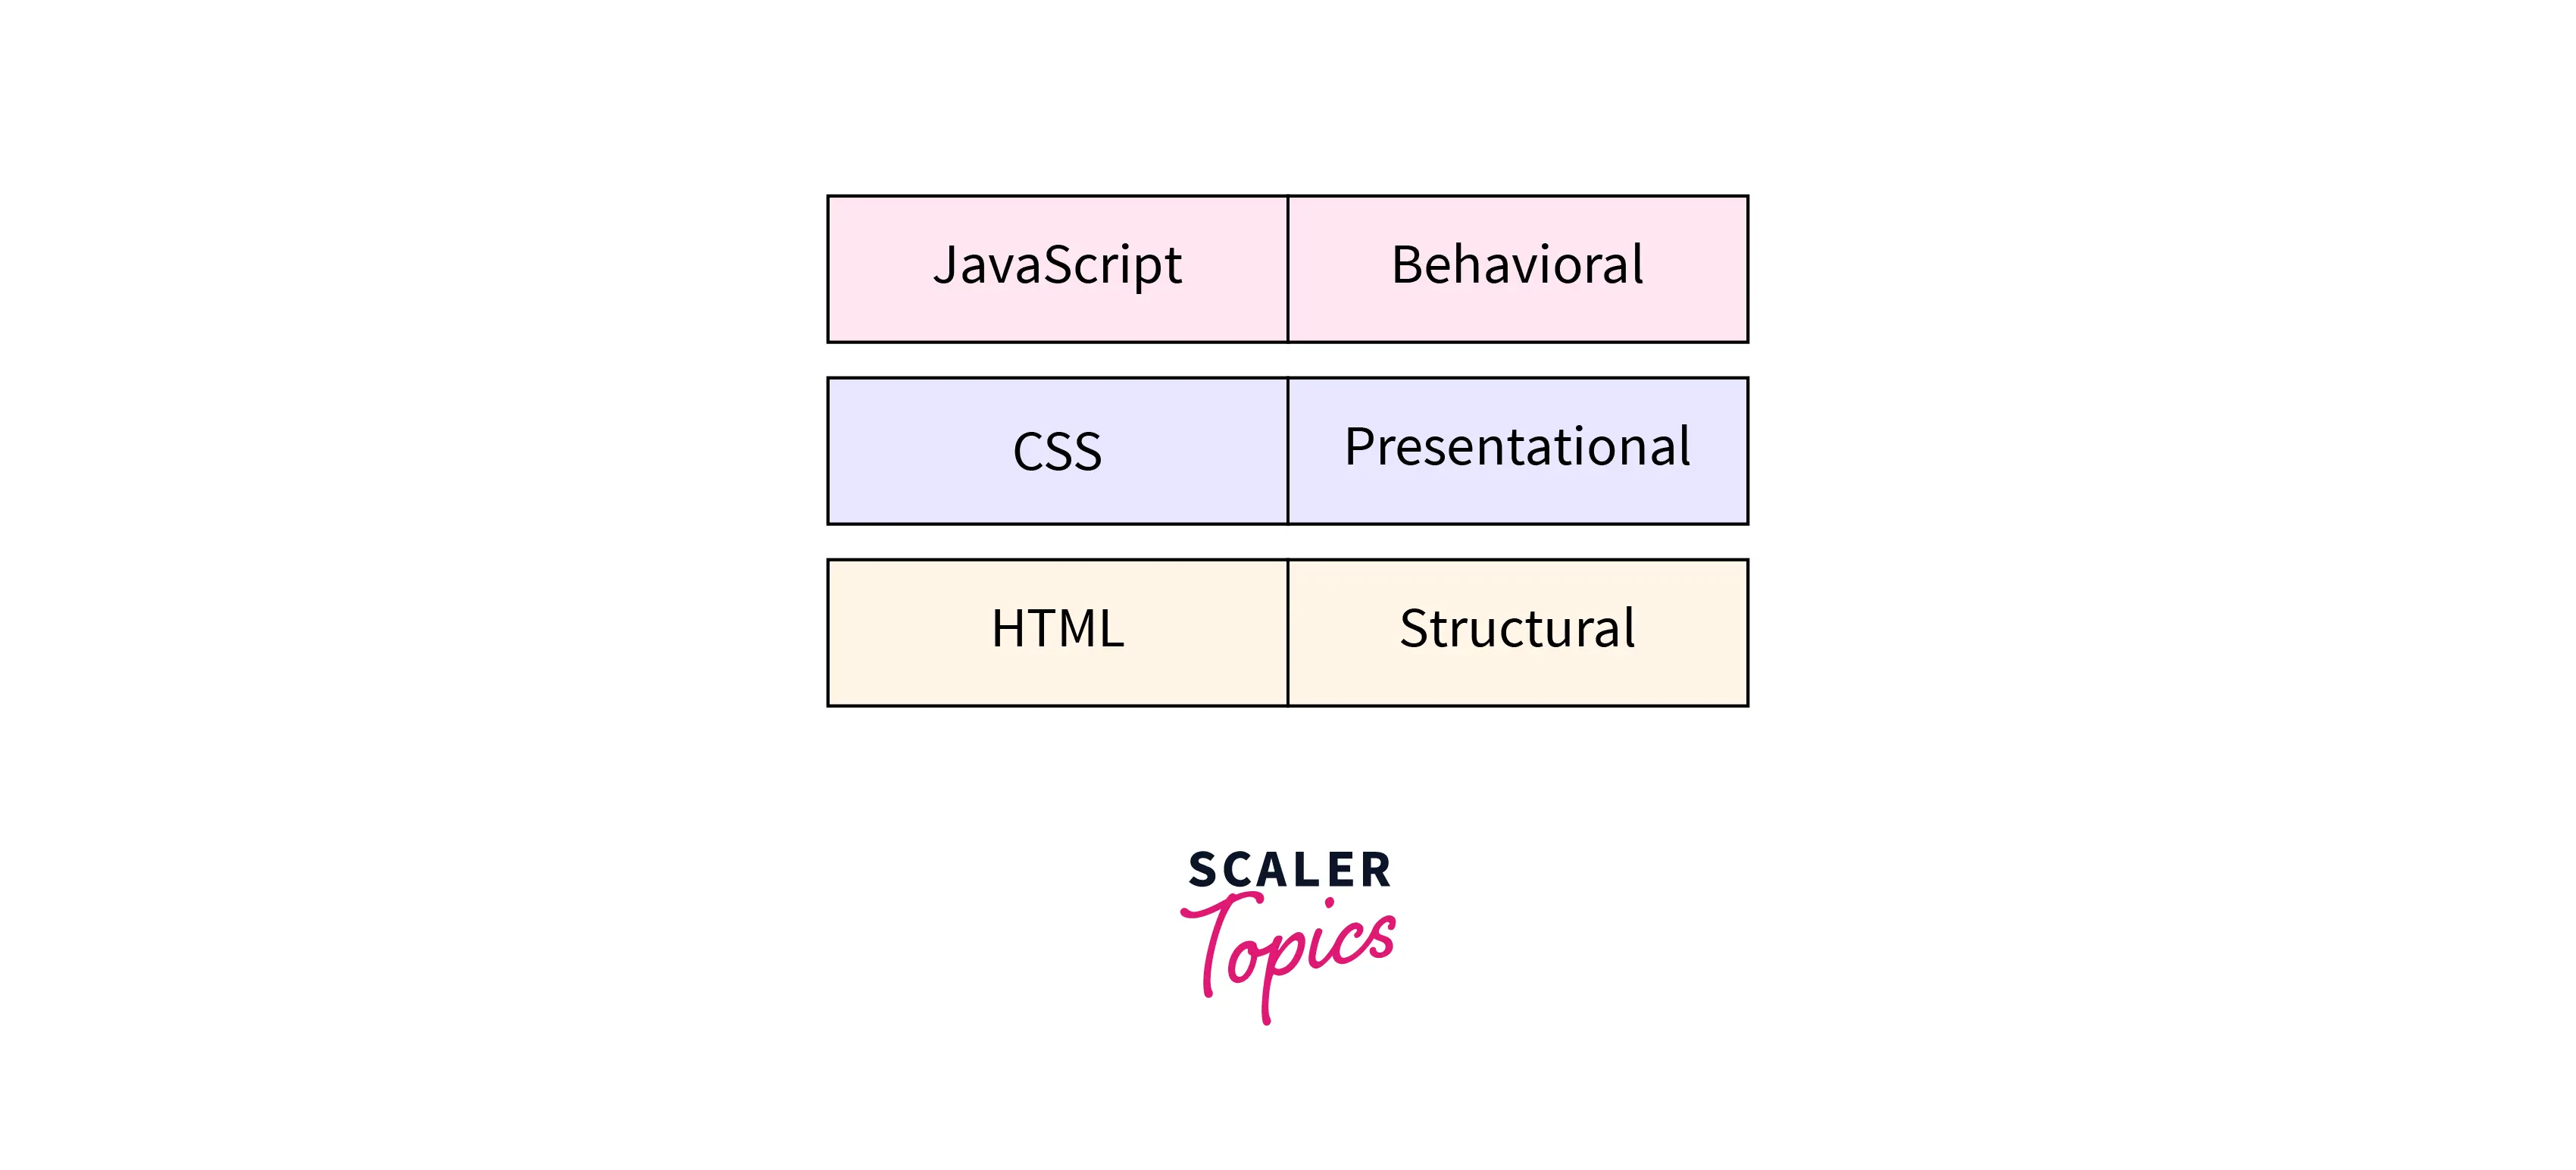
HTML, CSS, and JavaScript have been the foundation of the Web. For a long time, web developers kept their HTML code, CSS designs, and JavaScript logic in distinct files. HTML was used to mark up the content, while JavaScript was used to handle the page's functionality separately.
On the other hand, as the Web became more interactive, logic takes on greater and more importance. HTML design was under JavaScript's control! Because of this, rendering functionality and markup exist in React in the form of components.
The rendering function and markup of a button are kept together, which makes sure that they remain in sync throughout every modification. On the other hand, details that are unrelated to one another, such as the markup of a navbar and a button, are separated from one another, making it safer to update each of them separately.
Every React component is a JavaScript method that may also contain some markup, which is rendered into the browser by React. That markup is represented by JSX, a syntax extension used by React components. Although it has a similar appearance to HTML, JSX is a little more restrictive and can show dynamic data.
Embedding Expressions in JSX
The following example declares a variable called fruit, which is subsequently used inside of JSX by being enclosed in curly braces:
In JSX, the curly brackets can contain any valid JavaScript expression. A few examples of acceptable JavaScript expressions include , user.lastName, etc.
Additionally, JSX markup can contain a function that returns a value. A function called increment() has been added to the Count component below. The purpose of this function is to check the count state and return the string value of "No value" if it is zero. It simply returns the value if it is greater than 0. This function can be used in JSX markup with the syntax {this.increment()}, which outputs the value returned by the function.
Specifying Attributes with JSX
String literals can be specified as attributes using quotes:
Use curly braces ({}) instead of quotation marks ("") to specify the value of a JavaScript expression.
Embedding JavaScript expressions in attributes requires no quotation marks around curly braces. If you want to use quotes and curly braces in the same attribute, string values should be enclosed in quotes, while expressions should be enclosed in curly braces.
Scaler Placement Report and Statistics
Scaler learners achieved 2.5x salary growth with average post-Scaler CTC reaching ₹23L.
Specifying Children with JSX
More JSX components can be provided for the children. This helps present components that are nested:
Explanation:
String literals and JSX children are both acceptable combinations of different sorts of children. This is yet another instance of how JSX is similar to HTML, making it both acceptable JSX and acceptable HTML:
Explanation:
It should be noted that while one JSX expression can have numerous children, a React component cannot return more than one React element. In the example above, as a result, you can wrap numerous components in a div, to render various elements.
Conclusion
- React uses the JavaScript Extension Syntax, or JSX, to make it simple to combine JavaScript and HTML.
- Only items that evaluate a value, such as strings, numbers, array map methods, and other constructs, are permitted in JSX expressions, which are expressed inside curly brackets.
- When adding classes to HTML elements in React, we must use className rather than class.
- React uses camelCase for the names of all attributes.
- You can create dynamic elements that are customizable and let your application expand and evolve by combining JavaScript and HTML.