Ruby on Rails Installation
Overview
Ruby on Rails (ROR) is a web development framework known for its convention-over-configuration approach, promoting rapid development through simplified project setup and the MVC framework. It offers built-in features, testing tools, and excellent database support via ActiveRecord ORM. ROR is also scalable and integrates well with deployment platforms like Heroku and AWS.
Introduction
Ruby on Rails (ROR) is a framework built on Ruby, known for its MVC architectural pattern that simplifies web development tasks. This article focuses on installing ROR, guiding you through the process to set up a development environment.
System Requirements
- Ruby: Ruby 3.0 or a more recent version should be set up on your system, to be able to work seamlessly with Ruby on Rails.
- Development Tools: A Text editor and a terminal
Installing Ruby
Installing Ruby involves the following steps:
-
Check for pre-installed Ruby:
Before installing Ruby, check if it's already installed by opening a terminal window and running the command ruby -v.
-
Install Using a Version Manager (Recommended):
It's recommended to use a version manager like RVM or rbenv. We will be using RVM in this article.
-
Install Ruby: Install Ruby by running the command rvm install ruby.
Installing Rails
-
Step 1: In the terminal window, enter the following command:
Executing this command starts the Rails installation process. This command downloads the latest Rails version from the RubyGems repository and installs it in our computer.
-
Step 2: We can check to see if Rails was correctly installed once the installation is complete. Enter this command in the terminal:
Setting up the Development Environment
When using Ruby on Rails, setting up the development environment is an essential step. Following the Ruby and Rails installation, the following tasks are advised:
Installing a Text Editor:
To develop with Ruby on Rails, we'll need an IDE or text editor like Visual Studio Code, Sublime Text, Atom, or RubyMine, along with relevant extensions and plugins for easier coding.
Installing a Database:
Rails supports SQLite, MySQL, and PostgreSQL among other databases. Install a database of their choice from the list of compatible databaes.
Testing the Installation
To ensure that our Ruby on Rails installation is successful, we can create a sample Rails application and verify that it runs correctly. Follow these steps:
Creating a new Rails application:
To start a new Rails application, open a terminal window, navigate to the desired location, and run the command:
This command will create a new myapp named Rails application in a folder with the same name. Rails will create the necessary starting files and structures for a Rails application.
Navigating and start the Rails server:
We need to navigate to the application folder and start the Rails server using the following command in the terminal.
Access the application:
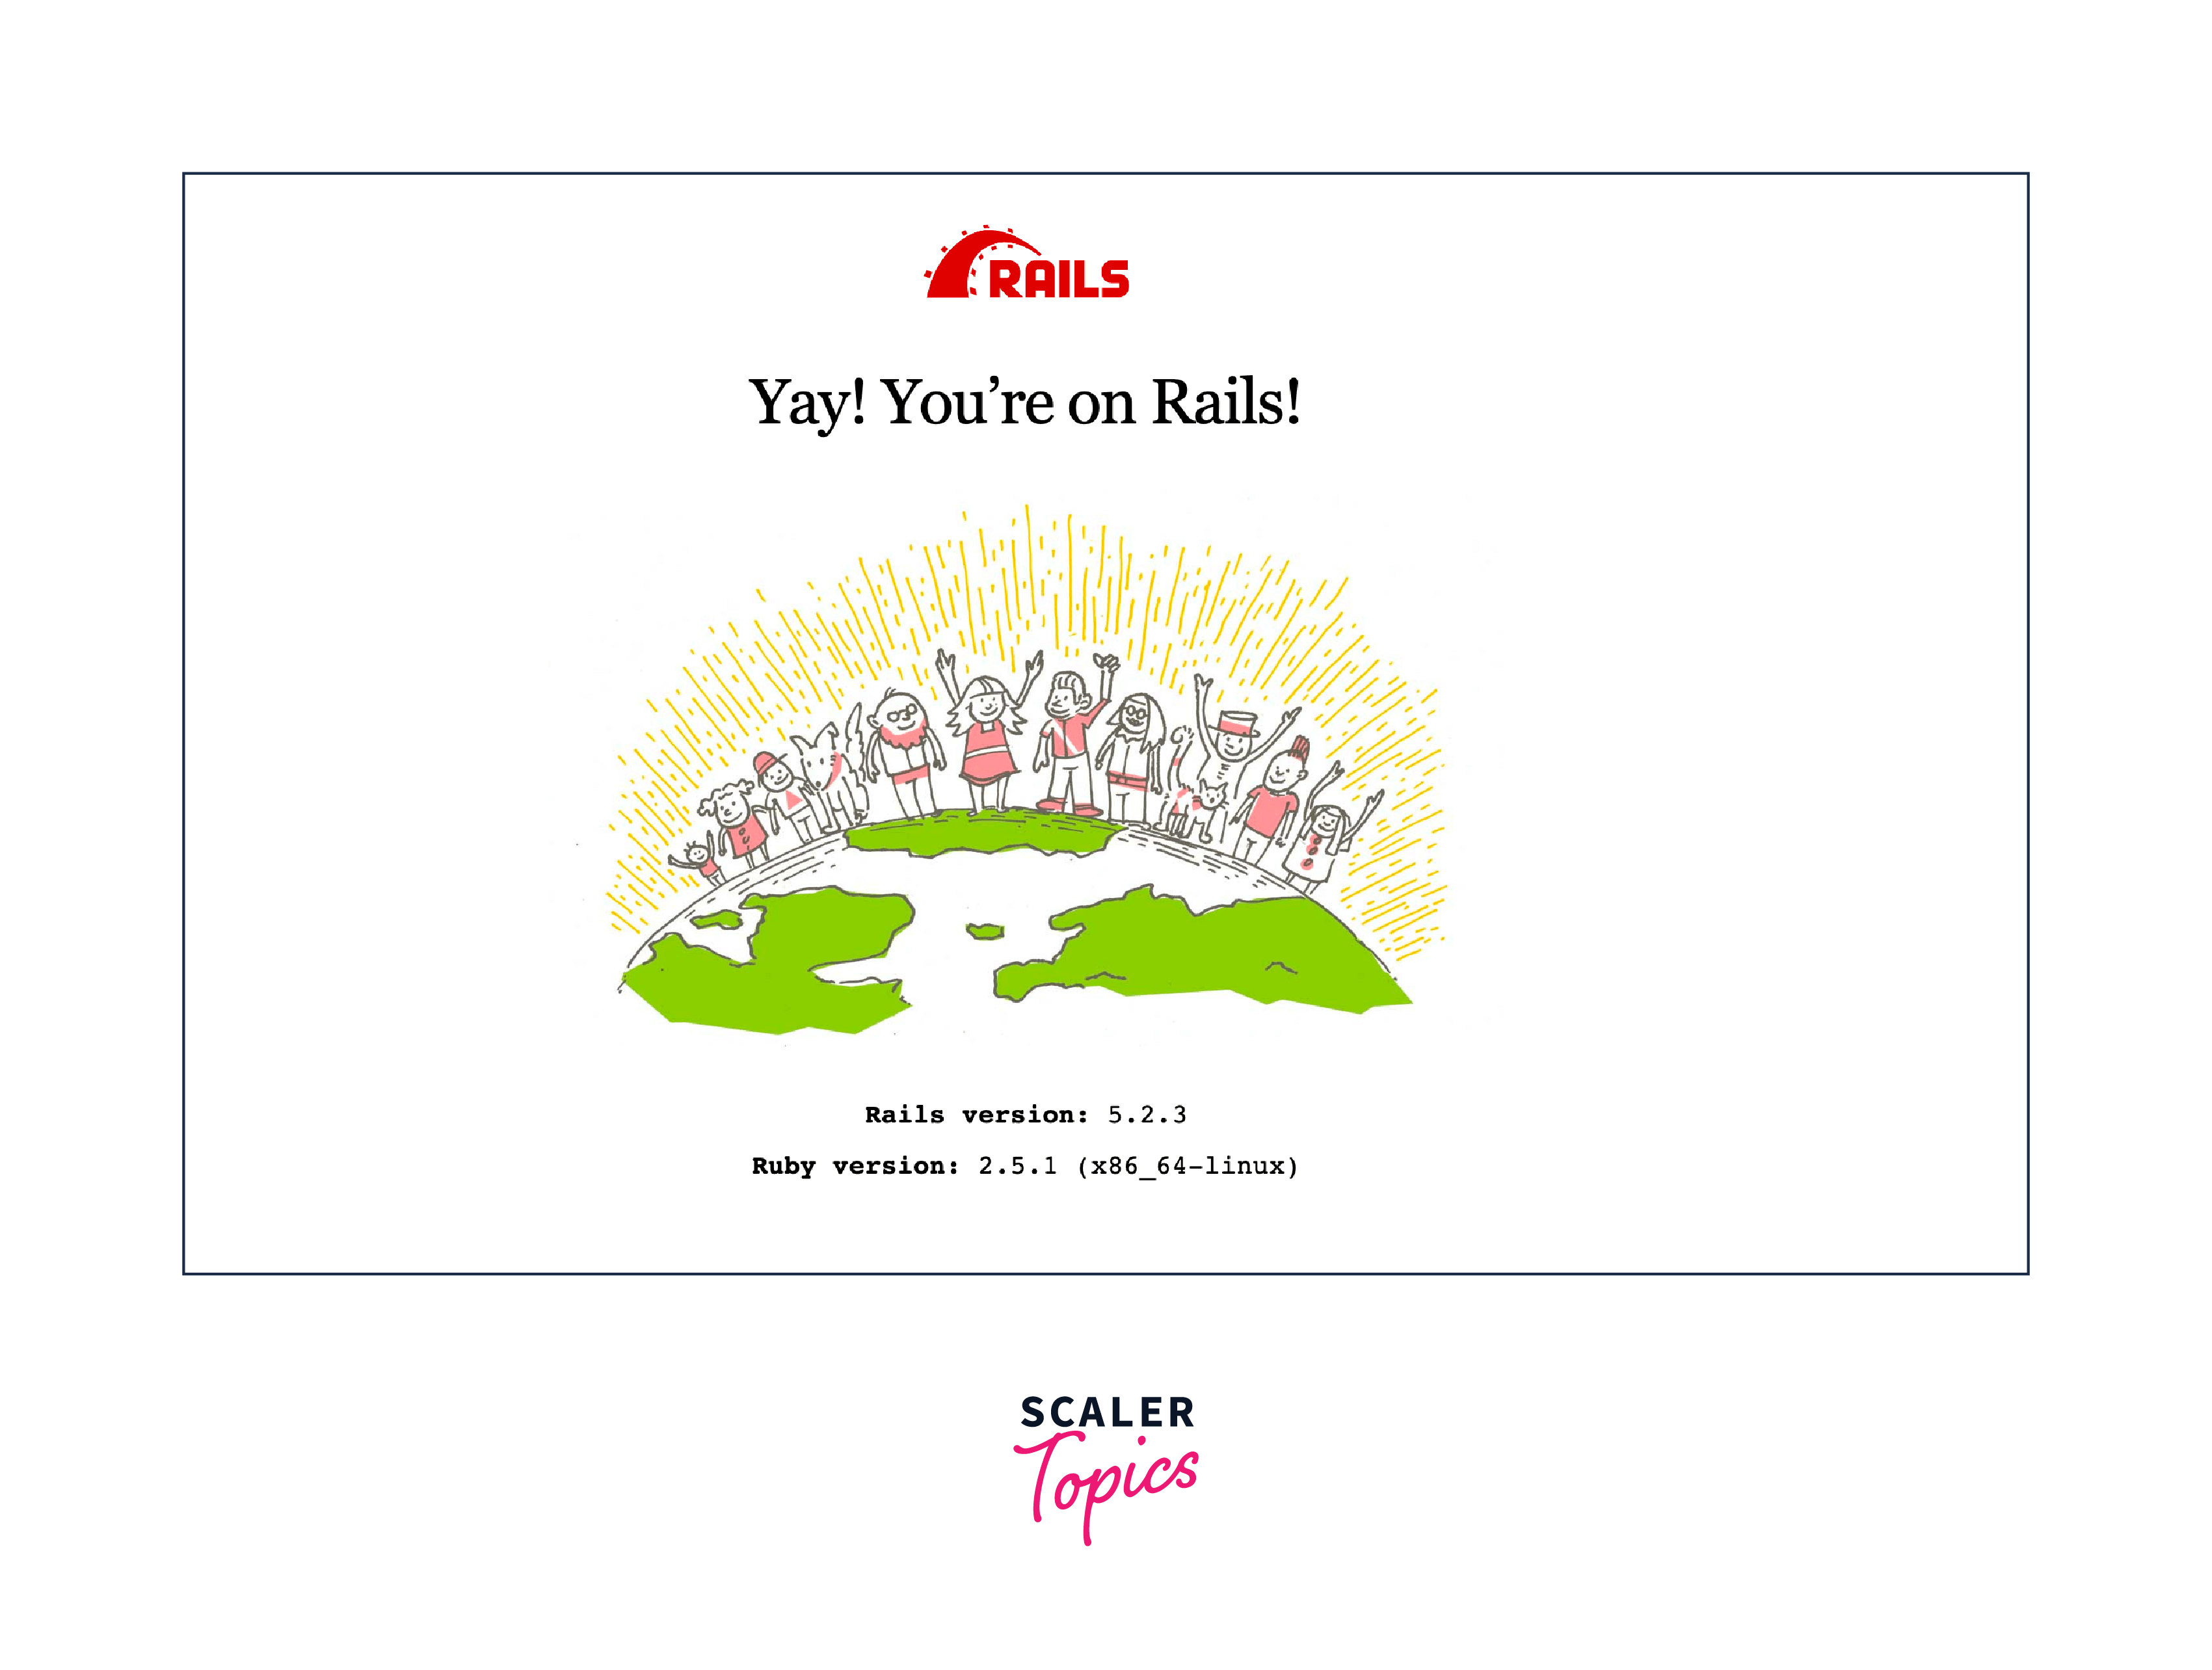
We can now view our application in a web browser after starting the Rails server by going to http://localhost:3000. We should see the Rails welcome page if our installation of Ruby on Rails was successful and the server is functioning properly.
Conclusion
- Choose a version manager like rbenv or RVM for managing Ruby installations.
- To install Ruby on Rails, first install Ruby on your machine.
- Download Rails using gem package management.
- Rails applications must additionally have a database server installed, such as PostgreSQL, SQLite, or MySQL, in order to successfully persist and retrieve data.
- To ensure a successful installation, it is recommended to develop a sample Rails application and run it on the local server.