How to Display a Snackbar in Flutter?
Overview
Snackbars are a crucial UI component in Flutter, which are lightweight and are used to show a temporary message or notification at the bottom of the screen. We can customize the snackbar and can show alerts and messages to the users. Snackbar is a valuable and fancy widget for developers and makes the user experience great. Snackbars in Flutter are used in a variety of apps for showing some information or feedback, notifying the users of specific actions, or allowing the user to undo an action related to the message displayed.
What is the SnackBar Class?
The SnackBar class extends the StatefulWidget class, which means it can be updated dynamically to reflect changes in its content or behavior. Snackbar in Flutter is part of the material library and provides a convenient way to display feedback or alerts to the user. The snackbar class has properties like action, content, duration, behavior, width, padding, etc. which we can use and design the snackbar. Snackbars in Flutter pop up on the screen for a very short period and when the time is completed it disappears on its own.
SnackBar Properties
These are the properties of the snackbar in Flutter-
| Properties | Description |
|---|---|
| content | This returns a widget and shows the main data or message like a text in the snackbar. |
| duration | This shows how much time our snackbar should be on the screen. The default is 4.0 seconds. |
| shape | It is used to customize the shape of the snackbar like a rectangle(can change width, color, border radius), or stadium border. |
| action | An optional SnackBarAction widget that represents an action button displayed alongside the content. It allows the user to perform an action related to the message. |
| elevation | It is z-coordinate where the snack bar is placed. It is used to control the shadow size below the snack bar. |
| behavior | It shows the behavior and location of the snack bar like it should be adjusted with FAB or fixed. |
| backgroundcolor | This is used to change the background color of the snackbar |
| width | It gives the width to the snackbar |
| dismissDirection | This defines the direction in which the snackbar should dismiss like up, down, horizontal, or vertical. |
| animation | It defines the exit and entrance of the snack bar. |
Example Snackbar App in Futter
We will learn to create and use snackbar by following these steps-
1. Create a Project
Create a Flutter project in the IDE say Android Studio. Go to the lib folder and open the main.dart file. Call a class from here that will have a Snackbar demo.
2. Create a Scaffold Widget
Now create a Scaffold widget responsible for the visual structure and add the other properties to see. Add a button, by clicking it, you will see the snackbar at the bottom of the app.
3. Display a SnackBar Widget
Now to display a snackbar, just click on the elevated button and you will see the snackbar. This uses the ScaffoldMessenger and showSnackBar methods to show the snackbar.
If you use FAB, see how we see the snackbar and we can change the location of the snackbar with the behavior property.
If the property is fixed, then it will be below the FAB and if it is floationg, it will be above the FAB.

4. Provide an Optional Action
We can provide an option for the user to perform some action if a user deletes a message or clicks on something accidentally and wants to undo the action. For this, we use the action property of the snackbar.
Below is the final code of the snackbar.dart class, which has all the code in this file.
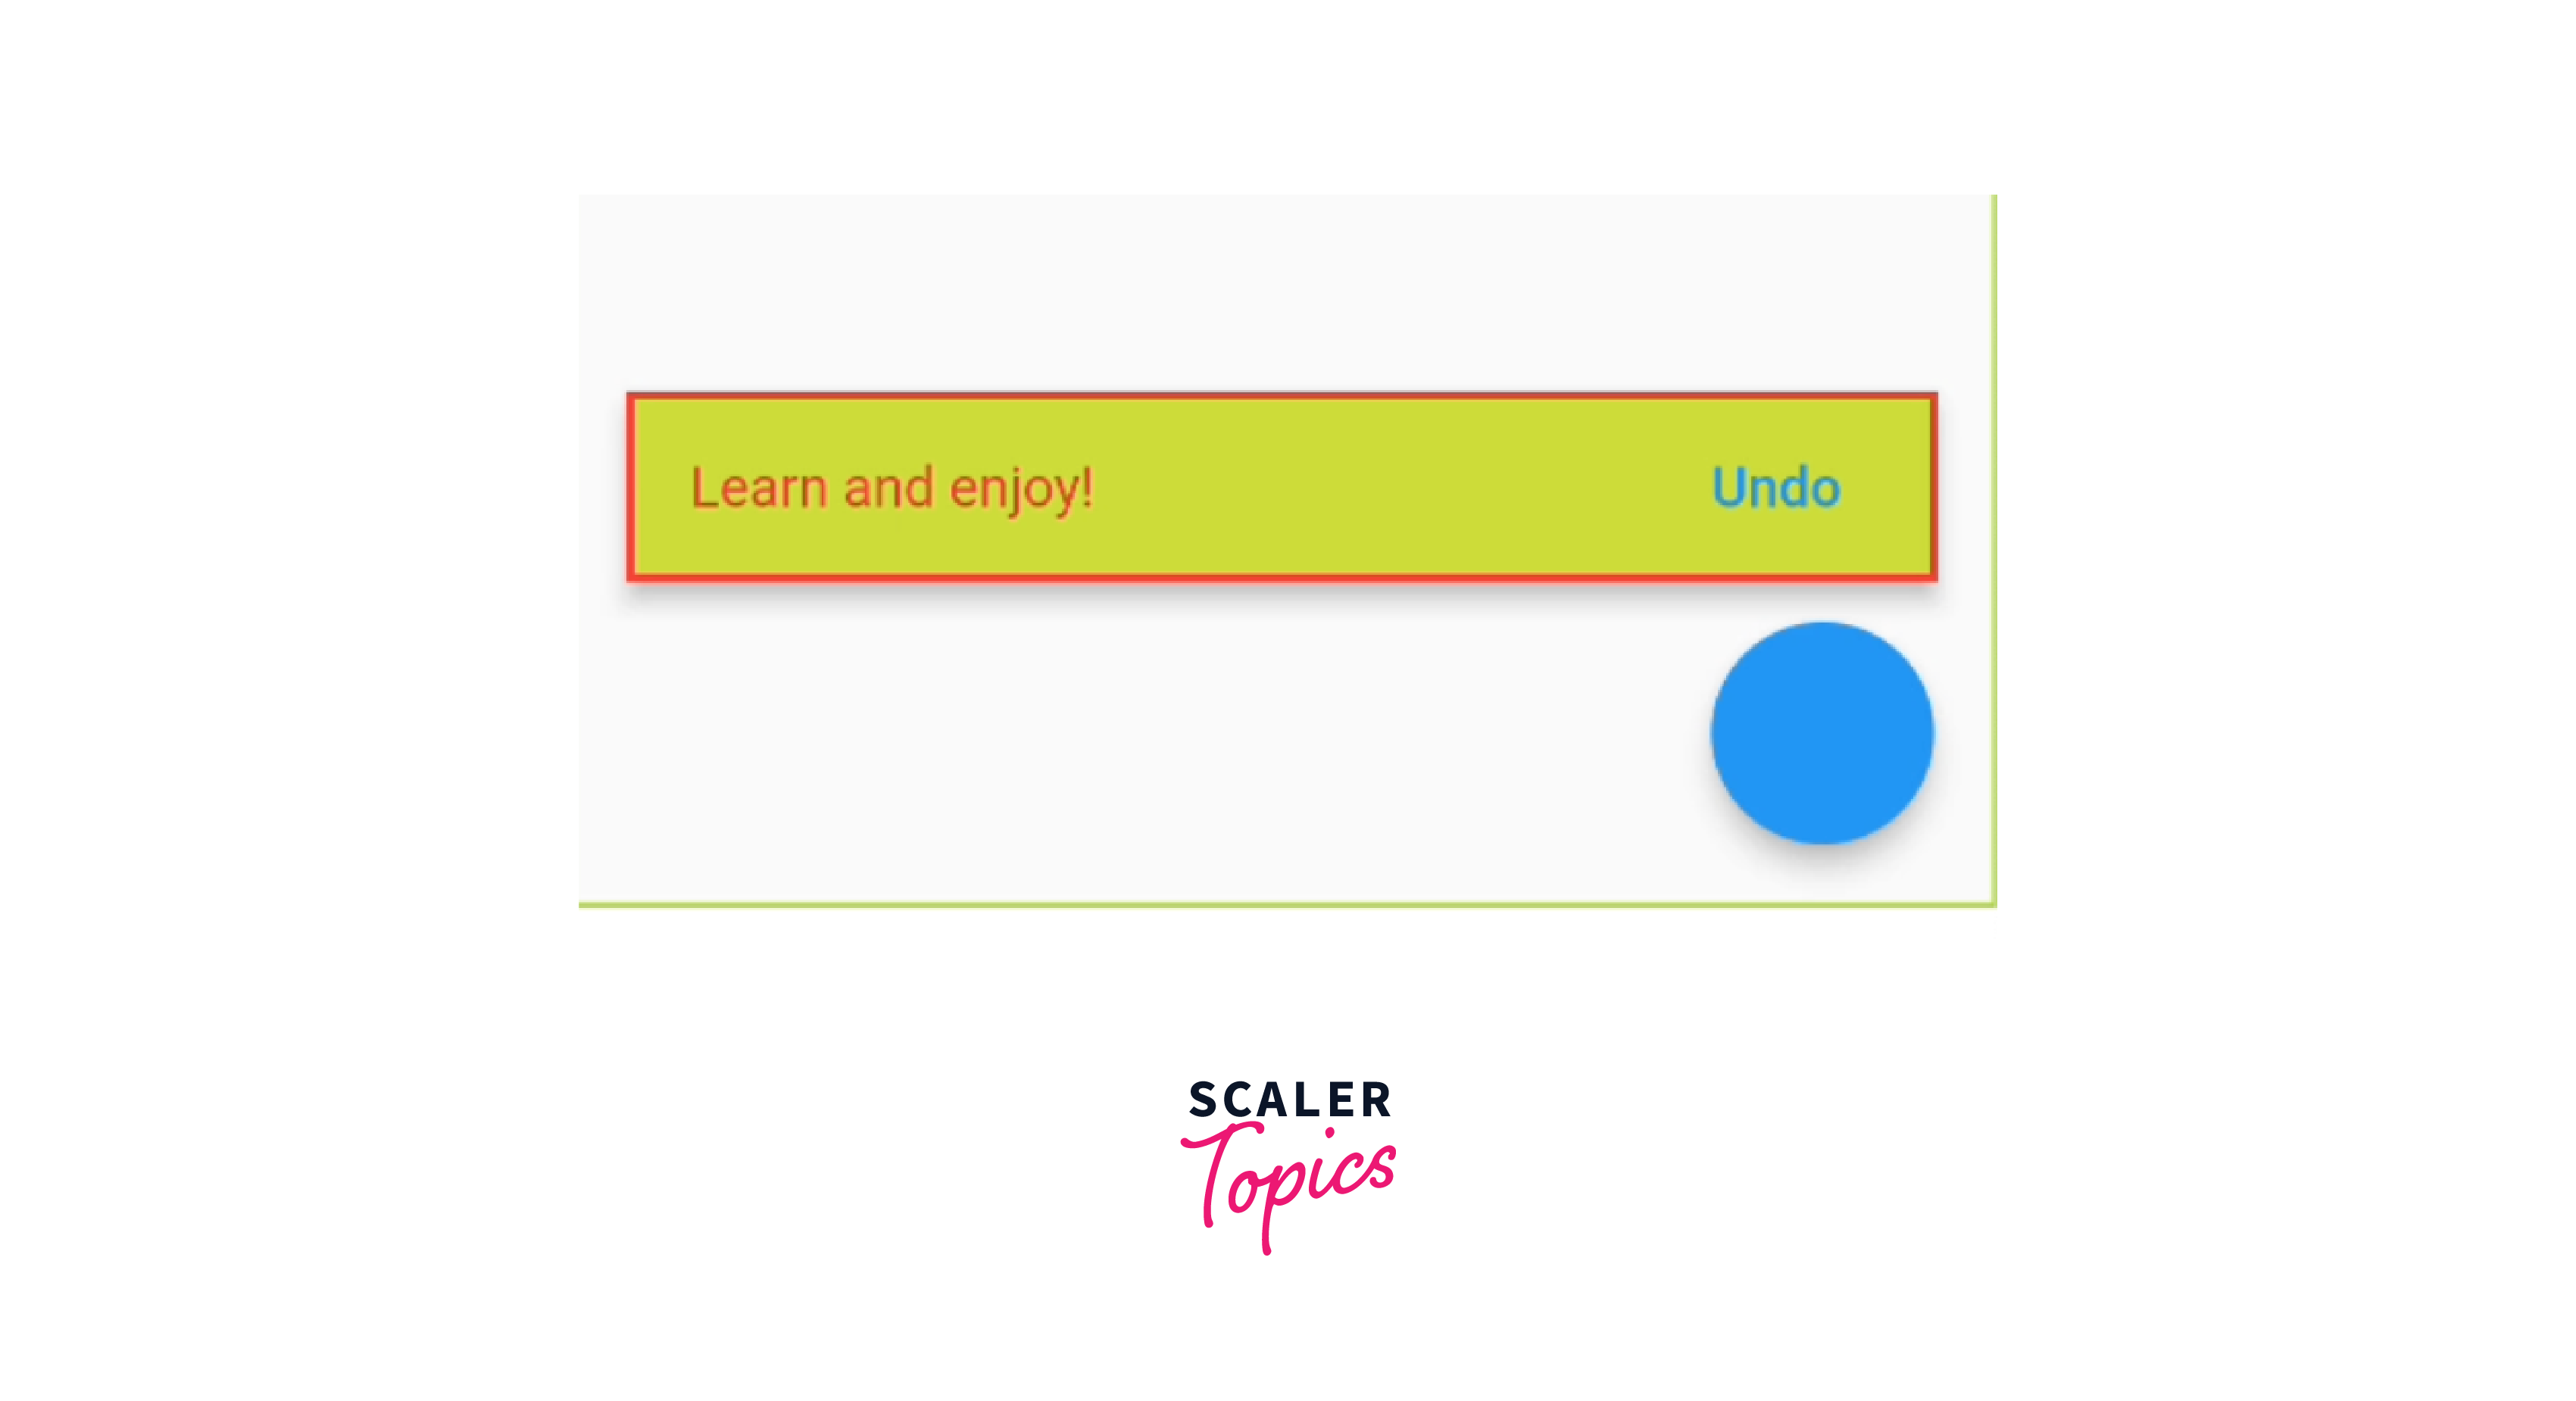
This is how it will look on the screen.

For full code and download this, check my repository link
Note:
If you have to use a snackbar throughout your Flutter app, then you can make a method for this in a class. Call this method any time at any place to show the snackbar.
Make an AppUtils class and make a method inside it to show the snackbar. Make content dynamic, as you may have to pass different messages on different screens like below.
Remember to add the scaffoldMessengerKey property and pass the messangerKey to this, in the MaterialApp in the root class shown below.
Use the method of this class as shown below.
Conclusion
So, we have learned a lot about snackbar, practically and theoretically in our Flutter application. Below is the sum up of all the discussed points.
- Snackbar is a valuable widget and is widely used in many Flutter applications.
- We use snackbars if we want to show some alerts, notifications, or messages to the user.
- We can customize the appearance of snackbars like width, background color, duration time, etc.
- We can define the entrance and exit animations for the snackbar using the animation property.
- You might need to change the location of the snackbar if you are using the Floating Action button. Just pass SnackBarBehavior.floating to the behavior property of snackbar.
- All other properties of the snackbar are discussed above with a sample app.