Stripe React Native SDK
Overview
In today's digital era, businesses need to have secure and efficient payment solutions in place. Luckily, React Native, a versatile framework for mobile app development, seamlessly integrates with Stripe, a trusted payment processing platform. If you're a developer looking to streamline your payment workflows, you've come to the right place! This article serves as an introductory guide, walking you through the process of implementing Stripe payments in your React Native applications. Get ready to unlock the power of Stripe and enhance your app's payment capabilities.
Introduction
This article serves as a comprehensive guide for developers who want to implement Stripe payments in their React Native projects. We will cover the step-by-step process of setting up a Stripe account, installing the necessary dependencies, and implementing the required components and functionality. By the end of this guide, you will have a solid understanding of how to securely handle payments using React Native and Stripe.
What is Stripe?
By using the Stripe React Native SDK, developers can create seamless payment interactions within their native Android and iOS applications using React Native. This SDK offers a range of robust and adaptable user interface screens and components that can be readily employed to effortlessly gather payment information from users. These pre-built elements can be easily integrated into your app, enhancing the user experience and simplifying the payment collection process.
Getting started
To begin, explore comprehensive integration guides and example project, which provide step-by-step instructions on how to use react native stripe into your project. For detailed insights, you can access the extensive SDK reference documentation. If you're considering upgrading to a more recent SDK version, don't forget to consult our changelog, where you can find information about the latest updates and enhancements.
Features
Native User Interface
Native screens and elements are provided by the SDK, ensuring a secure collection of payment details on both Android and iOS platforms.
PaymentSheet
Explore the integration of PaymentSheet, a pre-built payment UI designed for mobile apps. PaymentSheet enables you to accept various payment methods out of the box, including cards, Apple Pay, Google Pay, SEPA Debit, Bancontact, iDEAL, EPS, P24, Afterpay/Clearpay, Klarna, Giropay, Sofort, and ACH. It also supports the ability to save and reuse payment methods.
Simplified Security
The SDK simplifies the process of collecting sensitive data, such as credit card numbers while ensuring PCI compliance. Instead of routing the data through your server, it is directly sent to Stripe. To learn more about integration security, refer to the Integration Security Guide provided by Stripe.
Apple Pay Integration
The SDK offers seamless integration with Apple Pay, allowing users to make payments conveniently.
Expanded Payment Methods
Accepting a wider range of payment methods enables your business to expand its global reach and improve checkout conversion rates.
Recommended Usage
If your app involves selling digital products or services such as subscriptions, in-game currencies, game levels, access to premium content, or unlocking full versions, it is mandatory to utilize the in-app purchase APIs provided by the respective app stores (Apple and Google). Please refer to the guidelines provided by Apple and Google for more detailed information. For all other scenarios, you can utilize this SDK to process payments through Stripe.
SCA Compliance
The SDK automatically handles native 3D Secure authentication when required to meet the Strong Customer Authentication regulations in Europe.
Creating A Stripe Account
 You first need to create a new account to start accepting payments in your app.
Sign Up: Go to the Stripe dashboard and click on the Sign Up button. Fill out the required information, including your email address, password, and Country details.
Activate Your Account: After signing up, Stripe will send you a verification email. Check your inbox and click on the verification link to activate your account. This step ensures the security of your Stripe account.
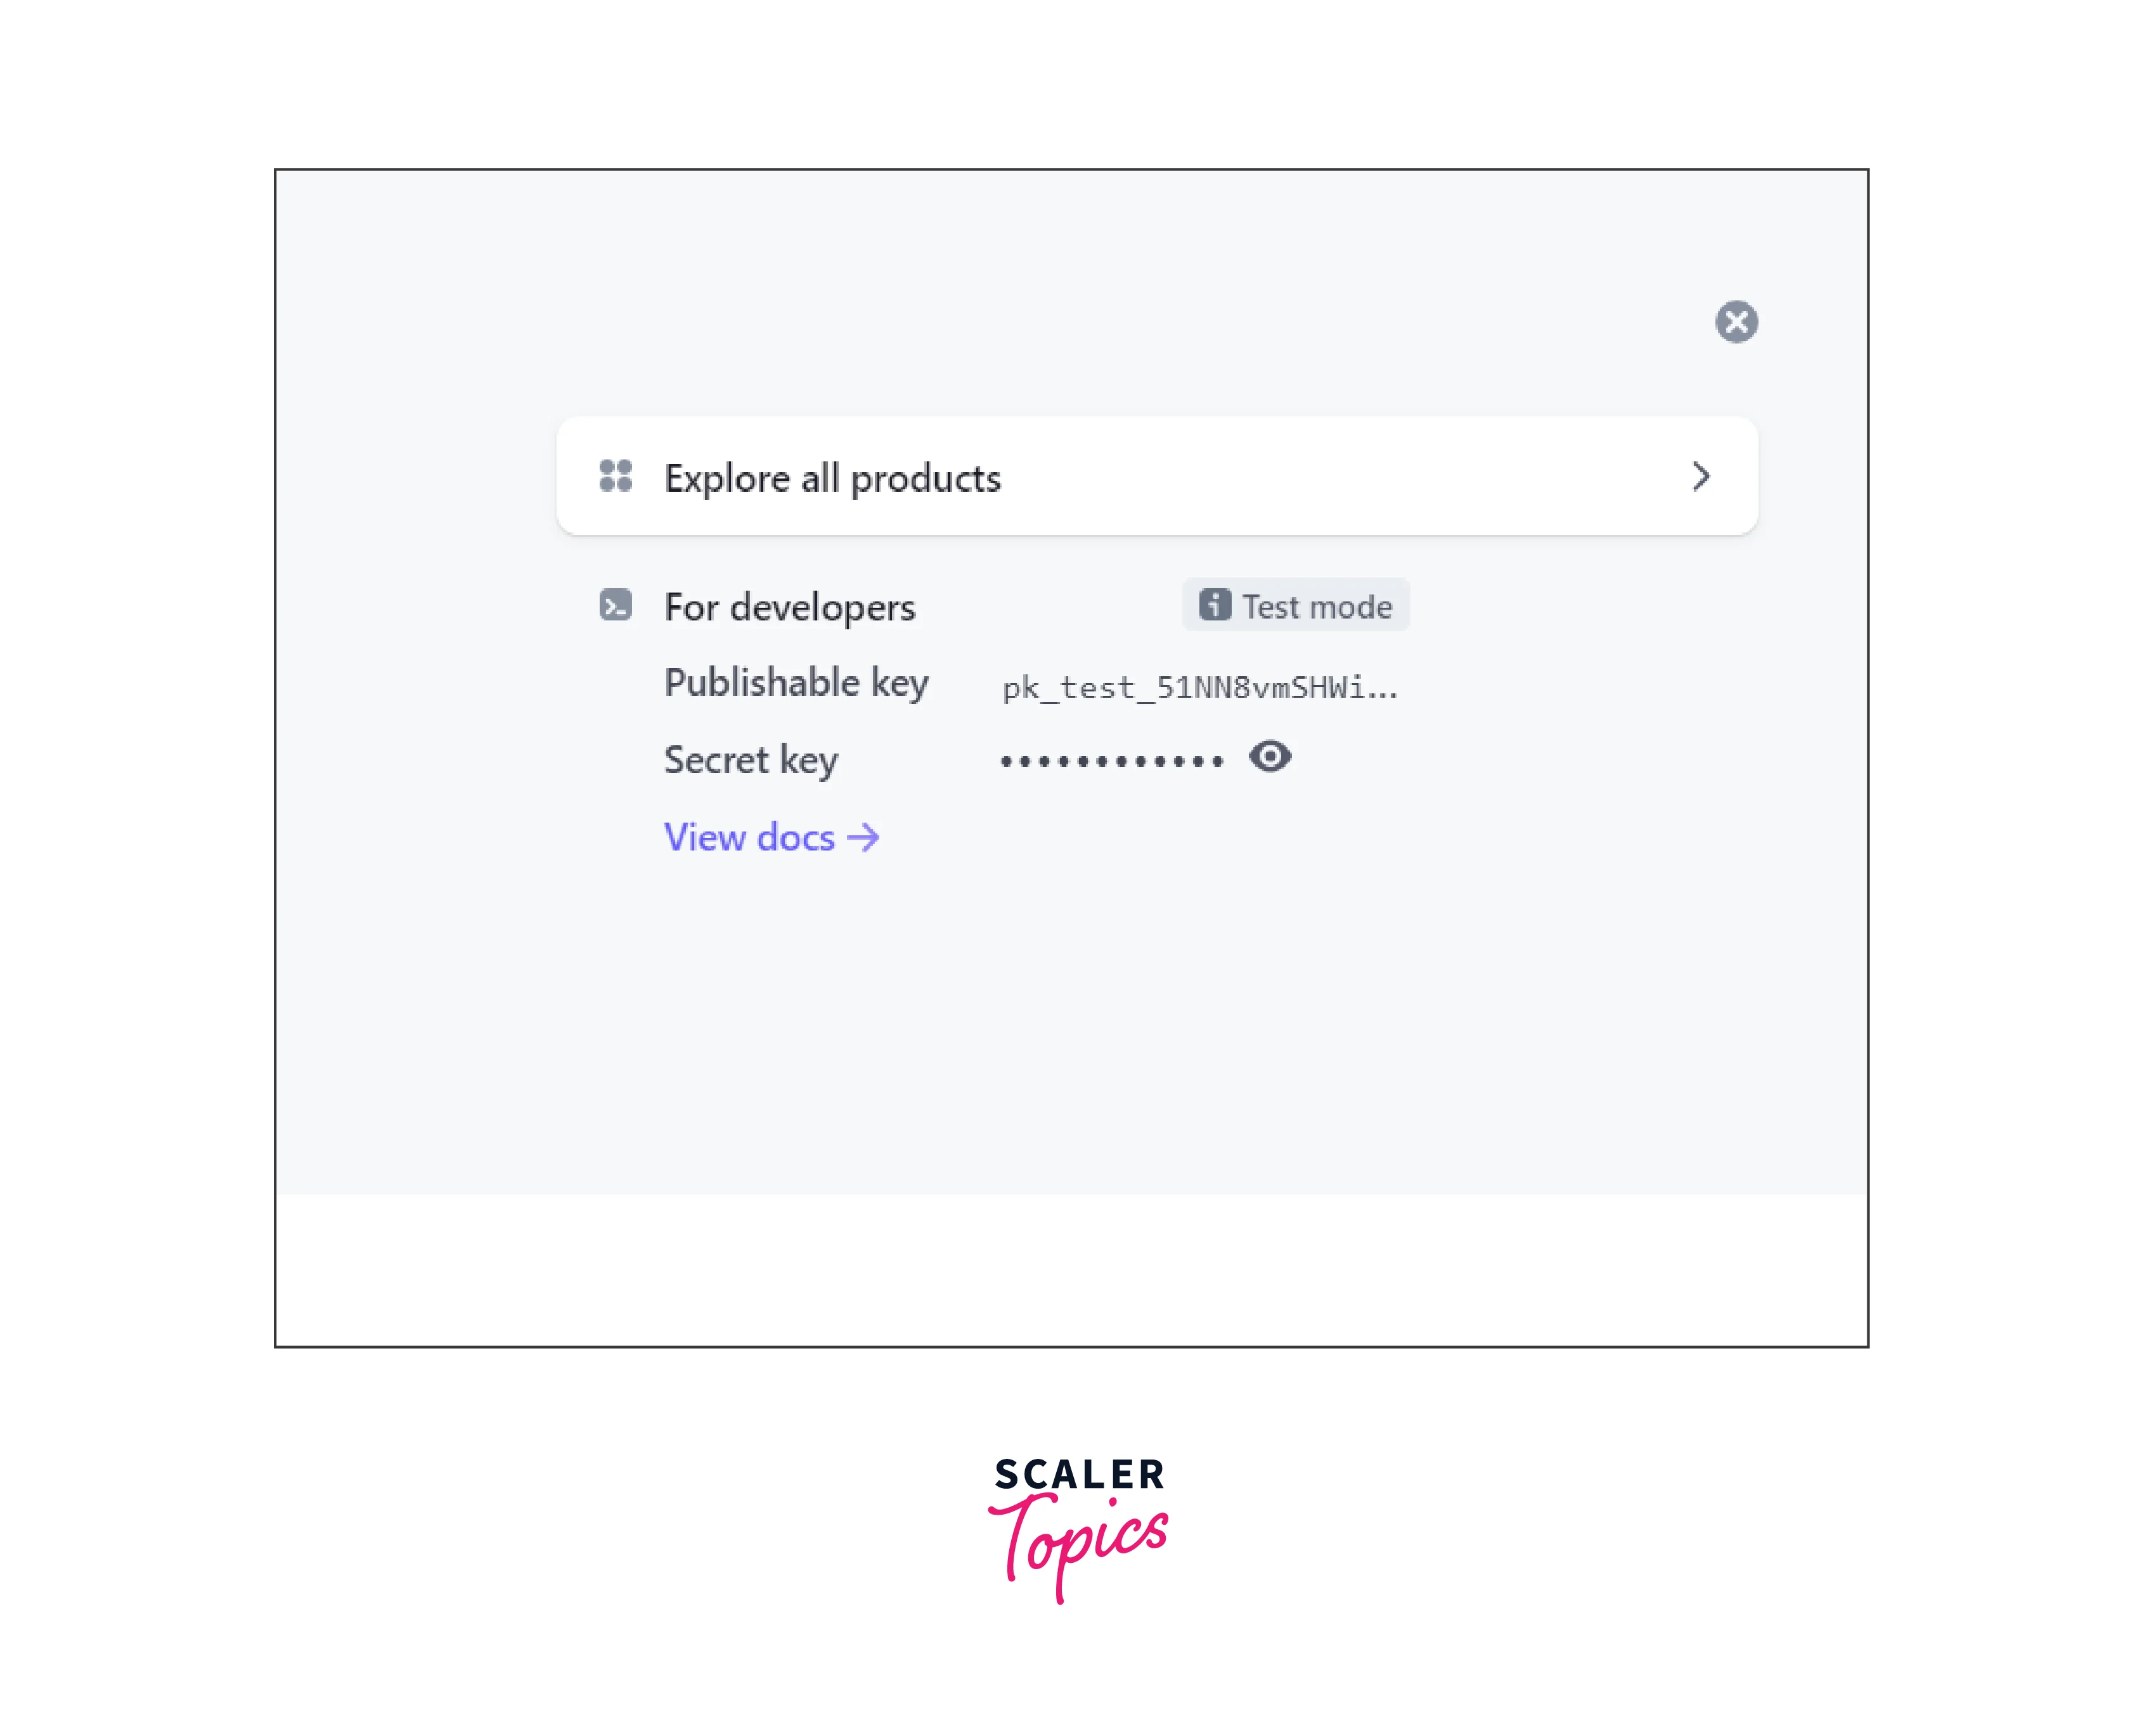
Public Key: Retrieve your public key, ensuring that you maintain its confidentiality as it serves as the gateway to your Stripe account.
Installation
To install stripe react native in your project, run the following commands in your project directory.
For npm users:
For yarn users:
Expo
To ensure compatibility between Expo SDK versions and stripe react native, it is important to use the correct version for your specific Expo SDK version. For the appropriate version installation, please refer to the CHANGELOG for the corresponding versions. To install the correct stripe-react-native version for your Expo SDK, execute the following command:
expo install @stripe/stripe-react-native
After installation, make the following additions to your app.json file:
Please note that you need to obtain the Apple merchant ID from the provided link for the merchantIdentifier field. This is crucial for Apple Pay to function correctly. If you have multiple merchantIdentifiers, you can specify them within an array.
Requirements
Android:
- To utilize the CardForm component, you must install and set up the Material Components theme in your application.
- In your app/build.gradle file, include the following dependency with the specified version:
- Set the appropriate style in your styles.xml file:
iOS:
- The Stripe React Native SDK requires Xcode 14.1 or a newer version and is compatible with iOS apps targeting iOS 13 or above. If you require support for iOS 12, you should use @stripe/stripe-react-native@0.19.0.
- The SDK relies on TypeScript features available in Babel version 7.9.0 and later. Alternatively, you can use the plugin-transform-typescript plugin in your project.
- To install the native dependencies, run pod install in your ios directory.
Usage example
Let's create a react native application to demonstrate the usage of react-native-stripe. Follow the below steps:
Step 1: Create the PaymentScreen component
- Create a new file called PaymentScreen.tsx in the project's src directory.
- In the PaymentScreen.tsx file, import the necessary dependencies:
- Create a functional component called PaymentScreen and export it as the default component:
- In the PaymentScreen component, the CardField component is imported from @stripe/stripe-react-native and will be added later.
Step 2: Update App.tsx
- Open the App.tsx file in the project's src directory.
- Import the necessary dependencies:
- Update the App component to include the StripeProvider and PaymentScreen components:
- Replace 'YOUR_PUBLISHABLE_KEY' with your actual publishable API key obtained from your Stripe account.
Step 3: Run the application
- Save all the changes made to the files.
- In the terminal, run the following command to start the Expo development server and launch the app:
- Use the Expo app or an emulator to view the app on your device.
Step 4: Add the CardField component
-
Go back to the PaymentScreen.tsx file.
-
Inside the return statement of the PaymentScreen component, add the CardField component:
-
Customize the CardField component as needed. In this example, the postalCodeEnabled, cardStyle, and style props are used to enable the postal code field, set the background and text colors, and adjust the size and margin of the component.
-
The onCardChange callback logs the cardDetails object to the console when the card details change.
-
The onFocus callback logs the focusedField value to the console when the card input field gains focus.
Note: Remember to replace 'YOUR_PUBLISHABLE_KEY' in App.tsx with your actual publishable API key.
Output

Stripe Initialization
To set up Stripe in your React Native application, you can initialize it using either the StripeProvider component or the initStripe method.
For the StripeProvider approach, you need to import the StripeProvider component from the @stripe/stripe-react-native package. In your root component, use the StripeProvider component and provide the required publishableKey prop, as well as optional props like merchantIdentifier, urlScheme, stripeAccountId, and threeDSecureParams.
Here's an example:
Alternatively, you can use the initStripe method provided by the @stripe/stripe-react-native package. Import it into your component and invoke it within the useEffect hook. Pass the necessary configuration options, such as publishableKey, merchantIdentifier, and urlScheme, to initialize Stripe.
Here's an example:
To learn more about the StripeProvider component and its usage, refer to the API reference documentation.
If you're working with payment methods that require webhook listeners for status changes, you can follow these additional steps for webhook forwarding. First, make sure you have the Stripe CLI installed. Then, run the command stripe listen --forward-to localhost:4242/webhook to forward webhook events to your local development server. The CLI will provide you with a webhook secret (e.g., whsec_***). Set the STRIPE_WEBHOOK_SECRET value in your example/.env file to this webhook secret. These steps enable you to handle webhook events locally during development.
Testing
To utilize the mock file provided by this library in Jest, the following code should be added to the Jest setup file:
If more control over the mocks is desired, specific methods can be extended and overridden. For example:
By implementing these code snippets, developers can take advantage of the built-in Jest mock file from the library and customize the mocks as needed, providing greater flexibility and control in testing scenarios.
Troubleshooting
When building a project with stripe react native, you may encounter some errors, some of these are general errors that are almost faced by every developer, we will be troubleshooting these errors in this section of the article.
Undefined symbols for architecture x86_64
This error is encountered when building an iOS project. This error occurs due to a compatibility issue between the react-native init template configuration and Swift 5.1.
To resolve this issue, follow these steps:
Open your project in Xcode and navigate to Project -> Build Settings. Locate the "Library Search Paths" setting and remove any Swift-related entries, such as $(TOOLCHAIN_DIR)/usr/lib/swift/$(PLATFORM_NAME) and $(TOOLCHAIN_DIR)/usr/lib/swift-5.0/$(PLATFORM_NAME).
Create a new Swift file in your project by going to File -> New -> File -> Swift. Choose any name for the file (e.g., Fix.swift), select the appropriate targets, and create a bridging header when prompted by Xcode.
TypeError: null is not an object (evaluating '_NativeStripeSdk.default.initialise')
On Android, you might encounter this error when initializing the StripeProvider component with Expo. This issue arises from using an older version of Expo that does not officially support stripe-react-native. To resolve this problem, update Expo Go from the app stores or locally on simulators using the command expo install:client:[ios|android].
If you encounter the error message "Apple Pay Is Not Available in 'My App Name'" while processing an Apple Pay payment on a physical device (even in test mode), it is likely because you have not created and uploaded your Apple Pay Certificate to the Stripe Dashboard.
Conclusion
- React Native Stripe is a powerful library that allows developers to integrate secure and reliable payment processing functionality into their React Native applications.
- With the @stripe/stripe-react-native package, developers can easily collect card information, handle payment actions, and customize the payment flow to match their app's design.
- By obtaining a publishable API key from their Stripe account and setting it in the StripeProvider component, developers can seamlessly connect their app with Stripe's payment infrastructure.
- React Native Stripe provides robust security measures, including tokenization and PCI compliance, to ensure that sensitive payment information is handled securely.
- The integration with Stripe opens up possibilities for accepting various payment methods, such as credit cards, Apple Pay, and Google Pay, offering a seamless payment experience for users.
- The extensive documentation and resources provided by Stripe empower developers to understand and leverage the full potential of integrating Stripe into their React Native applications.
- Whether building e-commerce platforms, subscription-based services, or in-app purchases, React Native Stripe simplifies the process of implementing payment features, allowing developers to focus on delivering a seamless and secure payment experience to their users.