Webpack with TypeScript
Overview
Typescript is Javascript code with Strictly Typed Language. Javascript runs on template-based code snippets, one may build objects without defining classes by using Object Literals and function Object() methods. An object is an instance that includes a collection of key-value pairs. The values can be scalars, functions, or arrays of other objects.
Introduction
Typescript Webpack is a module bundler`, a tool that allows you to structure your code as you want while incurring the burden of creating static assets that will be served over the web. Typescript Webpack includes a robust ecosystem of plugins that allow it to be extended with any extra tools.
Typescript Webpack is a fantastic tool that optimizes application resources so that they run more efficiently and effectively on any platform. It is used in many recent projects. Typescript Webpack aids in the compilation and bundling of modules into a single file, decreasing HTTP requests and thereby boosting application speed.
TypeScript code is converted into a browser-friendly JavaScript file via webpack. You may also use typescript webpack loaders to combine SASS and LESS files into a single CSS bundle file.
In this post, we'll look at how to use webpack to convert TypeScript to JavaScript, how to bundle source code into a single JavaScript file, and how to debug with a source map. We will also look at how to utilize web pack plugins.
Webpack Loaders
Typescript Webpack only understands JavaScript files by default, treating every imported file as a module. Because webpack cannot compile or bundle non-JavaScript files, it employs a loader.
Loaders specify how the web pack should build and bundle static assets. They are used to compile TypeScript modules into JavaScript, handle application styles, and even ESLint your code.
Typescript Webpack loaders include ts-loader, css-loader, style-loader, and more, which we'll go over later in this lesson.
ts-loader
We use ts-loader in this guide as it makes enabling additional webpack features, such as importing other web assets, a bit easier.
ts-loader uses tsc, the TypeScript compiler, and relies on your tsconfig.json configuration. Make sure to avoid setting modules to "CommonJS", or webpack won't be able to tree-shake your code.
Note that if you're already using babel-loader to transpile your code, you can use @babel/preset-typescript and let Babel handle both your JavaScript and TypeScript files instead of using an additional loader. Keep in mind that, contrary to ts-loader, the underlying @babel/plugin-transform-typescript plugin does not perform any type of checking.
css-loader
We must instruct Webpack on how to handle CSS files. In the dev Webpack configuration, we must include the following loaders.
When Typescript Webpack encounters an a.css file, it uses a class-loader and style-loader (loaders in the use array are processed in reverse order).
css-loader reads the CSS file specified in the import line (app.css in our example). This CSS material was subsequently placed in a style element in the packaged HTML file by style-loader. While the style element isn't suitable for production, it's useful for development since the Typescript Webpack dev server can quickly update the style element.
To make our new Typescript Webpack setup function, we must first install the class-loader and style-loader packages, as shown below:
npm install --save-dev css-loader style-loader
Transform Your Career
Choose from our industry-leading programs designed for career success
Modern Software and AI Engineering Program
Master full-stack development with AI integration

Modern Data Science and ML with specialisation in AI
Advanced data science techniques with AI specialization
Advanced AIML with Specialisation in Agentic AI
Deep dive into AIML with focus on Agentic systems
DevOps, Cloud & AI Platform Engineering
Build and manage AI-powered cloud infrastructure
AI Engineering Advanced Certification by IIT-Roorkee
Premier AI engineering certification from IIT-Roorkee
style-loader
To begin, you must first install the style loader:
npm add -D style-loader
It is advised to use the style loader in conjunction with the CSS loader.
Then include the loader in your webpack configuration. As an example:
style.css
component.js import "./style.css";
webpack.config.js
Setting Up Webpack and TypeScript
Typescript Webpack helps to compress our files and add chunks to our code to improve project speed. It uses loaders to achieve all the magic and to broaden the use of Webpack.
Let us begin by establishing our project. To begin, you must have TypeScript installed on your PC. Use the following command to install TypeScript globally:
npm install -g typescript
Installing TypeScript globally avoids the need to install TypeScript each time a new project is launched.
Next, we'll add the typescript webpack and ts-loader packages to our project as dependencies:
npm init -y
After that, you must install Webpack and Webpack-cli.
npm install -D webpack webpack-cli ts-loader webpack-dev-server>
Following that, you must build a webpack-config file. We may begin with this code in the webpack-config.js file.
This code exports the configuration start, we begin with the entry file, and output we describe the name file which becomes our entry file after we need a path the goal, and the mode whether we want for development or production, and the dev server is to begin the webpack server you have to install the webpack-dev-server.
`npm i --save-dev webpack-dev-server
Change your bundle as well. JSON
Run this command to compile your JavaScript, and it will generate the directory and the file.
`npm run bundle
You simply need to install TypeScript, add module resolution to the tsconfig.json file, slightly modify web pack-config.js, and install the TypeScript loader to get started with TypeScript.
installing typescript with ts-loader
npm i --save-dev ts-loader typescript
The only thing we changed in web pack-config.js was to add the module, TypeScript rules, loader, and files that would exclude the resolve and his extensions.
Webpack Configuration
You may customize and add to Webpack's core features using its configuration files. A JavaScript object called a webpack config is used to set one of the web pack's parameters. Although you may also give the configuration as a parameter to Webpack's Node.js API, most projects specify their Webpack configuration in a top-level webpack.config.js file.
You must comprehend what Webpack performs to comprehend Webpack configurations. The main function of Webpack is to bundle. The fundamental operation of Webpack is to take a JavaScript file, resolve any dependencies (using require(), import, etc.), and then produce a bundled JavaScript file with all of those dependencies. The packaged file may then be launched without requiring you to reload those dependencies.
Scaler Placement Report and Statistics
Scaler learners achieved 2.5x salary growth with average post-Scaler CTC reaching ₹23L.
Need for Webpack Configuration
You might not even require a Webpack setup for simple use cases like bundling a Vue app or a Lambda function with Webpack. By default, Webpack bundles the dist/main.js file's output with the desktop/test.js file's output.
Let's say you have the desktop/test.js code below, which is a Vue-based "Hello, there" app.
You'll see the following result if you run./node modules/.bin/webpack after running npm install vue webpack webpack-cli:
WARNING in configuration Since the 'mode' option has not been specified, webpack will default to 'production'. To allow defaults for each environment, set the 'mode' option to 'production' or 'development.'
If you want to turn off any default behavior, you may set it to 'none.' Study more: https://webpack.js.org/configuration/mode/
If you execute./node modules/.bin/webpack after doing npm install vue webpack webpack-cli, you will see the following outcome:
As a result, Web pack's primary advantages may be obtained with no setup. Webpack's zero-config option is sufficient for many projects. But if you wish to bundle many files, such as multiple Lambda functions in a single GitHub repository, things might start to fall apart. Here's how a Webpack configuration handles multiple files.
Multiple Files
3 Webpack options will be used in this part. 2 are used to indicate which files to the bundle:
- entry: what files to bundle
- output: where to put the bundled files
The target option, which Webpack uses to determine whether you are bundling for the browser ('web') or Node ('node'), is the last choice. You would generally use 'web' for Vue apps, but 'node' for Lambda.
More Complicated Configurations
Why do developers claim that Webpack is complicated if Webpack configurations are so straightforward? Because Babel, TypeScript, JSX, and other transpilers frequently utilize Webpack as their entry point. Webpack is simple if you don't need to transpile (and chances are you don't). However, once transpilers are present, things can become challenging.
Here is the official manual for compiling TypeScript with Webpack. An abbreviated version will be presented in this section.
The module. rules parameter in webpack.config.js is crucial for transpilers. Here, you may instruct Webpack to build a file before bundling it using a certain loader. In addition to the typescript npm package, you also need the ts-loader npm module for TypeScript.
`npm install typescript ts-loader
Turn Learning into Career Growth
TypeScript Configuration
Let's also examine the various settings we added to tsconfig.json:
- Compiler options: The various compiler settings are represented by the class compiler options.
- JSX: In.tsx files, jsx: react adds support for JSX.
- lib: Adds a list of library files to the compilation with the lib command (e.g. using es2015 allows us to use ES6 syntax).
- module: generates module code for a module.
- nolmplicitAny: Use noImplicitAny to flag statements containing an inferred 'any' as mistakes.
- dir: The output directory is represented by Dir.
- source-map: When debugging our program, the source map creates an a.map file that might be quite helpful.
- target: Denotes the ECMAScript version we want to translate our code to (we can add a version based on our specific browser requirements).
- Include: use include to indicate the file list that should be included.
The main language used to create Angular applications is TypeScript. It is a superset of JavaScript with type safety and tooling design-time support.
TypeScript cannot be directly executed by browsers. The tsc compiler must be configured to 'transpile' Typescript into JavaScript.
This page includes information on the following files as well as other crucial TypeScript setup and TypeScript environment settings for Angular developers.
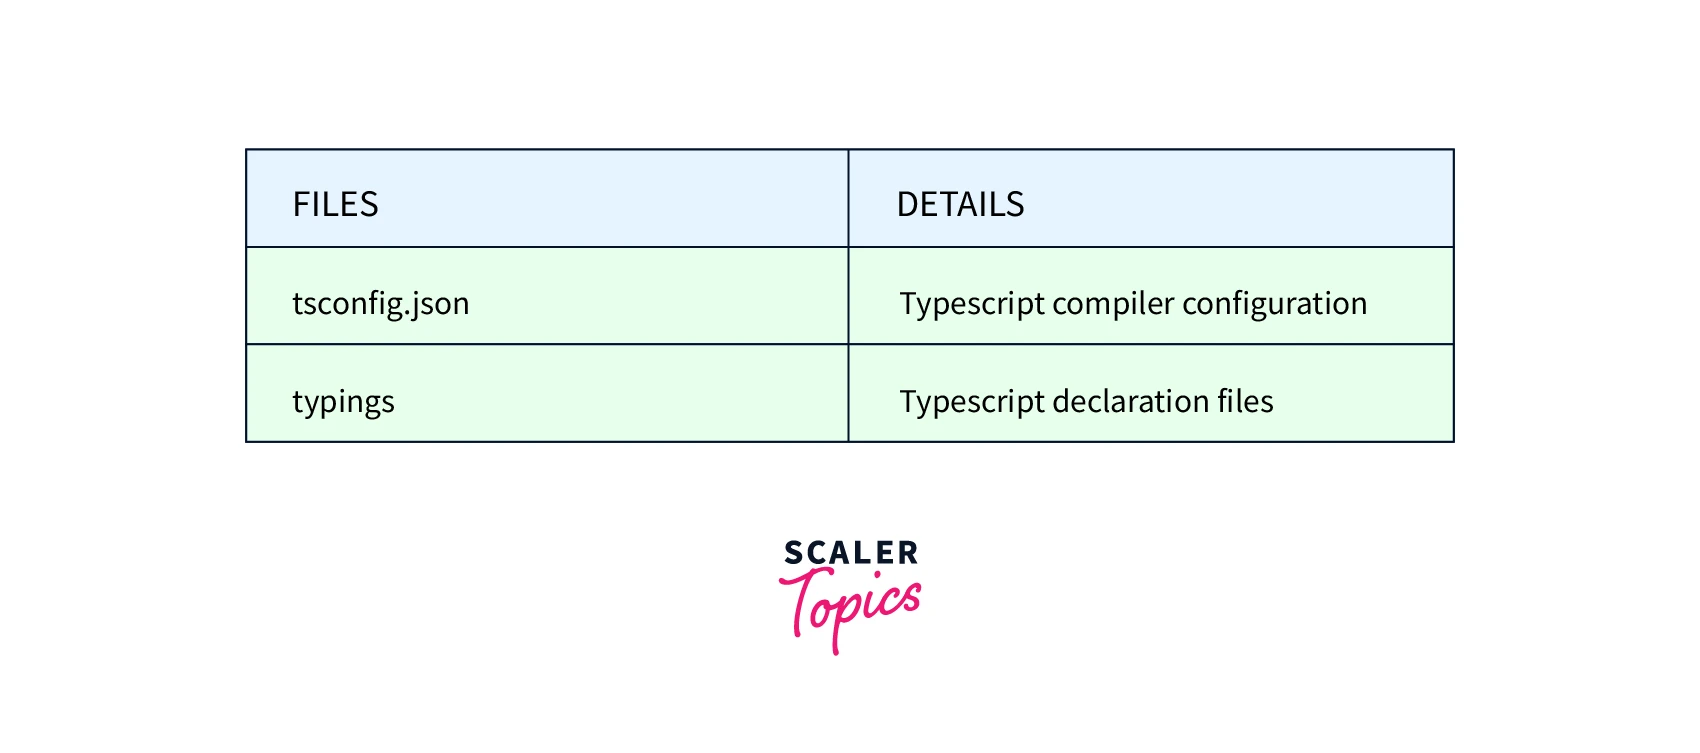
Configuration Files
Numerous TypeScript configuration files may be found in an Angular workspace. The workspace's projects all inherit the base TypeScript and Angular compiler parameters that are specified in the root tsconfig.json file.
Type-checking features and produced output may be configured using a variety of TypeScript and Angular parameters. Consult the TypeScript documentation's Configuration inheritance with extends section for further details.
Angular workspace's first tsconfig.json often resembles the following example.
noImplicitAny and suppressImplicitAnyIndexErrors
On whether the noImplicitAny flag should be true or false, TypeScript developers differ. There is no right response, and you can modify the flag at a later time. However, the decision you make today might have an impact on bigger initiatives, therefore it should be discussed.
If the compiler cannot determine the type of a variable based on how it is used and the noImplicitAny flag is set to false (the default), the compiler quietly defaults the type to any. Implicit and is intended to signify just that.
When the noImplicitAny option is set to true and the TypeScript compiler is unable to infer the type, the JavaScript files are still generated, but an error is also reported. Because type-checking catches more accidental errors at compilation time, many seasoned developers like this tighter configuration.
Even when the noImplicitAny option is set to true, you can still set a variable's type to any.
You could also encounter implicit index issues if the noImplicitAny setting is set to true. The majority of programmers believe that this specific mistake is more bothersome than beneficial. With the inclusion of the following flag, you can suppress them:
`"suppressImplicitAnyIndexErrors": true
TypeScript typings
Numerous JavaScript libraries, such as jQuery, the Jasmine testing library, and Angular, expand the JavaScript environment by adding features and syntax that the TypeScript compiler doesn't naturally understand. A compiler error is sent when something isn't recognized.
To inform the compiler about the libraries you load, use TypeScript type definition files, or d.ts files.
These same definition files are used by TypeScript-aware editors to provide type information about library features.
The TypeScript compiler and editors may detect definition files in the npm packages of many libraries. Among them is the library Angular. Any Angular application has numerous d.ts files that explain various Angular components in the node modules/@angular/core/ subdirectory. For library packages that contain d.ts files, there is nothing you need to do to obtain typings files. The Angular package already has these.
lib
TypeScript comes with a pre-set collection of declaration files. These files include ambient declarations for the various JavaScript constructs used often in the DOM and JavaScript runtimes.
Visit the lib section of the TypeScript reference for further details.
Scaler Placement Report and Statistics
Scaler learners achieved 2.5x salary growth with average post-Scaler CTC reaching ₹23L.
Downloaded typing files
Many libraries do not include d.ts files in their npm packages, including jQuery, Jasmine, and Lodash. Fortunately, these libraries contain distinct d.ts files that have been published in well-known places, either by their authors or community contributors.
These typings may be installed with npm by utilizing the @types/* scoped package.
The types TypeScript compiler option controls which ambient declaration files are automatically included in the @types/* directory. The types compiler option is set to [] in the tsconfig.app.json file created by the Angular CLI to prevent declarations from @types/ from being automatically included when building an application. The tsconfig.spec.json file, which is used for testing, specifies "types": ["jasmine"] to permit utilizing ambient declarations from Jasmine in tests.
You must change the tsconfig.app.json and tsconfig.spec.json files after adding the @types/ declarations to add the newly installed declarations to the list of types. Only the tsconfig.spec.json file has to be altered if the declarations are only for testing.
For instance, you would run npm install @types/chai —save-dev to install typings, and then you would change tsconfig.spec.json to include 'chai' in the list of types.
target
The target is ES2022, by default. Use the Browserslist configuration file to manage ECMA syntax. Consult the guide to adjusting browser compatibility for further details.
Source Maps
We may need to debug and test the bundle file using our browser's DevTool after building the bundle by converting TypeScript files into JavaScript files.
The only files that show up when you are debugging your code in a browser's DevTool are the bundle files. Every time there is a mistake in our TypeScript code, it will only be noted in the bundle file, making it challenging to track down mistakes in TypeScript and fix them. However, by utilizing our DevTool and a source map, we can quickly debug TypeScript:
We can quickly correct bundles, minify JavaScript code, and debug TypeScript thanks to source maps showing the source file.
source map .map files contain data from both the primary source files and the bundle files contained in map files. DevTools use this file to map the bundle file to the source file.
We must configure TypeScript and Webpack to produce. Map files for the bundle files. Add source map to the compiler option and set its value to true in the TypeScript configuration file:
The devtool attribute will then be added to the webpack configuration and set to true, instructing webpack to create the right source map for each bundle file:
Conclusion
- Webpack has emerged as a crucial choice for developers wishing to optimize their applications as TypeScript's popularity grows.
- We can optimize TypeScript application resources with webpack plugins.
- Step-by-step instructions for configuring Webpack with TypeScript were provided.
- We also looked at debugging our TypeScript code with a source map and learned how to optimize TypeScript apps using webpack plugins.
- By enabling TypeScript, Babel, and ESLint to collaborate, Webpack enables us to create cutting-edge projects.
- In a TS config file or the loader query string, you can supply compiler options.