CSS Borders

Abstract
CSS is all about emphasizing and decorating HTML elements. And one of the ways to make your element noticeable is to add BORDERS to it.
This article will help you understand all the concepts about borders and how you can give custom borders to your element to emphasize its styling.
Remember when we were kids, and we used to draw something out of our imagination? Once the drawing is done, we use a black marker to draw the outline of the object, right? We draw the border so that the drawing will look attractive and clearer. The same goes with borders in CSS. When you want an element to look clearer and unique than others, you try to add borders to it. Border can be defined as the outline or a strip around the shape of the element.
So let's start understanding in depth.
Borders in CSS
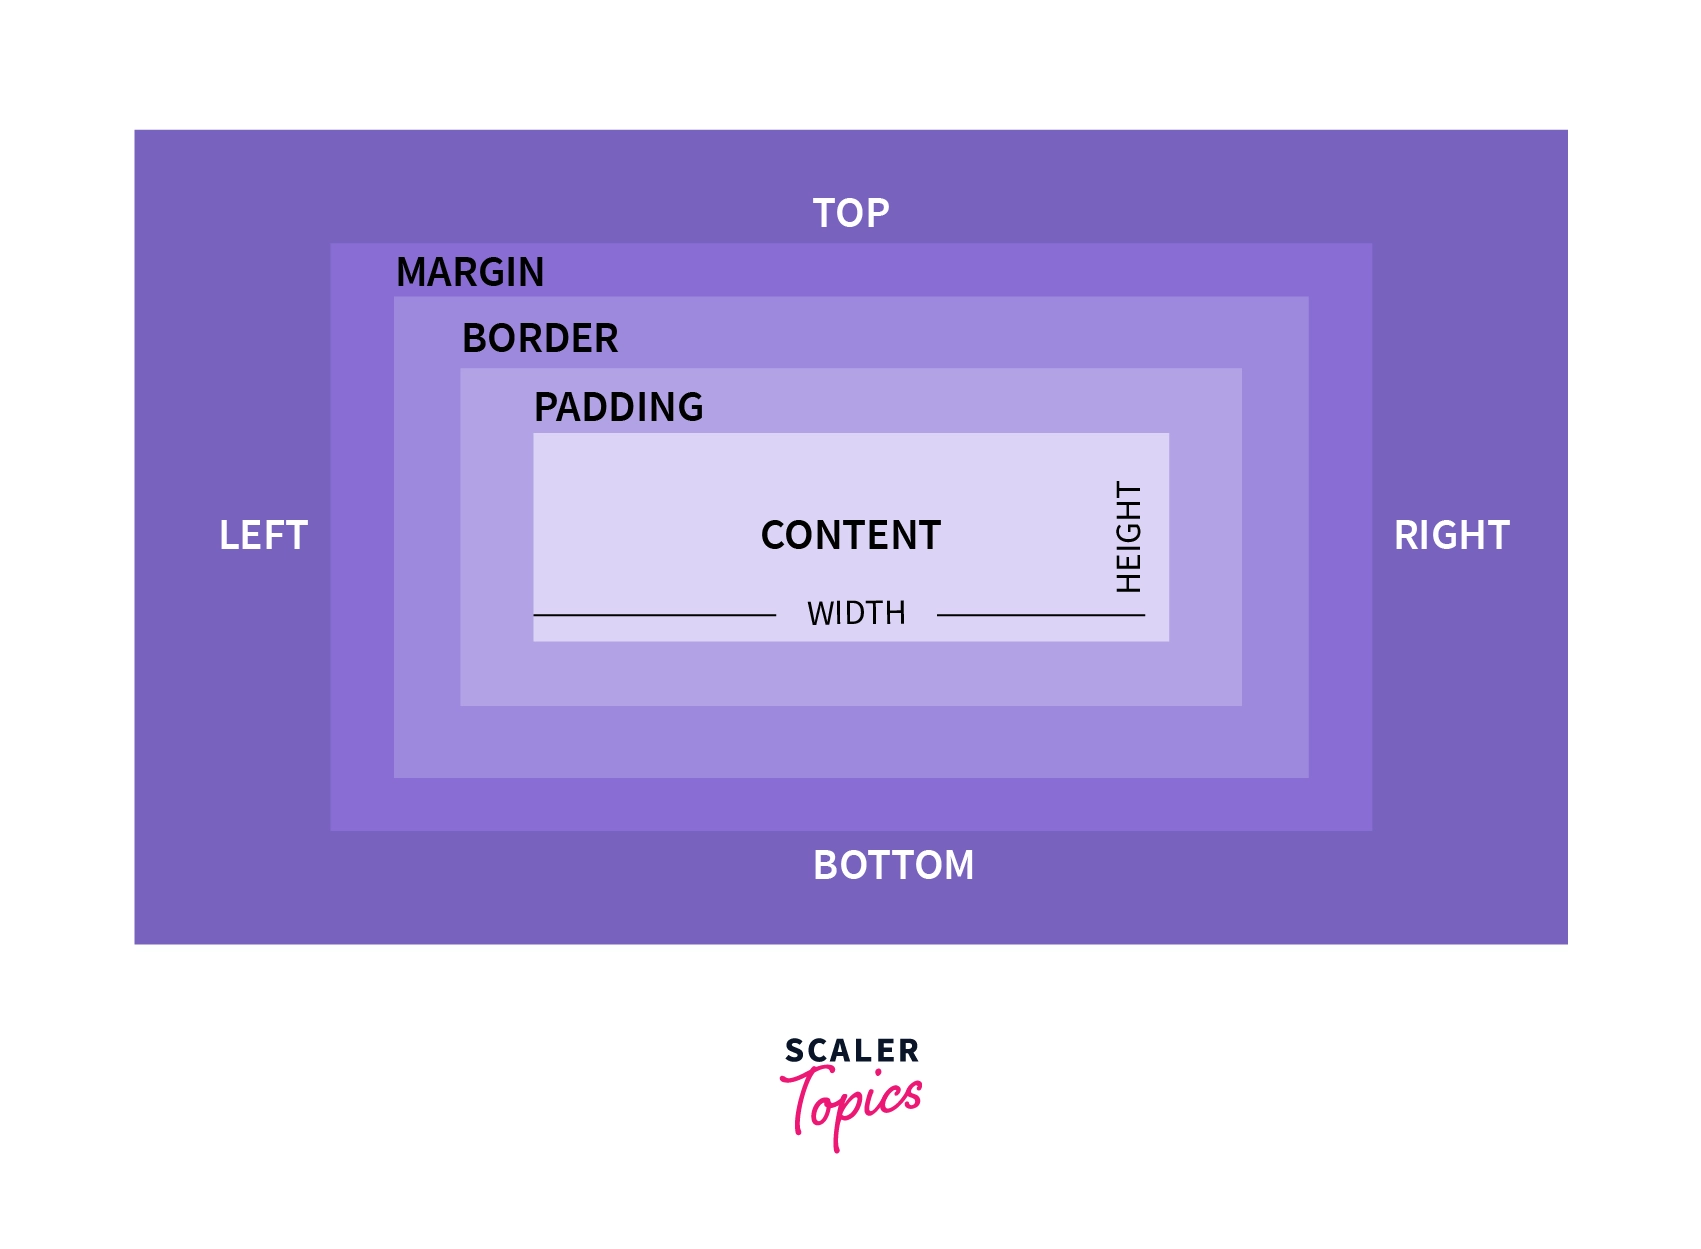
As you can see from the image, every element has a space called "Border" given. This space is used to add a border to your element. This space "Border" is generally present between Margin and Padding.
- Margin - This is the outer space of your element. It increases/decreases the space between two adjacent elements.
- Padding - This is the inner space of the element. It increases/decreases the space between the content and the border.
Border is a property in CSS which is used to give a border to your elements, which we will see later in this article. Let's understand how you can define a border to an element using some properties or borders.
CSS Border Properties.
1. Border-style -
The property border-style is used to define the border around your element. It is the first step to adding your border. It takes various values as per your needs in how you want your border to look.
Syntax -
The values can be -
- none
- solid
- dashed
- dotted
- double
- groove
- hidden
- inset
- none
- outset
- ridge
Example -
The following example will help you understand what each and every style looks like -
The values none and hidden do not have a border, yet there is a small difference between them. If any other competing border is set, the none value has the lowest priority, whereas the hidden value has the highest priority when it comes to the table cell and border-collapse.
2. Border-color -
The property border-color will define the color of your border. Here you can give the color in any format like Hex(#2f2f2f), RGB[rgb(255,0,0)] or even the color-name(red). This will set the color of all four sides of your border.
This property has four types of syntax -
- One value syntax - In this, you have to provide only one value, and this will set the color of all four sides of the border.
Syntax -
Example -
- Two value syntax - In this, you have to provide two values. The first value will change the color of the top and bottom border, while the second value will change the color of the left and right sides border.
Syntax -
Example -
- Three value syntax - In this, you have to provide three values. The first value will change the color of the top border. The second value will change the color of the left and right sides border. And the third value will change the color of the bottom border
Syntax -
Example -
- Four value syntax - In this, you have to provide four values. Each value will change the color of the border in this order - top, right, bottom, left.
Syntax -
Example -
Following is an example -
Scaler Placement Report and Statistics
Scaler learners achieved 2.5x salary growth with average post-Scaler CTC reaching ₹23L.
3. Border-width
The property border-width will define the width of your border. It is used to give your border a particular thickness. You can use any size unit you want like px, em, rem, etc.
This property has four types of syntax -
- One value syntax - In this, you have to provide only one value and this will set the width of all the 4 sides of the border.
Syntax -
Example -
- Two value syntax - In this, you have to provide two values. The first value will change the width of the top and bottom border, while the second value will change the width of the left and right side's border.
Syntax -
Example -
- Three value syntax - In this, you have to provide three values. The first value will change the width of the top border. The second value will change the width of the left and right sides border. And the third value will change the width of the bottom border.
Syntax -
Example -
- Four value syntax - In this, you have to provide four values. Each value will change the width of the border in this order - top, right, bottom, left.
Syntax -
Example -
Following is an example -
Transform Your Career
Choose from our industry-leading programs designed for career success
Modern Software and AI Engineering Program
Master full-stack development with AI integration

Modern Data Science and ML with specialisation in AI
Advanced data science techniques with AI specialization
Advanced AIML with Specialisation in Agentic AI
Deep dive into AIML with focus on Agentic systems
DevOps, Cloud & AI Platform Engineering
Build and manage AI-powered cloud infrastructure
AI Engineering Advanced Certification by IIT-Roorkee
Premier AI engineering certification from IIT-Roorkee
4. Border-radius -
You might have noticed that all the borders above are rectangular in shape. What if I want the vertices to be round? You can do that using the border-radius property. Just like border-width, you can use any unit for size here as well, like px, em, percentages, etc.
Syntax -
Example -
Following is the output. As you can see, the vertices are slightly curved.
You can also increase the value, which will increase the size of the curve. As you can see below, this will create a pill-like shape.
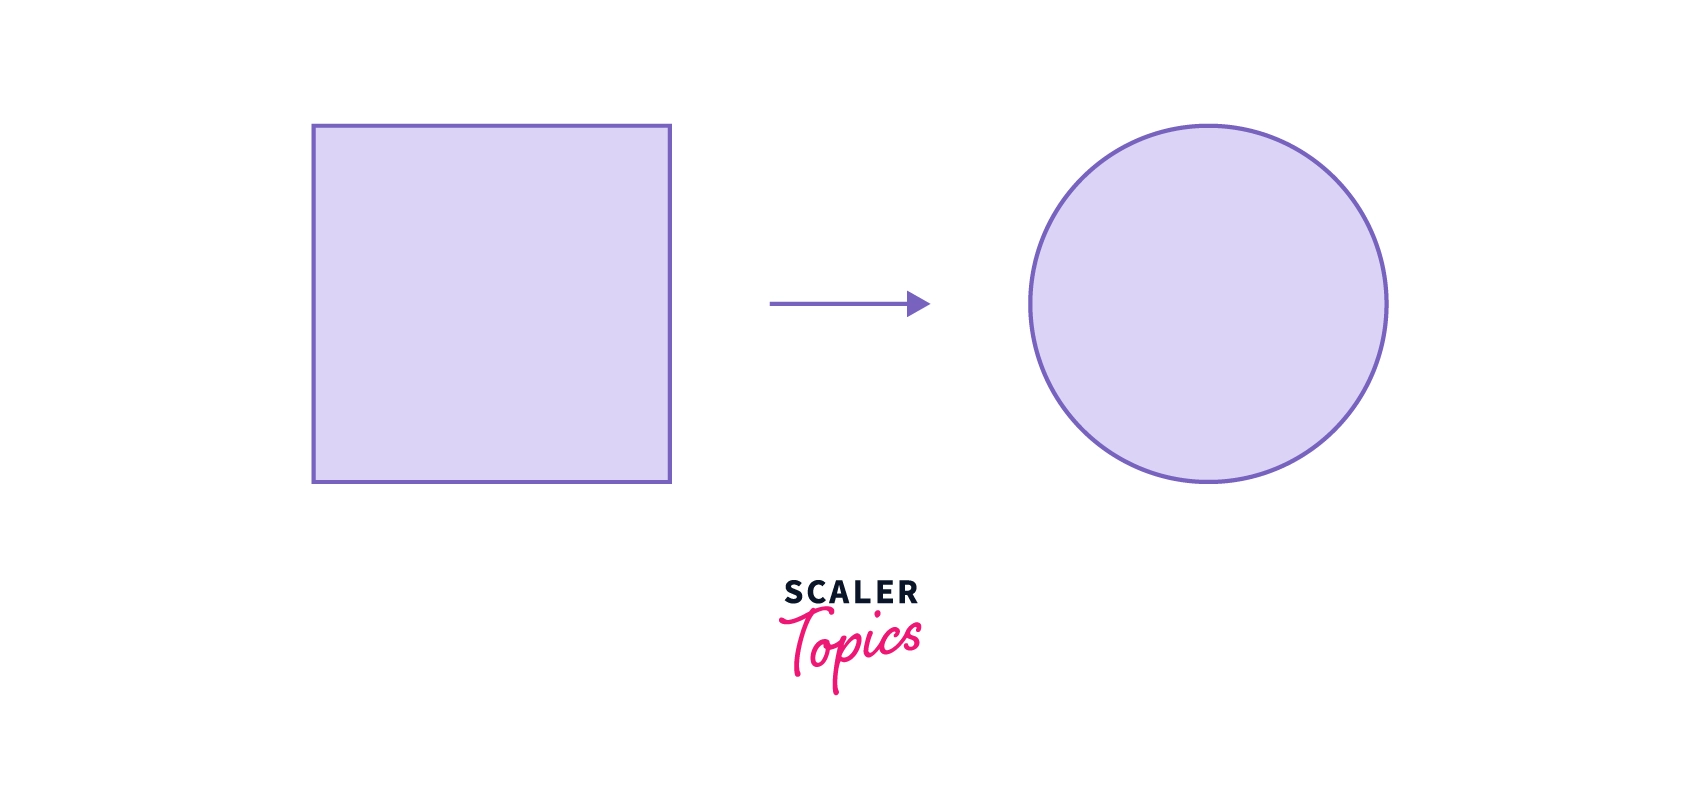
Another trick using the border-radius property is that we can create a circle while working with square elements by just passing 50% as the value -
Following is the output -
Following code will help you understand in depth.
Border-color Properties -
The border-color property can be subdivided into 4 CSS properties. Here also, you can specify color in any format you want, like Hex, RGB, or Name.
1. border-bottom-color
This property is used to add color only to the bottom border.
Syntax -
Example -
2. border-top-color
This property is used to add color only to the top border.
Syntax -
Example -
3. border-left-color
This property is used to add color only to the left side border.
Syntax -
Example -
4. border-right-color
This property is used to add color only to the right side border.
Syntax -
Example -
Following is the example -
Border-style Properties -
The border-style property can be subdivided into 4 CSS properties. These are the same as that of color properties, except here you can change the border-style of a specific side of the border.
Turn Learning into Career Growth
1. border-bottom-style
This property is used to define the style only for the bottom border.
Syntax -
Example -
2. border-top-style
This property is used to define the style only for the top border.
Syntax -
Example -
3. border-left-style
This property is used to define the style only for the left side border.
Syntax -
Example -
4. border-right-style
This property is used to define the style only for the right-side border.
Syntax -
Example -
Following is the output -
Border-width Properties -
The border-style property can be subdivided into 4 CSS properties. These are the same as that color properties, except here, you can change the border-width of a specific side of the border.
Here also, you can use any unit for size like pixel, percentage, em, rem, etc.
1. border-bottom-width
This property is used to define the width only for the bottom border.
Syntax -
Example -
2. border-top-width
This property is used to define the width only for the top border.
Syntax -
Example -
3. border-left-width
This property is used to define the width only for the left side border.
Syntax -
Example -
4. border-right-width
This property is used to define the width only for the right side border.
Syntax -
Example -
Following is the output -
Border Properties Using Shorthand
For adding border to your element, the border-style property is a compulsory one without which border will not occur. border-width and border-color can be used as per the programmer's need. But defining all these 3 using separate properties is not considerable. There is a shortcut to writing all the property in one place. You can use the shorthand border property and include all the three values of properties mentioned above.
Syntax -
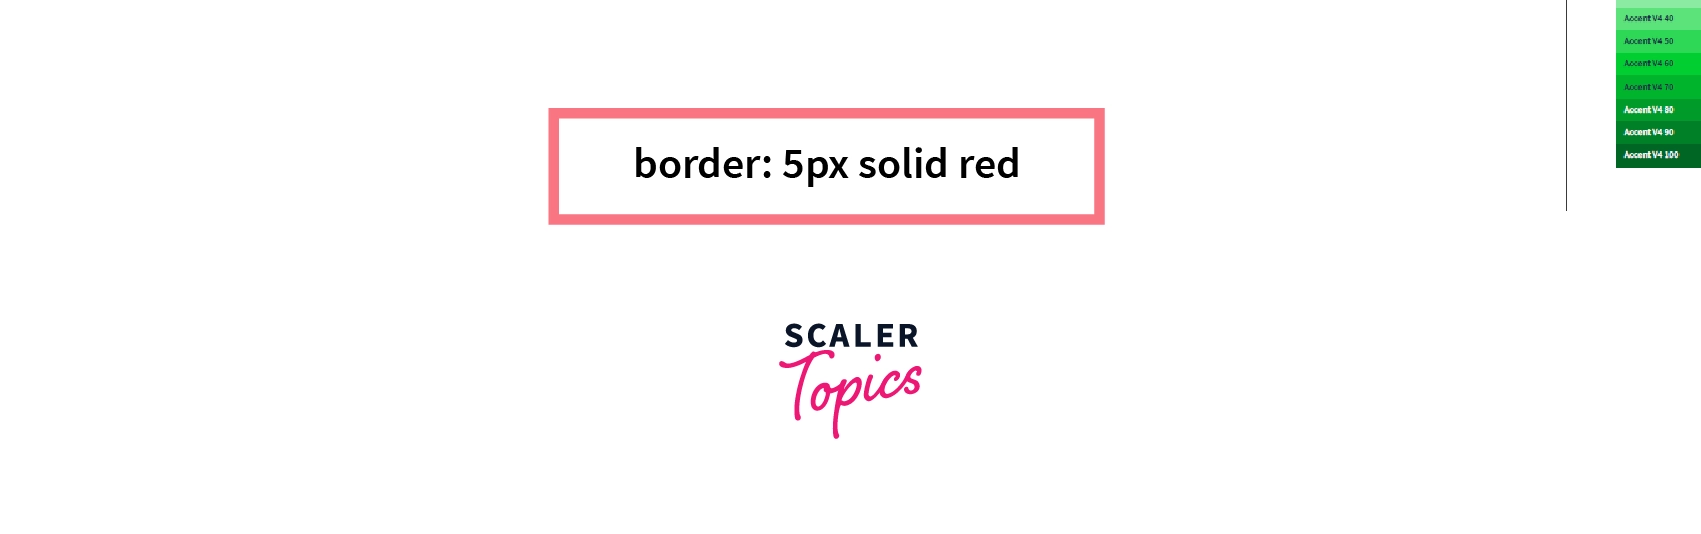
Example -
This will create a border of a width of 5px, the style will be solid, and the color of the border will be red.
Output -
Conclusion -
- Border in CSS is a property that will add border to a particular element.
- border-style property is used to define the border around your element.
- border-color property will define the color of your border.
- border-width property will define the width of your border.
- border-radius property is used to give your border curve vertices.
- border: 'border-width' 'border-style' 'border-color'; This is the syntax of the border shorthand property.
Thanks for the time you took to read this. I hope this article helps you understand all the concepts of CSS Borders. Play around with these properties and create some cool borders. Goodbye.