Padding in CSS

Overview
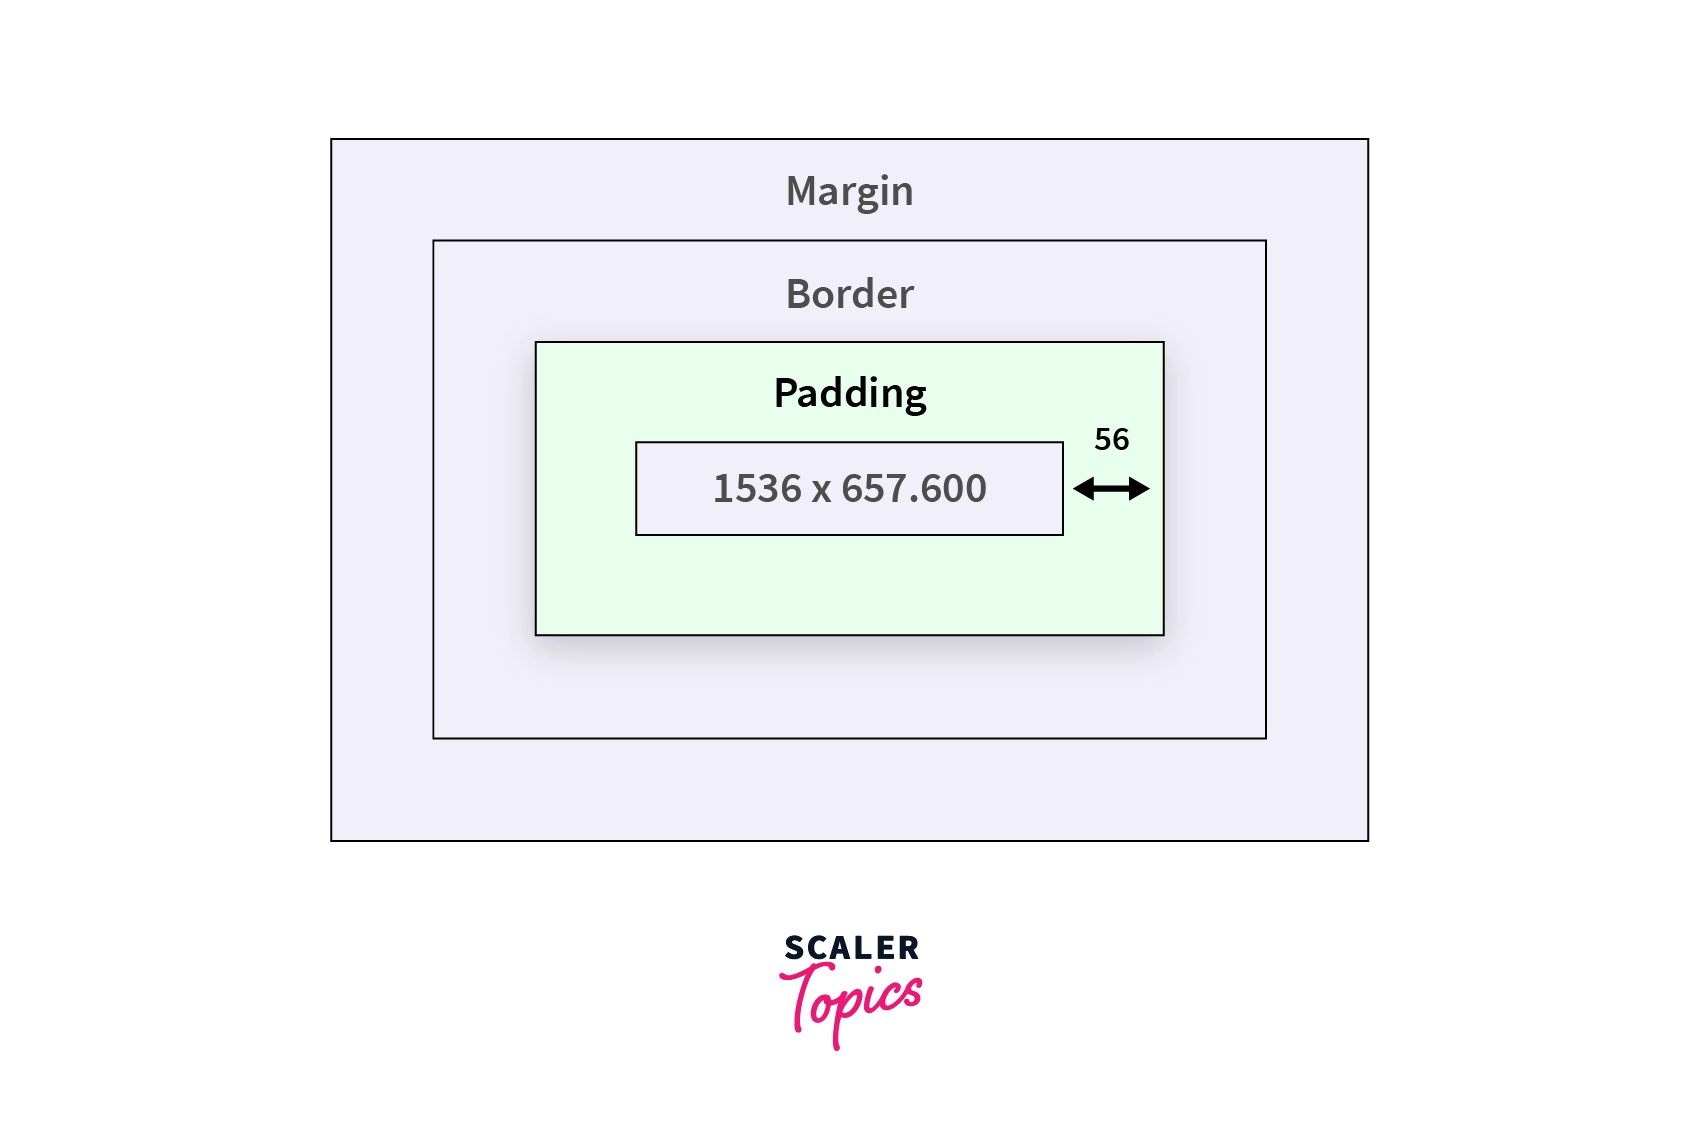
The CSS padding property provides the space between the element's border and its content. It is different from the CSS margin in that it is affected by the background color of that element on which padding is set, i.e., if you set an element's background color, it will be visible through the padding area. Margin creates extra space outside the element, whereas padding creates extra space within the element.
Transform Your Career
Choose from our industry-leading programs designed for career success
Modern Software and AI Engineering Program
Master full-stack development with AI integration

Modern Data Science and ML with specialisation in AI
Advanced data science techniques with AI specialization
Advanced AIML with Specialisation in Agentic AI
Deep dive into AIML with focus on Agentic systems
DevOps, Cloud & AI Platform Engineering
Build and manage AI-powered cloud infrastructure
AI Engineering Advanced Certification by IIT-Roorkee
Premier AI engineering certification from IIT-Roorkee
What is Padding in CSS?
The Padding in CSS property controls the amount of space inside the HTML element between its content and border. You know about the margin that adds up the space outside an element's border, but for padding, the space is added inside the element's border. You can change the top, right, bottom, and left padding properties independently, and you can also change all the padding properties at once using the shorthand property that you'll study later in this article.
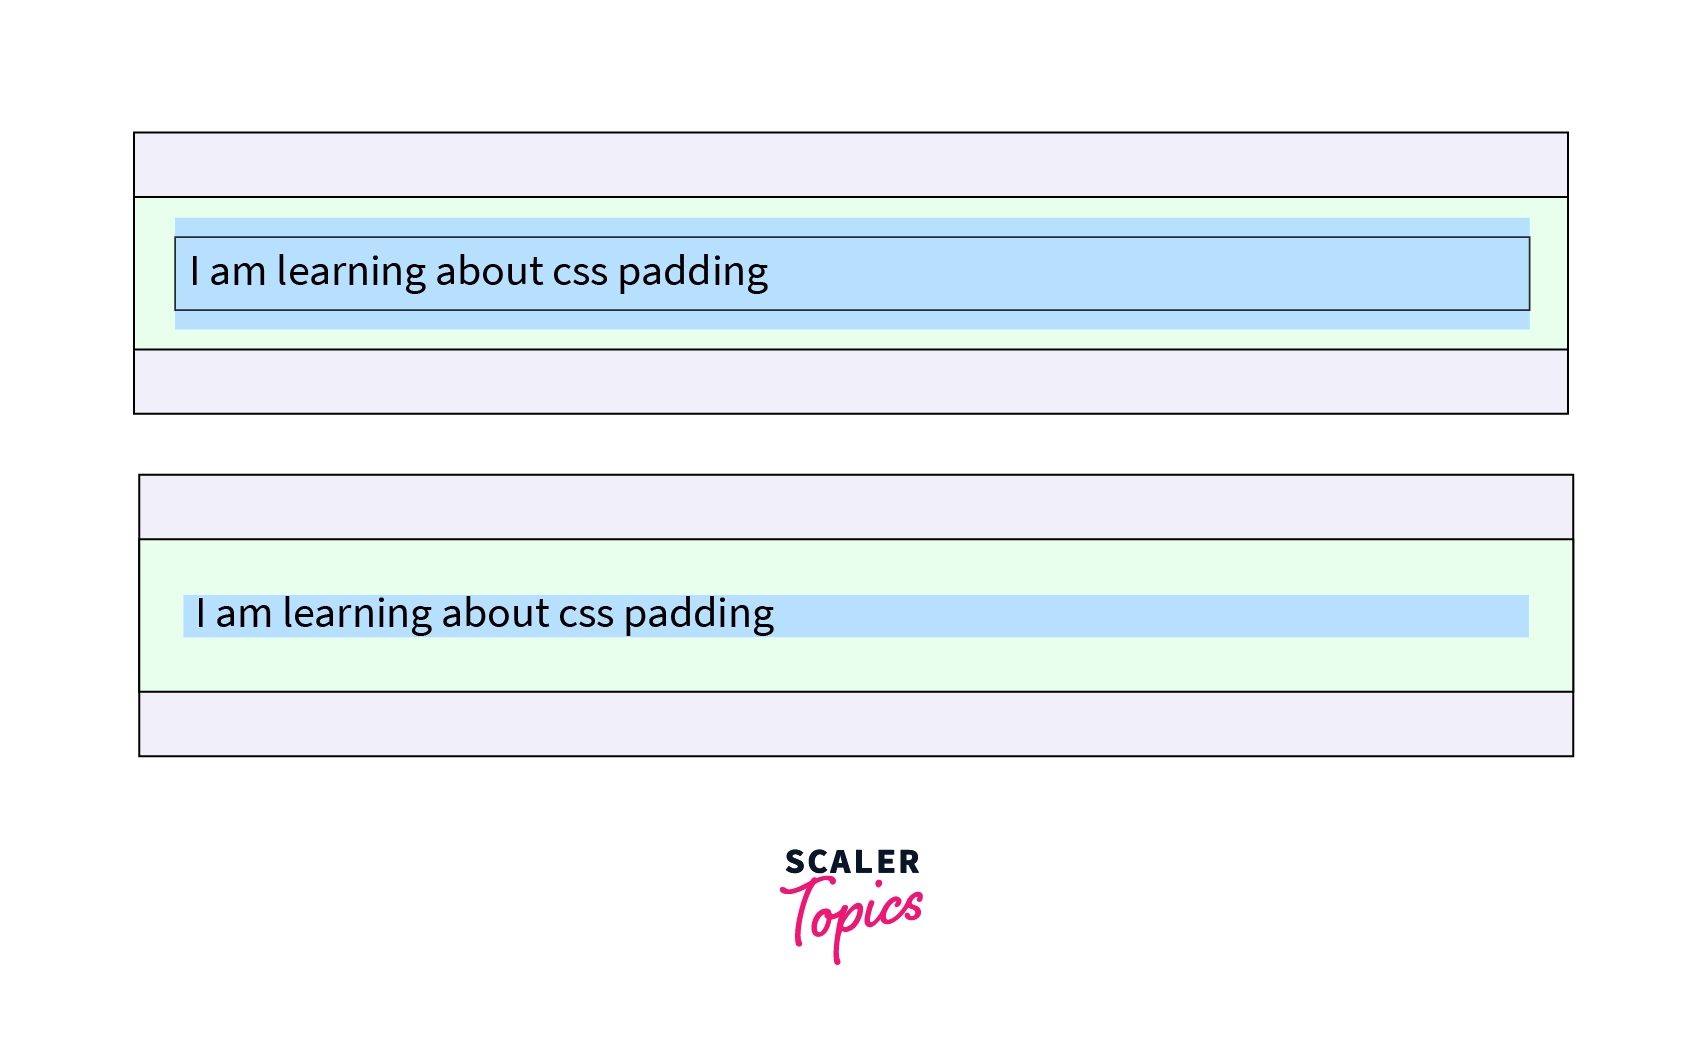
The green part in the image below represents the padding area inside the element's container, while the brown area, which is the margin area, is outside the element's container. The border separates the margin area and the padding area.
Let's take a closer look at how padding in CSS can be obtained.
Syntax
The padding properties can be specified using the following values:
- length - specifies padding in rem, em, px, etc.
- % - specifies padding in the percentage of the containing element's width.
- inherit - specifies the padding should be inherited from the parent element.
For example, take two elements, padding is added to one p element, and the second p element doesn't have any padding.
Here, the p tag with the class with-padding is assigned padding of 10px from all the sides. This is the shorthand property that you'll study later in this article.
The output of the above code snippet is shown below, and observe that the element with the padding property has more space inside the container than the element with no padding.
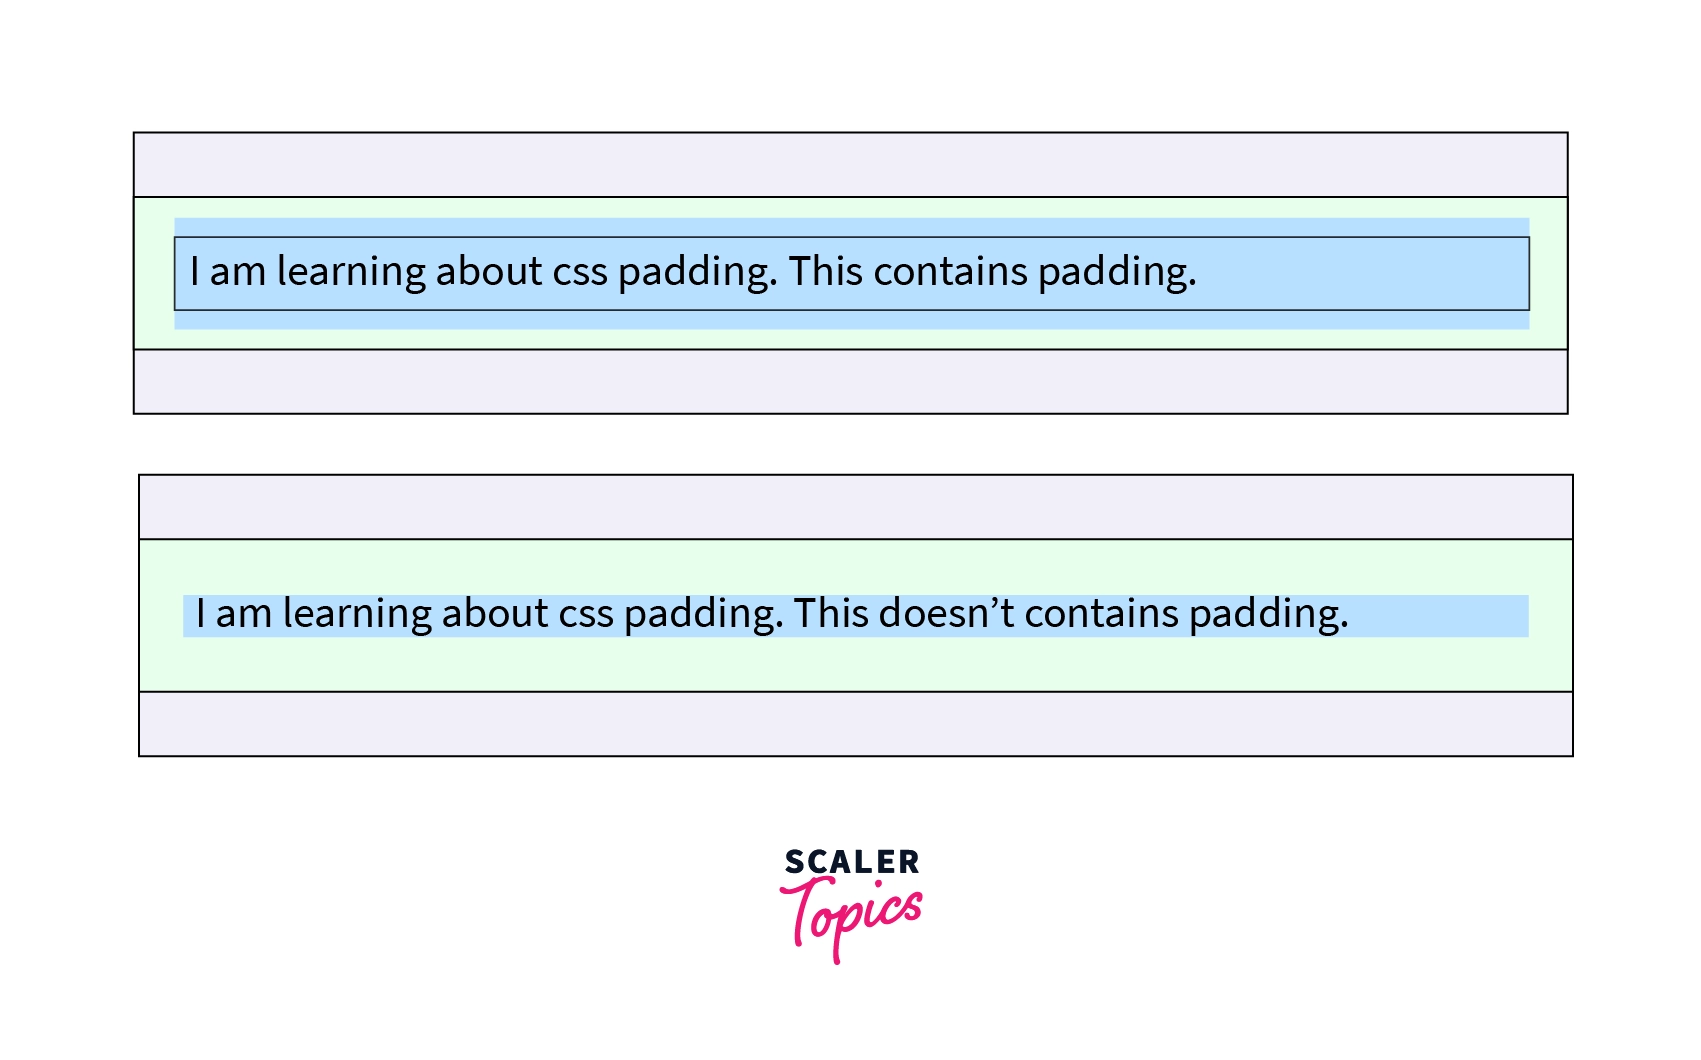
Note- You can combine the fixed values with the percentage values in the padding property like padding: 10px 3%.
CSS Padding Properties
Sometimes there is a need to specify different CSS padding properties for different sides. As shown below, you can achieve this by setting the padding property to the individual side.
| Property | Syntax | Description |
|---|---|---|
| padding-left | padding-left: 10px | It is used to set left padding to an element. |
| padding-right | padding-right: 10px | It is used to set right padding to an element. |
| padding-top | padding-top: 10px | It is used to set top padding to an element. |
| padding-bottom | padding-bottom: 10px | It is used to set bottom padding to an element. |
| padding | padding: 10px | It is used to set padding to all the directions at once. |
Let's take an example to understand the above-defined properties.
Output of the above code snippet is shown below:
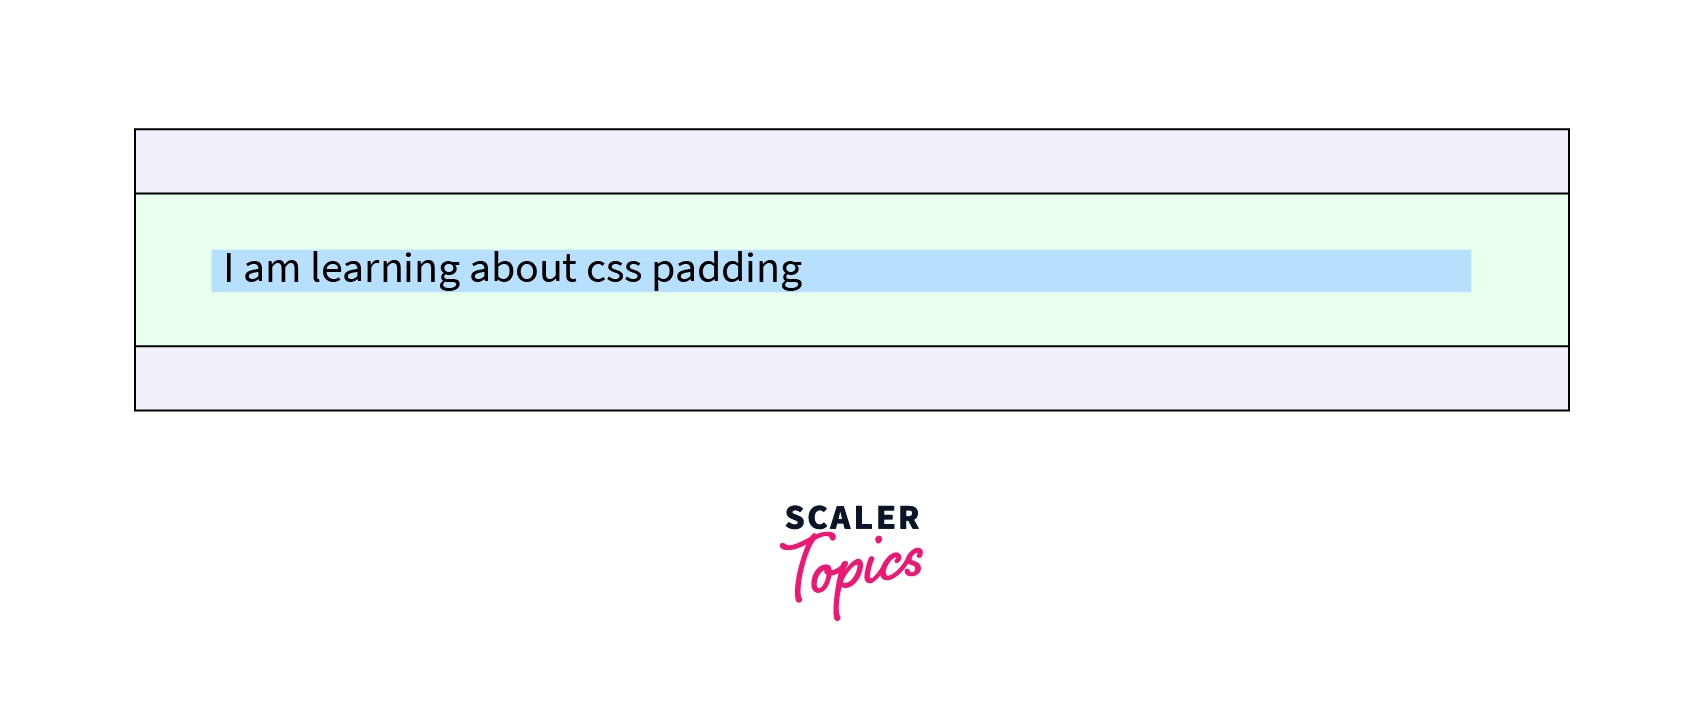
As you can see, in the output image above, the padding(green part) in all four directions is different because it was set this way in the code snippet above.
Note - It is recommended to use shorthand properties, this will help you save some time in writing the code, and it is more readable.
Turn Learning into Career Growth
CSS Padding Shorthand Property
-
The padding declaration is a shorthand property to declare padding to all four directions if padding in all four directions is the same so that you don't have to write padding-right, padding-left, padding-top, padding-bottom individually.
-
If the padding property has two values, then the first value is applied to padding-top, padding-bottom of the element, and the second value is applied to padding-left, padding-right.
-
If three values are provided to the padding property, then the first value is applied to padding-top, the second value is applied to padding-right and padding-left, and the third value is applied to padding-bottom.
-
If four values are provided to the padding property, the first value is applied to padding-top, the second to padding-right, the third to padding-bottom, and the fourth value is applied to padding-left.
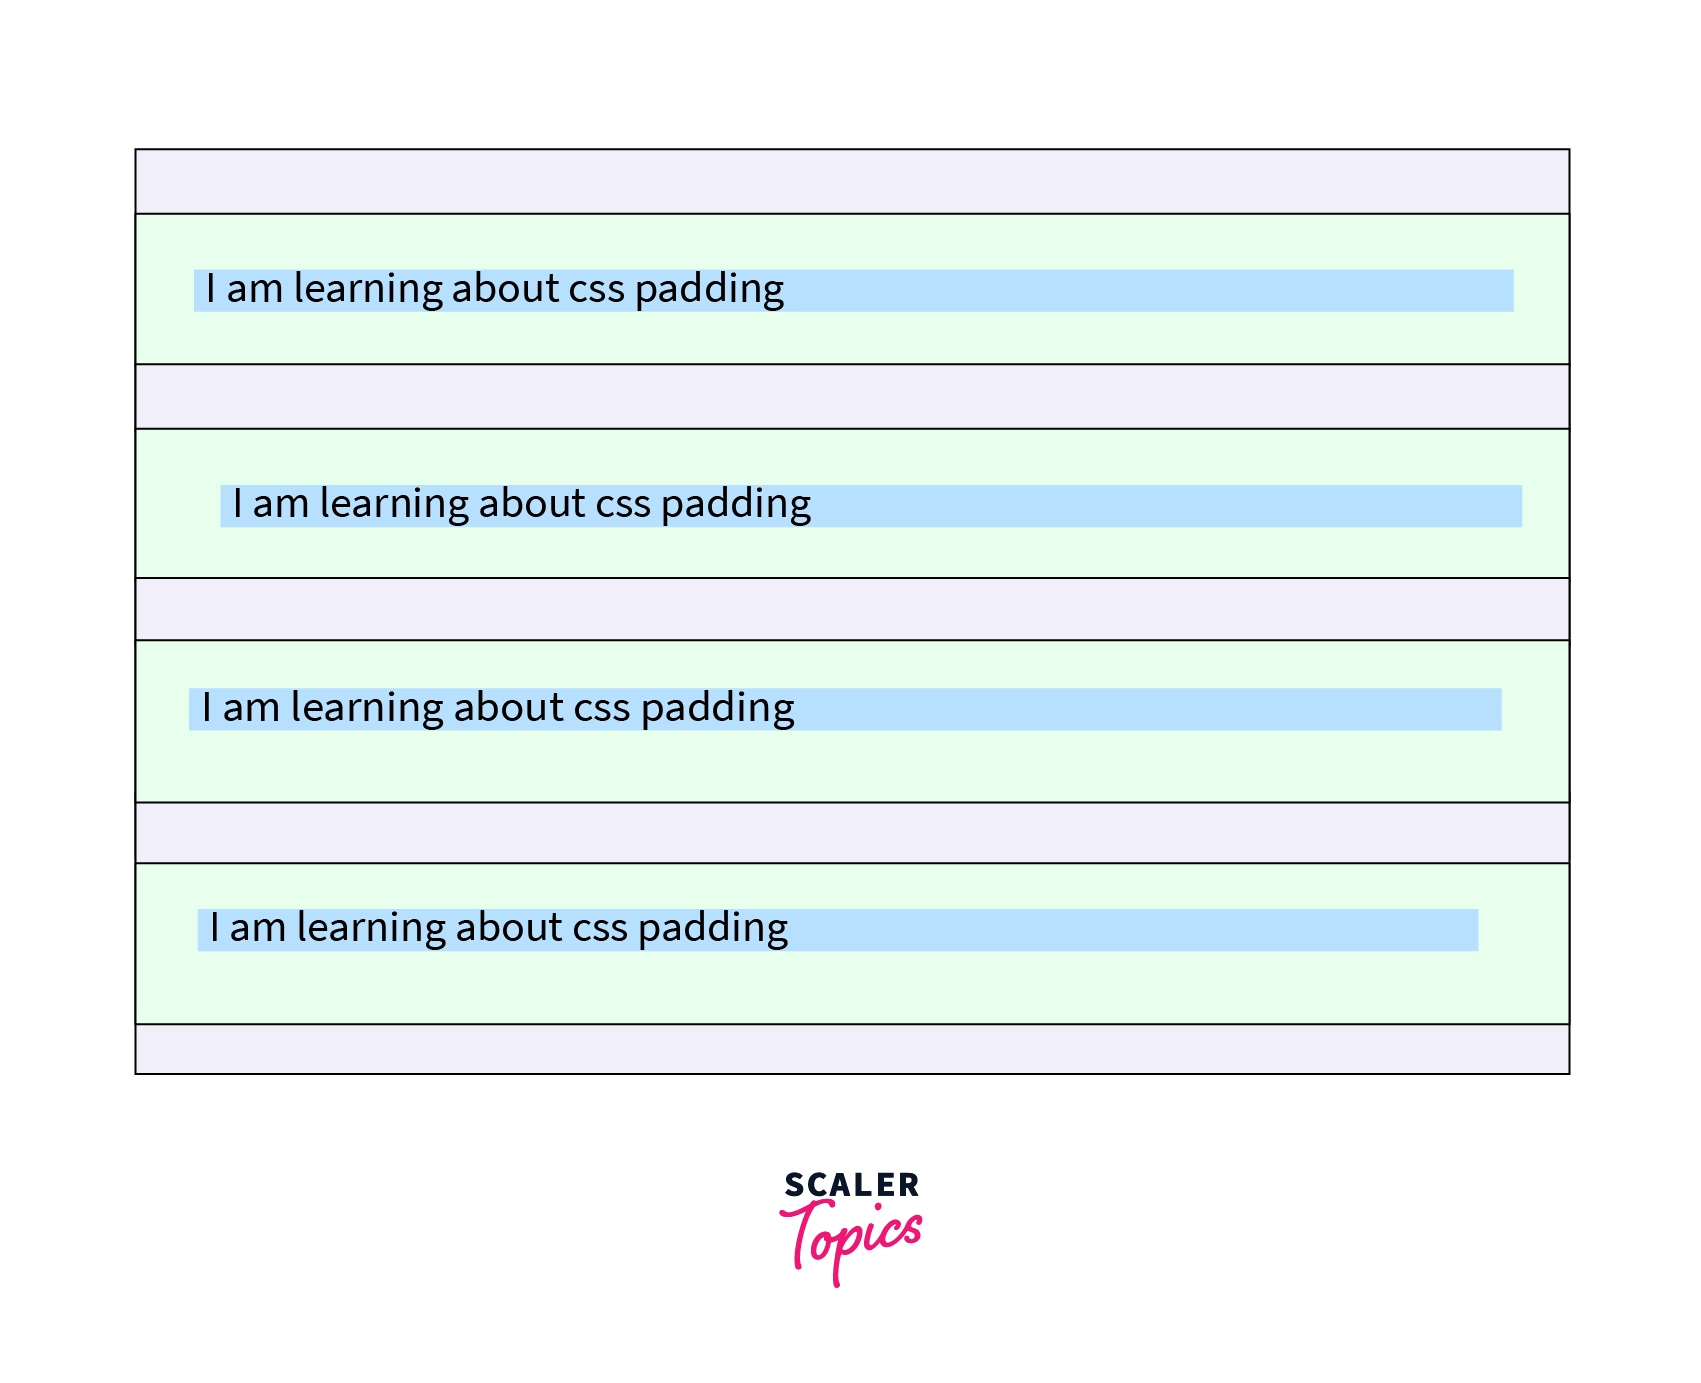
Let's take an example that will demonstrate the use of shorthand property.
Output of the above code snippet is shown below. Here the green color part is the padding area.
How to inherit the Padding in CSS from the Parent Element?
To inherit the padding of an element from its parent element, you can use padding: inherit. This will allow you to use the same padding as applied to the parent element, i.e., and it will inherit the padding from the parent element. Let's take an example to understand this better.
Output of the above code snippet is shown below, which states that the div container has the padding of 15px, and the same padding is inherited by the p tag because of padding: inherit. The images below the green part show the padding area.
Conclusion
- Padding in CSS defines the space between the element's content and border.
- The shorthand property to use padding on all four sides, i.e., top, right, left, and the bottom is padding: size in px or %.
- The value of CSS padding property can be a fixed value in px, in percentage, or inherited.
- Negatives values are not allowed in the CSS padding property.
- Padding in CSS properties are applied individually to the element's four directions using padding-right, padding-top, etc.
- Paddings in CSS can be inherited from the parent's container by applying padding: inherit to that element.