What is CSS? | CSS Basics

Overview
Even if you have not done Web Development, you might be familiar with the Markup language known as HTML (HyperText Markup Language), which acts as a skeleton to a website. Think of an HTML code with no formatting, alignment of elements or color, etc. How will it look? To answer the question, it will look dull, Right? So this is where CSS or Cascading Style Sheets comes into play. CSS acts as a styling layer for web pages.
What is CSS?
CSS or Cascading Style Sheet or the second pillar of front-end development after HTML is a language used for describing the presentation of webpages, which includes the layout of the page, fonts of elements and color, animation, a lot else as well. Thus making our webpage beautiful to the user.
 Let us breakdown the word CSS or Cascading Style Sheet
- Cascading: means that styles can fall (or cascade) from one style sheet to another. That is, there can be multiple CSS files linked to the same HTML document, where the last one matters the most.
- Style: Adding Styling our HTML tags
- Sheets: Writing our style code in different documents
CSS is designed to make style sheets for web pages. It is independent, i.e., it can be used with any XML-based markup language.
History of Cascading Style Sheet (CSS)
- 1994: Cascading Style Sheet was First Proposed by Hakon Wium Lie on 10th October
- 1996: Finally, Cascading Style Sheet was published on 17th November with influencer Bert Bos, after which he became co-author of Cascading Style Sheet.
- 1996: Cascading Style Sheet became official with CSS and was published in December
Cascading Style Sheet (CSS) Syntax
Example:
Here, the role of the Selector is to select the element you want to target. Some of the basic selectors are tags, id’s, and classes. You might have noticed the syntax in CSS, which forms a key-value pair, where key: property. Which includes background, color, font-size etc. And the value is the value assigned to the properties.
So, a question that must be coming across your mind is-
How does CSS Works?
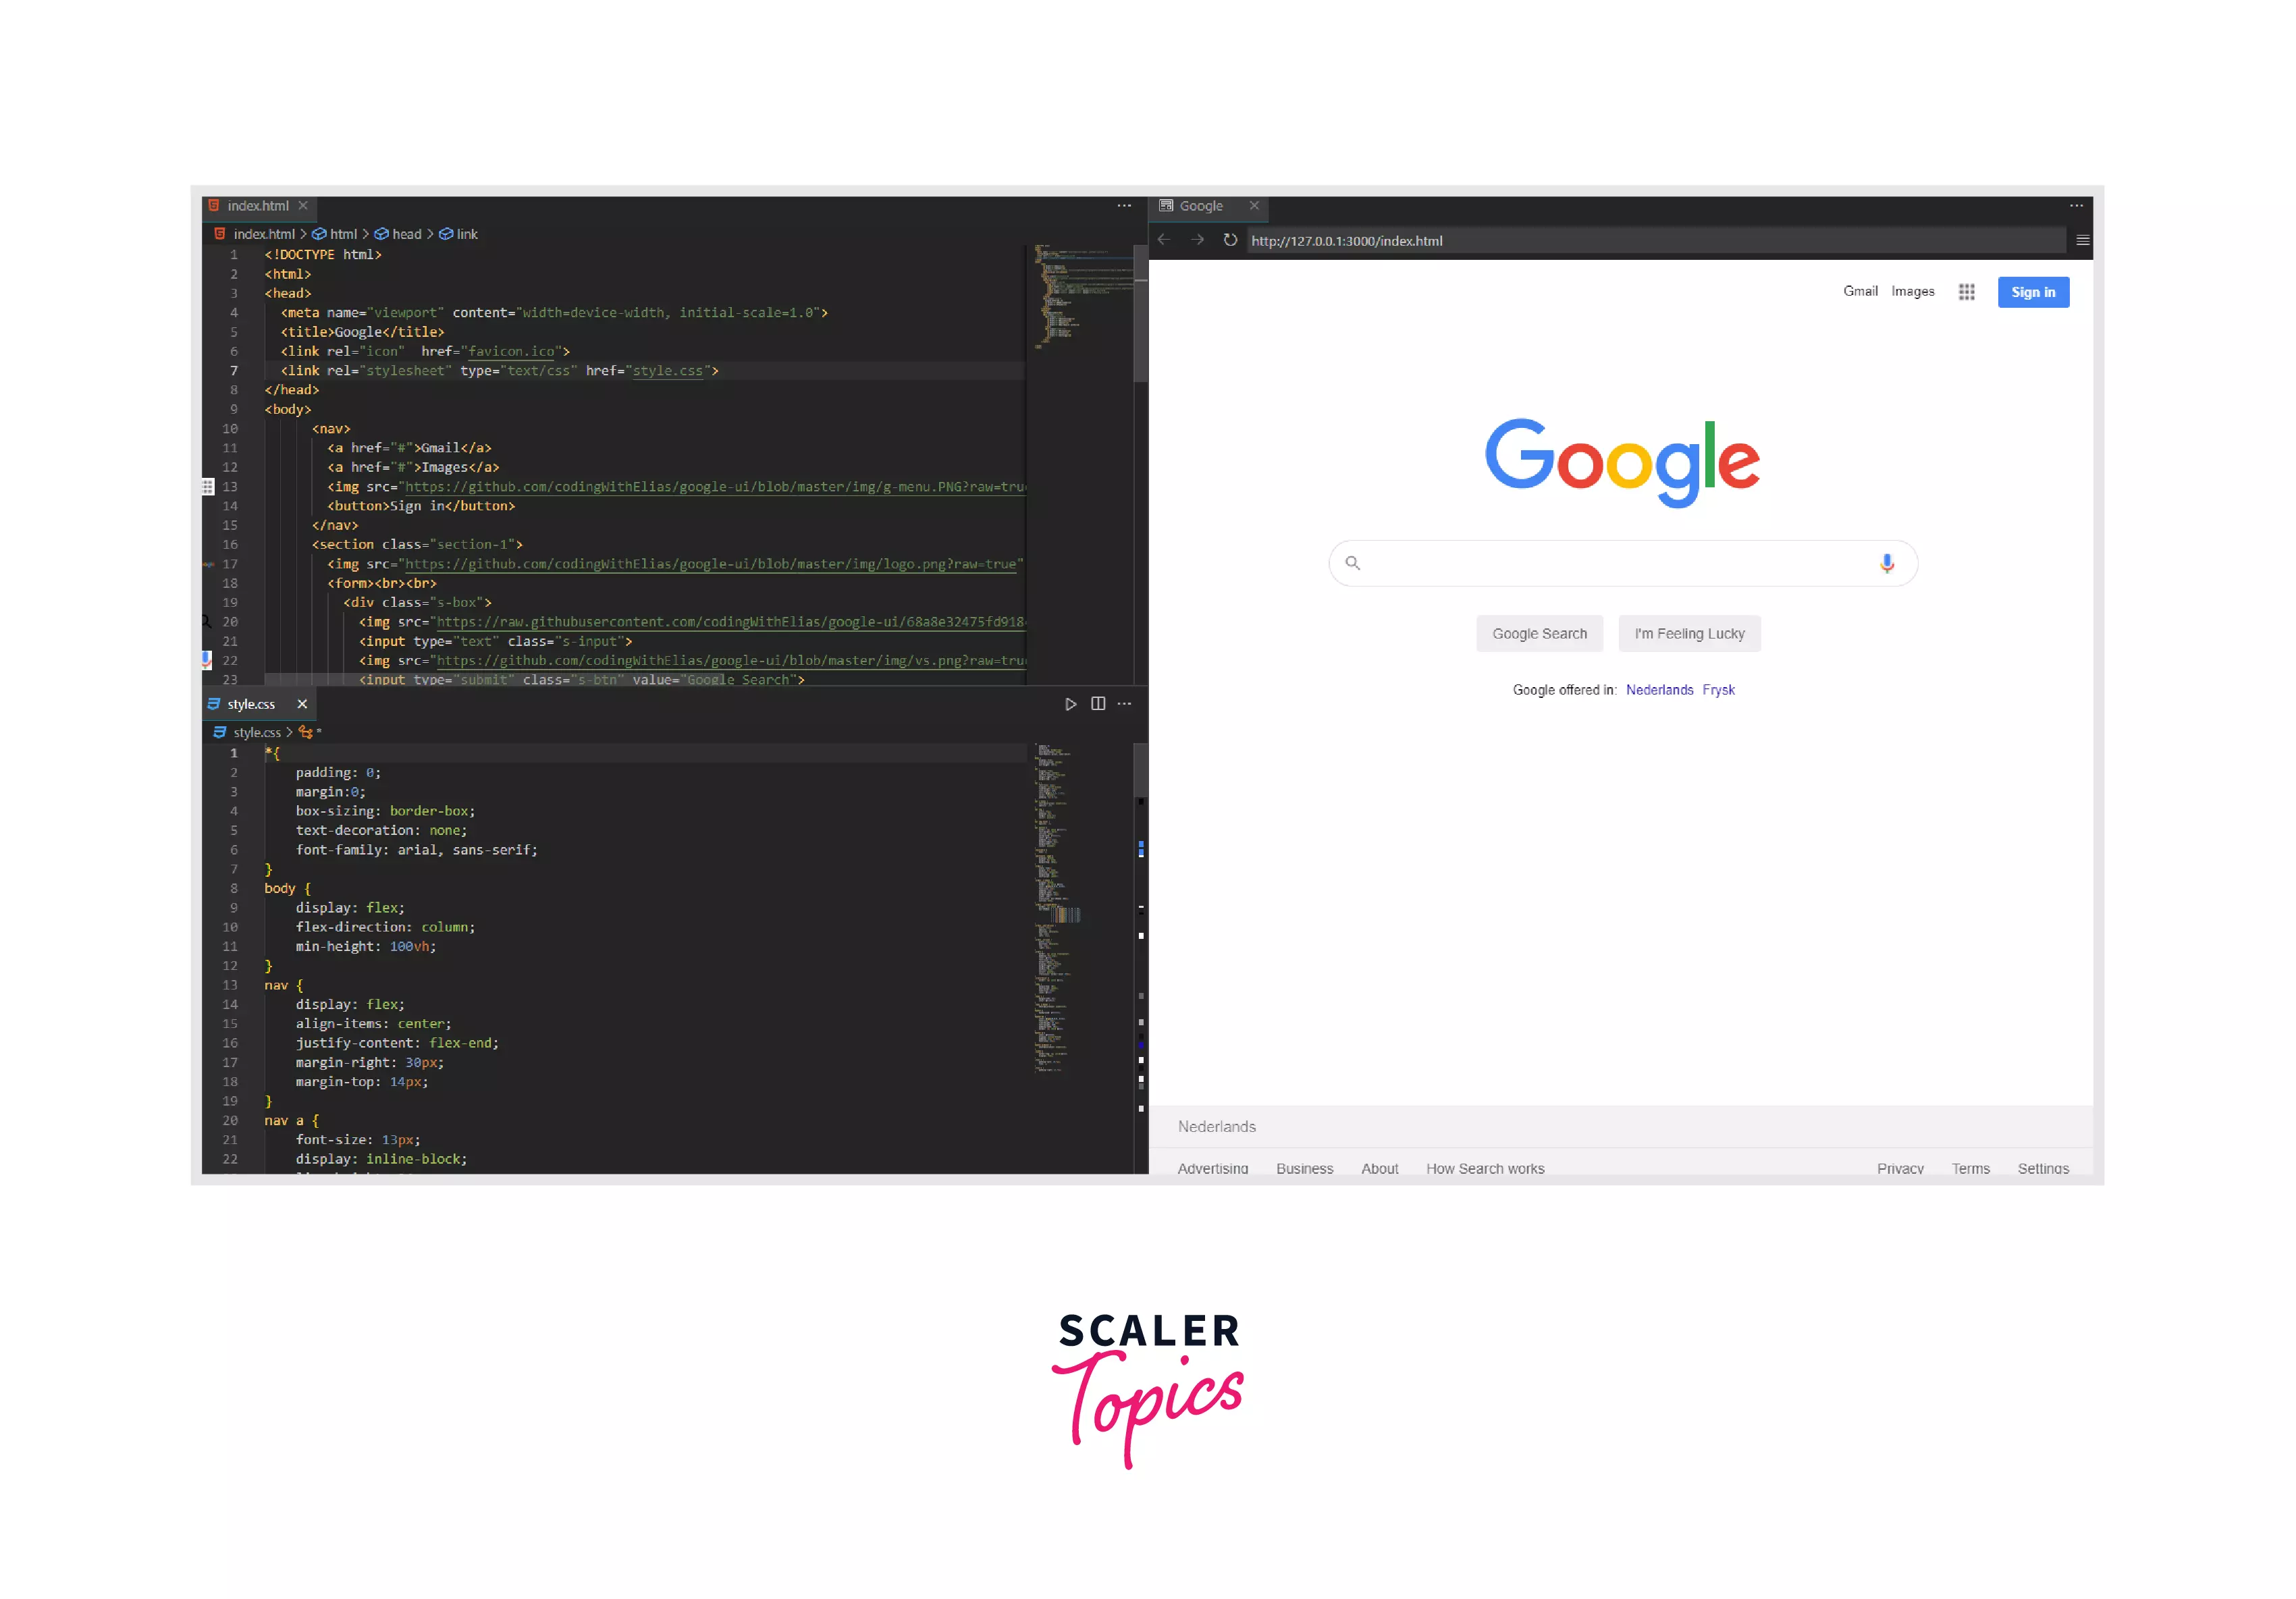
CSS brings style to your webpage by providing different style options to HTML element, For example-
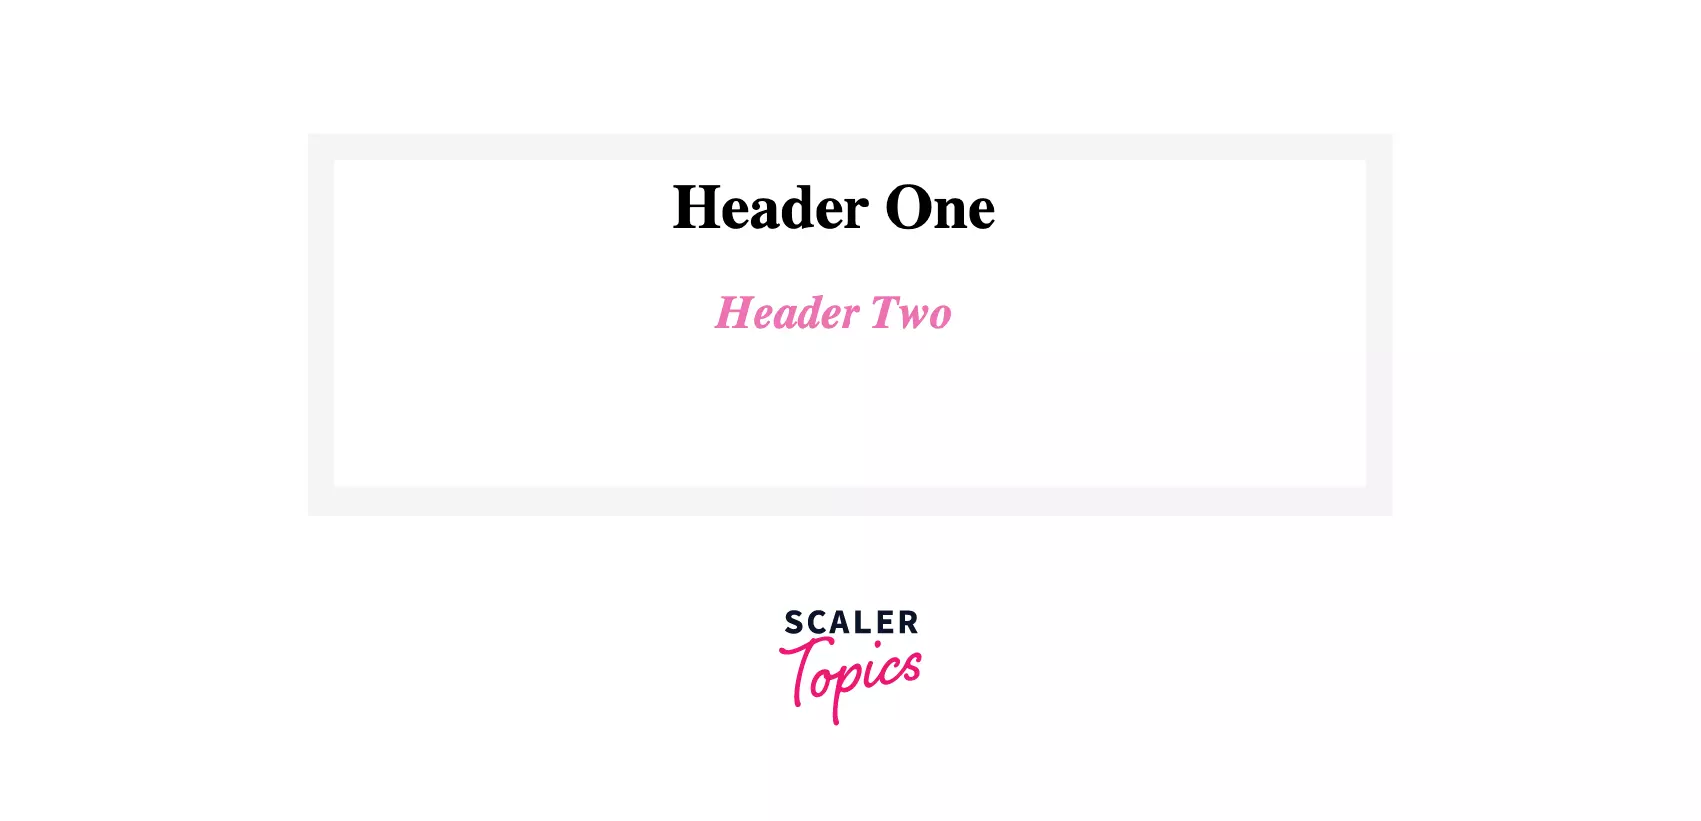
we can create a Header using the <h1></h1> tag in HTML. But how do we make it look attractive? This is where CSS comes into play-
If you want to make the header color to be red and centered on the webpage people are viewing, you will use CSS code like
In this case, the h1 (the header) is called a selector. Basically, in CSS code, we need to specify in which element the CSS styling will take place.
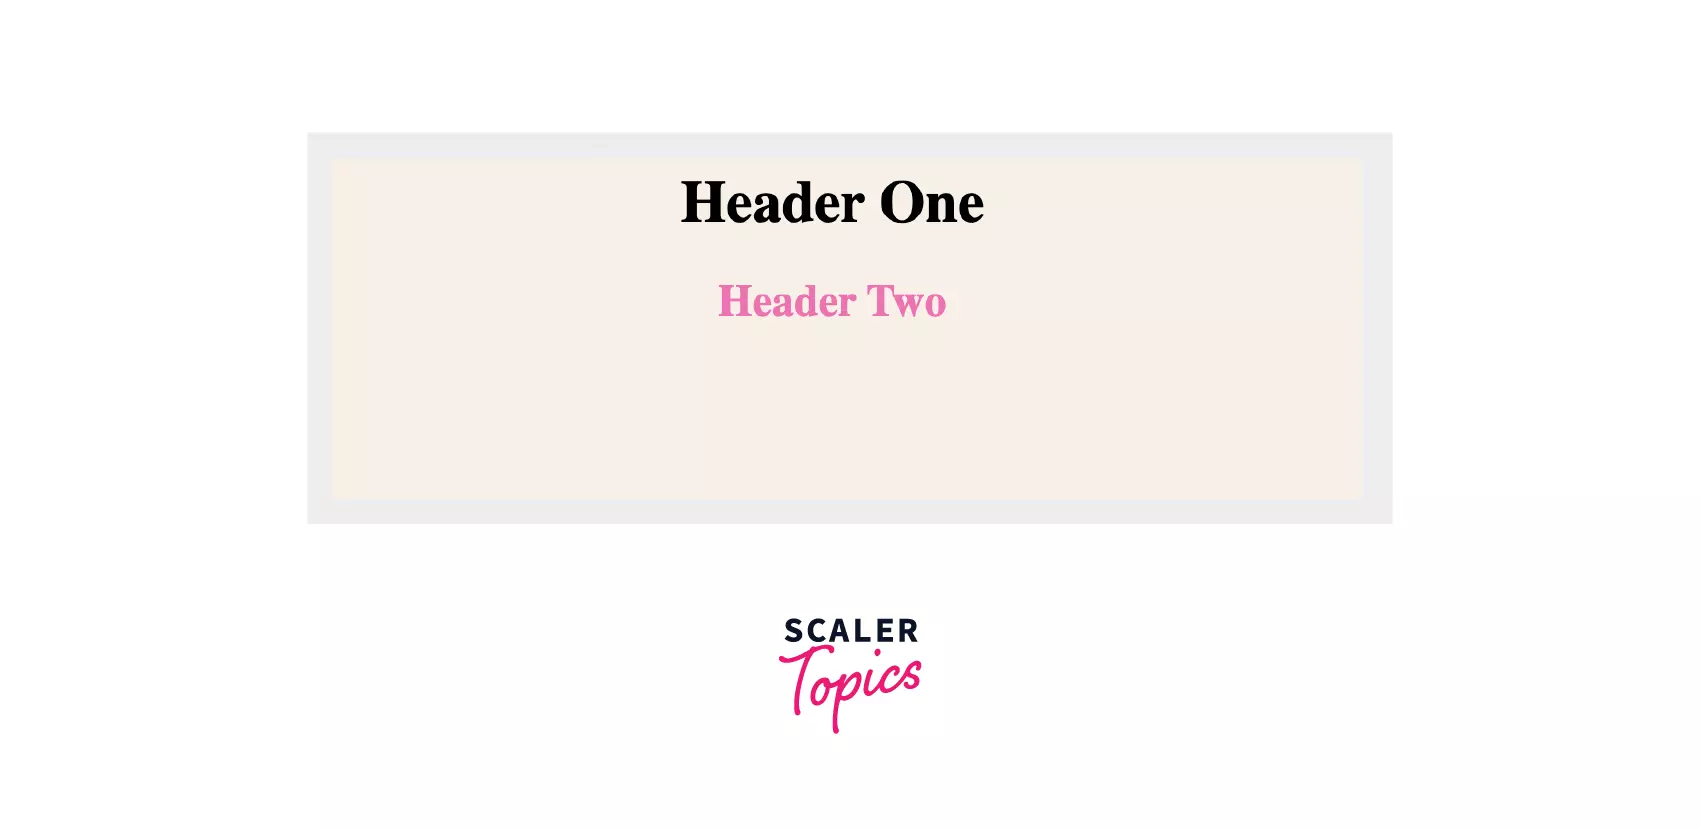
The selector is written to the left with curly brackets, and in the information between the curly brackets is called a declaration, which contains values to the specified properties that are applied to the selectors.
In the given example, the "color" and the "text-align" are properties while "red" and "center" is their values, respectively. Hence
Code is a declaration. These basic principles can be applied to change other properties as well, such as-
The above piece of code would make the whole webpage background color grey.
CSS Comment
In programming, a comment is a readable explanation of a code. The importance of comment is to make the source code easier for humans to interpret.
So, similarly, we can add a comment in CSS code too. Let us take an example to explain this further.
The lines inside /* and */ are CSS comments, and this helps in writing a bunch of lines explaining the code which will not be executed. Thus, comments in CSS lets someone read the CSS file to understand the reason behind the particular line of CSS code.
Transform Your Career
Choose from our industry-leading programs designed for career success
Modern Software and AI Engineering Program
Master full-stack development with AI integration

Modern Data Science and ML with specialisation in AI
Advanced data science techniques with AI specialization
Advanced AIML with Specialisation in Agentic AI
Deep dive into AIML with focus on Agentic systems
DevOps, Cloud & AI Platform Engineering
Build and manage AI-powered cloud infrastructure
AI Engineering Advanced Certification by IIT-Roorkee
Premier AI engineering certification from IIT-Roorkee
Selectors
The Selectors in CSS are used to select the specific content you want to style. In CSS there are many types of selectors used for selection HTML content, such are:
- The Element Selector
- The Universal Selectors
- Id Selector
- Class Selectors
The Element Selector :
Element Selector is nothing but a way of providing styling to a selected HTML element.
Syntax:
Example:
The above code will implement the color '' to the background of the paragraph.
The Universal selectors
The sign asterisk (*) is used for defining universal selectors. It is used to select all the content of an HTML Page. For Example,-
While selecting an HTML element, if we use an asterisk, the property of value will be implemented on the overall HTML page, irrespective of the parent-child relation of HTML tags.
let us take an HTML code embedded with CSS content
Input:
Output :
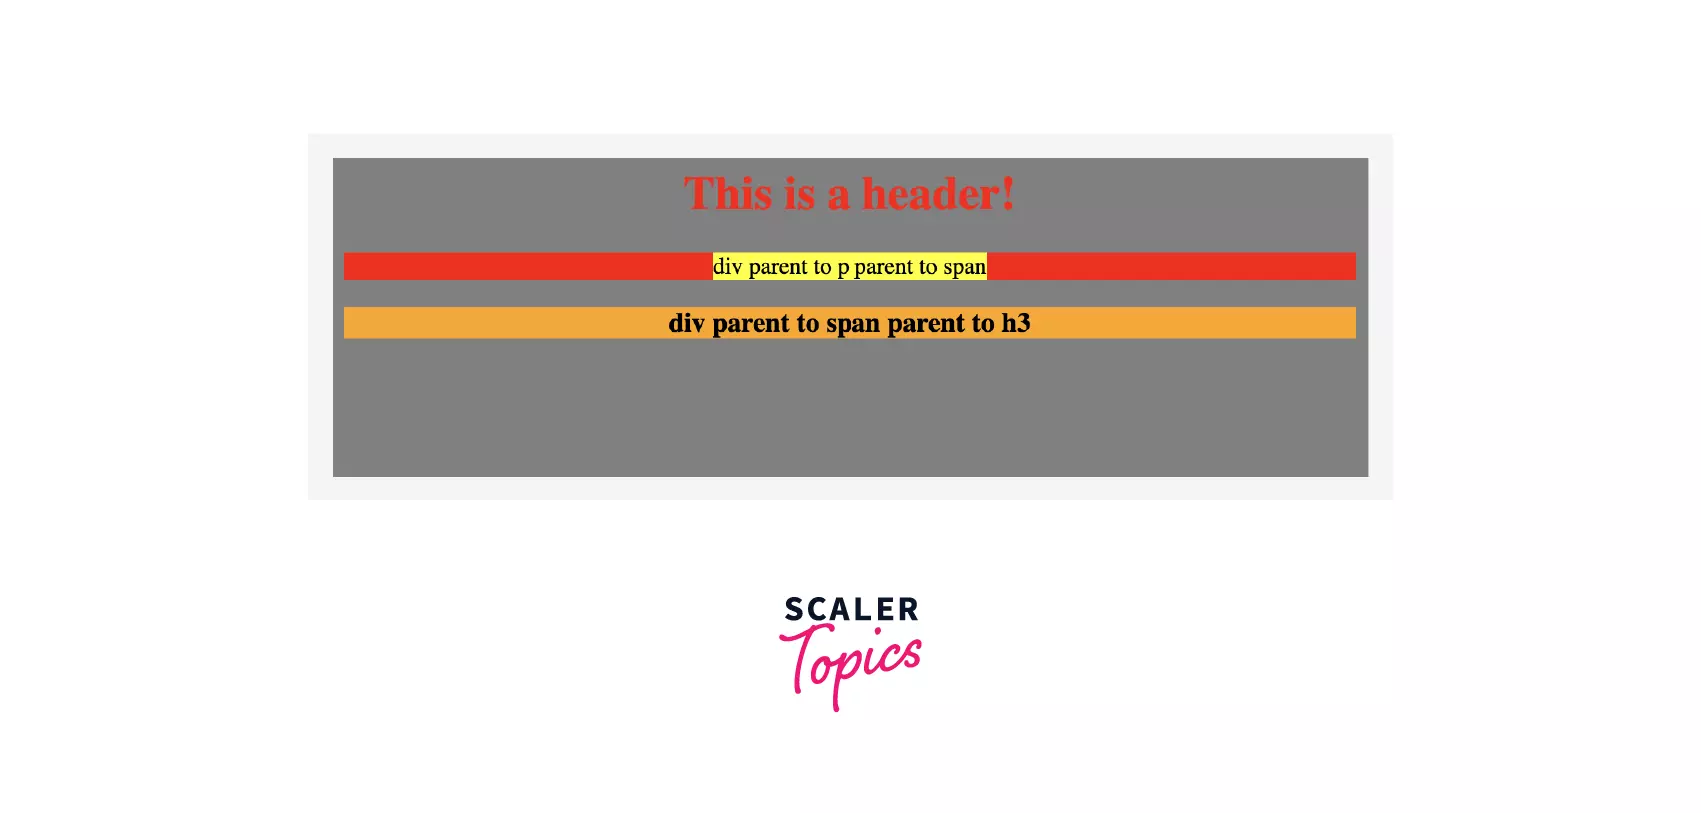
Here, the code
Is used to provide background color to the whole HTML page. Whereas,
implements the color 'red' on the whole <p> or paragraph tag.
The last code implements the color 'Yellow' and 'Orange' to span part of the paragraph, whereas the whole h3 (header 3) was turned into Orange because of the (*) mark.
ID Selector :
The ID Selector is the most commonly used operator, which is used to set the style to the given Id. The Id attribute is a unique attribute value in HTML. We denote Id selector by (#).
Syntax:
Example:
Input:
Output :
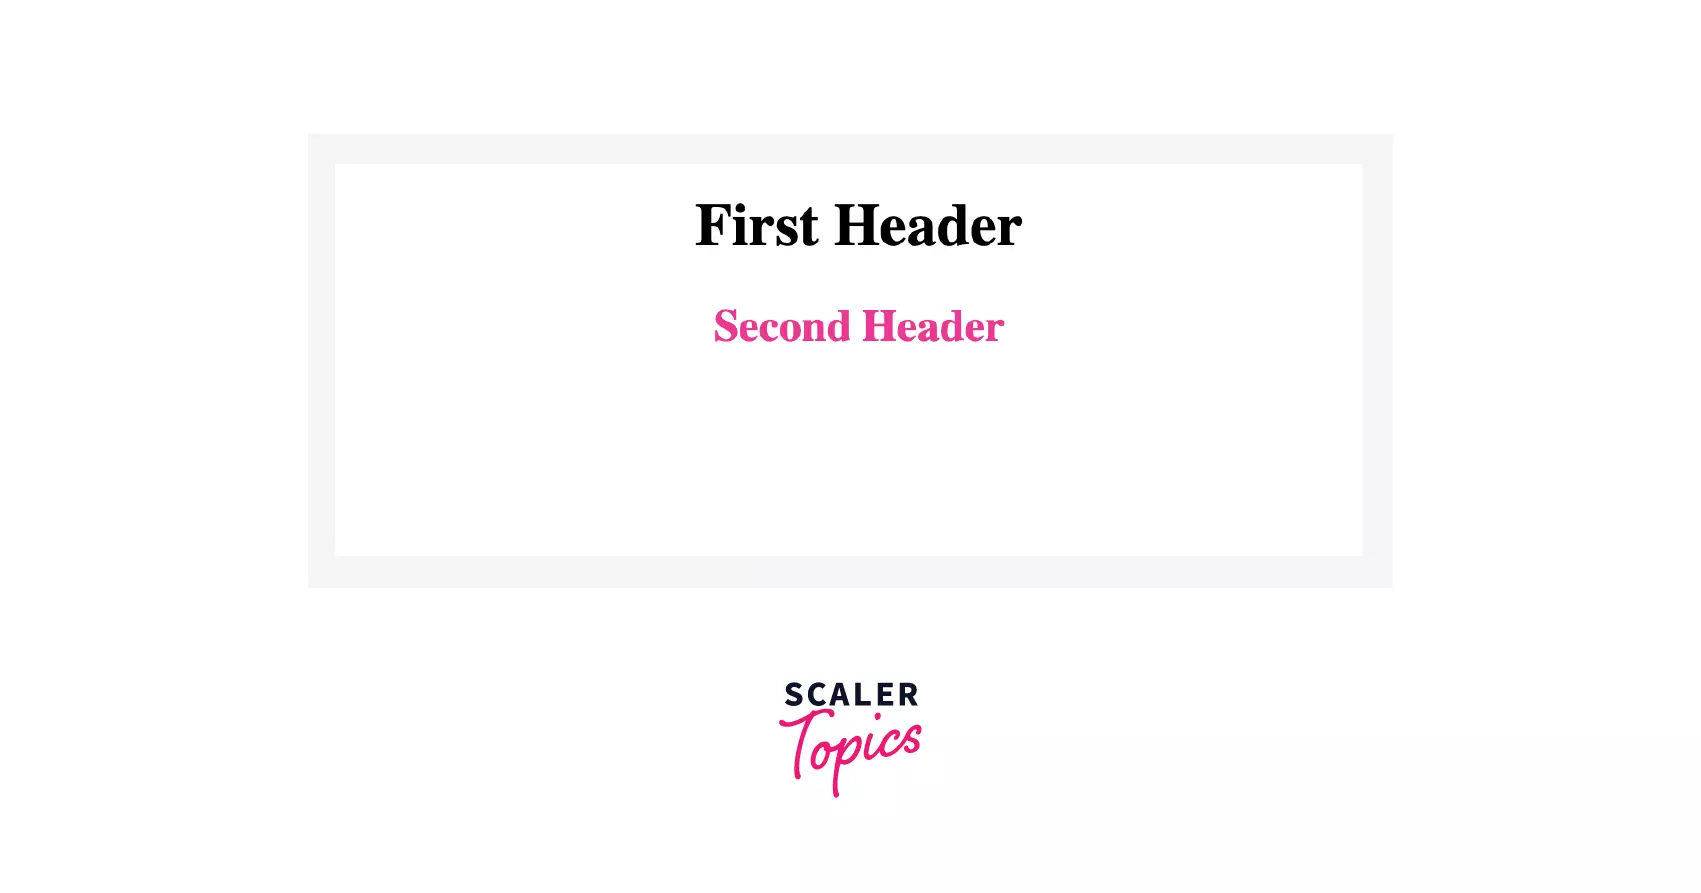
Here, h1 and h2 are associated with ID first and second, respectively. Based on this, we have modified our CSS to generate the given output.
The Class Selectors:
The class selectors select the element with a specified class attribute. To select the element from a particular class, we use (.) followed by the class name.
Syntax:
Example :
Output :
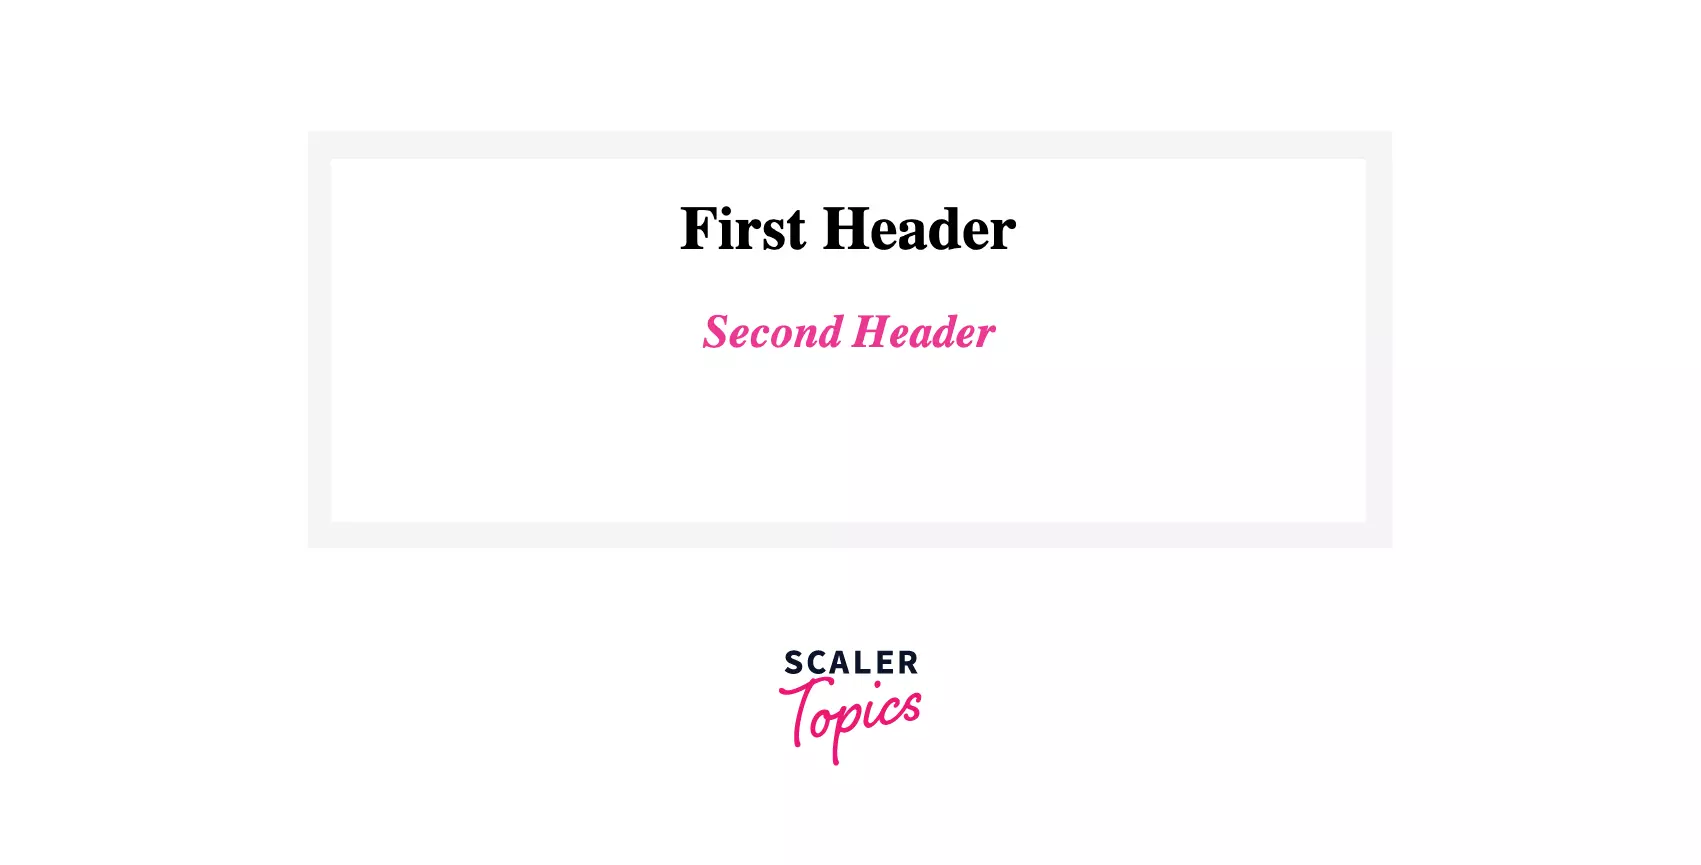
Here, h1 and h2 are associated with Class first and second, respectively. Based on this, we have modified our CSS to generate the given output.
Importing CSS to HTML
There are, in total, three ways of inserting CSS into an HTML page. The ways are :
- Inline CSS
- Internal CSS
- External CSS
Coming to the first segment that is
Inline CSS:
It is a way of adding a unique style to a particular element.
To use Inline Styles, you can add the style attribute in the relevant HTML tag, and then inside the style attribute, you can provide different styles.
Syntax:
Let's make things more clear by taking an example Input:
Output:
Turn Learning into Career Growth
Internal CSS:
Internal CSS is used under one single HTML page. For inserting internal CSS, we place the whole CSS style inside the head tag of HTML by using the <style> tag.
Let's take an example for clarity: Input: :
Output:

But, inserting CSS inline or internal or internal are , not efficient. What if we want to use the same CSS for multiple web pages? If we use the inline or internal insertion method, there will be a lot of redundancy. So, to avoid that issue, we have external CSS.
External CSS :
As discussed above, with the help of external CSS, we use the same CSS file again and again. The way we do it is by making a CSS file and linking it to the HTML inside the <head> tag using the <link> tag.
Syntax :
Here, in href, we provide the path of the CSS file we want to use for our HTML Page. Here in href, we provide the path of the CSS file we want to use for our HTML Page. Example: Input :
file_name.css :
Output:
With this, we conclude the inserting process of CSS.
CSS Border :
The border property allows specifying how the border surrounding the element will look. There is a total of three properties of the border that we can change.
- Border Color
- Border Style
- Border Width
Border Color Property :
The Border Color Property allows us to change the border color of the border surrounding the element.
With the help of the border color property, we can individually change the color of the left, right, up, and bottom of the border surrounding the element.
To do so, we have certain properties under the border color property targeting a specific area of the border, which are listed below-
- border-left-color
- border-right-color
- border-top-color
- border-down-color
Let us make things more clear by taking an example:
Input:
Output:
I hope the example makes things clear now :smile:
Coming up next, we have The border-style Property.
Scaler Placement Report and Statistics
Scaler learners achieved 2.5x salary growth with average post-Scaler CTC reaching ₹23L.
border-style Property :
In the example above
You might have noticed in both class_1 and class_2, we have used border:1px solid;, so what does this solid signify?
To answer the question, border-style property helps you in different styles to the border surrounding the element.
Some of the border-style-properties are :
- none : No border, which is equivalent to border-width=0.
- solid : Border as a single solid line.
Syntax :
Let's take an example explaining the above content.
Input:
Output :
CSS Box Model:
A web page can be divided into different containers for designing each element separately, and this is where the CSS box model comes to play. With the help of the CSS box model, we can create the design and layout of a webpage. It is used as a toolkit for styling the layout of different elements.
So, how does the CSS Box Model does the styling? Well, to answer the question, the web browser renders every element as a rectangular box according to CSS box model styling.
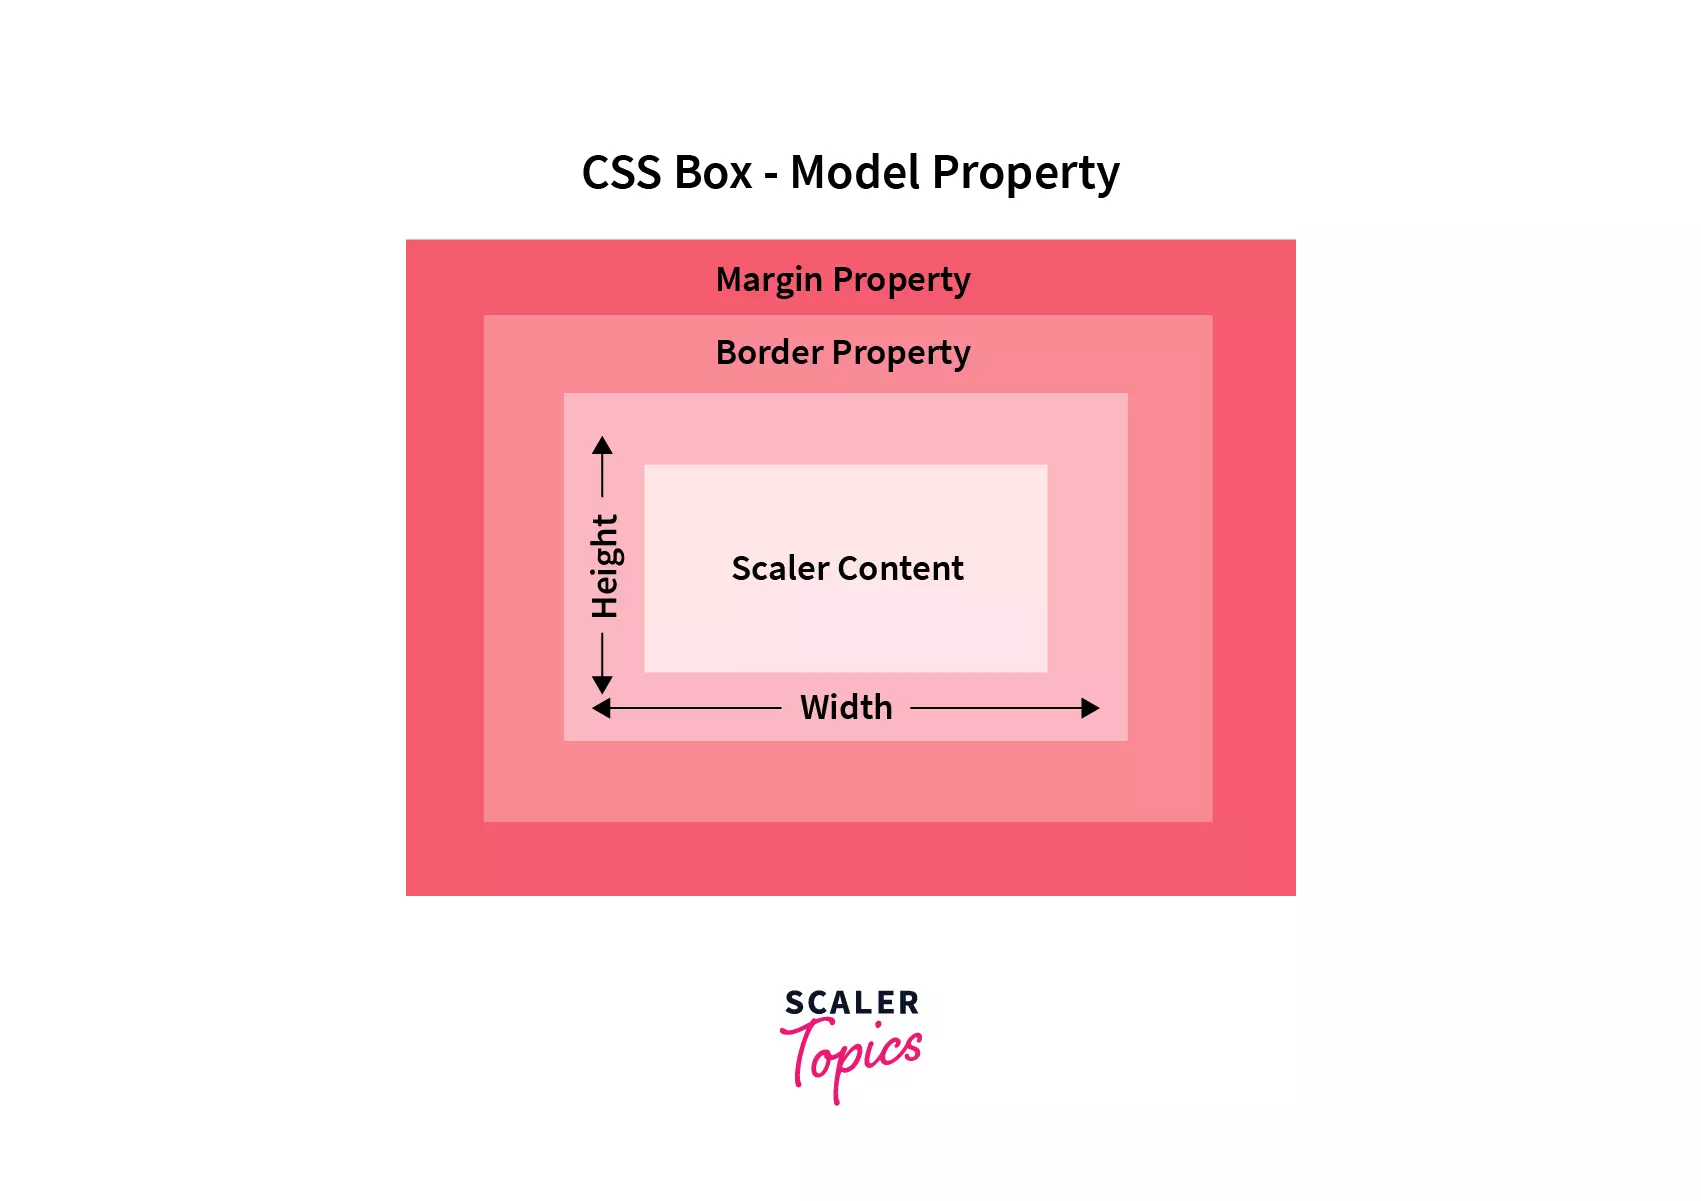
The properties used by the CSS box model for styling and designing web layouts are :
- border: This property helps in covering the content or padding & also allows us to set the color, width, and style of the border.
- Content: This property helps in displaying the text and images, which can be customized using the width & height property.
- margin: This property helps in creating space around the element that is around the border .
- padding: This property provides the space between the element's border and its content.
Let us discuss each area separately,
- Margin Area This area consists of the border and margin of the element, the dimension of the margin box is set by using the property margin-box height and margin-box width. The use of margin area is to separate elements from their neighbors.
- Border Area This is the area between the margin and the box's padding. Border Area's dimensions are set by using the width and height of the border.
- Padding Area This area includes padding provided to the element, which is the space around the element, padding area's dimension can be set using the width of the padding box and height of the padding box.
- Content Area This area consists of images, text or other types of media content. Content Area is bounded by a content edge, and its dimension is set using content-box height and width.
Now, before setting the height and width of an element in CSS, we need to understand how the CSS box model works and what the calculation involved while setting the height and width property.
While setting the height and width of an element, we need to set the height and width of the content area where the element will be placed. Finally, we need to add borders, margin, and padding to calculate the full size of the element.
let us take an example,
So, the total width of the element can be calculated as
Therefore, the total width of element <p> will be:
Similarly, we can calculate the total height of the element by
Therefore, the total height of element <p> will be:
Let us take an example HTML/CSS code to explain the CSS box model
Input:
Output :
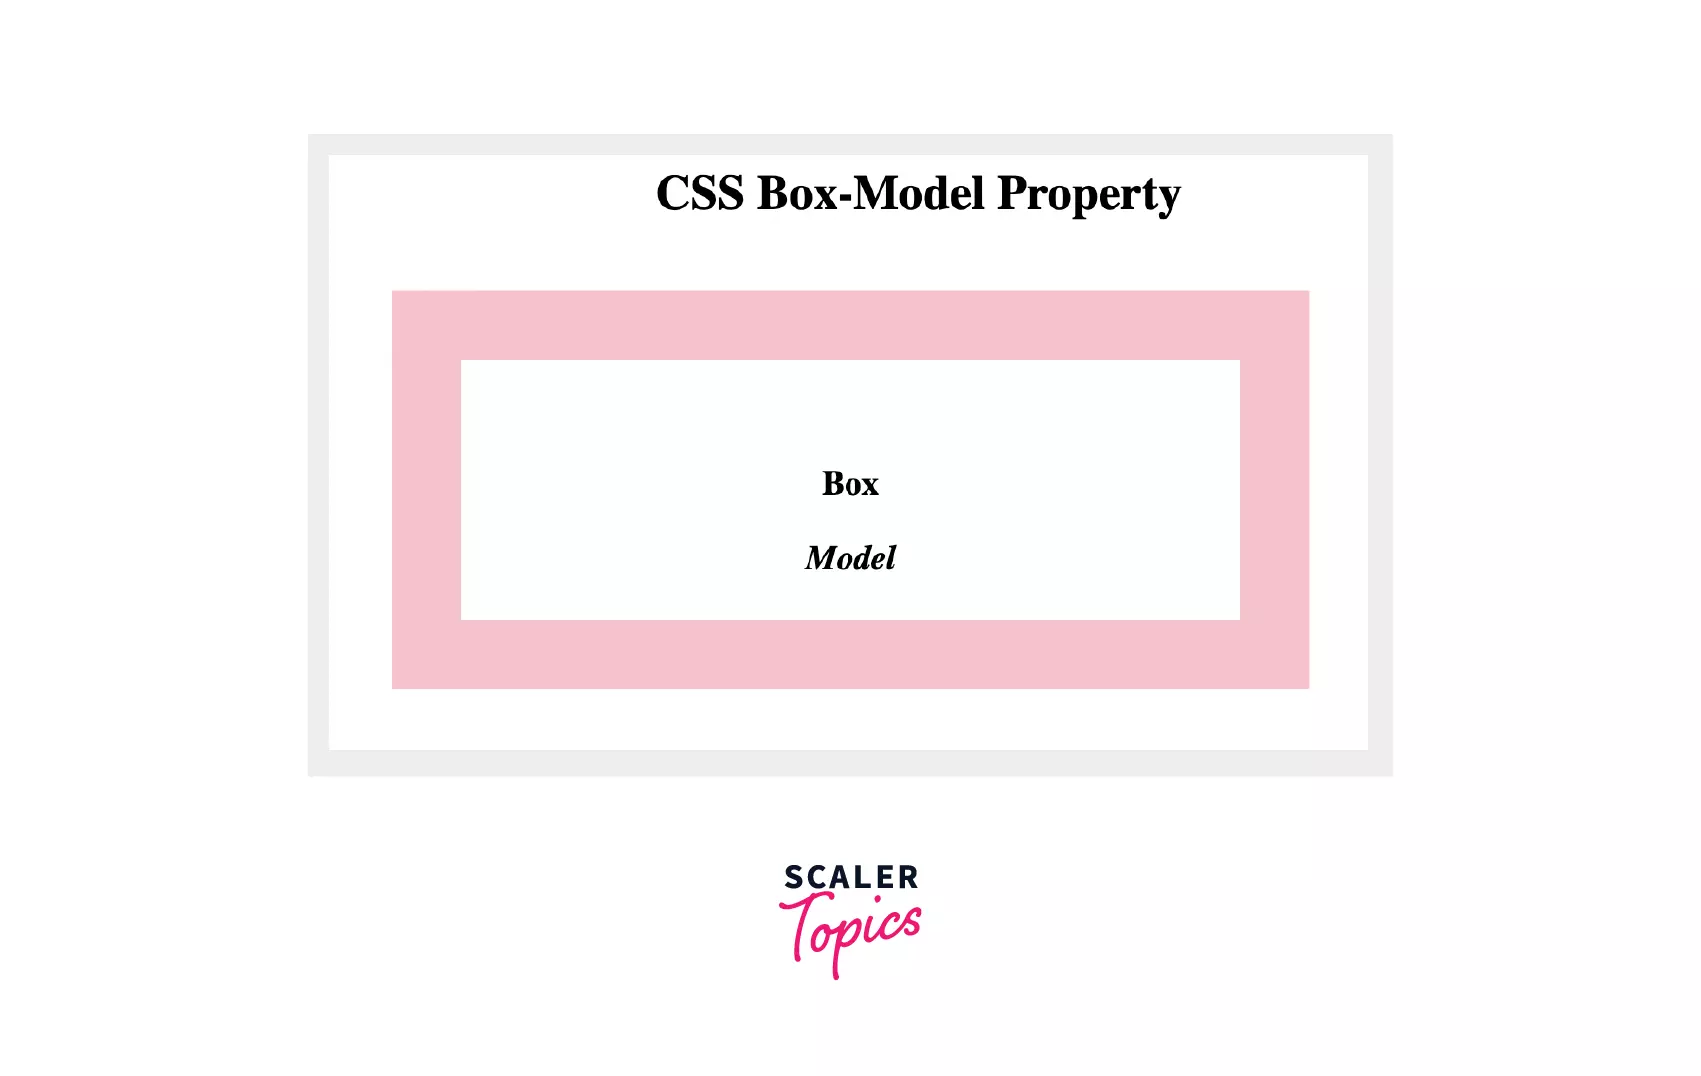
I hope this example has given you a clear understanding of how the CSS box model works.
Applications of CSS:
CSS being old is still used, you might be curious why is that so :face_with_raised_eyebrow: well there are many applications of CSS due to which CSS is still popular some of them are:
Image File Handling:
When it comes to Image handling CSS provides styling libraries that help to output both images and XML to the browser. With the help of CSS, the output image can be received in different formats like png, jpeg, and gif, which can be further modified as per the requirement. So basically, this feature of CSS helps in creating thumbnails, image cropping, watermarks, etc.
Scaler Placement Report and Statistics
Scaler learners achieved 2.5x salary growth with average post-Scaler CTC reaching ₹23L.
End-User and Server-side Representation:
The CSS file can directly interact with the server-side and user end for website interface styling purposes, which allows for the creation of better web representation from the user end.
Advantages of CSS
CSS is responsible for looking after the look and feel of a website; with the help of CSS, we can control the style of a font, the color of a text, spacing in between paragraphs, and how rows and columns are laid out in the webpage.
Let us discuss the advantages point-wise: starting with,
-
Easy maintenance: For making any global change or simply changing the style, all targeted elements in the web pages will be updated automatically.
-
Platform Independence: The Script of CSS offers consistent platform independence and can also support all the latest browsers.
-
CSS saves time: CSS helps in saving time by its reusability, due to which you can write CSS for one HTML page and can use it for other HTML pages as well.
-
Global web standards: The global web standards require the use of more CSS as HTML attributes are being deprecated, So it is a good idea to use CSS in all the HTML pages to make them compatible with future browsers.
Conclusion
I hope you enjoyed reading about CSS, which is the most basic requirement for web development. Let us recap about what are the things we have learnt so far,
- What is CSS? and how CSS helps in beautifying a webpage?
- How we import CSS to a webpage.
- How we can target a particular element using selectors to form the required style.
- Different types of selectors used for selecting HTML elements.
- How CSS uses box property to keep its content inside a rectangular box while forming a box layout.
- What are the applications of CSS, and why do we still use them?
- Finally advantages of using CSS.