Head Tag in HTML

The <head> tag in HTML serves as the container for metadata, holding crucial information about the document. This includes elements like <title>, <meta>, <link>, and <style>, which collectively define various aspects of the document. While HTML 4.01 mandated the presence of the <head> element, HTML5 allowed its omission. The <head> element, positioned between the <html> and <body> tags, encapsulates data about the document, such as title, character set, styles, links, and scripts. Although the content within <head> doesn't display on page load, it plays a pivotal role in structuring and providing essential information for an HTML document in web development.
NOTE: In HTML5, the head section is not mandatory to add as was in the previous versions of HTML 4.0.1 and before. However, from a developer’s perspective, it gives a good structure to our document.
There are, in total, six elements that make our head container.
Let’s dive deep into each one of them.
<title> Element
This tag displays the title of a web page and can help in better rankings in the search results if proper words are used.
The <title> element is the most important meta element to add to our webpage. It labels the entire HTML content with a relevant title. It is displayed at the top of the browser window and provides a suitable name to the webpage when added to a favourite or bookmark. A good web page title would ensure a higher rank in the search results & so we must always use appropriate keywords.

NOTE: There is a difference between the <h1> tag & <title> tag in HTML. <h1> tag is used to highlight headings inside the HTML document while the latter is used to name the entire HTML document.
<meta> Element
The <meta> element defines extra information about our webpage using 4 crucial attributes:
- charset attribute: It defines the character set to be used by the browser when loading a webpage.
- name attribute: It sets a property to some of the most important meta information like author name, keywords, and description.
- http-equiv attribute: It stimulates a response using the http header.
- content attribute: It works with the name or http-equiv attribute to give a value to the property mentioned in them.
The <meta> element in HTML is used to display additional information about our HTML document with the help of different attributes. This information customizes device displays (how to show content and when to refresh a page) and ranks (through keywords).
It always goes inside the head section and specifies values like author name, description, language, etc.
NOTE: Google released an official statement in 2009 about meta tags not affecting SEO directly. They can, however, determine click-through rates (CTRs) that are related to rankings.
There are four main attributes using which we can set data about our data.
1. charset attribute
How is a computer able to understand the digits, alphabets, and symbols we use? Does a computer interpret the letter ‘A’ as ‘A’? We know the machine language works in bits & bytes. Therefore, character encoding came into existence to communicate between human and machine language.
Similarly, now, in HTML, a web browser needs to translate and display the desired output. We use the charset attribute to mention the character set used in our file.
There are many standards used, including the first one, i.e. ASCII standard. However, this does not include all the characters and symbols. Therefore, according to the HTML5 specification, developers are suggested to use UTF-8 (Unicode Translation Format of 8 bits) as it covers most of the symbols and characters.
NOTE: In case the charset attribute is not set, there would be a risk of getting the symbols interpreted incorrectly by the browser.
Transform Your Career
Choose from our industry-leading programs designed for career success
Modern Software and AI Engineering Program
Master full-stack development with AI integration

Modern Data Science and ML with specialisation in AI
Advanced data science techniques with AI specialization
Advanced AIML with Specialisation in Agentic AI
Deep dive into AIML with focus on Agentic systems
DevOps, Cloud & AI Platform Engineering
Build and manage AI-powered cloud infrastructure
AI Engineering Advanced Certification by IIT-Roorkee
Premier AI engineering certification from IIT-Roorkee
2. name attribute
We know we can set different information about our document from author name to keywords and even description. The name attribute gives a name to our metadata. Let’s look at some examples below:
We can set the author name by:
Now the search engine can identify the author of this website.
We can set the keywords using:
Keywords define what the code is about in single words. The number of words should not be more than 10% of the total number of words. In cases where the code is 200 words, the number of keywords added should not be greater than 20.
We can set the description of our file as shown below:
Unlike keywords, the description states small phrases about the content of our code.
As we can see in the examples shown above, the name and content attributes are in the form of name-value pairs. We study more about the content attribute as we move ahead in the article.
3. http-equiv attribute
During the collection of information about our webpage using the HTTP header, the HTTP-equiv attribute is used. HTTP headers allow the passage of information with an HTTP response and request between server and client. In case we want the page to be refreshed after some fixed duration, we can pass the request using the HTTP header. HTTP headers also help in the creation of a cookie.
The below example show how we can refresh our page every 45 seconds:
Scaler Placement Report and Statistics
Scaler learners achieved 2.5x salary growth with average post-Scaler CTC reaching ₹23L.
4. content attribute
While using the HTTP-equiv or name attribute, the content attribute sets the desired value as per the attribute used. It gives more information about the label we set using http-equiv and name attributes.
The example shown below use name and http-equiv attributes:
Here the revised value stores when the website was last changed, whereas using thehttp-equivattribute, we refresh the page every 30 seconds. Refreshing the page is useful in cases of a news website or social media website.
Setting the viewport
Our webpage can be viewed by users on different devices ranging from mobile screens to computer screens. Furthermore, the mobile & computer screens can vary according to the brand and version. To make our website responsive for all screens, we set a viewport. Making our screen responsive, i.e., accessible for all screen types, is necessary with the increased usage of more than one device. The viewport is the area which is visible to our visitors.
We set it using the name and content attribute:
Here the name attribute specifies a label for the content added. Inside the content attribute, we have:
- Width: It defines the size of the device. It can also be in pixels.
- Initial-scale: It states the zoom level of our page when it loads for the first time.
Check out the Scaler topics website on mobile and computer screens to note the difference.
Turn Learning into Career Growth
<base> Element
Use this element to create a base for all the relative URLs in our HTML document.
There can be two kinds of links, absolute and relative URLs. Absolute URLs specify all the necessary details from the protocol to the path of the linked resource. Relative URLs only specify the path to which the user is directed. In case we have many relative URLs from the same file or domain, we can set a base for all of them using the <base> element. This helps you in defining the domain for all the relative links that we’ll be using in our document.
The following examples set a base link as the Scaler website & the relative links are added in the body section to visit different pages on the site:
:::
NOTE: There can only be one base element in the entire HTML document.
This element should be used right before all kinds of link elements as it sets a domain name for every relative URL mentioned.
<style> Element
This element helps in styling our HTML elements inside the document itself.
To make our HTML elements attractive, we can define style information in three ways:
- Inline format: Inline styling takes place while declaring different HTML tags.
- Internally: The <style> element states internal styling.
- Externally: In cases of big websites, external styling is suitable where we link a stylesheet with our HTML document.
Inside the style element, we decide how our HTML elements should look in the browser.
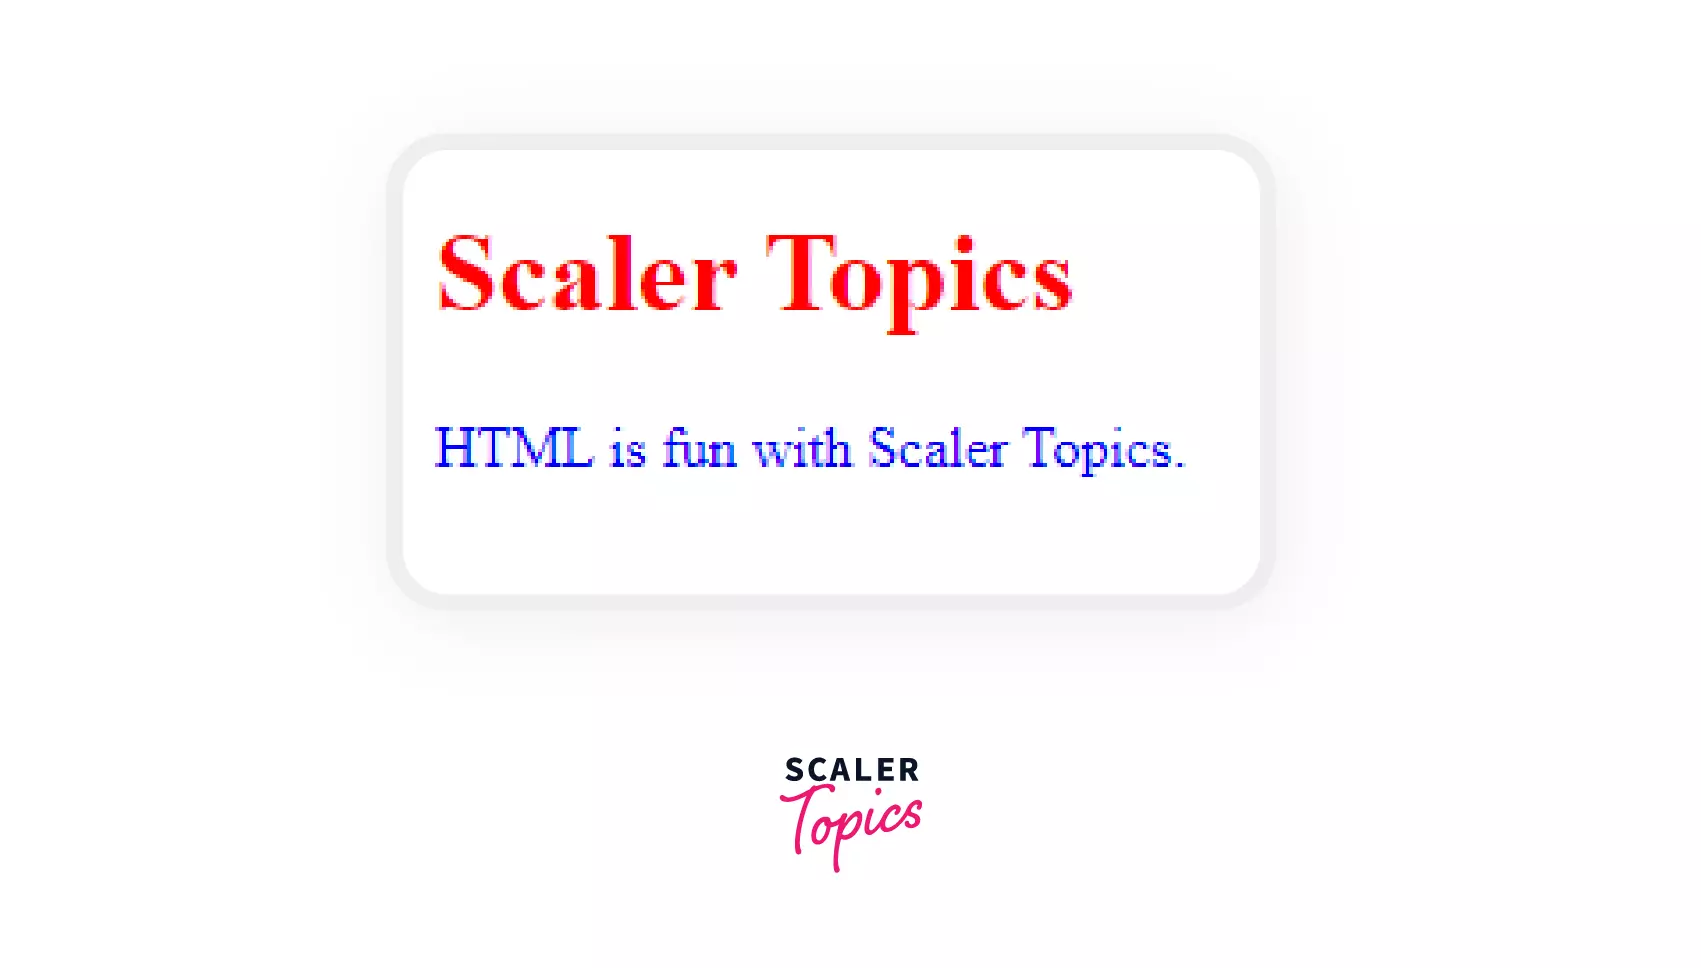
The output of the above code is:
NOTE: Inline styling always overrides internal and external styling.
When we define styling twice for one element, the last definition gets applied on our webpage. Let’s look at an example:

Here the heading and paragraph will have red color as the last style definition of our \<p> tag defines its color as red.
Tip: It is always beneficial to add an external CSS file as a web page can include many files & a universal stylesheet would prevent the repetition of our code.
<script> Element
This element links or embeds codes of client-side scripting languages like Javascript.
HTML can be linked with other languages to give our webpage a better look and optimize its functioning. We can link JavaScript, which decides the behaviour of our HTML elements and increases the overall outlook and functioning of our website. One such tag used is the <script> HTML element.
The <script> element is useful in cases where we want to insert client-side scripting language. It is used mainly with Javascript but has significance while working with other languages like JSON and Javascript-based API codes.

Here we have embedded a small code inside our HTML file. To link an external javascript file, we can do it as shown below:
Note: The <script> tag can also be used inside our body element.
The argument regarding where to insert our <script> tag is endless. However, some experimented results show us how to combine the advantages of the head and body section:
- Position all the library scripts like JSON and jQuery in the head section.
- Place all the DOM manipulations which require HTML elements to be pre-loaded at the end of the body section.
<link> Element
This element links various other resources that were not possible with the script tag.
We have learned how HTML gets more interesting when external resources are combined. One such language is client-side scripting JavaScript. But what if we want to link an external CSS file, favicons, or fonts? The <link> element links our HTML document to an external resource.
Here we are linking our external CSS file with our HTML code.
Look at another example of embedding font awesome CDN icons:
<link> vs <script> tag in HTML
<link> tag connects external CSS and other resources while <script> tag links or inserts JavaScript-related code.
Now that we know about <link> and <script>, the existence of both of them can seem confusing as they serve a similar purpose. To prevent this, let’s look at the difference between these two:
| <link> tag | <script> tag |
|---|---|
| It links or specifies relationships between external CSS files and other resources with our current document. | It points to an external script or embeds an executable JavaScript code in our HTML file. |
| It is an empty element. | It is not an empty element. |
NOTE: If we try to link our .js file using the <link> tag, it wouldn’t work and is not a standard to be followed.
Conclusion
- The <head> element in HTML defines information about the data in our HTML document and links external resources.
- The <title> element labels our document and gets displayed on the browser window and other places.
- The <meta> element defines the metadata, such as the author name and important keywords, which can affect CTRs.
- The <base> element sets a base link for the relative URLs in our HTML file.
- The <style> element defines the style for different HTML elements, which change the look in the browser.
- The <script> element embeds or links code that affects the behavior of our HTML elements, like the Javascript code.
- The <link> element connects our HTML file with external resources like the CSS files, icons, and google fonts.
- The difference between the <link> and <script>tags is that the former links stylesheets and other resources while the latter is used only for JavaScript-related code.