HTML Links

Overview
This article covers links in HTML, its implementation, attributes and types. We'll also learn how to use different tags and elements as links in HTML.
HTML Links
Links in HTML are a connection between two resources over the web. HTML links (also known as hyperlink) allow a user to navigate from a source to a destination.
Apart from that, HTML links can also be manipulated into storing a specific location on a webpage (e.g. On the top-left of this page you can find a section that has a list of topics covered in the article. The list items are links that have the location of the topic section and upon clicking on the link you can directly jump to that section), or we can make a link to download a file on the web.
Syntax
HTML links are declared using anchor <a> tag.
href: The href attribute is used inside the anchor tag to specify the destination address. The HTML links (destination address) is placed inside " " and is assigned to the href attribute.
Text: Text is the section, that will be visible as the HTML link on the web document. Users will be able to Click on this text to reach the destination address.
Example
Output
Explanation
In the above example, the text "here" acts as a link and upon clicking on it, the user will be redirected to the URL https://www.scaler.com/topics/
Transform Your Career
Choose from our industry-leading programs designed for career success
Modern Software and AI Engineering Program
Master full-stack development with AI integration

Modern Data Science and ML with specialisation in AI
Advanced data science techniques with AI specialization
Advanced AIML with Specialisation in Agentic AI
Deep dive into AIML with focus on Agentic systems
DevOps, Cloud & AI Platform Engineering
Build and manage AI-powered cloud infrastructure
AI Engineering Advanced Certification by IIT-Roorkee
Premier AI engineering certification from IIT-Roorkee
Target Attribute in Links
The destination file that is associated with the link can open at multiple locations, for e.g. sometimes when we click on a link on a website, the destination page opens in the same tab, and sometimes the page opens in a new tab. The target attribute specifies the location where the linked document should open.
Note: By default the document file opens in the same tab, i.e. if we don't mention the target attribute, the document file will be opened in the same tab only.
HTML target attributes and their behaviour:
| Target Attribute | Description |
|---|---|
| _blank | The linked document will be opened in a new tab or window. |
| _self | The linked document will be opened in the same window. |
| _parent | The linked document will be opened in the parent frame. |
| _top | The linked document will be opened in the full body of the window. |
By default the target attribute is set to _self
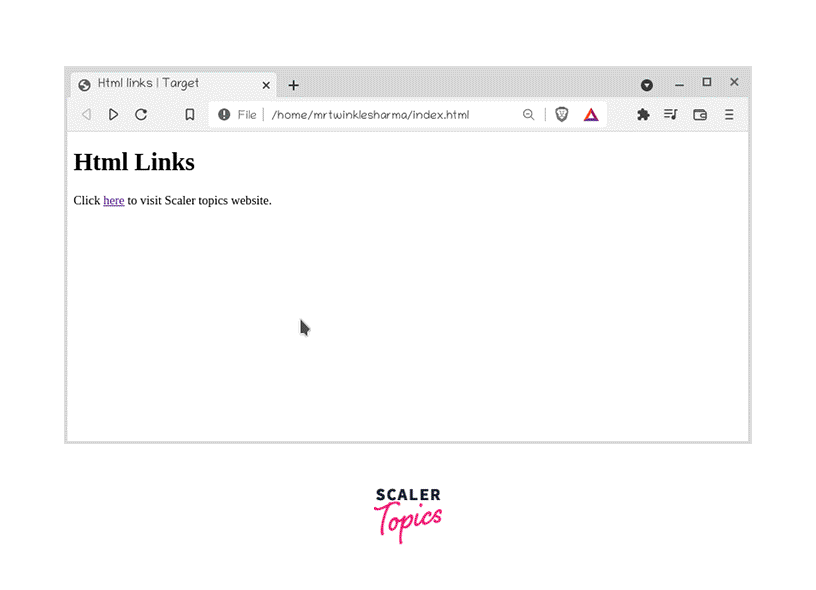
Example
Output
Explanation
In the above example, the text "here" acts as a link and upon clicking on it, the browser will open a new tab (since we've passed the value "_blank" to the target attribute) to open the URL https://www.scaler.com/topics/
Internal Links
Internal links are the HTML links that are placed in the reference with the same website. This link will navigate the user to a part of the same website.
Syntax:
The internal links are declared with relative URL, i.e. the address do not have http://www part in the link address.
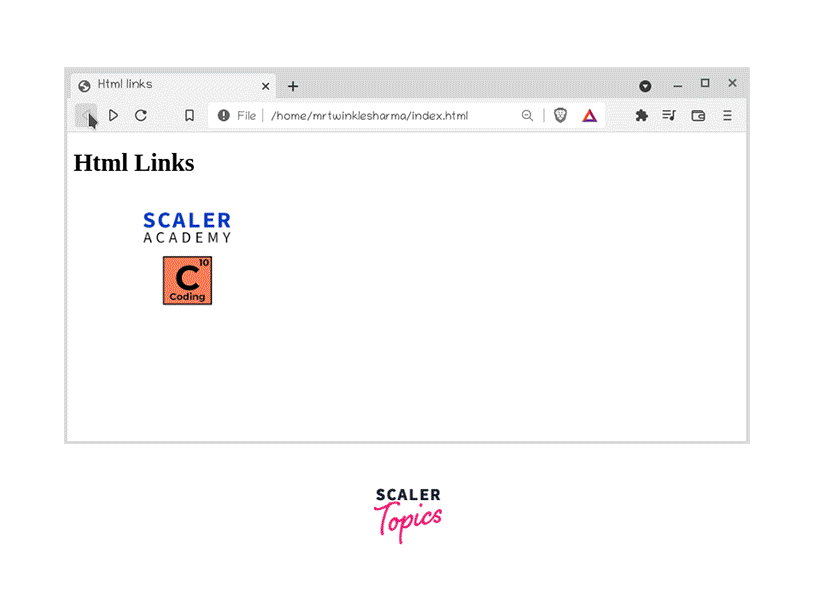
Example
Output

Explanation
In the above example, upon clicking on here the user will be displayed the image if the logo. Here the address value passed to the href attribute doesn't have http://www as htmlLogo.png is located internally in the webpage.
Turn Learning into Career Growth
Using an Image as a Link
Images can be used as HTML links. We can associate a document with an image such that, upon clicking on it the user will be redirected to that document.
To use images as HTML links, we need to add an <img> tag inside the <a> tag.
The image placed inside the <a> will behave like the text item enclosed inside the anchor tag, i.e. upon clicking on it, the user will be directed to the linked document.
Syntax
Example
Output
Explanation
In the above example, upon clicking on the image, the user will be redirected to the url https://www.scaler.com/
Creating a Bookmark Link for a Webpage
We can create a bookmark for a specific section of the page using HTML links, such that upon clicking on that link, we would reach that particular section.
To create bookmark link, we would first need to create a bookmark (usually with class selector, id selector). Then we need to add the bookmark attribute (i.e. class name or id) to the href of the link.
Syntax
creating a bookmark:
creating a bookmark link:
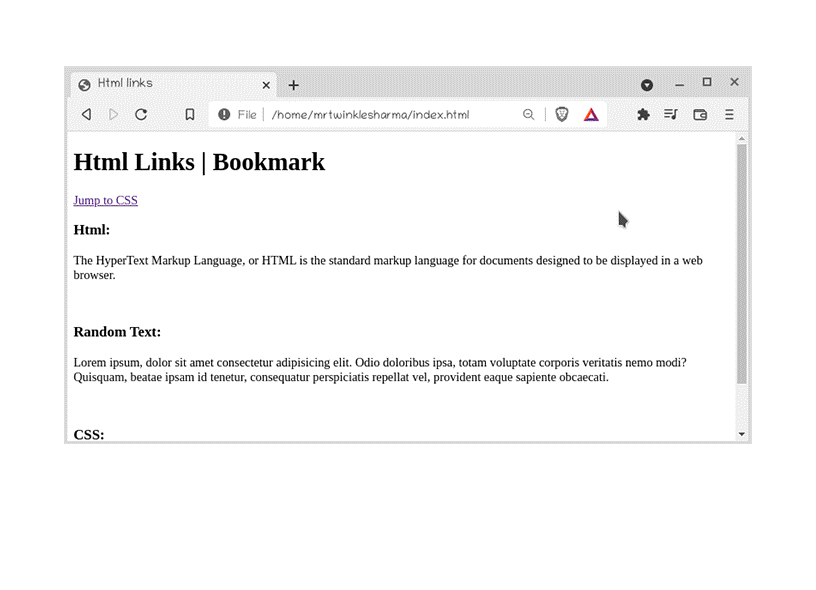
Code
Output
Explanation
In the above example, the href attribute is assigned the address #sec-2. Upon clicking on Jump to CSS the user will be redirected to the div with id sec-2 on the webpage.
Button as a link
Buttons can be made HTML links by three methods:
-
onclick event: The onclick event attribute can be used to direct the user to the linked document, upon being clicked. The onclick attribute is placed inside the <button> tag.
Syntax
-
The onclick event attribute is placed inside the <button> tag and it is passed the value window.location.href = 'address', where the address has the address of the linked document.
-
By adding button tag inside anchor tag: Button links can be created by placing a button inside the <a> tag. The button will behave like the way the Text placed inside the anchor tag does (i.e. it will open the linked document upon clicking).
Syntax
-
By using form tag: We can make button links by using the action attribute in the form tag. The button can be placed inside the form, and it will behave just like the Text placed inside the anchor tag does (i.e. it will open the linked document upon clicking).
Syntax
The action attribute is assigned the address of the linked document and the type of the button should be made submit.
Example
Output
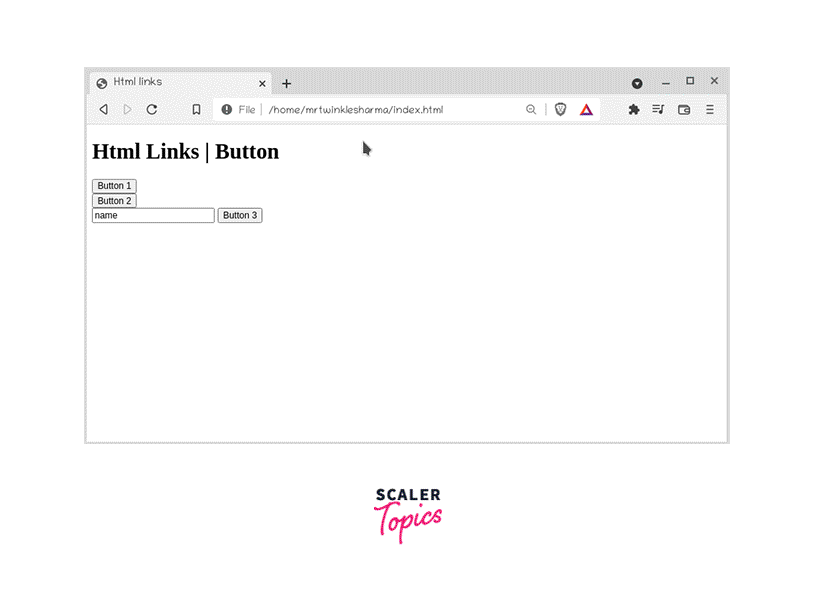
Explanation
Upon clicking on Button 1 and Button 2 the user will be redirected to https://www.scaler.com/topics/ . Since the Button 3 is a submit button for the form so, it won't open the website but it will submit the data to https://www.scaler.com/topics/. (refer HTML forms article for a detailed explanation about working of forms).
Download Links
We can create links upon clicking on which, a file can be downloaded.
To create download links, we need to add the download attribute within the <a> tag.
- The browser will automatically assign the correct format of the file that is being downloaded and we do not need to mention anything.
- Due to security reasons the download attribute will only trigger the download if the content is being served from the same origin/server.
Syntax
The download can take a value that will specify the default name for the file. Although passing this value is not mandatory.
Example
Output
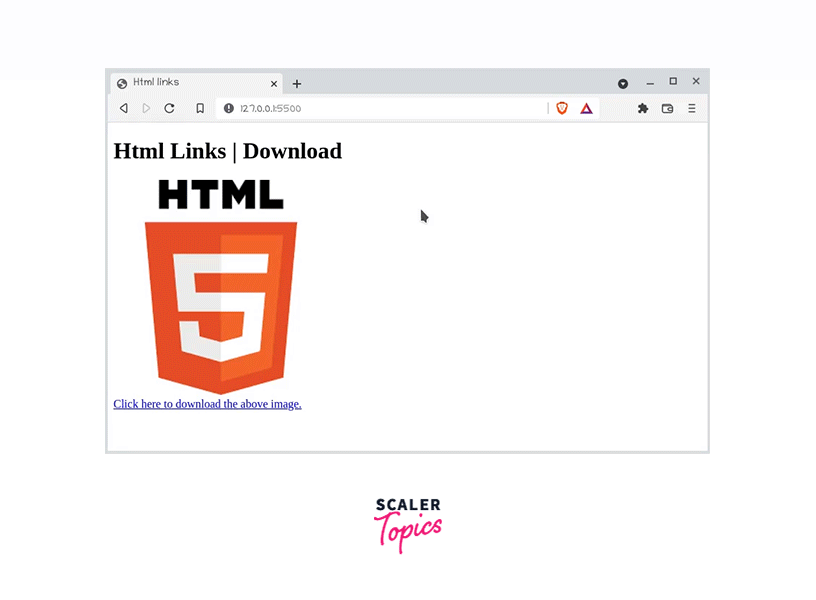
Explanation
In the above example, upon clicking on the link, the image will be downloaded.
:::
Supported browsers
| Tag/attribute | Chrome | Safari | Internet Explorer | Opera | Firefox |
|---|---|---|---|---|---|
| <a> | Yes | Yes | Yes | Yes | Yes |
| href | Yes | Yes | Yes | Yes | Yes |
| target | Yes | Yes | Yes | Yes | Yes |
| download | 14.0 | 10.1 | 18.0 | 15.0 | 20.0 |
The upper columns have the browser names, and the rows have the tag/attribute names.
YES means that the tag/attribute is supported by all the versions of the browser.
If the version of the browser is mentioned, then it means that it is the minimum version of that browser required to support that tag/attribute.
Conclusion
- HTML links connect two resources over the web.
- HTML links are usually declared using the anchor tag. They are also known as hyperlink.
- target attribute in HTML links is used to alter the place where the linked document will open.
- The linked document can be opened in a new window, parent window, parent frame or full body of window by providing different values to the target attribute.
- Buttons, images etc can be used as links.
- Apart from switching to different resources, links can be used to bookmark a portion of the page, navigate to internal parts of the website, download files etc.