How to Create Login Page in HTML?

Overview
We'll design a login page using HTML and CSS. A login page in HTML collects information from the user and has a submit button to send the details for server-side operations. However, our objective here is to design a login page and not to deal with the backend tasks.
Transform Your Career
Choose from our industry-leading programs designed for career success
Modern Software and AI Engineering Program
Master full-stack development with AI integration

Modern Data Science and ML with specialisation in AI
Advanced data science techniques with AI specialization
Advanced AIML with Specialisation in Agentic AI
Deep dive into AIML with focus on Agentic systems
DevOps, Cloud & AI Platform Engineering
Build and manage AI-powered cloud infrastructure
AI Engineering Advanced Certification by IIT-Roorkee
Premier AI engineering certification from IIT-Roorkee
Pre-requisites
To begin with the login page in HTML, we need to know the following:
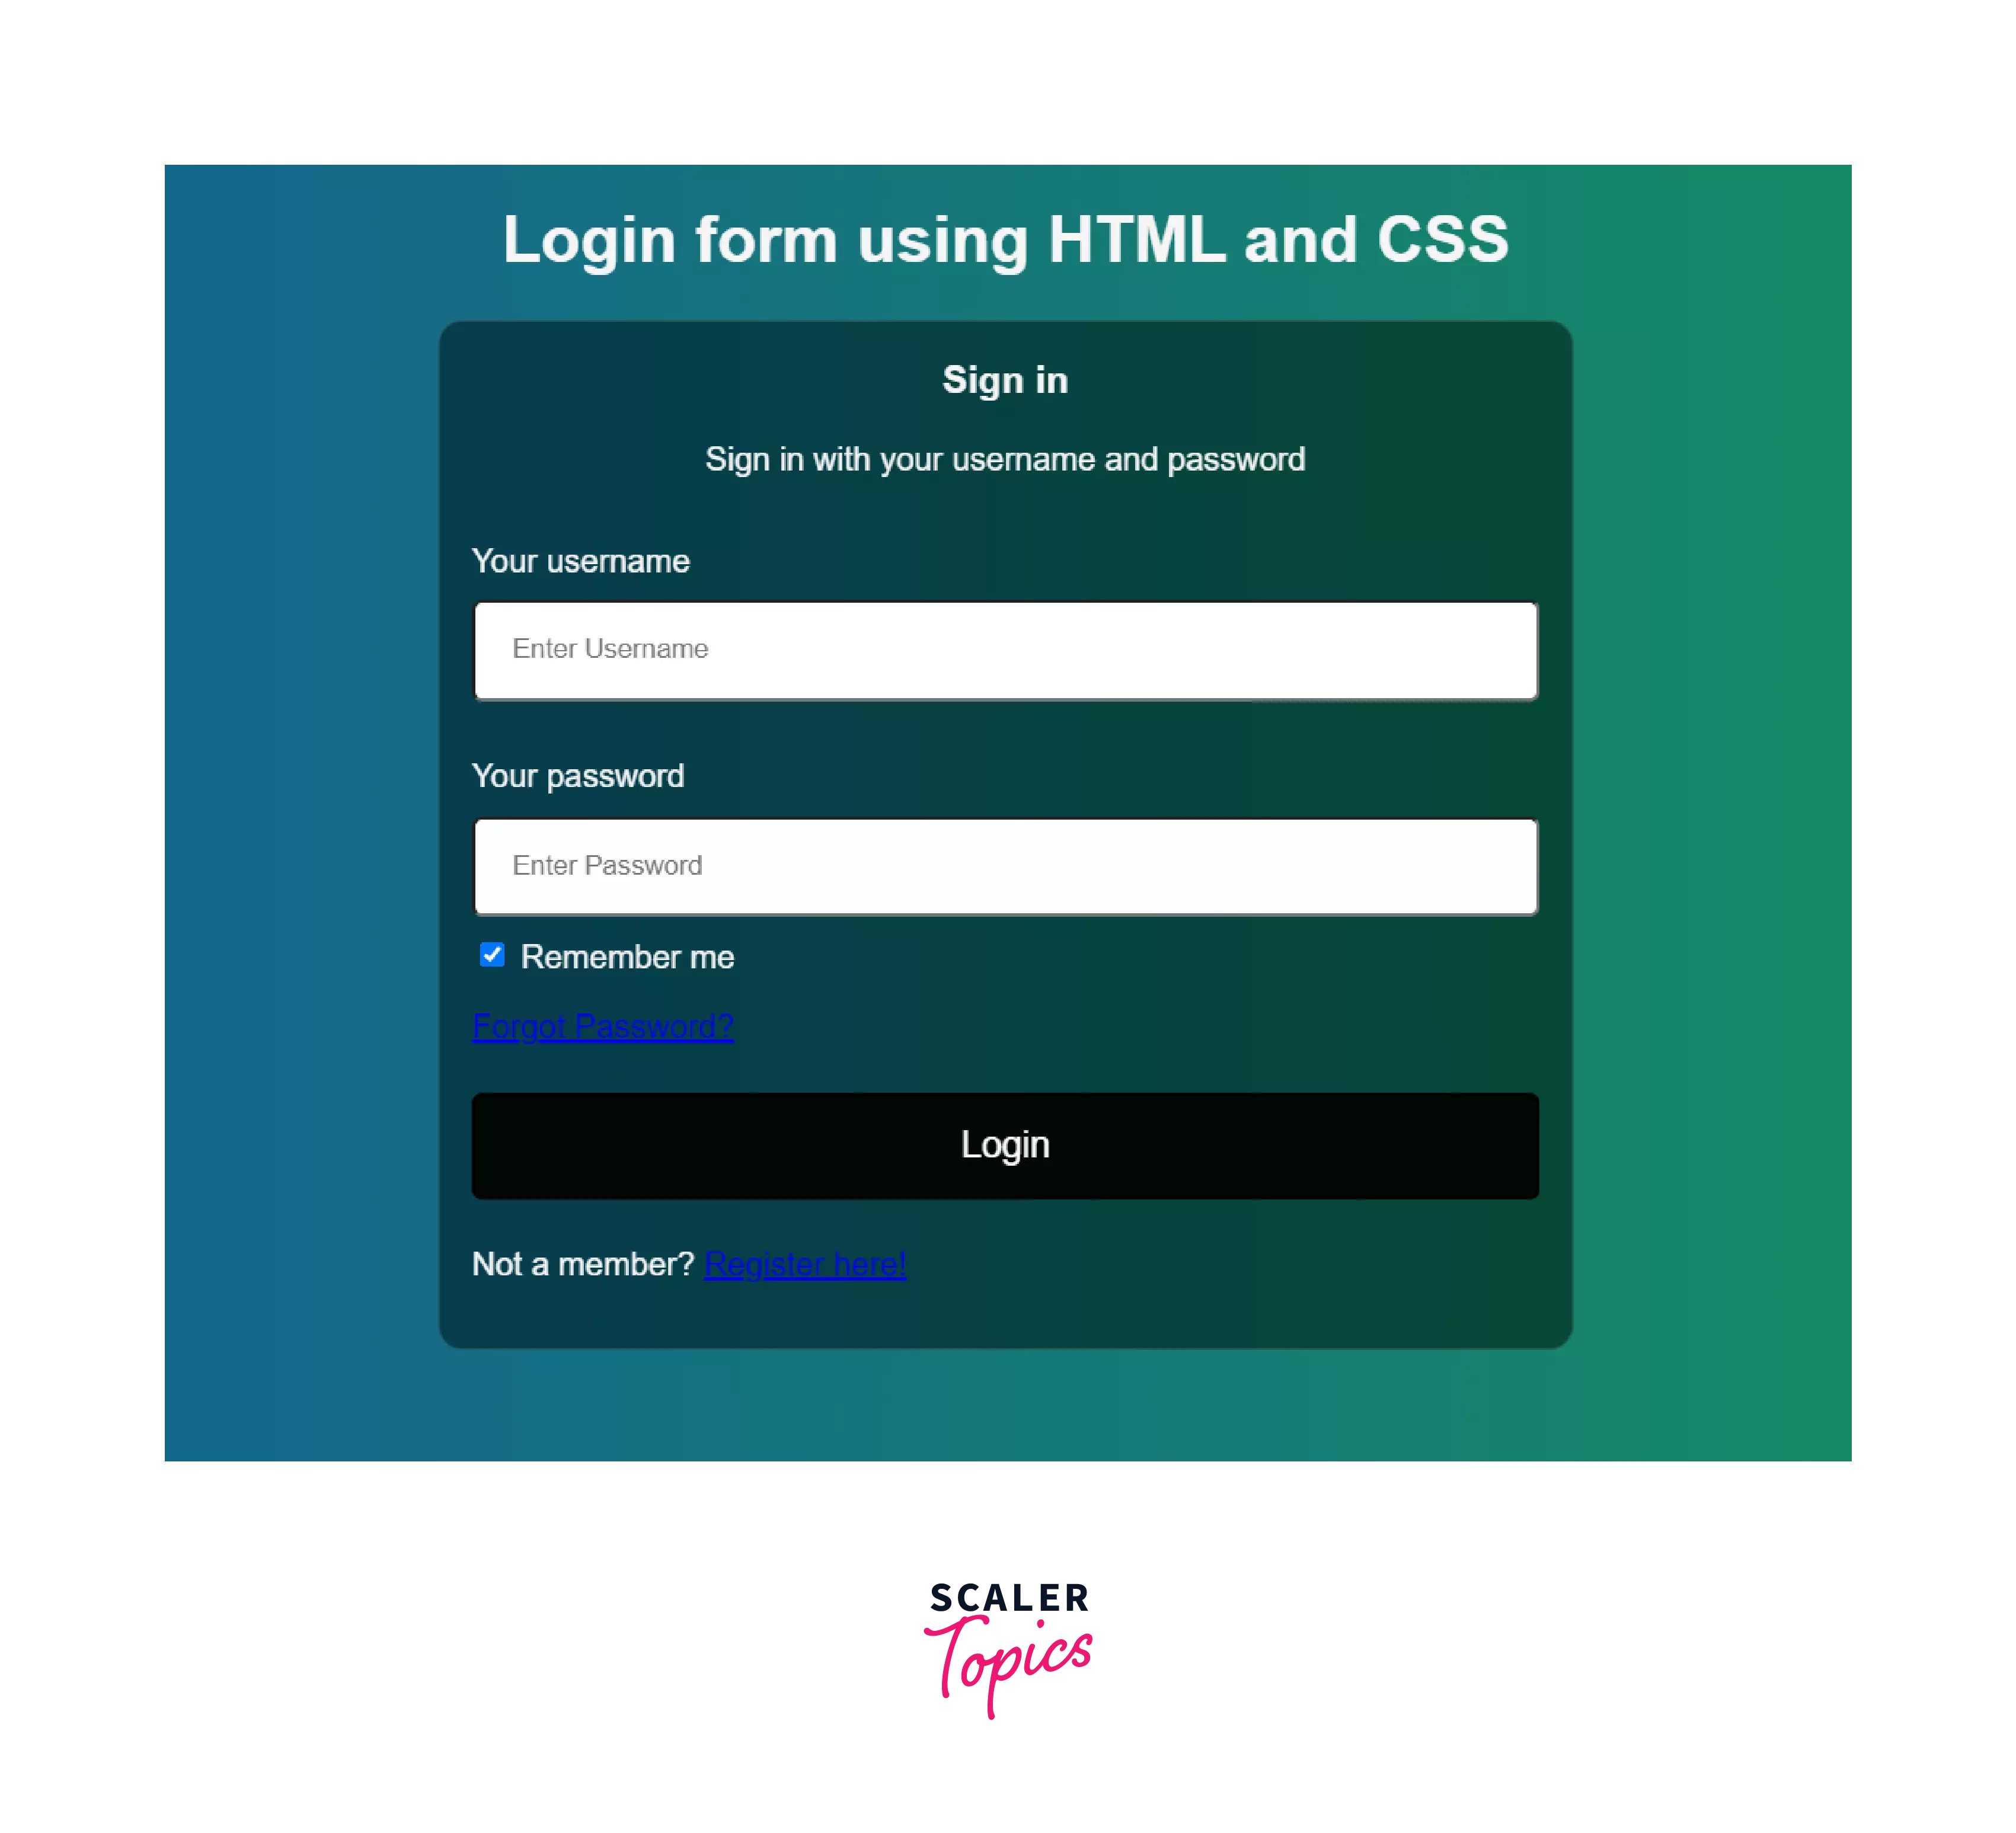
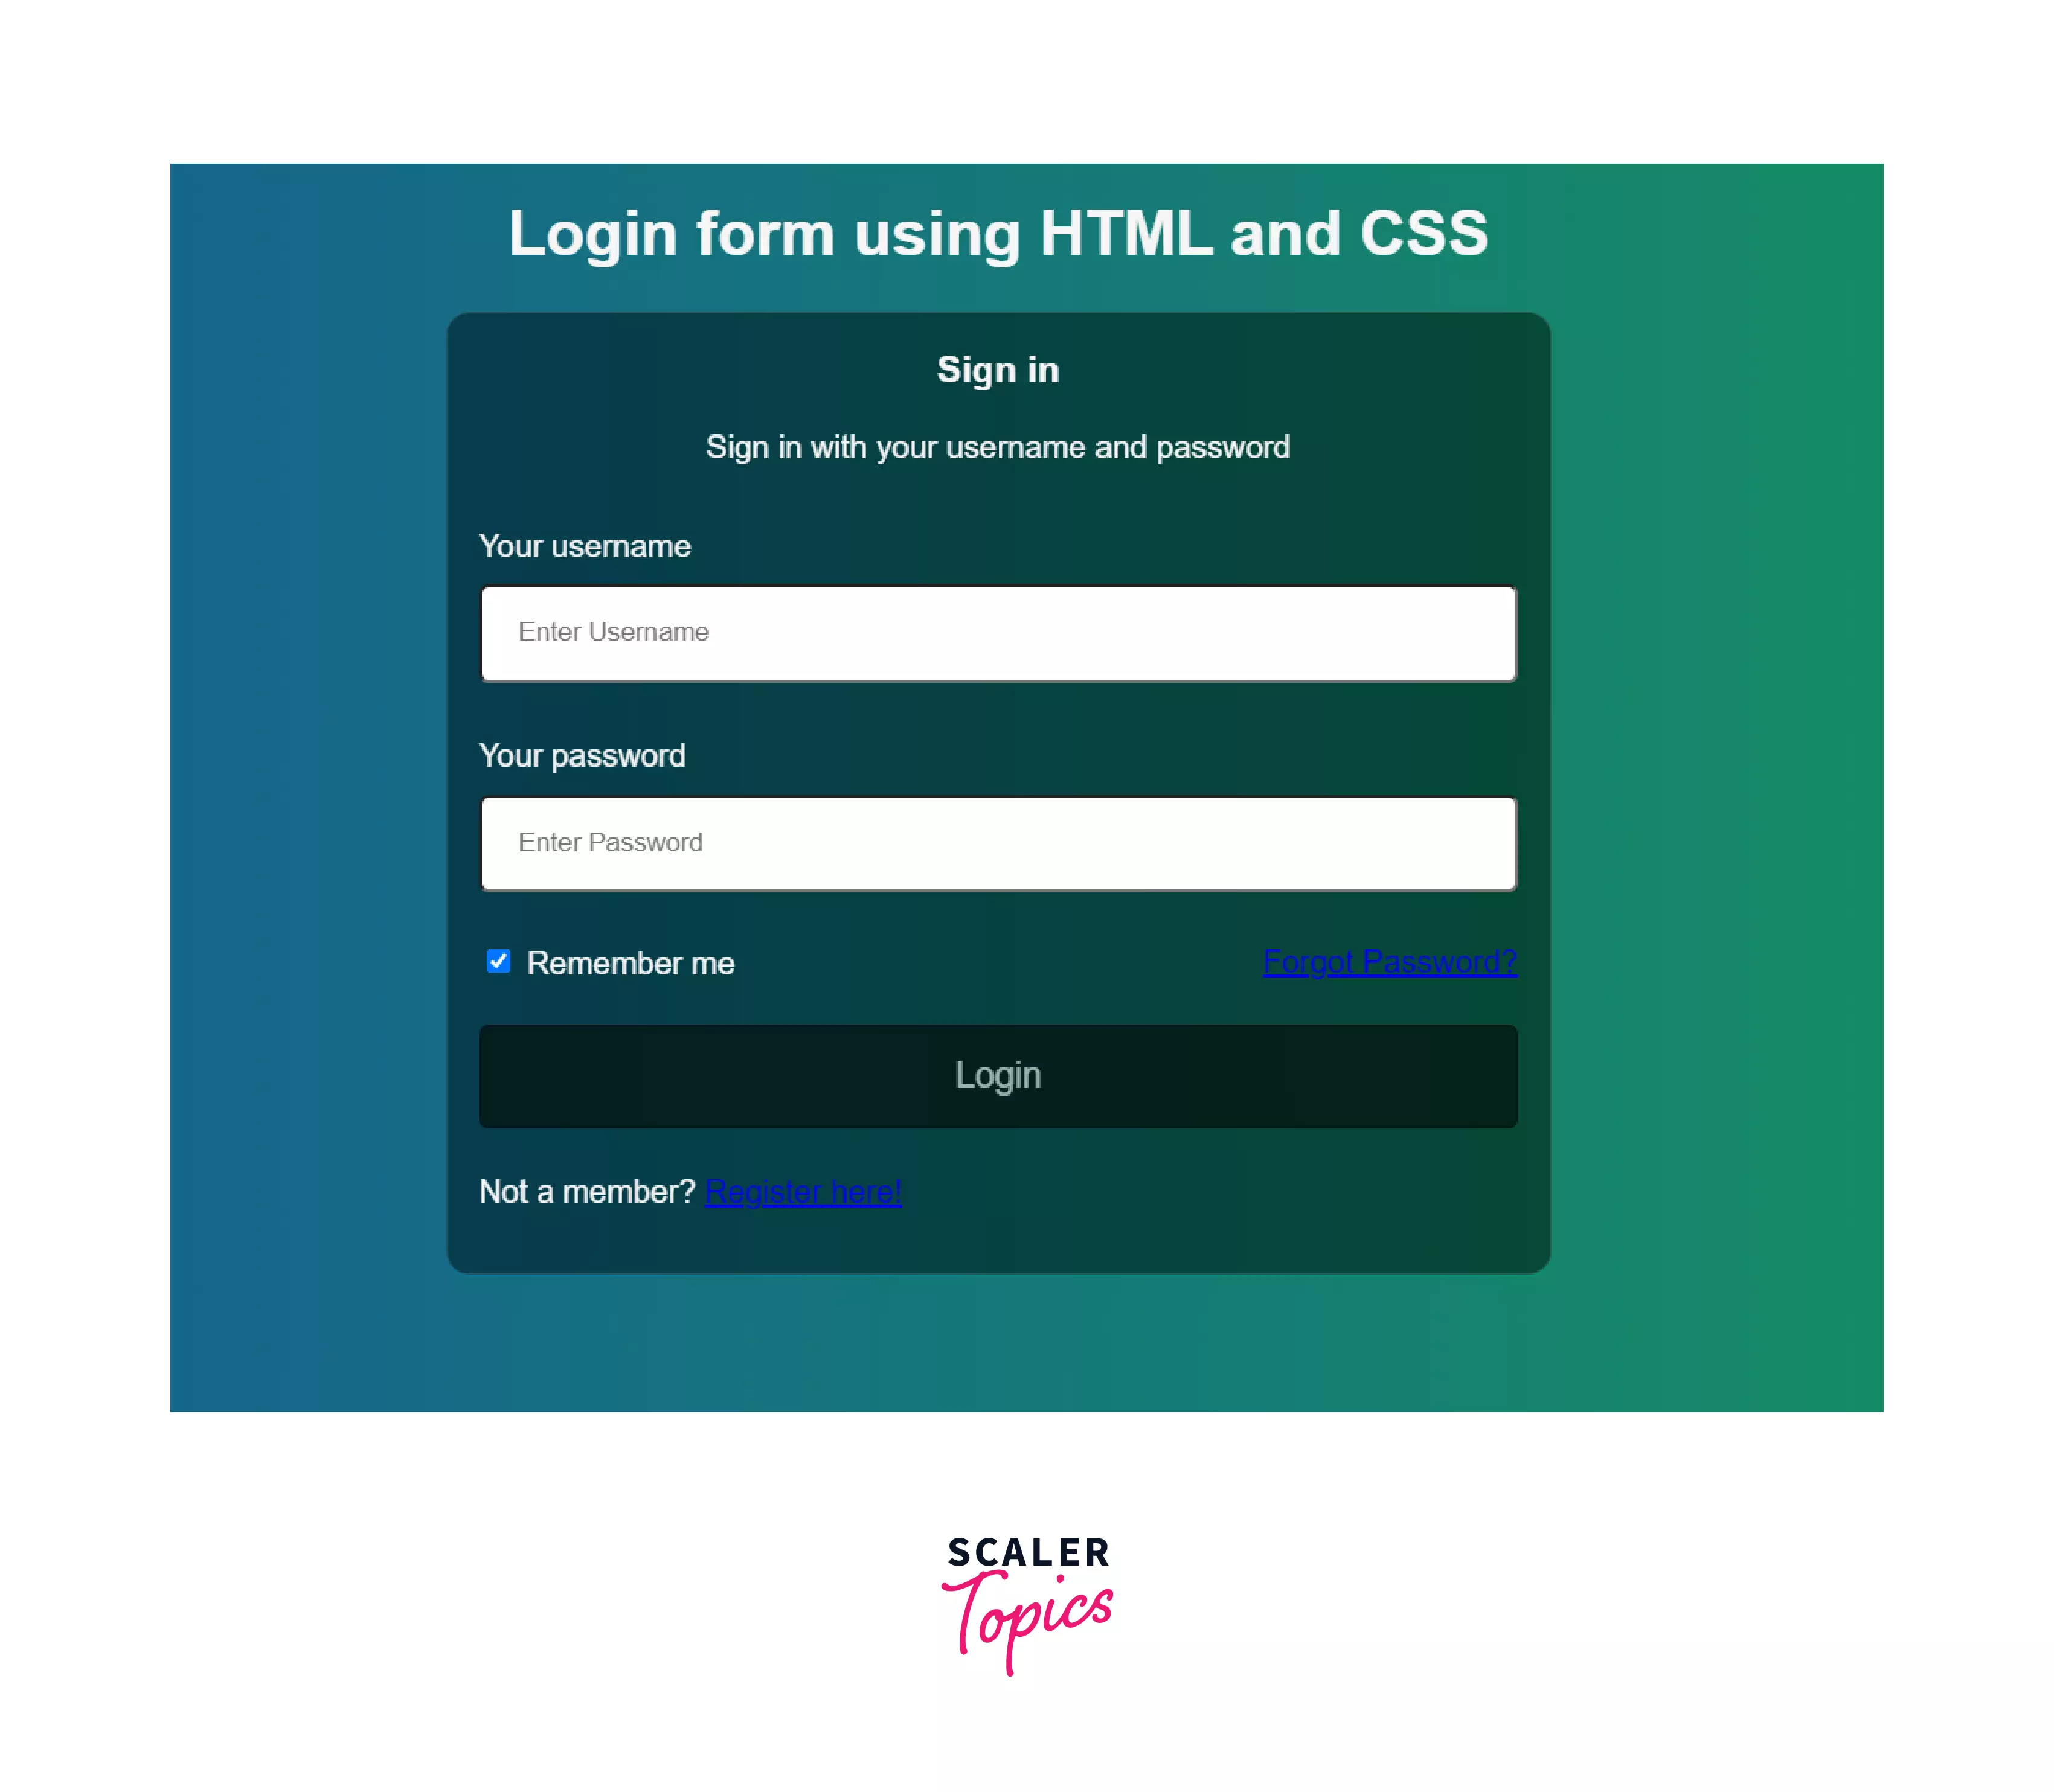
What Are We Creating?
The login page uses HTML and CSS for the structuring and styling. We'll first create the simple structure with HTML and then move to make it look great with CSS. This is what our final output will look like:
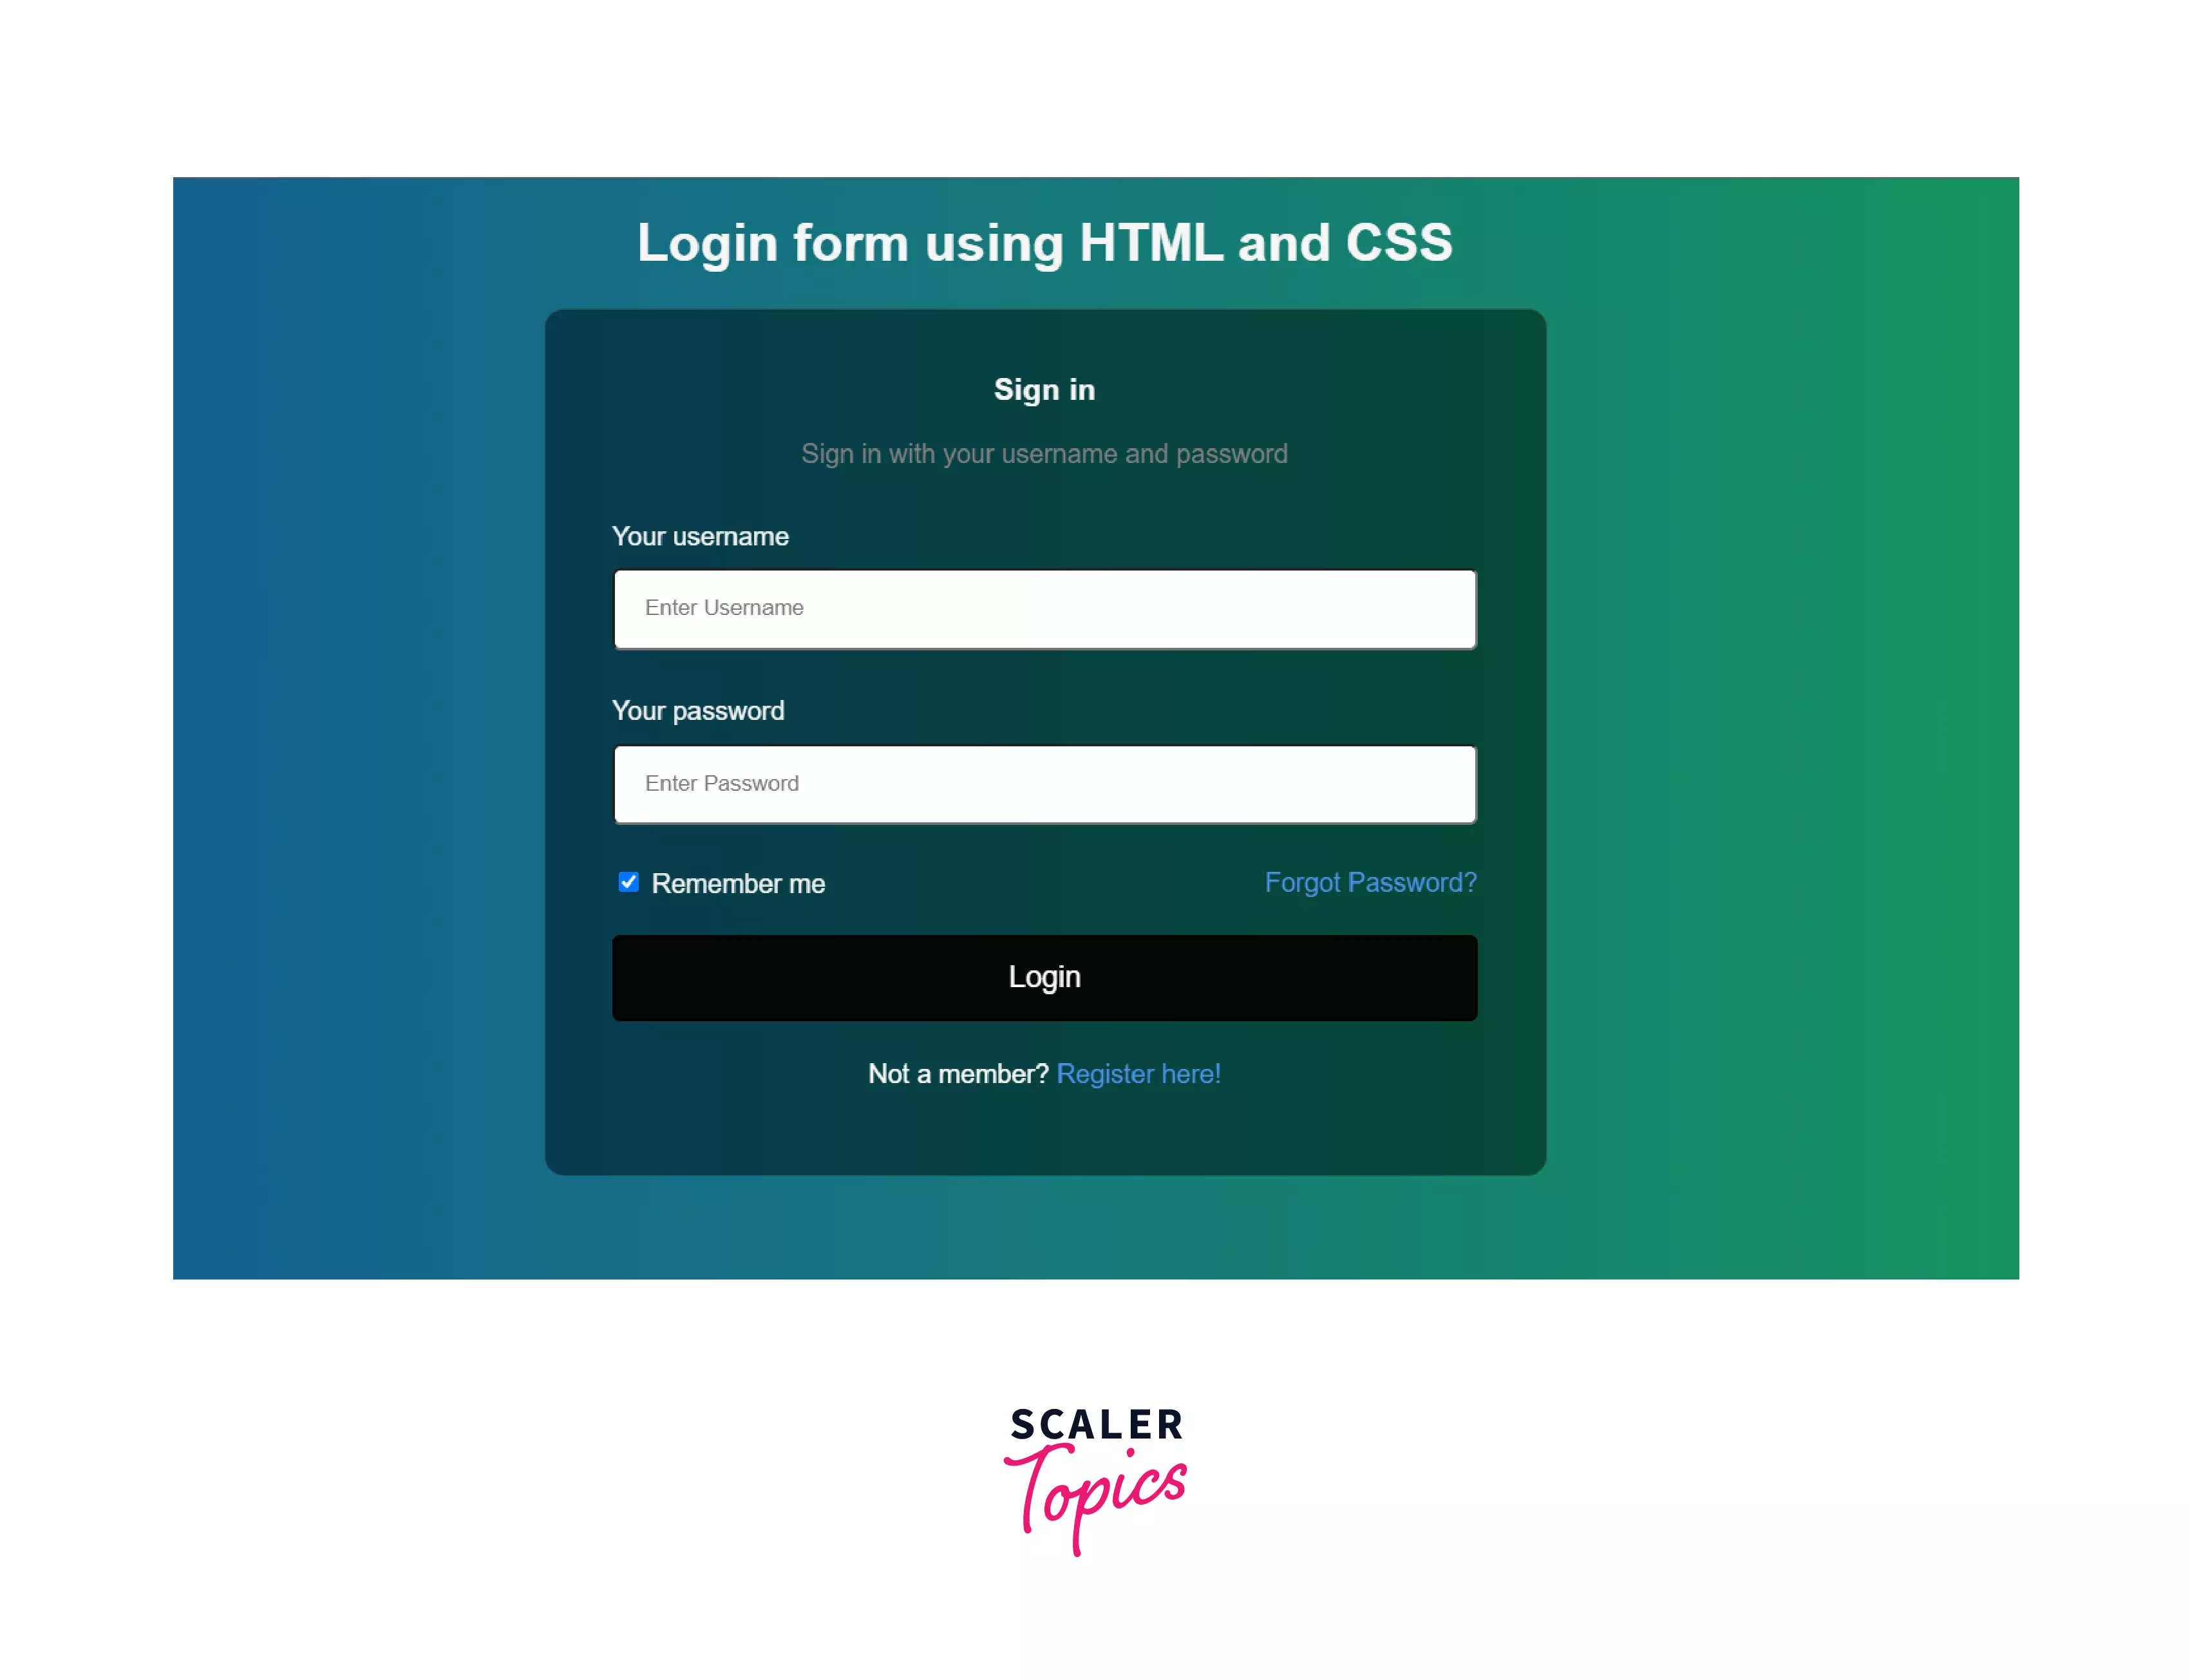
At first, we'll go through the HTML code for the login page and then switch to CSS to make it look better.
Turn Learning into Career Growth
Creating the Login Page Structure with HTML
Basically, we are going to make use of the <form> tag in HTML. Forms are readily available in HTML to gather information from a user.
You can provide server-side operations as well with the action attribute, but this is beyond the scope of our discussion. You can learn more about forms here.
Let's just start with writing the basic HTML structure in the first place.
Output
As already mentioned, we are designing the login page without any server-side operations, so the action attribute will be left empty. Following it will be the container that collects and lets the user submit their username and password. The form container will be styled later, but the initial structure shall be provided first.
There will be two <div> elements; one contains the form headings and another for collecting information from the user.
Output
Although the div containers aren't visible, you'll soon notice the changes once we add input fields in the form.
Inside the main container, <input> tags will be used to define the input for the user. In our case, we need input types such as text (for username) and password. To define these input fields, we'll use <label> tags but make sure that the <label for=" "> contains the same name as the name attribute of its <input> tag. It is because any form control (input fields) can be associated with only one <label> element. It is important to provide the same name to bind the <label> and <input> elements together.
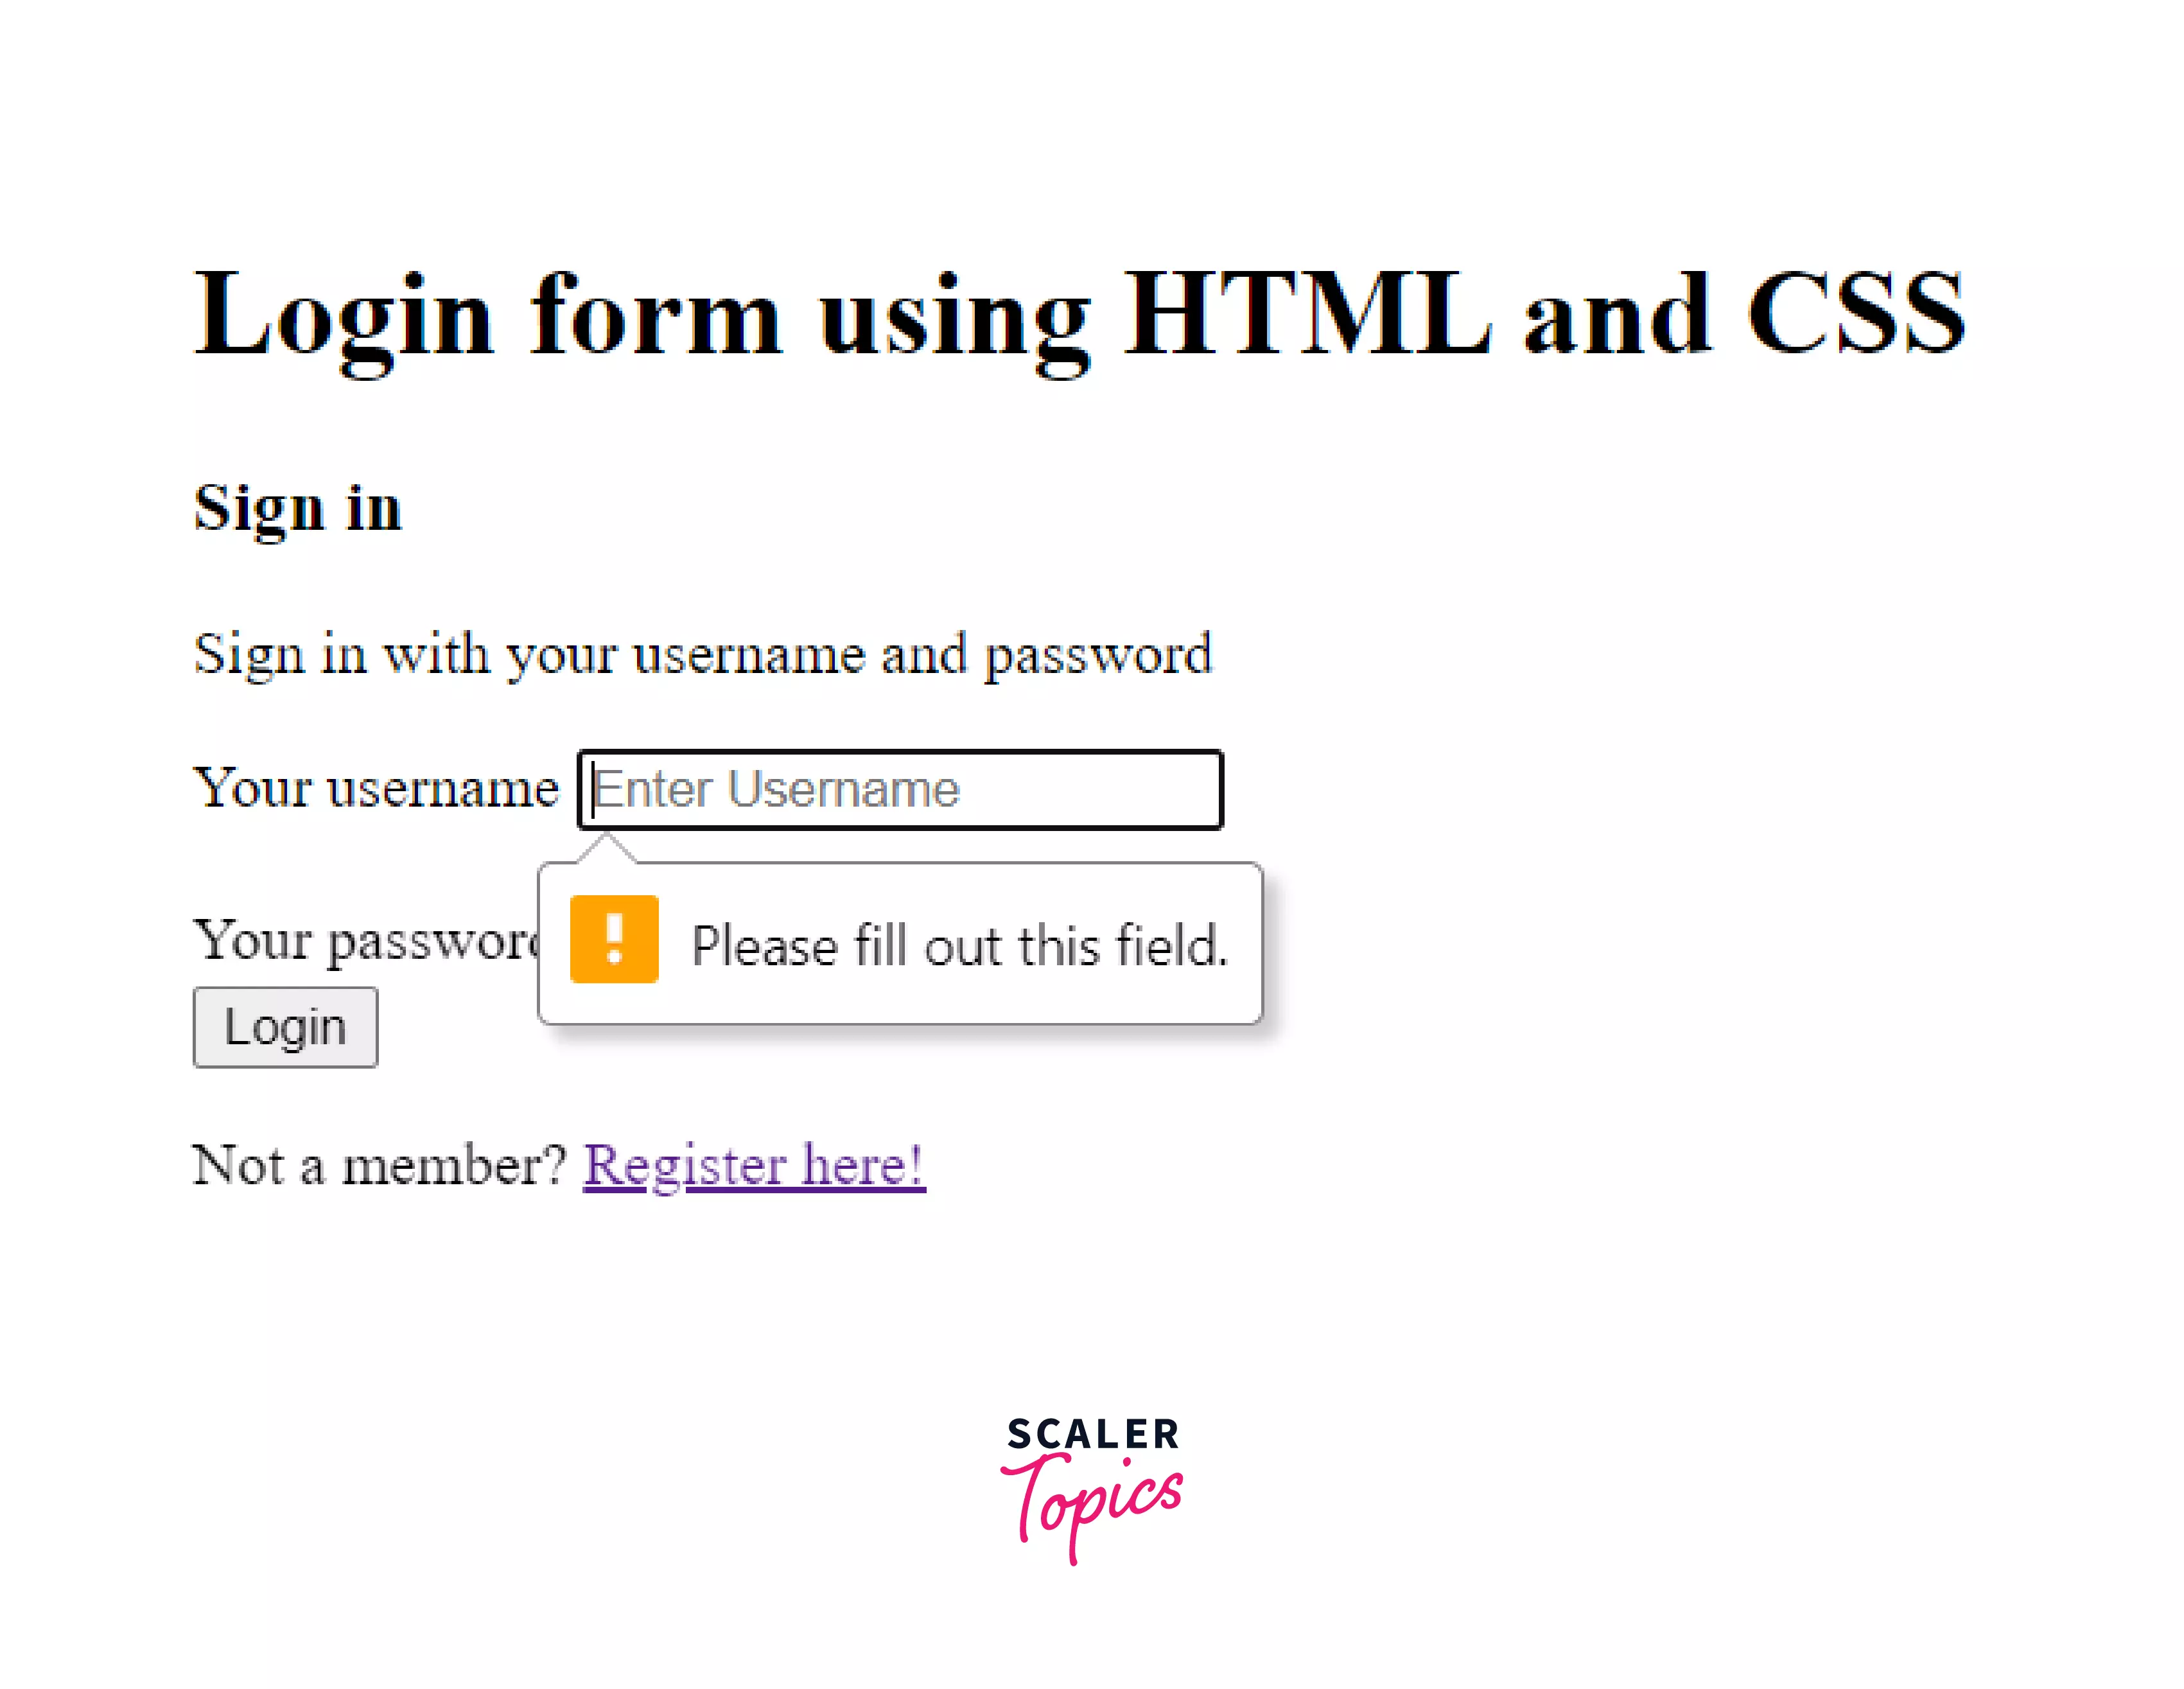
For the username, the input type is text, and we'll put <input required> because the user must put their username and password.
Output

Now, let's add the submit button and the link to sign up (if the user isn't a member). The register link will be set as <a href="#">Register here!</a> because we do not have a registration page currently.
Output
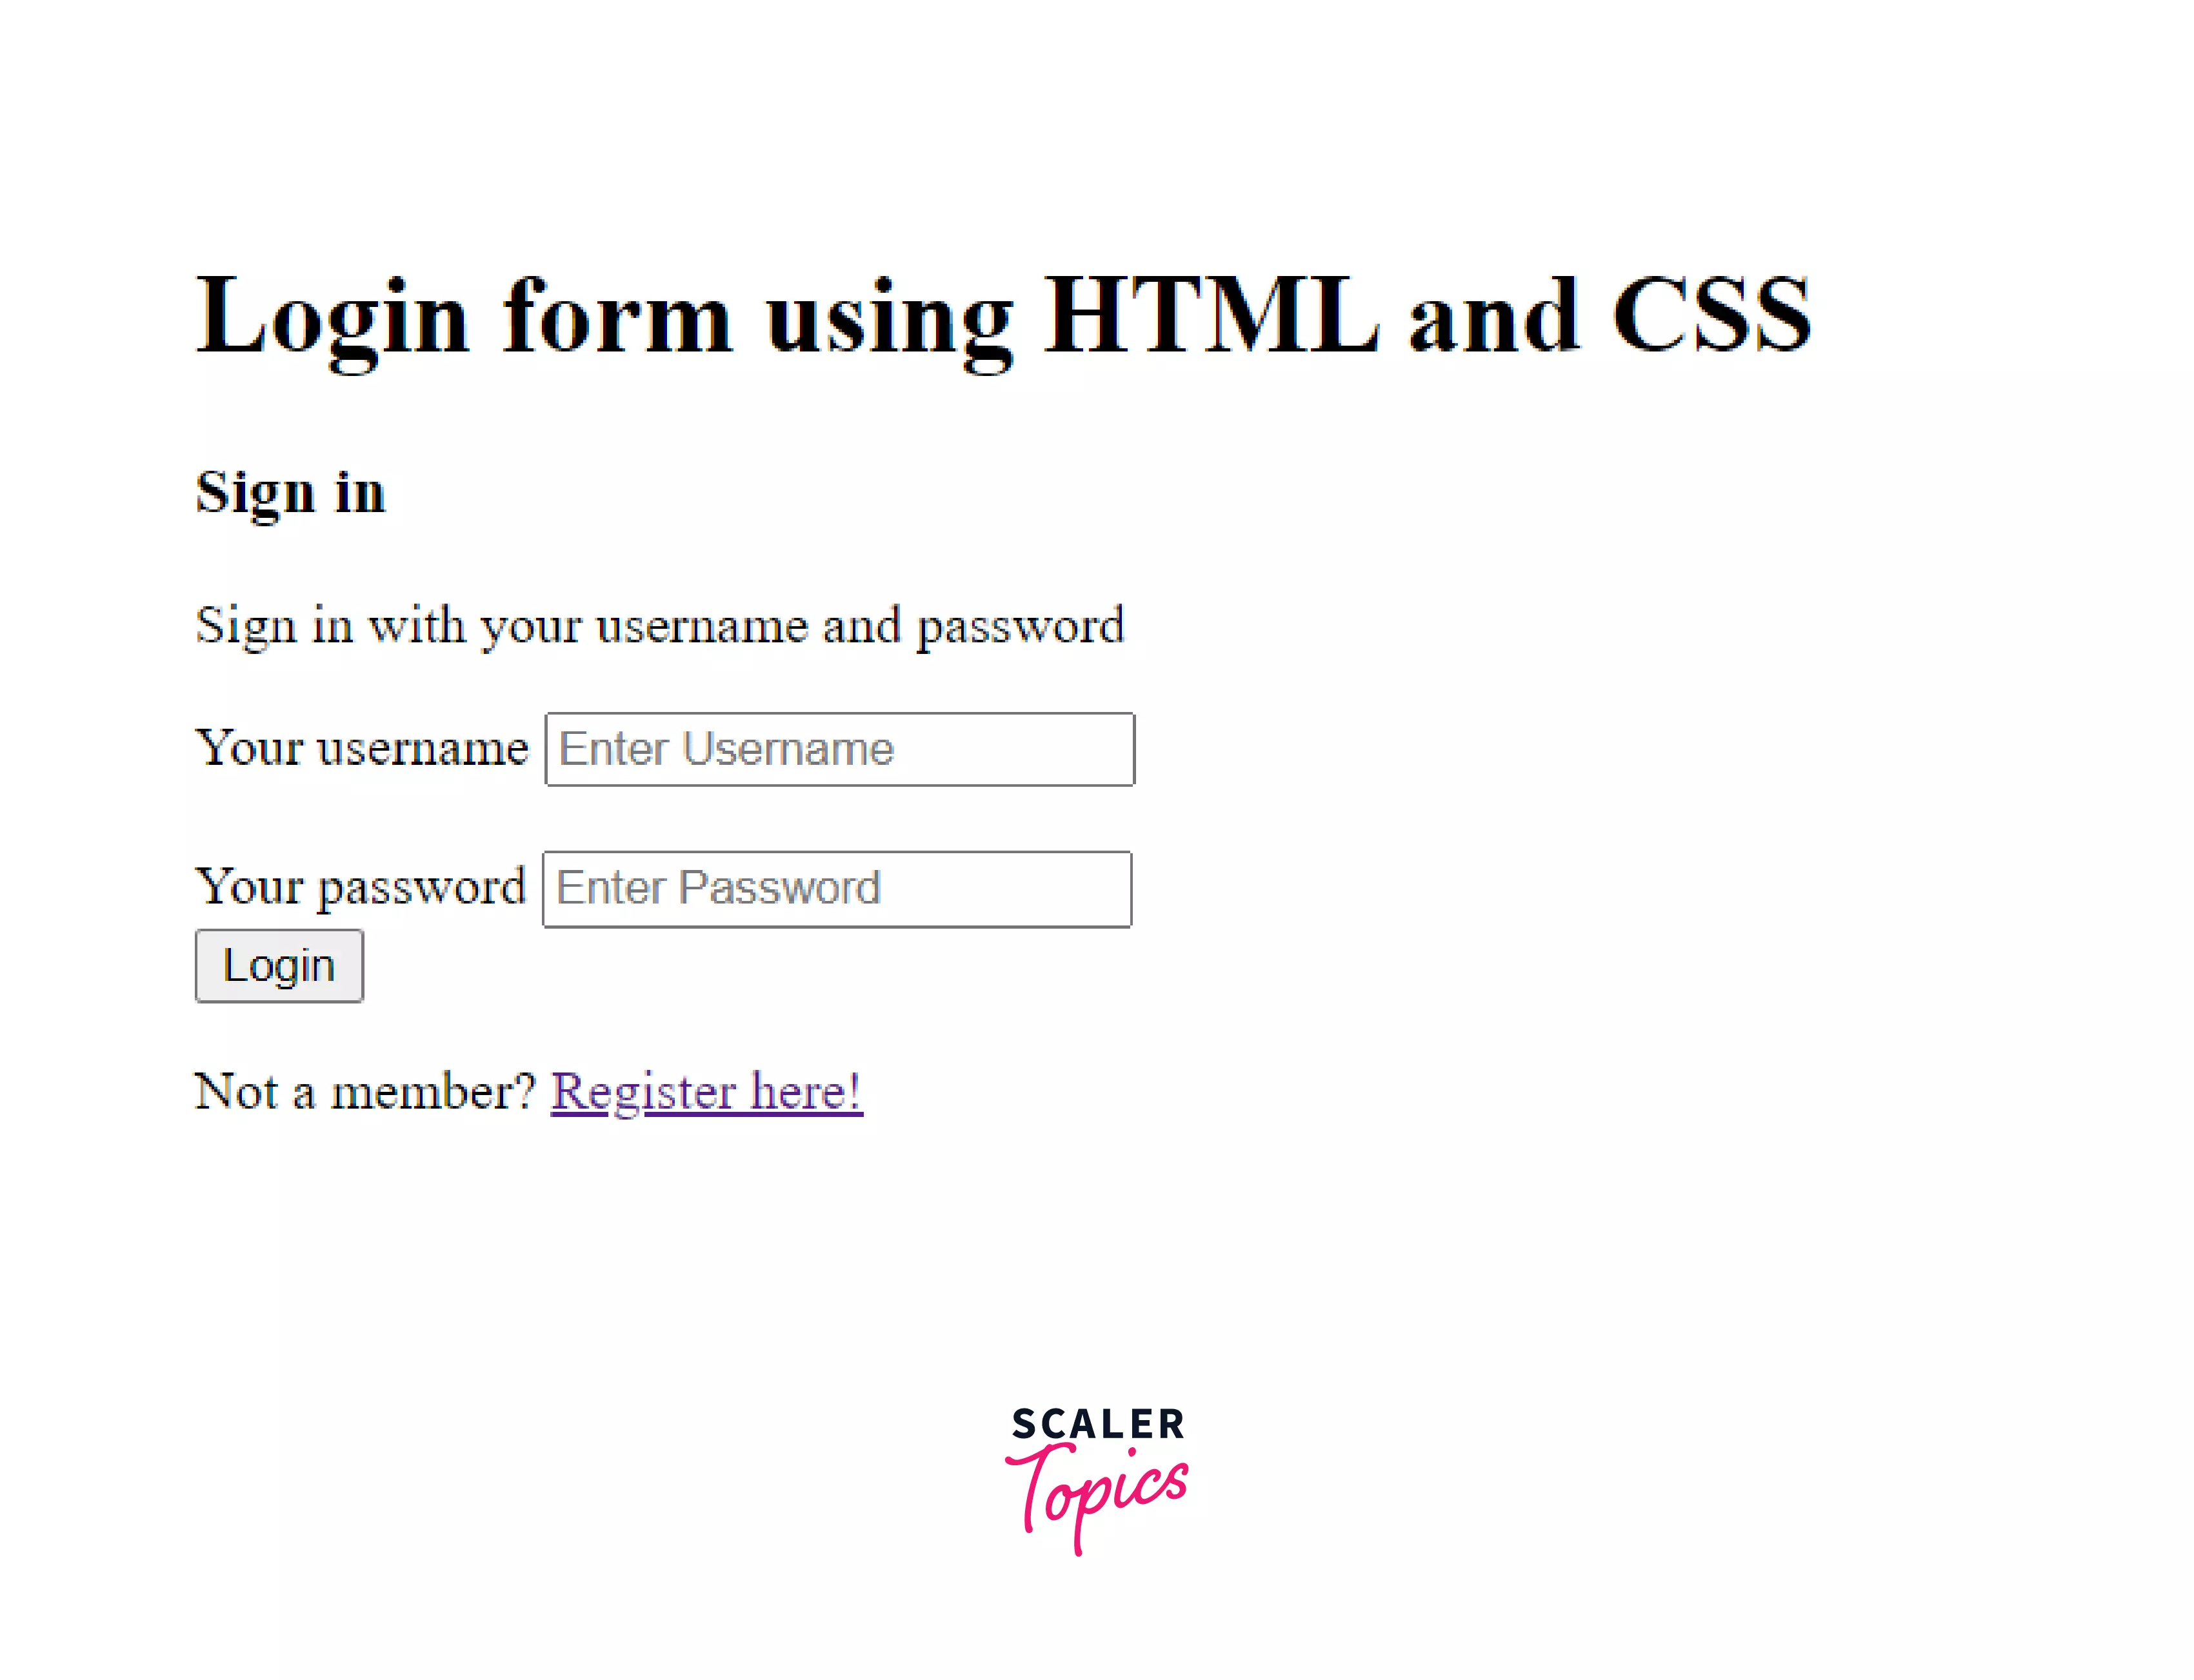
Since we used the required attribute, it ensures that the input must be provided to the input fields when we the Login button.
Inside the main container, there will be another sub-container to keep a checkbox and forgot password link at the same level. For the same, the basic use of flexbox is needed.
Output
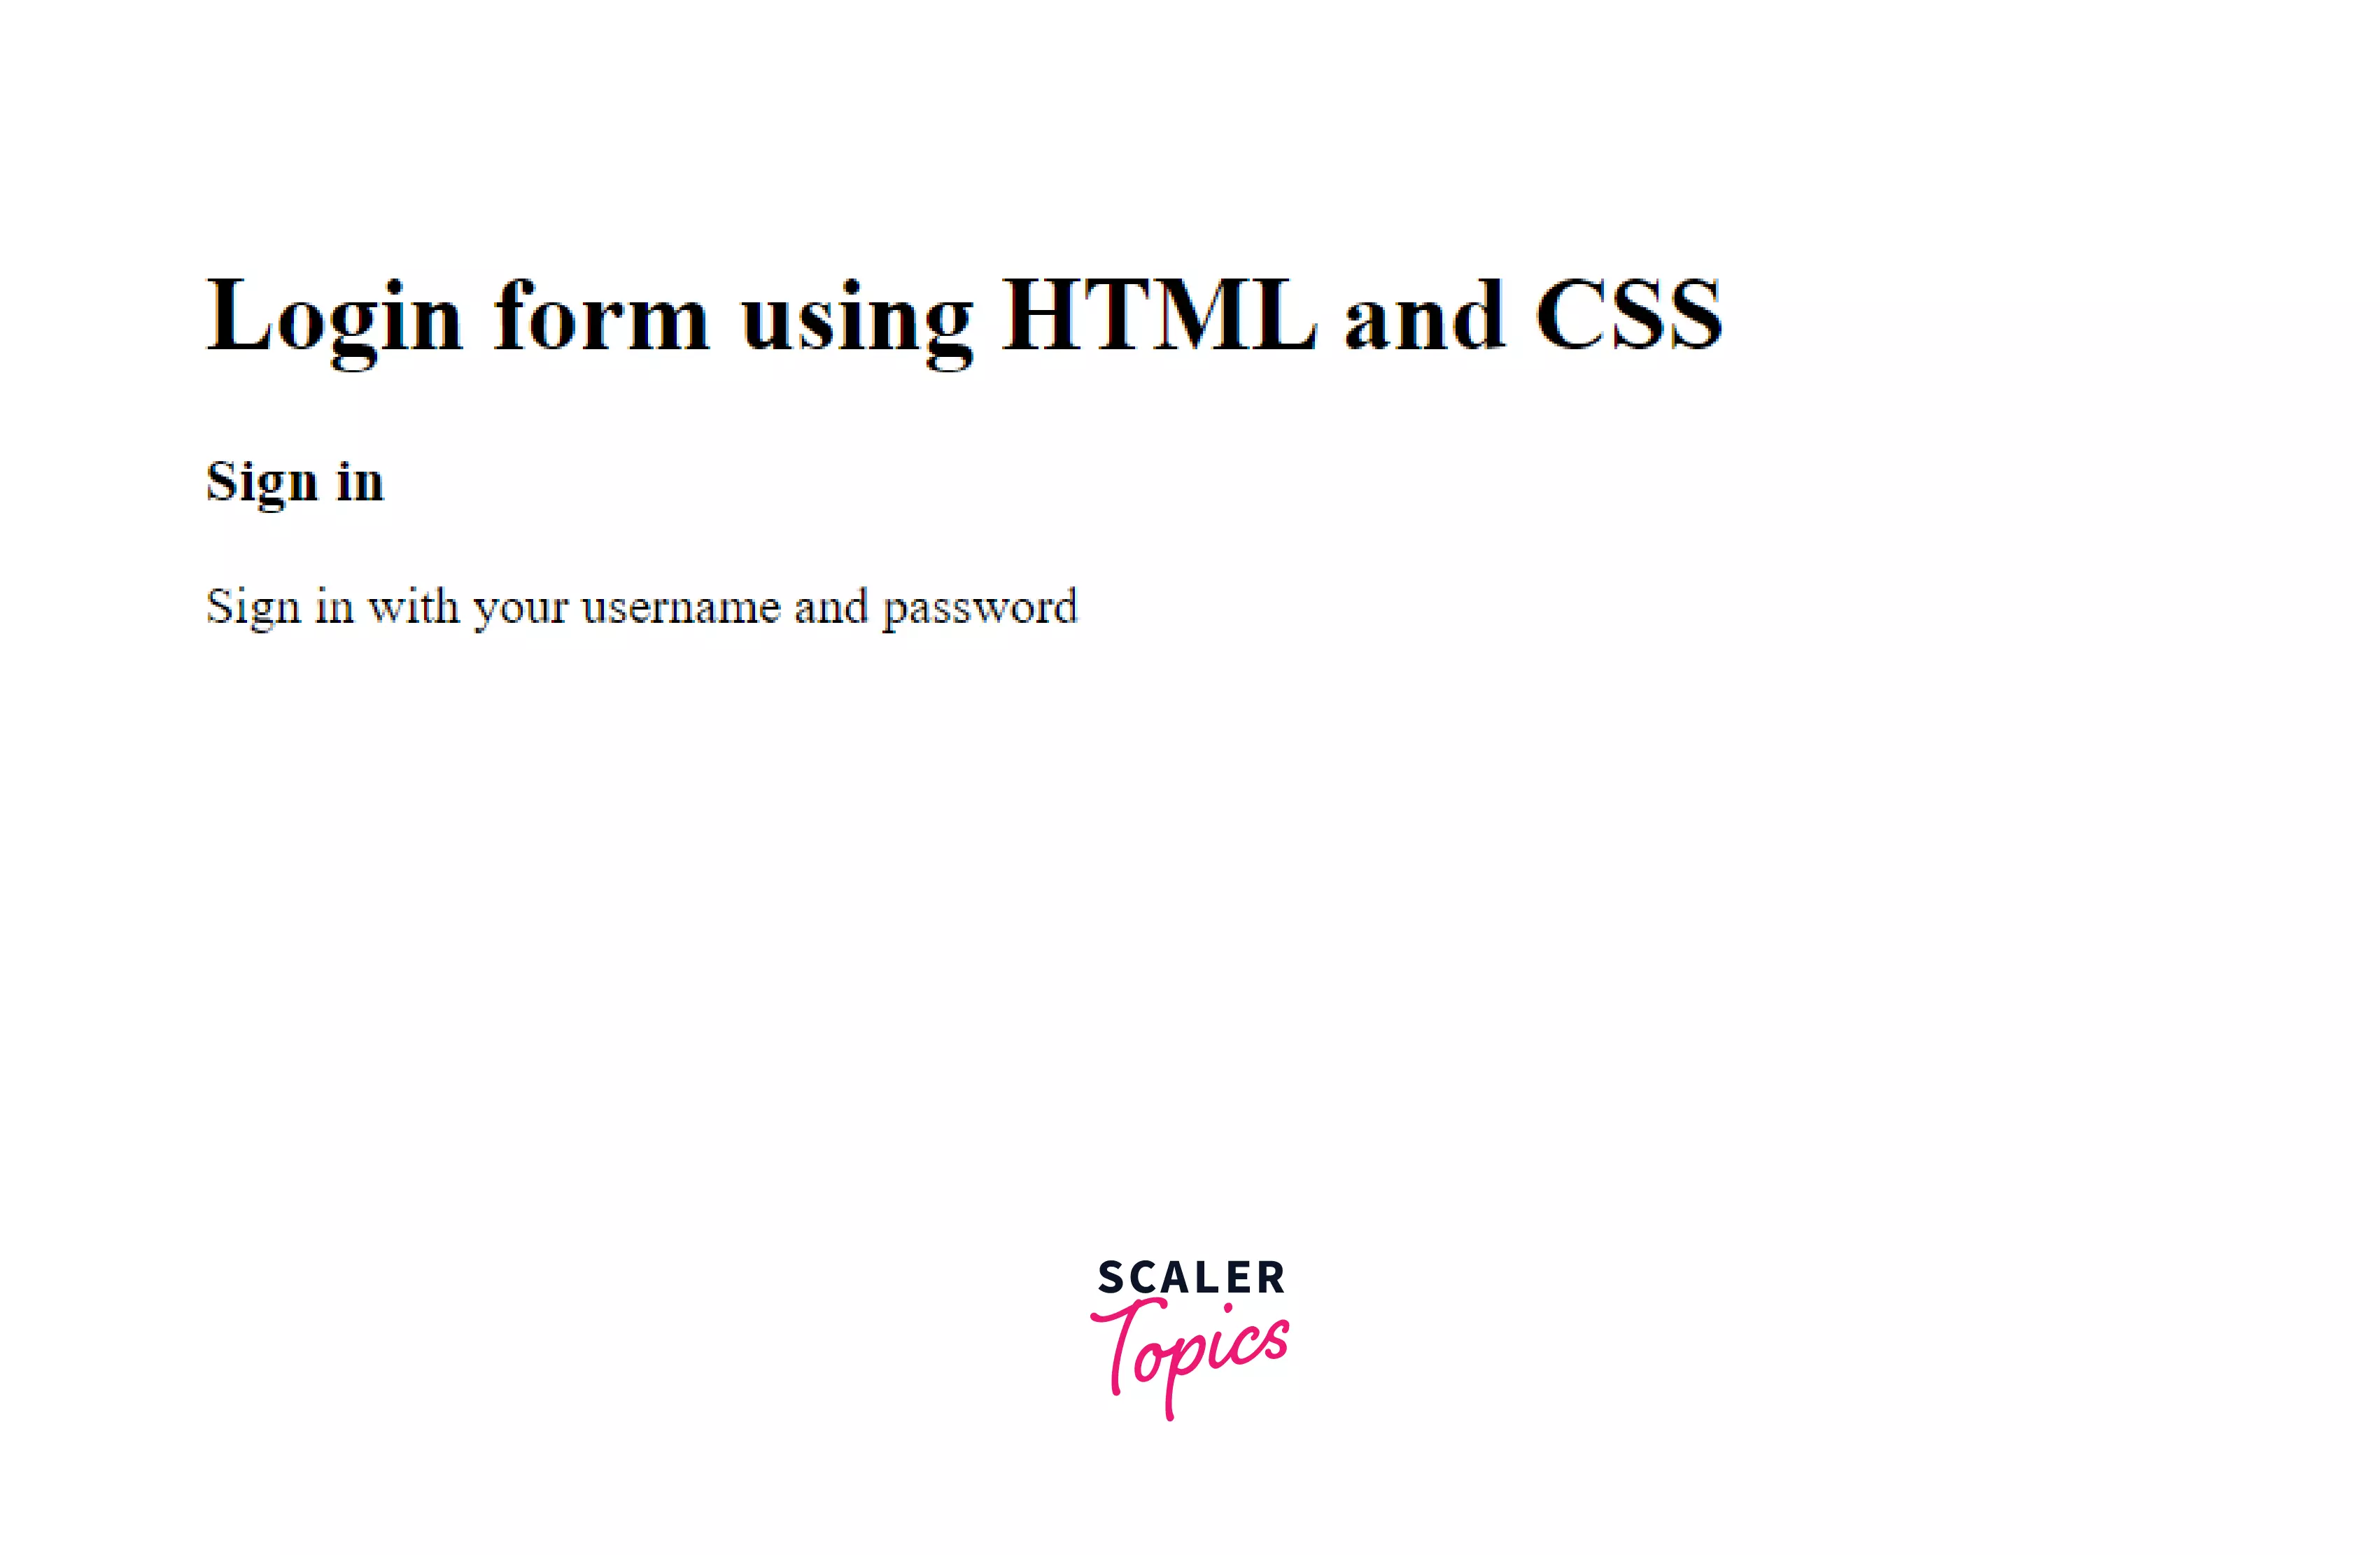
This is our final structure.

However, it doesn't look good yet. Since we are done with the HTML code for the login page, we'll now cover the styling part in the next section.
Styling the Login Page with CSS
We'll create a separate style sheet for the login page. So, we need to link this new stylesheet with the HTML login page. The link can be added inside the <head> tag.
Here's a screenshot provided for reference.

Let's get a linear-gradient background for the entire login page. Here's a link to another page if you want to learn more about it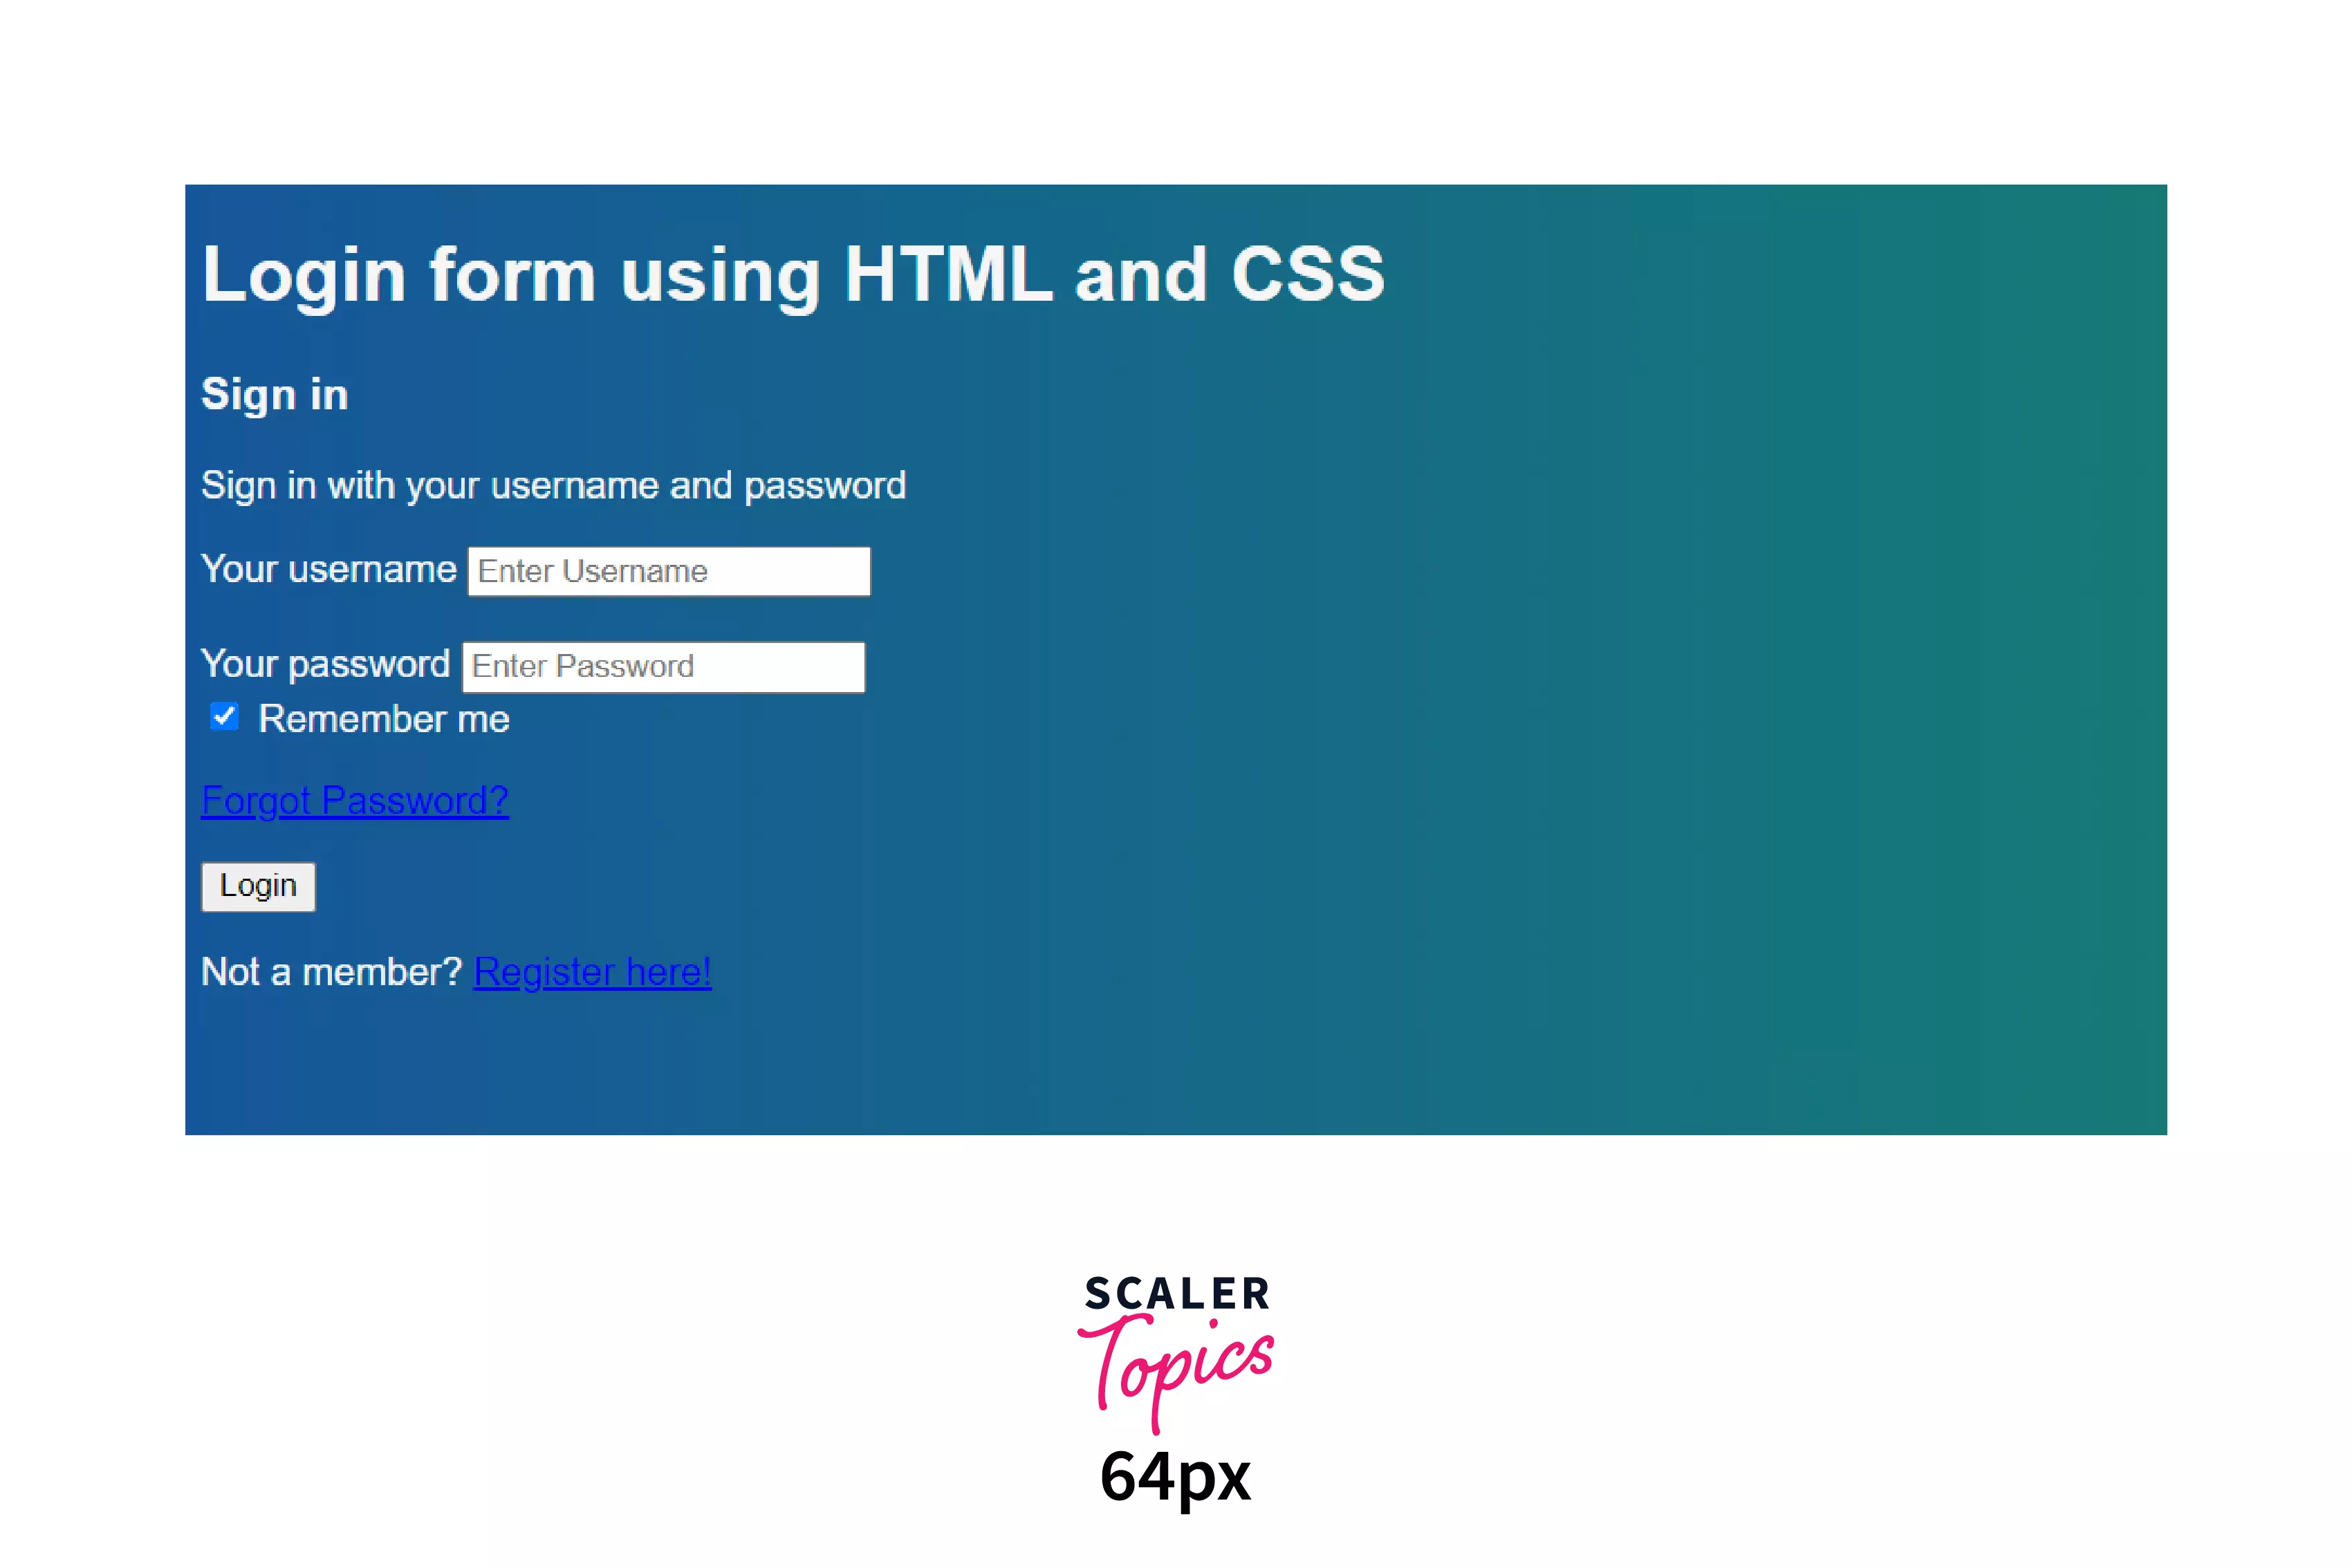 .
.
Output

We also want the form to comprise only 35 relative units of its root element. Plus, it should be placed at the center horizontally, which can be done with margin: auto;.
Since we have used two <input> tags (for username and password), we can style them as follows:
box-sizing has been set to border-box because we need to restrict the input's width inside the total width of the form container.
Now let's style the button according to the page. You can choose your own background-color and the color of the text. Additionally, on hovering the button, the opacity (transparency) of the button will be set to 0.6, and the mouse cursor will be shown as a pointer.
By far, this is our CSS code (along with styling the button).
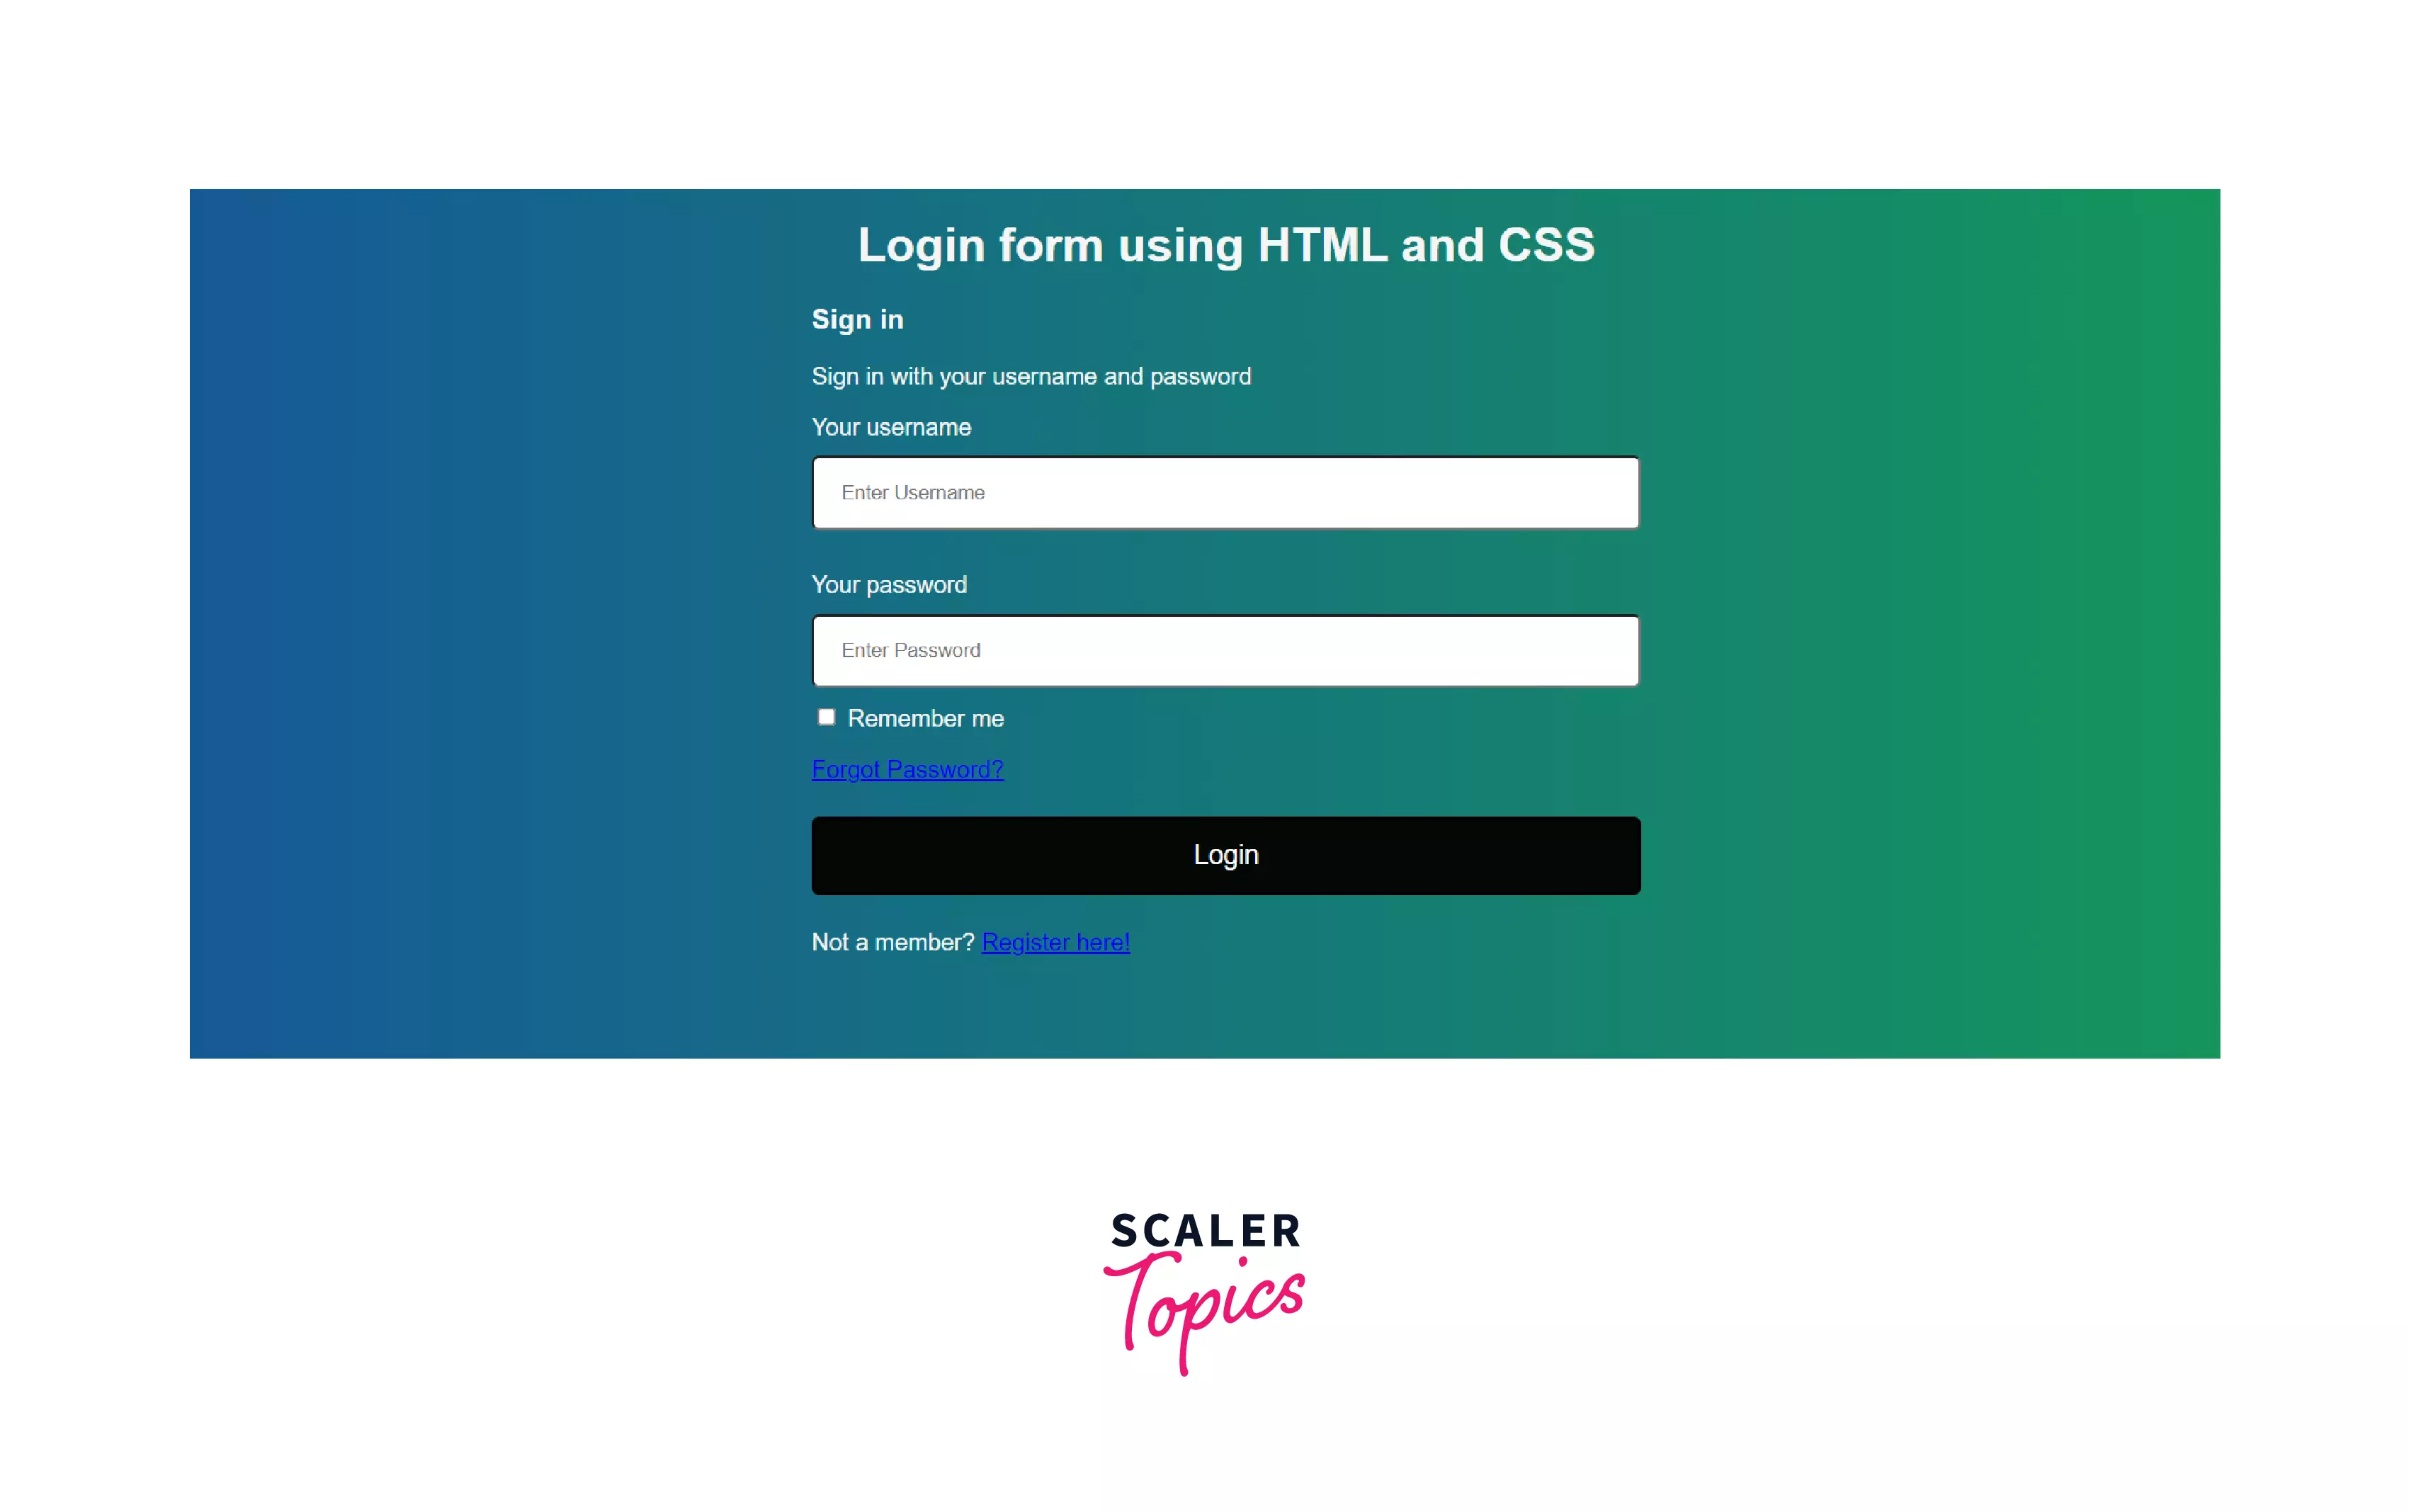
Output
Let's give the form a good translucent look.
Output
Shouldn't the elements inside the form have a little space between them and the form's extreme ends? We'll need to provide padding for that.
Output
For the sub-container, we need display: flex; and the elements inside it need to be aligned in a row (flex-direction: row;). To center them vertically, align-items: center; will be used, and they should be put at both ends of the form, so justify-content: space-between; will be used.
Output
You can use the following code for stylings links.
Output

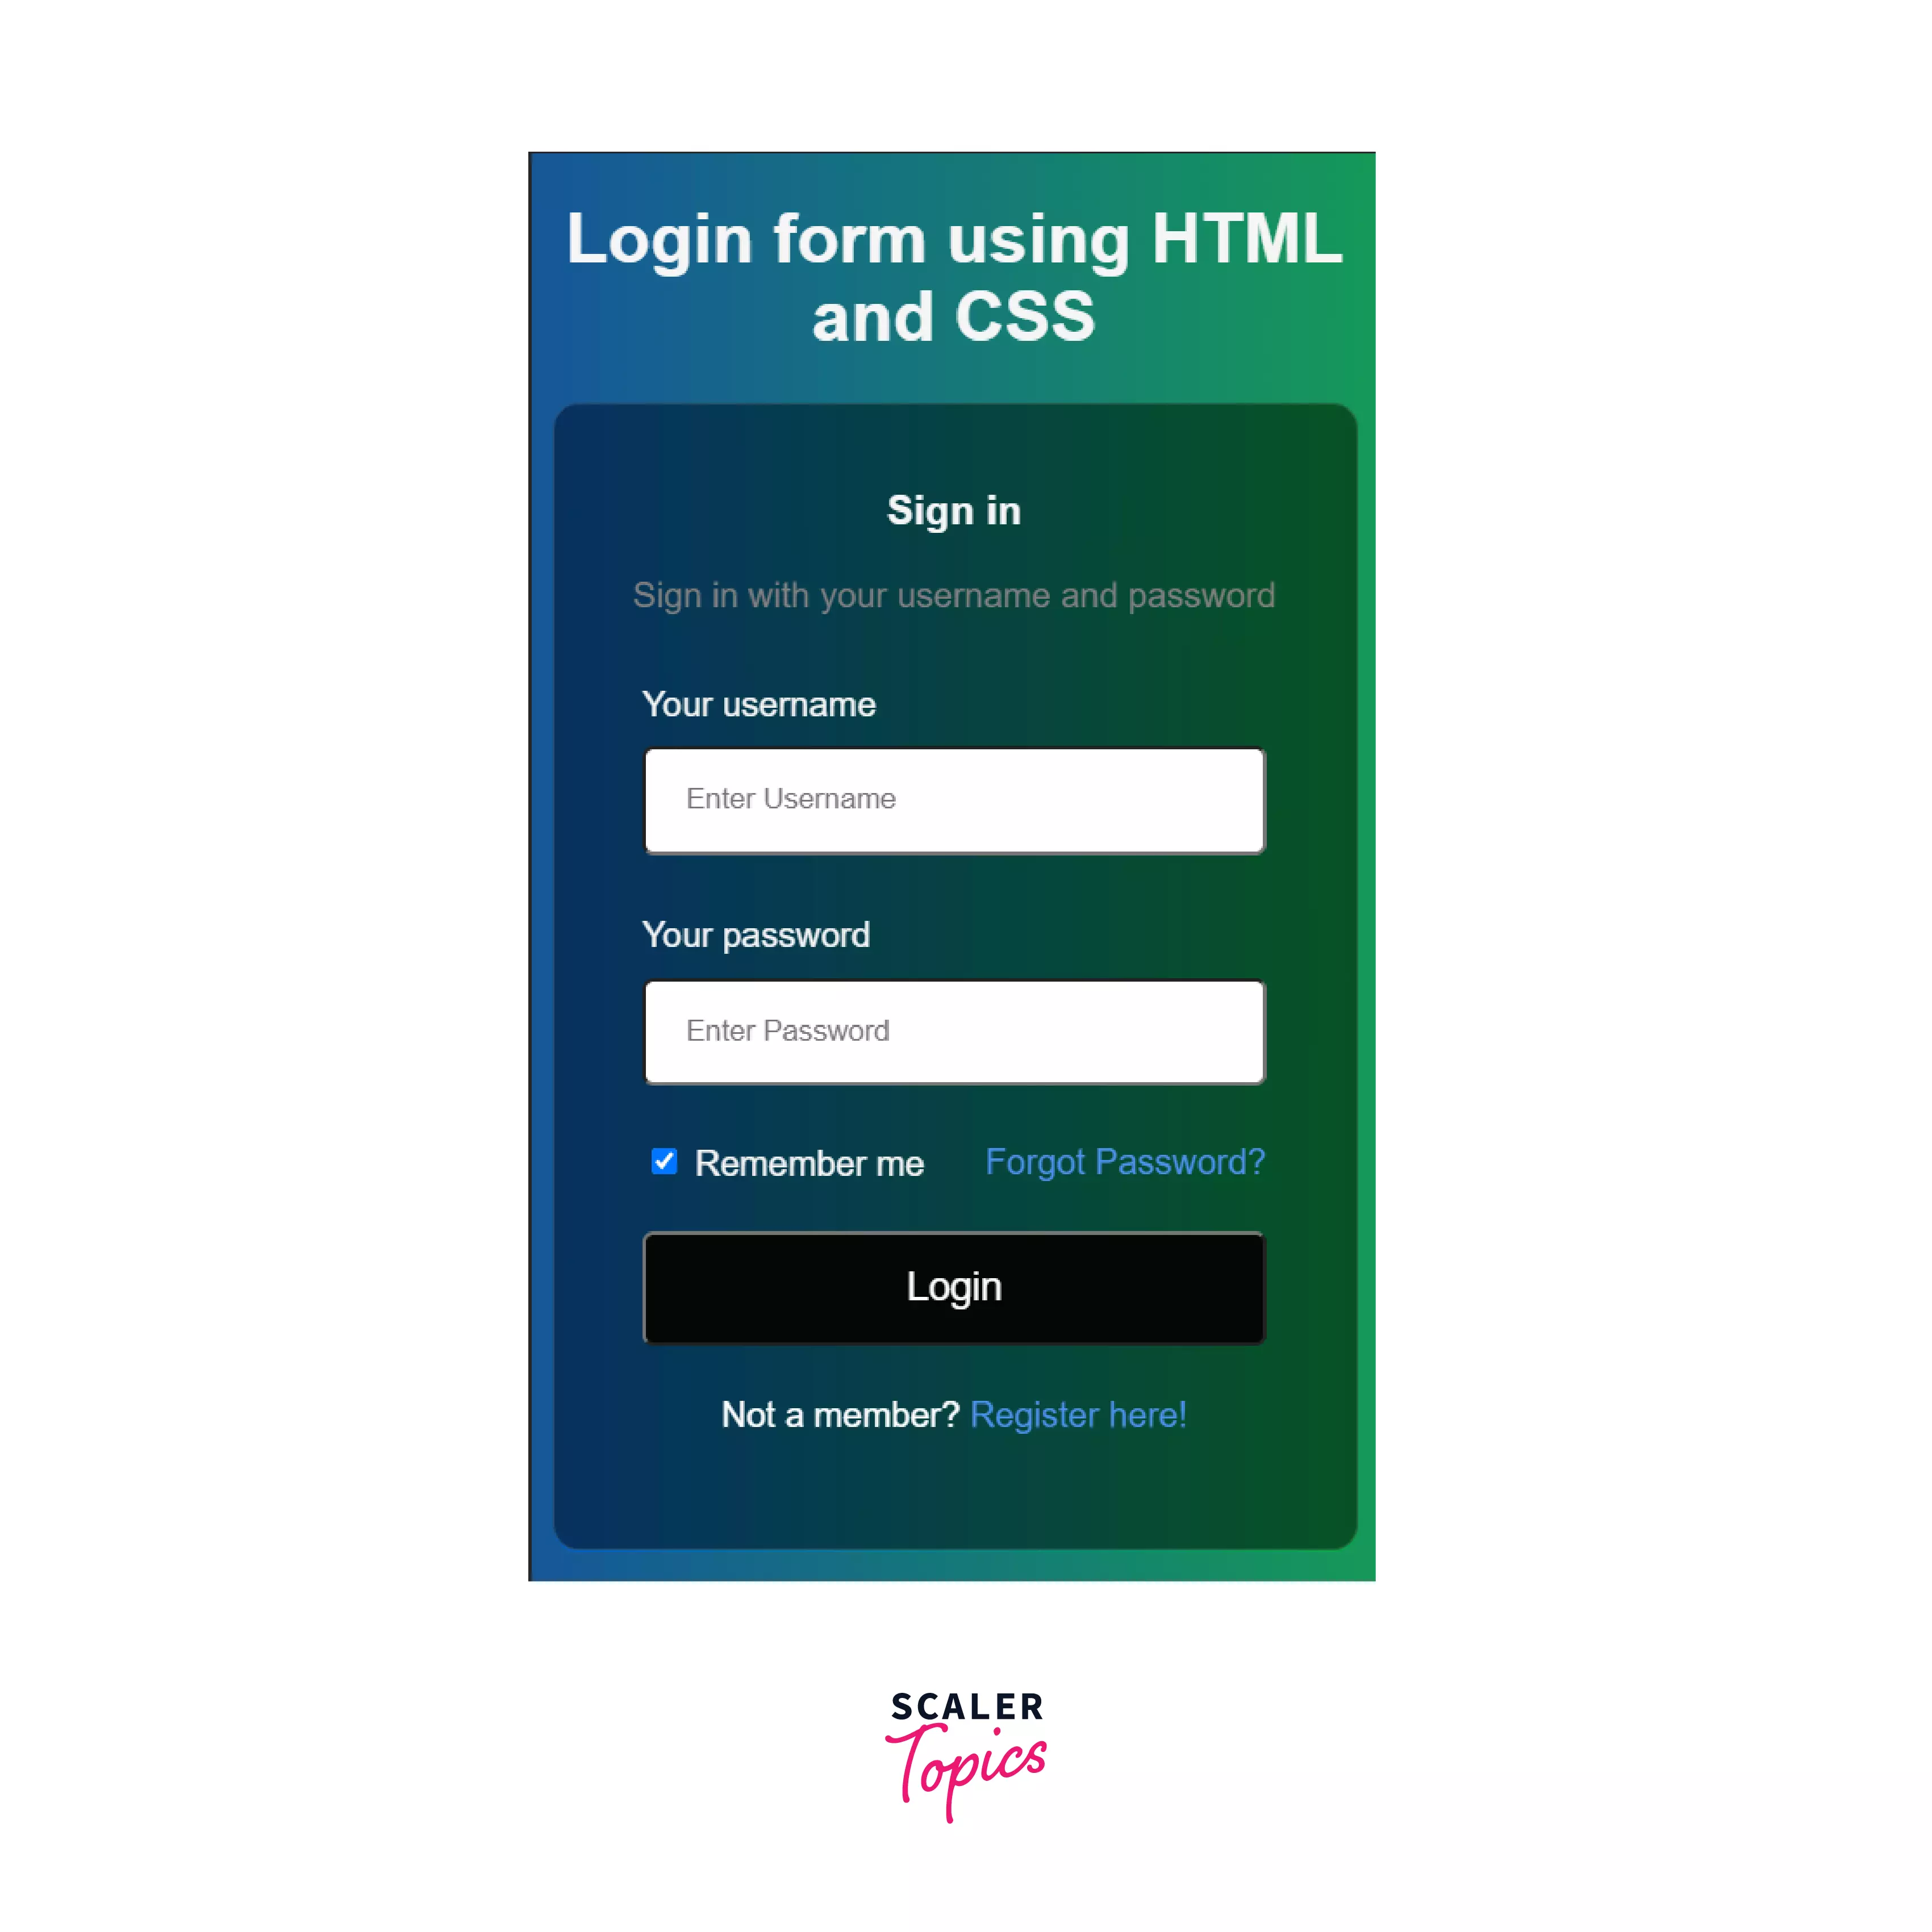
To make the page responsive, we need to use media queries that make the page adaptive according to the screen resolution. This makes the page useful for not only a desktop but a mobile phone as well. We just want the form to shrink horizontally with the decreasing width of the screen.
So, we are now at the final stage of our code for the login page. Also, let's just provide a bit more padding to the main container.
Output
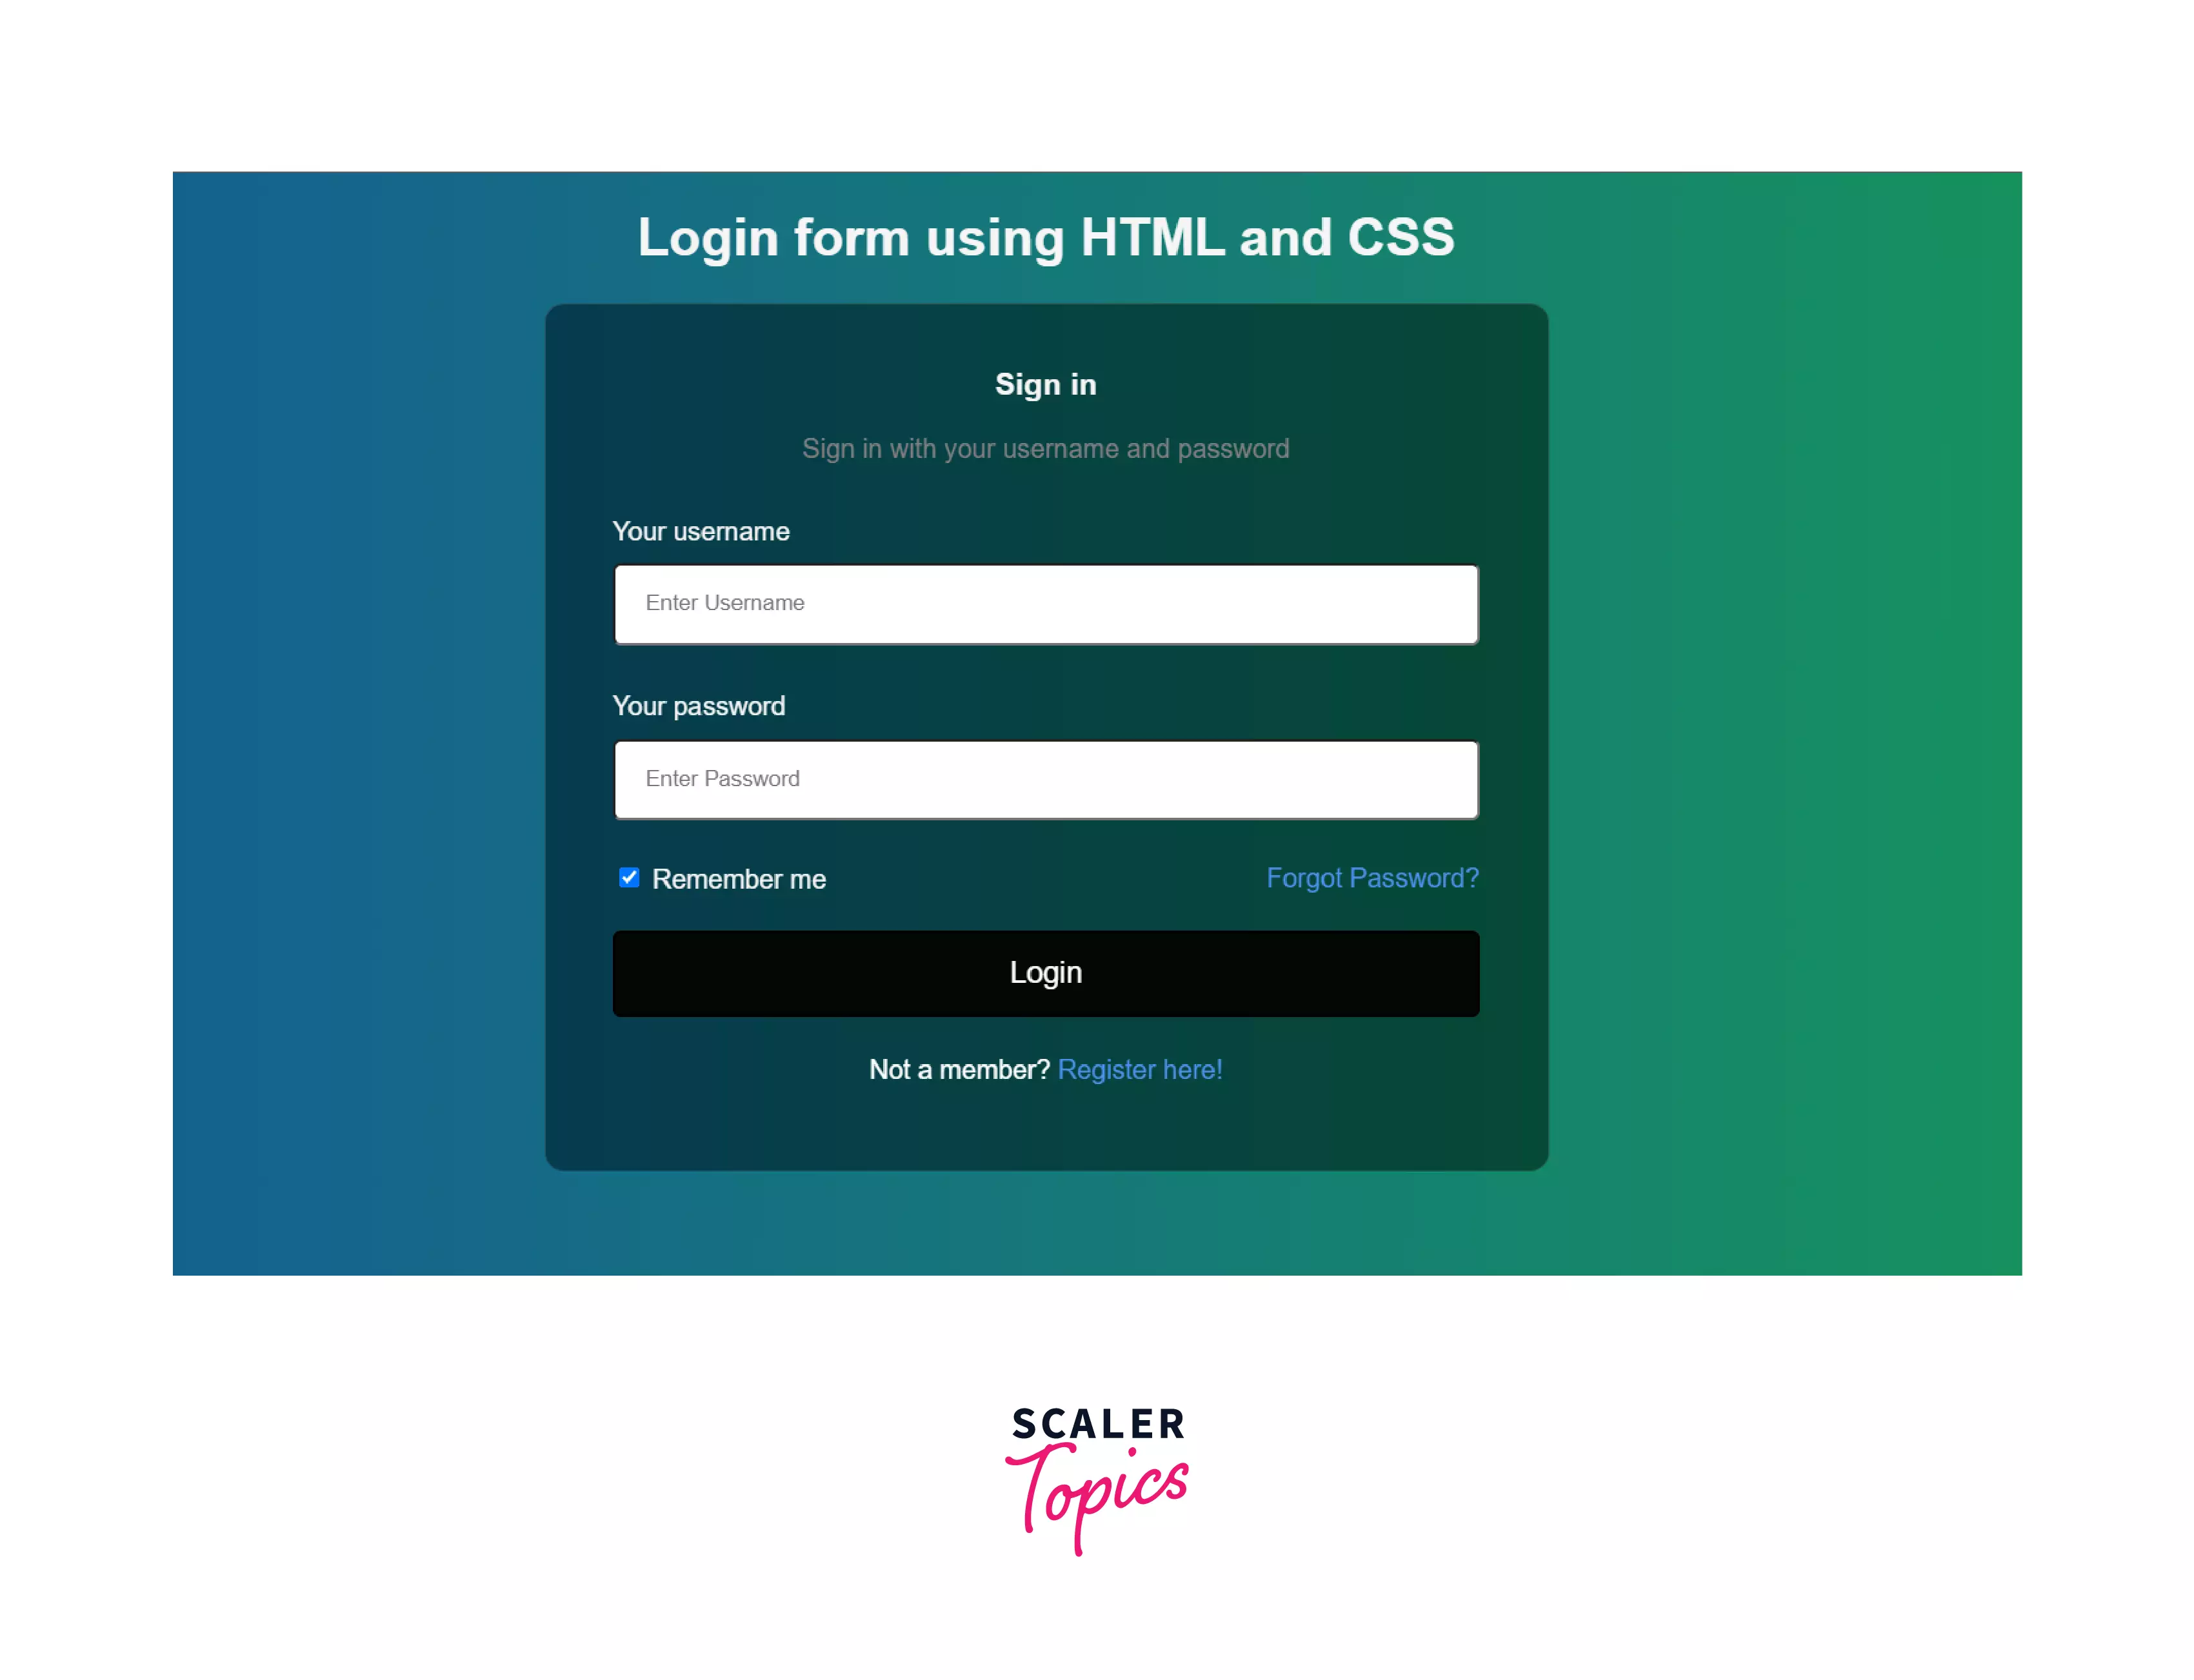
Moreover, the page has also become responsive.
Conclusion
- In this article, we created a simple login form in HTML.
- Additionally, we can also handle the events by integrating JavaScript code along with HTML and CSS.
- We have used concepts like flexbox and media queries in CSS to make the page adapt to different screen resolutions.
- The <form> tag has been majorly used to create the login page in HTML with CSS code.